

Rainbow Fairies
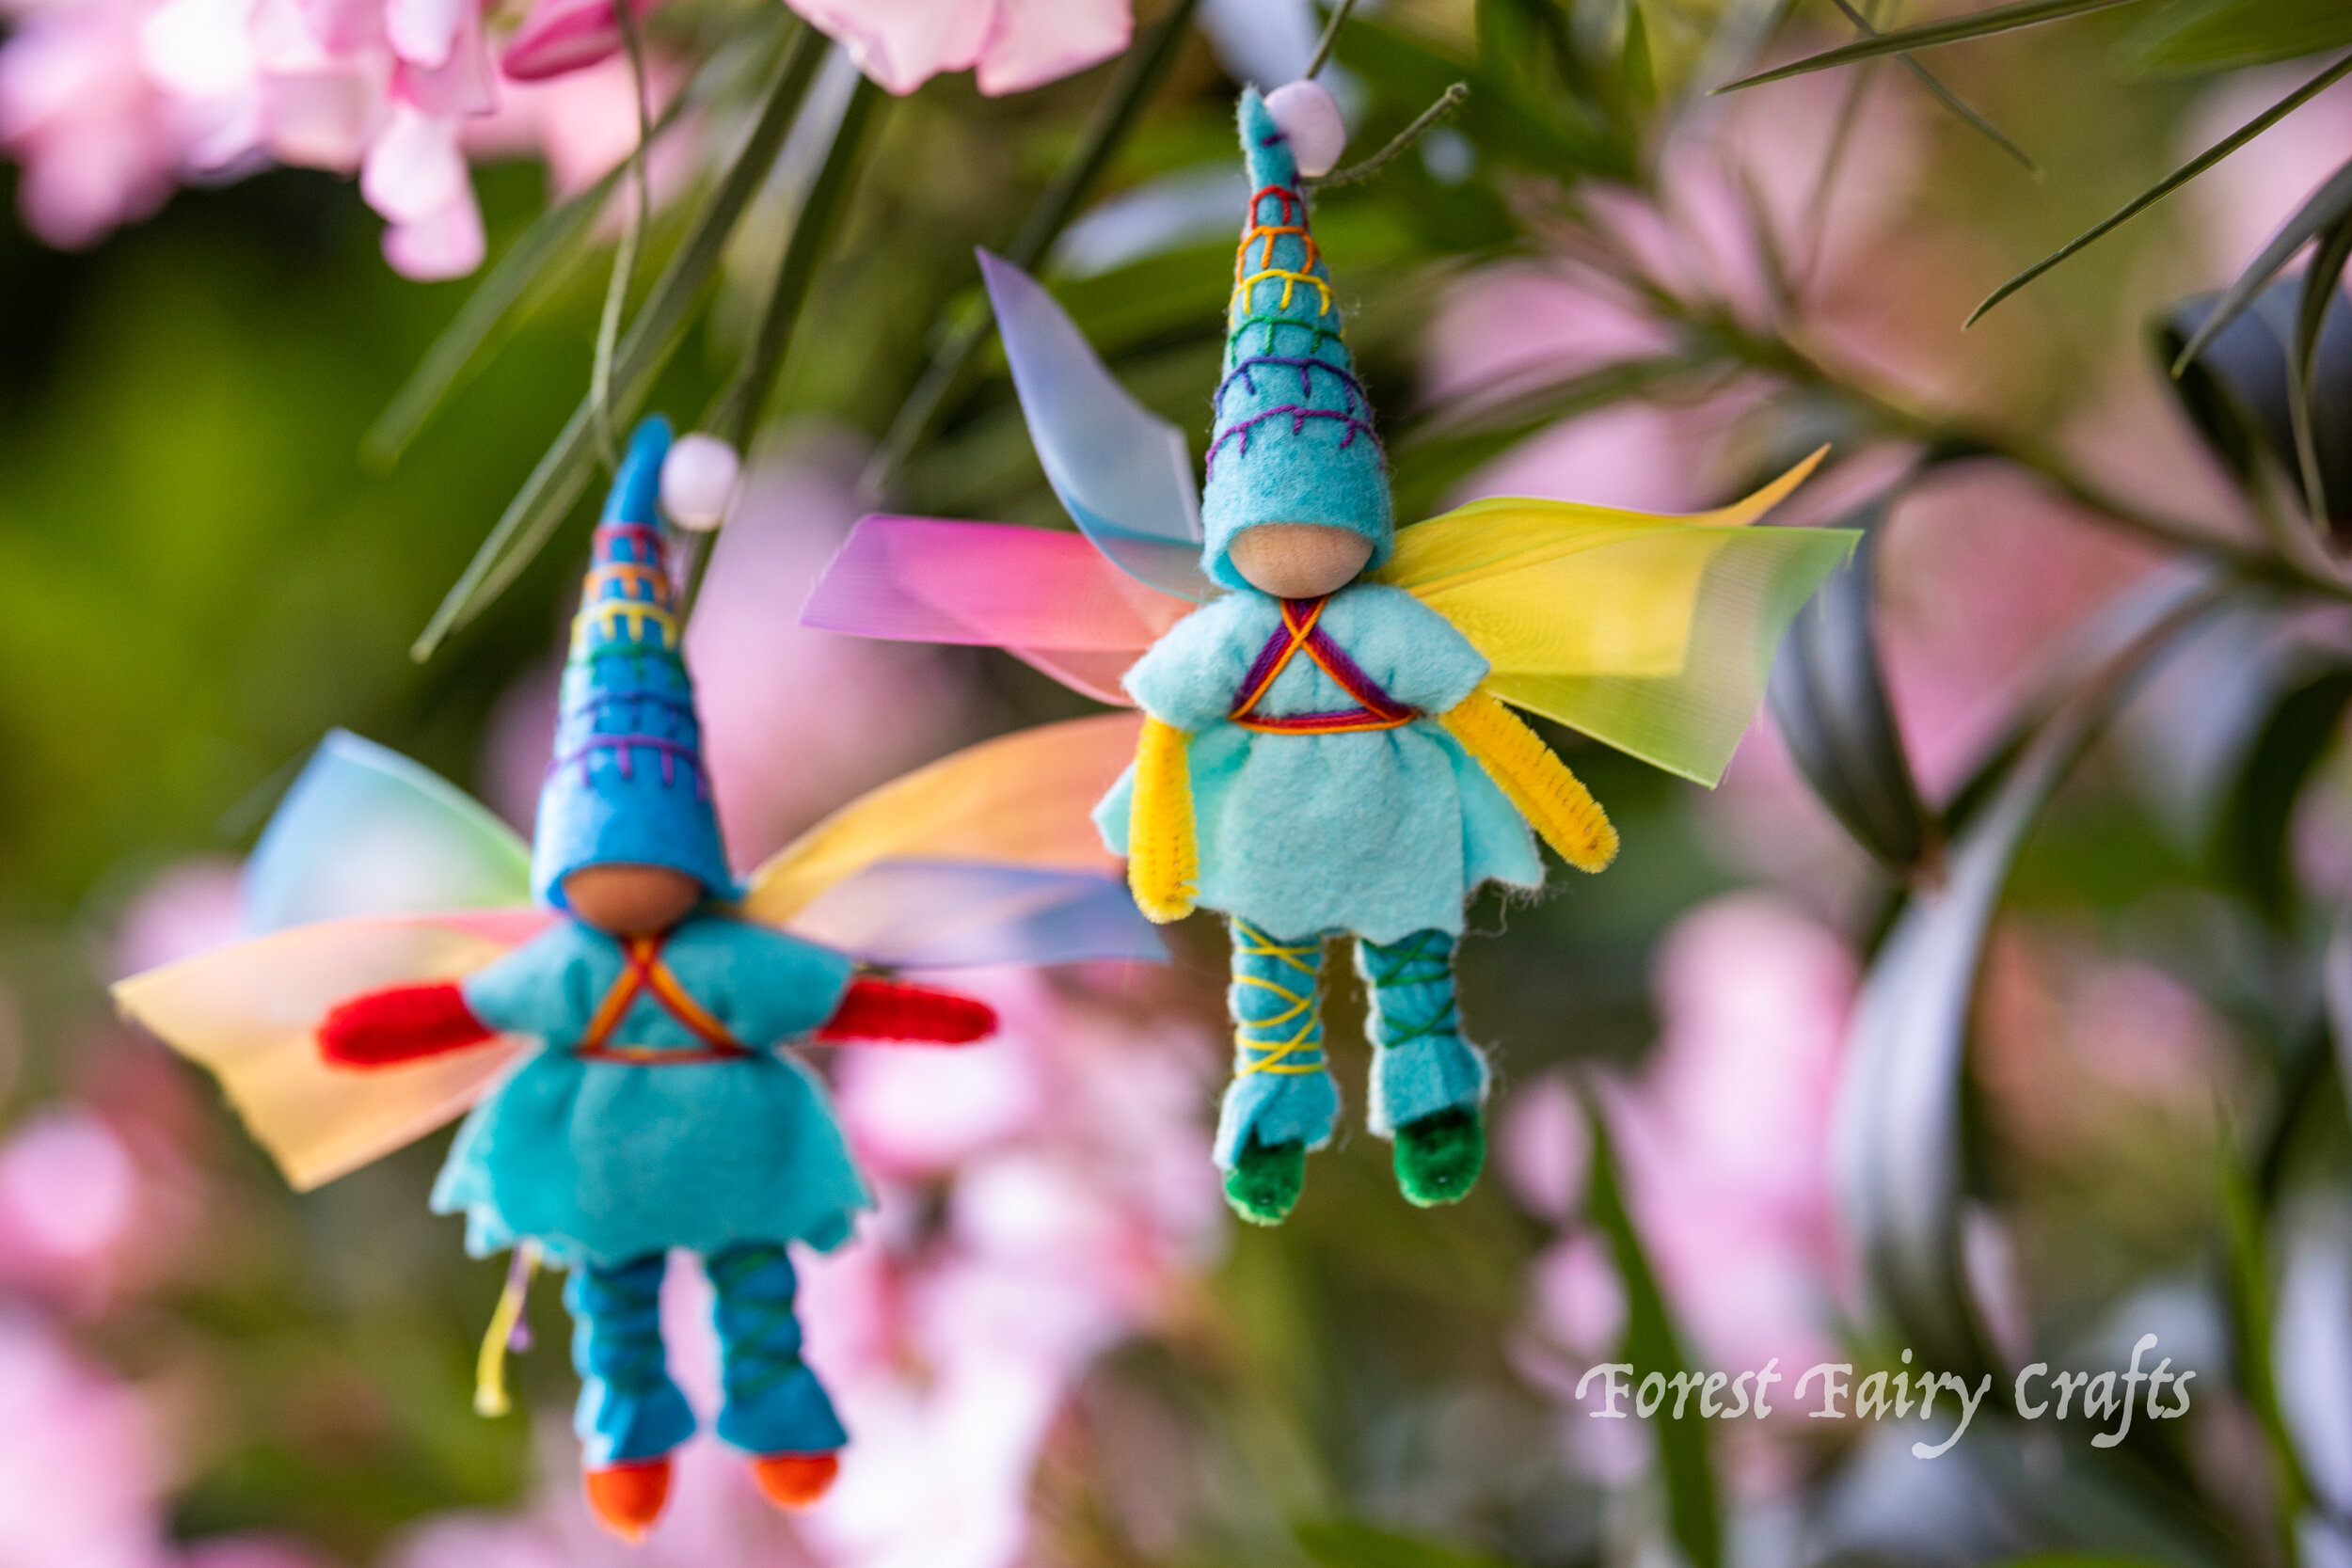
The early summer skies are exactly where fairies like to play. These rainbow fairies charmed me when I had the idea to create them.

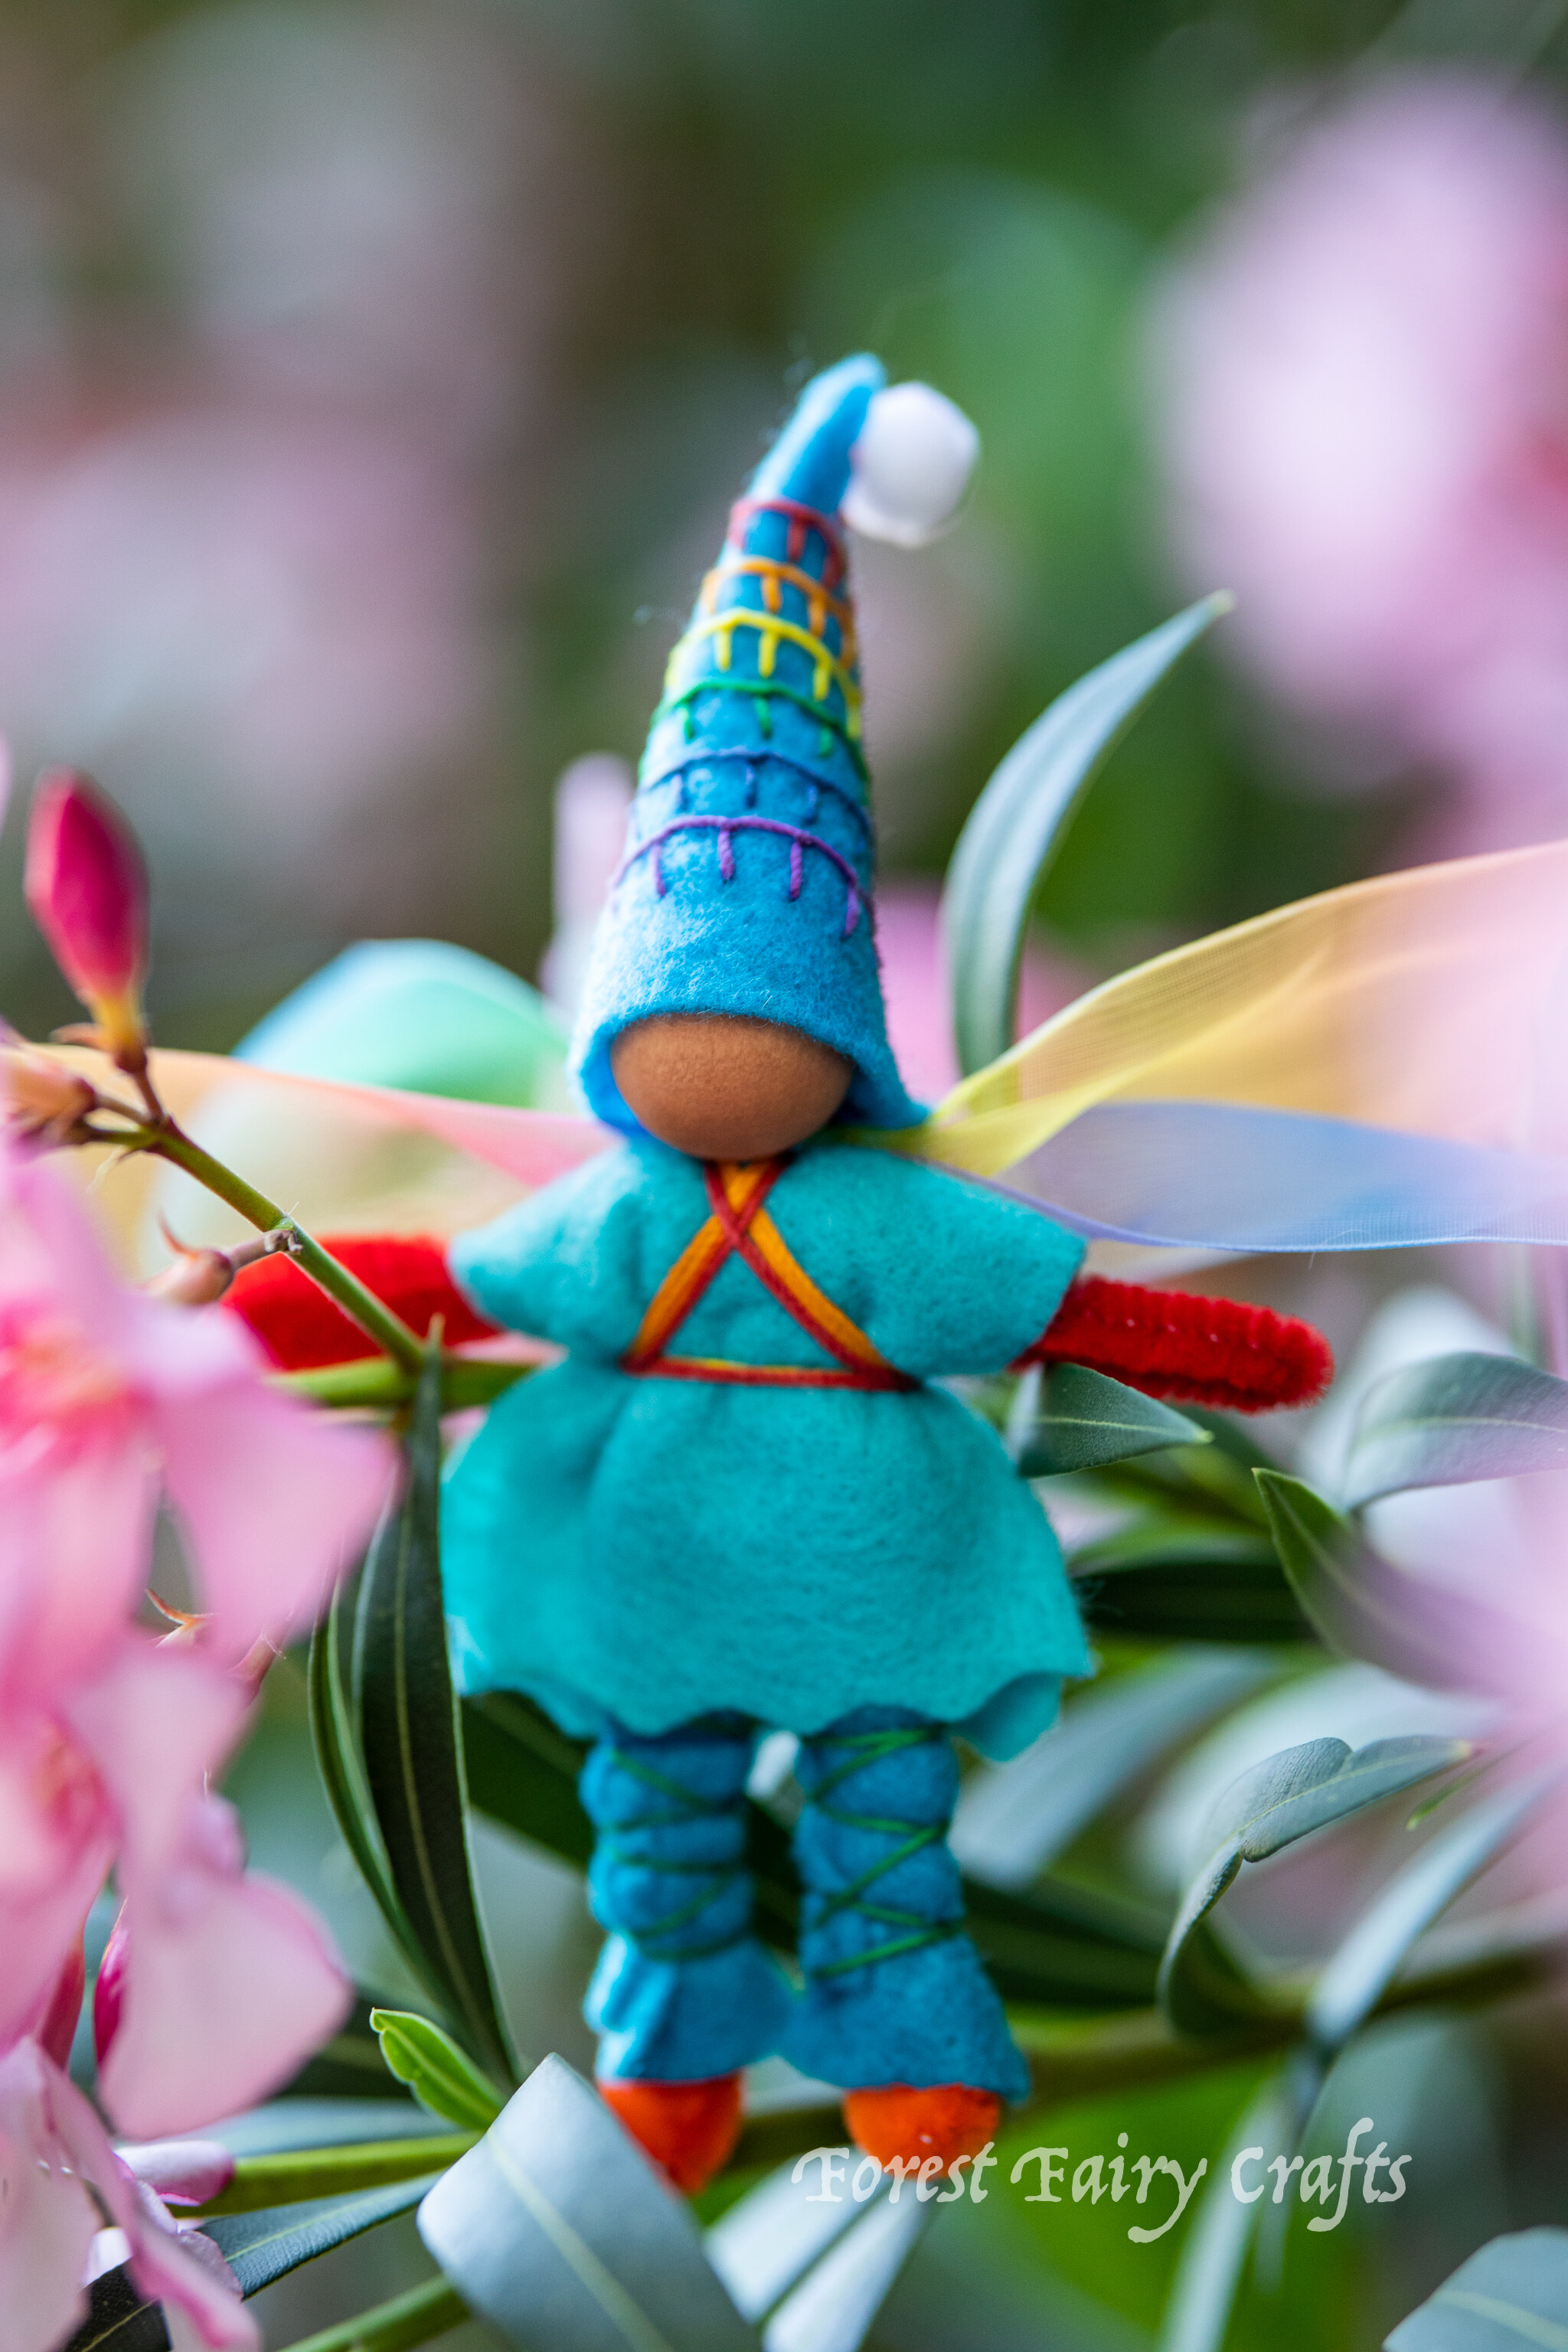
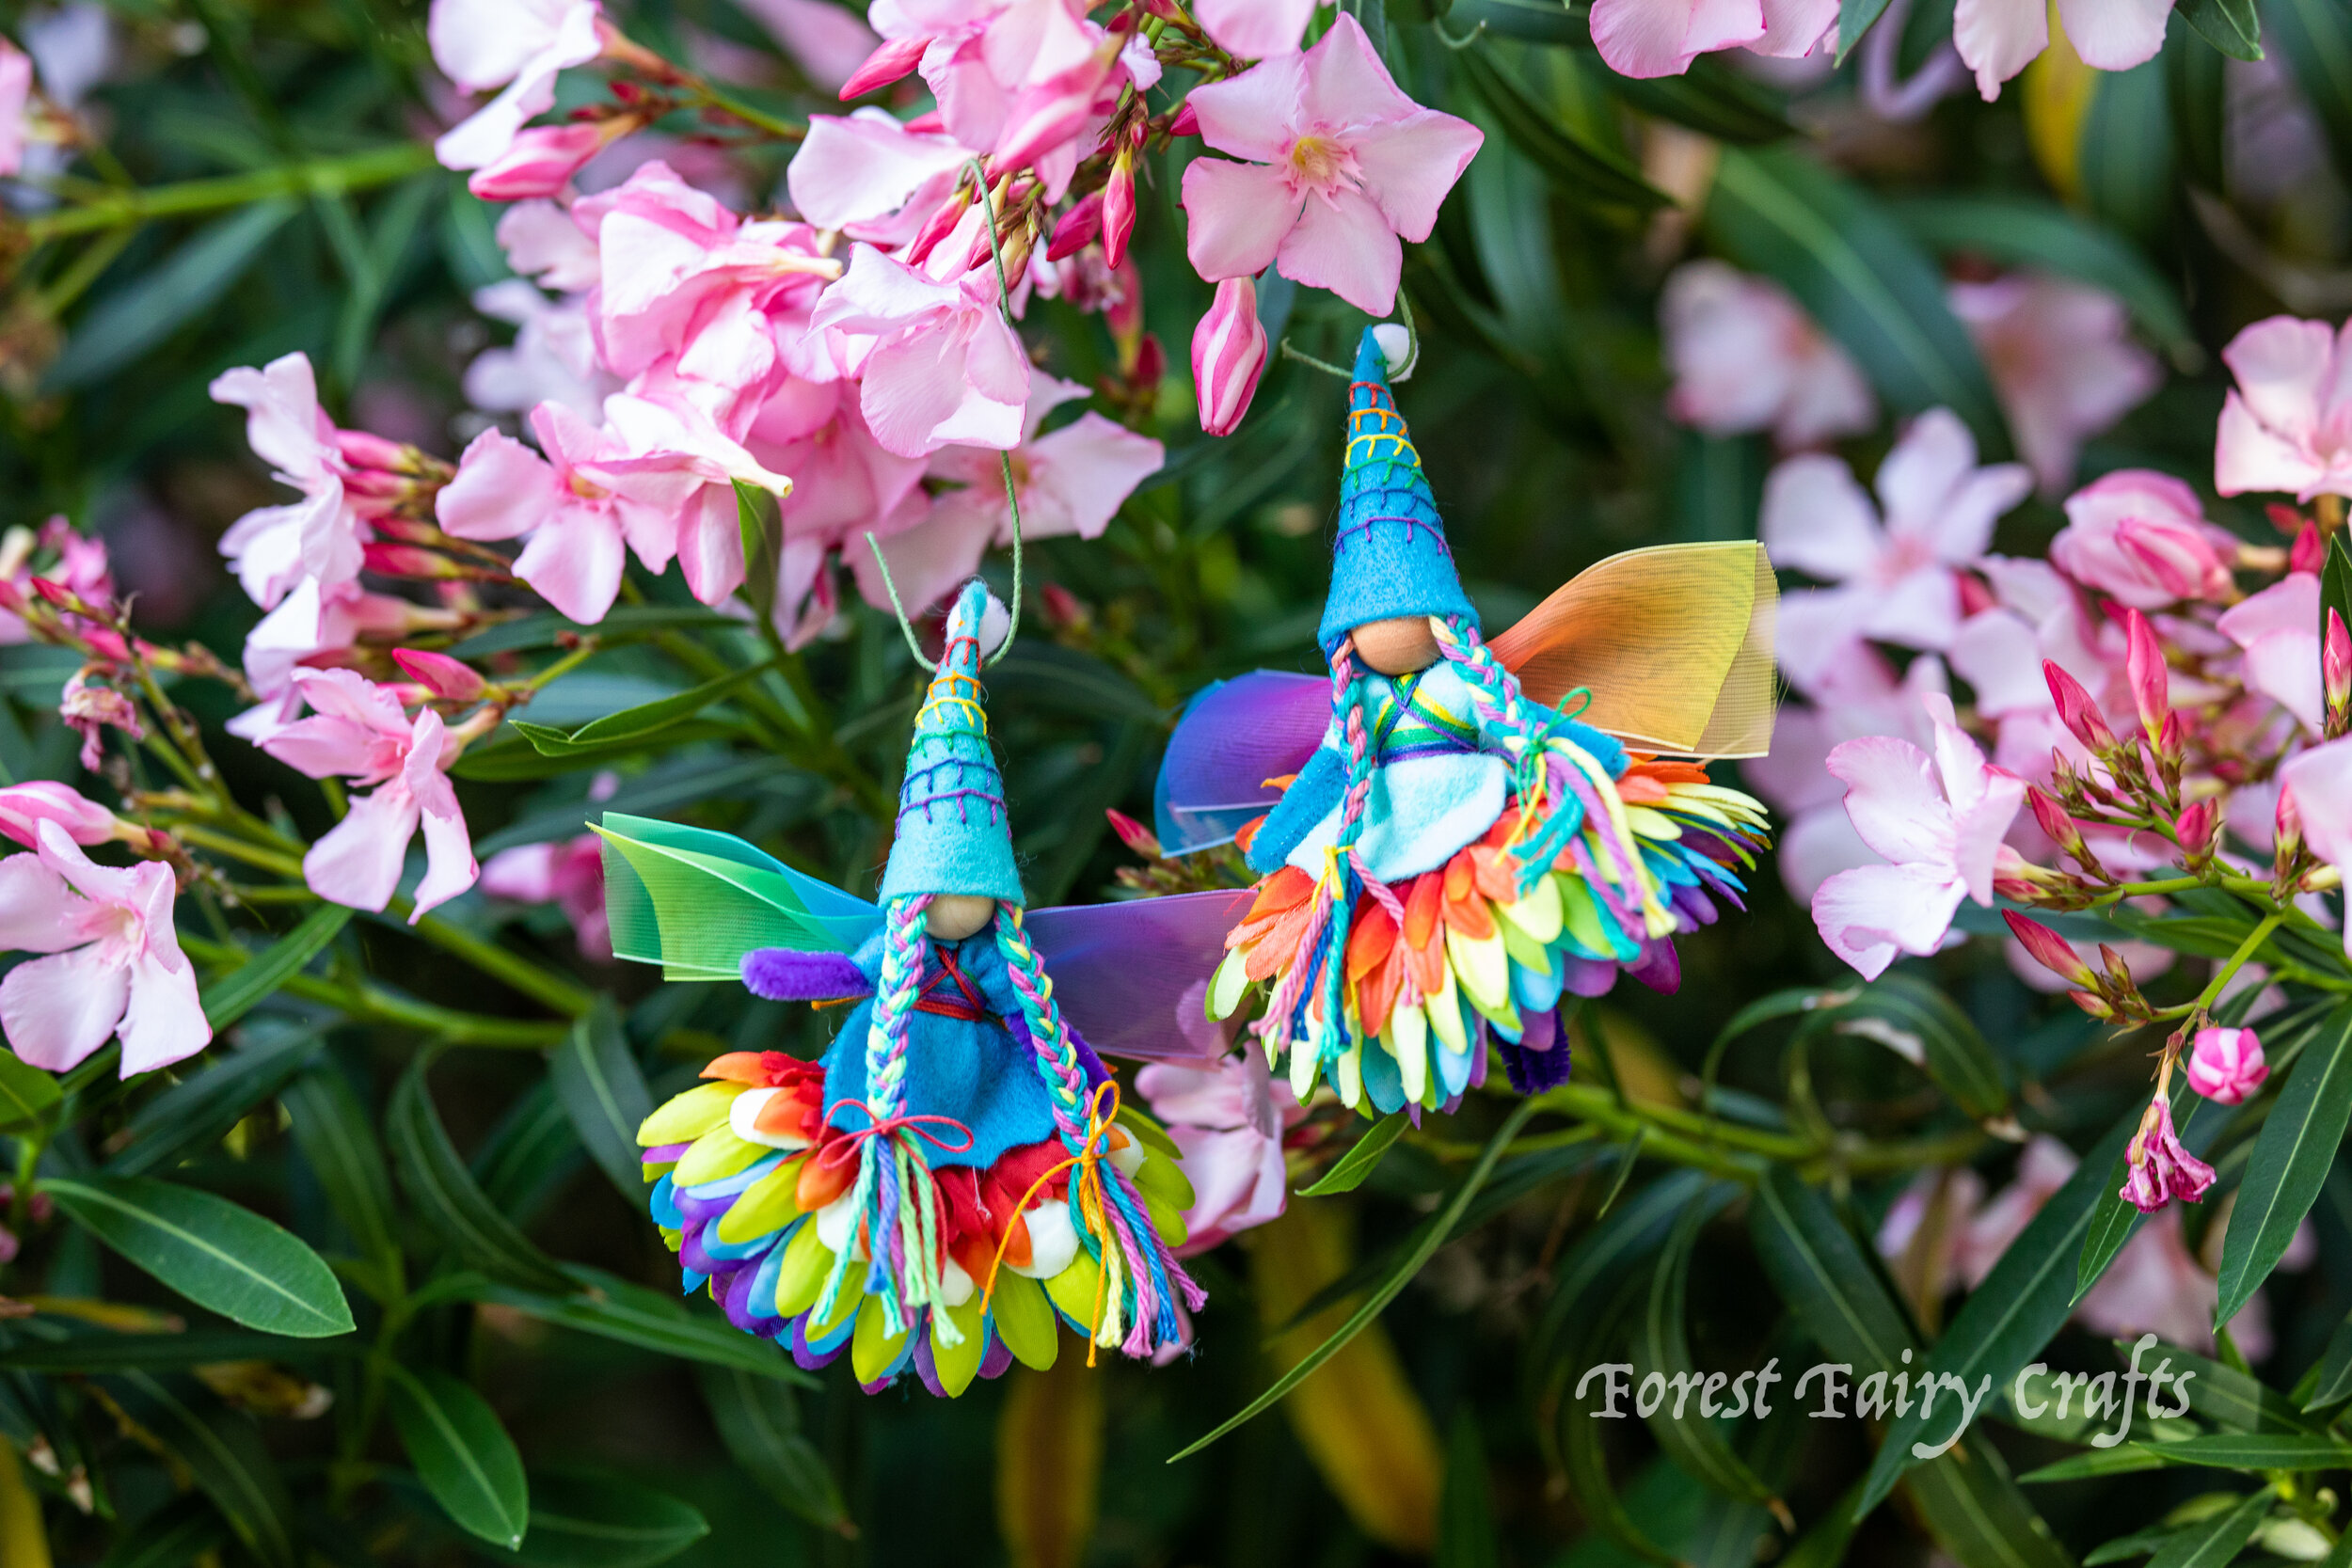
My first challenge was creating the rainbows on their hats. I could have done a whipstich (line) or used sequins, but I thought about using a Rabbit Stitch (aka blanket stitch) which looks a few stitches to figure out. I practice on a scrap piece of felt before the cut triangle hat. I used rainbow crochet thread. And it meant that I had to clip a section of purple, tie that off, then clip blue, and tie that off, and so forth. Lots of tying and starting new threads. Which means this is a project for older, patient children or adults. I could try to show step-by-step photos if people are interested. I push the needle down through With younger children, I would offer rainbow color sequins and let them have fun sewing sparkles onto the hat.

I was going to add bells to the tops of the hats when I found the white puffs (from a Santa fairy project). They looked like perfect clouds!
The next puzzle was their clothing, which I could have chosen in rainbow colors. I felt blue evoked the sky and brought them together so I chose light and dark blue for clothing. Then I used rainbow thread for their shirts.
The next question for me was how to make their wings. I found the rainbow ribbon, but it didn’t have wires and seemed thin for my usual wings. So maybe I would create a bow? Or loop it around somehow? Finally, I realized that the two pieces of ribbon worked well. I ended up flipping pieces so they had similar colors overlapping because it made it more rainbow-like.
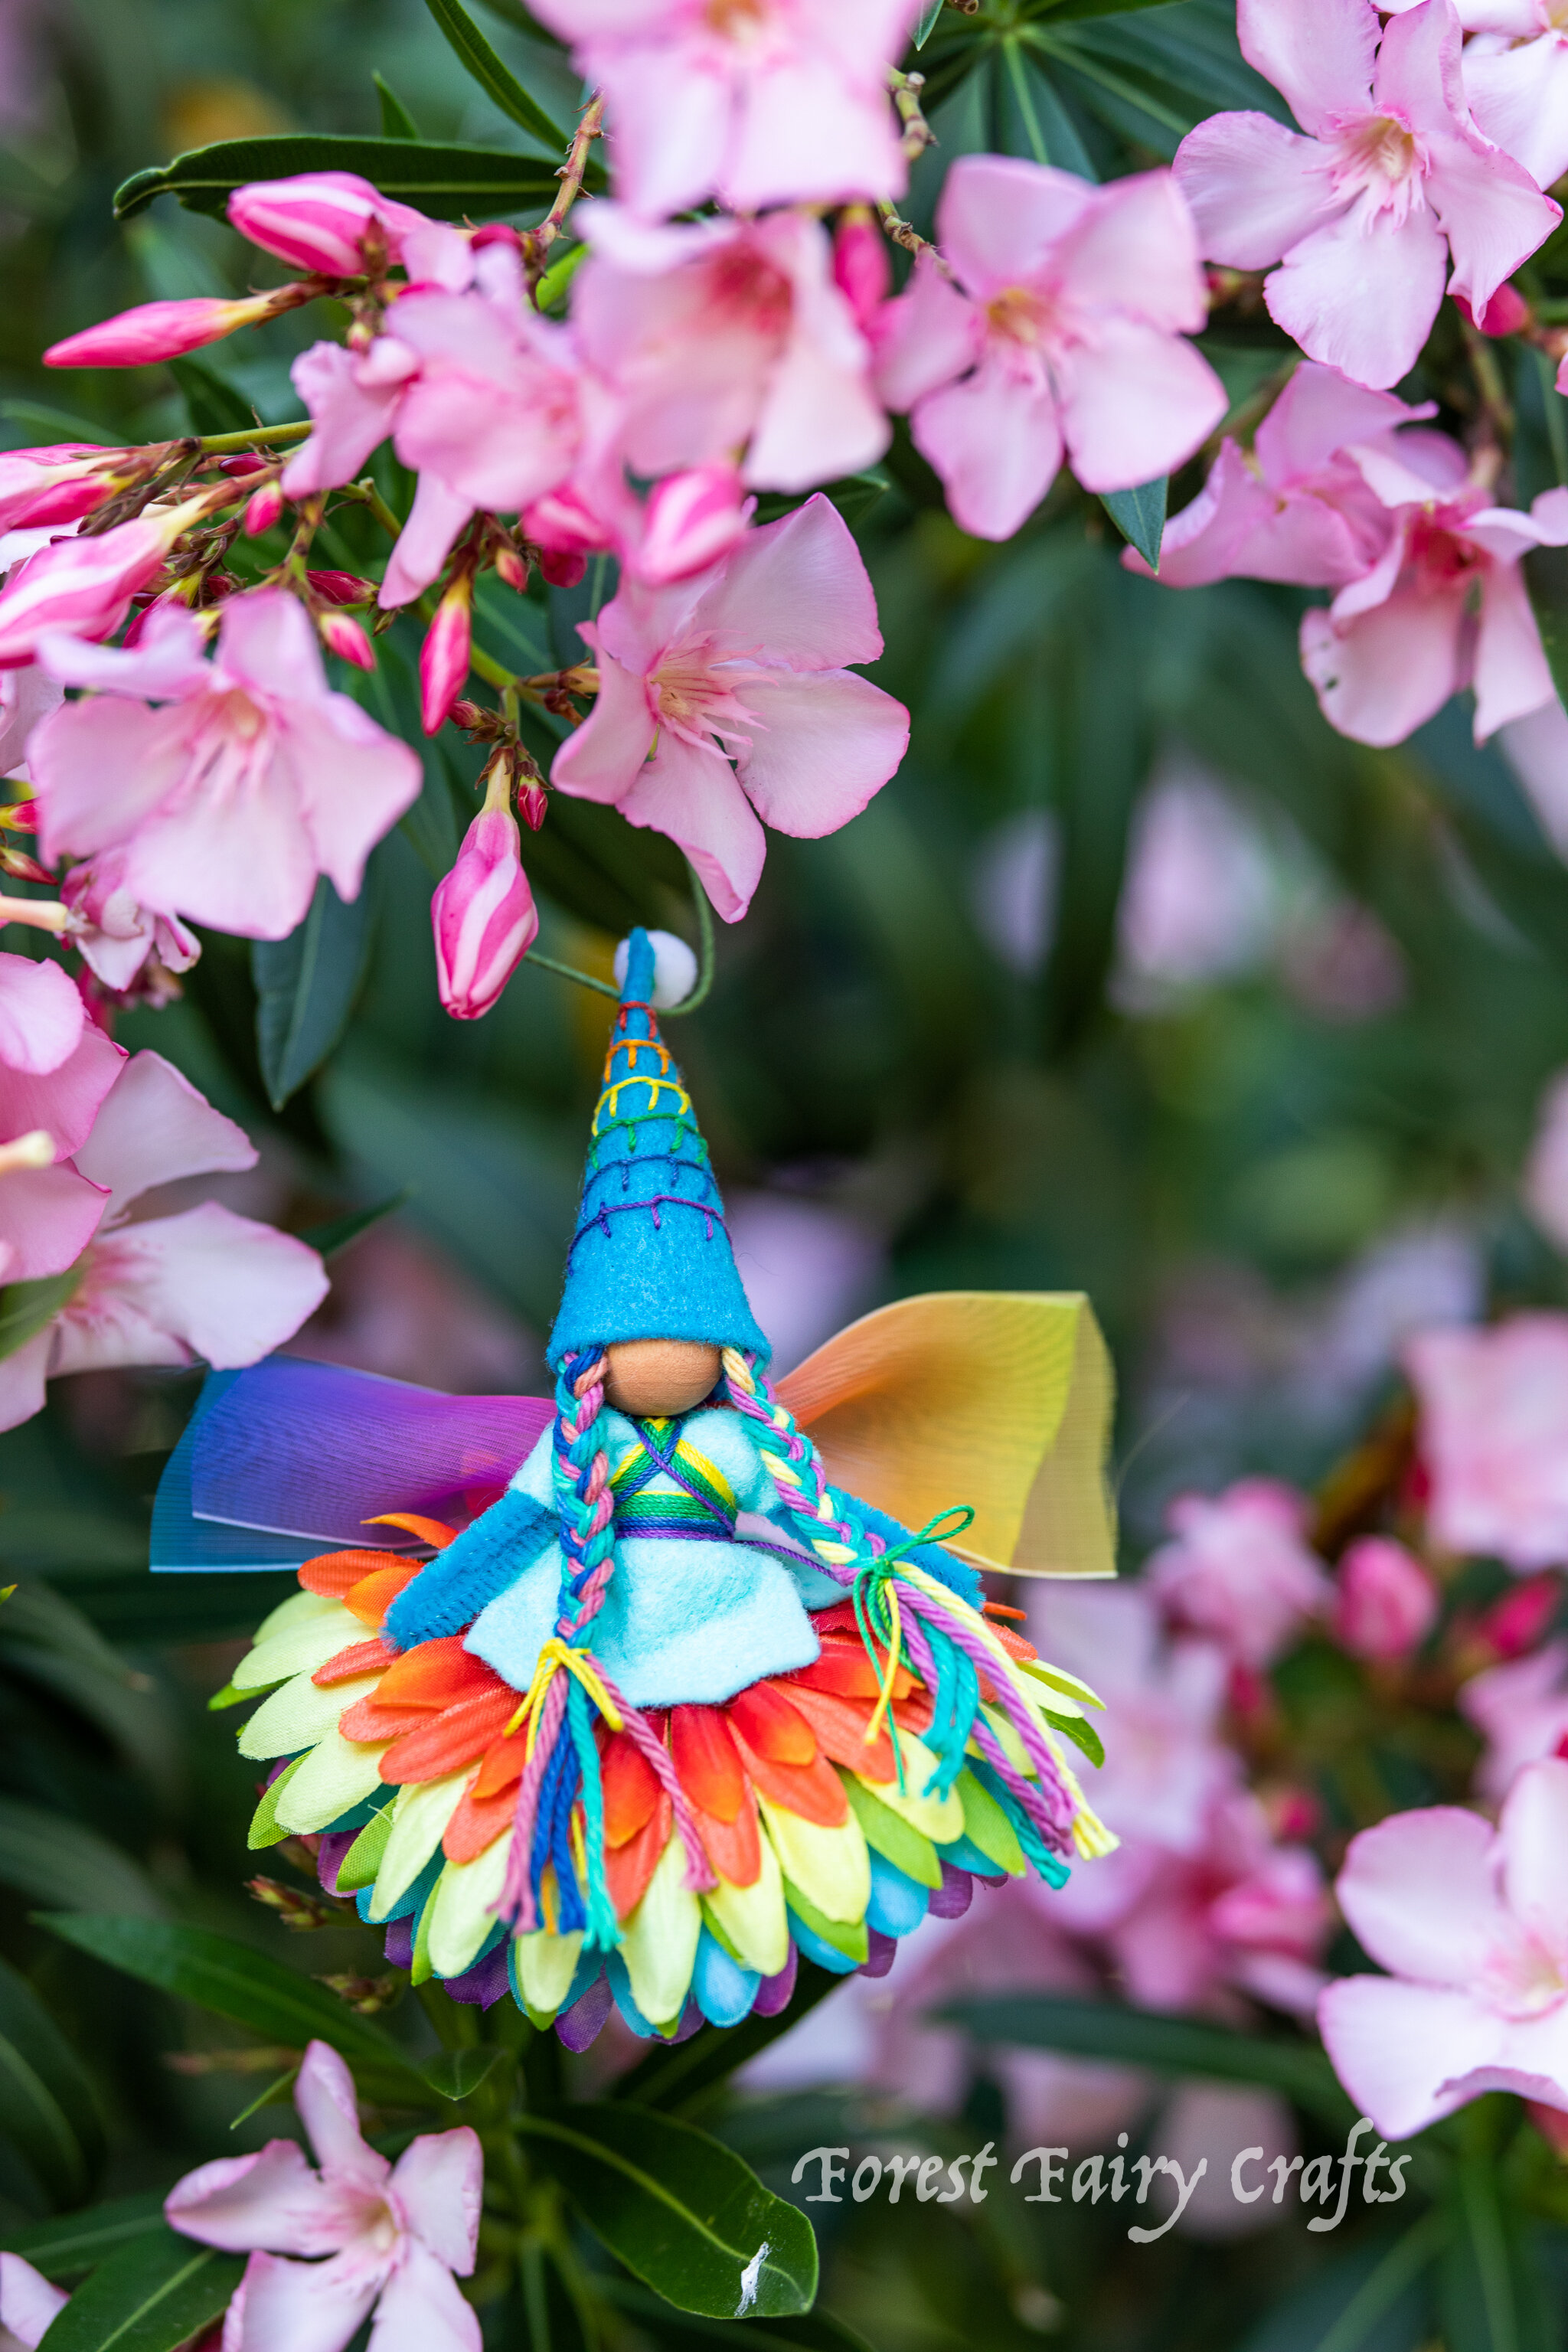


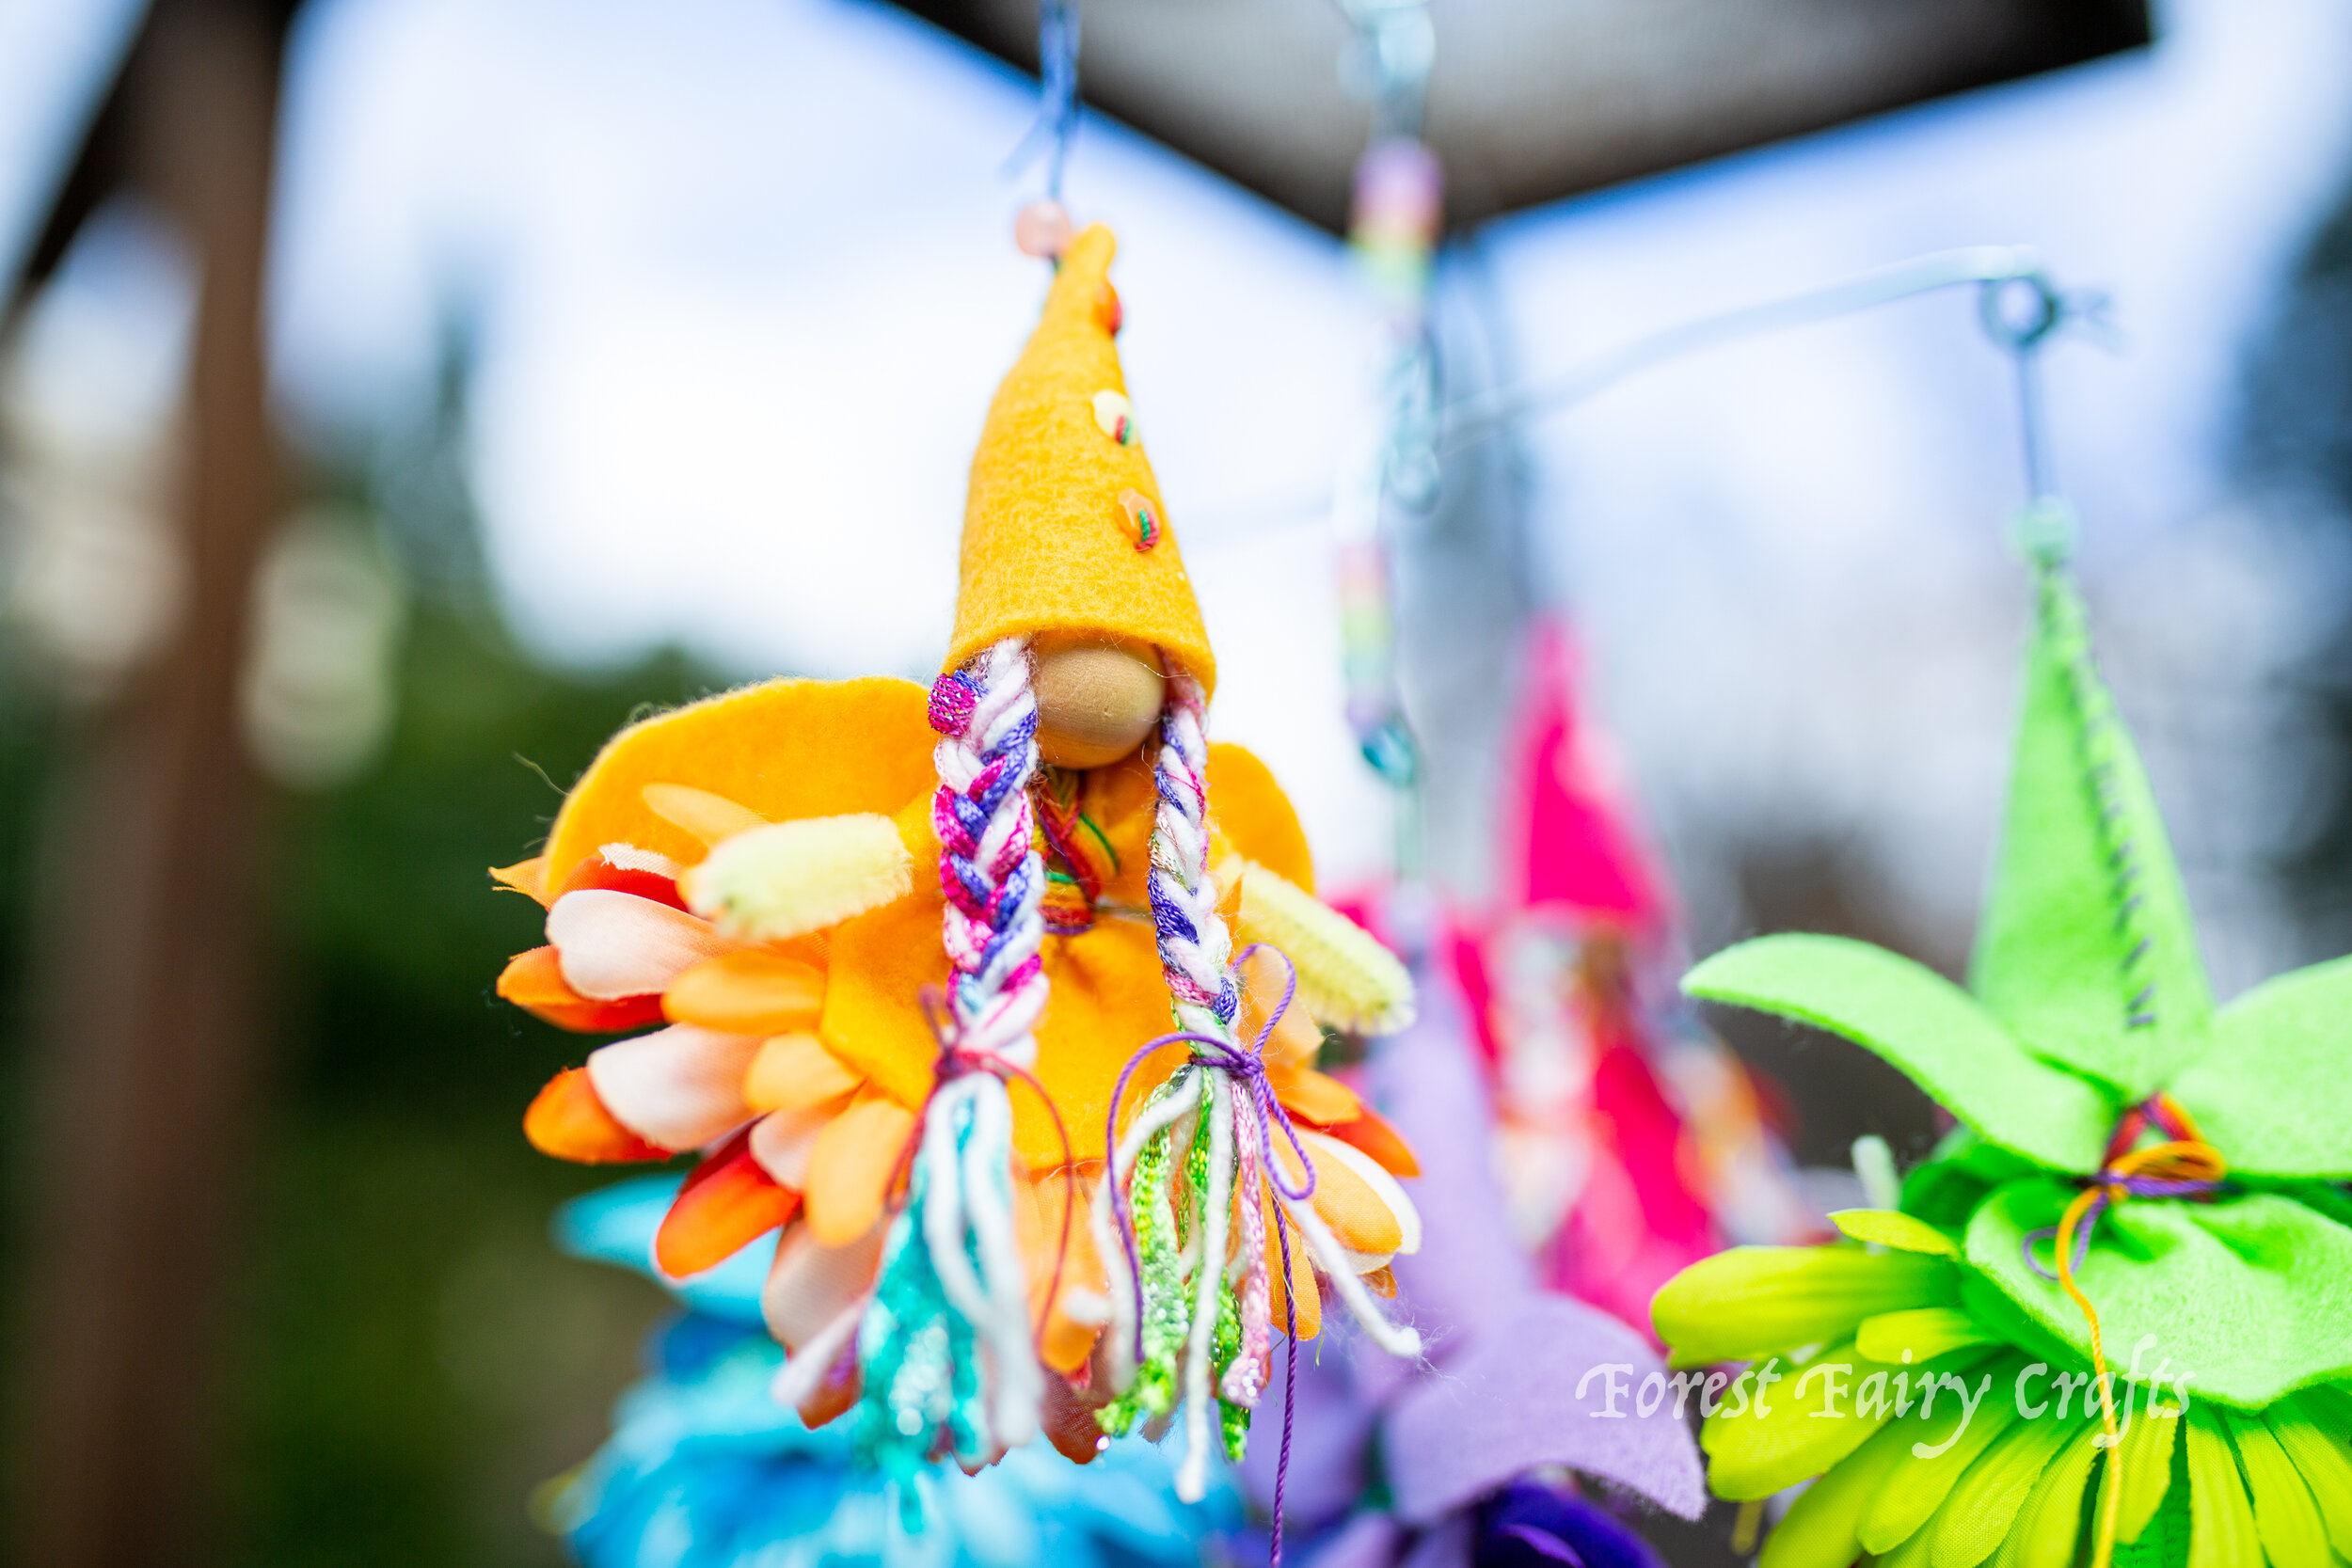
With rainbow cotton yarn braids and rainbow petal skirts (luckily I have lots of petals in my stash), the rainbow fairies came together and were so incredibly cute! The value in creating them is seeing them come together at the end. They charm me every time.
Everyone loves rainbows! 🌈
Supply Resources:
Holland Wool Felt
3/4 inch 20mm Wood Beads (darker tones painted with Lyra Watercolors)
Rainbow Thread*
Rainbow Cotton Yarn*
*Affiliate link. If you choose to purchase, a small amount is given to us while your pricing remains the same. Thank you!


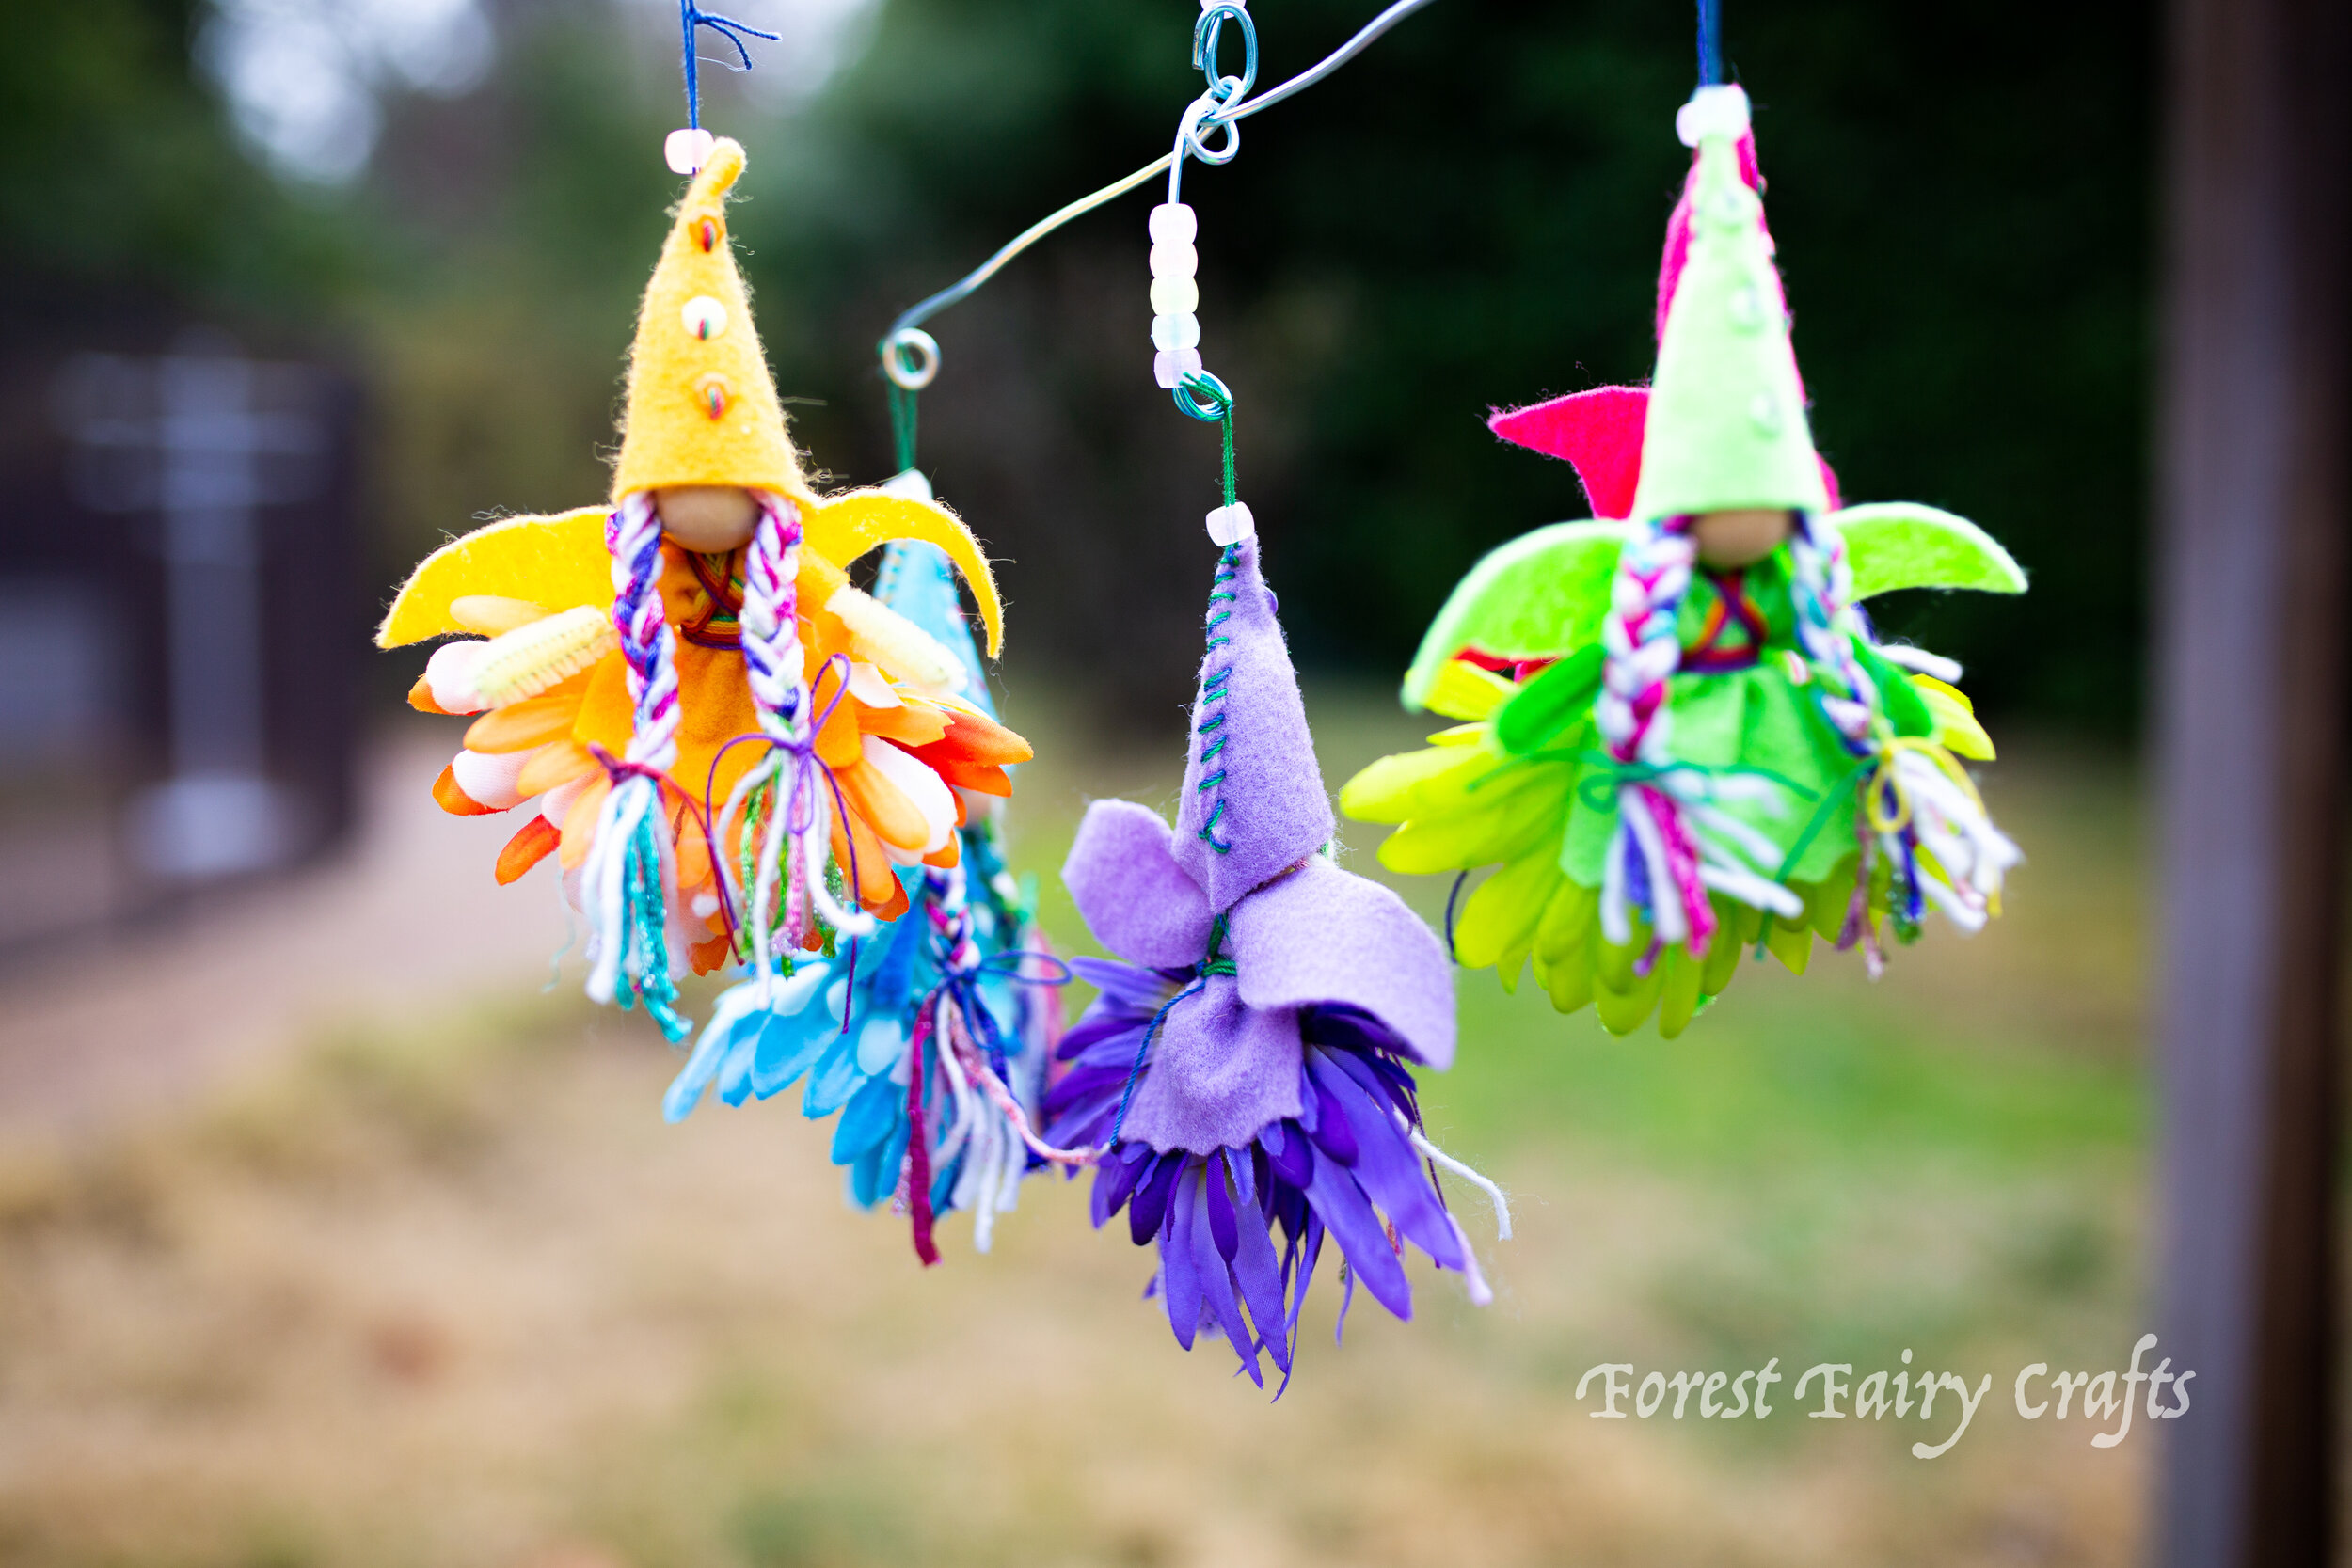
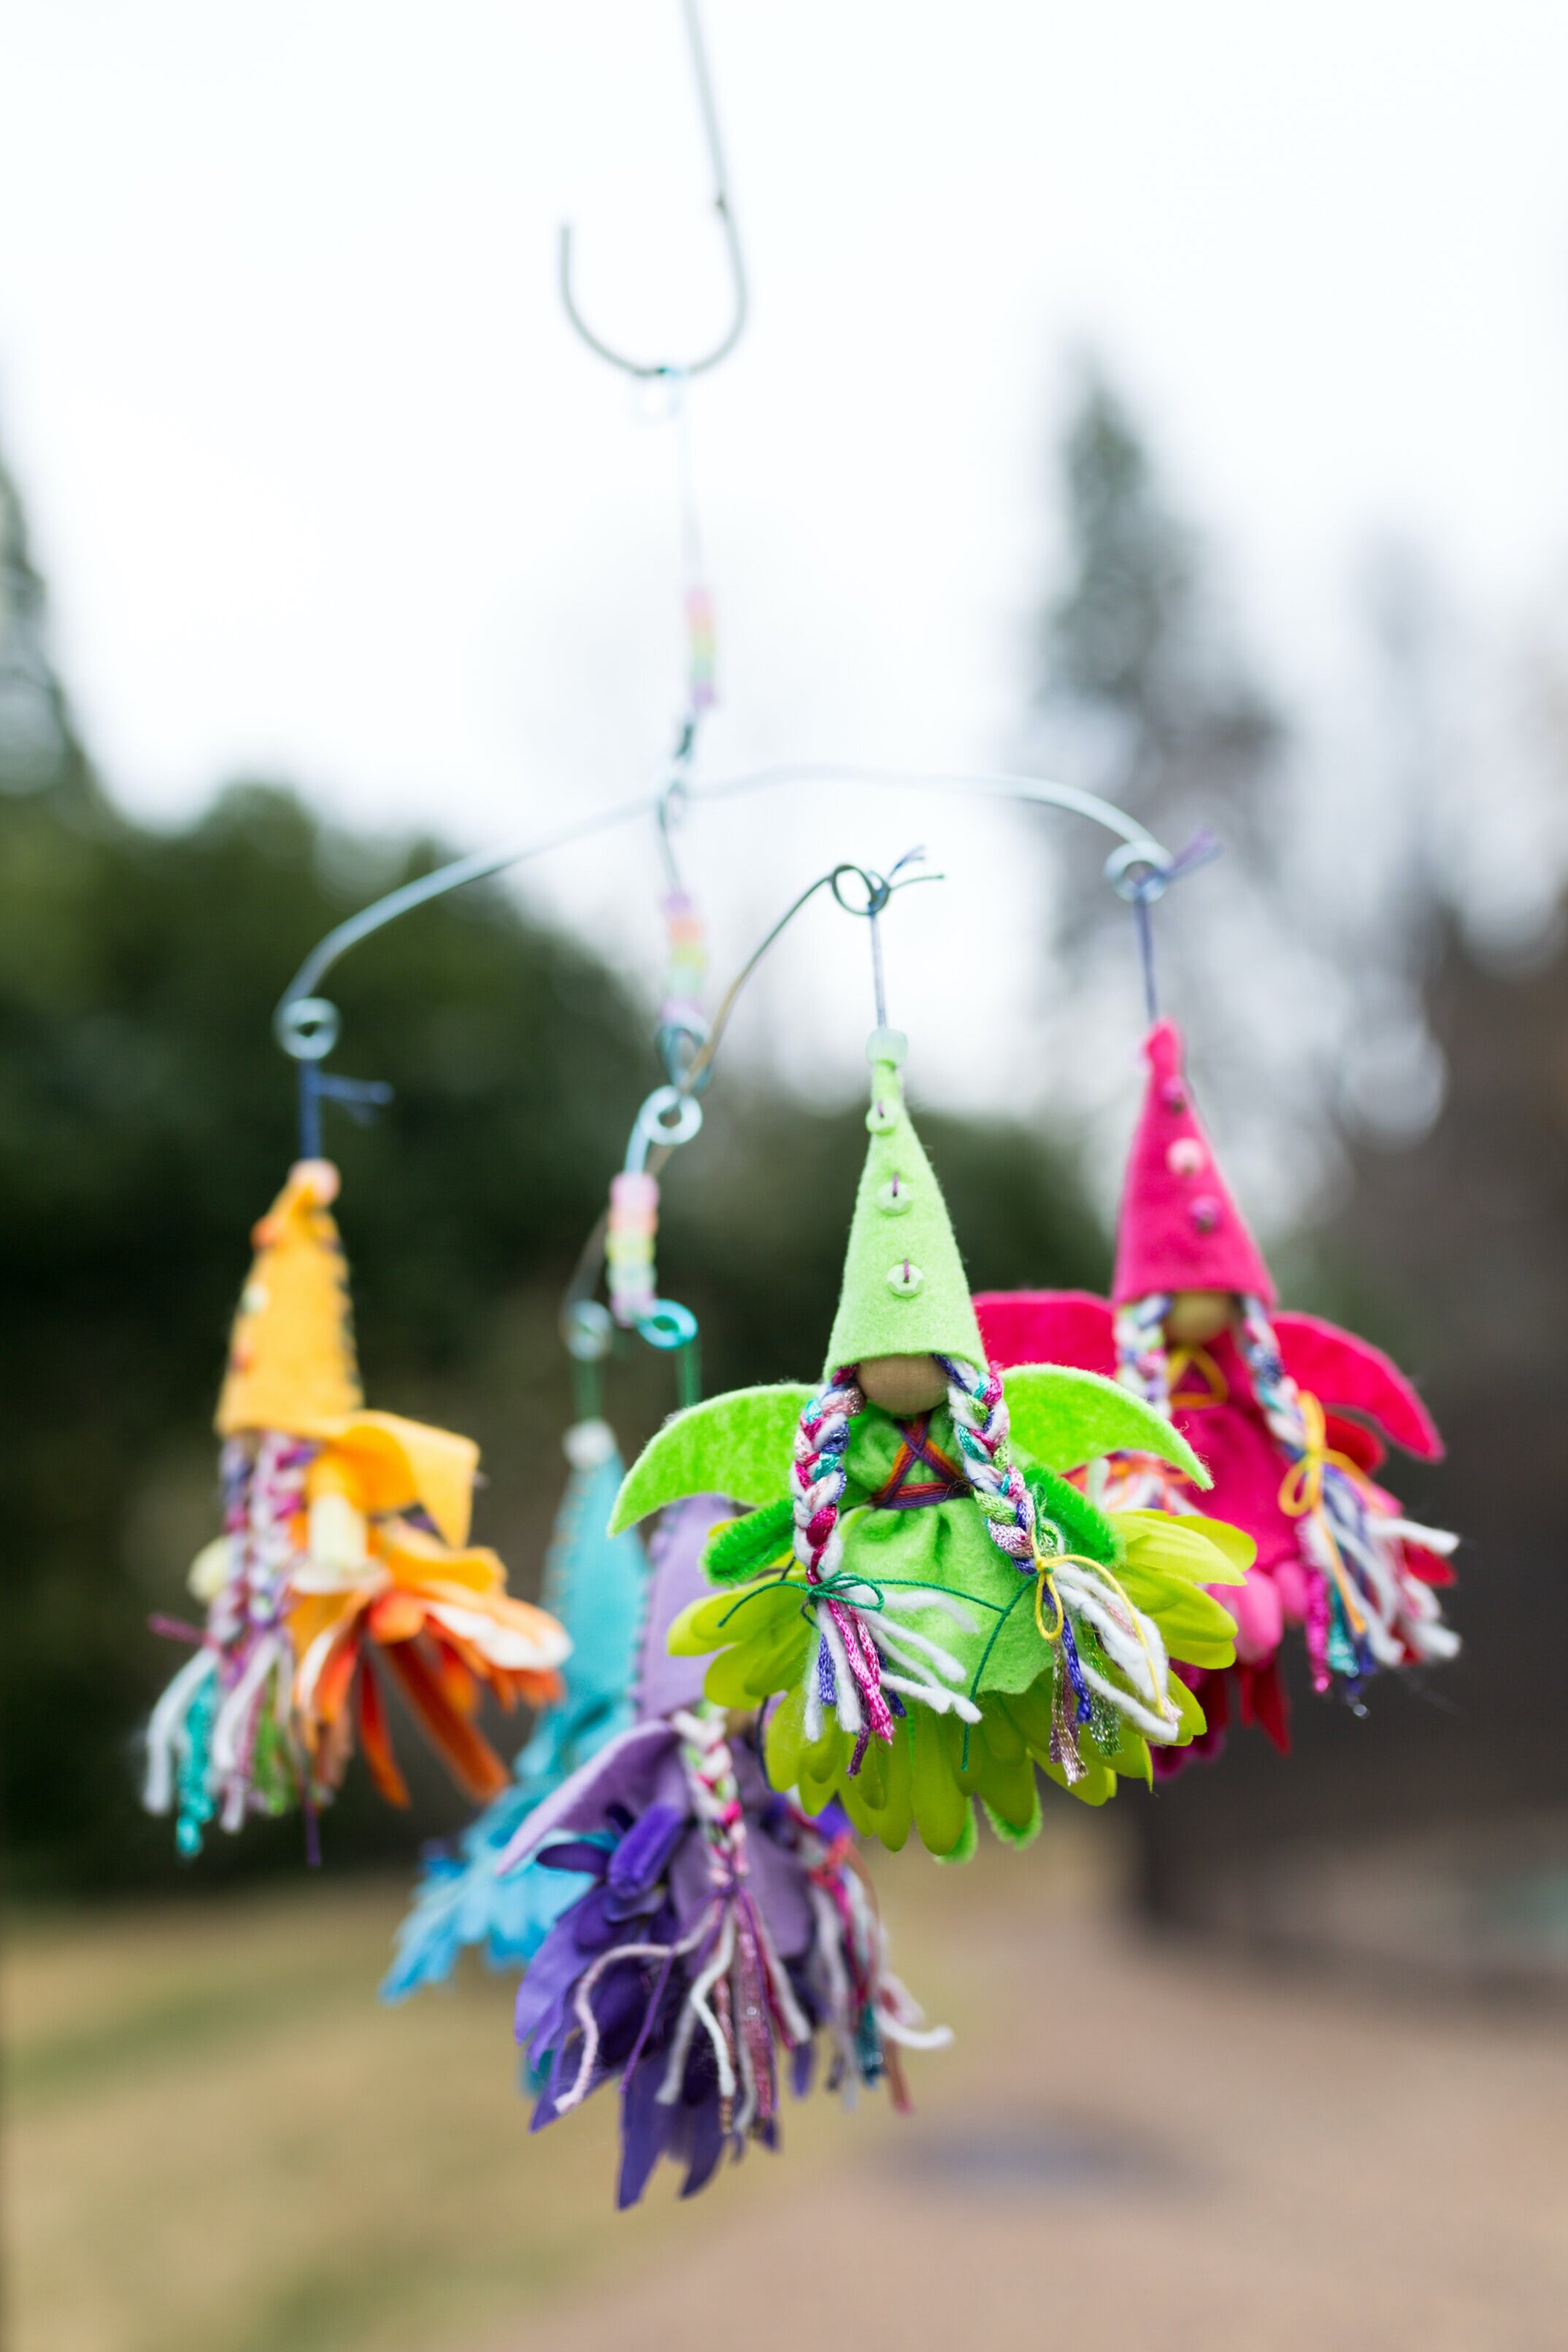
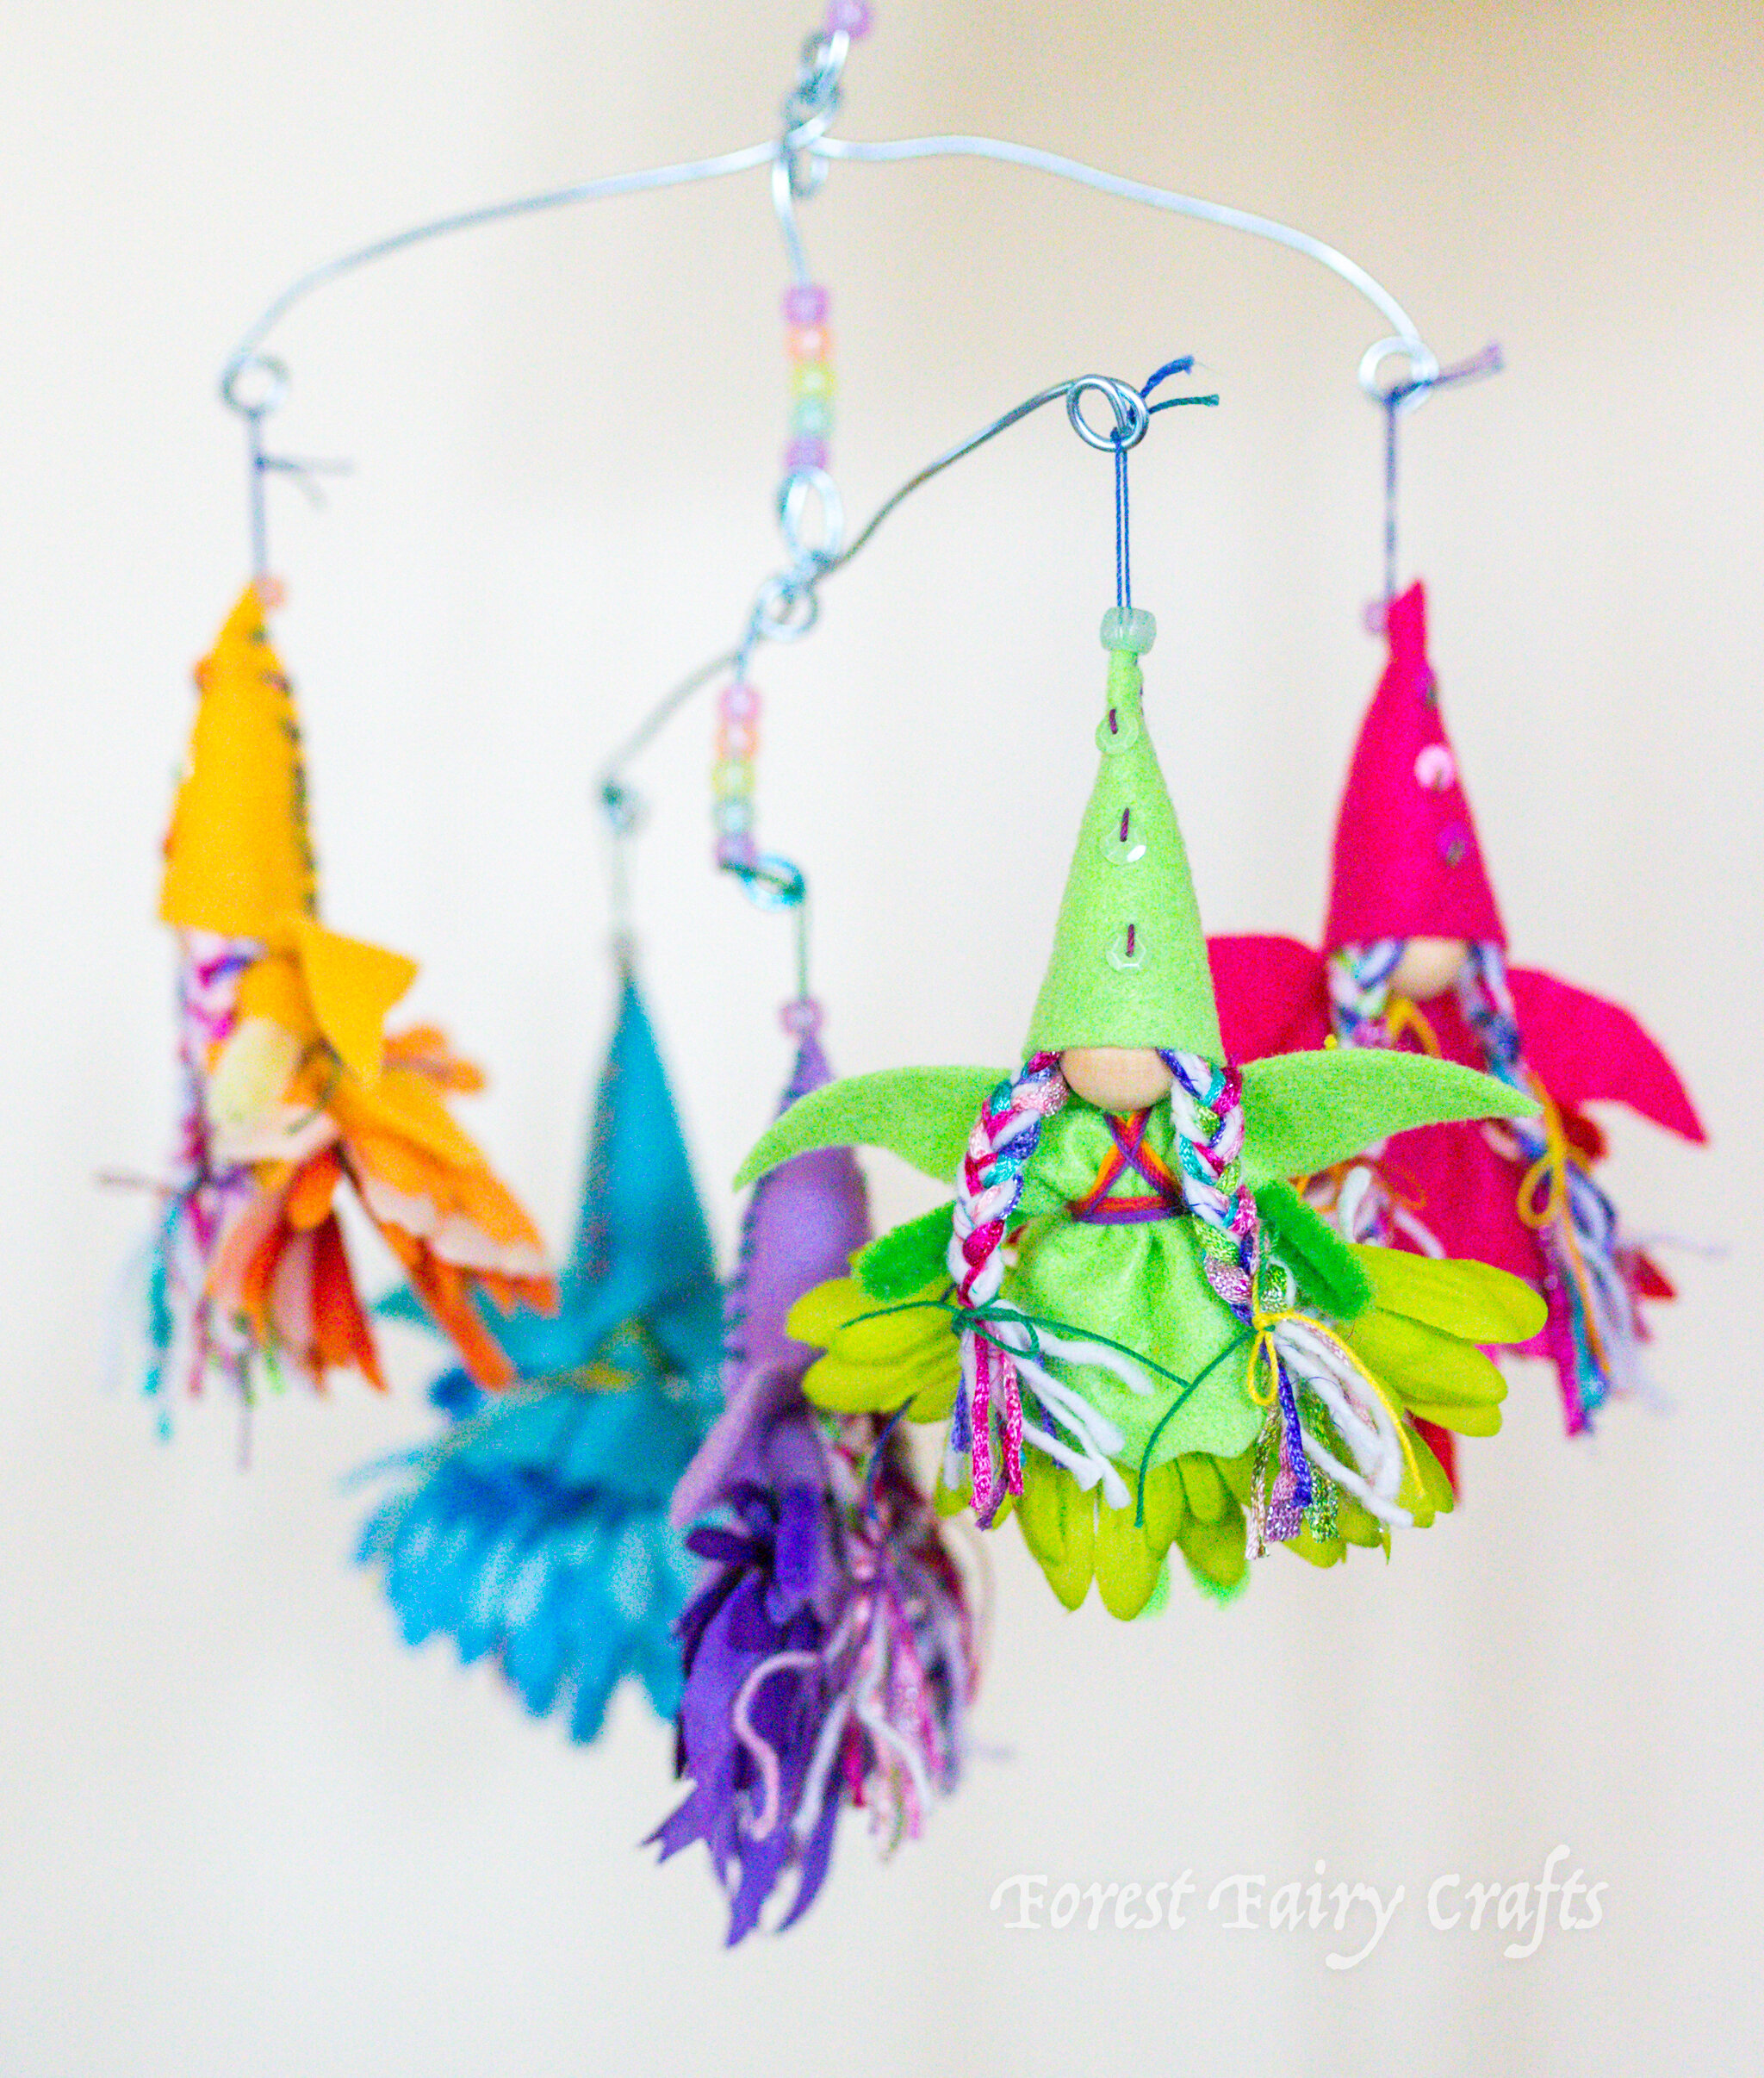
Rainbow Fairy Mobile
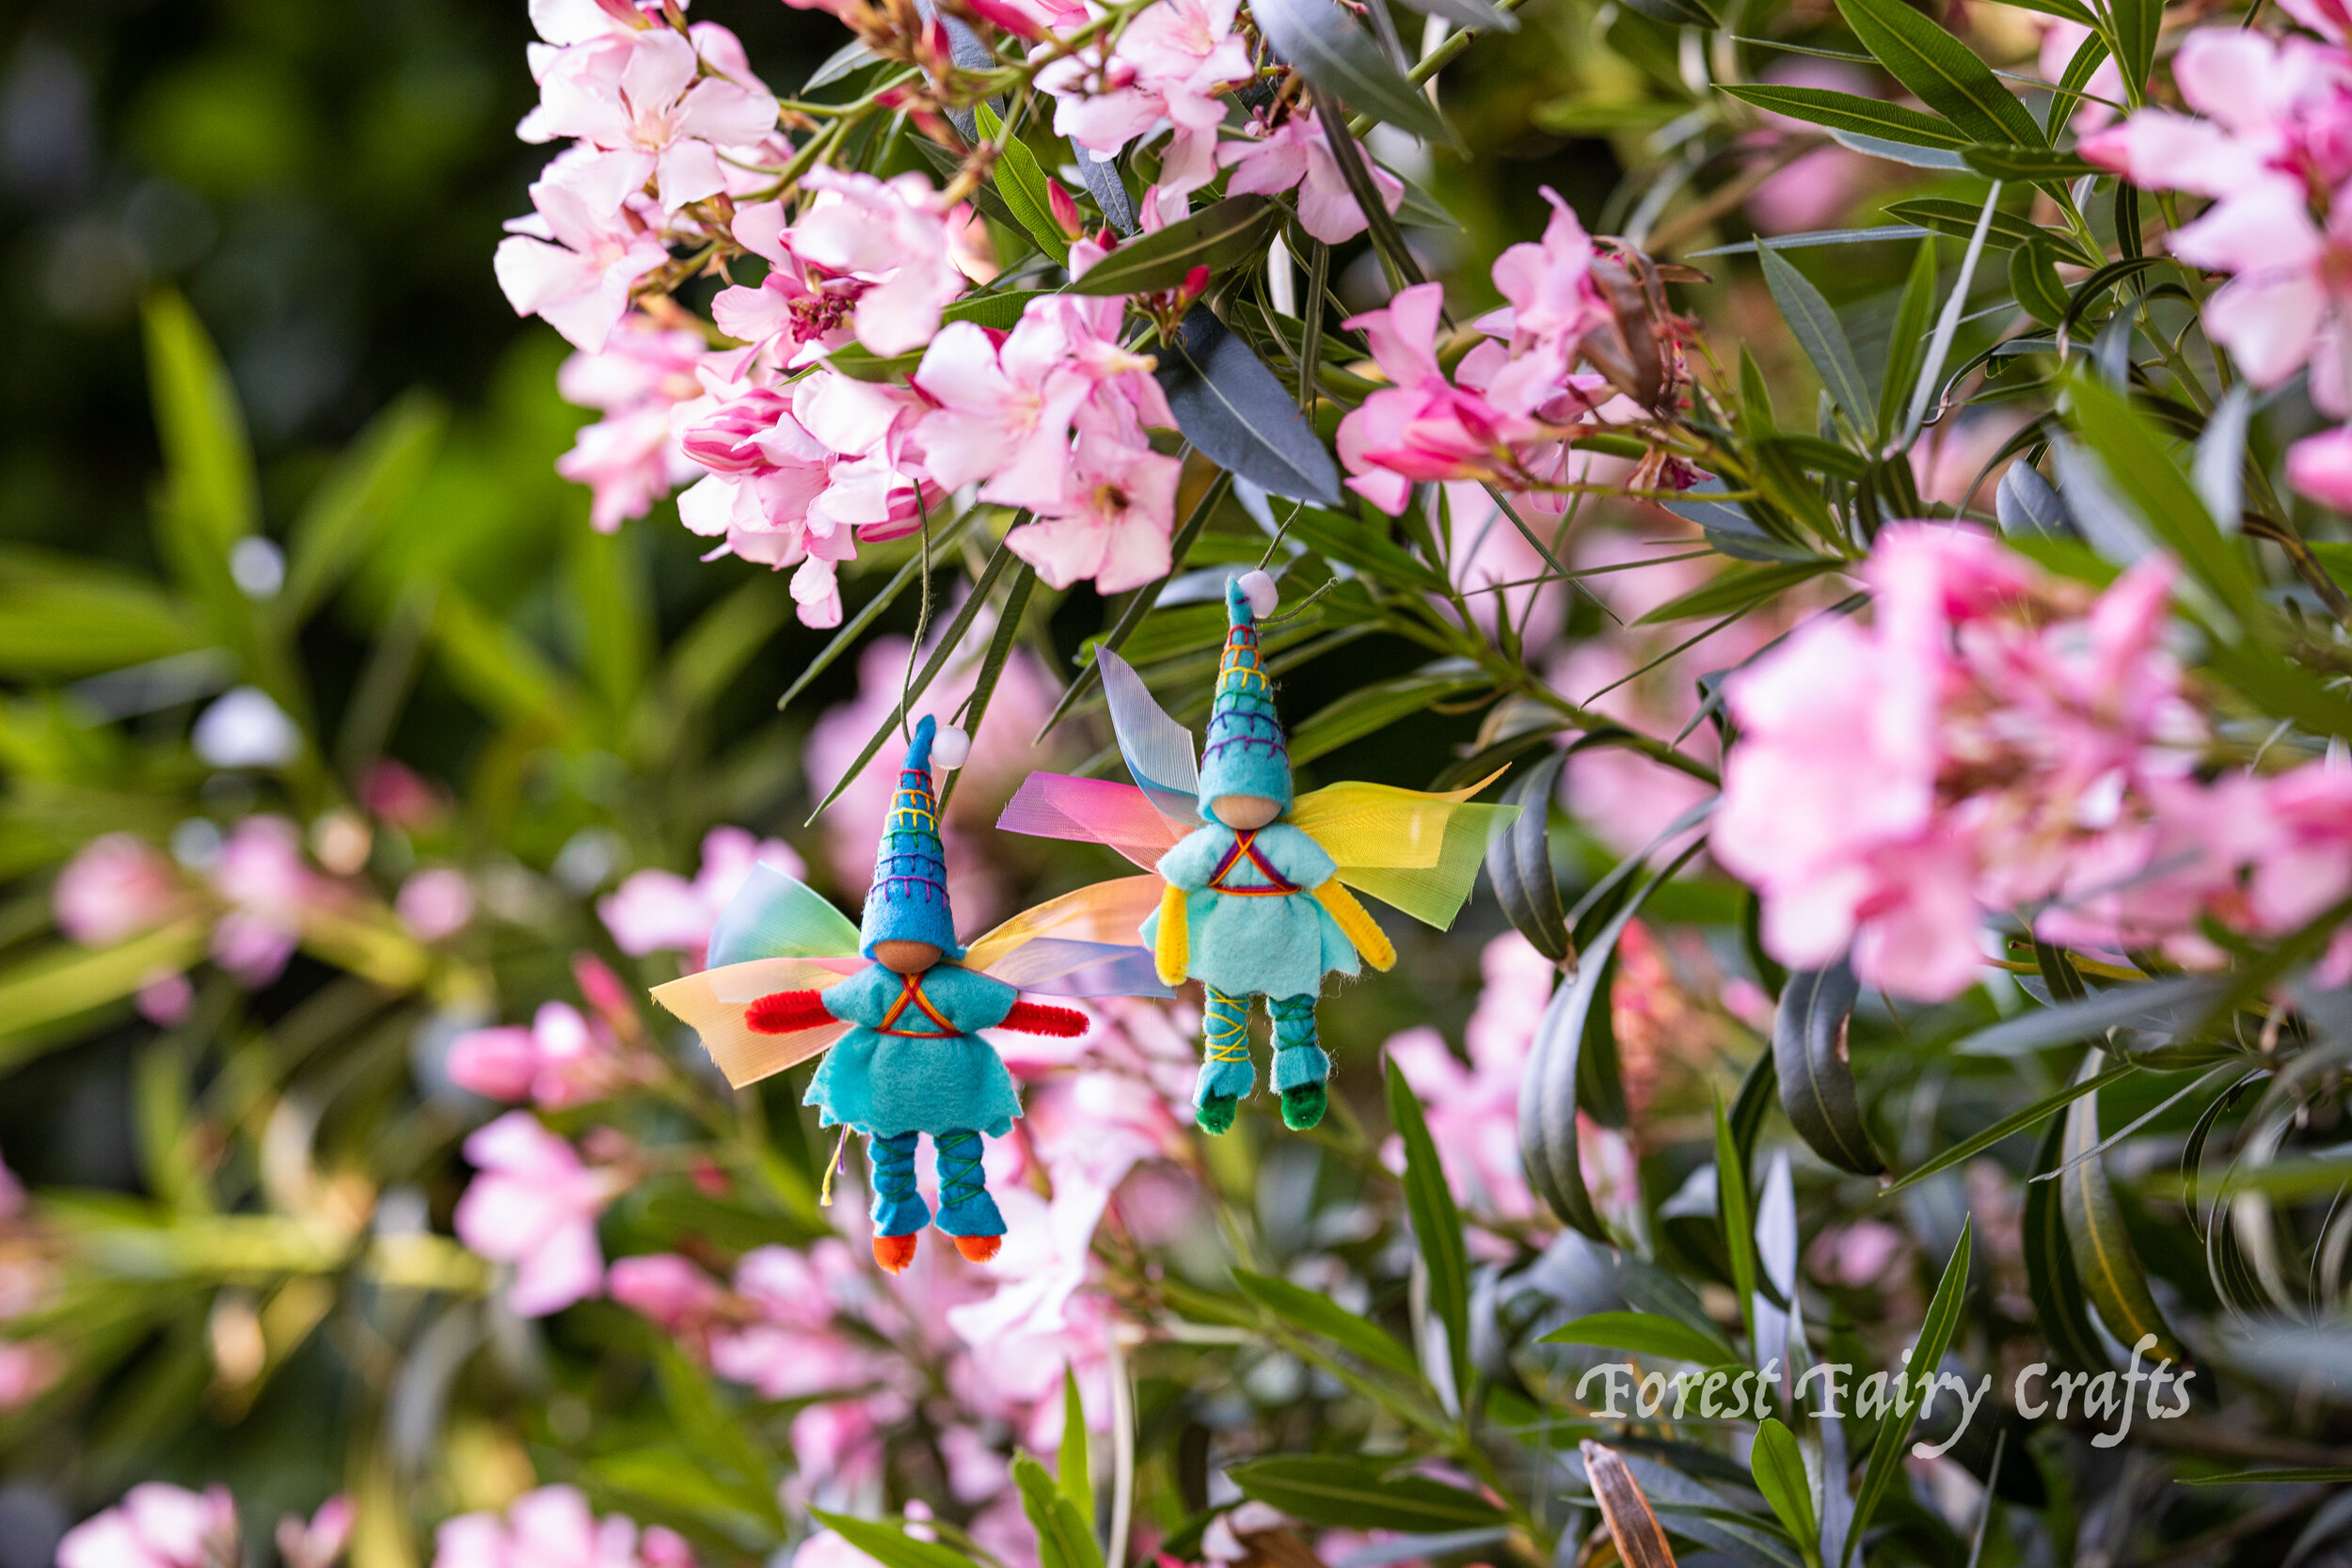
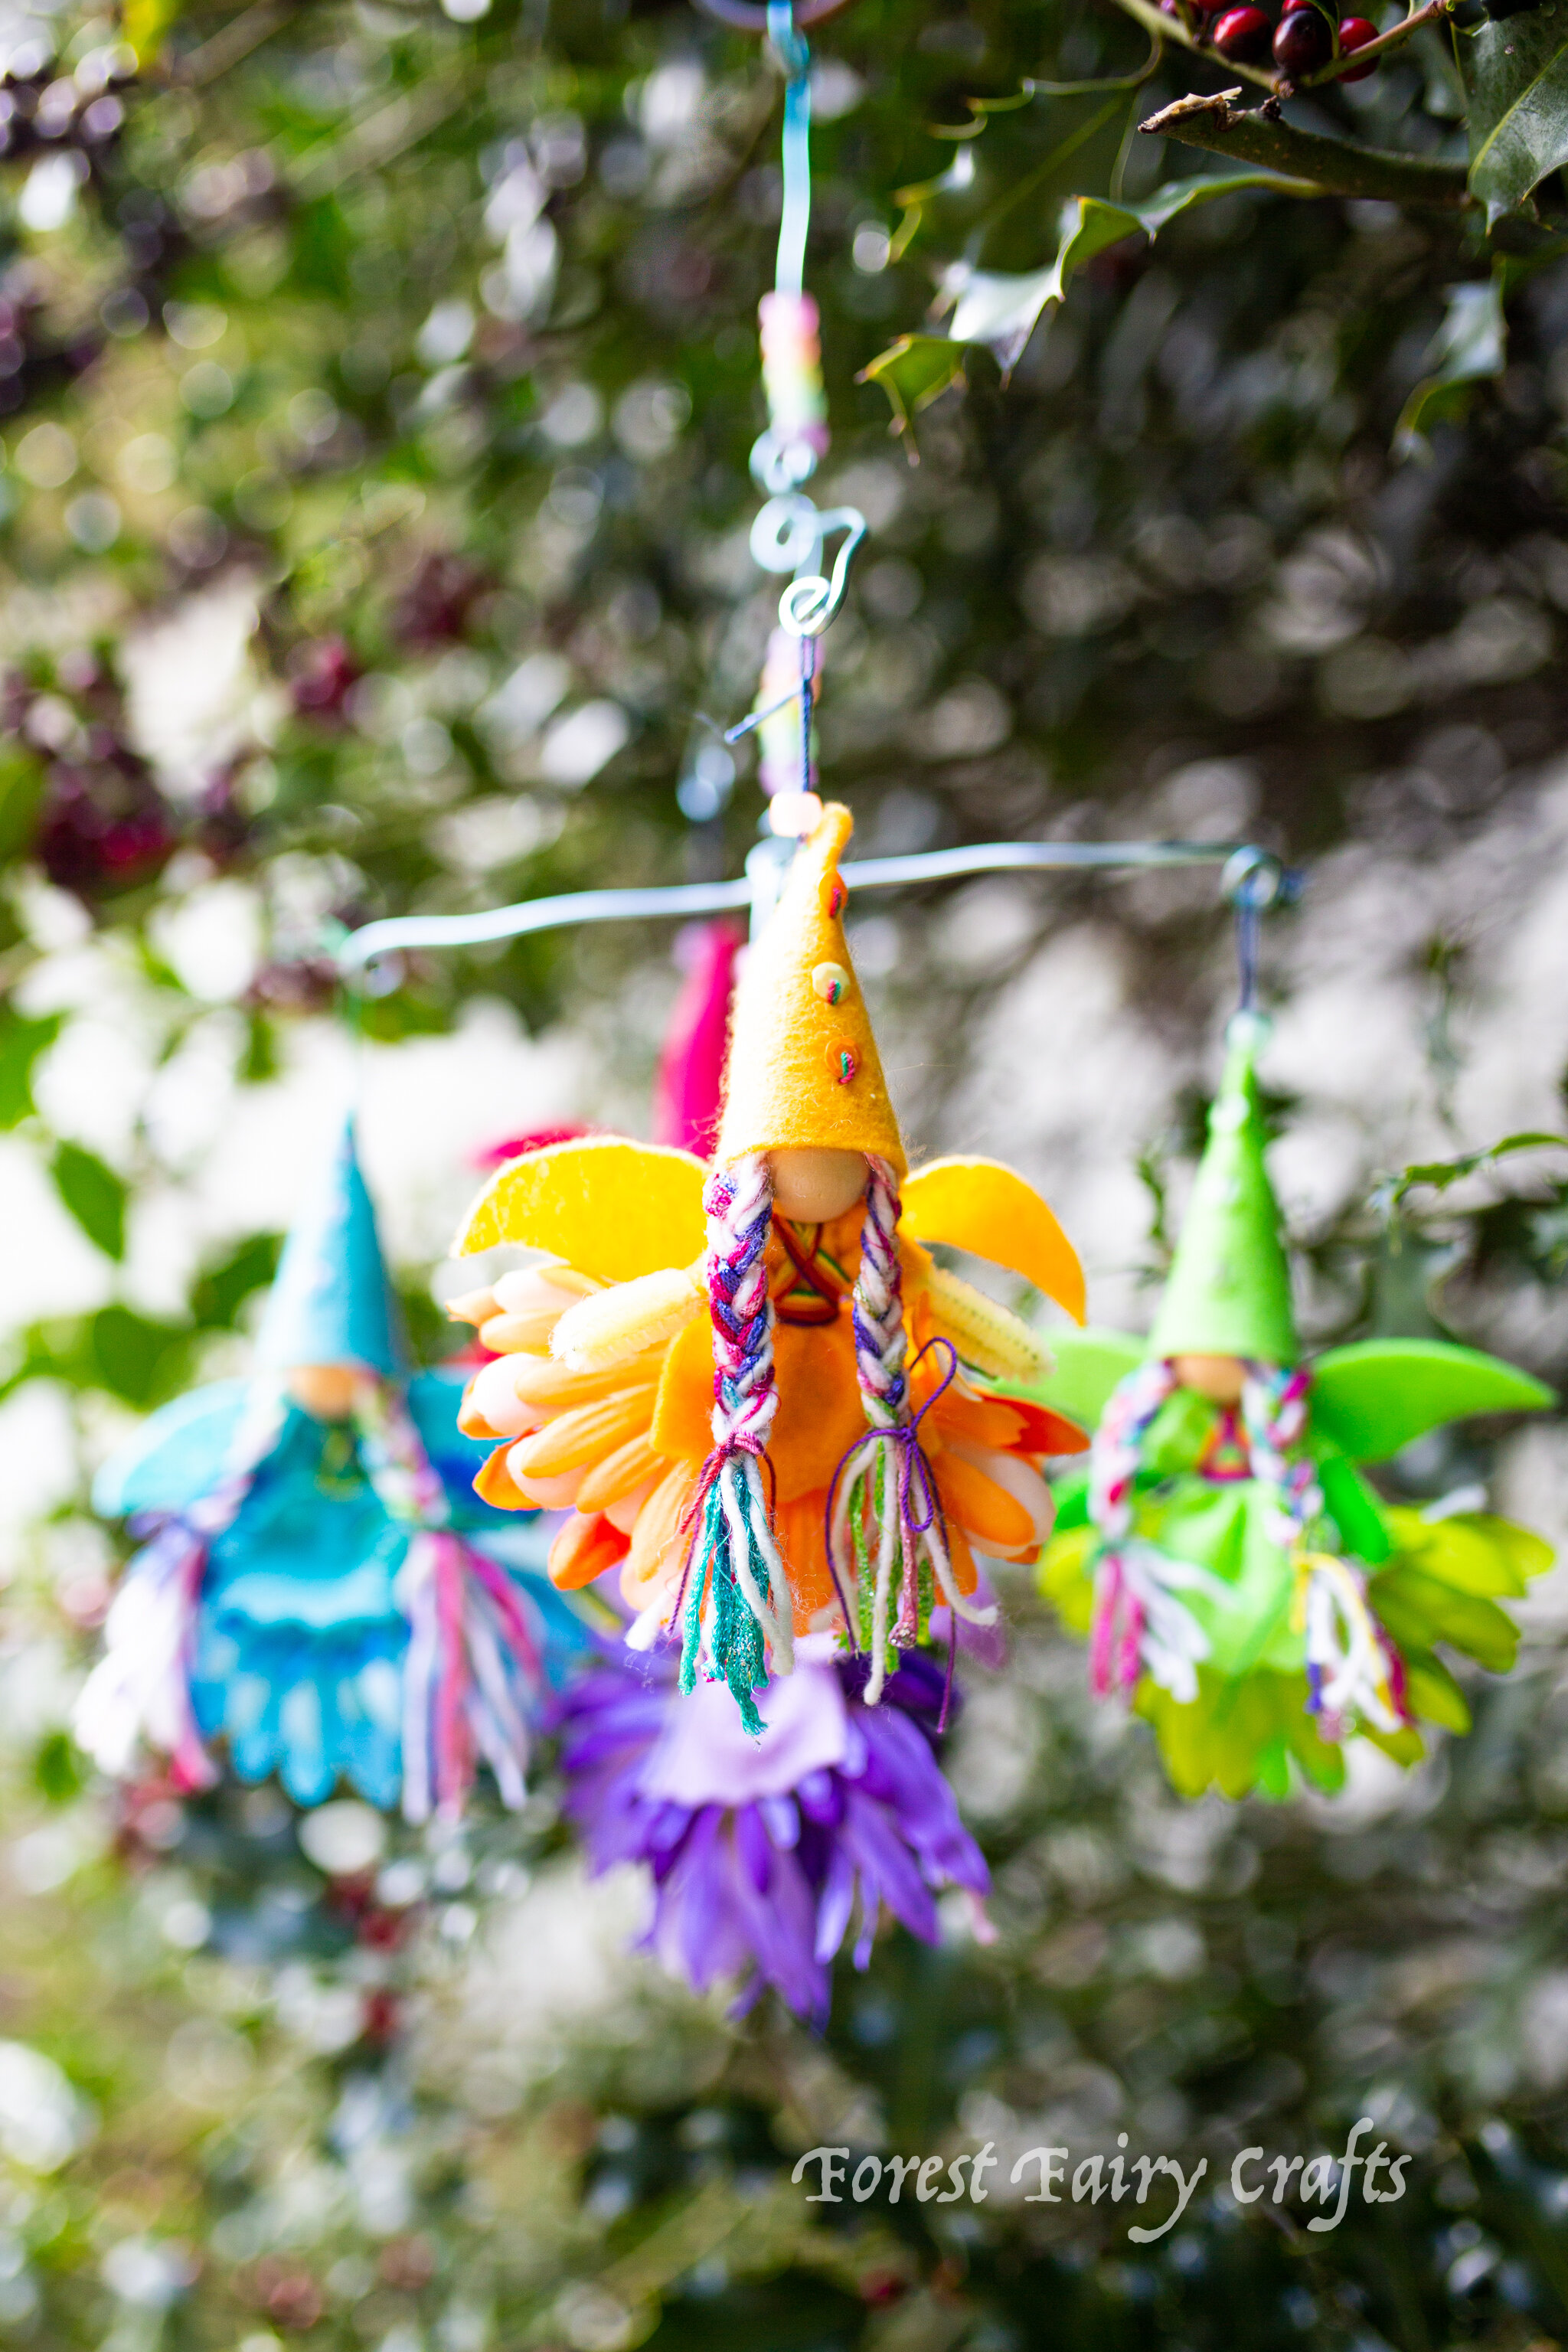
Look up and you may see a magical rainbow arcing across the sky. And, if you’re really lucky, you may see rainbow fairies playing in the colors.

This mobile was a collaborative project with my niece. I put it together as a gift which she loved after expecting a handful of colorful fairies.
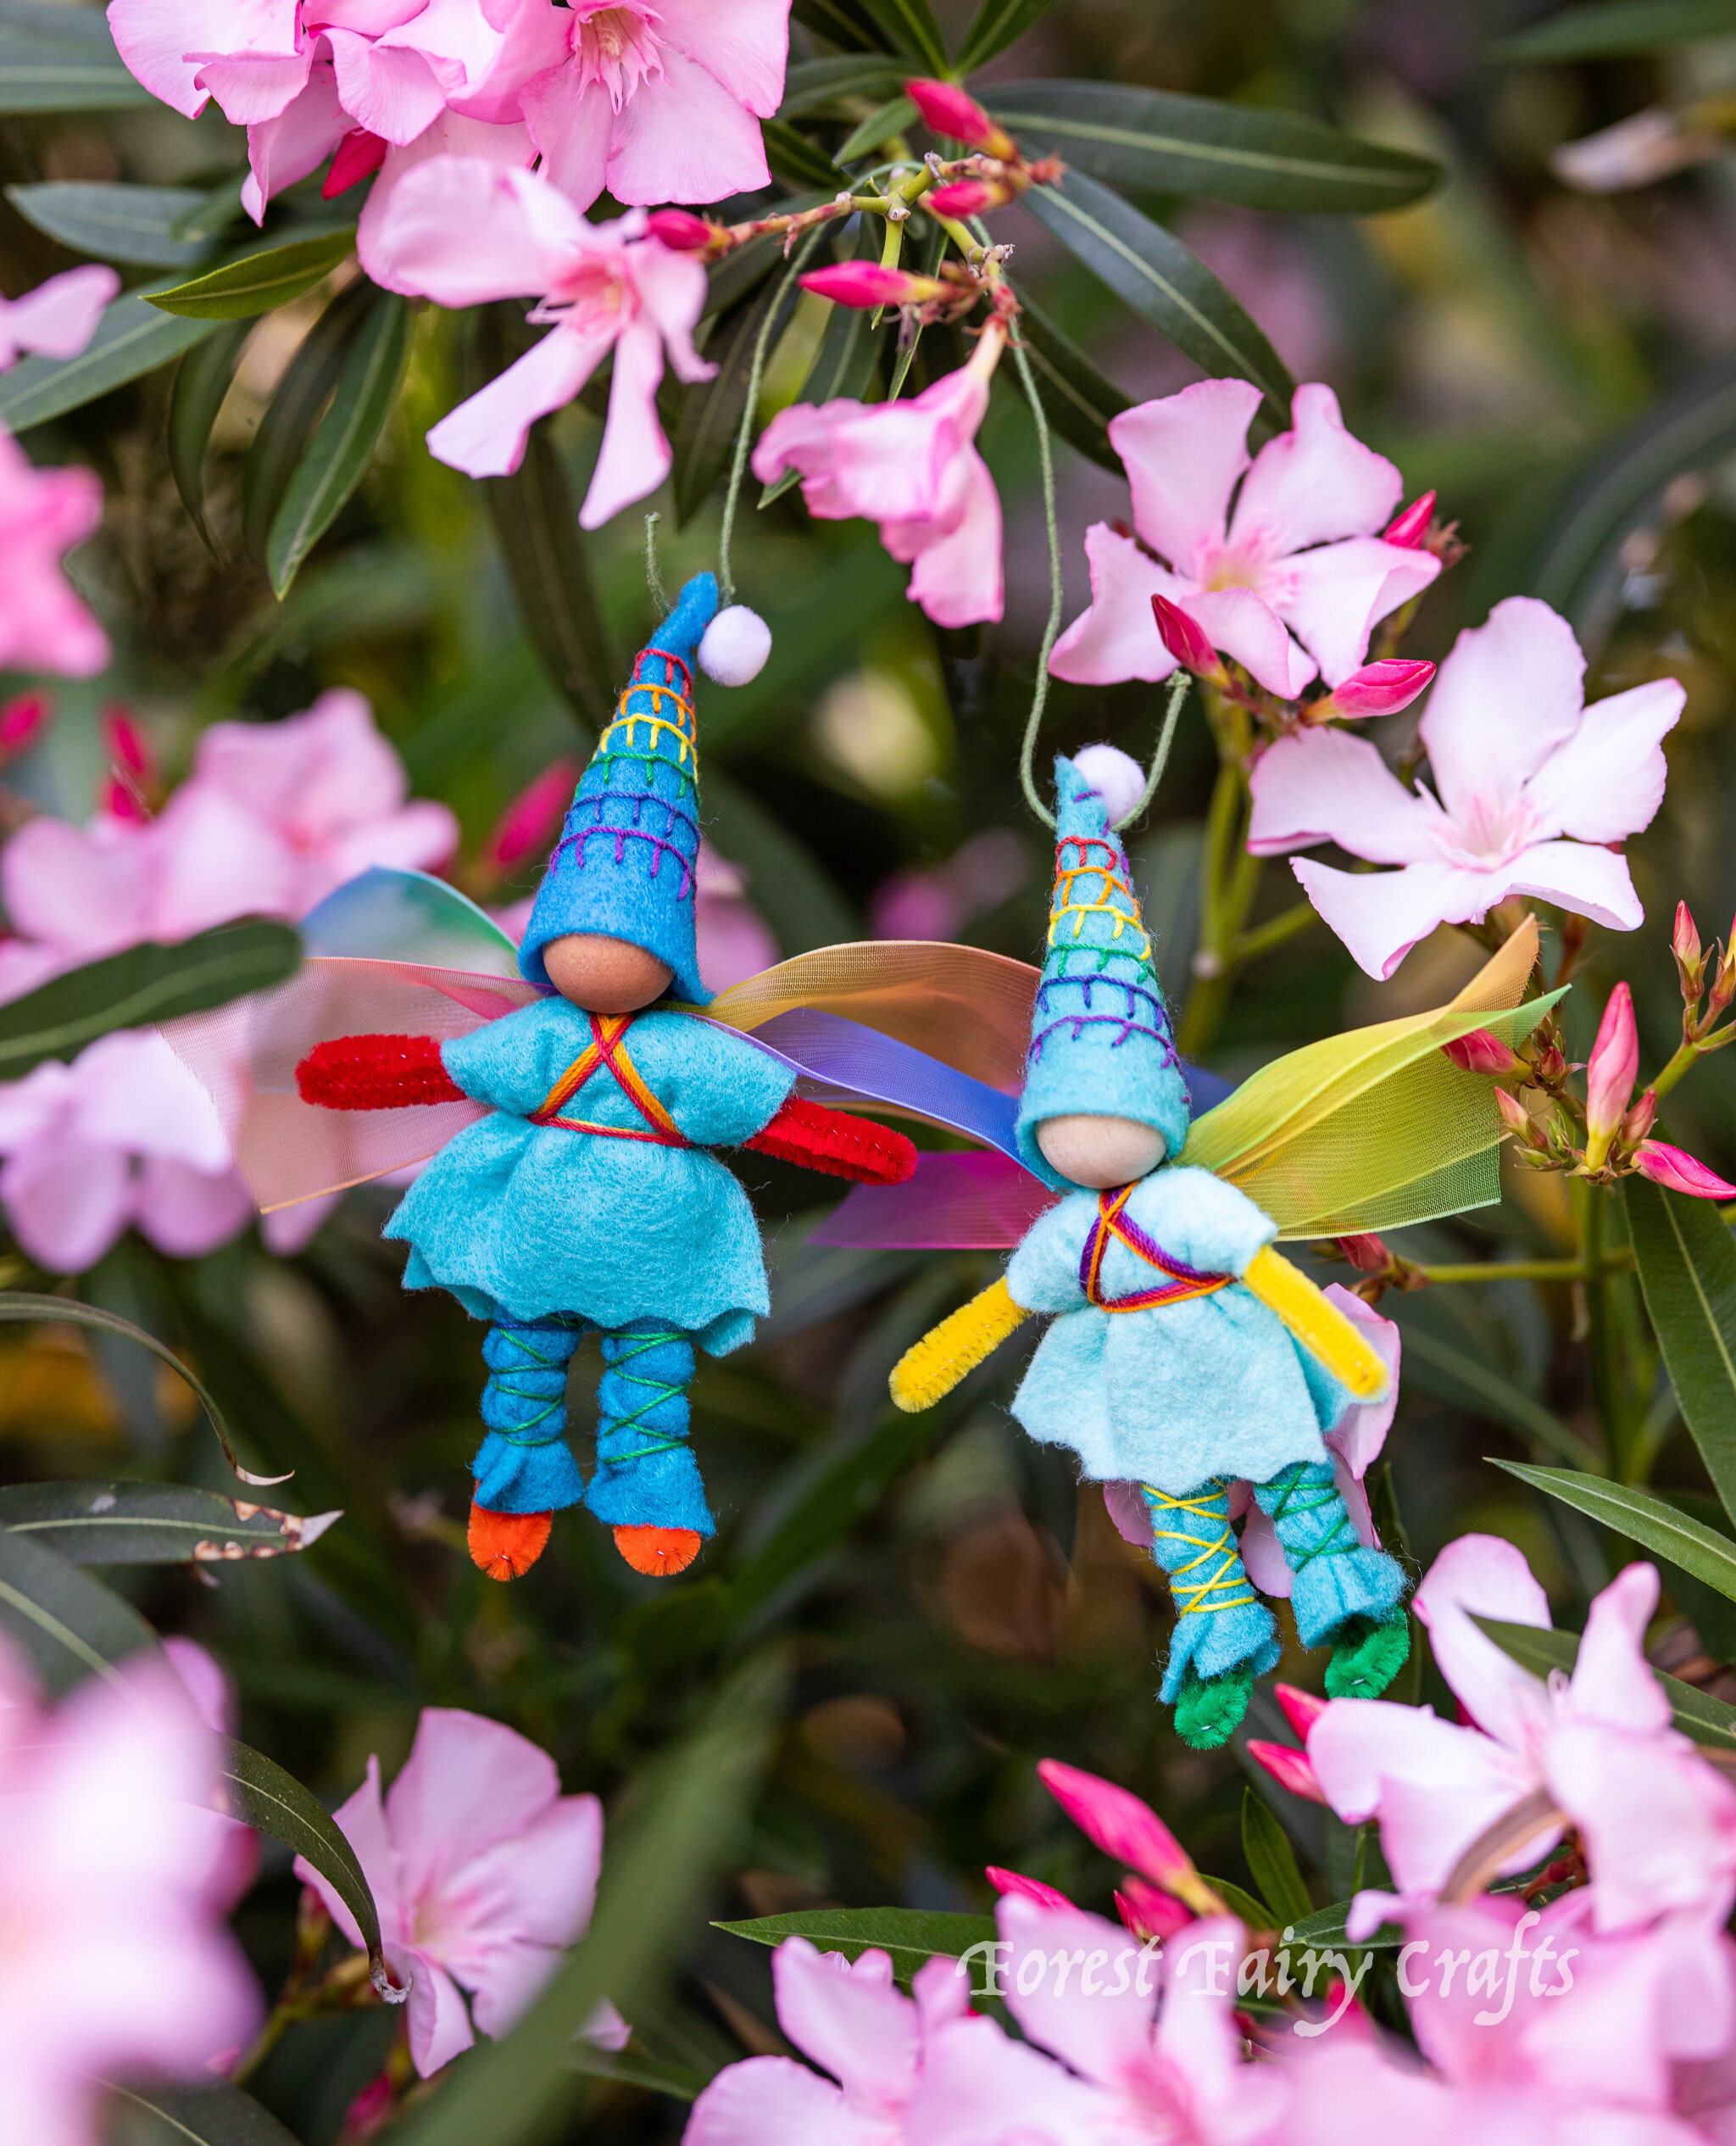
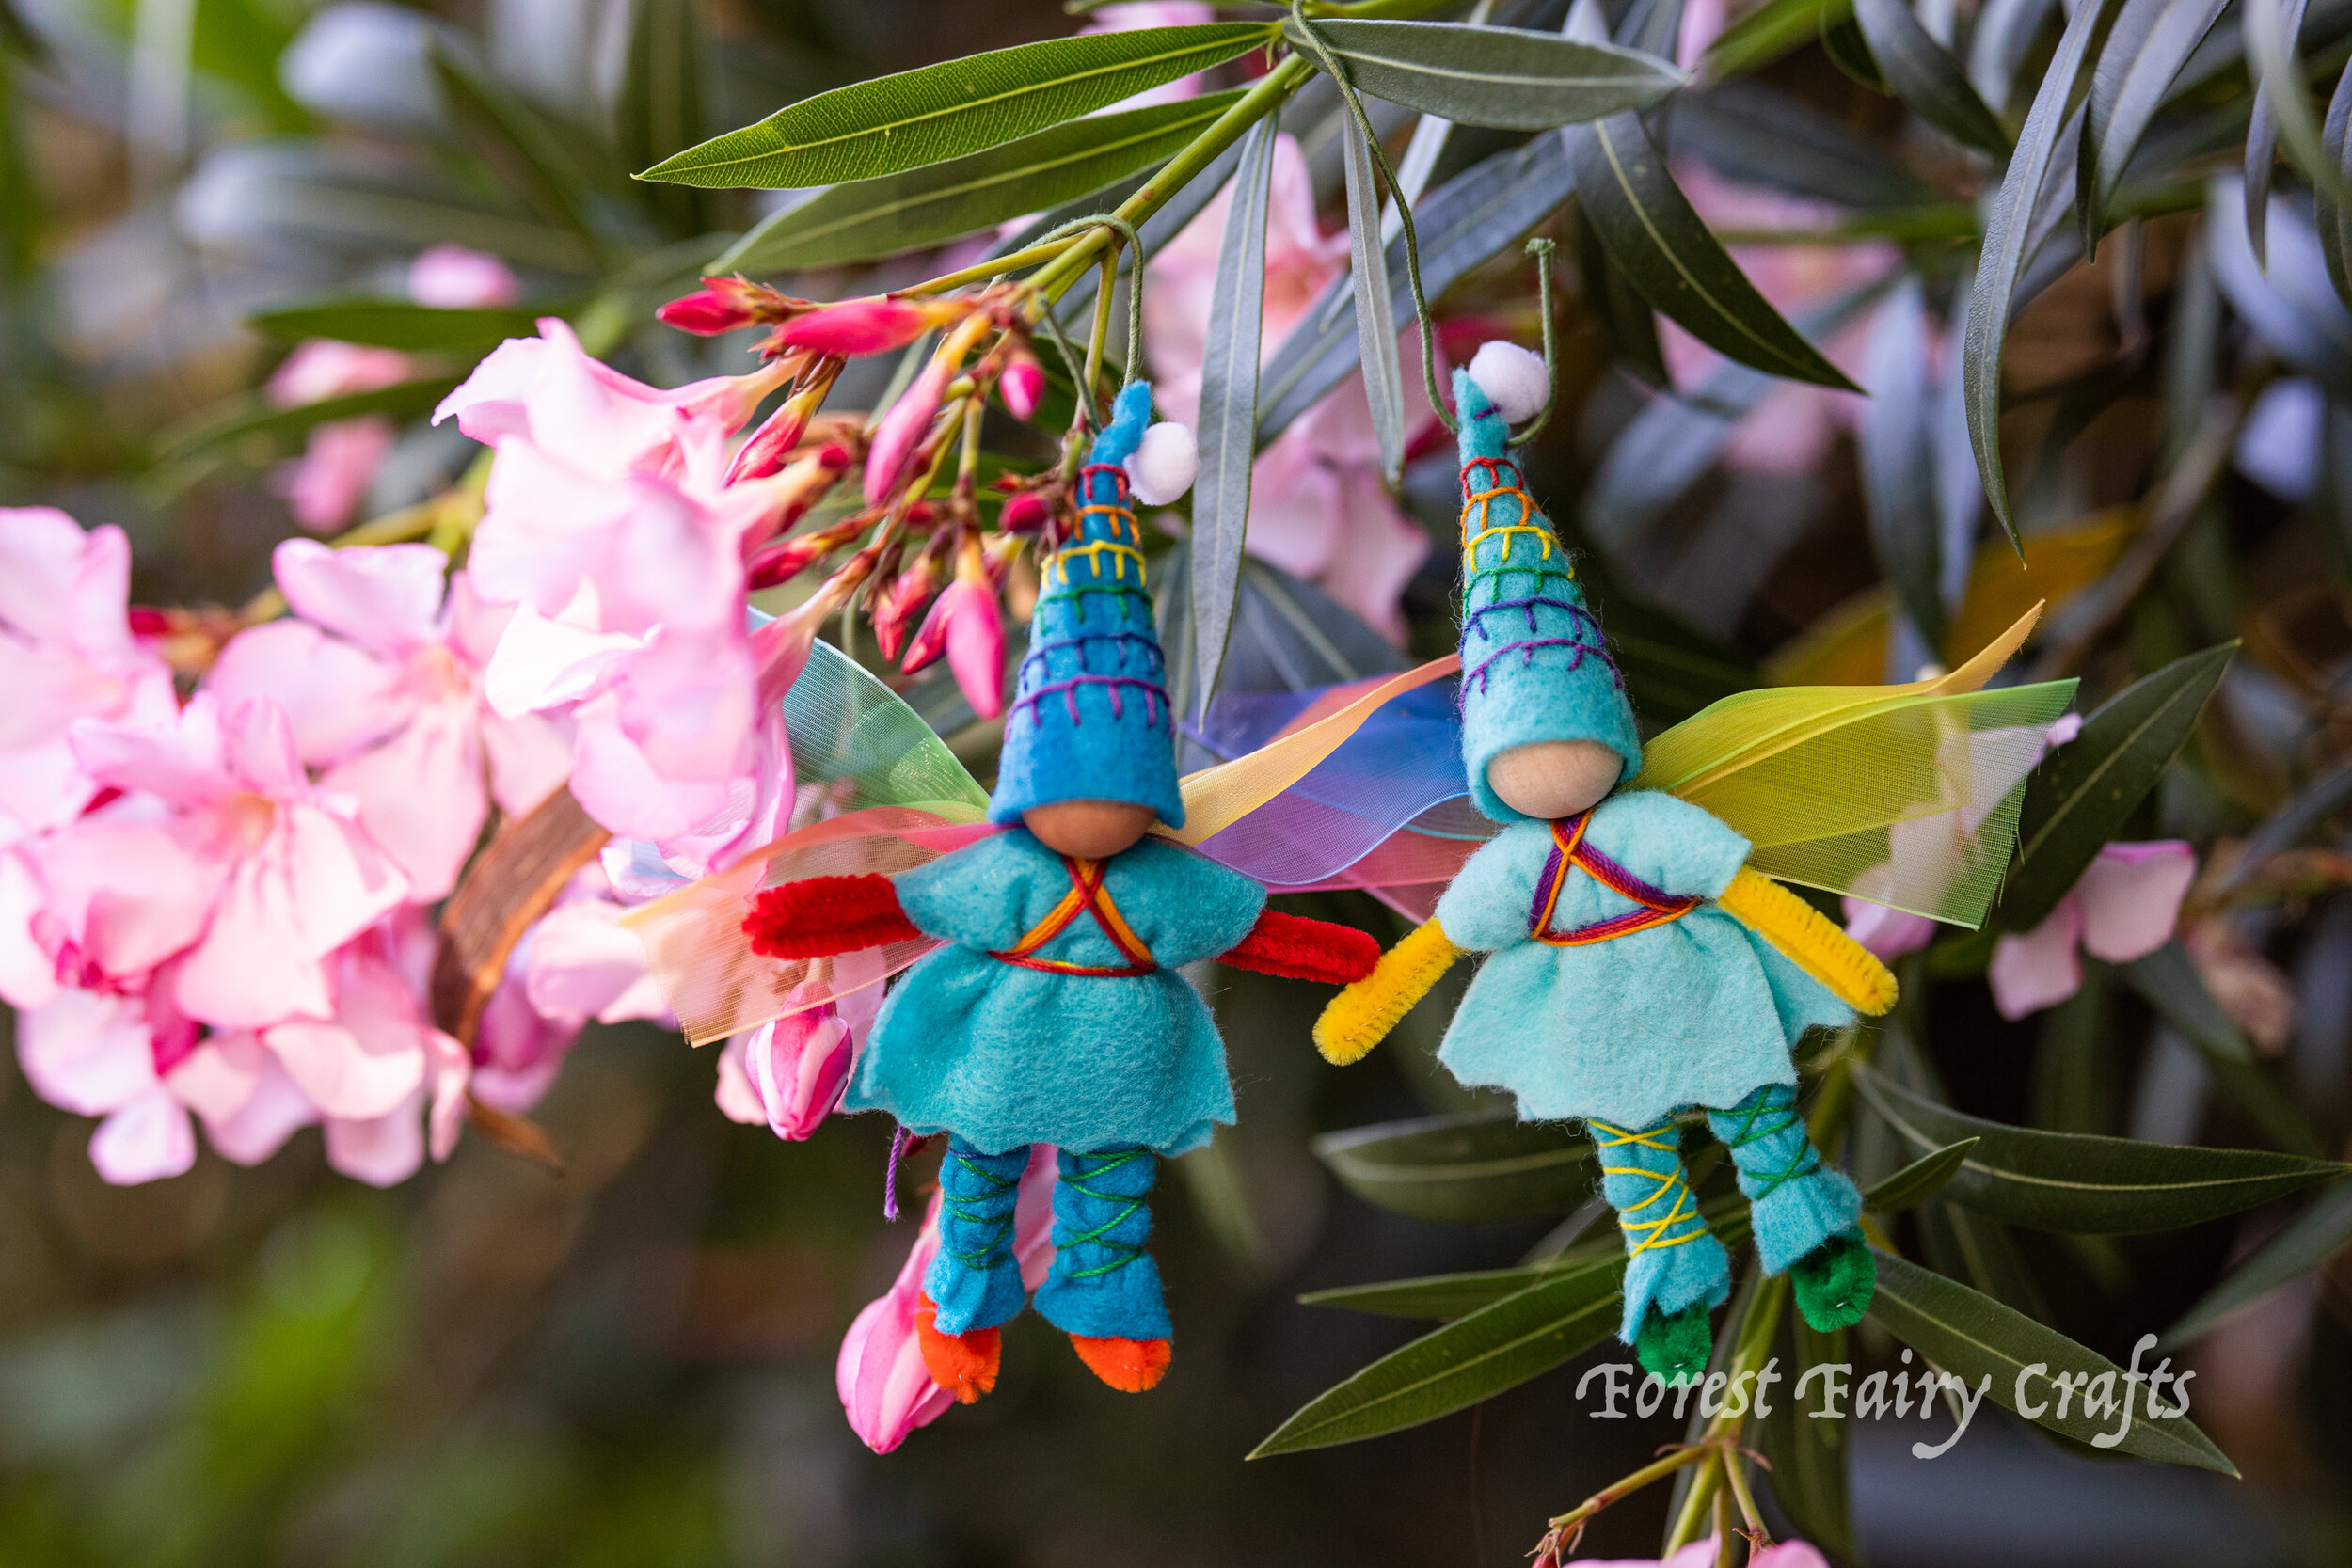
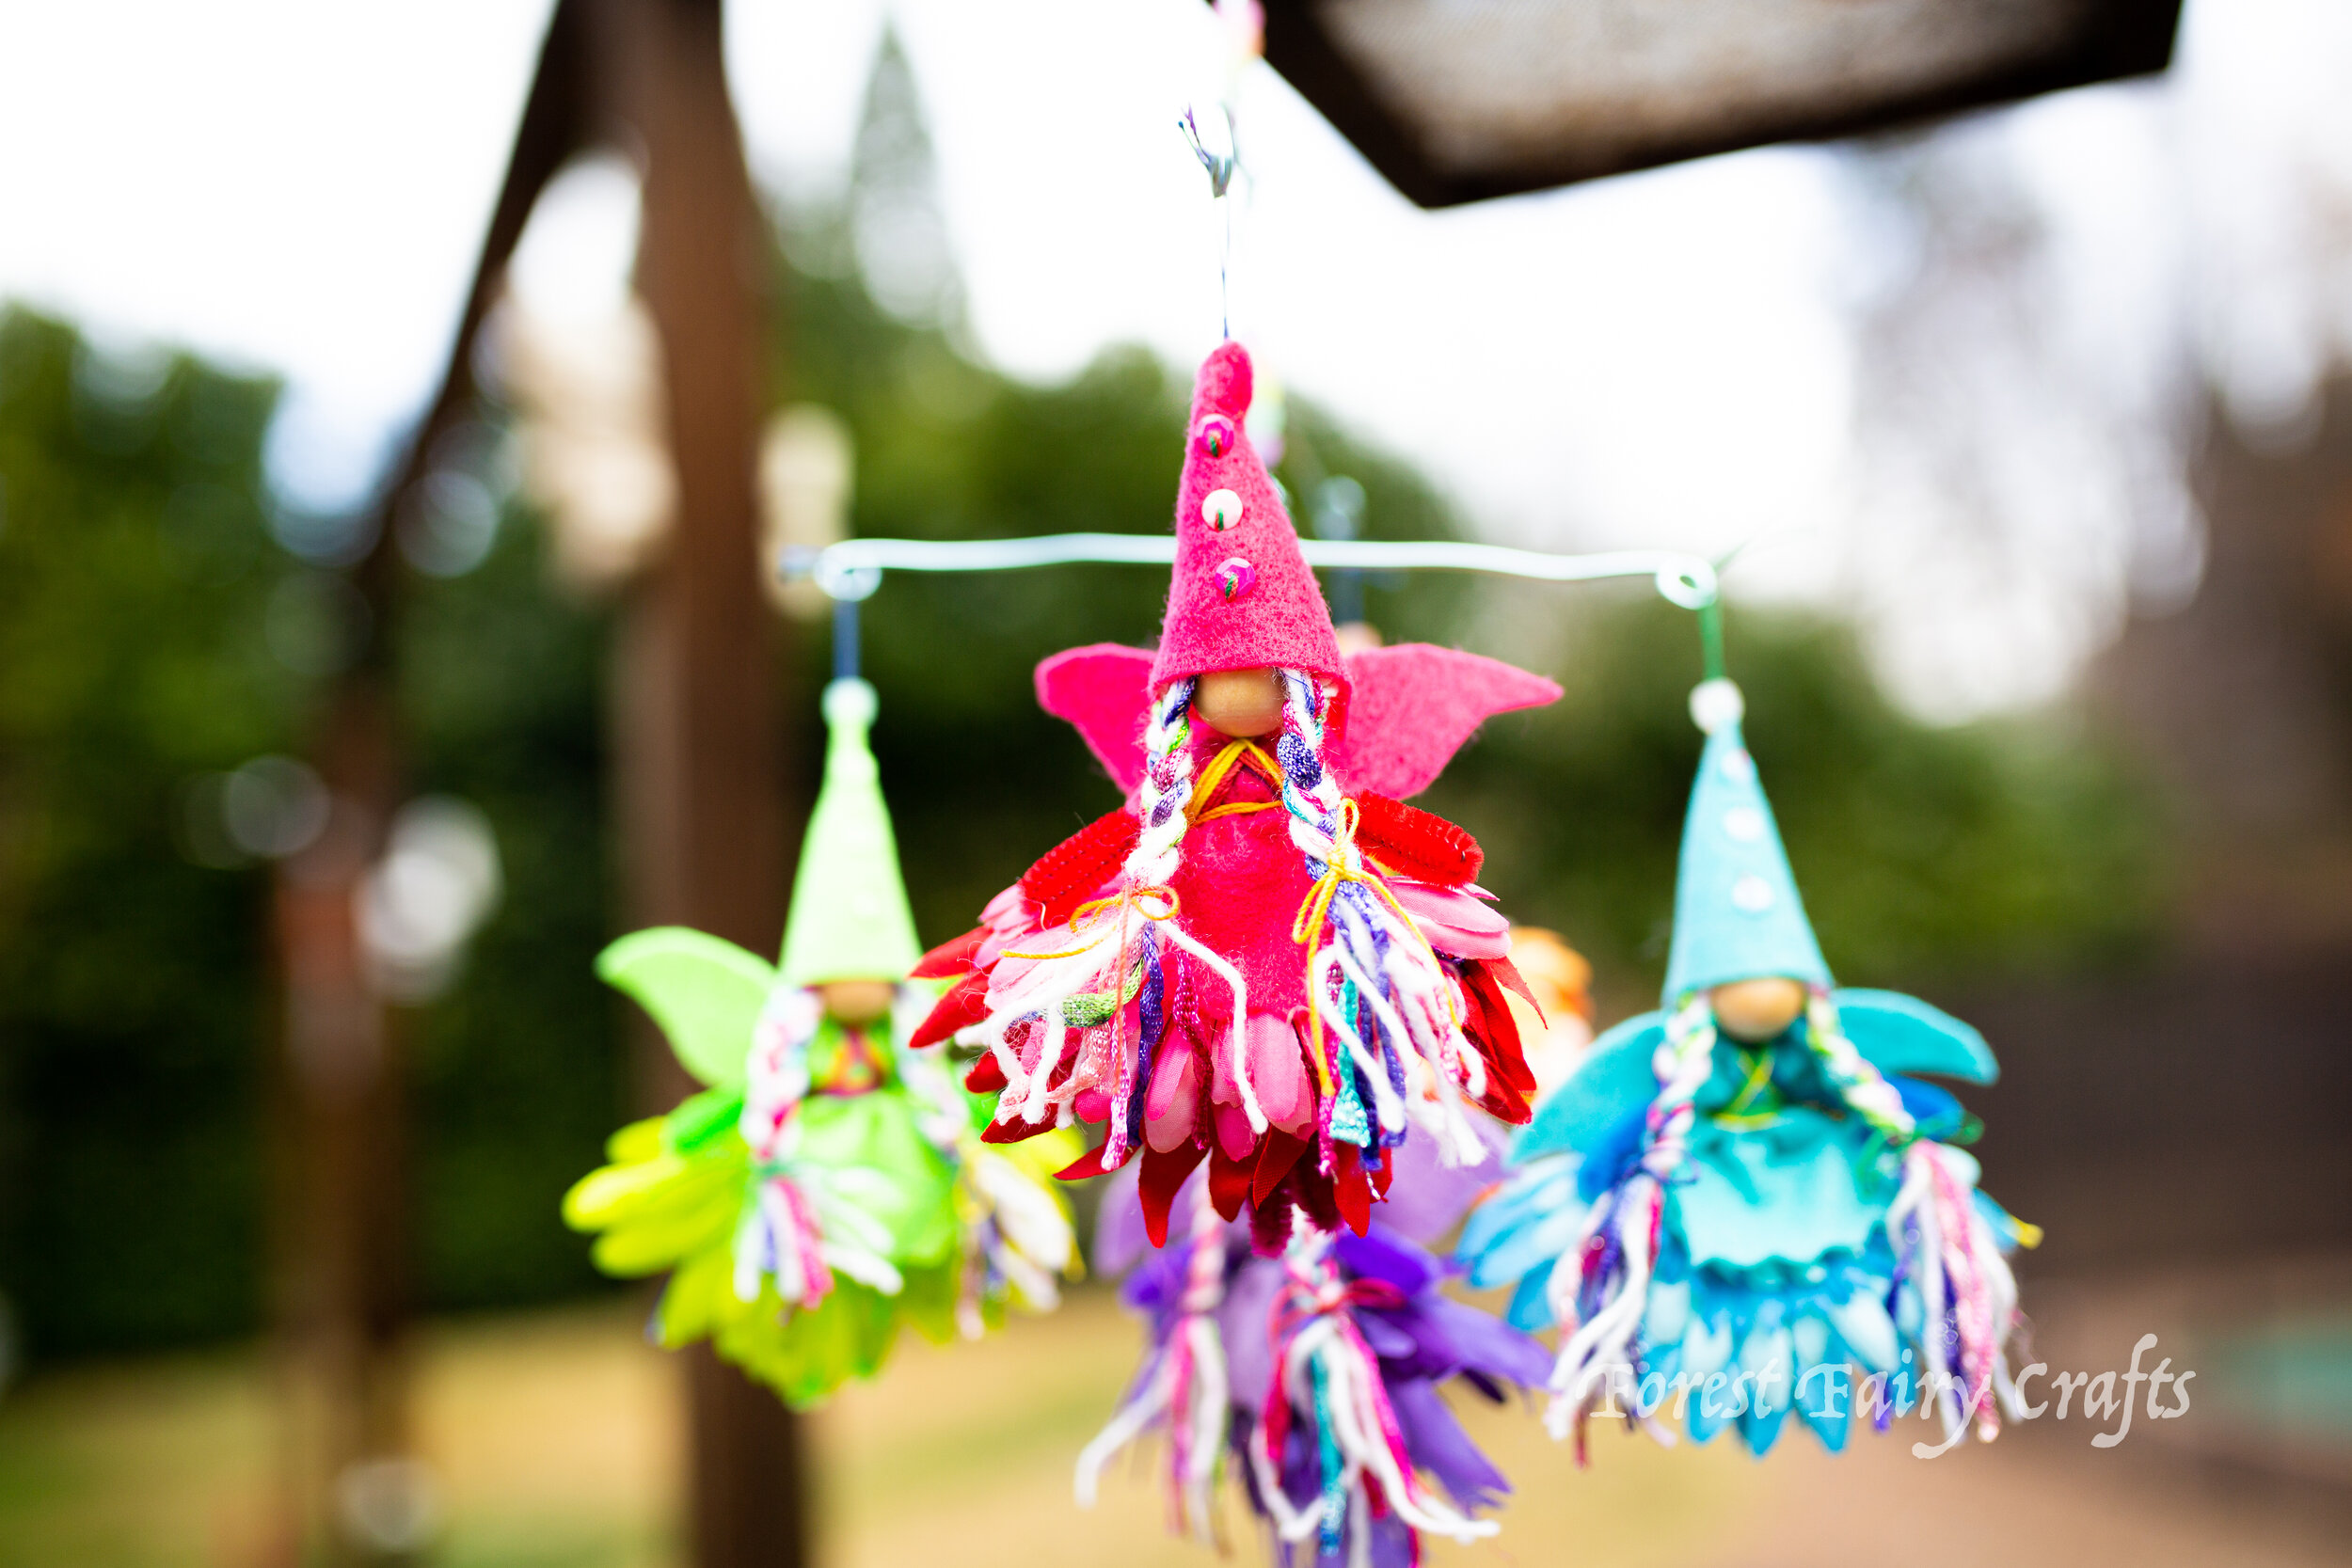
Our first step was choosing the colors. We laid out different combinations before cutting any patterns. She liked softer versions of color, leaning towards lavender rather than deep purple. With this palette, red didn’t quite fit with the other colors. A bold pink fit far better in our fairy rainbow. Color choices were a good conversation about planning because laying them out together before cutting meant that we had flexibility when we changed our minds about one shade or another.
We also checked on the petal colors while choosing felt. It turned out that we had very few orange petals. For some reason, our orange/yellow collection was smaller than the other colors. So we opted to combine orange & yellow into one fairy.
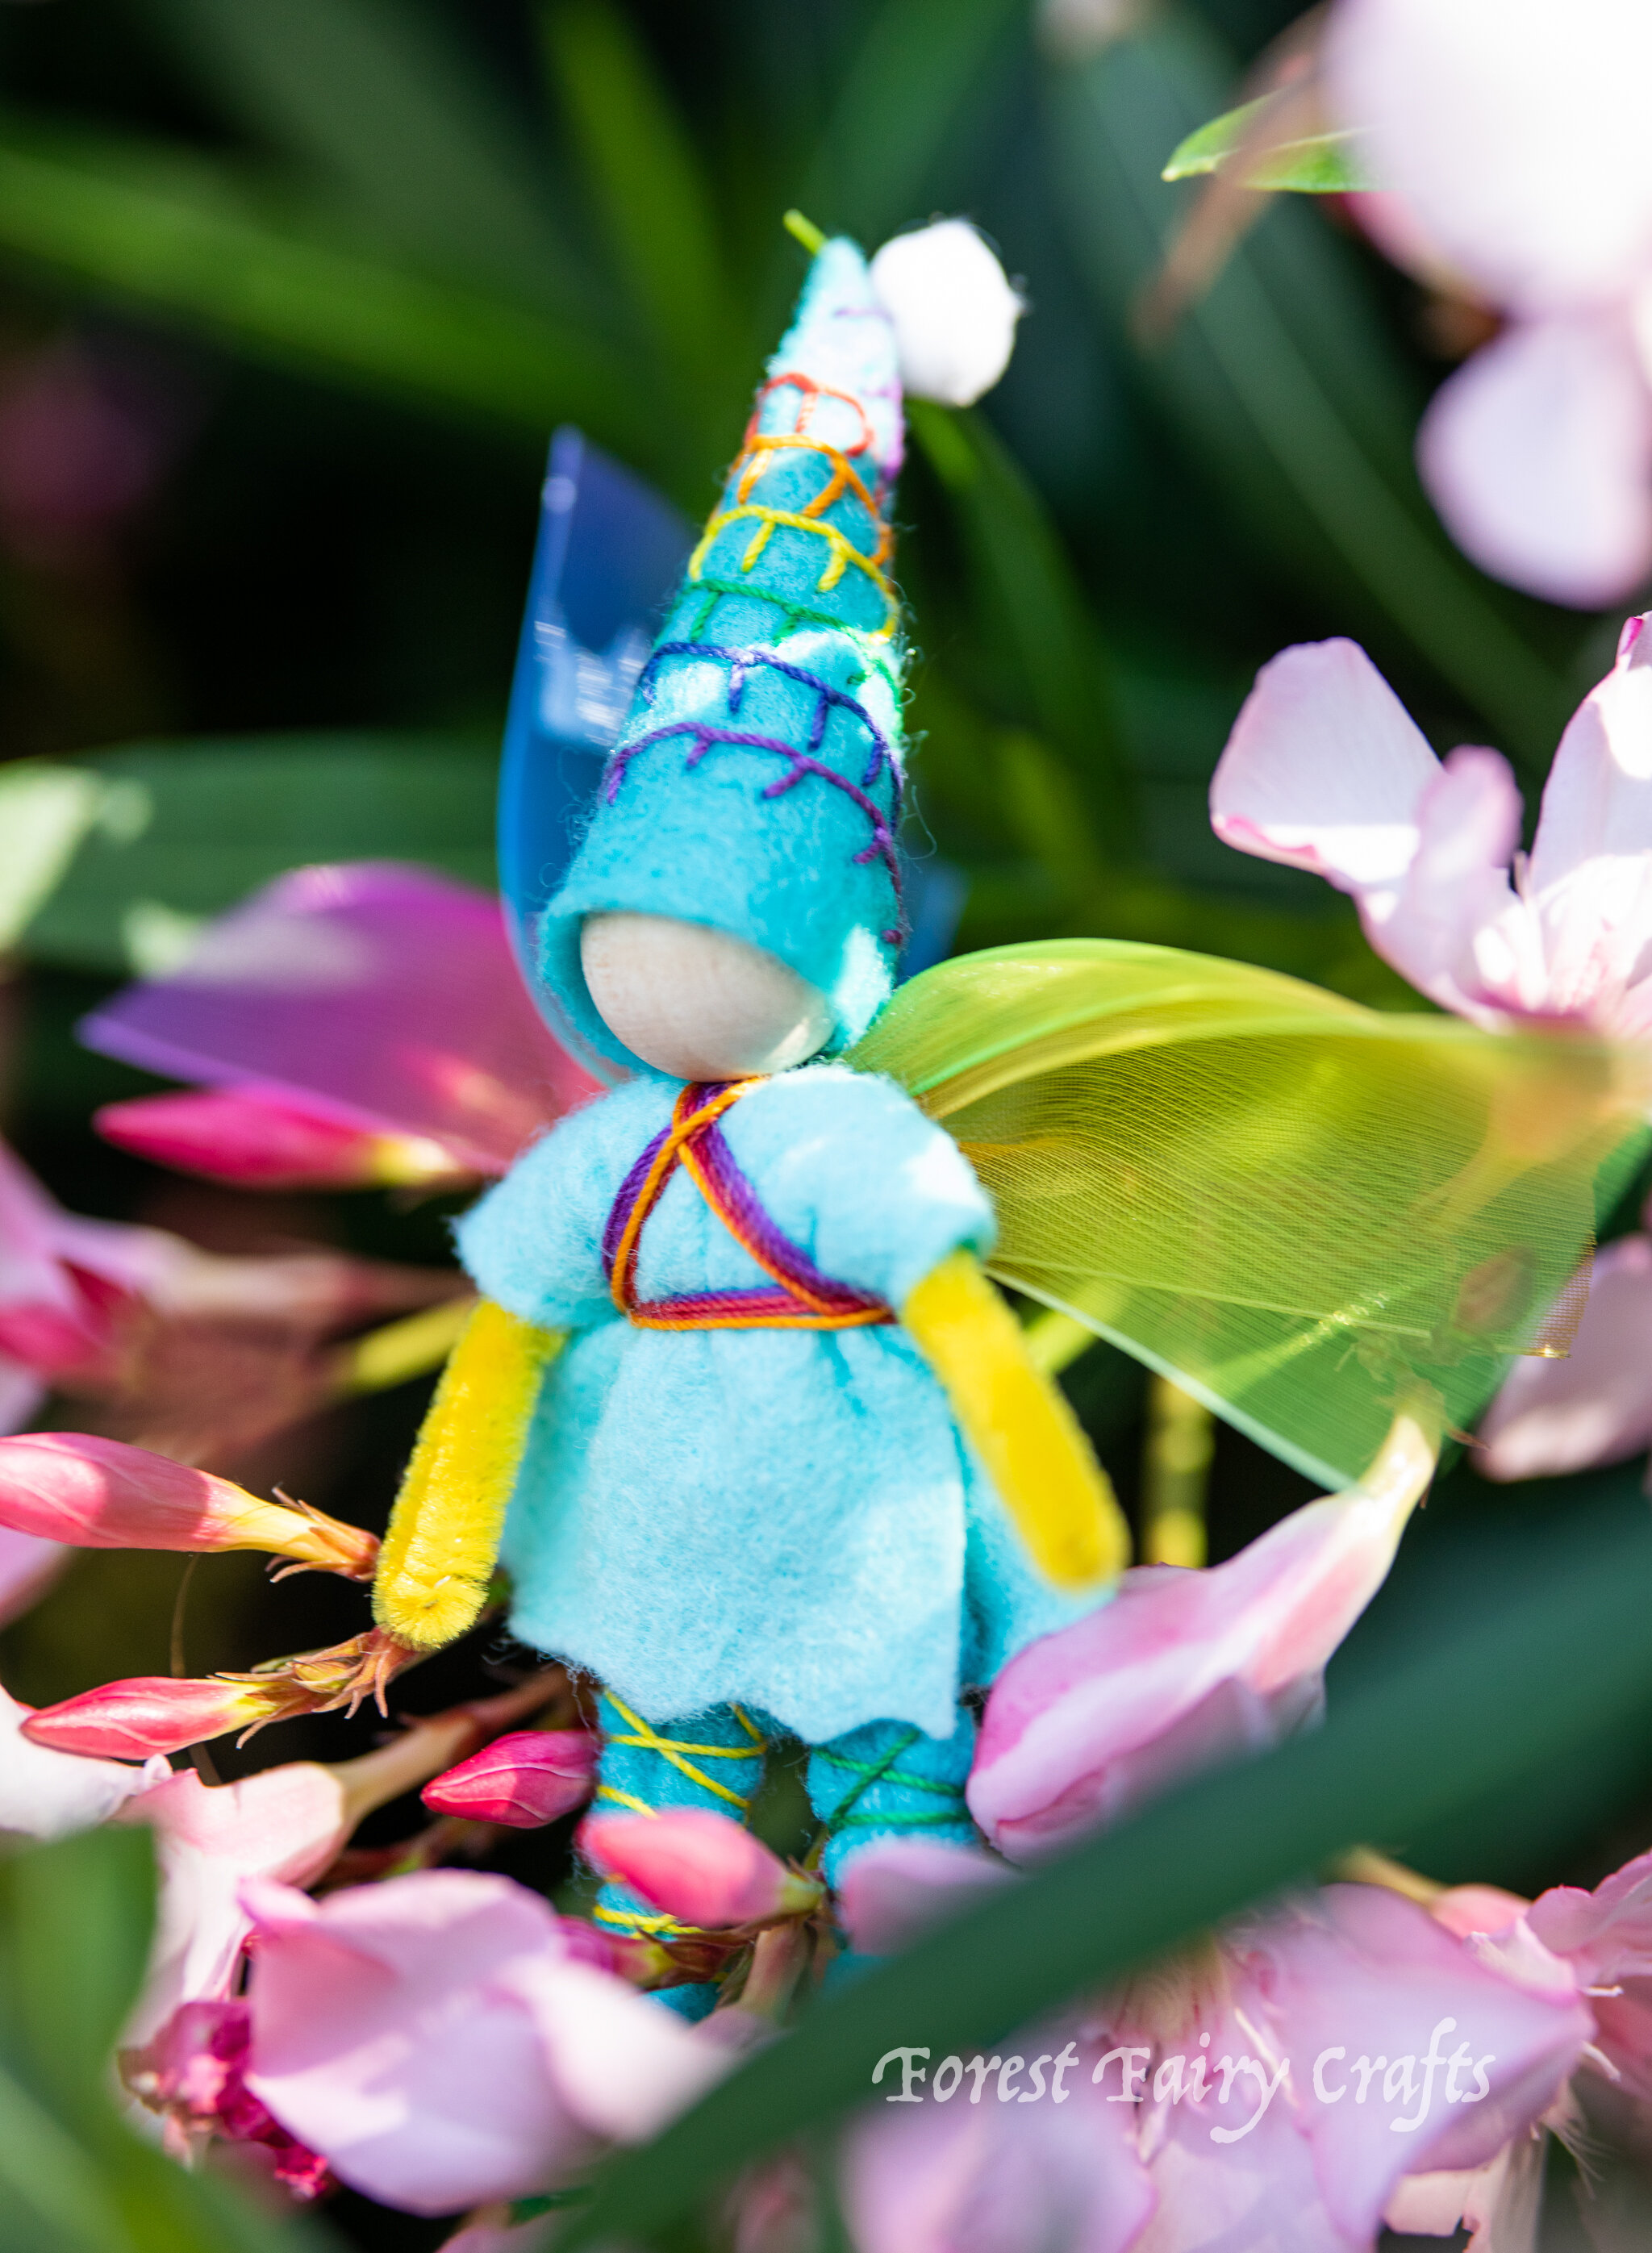
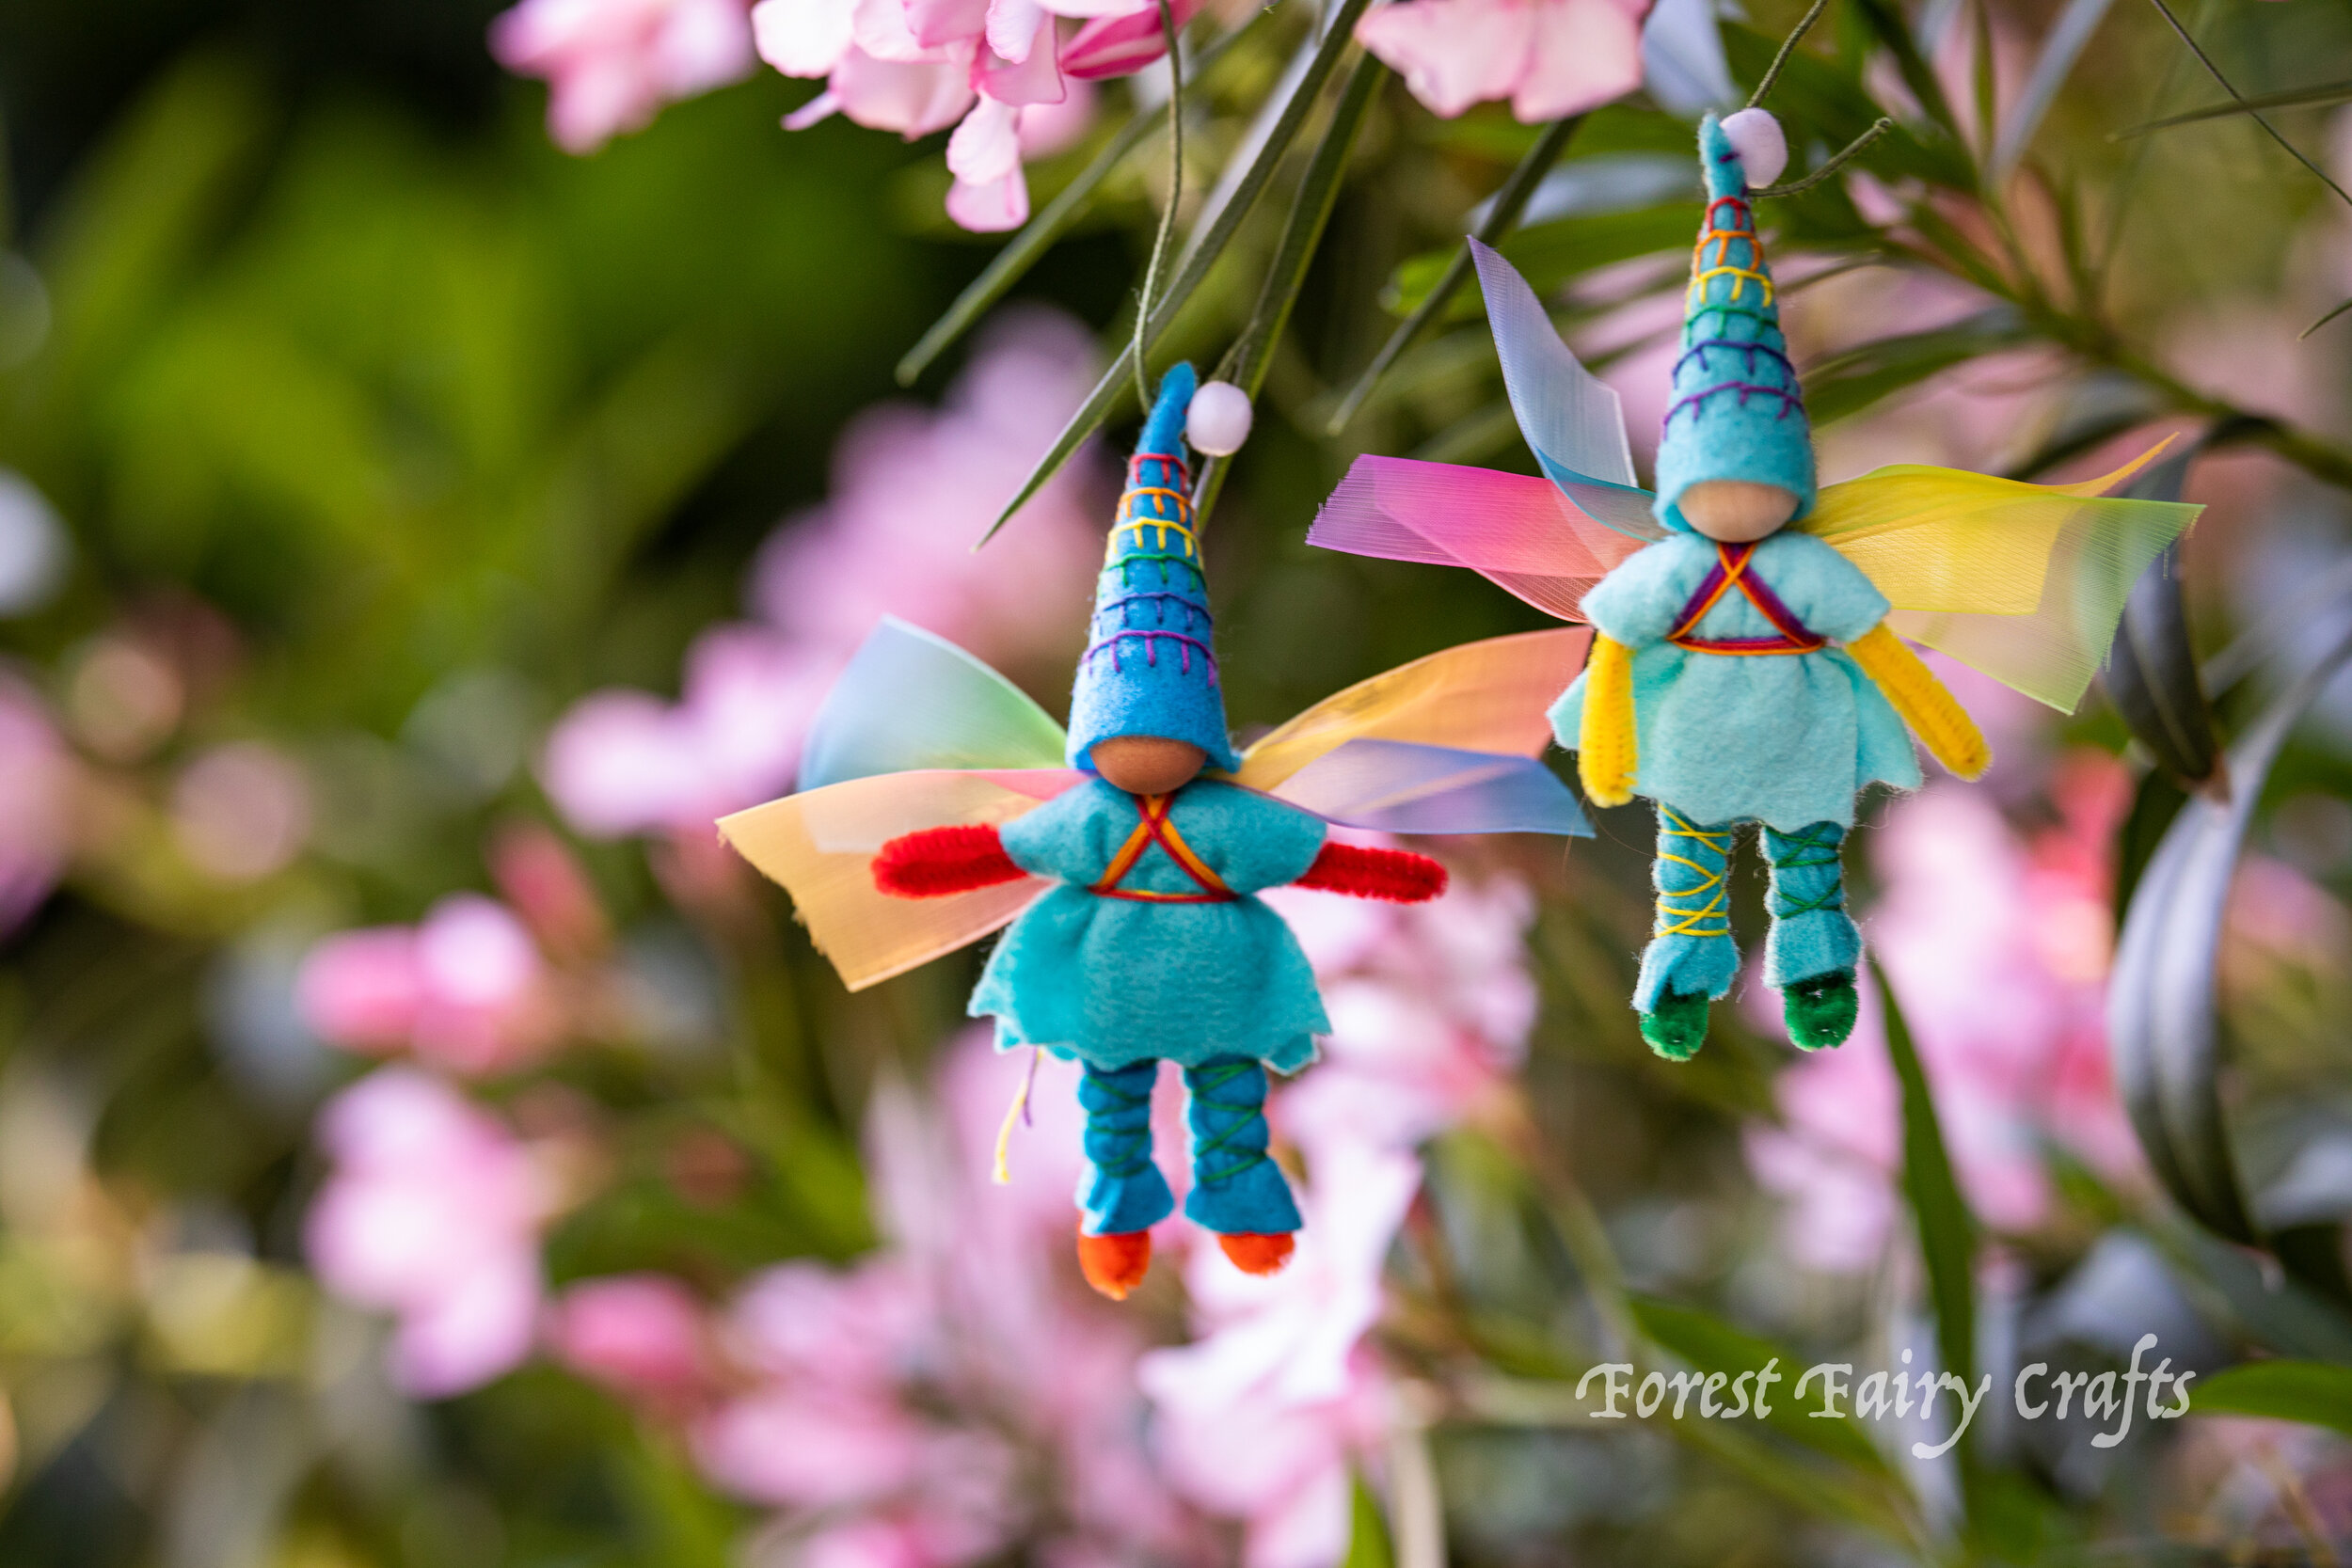
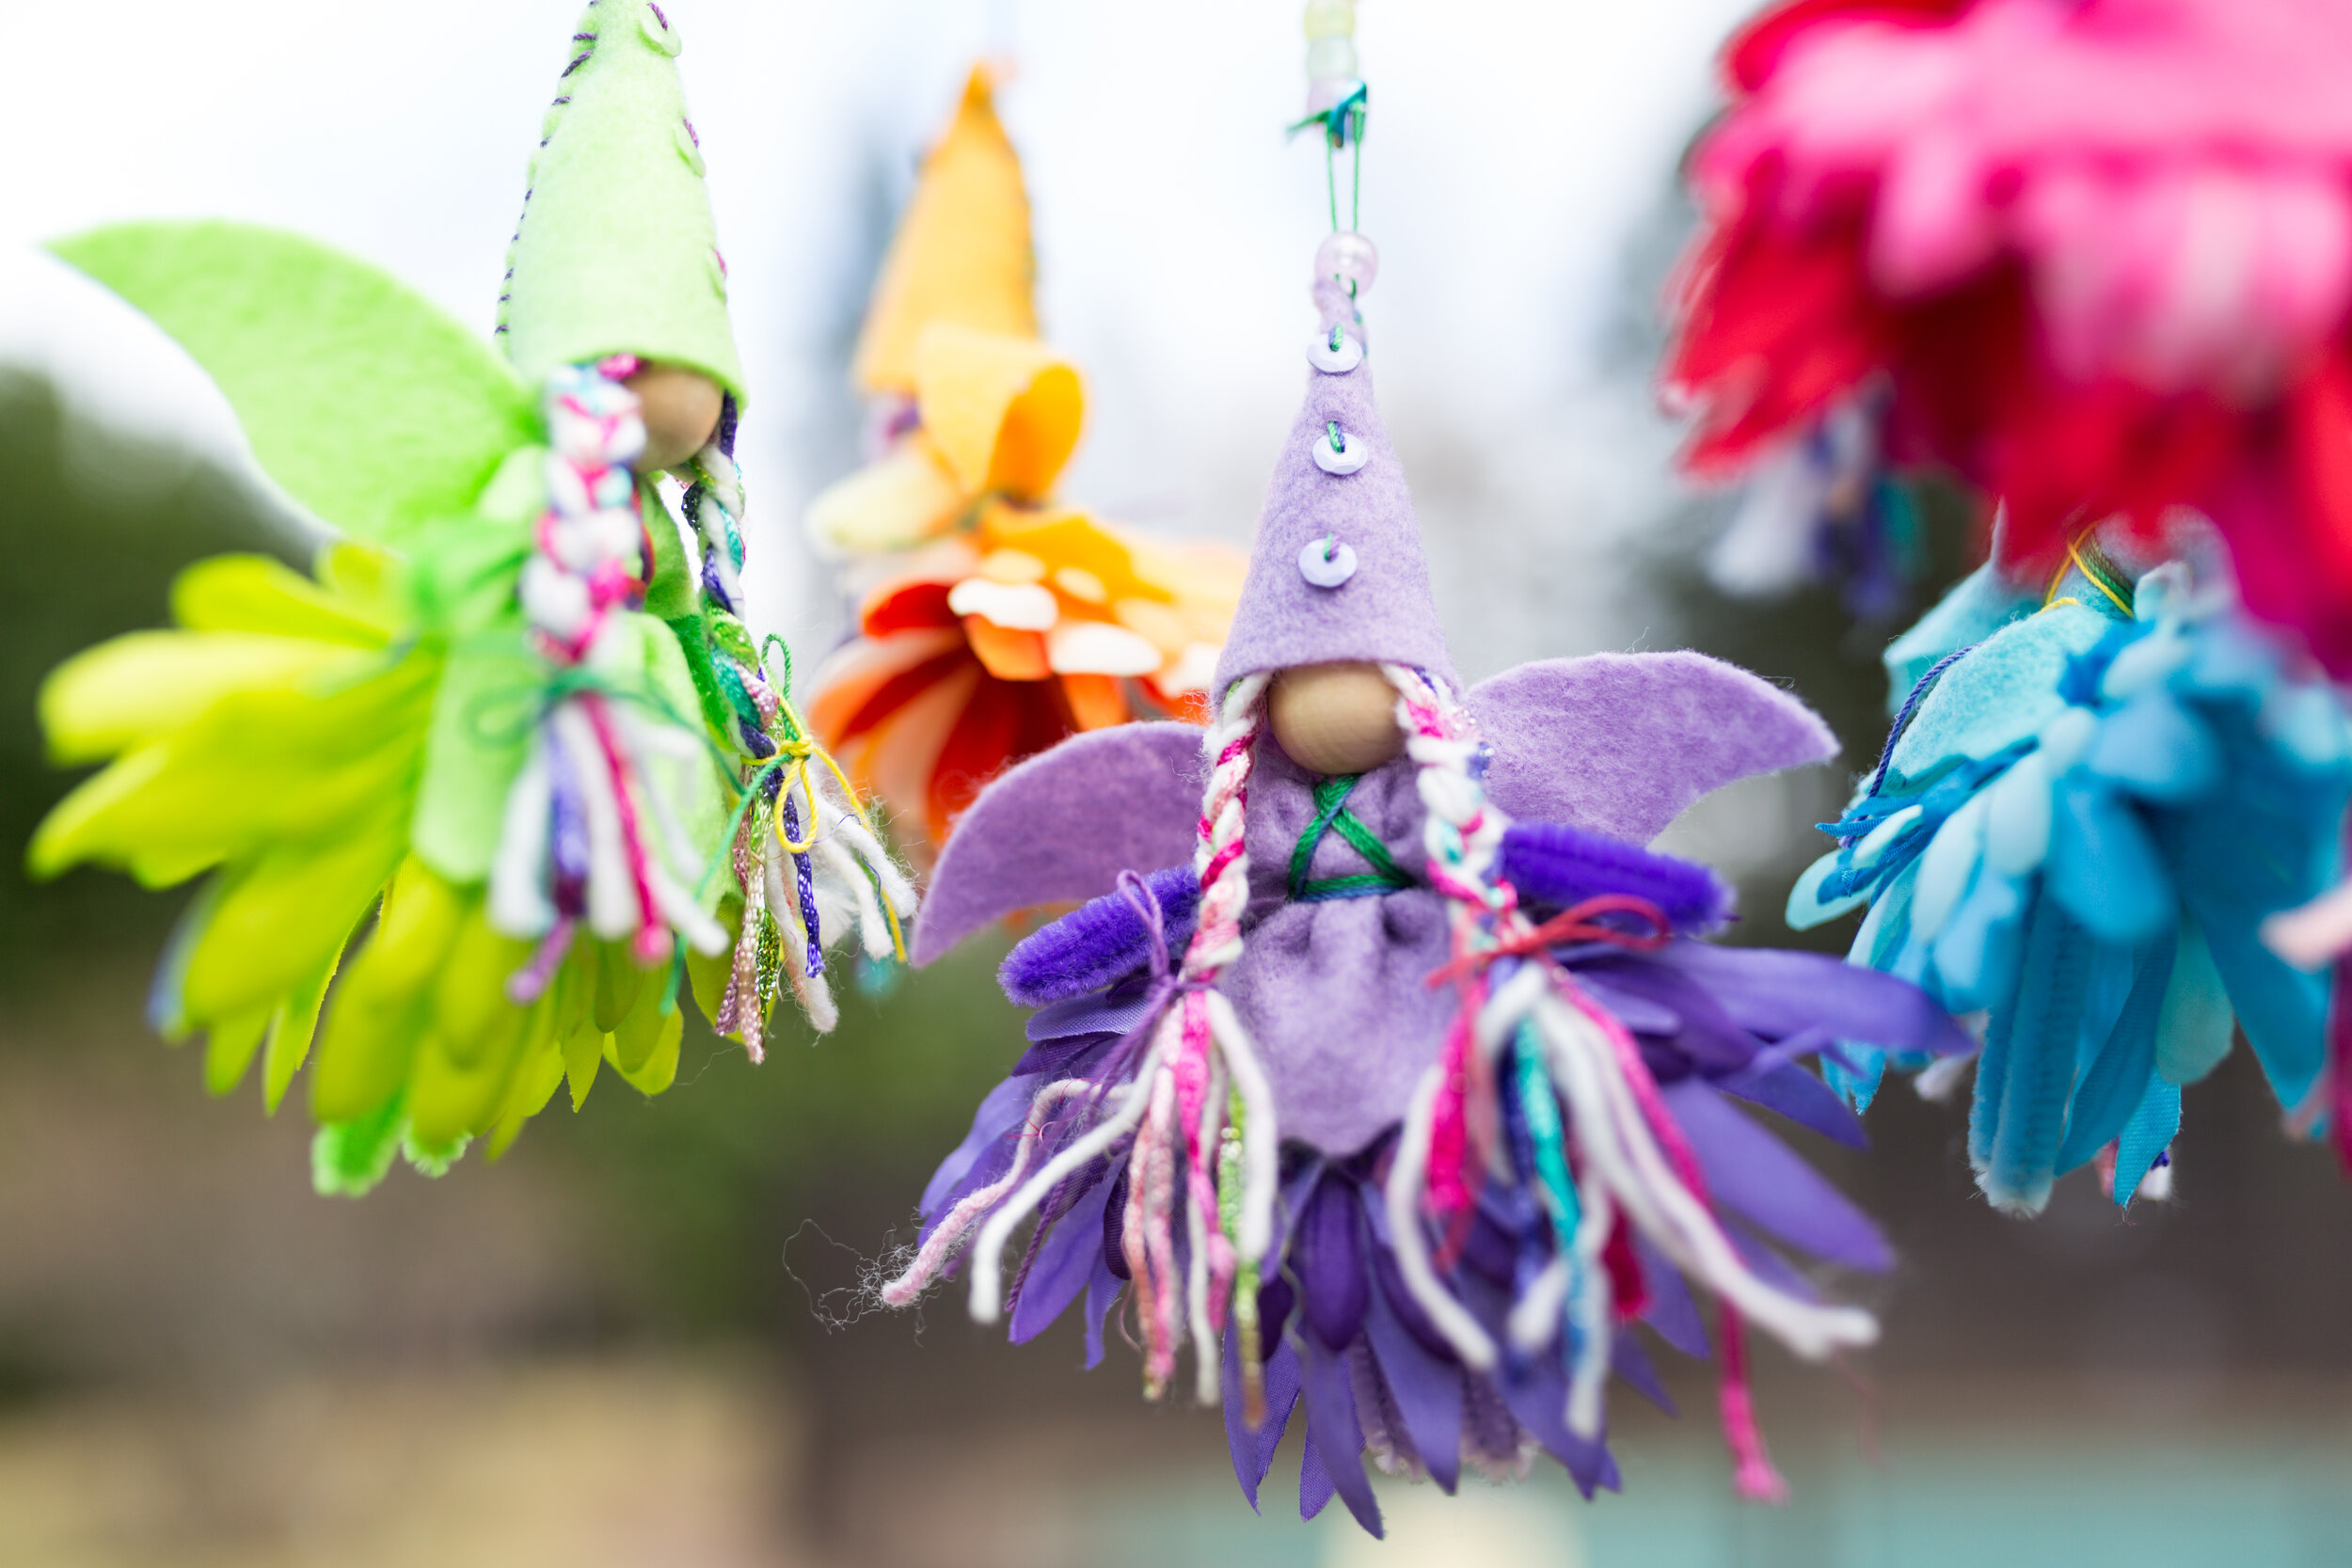
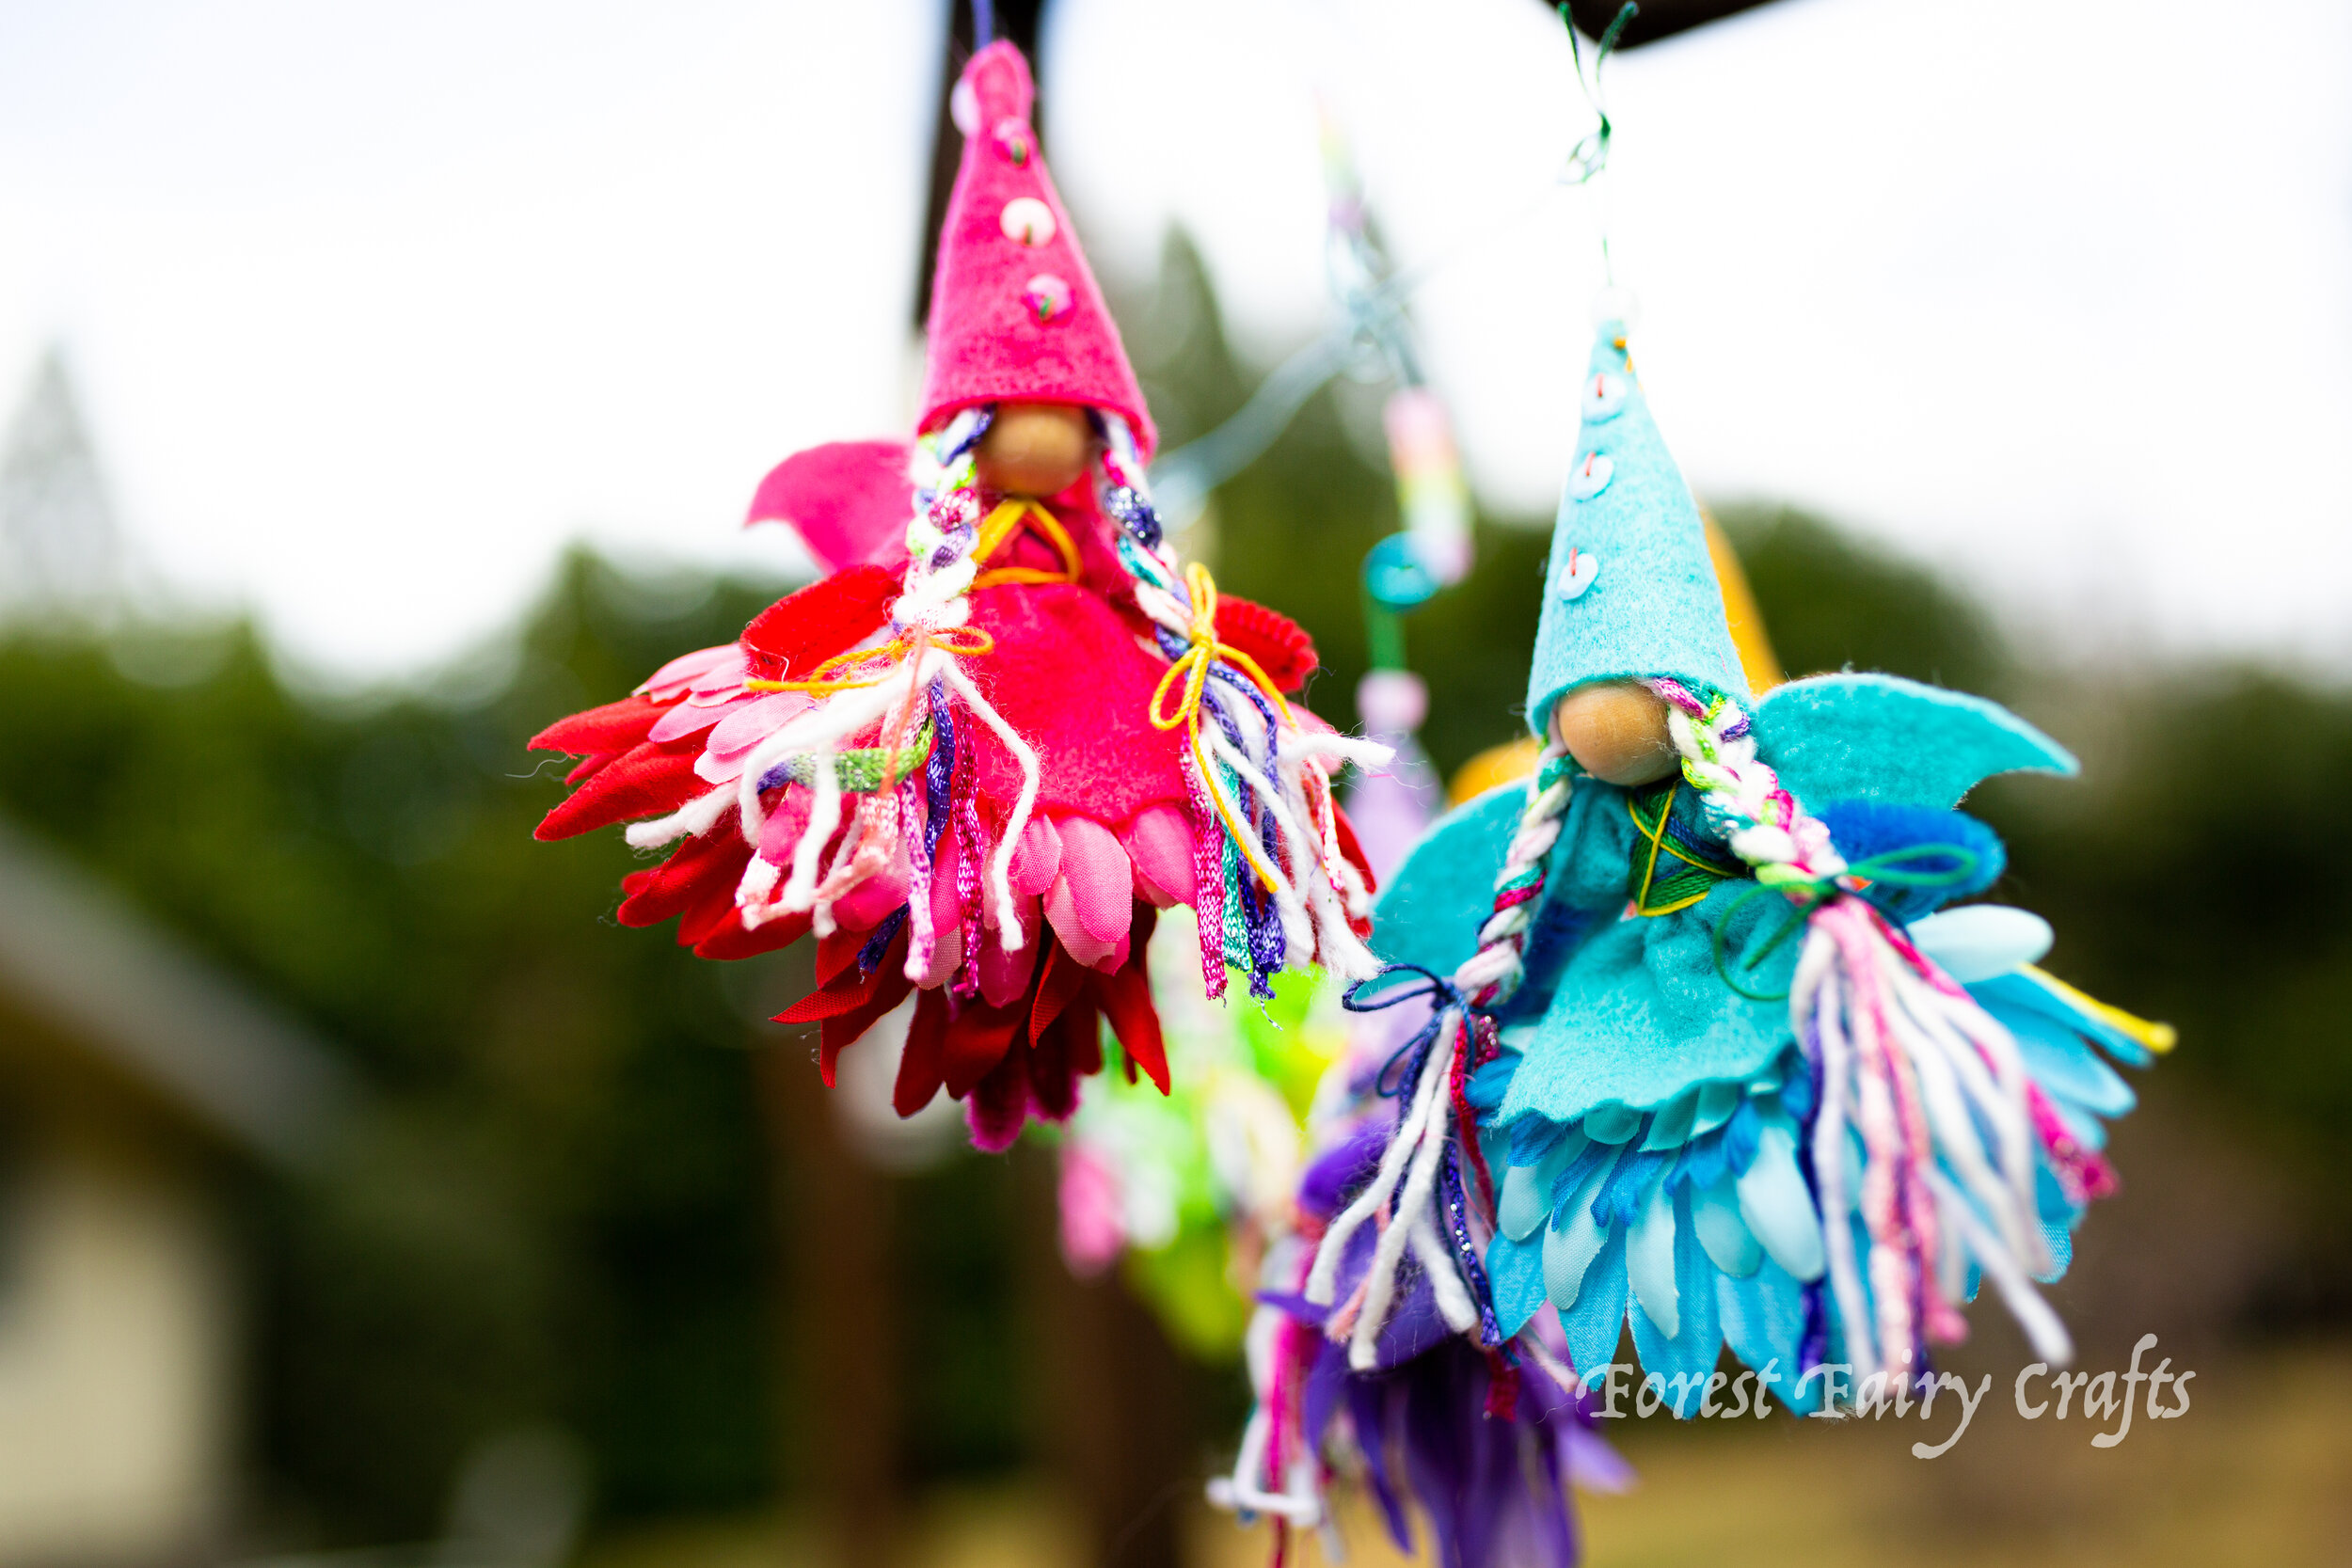
We first cut the hats and dresses. She sewed the hats. We encountered a challenge with wings because she wanted the wings to match and I didn’t have perfectly matched wire ribbon in all the colors of the rainbow.
At this moment, I let her think about potential solutions- which is a fantastic learning opportunity for children. I could have said, “Oh, we can cut wings,” but it was a perfect opportunity for her to consider options. And weigh feasibility. Dying ribbon? Whelp, I didn’t have dye either. It took some time before cutting wings was offered. And, again, I could have said, “Great, let’s get a pattern,” but instead I asked her how we could do that. And she decided she wanted to design her own wings. I showed her the patterns that we use for Bumblebee and Love Fairies. She thought about it and decided she wanted her own shape.
So I told her how we design wings by thinking about the shape, then making sure the shape has enough thickness to connect in the back. We draw half of the wings on paper, fold, then cut it to see if the size and shape works before using felt. It took a few tries for her design to “work”. The first was too small and another with lots of little details. We also talk about material because things that look great on paper won’t work on felt. Especially craft-quality felt doesn’t hold little zig-zags or edging very well.

After her paper wings passed the “testing phase” with paper, we cut out a set of wings and tried it to see how it worked. Perfect!
My photo collection doesn’t have a great perspective from the back of a fairy to see her wing design, but hopefully, this one shares the idea of her wing shapes. We did need to adjust a little because the felt didn’t hold the shape that well (wool felt would have been better for these wings because it holds shapes better but, by this phase, we had already sewn hats).
We decided to mix a rainbow yarn with white yard (like clouds) to give continuity between the fairies. I use floral wire, which is quite soft and easy to bend, to create the mobile’s frame. The last step is that I give each end of the wire a swirl, and a loop on a fairy’s hat, so they can be removed for play. It’s a lovely decoration that invites creative play. After all, what could be more fun that watching rainbow fairies fly overhead? Playing with them!

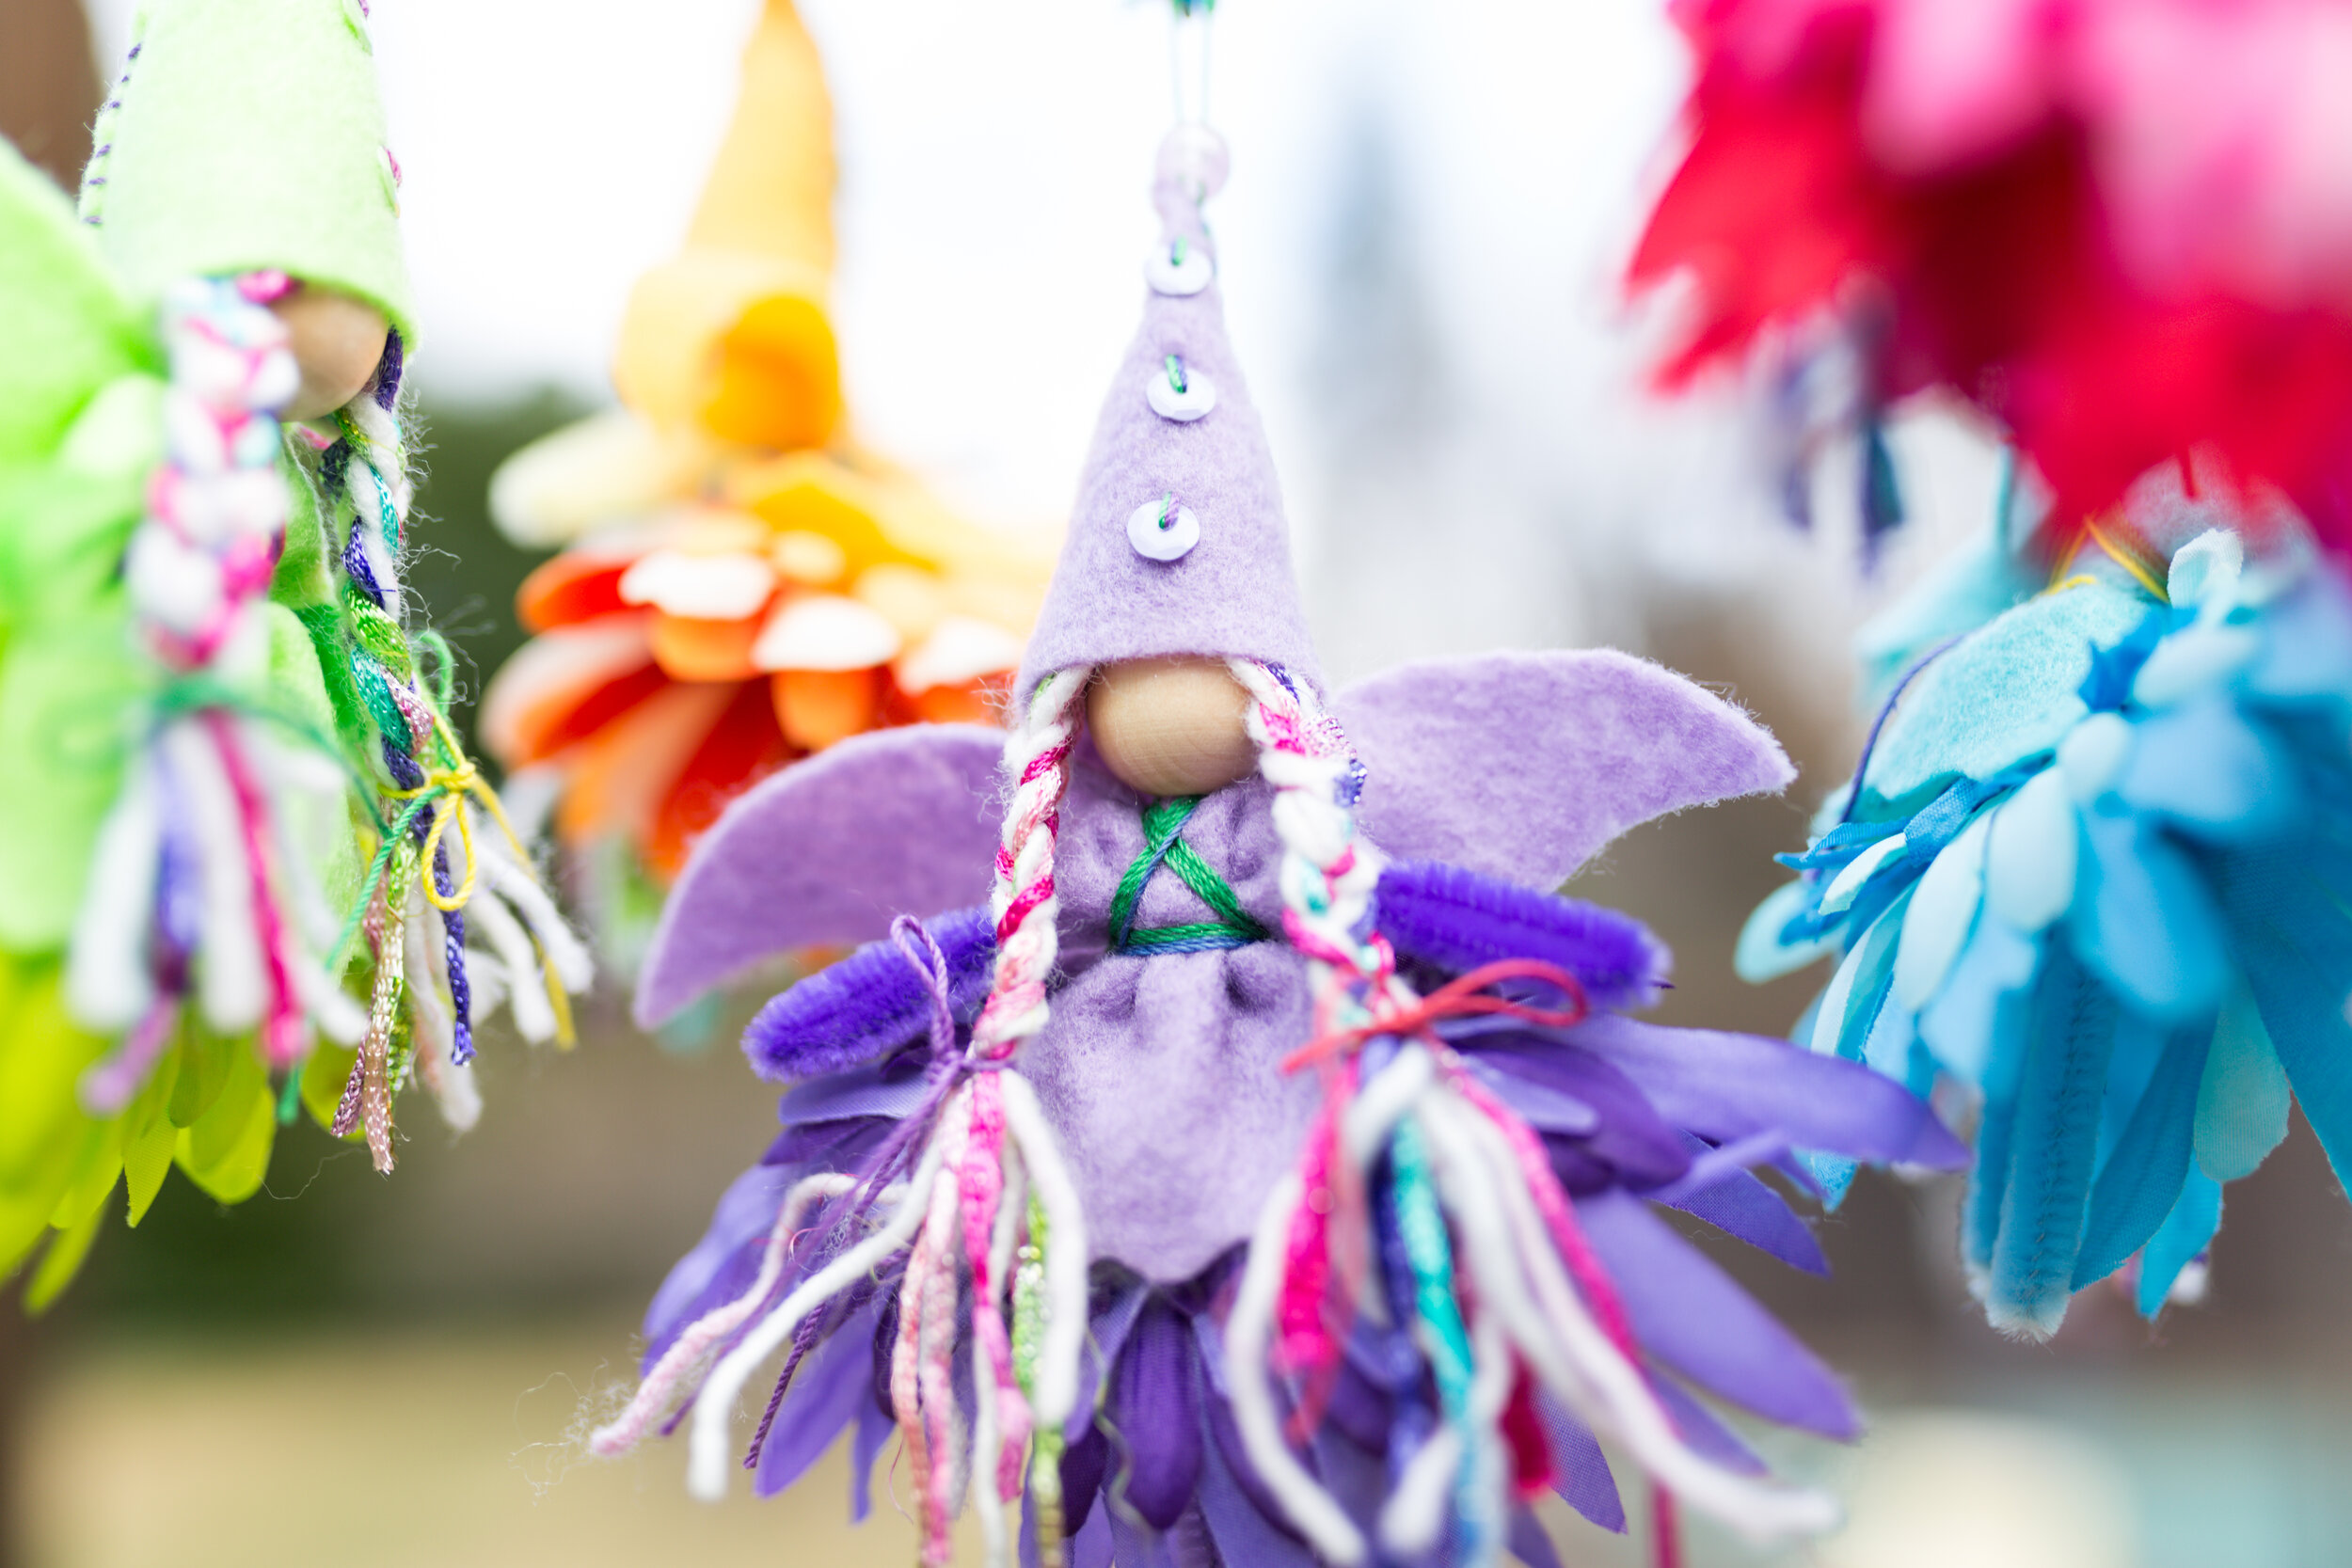

Wishing you plenty of fairy magic today! And rainbows too 🌈