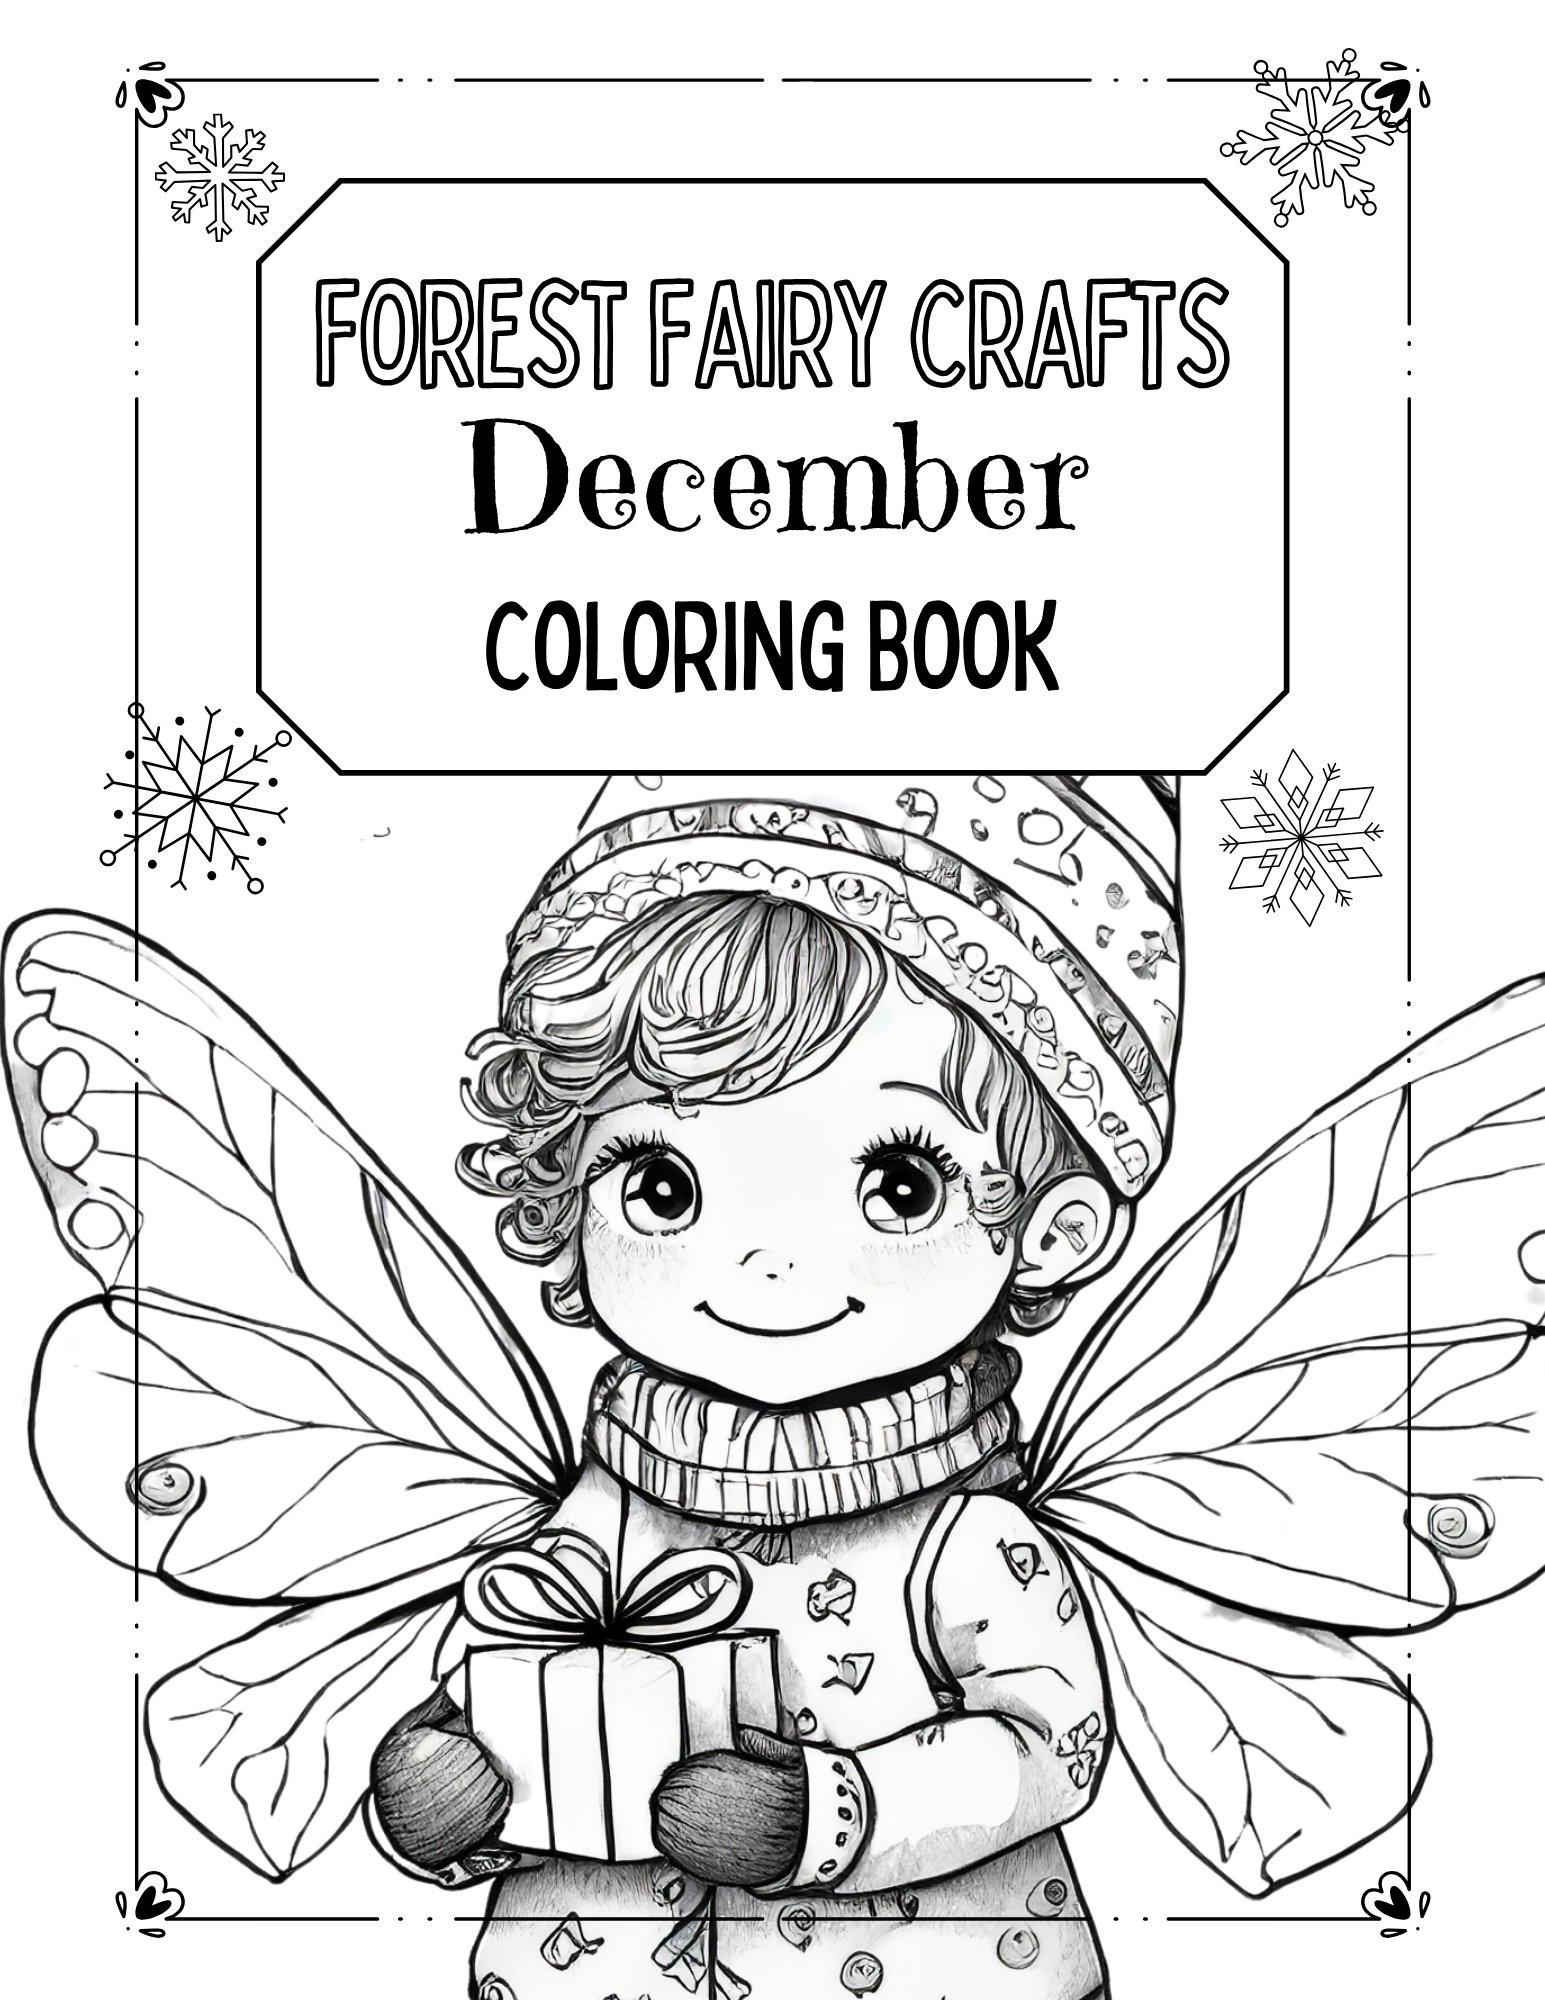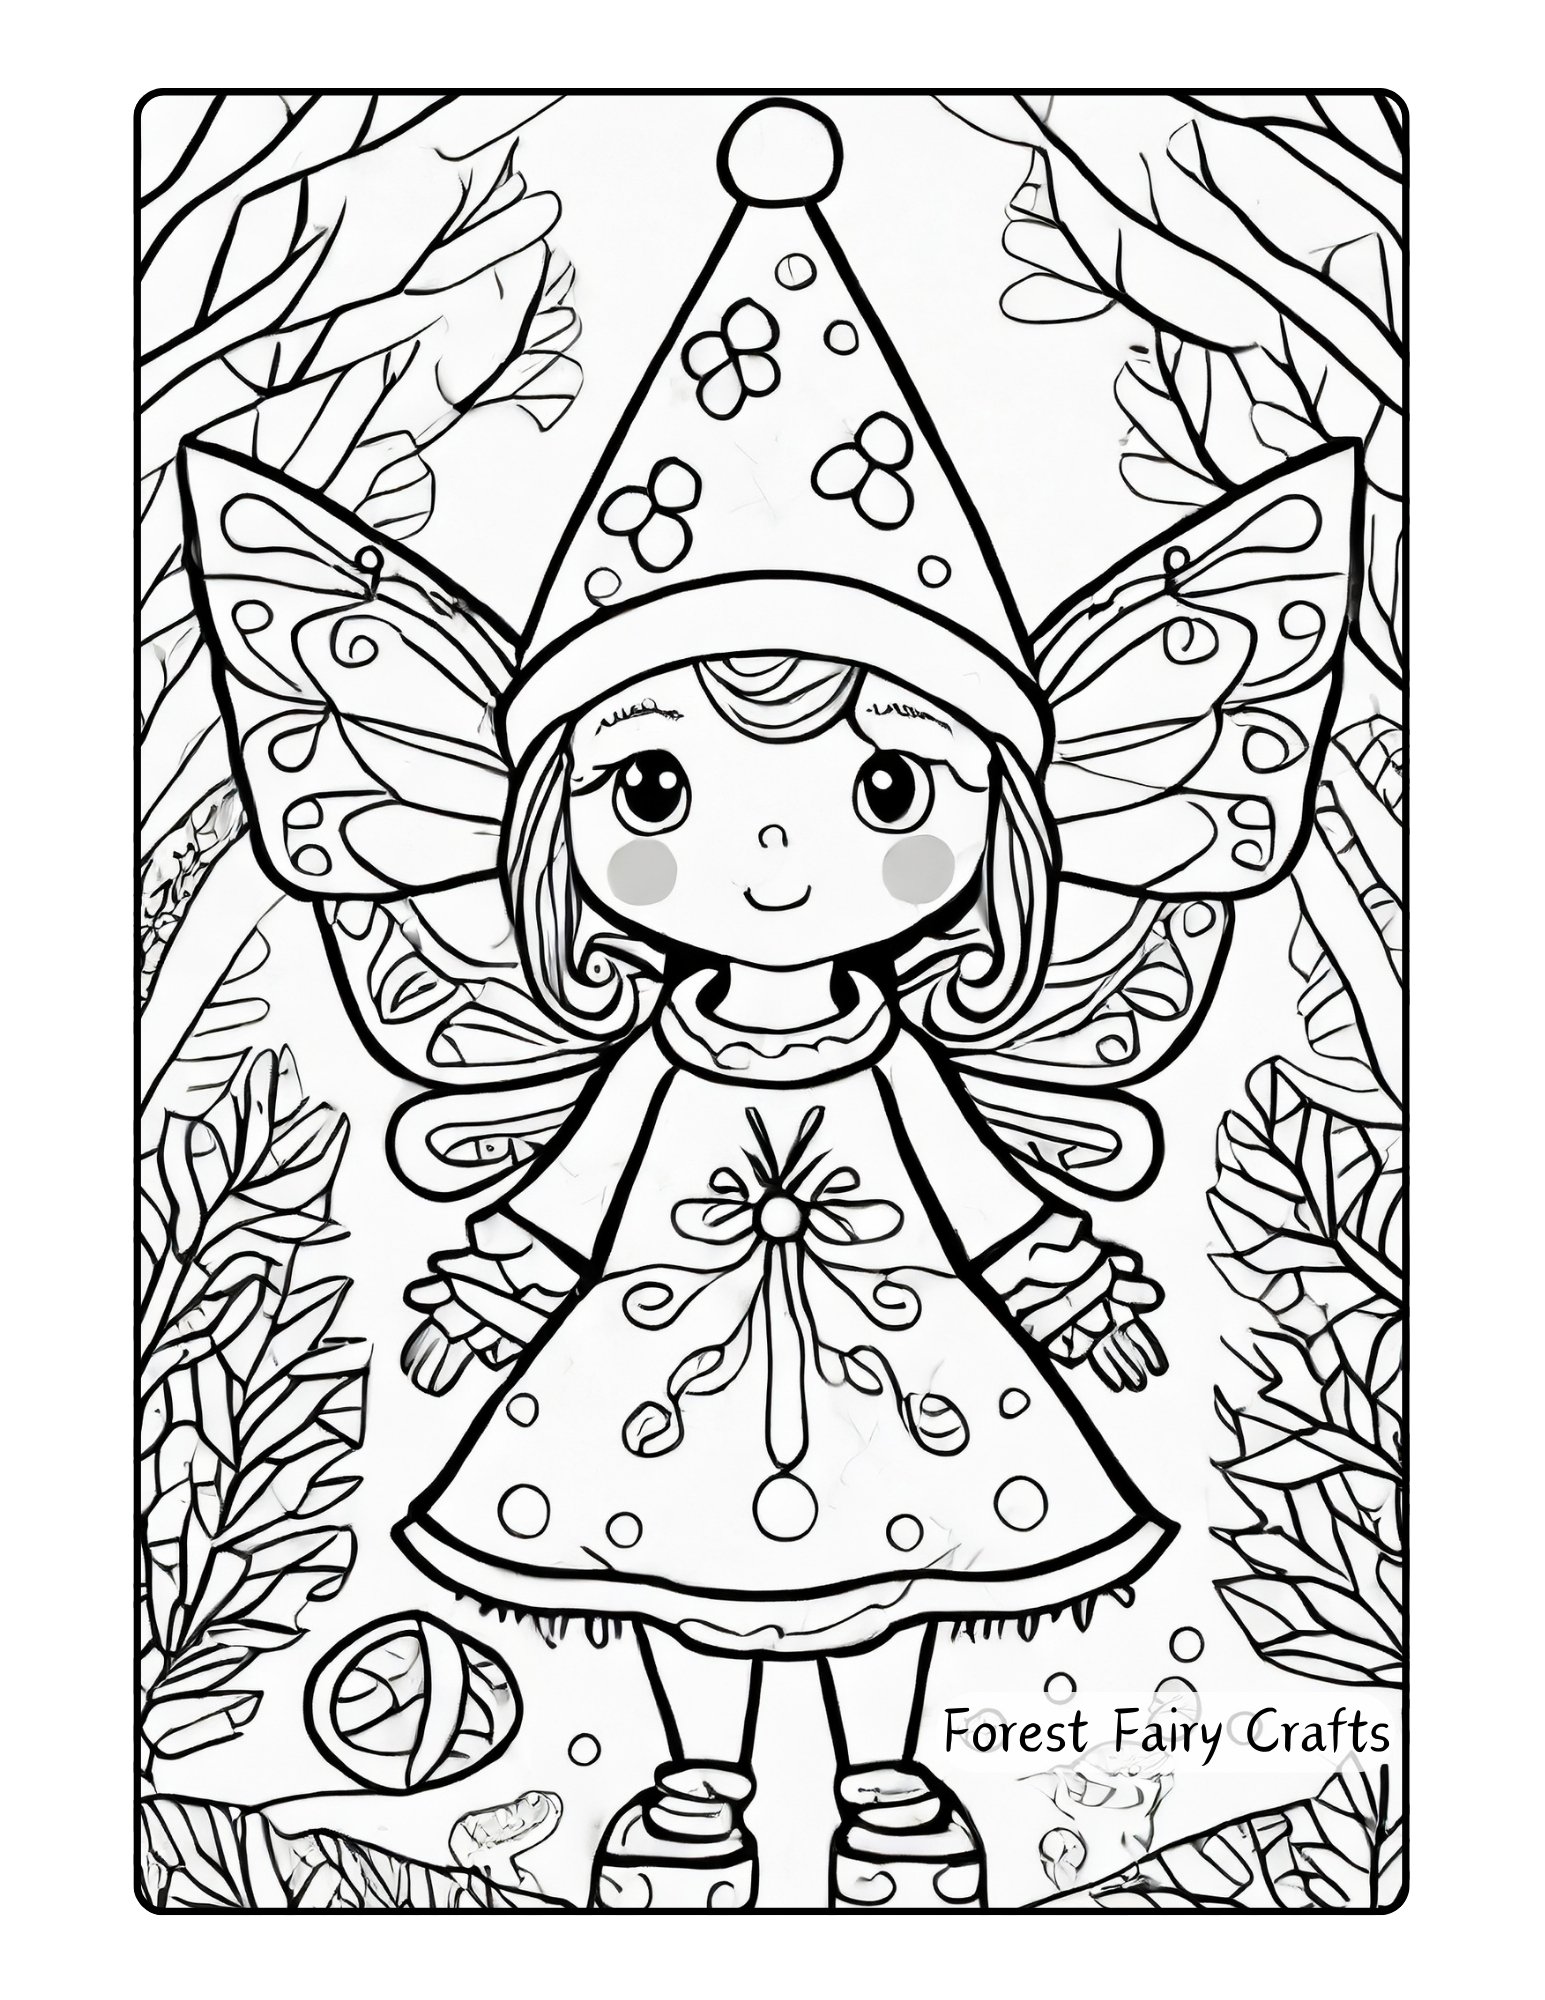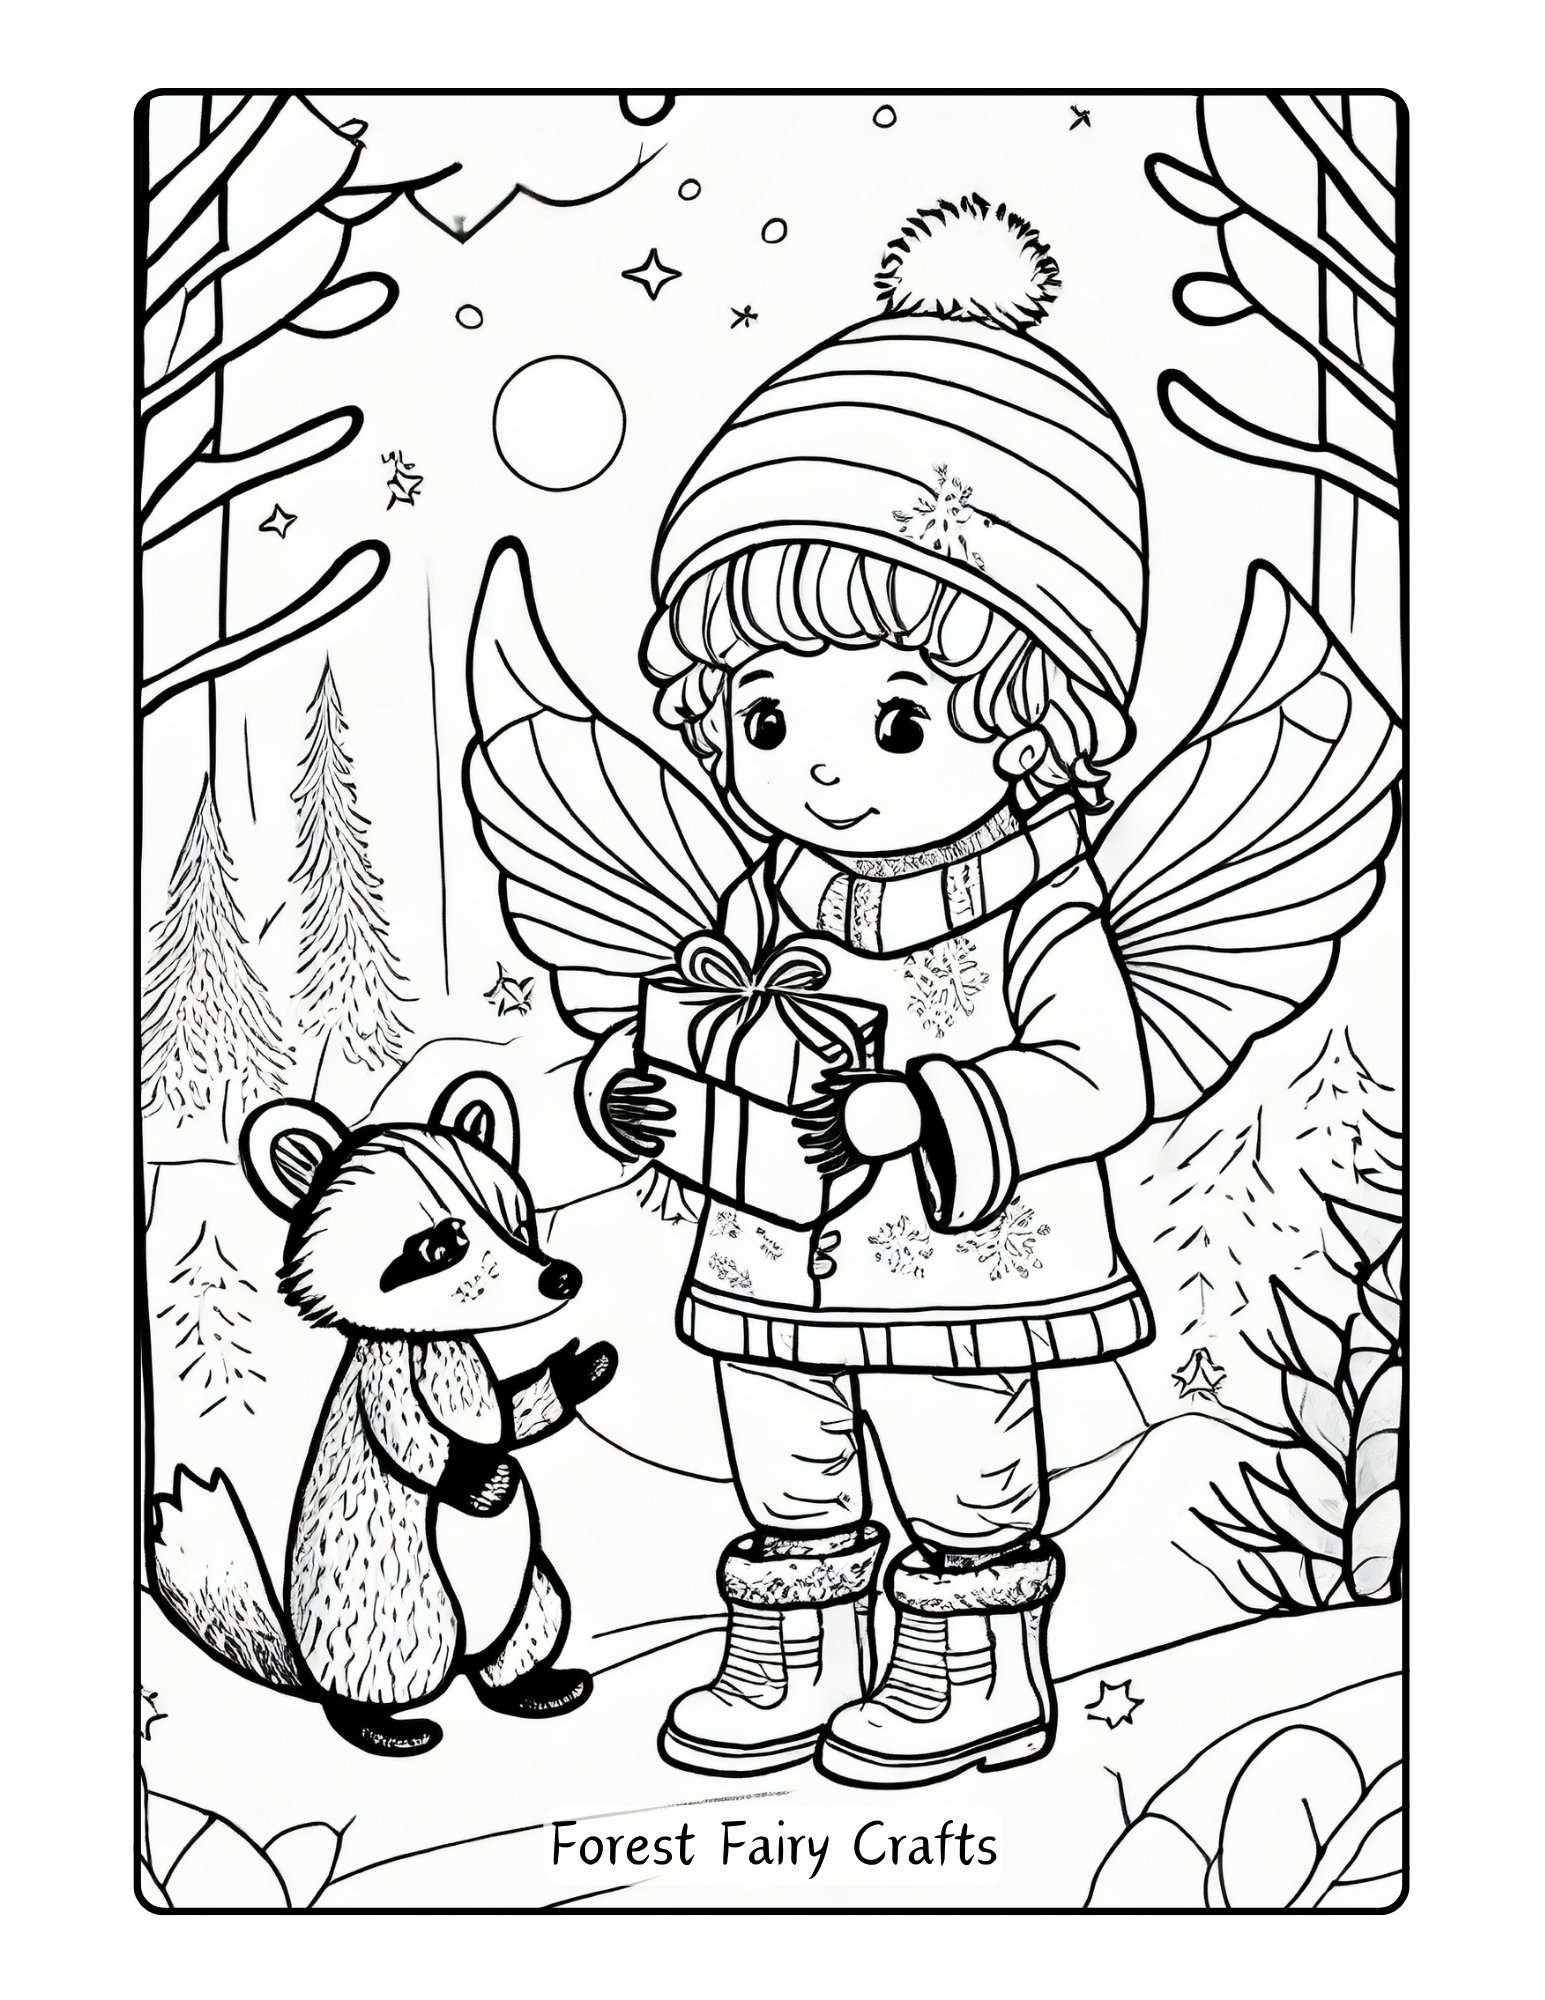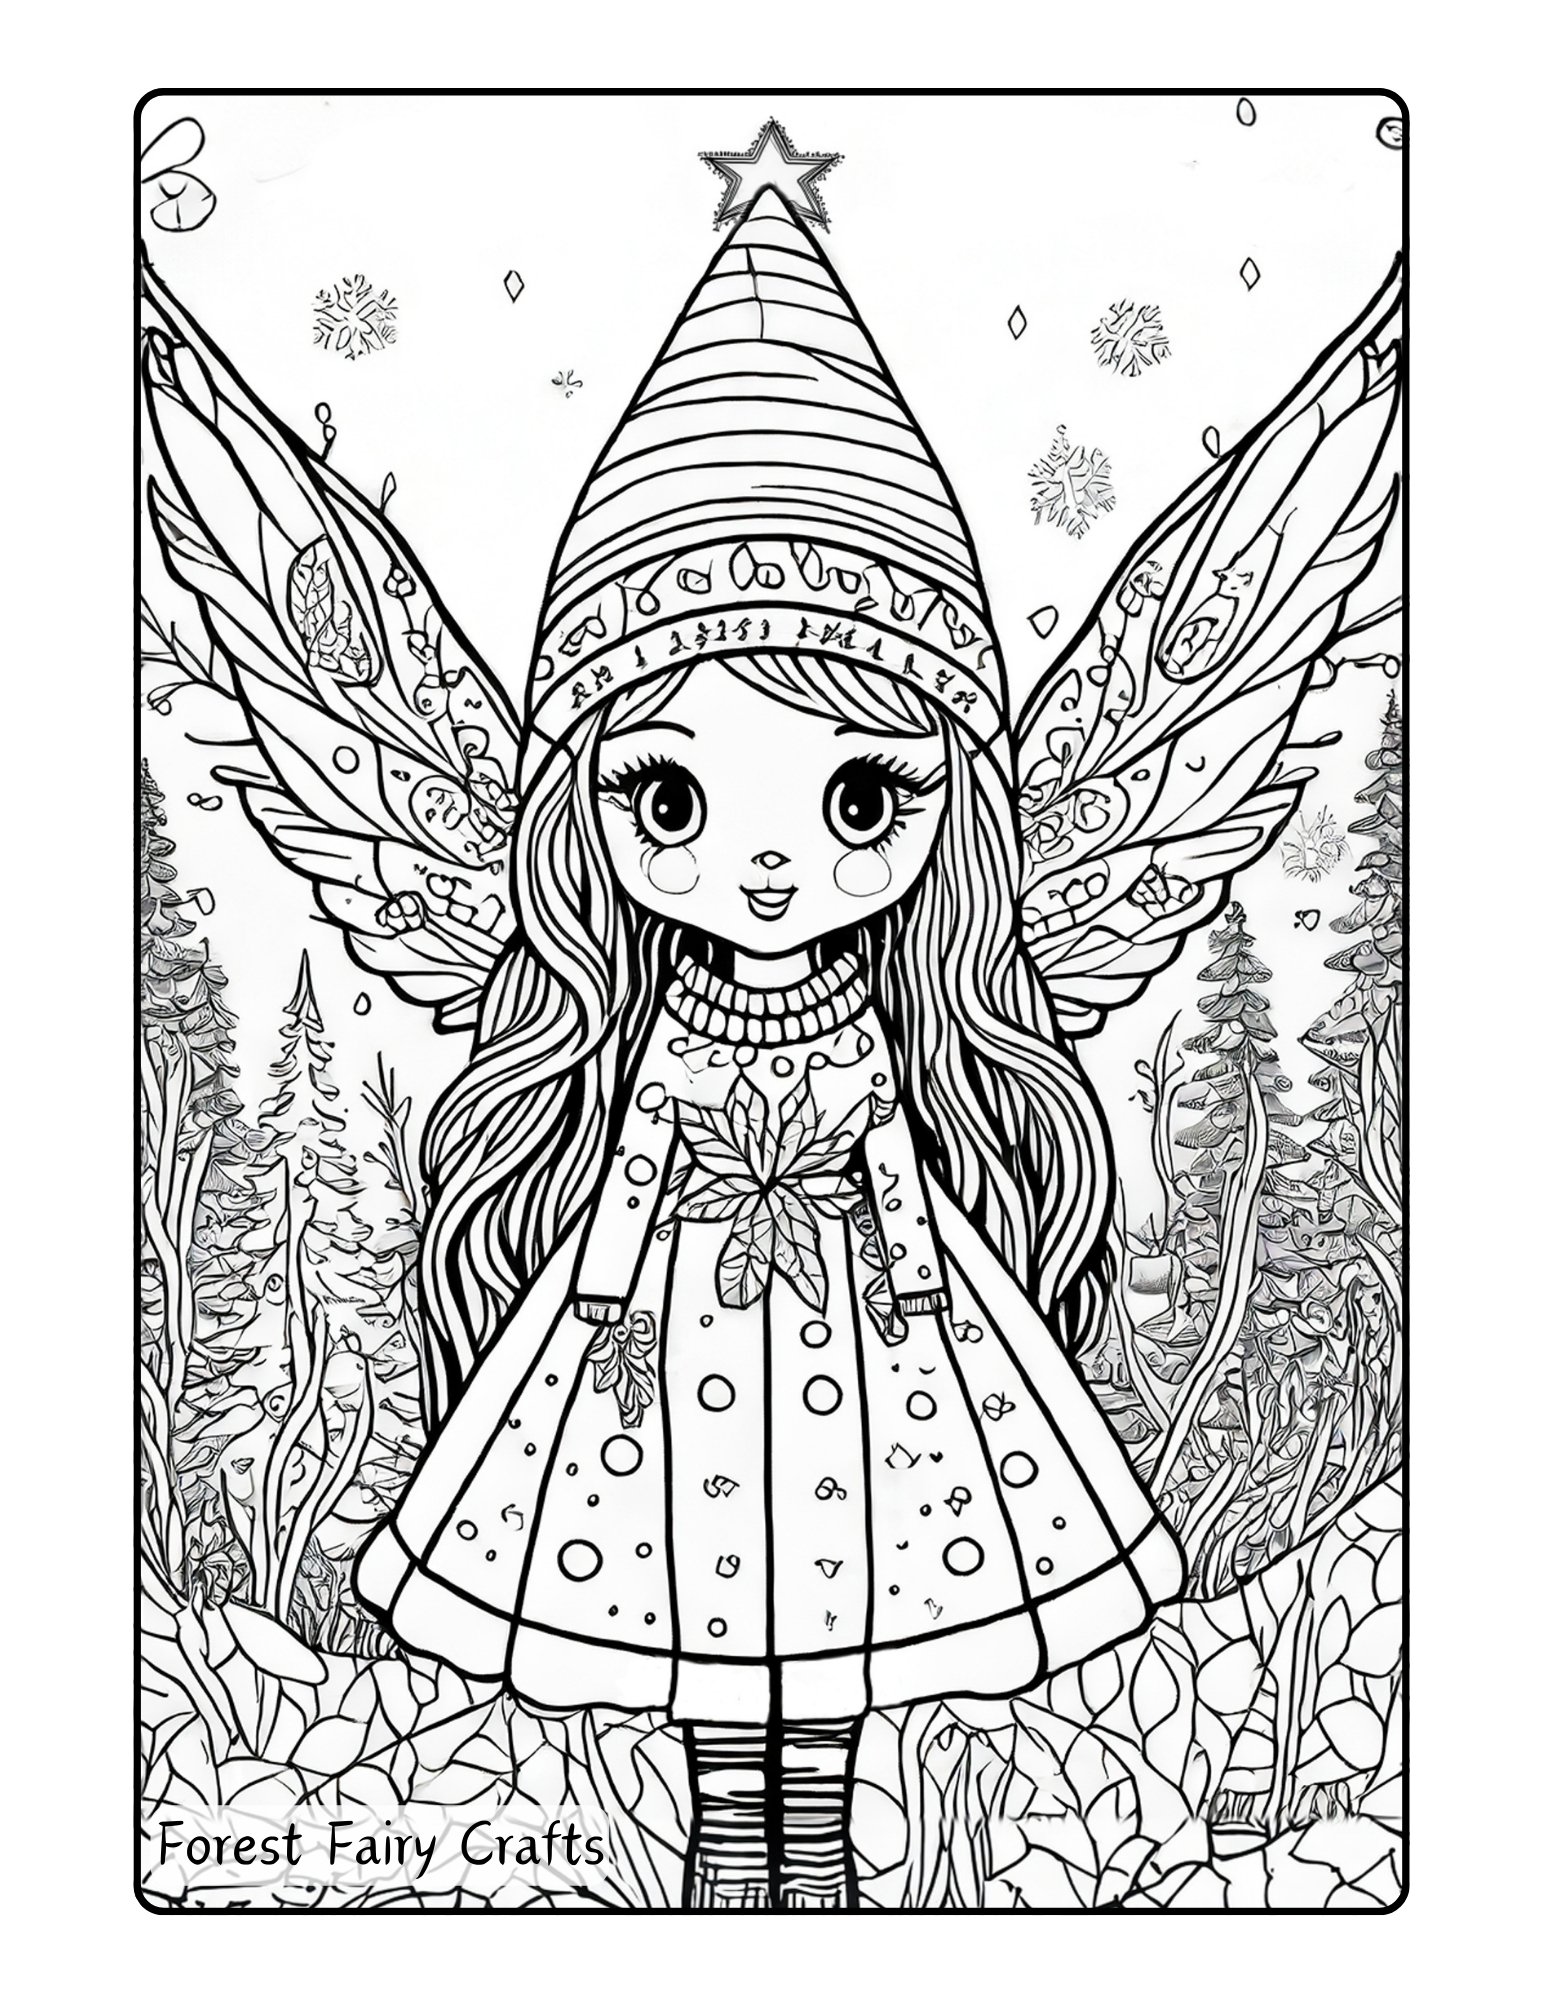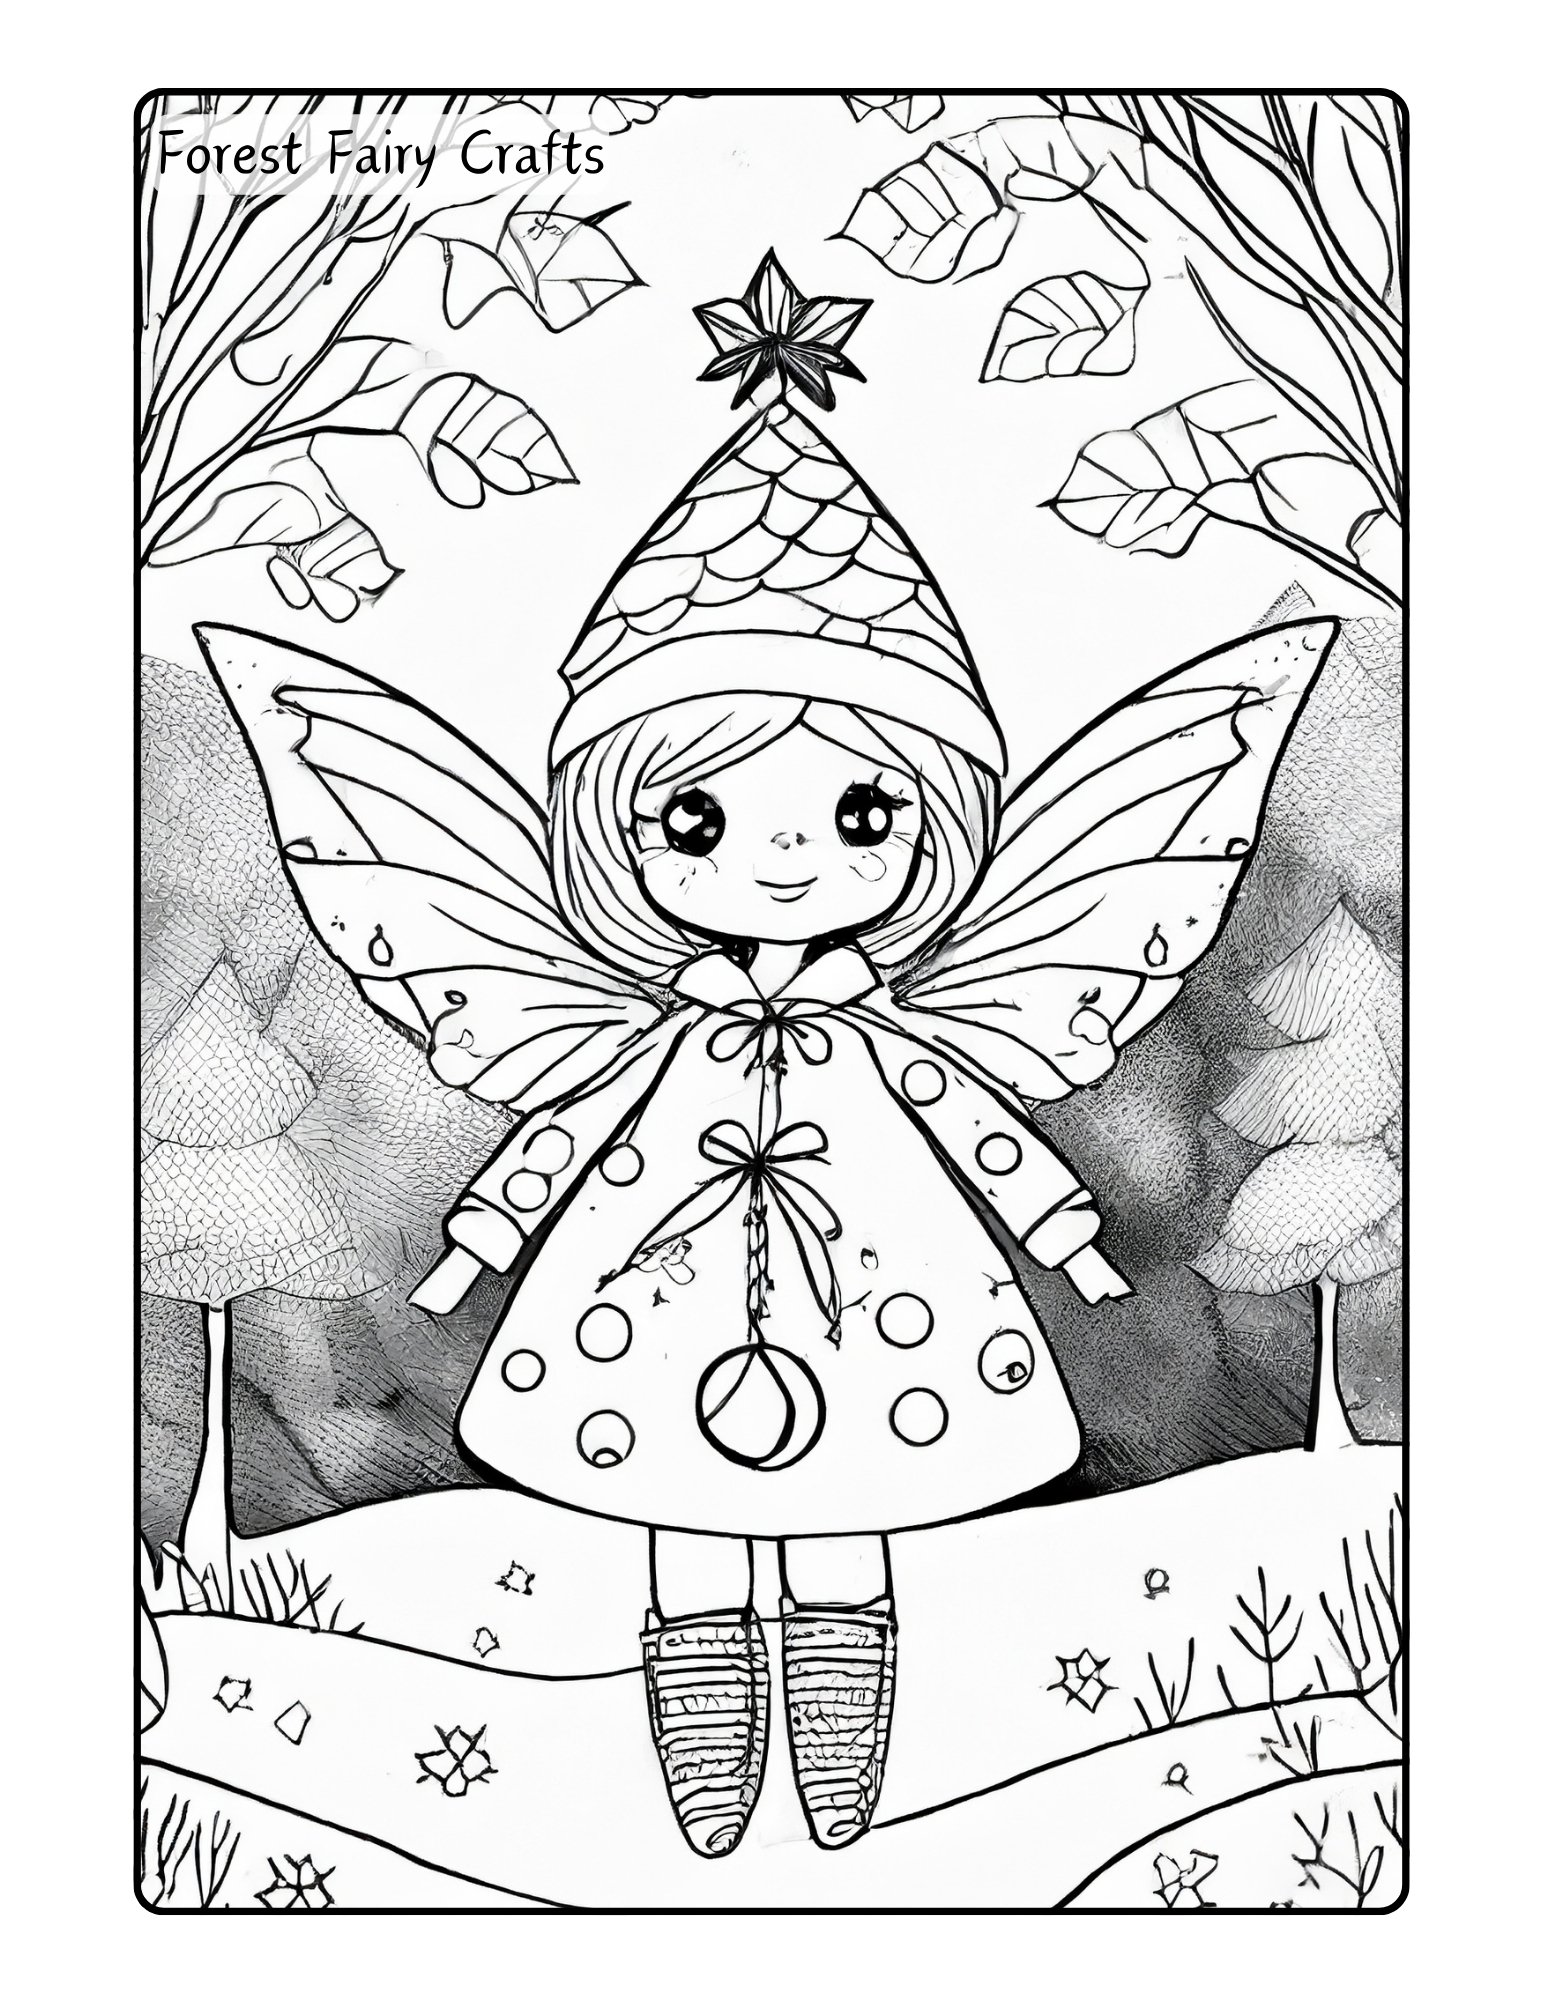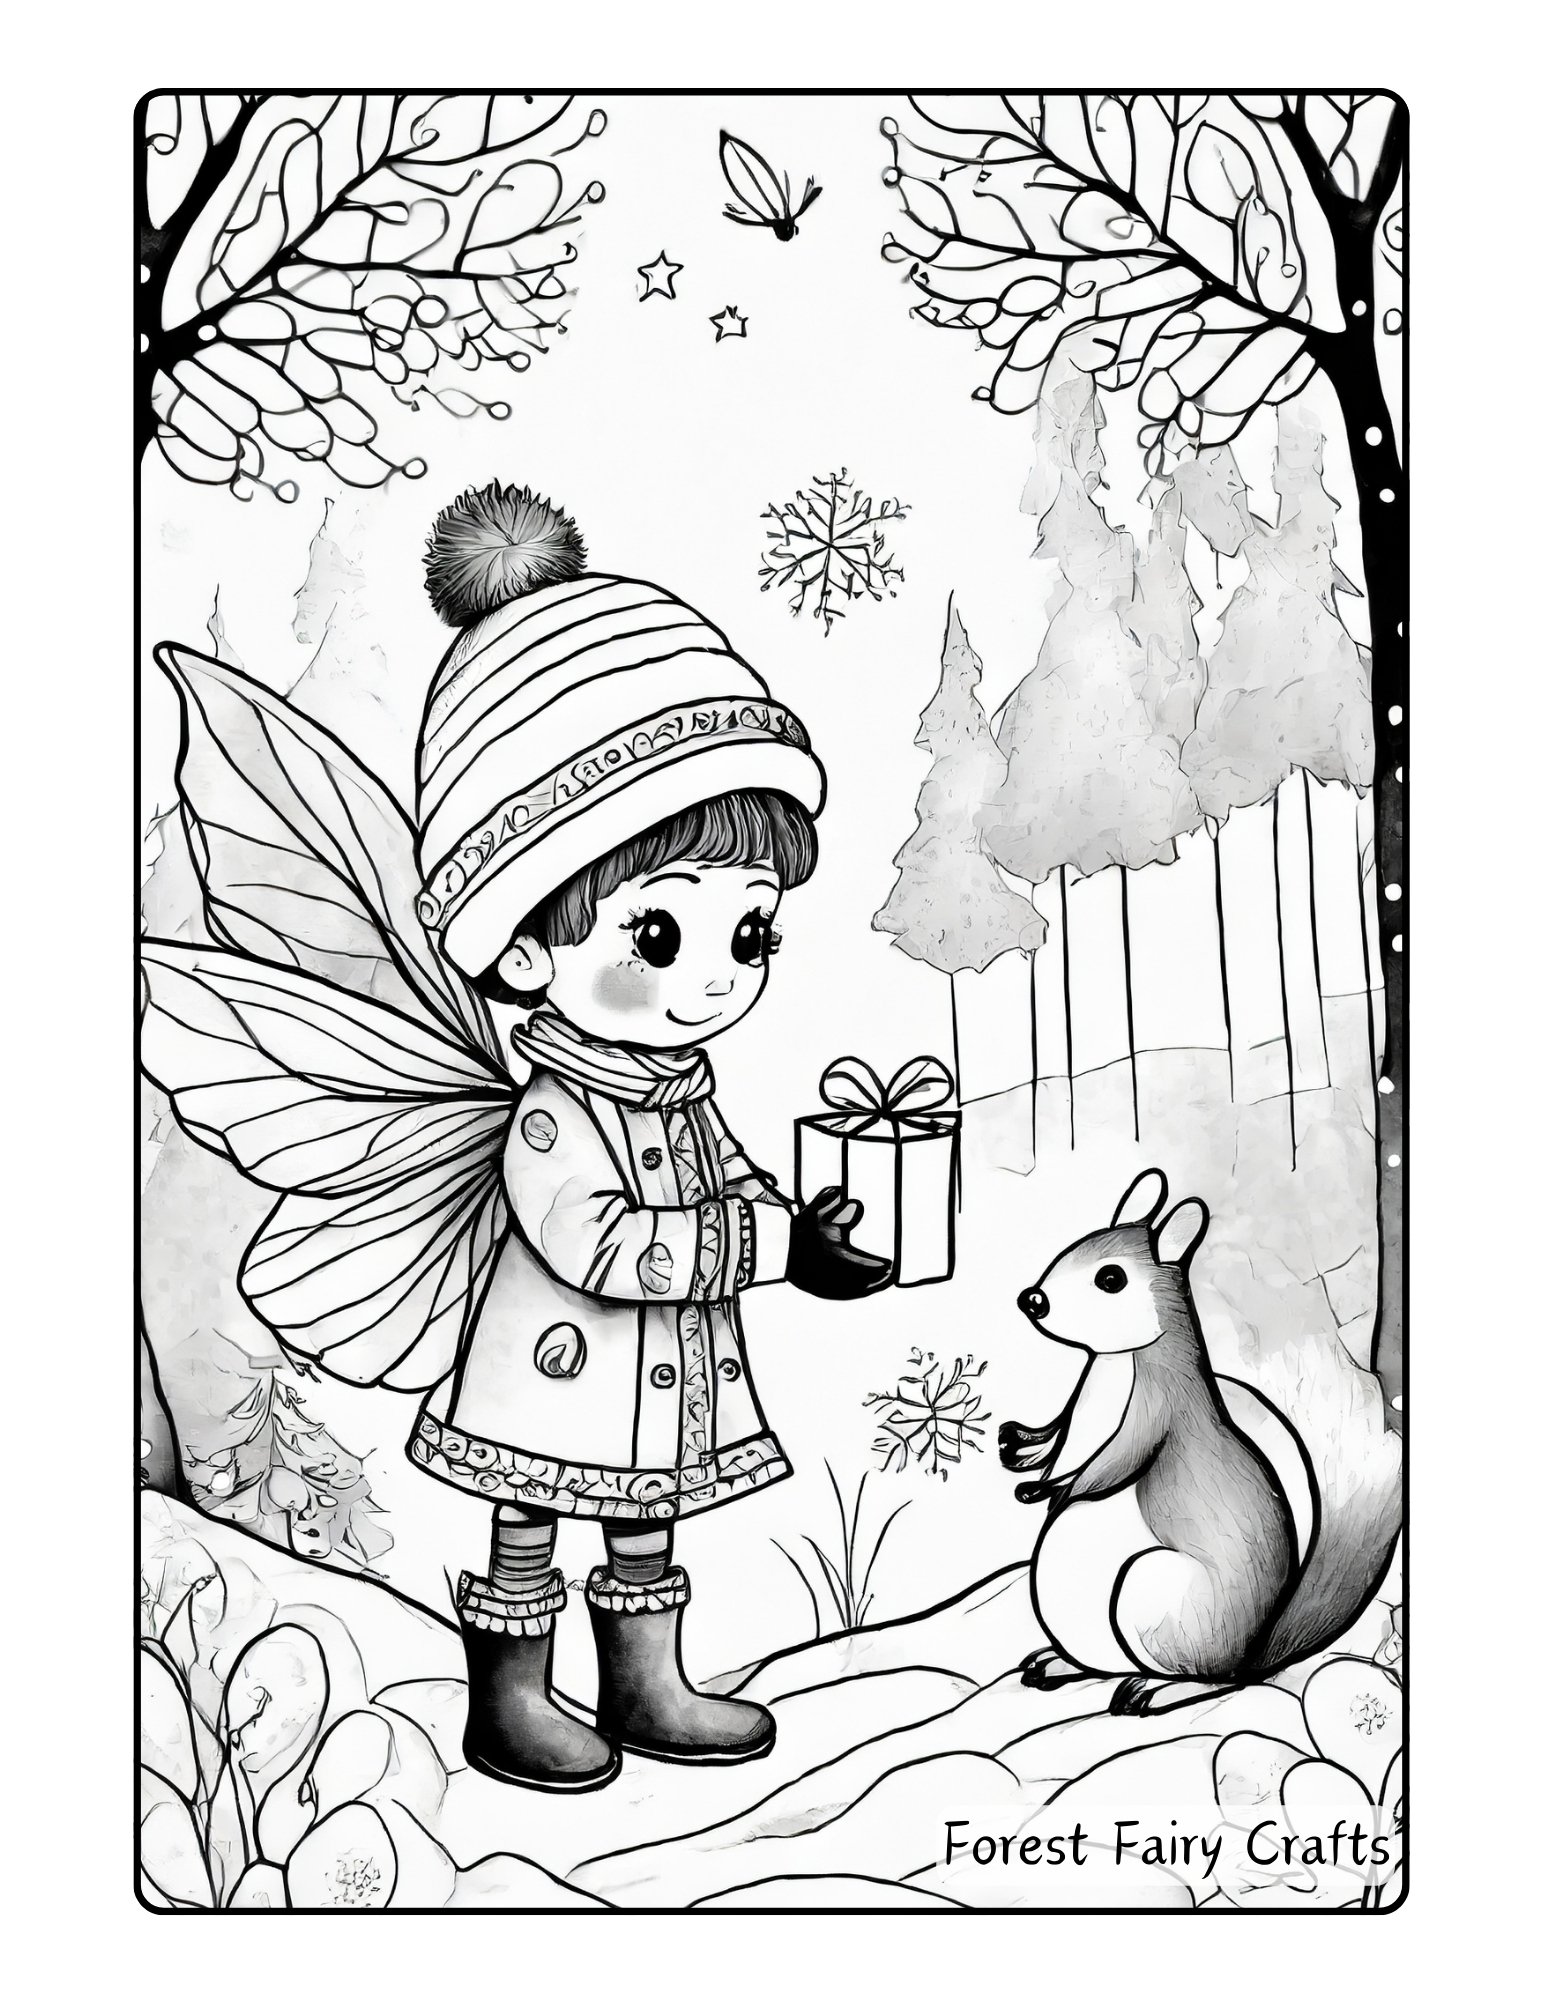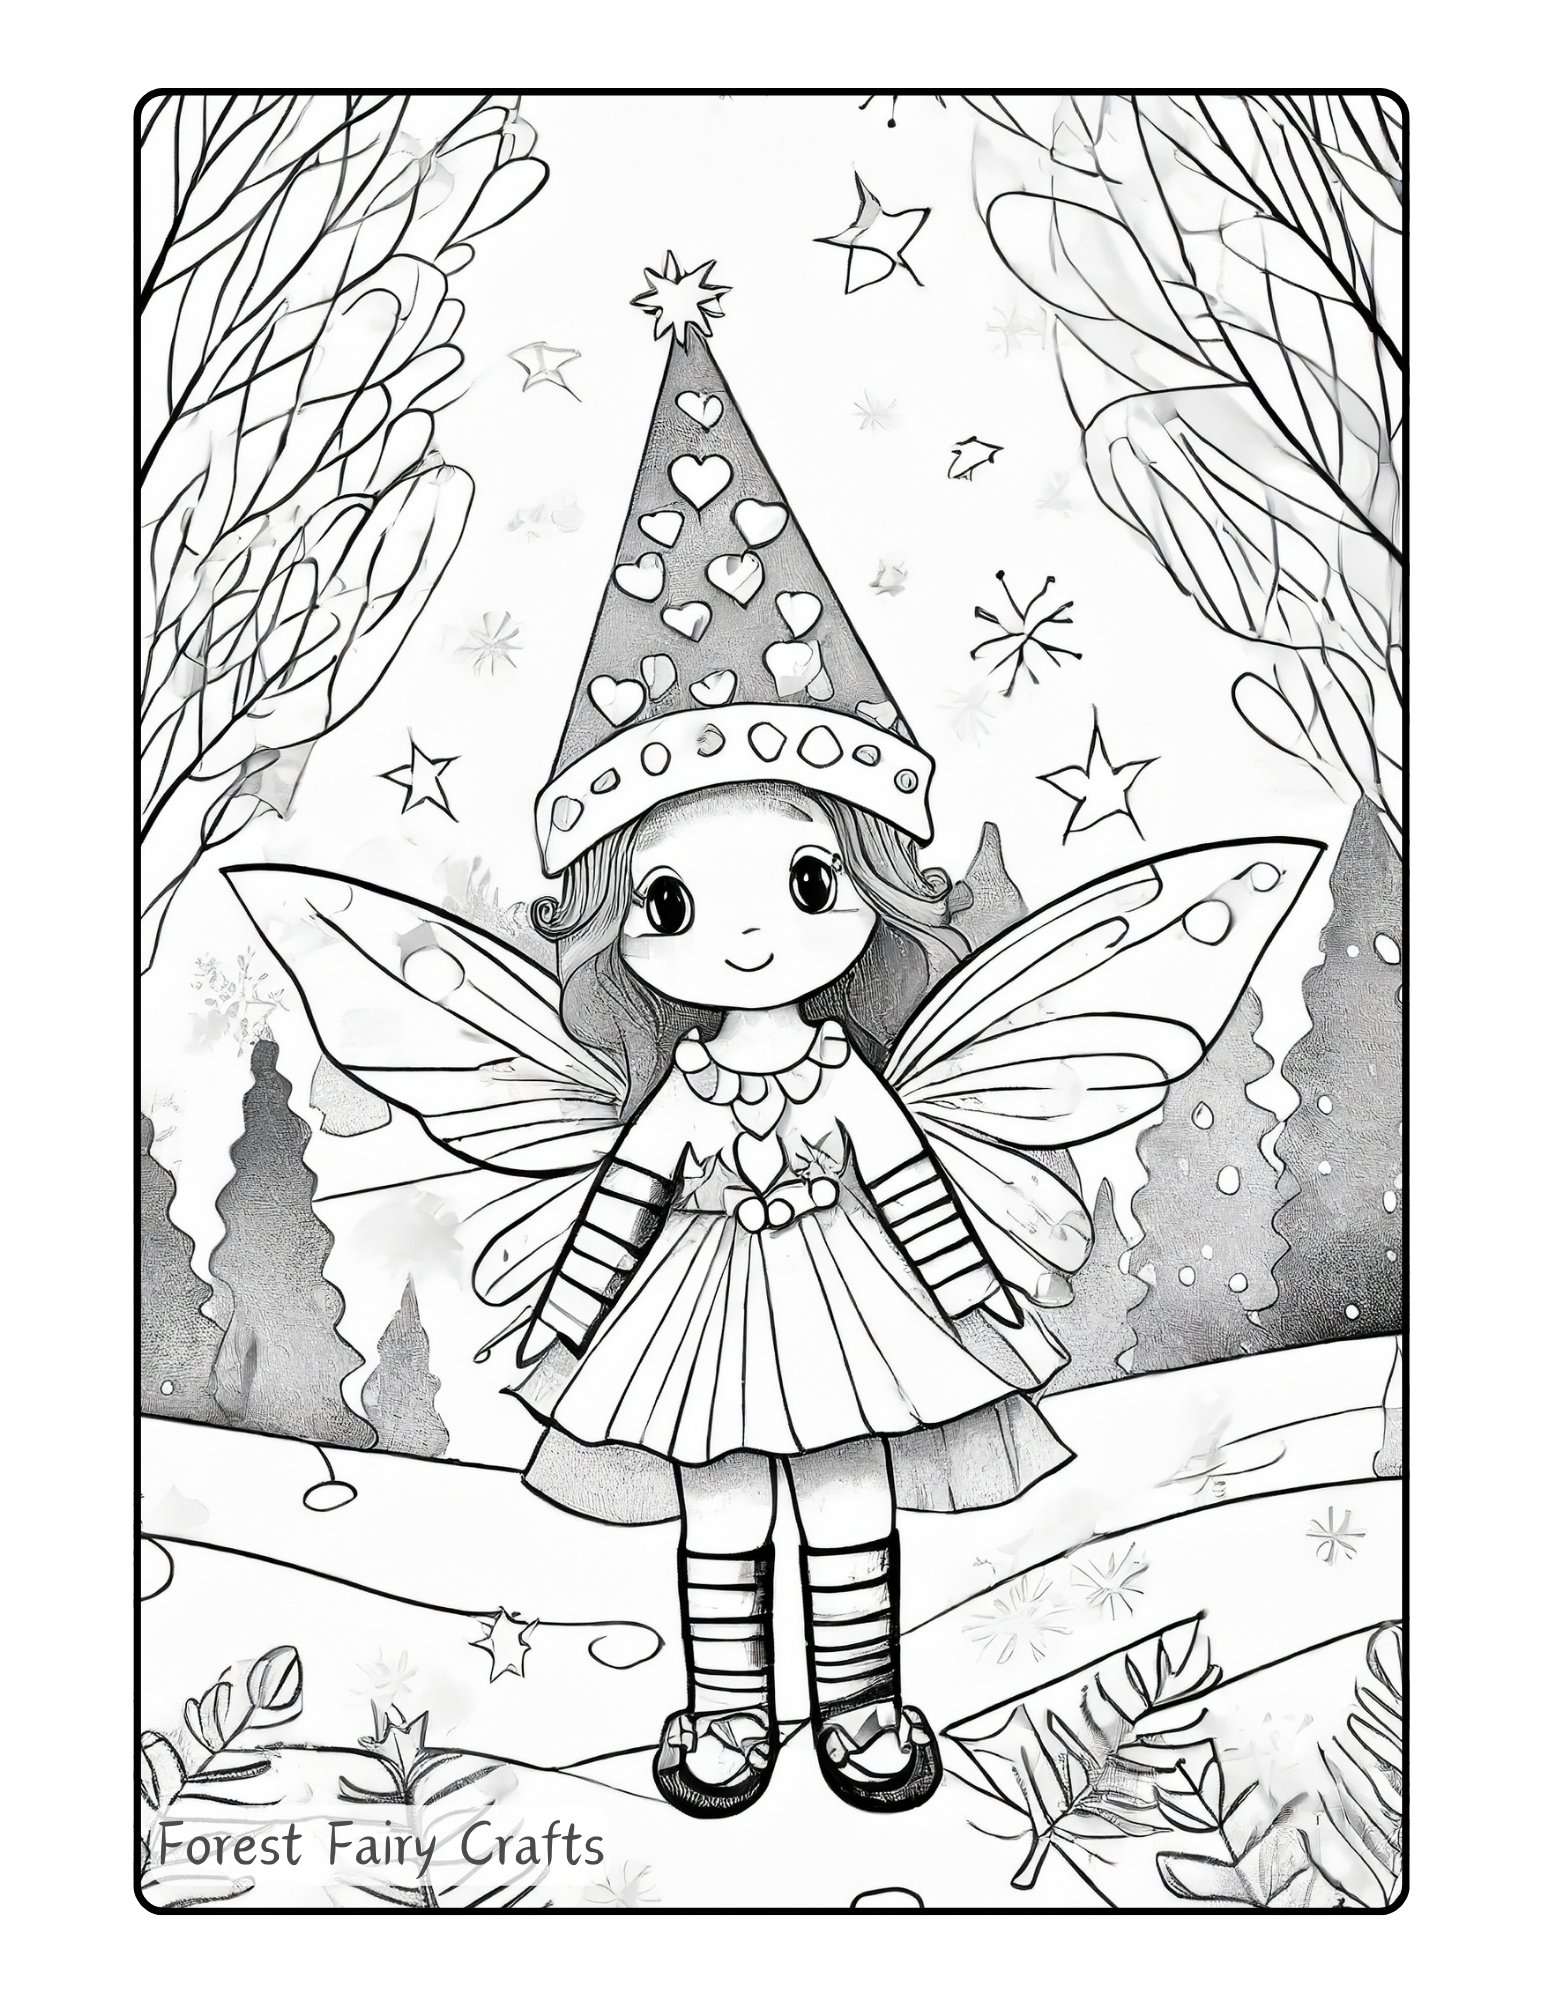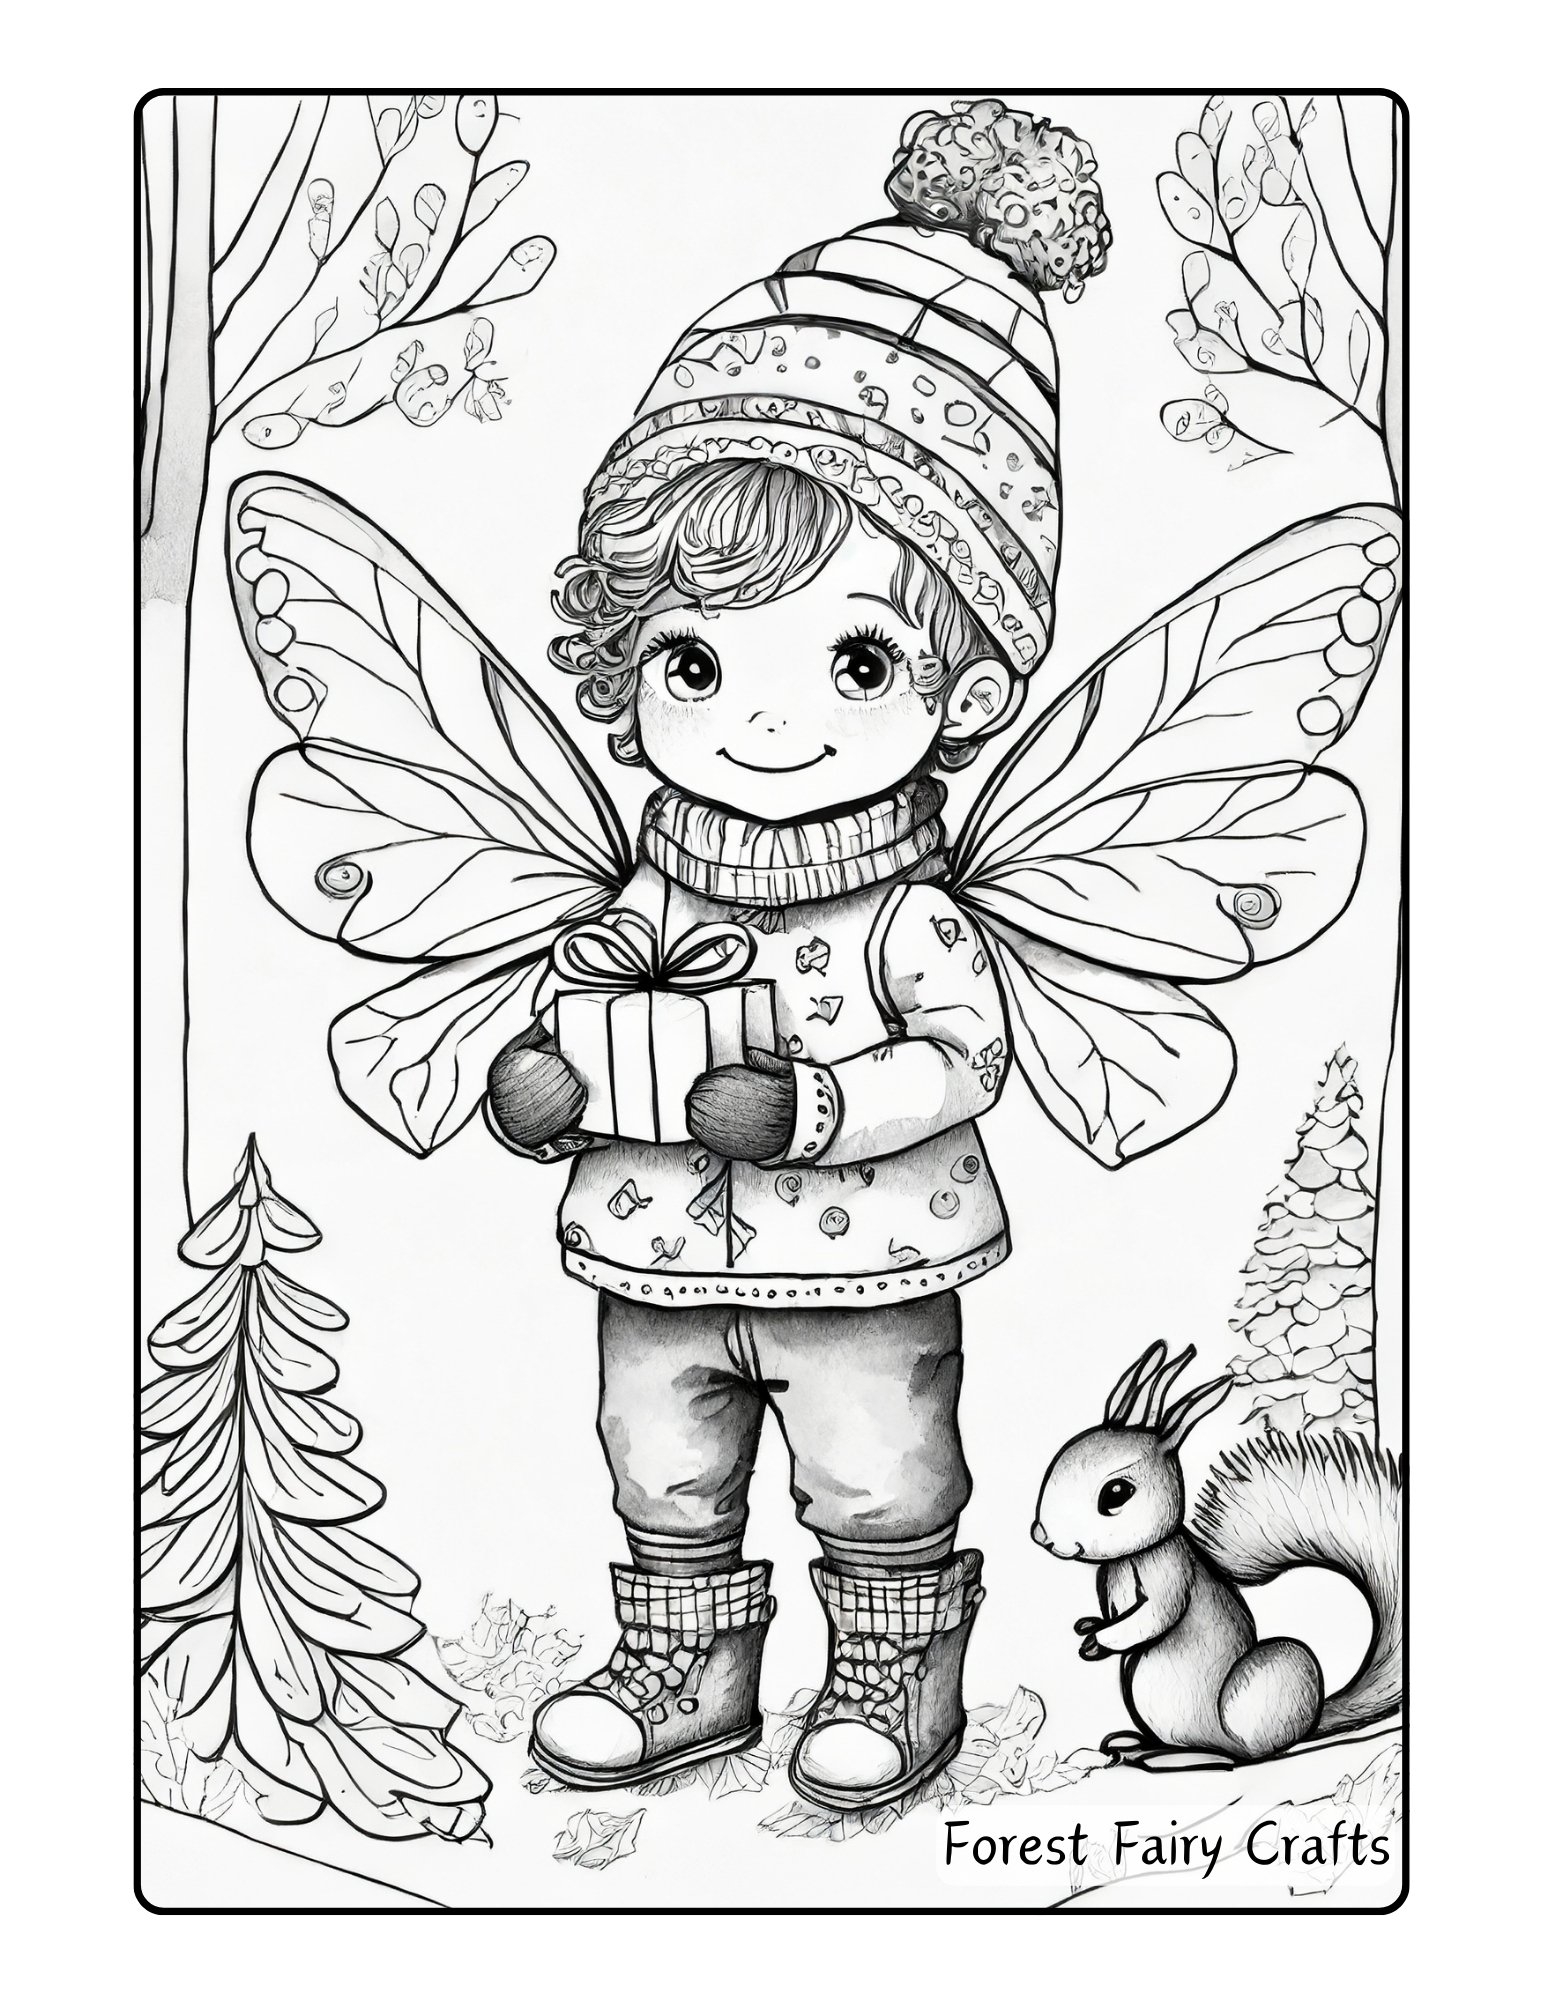
Coloring Book Pages for December
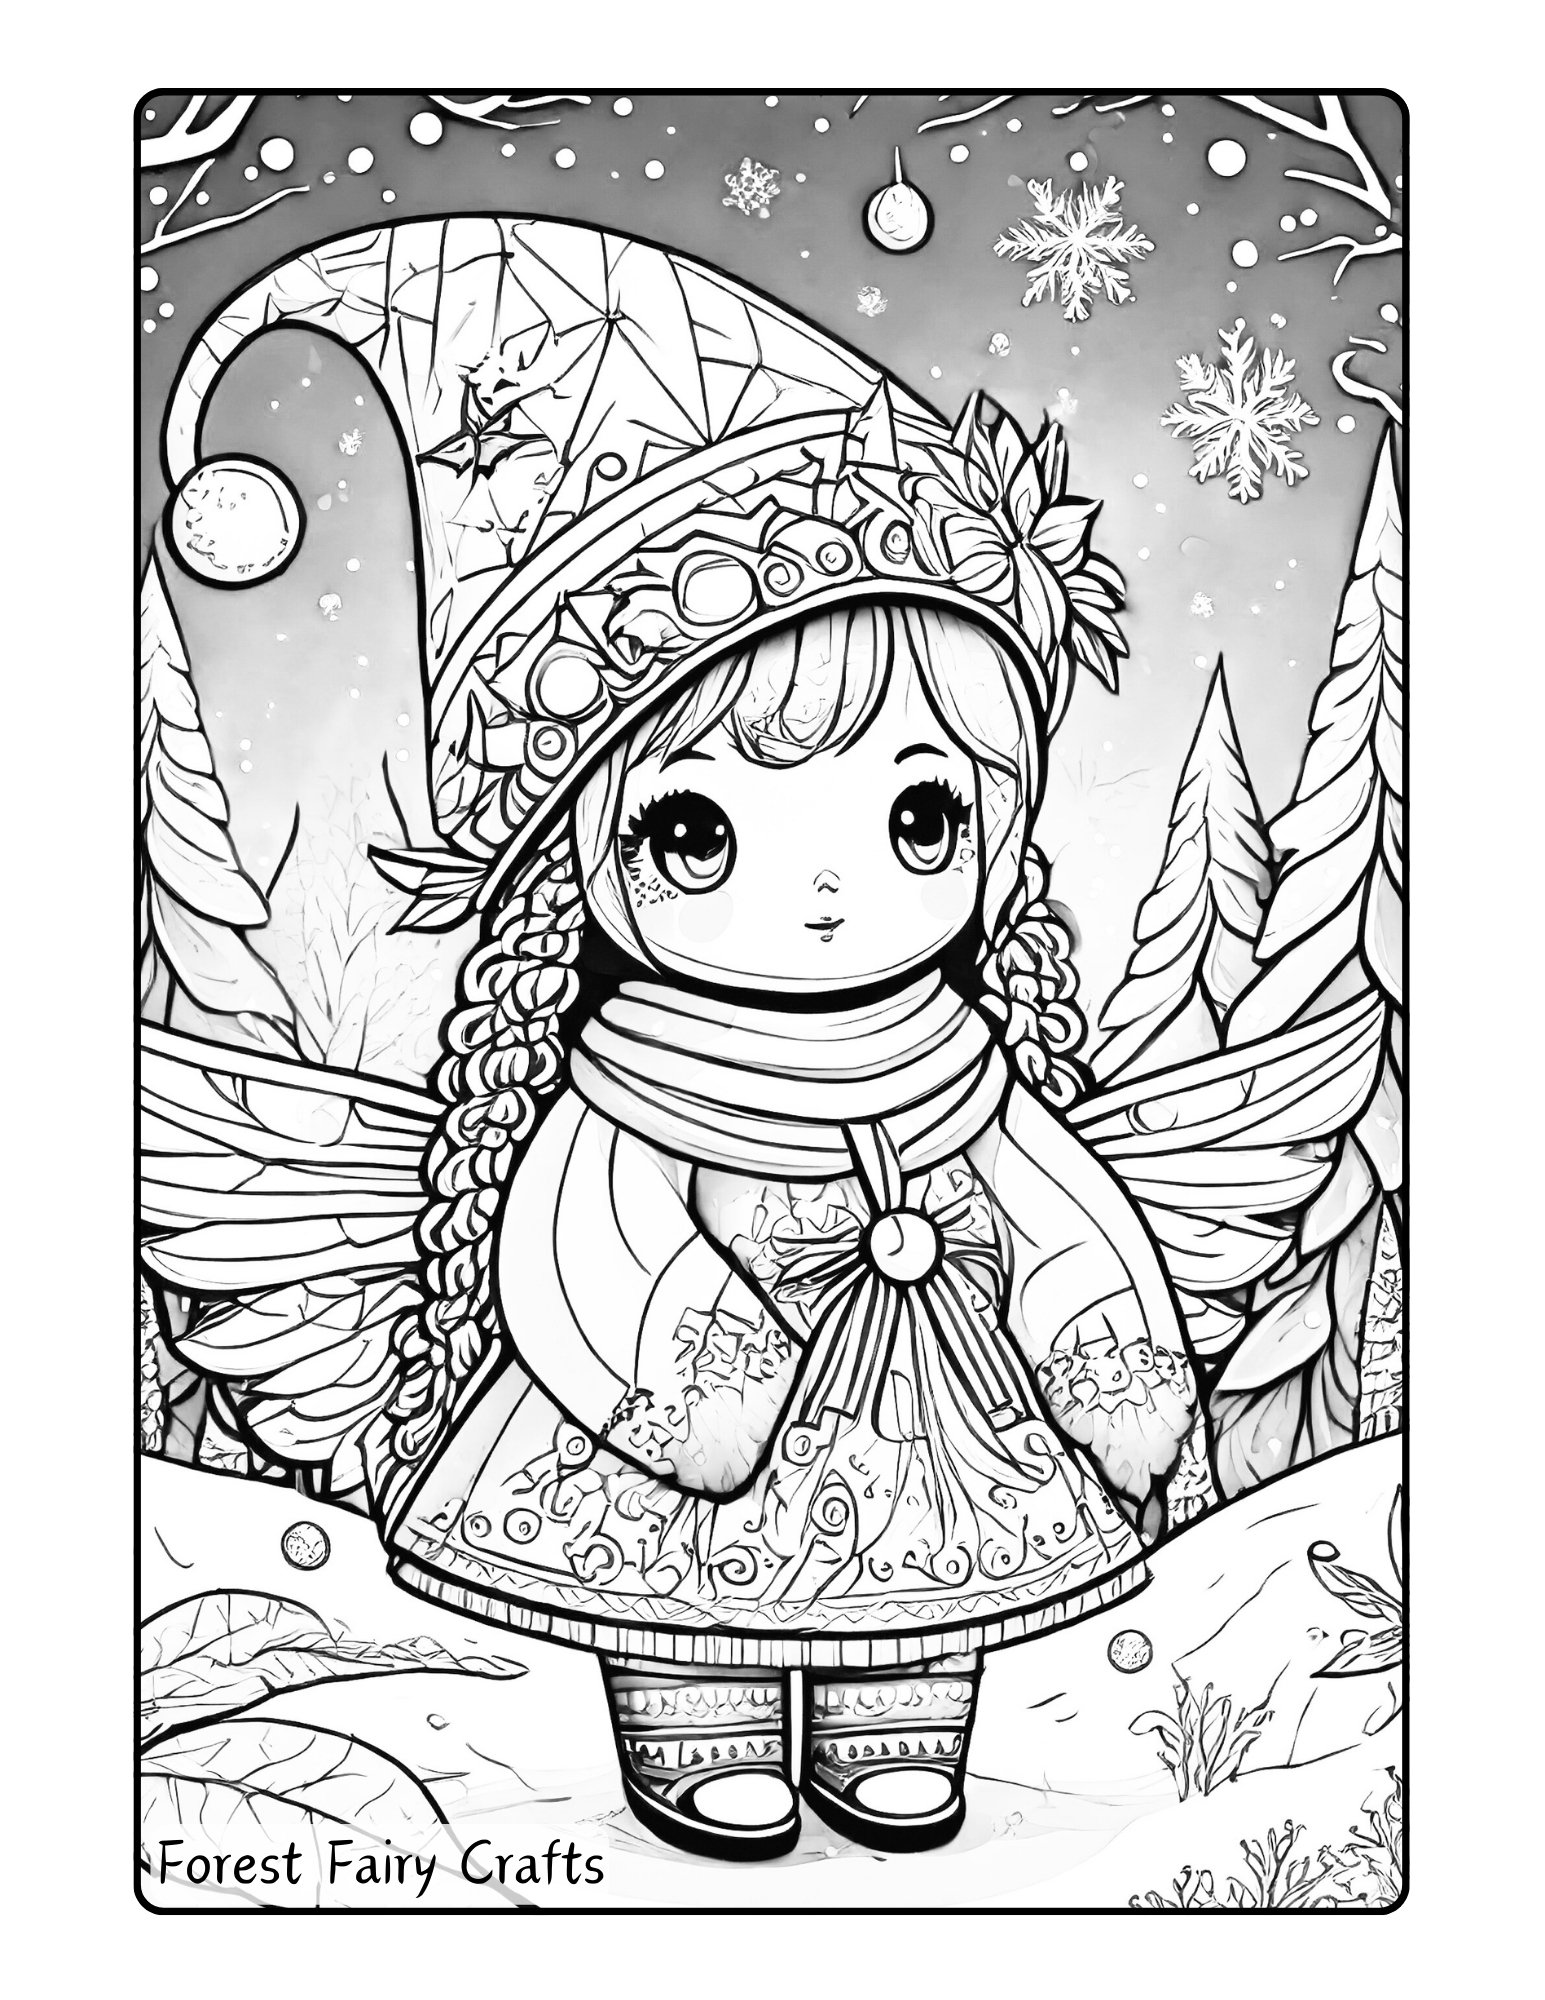
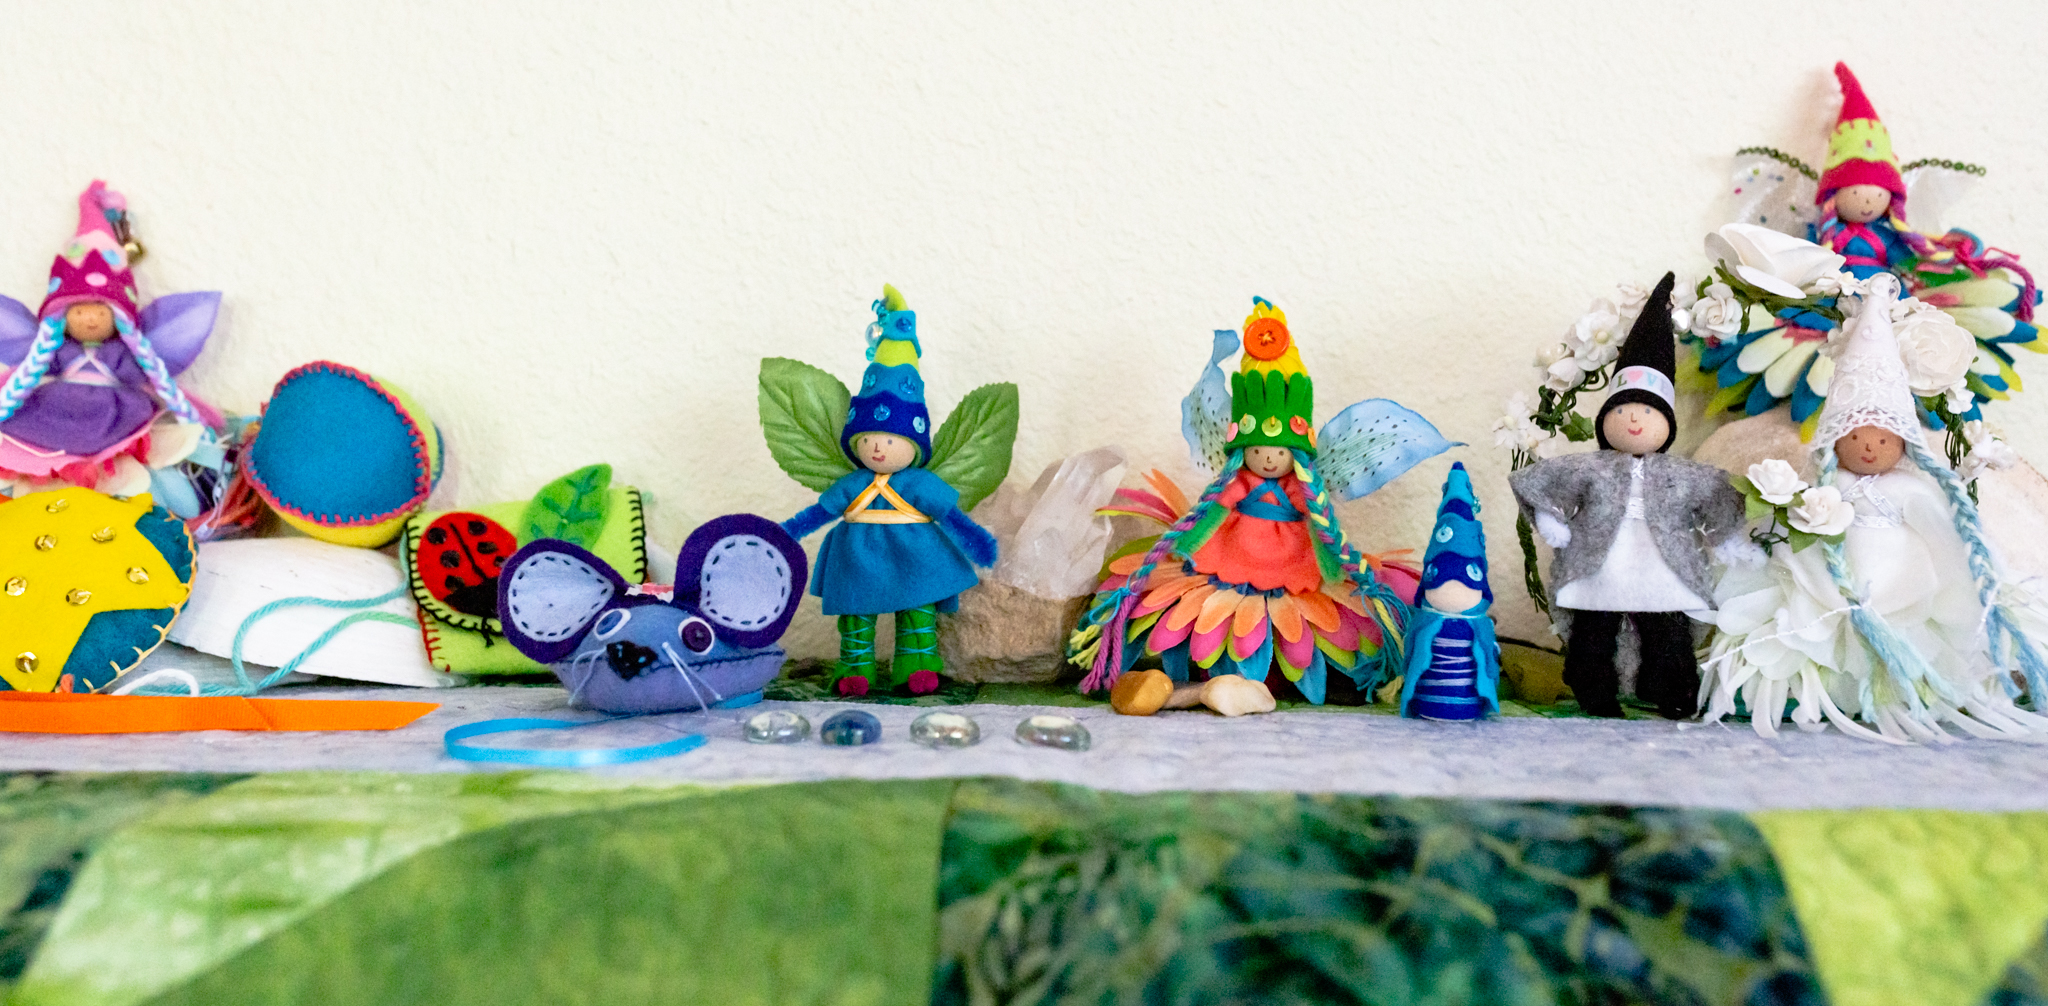
The Forest Fairy Crafts December Coloring Book is not just any ordinary coloring book. It’s created to inspire downtime for children and adults. December is fun, and exciting, and routines are disrupted. Which can lead to emotionally sensitive moments too. All of us can be both things at once. So activities that help us slow down are valuable. They’re perfect for cozy afternoons or evenings, waiting for cookies to bake, or at social gatherings (or classrooms).
Illustrations are a carefully curated collection of beautifully detailed scenes that will captivate your imagination and allow an escape from the stresses of everyday life. Pages feature enchanting forest fairies, surrounded by winter trees and whimsical creatures. They do not show specific holidays. Use any colors that you like.
Whether you are a parent looking for a way to unwind after a long day, a teacher seeking a peaceful activity for your students, or a caregiver in need of some quiet time, Forest Fairy Crafts coloring pages are the perfect solution. You can easily download the coloring book and choose the pages that resonate with you the most.
And the best part? They’re free. Take a break from the hustle and bustle of life and immerse yourself in the magic and beauty of Forest Fairy Crafts.
Holiday Crafts in Forest Fairy Crafts Books
Welcome to the season of making and giving. Our holiday decorations are filled with fairies and hand-sewn treasures that have become wonderful memories. Children love to make and give handcrafted treasures. And they can give to Mom or Dad or Grandma if you want to keep one (or two or three) in your own family.
With two books, we want to connect you with projects that speak to your heart. I’m sharing which projects are in which books so you can choose your favorites. Of course, you can have it all with both books :)
Angels in the Forest Fairy Crafts Book
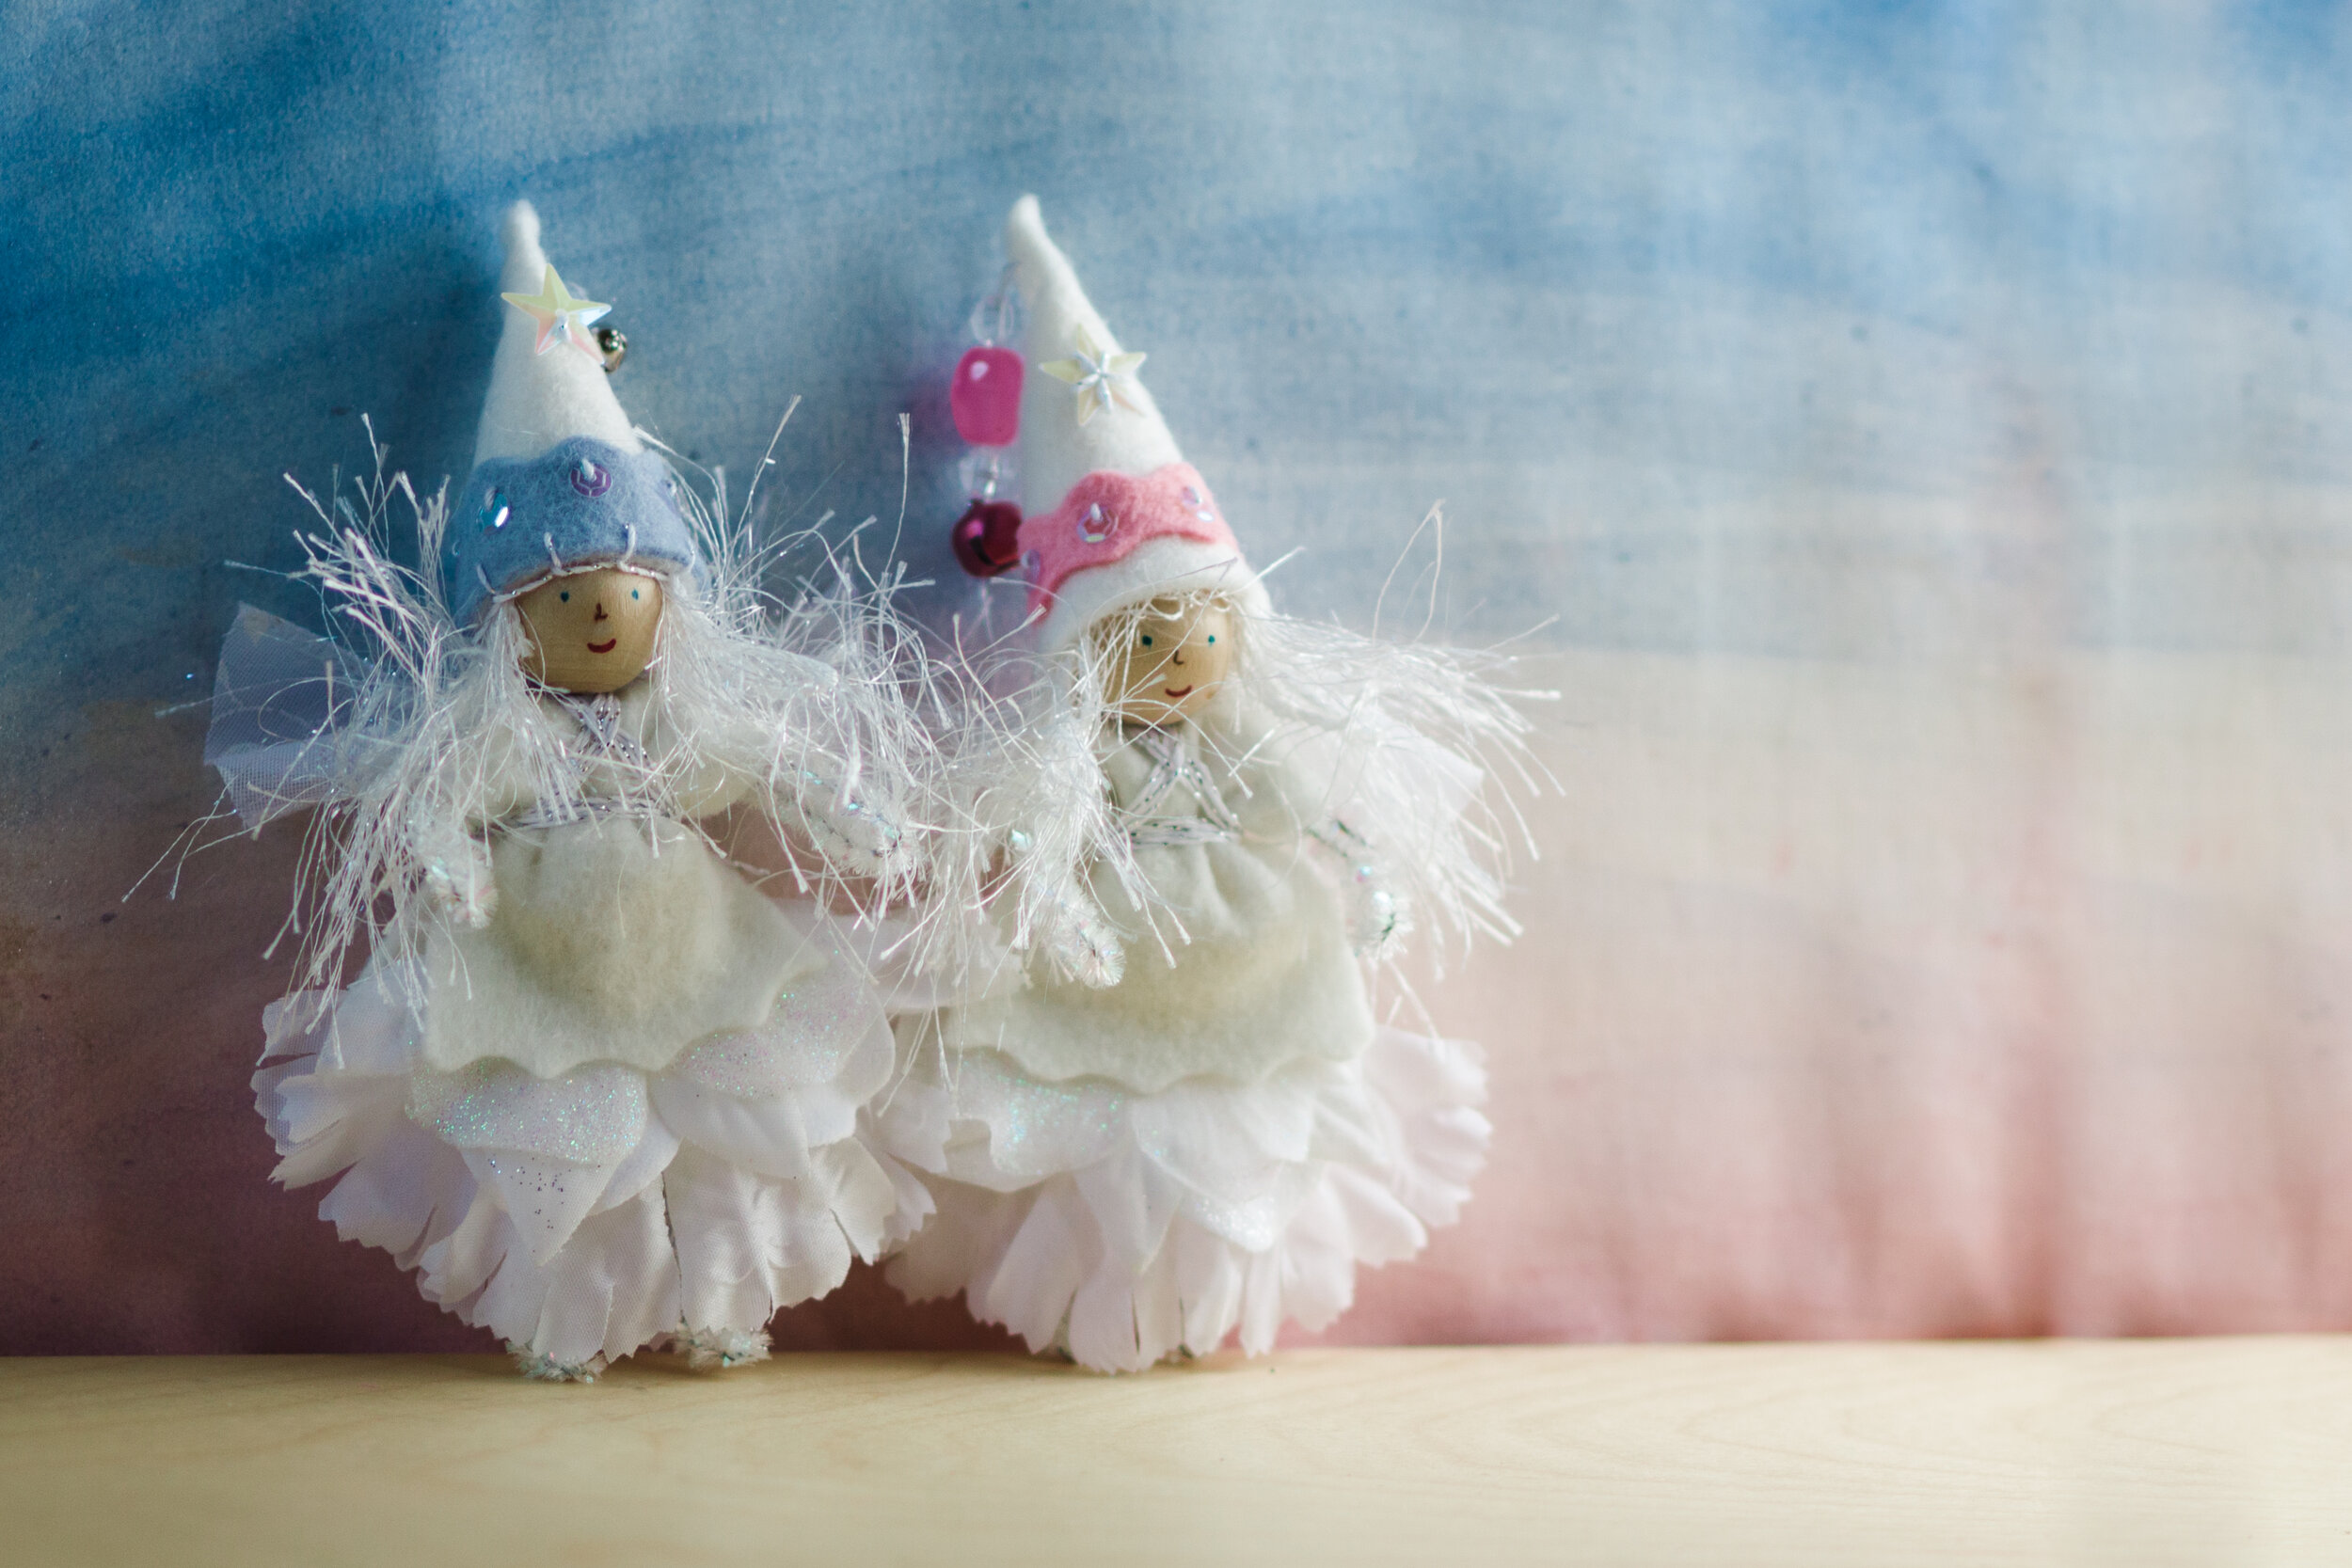
Angel (with a dress or pants, image above)
Christmas Fairy (with a dress or pants)
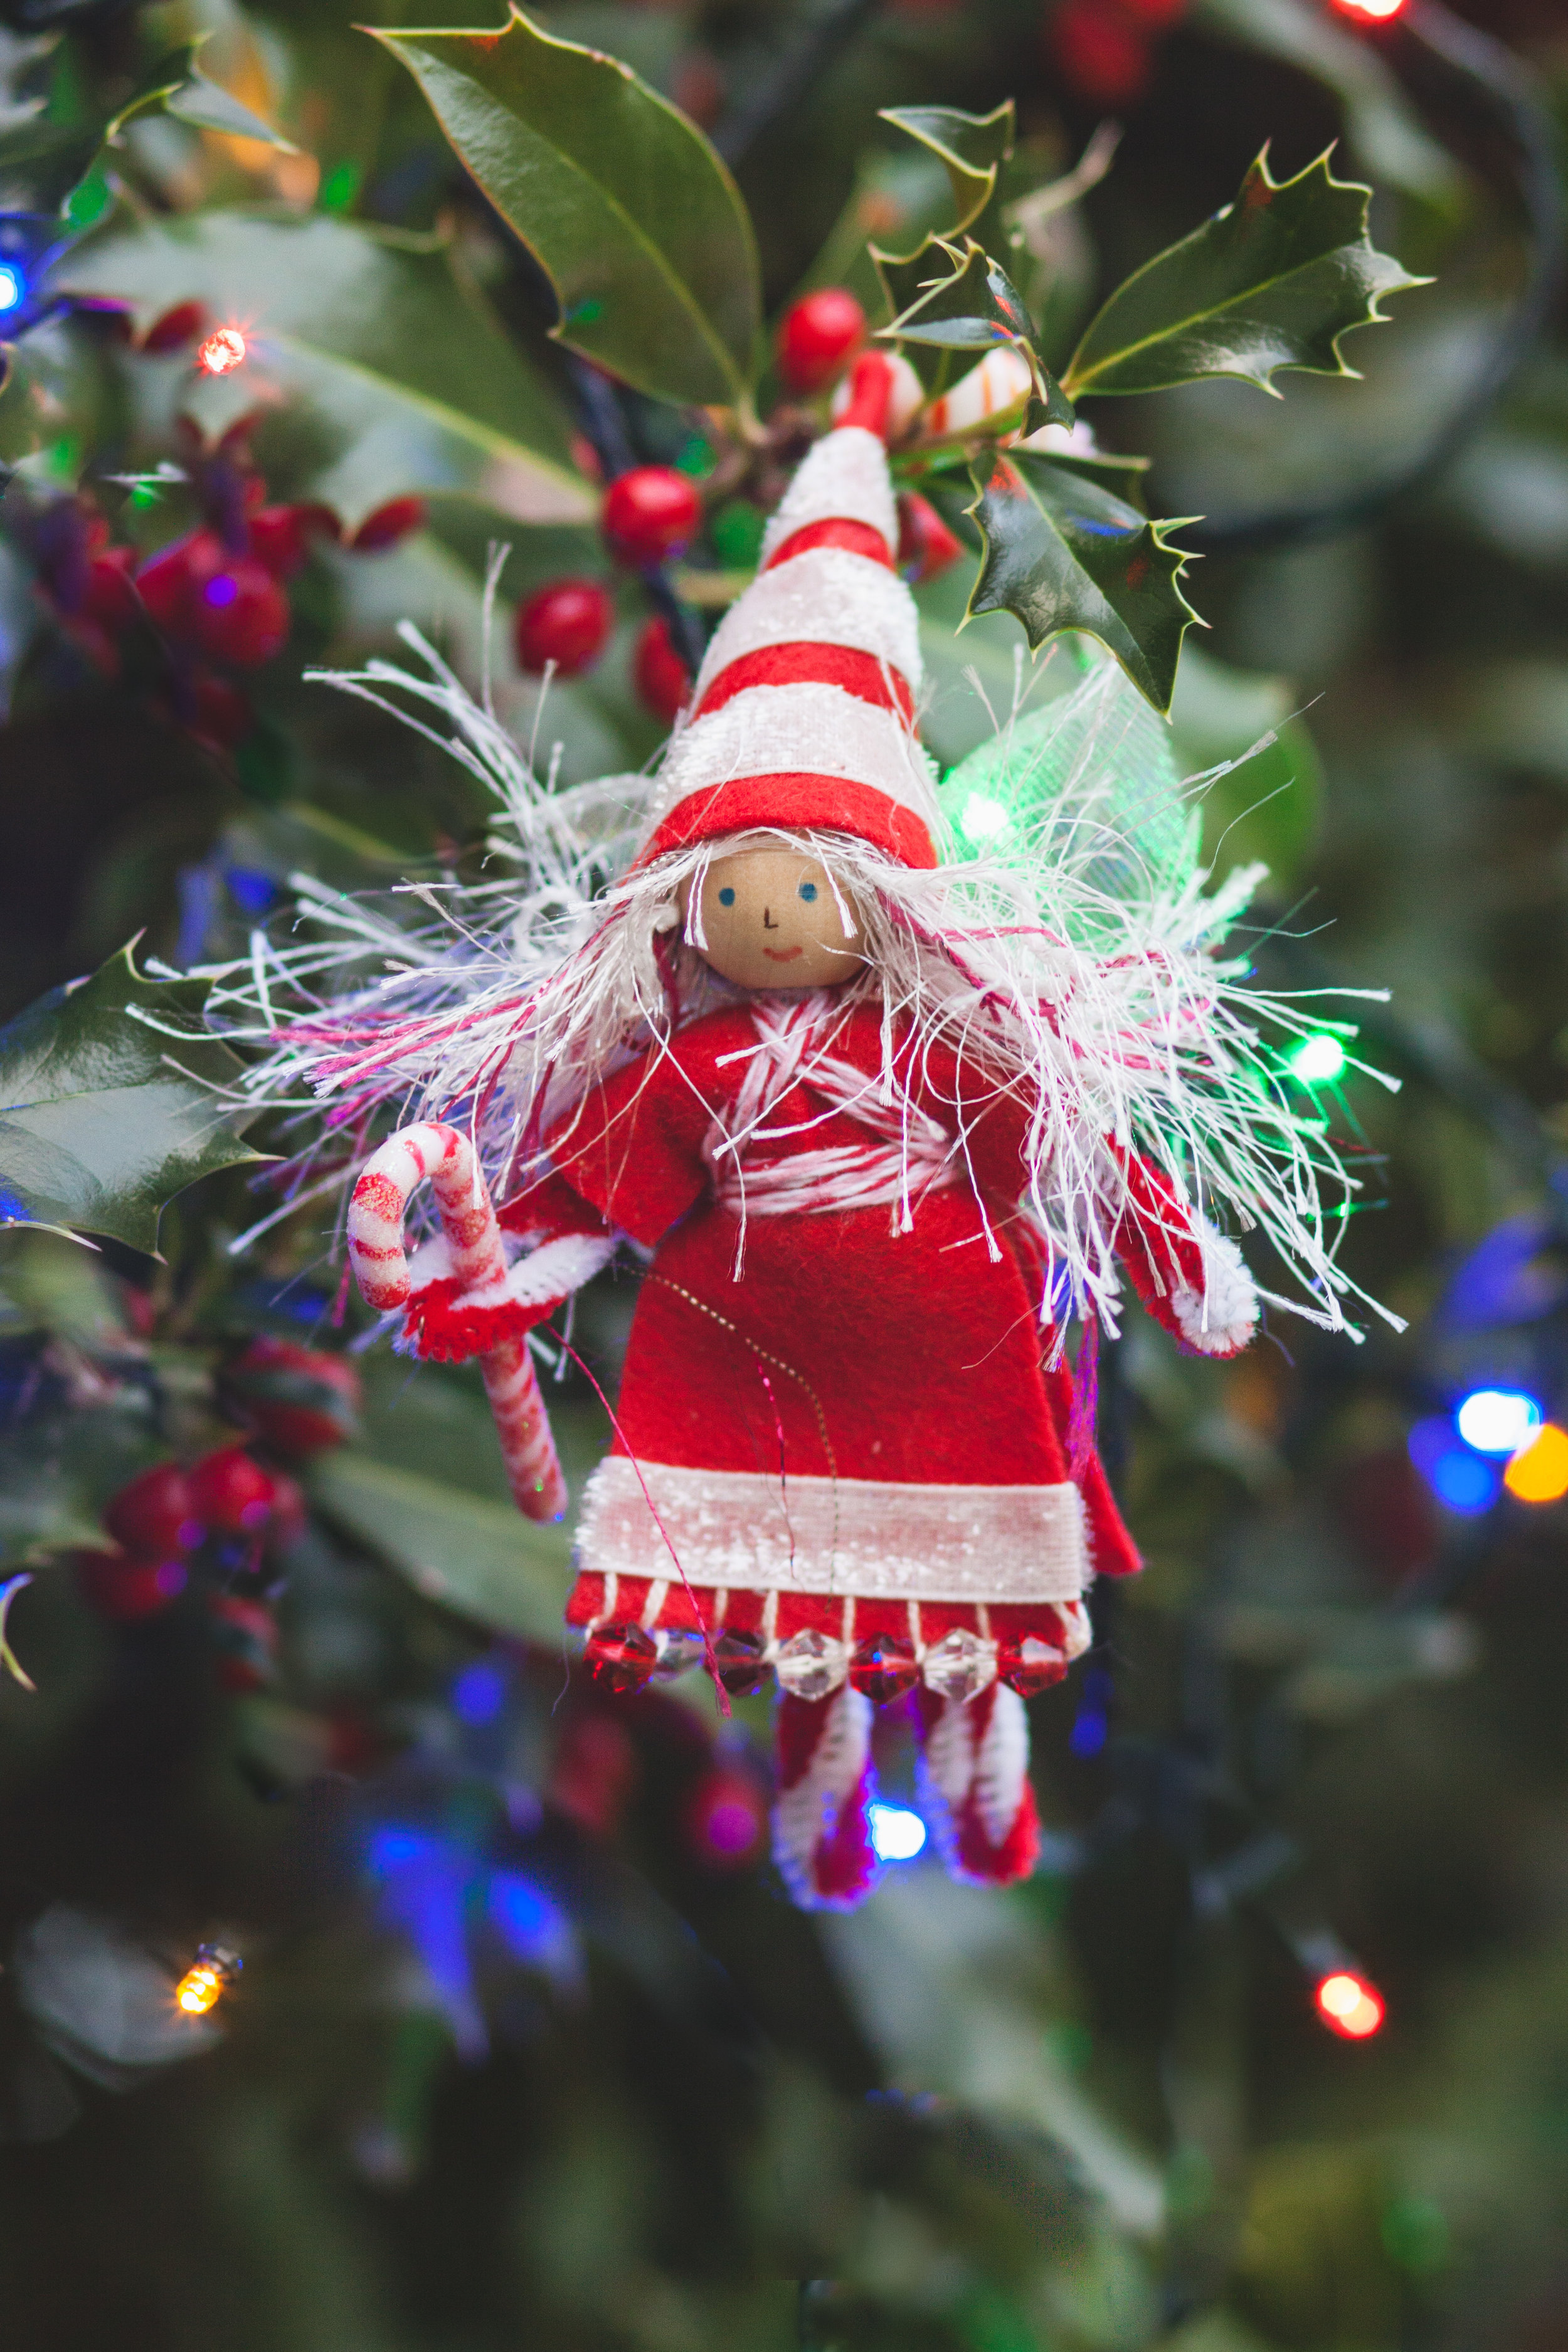
Fairy Star (fairy doll with a star shape, also called star babies, image below)
Pocket Treasure Keepers (can be ornaments)
Magical Forest Fairy Crafts Through the Seasons
Winter Fairies (dress and pants)
Winter Gnome
Snowflake Ornament
Star or Tree Ornament
Star, flower, and snowflake ornaments in Magical Forest Fairy Crafts through the Seasons
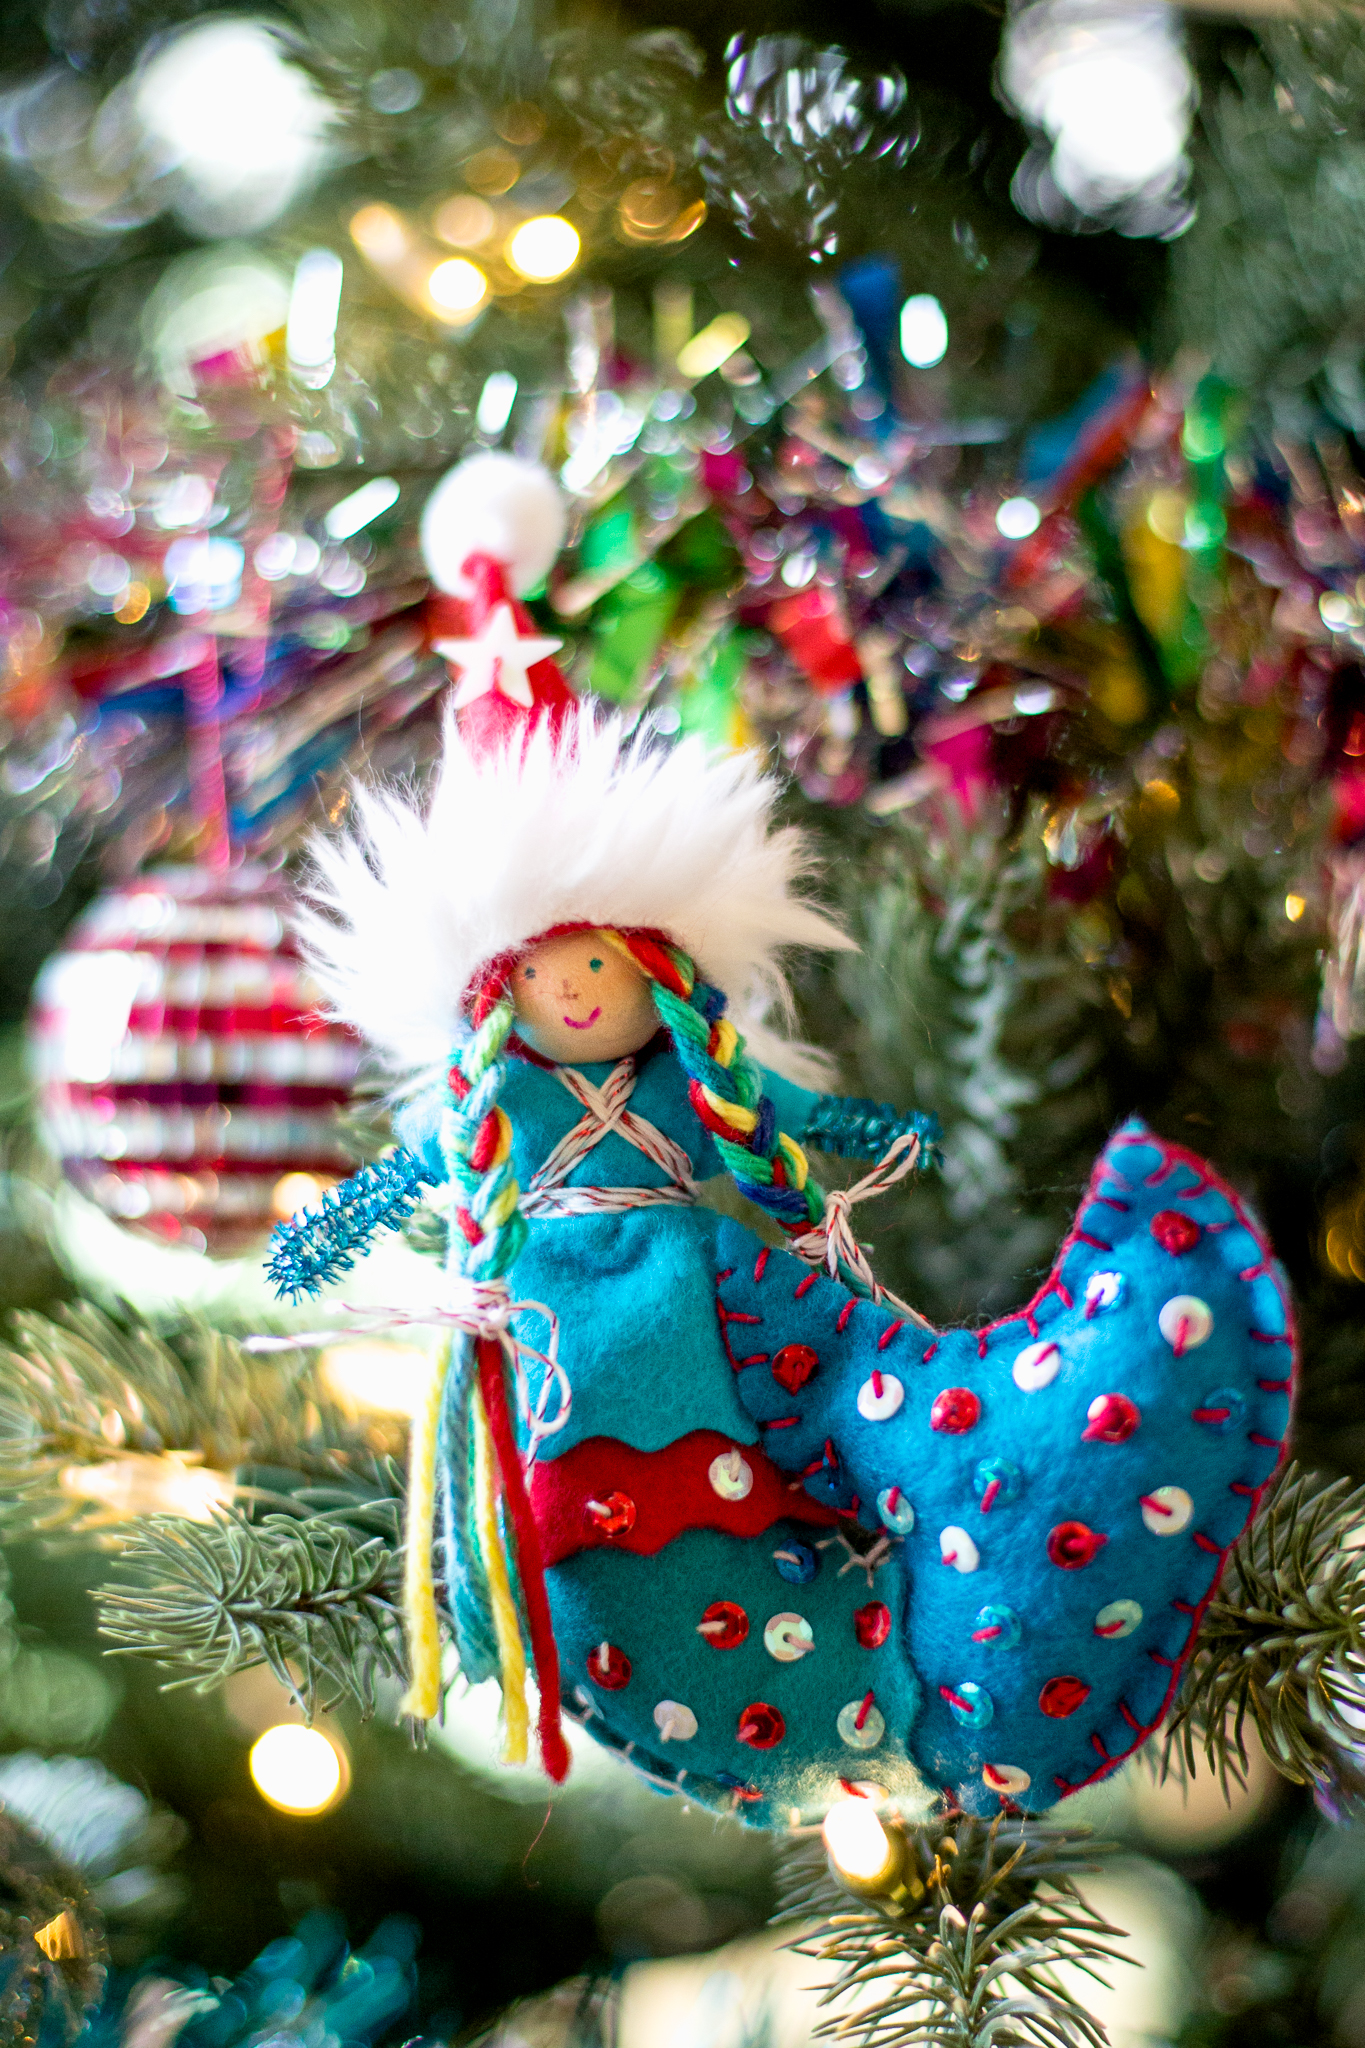
Of course, any of the fairies, and most of the crafts sewn with felt, can become charming ornaments. Mix and match for an endless array of creative ideas. From our first book, Forest Fairy Crafts, you could make a Christmas Ninja or Mermaid. Simply choose colors that evoke the holiday season.
We also use projects included in other “seasons” in Magical Forest Fairy Crafts Through the Seasons for holiday-theme crafting. We’ve made the Lavender Mouse using red, white, and pink felt, then hanging them as an ornament (especially if they have a field trip to see the Nutcracker). We’ve used the heart and star shapes from the summer beanbag to make ornaments.
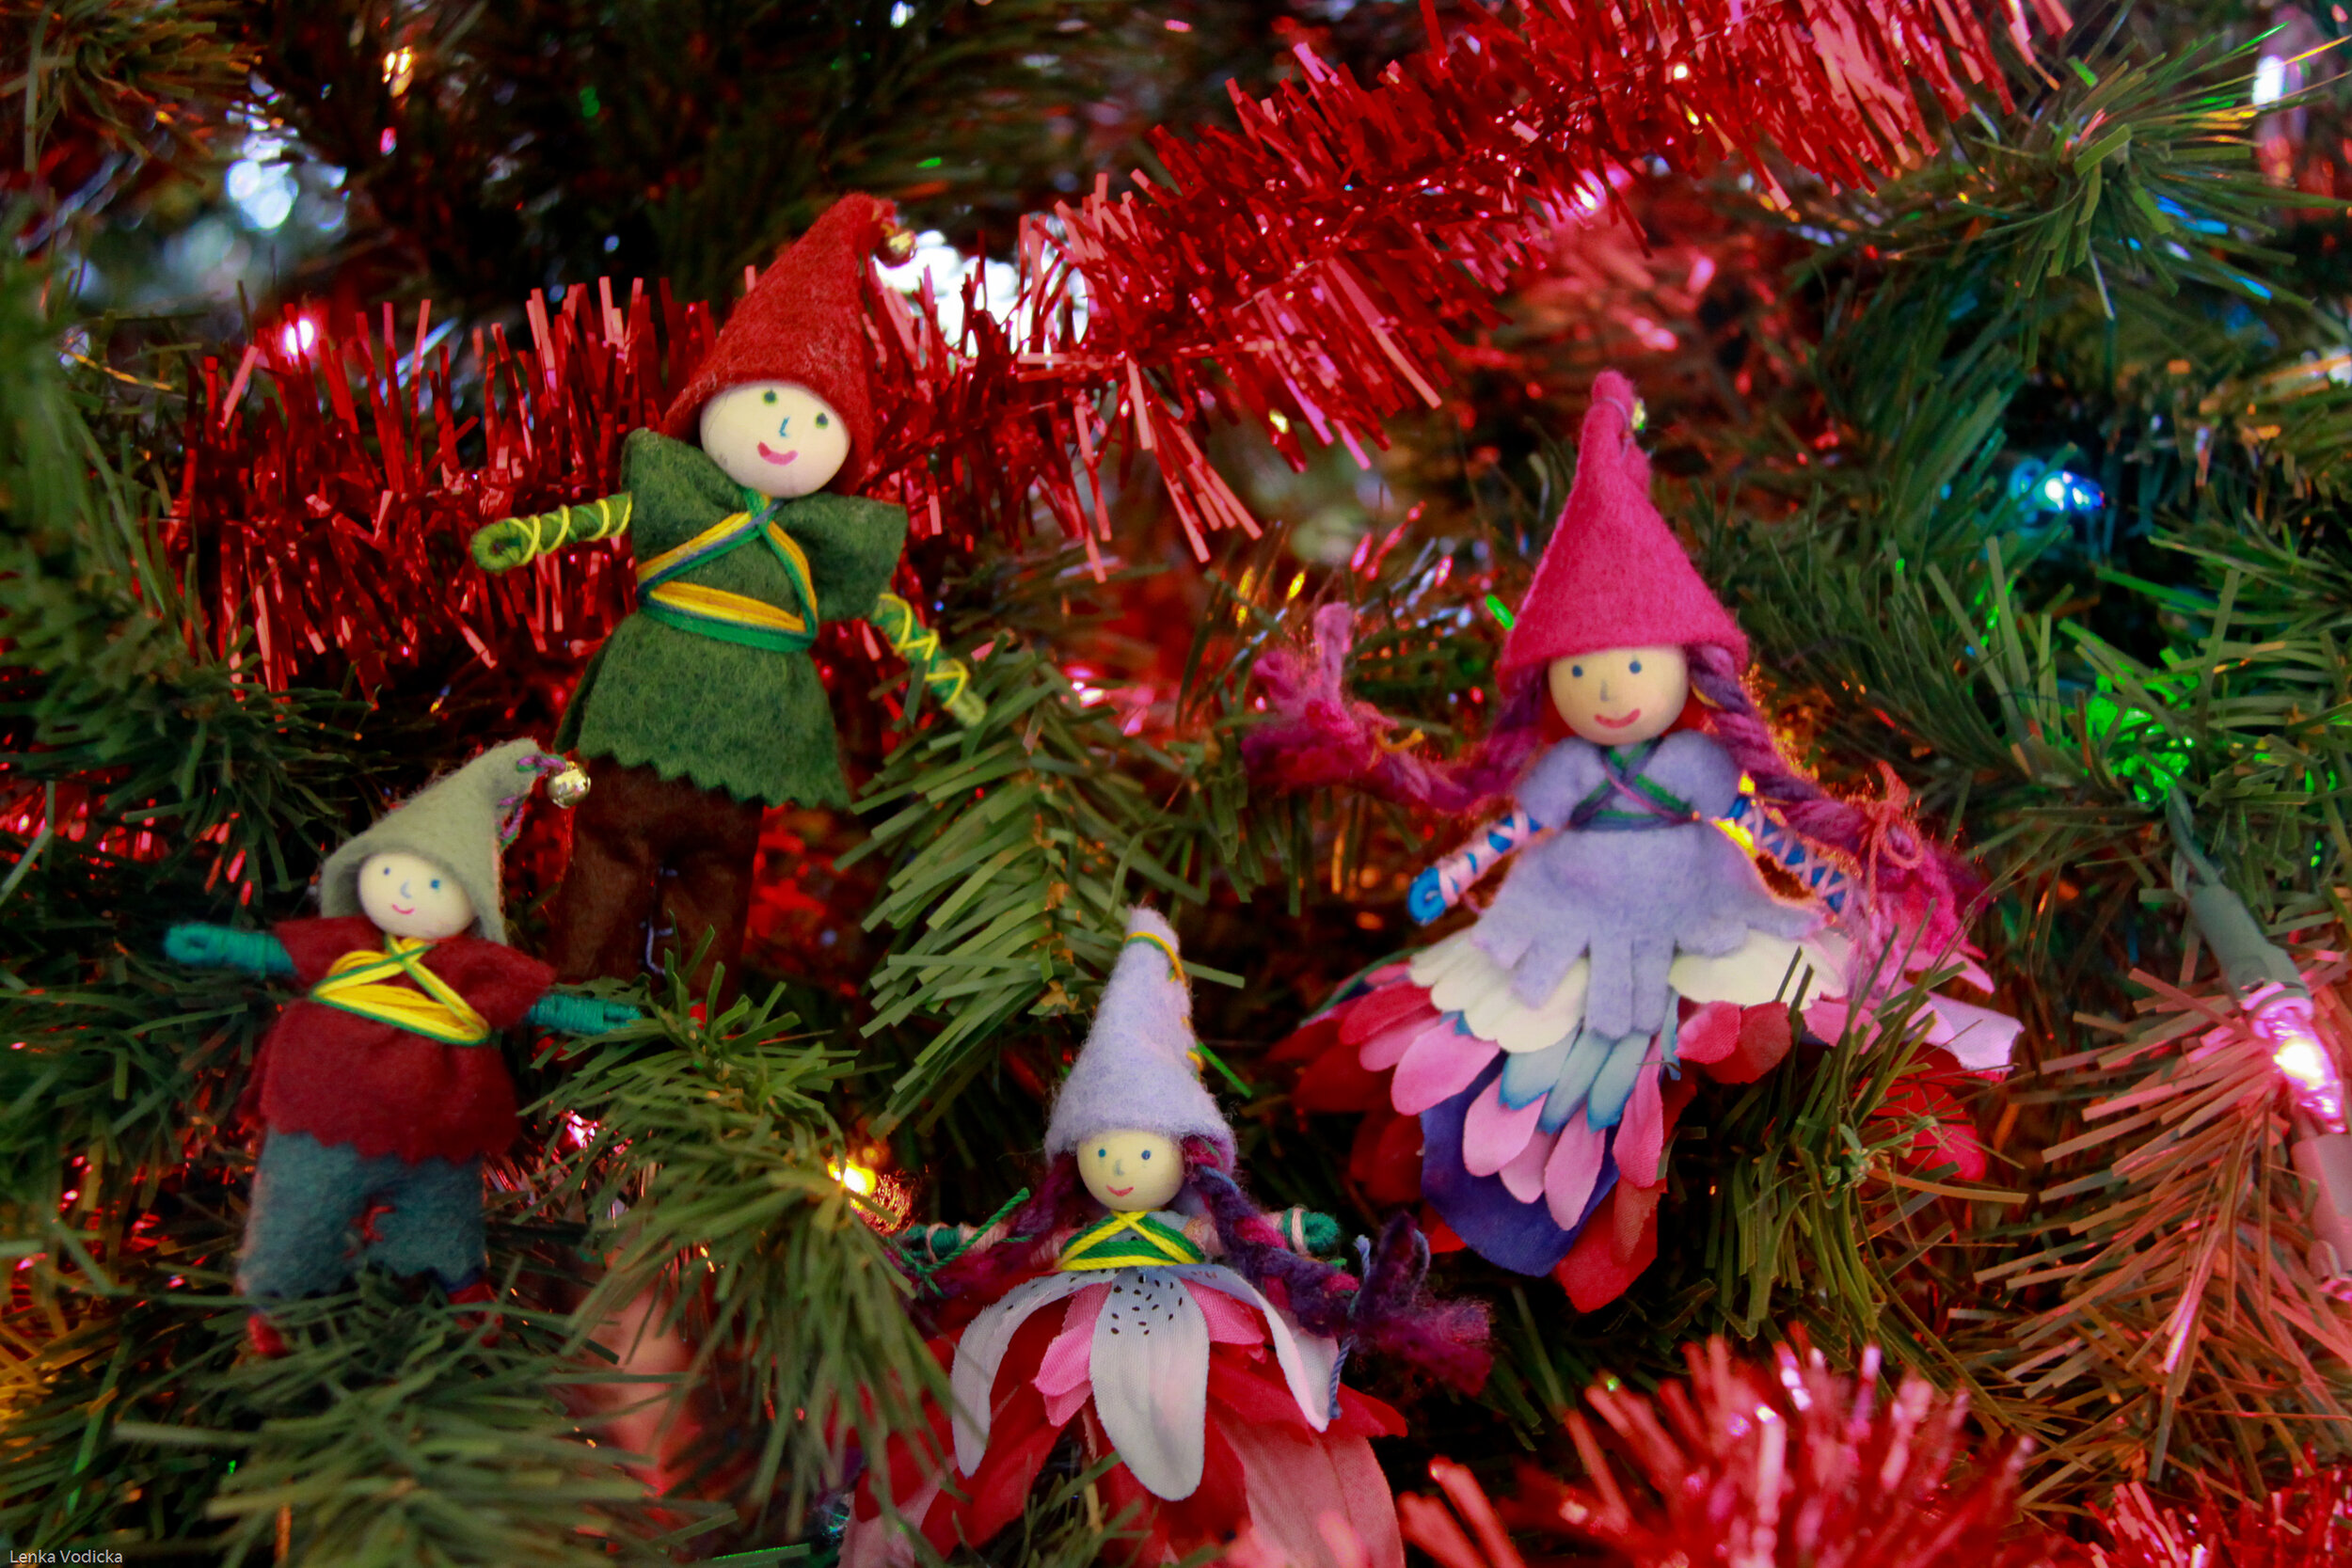
Christmas Fairies sewn by children from the Forest Fairy Crafts book
We often create gnomes as ornaments. One year I called them elves (inspired by the Polar Express) and we made an entire village of their homes with all the things they needed in the community. Which included a dance studio complete with disco ball :) I’m sure many became ornaments once they went home. See more of their creativity here: https://www.forestfairycrafts.com/journal/elf-houses.html
Gnome directions are in both Forest Fairy Crafts books
And you can lean into any of the holidays of the season. Choose Hanukkah colors or Kwanza colors to make decorations that connect with your family’s celebrations. One of the magical things about the Forest is that we encourage children (and you) to make crafts reflect you.
I encourage everyone to let a child create crafts with messy stitching, long stitches, or random stitches. Soon enough, those exuberant sewing styles become tidy. As long as the project isn’t scrunched into a little ball (and maybe even then you can hang the scrunched up version on a tree), they become tokens of the time. Kids love to see what they made :)
We hope that you enjoy choosing crafts that celebrate the season. We love to see what you create :)
Oh, and I’ve made many fairies to gift to children (or made baby mobiles) for the children in my world. I made this little family for my neice for her dollhouse. I’ve made St. Nicolas gnomes, 20 of them, for my son’s class to tuck into their “shoe” (not really a shoe, but a lesson about St. Nicholas celebrations). You can be the one having fun making little magical gifts. We met one lovely lady who made them for the tree at the local children’s wing of the hospital, and children got to take one home. How magical is that?
Enjoy your holiday crafting!
Fairy inspiration: https://www.forestfairycrafts.com/journal/child-made-fairies-for-christmas.html?rq=elves
* Affiliate link disclosure: I receive compensation for helping you discover where to find our books on Amazon. Your pricing is the same. Thank you!
If you are able to support your local independent bookseller, please do so by choosing our books off of their shelves. We support local :)
Happy Saint Patrick’s Day!
The Leprechauns wish you a delightful Saint Patrick’s Day!
The leprechauns found gold! Here’s to all the little folk surprising little people with magical antics today!
The leprechaun gold is actually pebbles painted with gold paint (not for little people that taste their toys).
The directions for these leprechauns are in the first Forest Fairy Craft book, which can be downloaded so you can make them today or any day :)
The fairies of the forest send lots of good luck to you and your family today 🍀💛💚
Dreaming of Love
Wishing everyone plentiful love today and all days. May we change the world with our dreams of love and kindness.
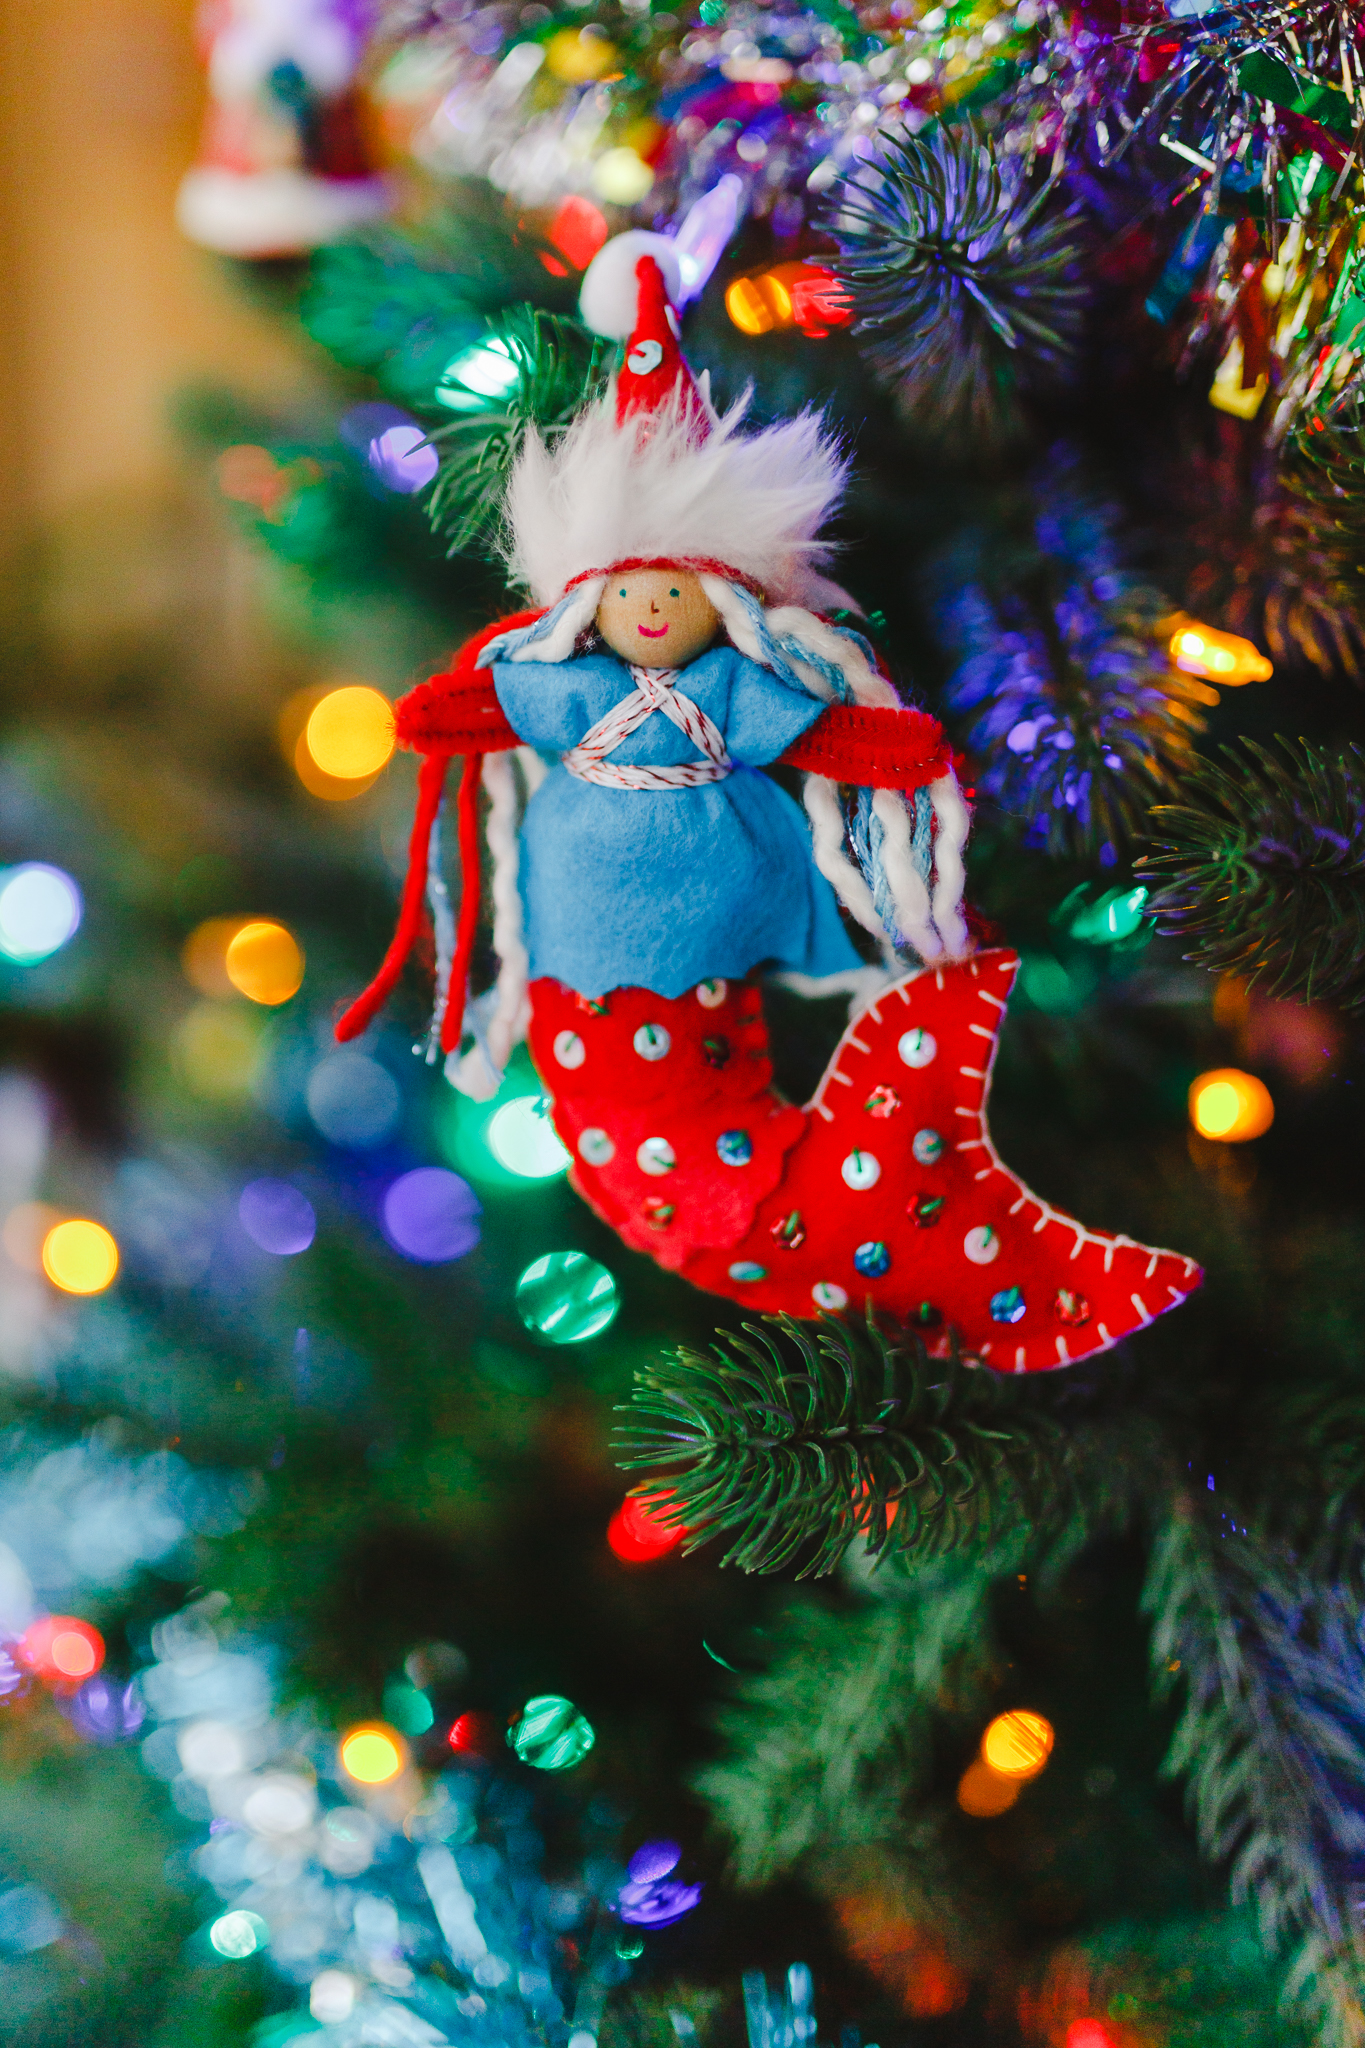
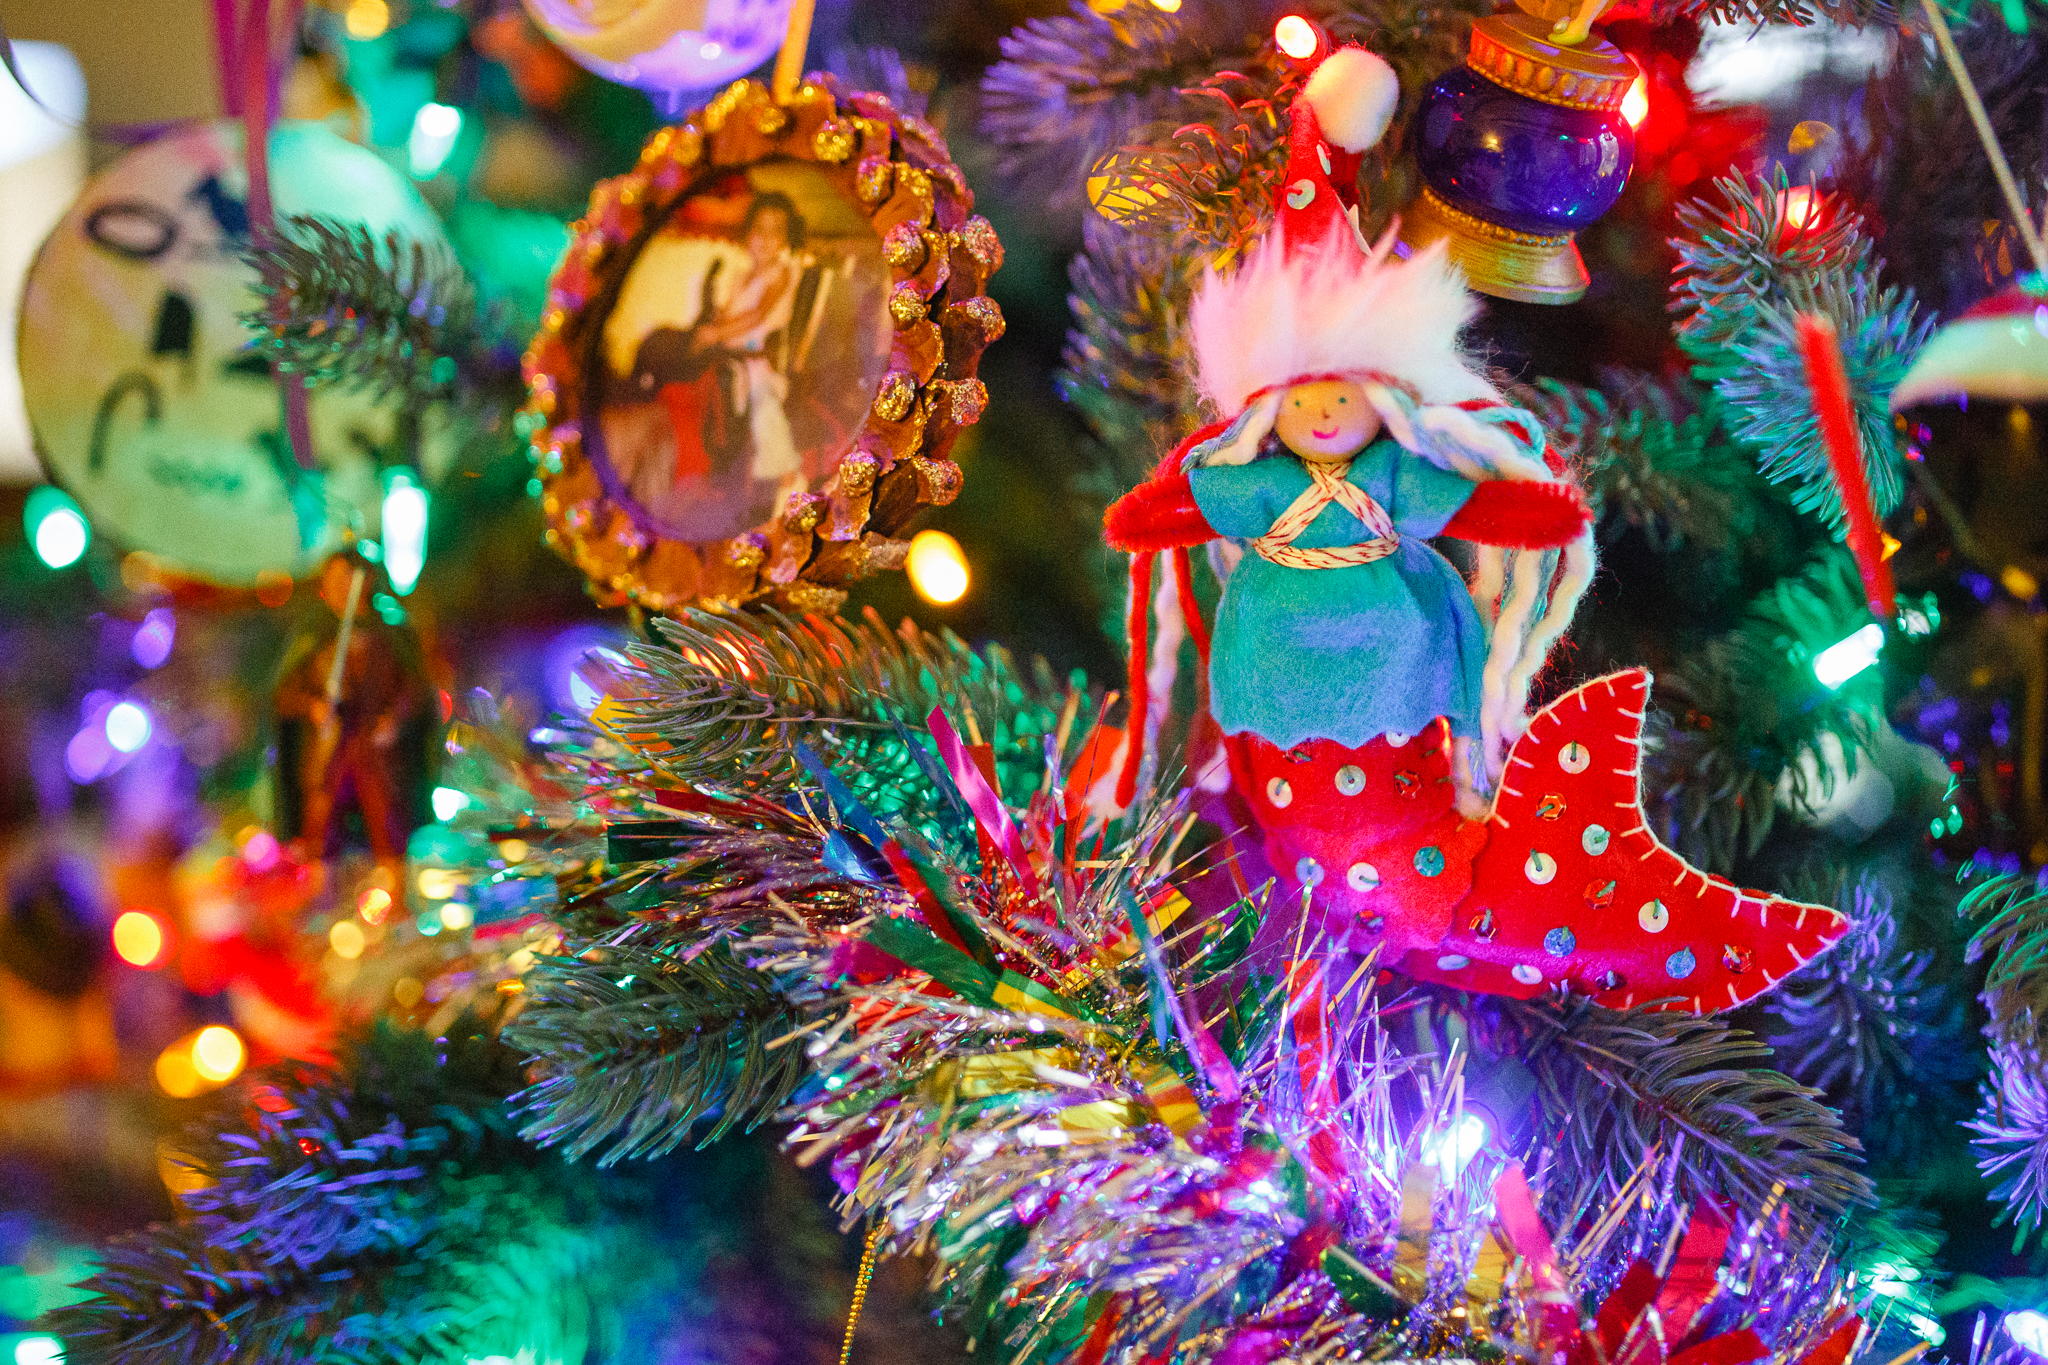
A Very Mermaid Christmas
Few people know that Christmas is popular even under the sea. Mermaids wear festive hats just for the occasion!
Many years, I create an ornament that shows whatever is enchanting my kids that year. From the Orange Fairy when my son was obsessed with all things Orange, to the Peppermint Fairy from the year my daughter danced as a Peppermint in our local Nutcracker ballet, the ornaments are fun to make, and even more fun to remember.
The peppermint fairy was a gift the year my daughter danced as a peppermint in the Nutcracker
Helping kids make fairies is fun. However, anytime I help them, I take the back-seat in order to support their ideas and choices. So giving myself room to create any fairy that I want is tremendous freedom.
My daughter has a (slight) mermaid obsession. We included mermaids in the Forest Fairy Craft book. They were summer mermaids with crowns. How could I modify the mermaid for the holidays?
I wanted a tail that curved, which took finagling. A few trial and error attempts where it looked too bulky or gigantic. I always draw pieces on paper first to cut out and test shapes. Then I use test felt (inexpensive felt in any color) which I can sew together with a few little stitches to see if the scale works. Once it does, time to create!
Both my daughter and nice love turquoise, so I used that as an inspiration color for both mermaids.
Using just a wee strip of faux fur on their hat was a fun carryover from other fairies that I was working on at the time (Saint Nicholaus). The Faux Fur is a little tricky to sew, hard to get the needle through, so it's definitely an adult quest. You could create a similar look with a strip of white felt.
I also use metallic thread similar to this one for that added sparkle. It's tricky to sew with the thread so it winds around their outfit.
The girls loved their mermaids! And it's a joy to see them again year after year.
Happy creating, one and all!
*this post does contain affiliate links. Should you choose to purchase through these links, a small amount returns to the Forest while your price remains the same. Thank you :)
Happy Saint Nicholas Day
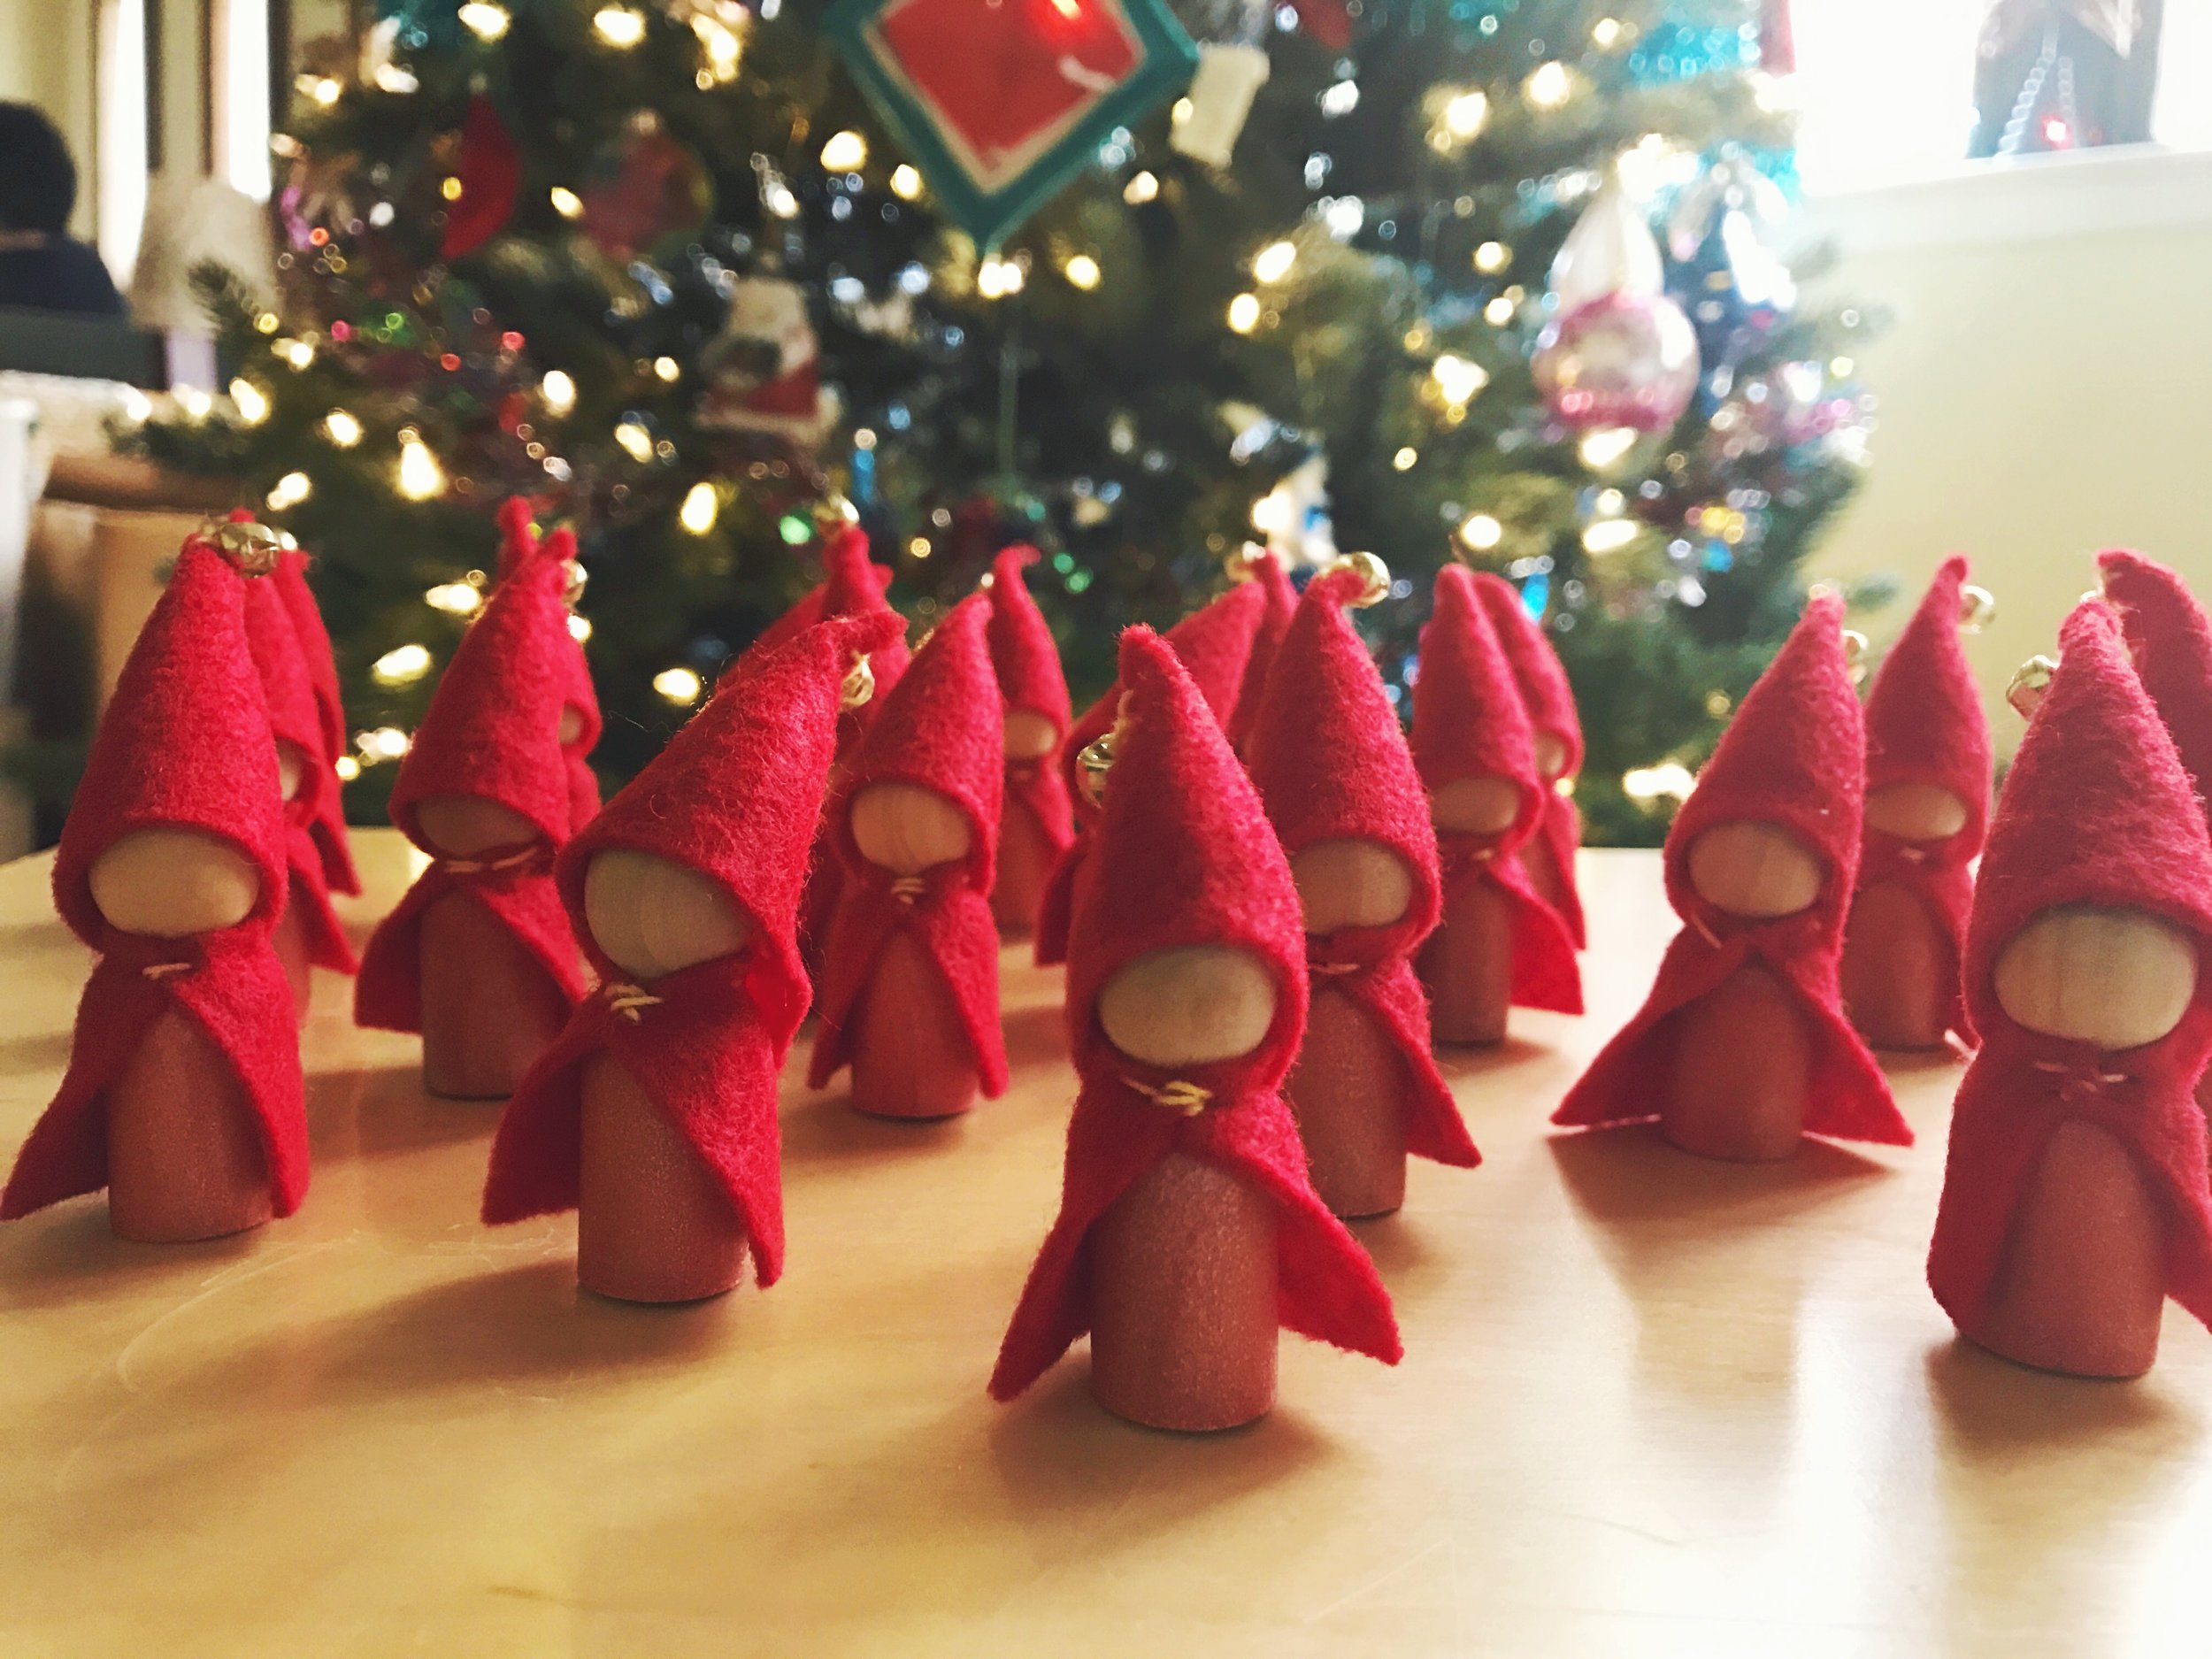
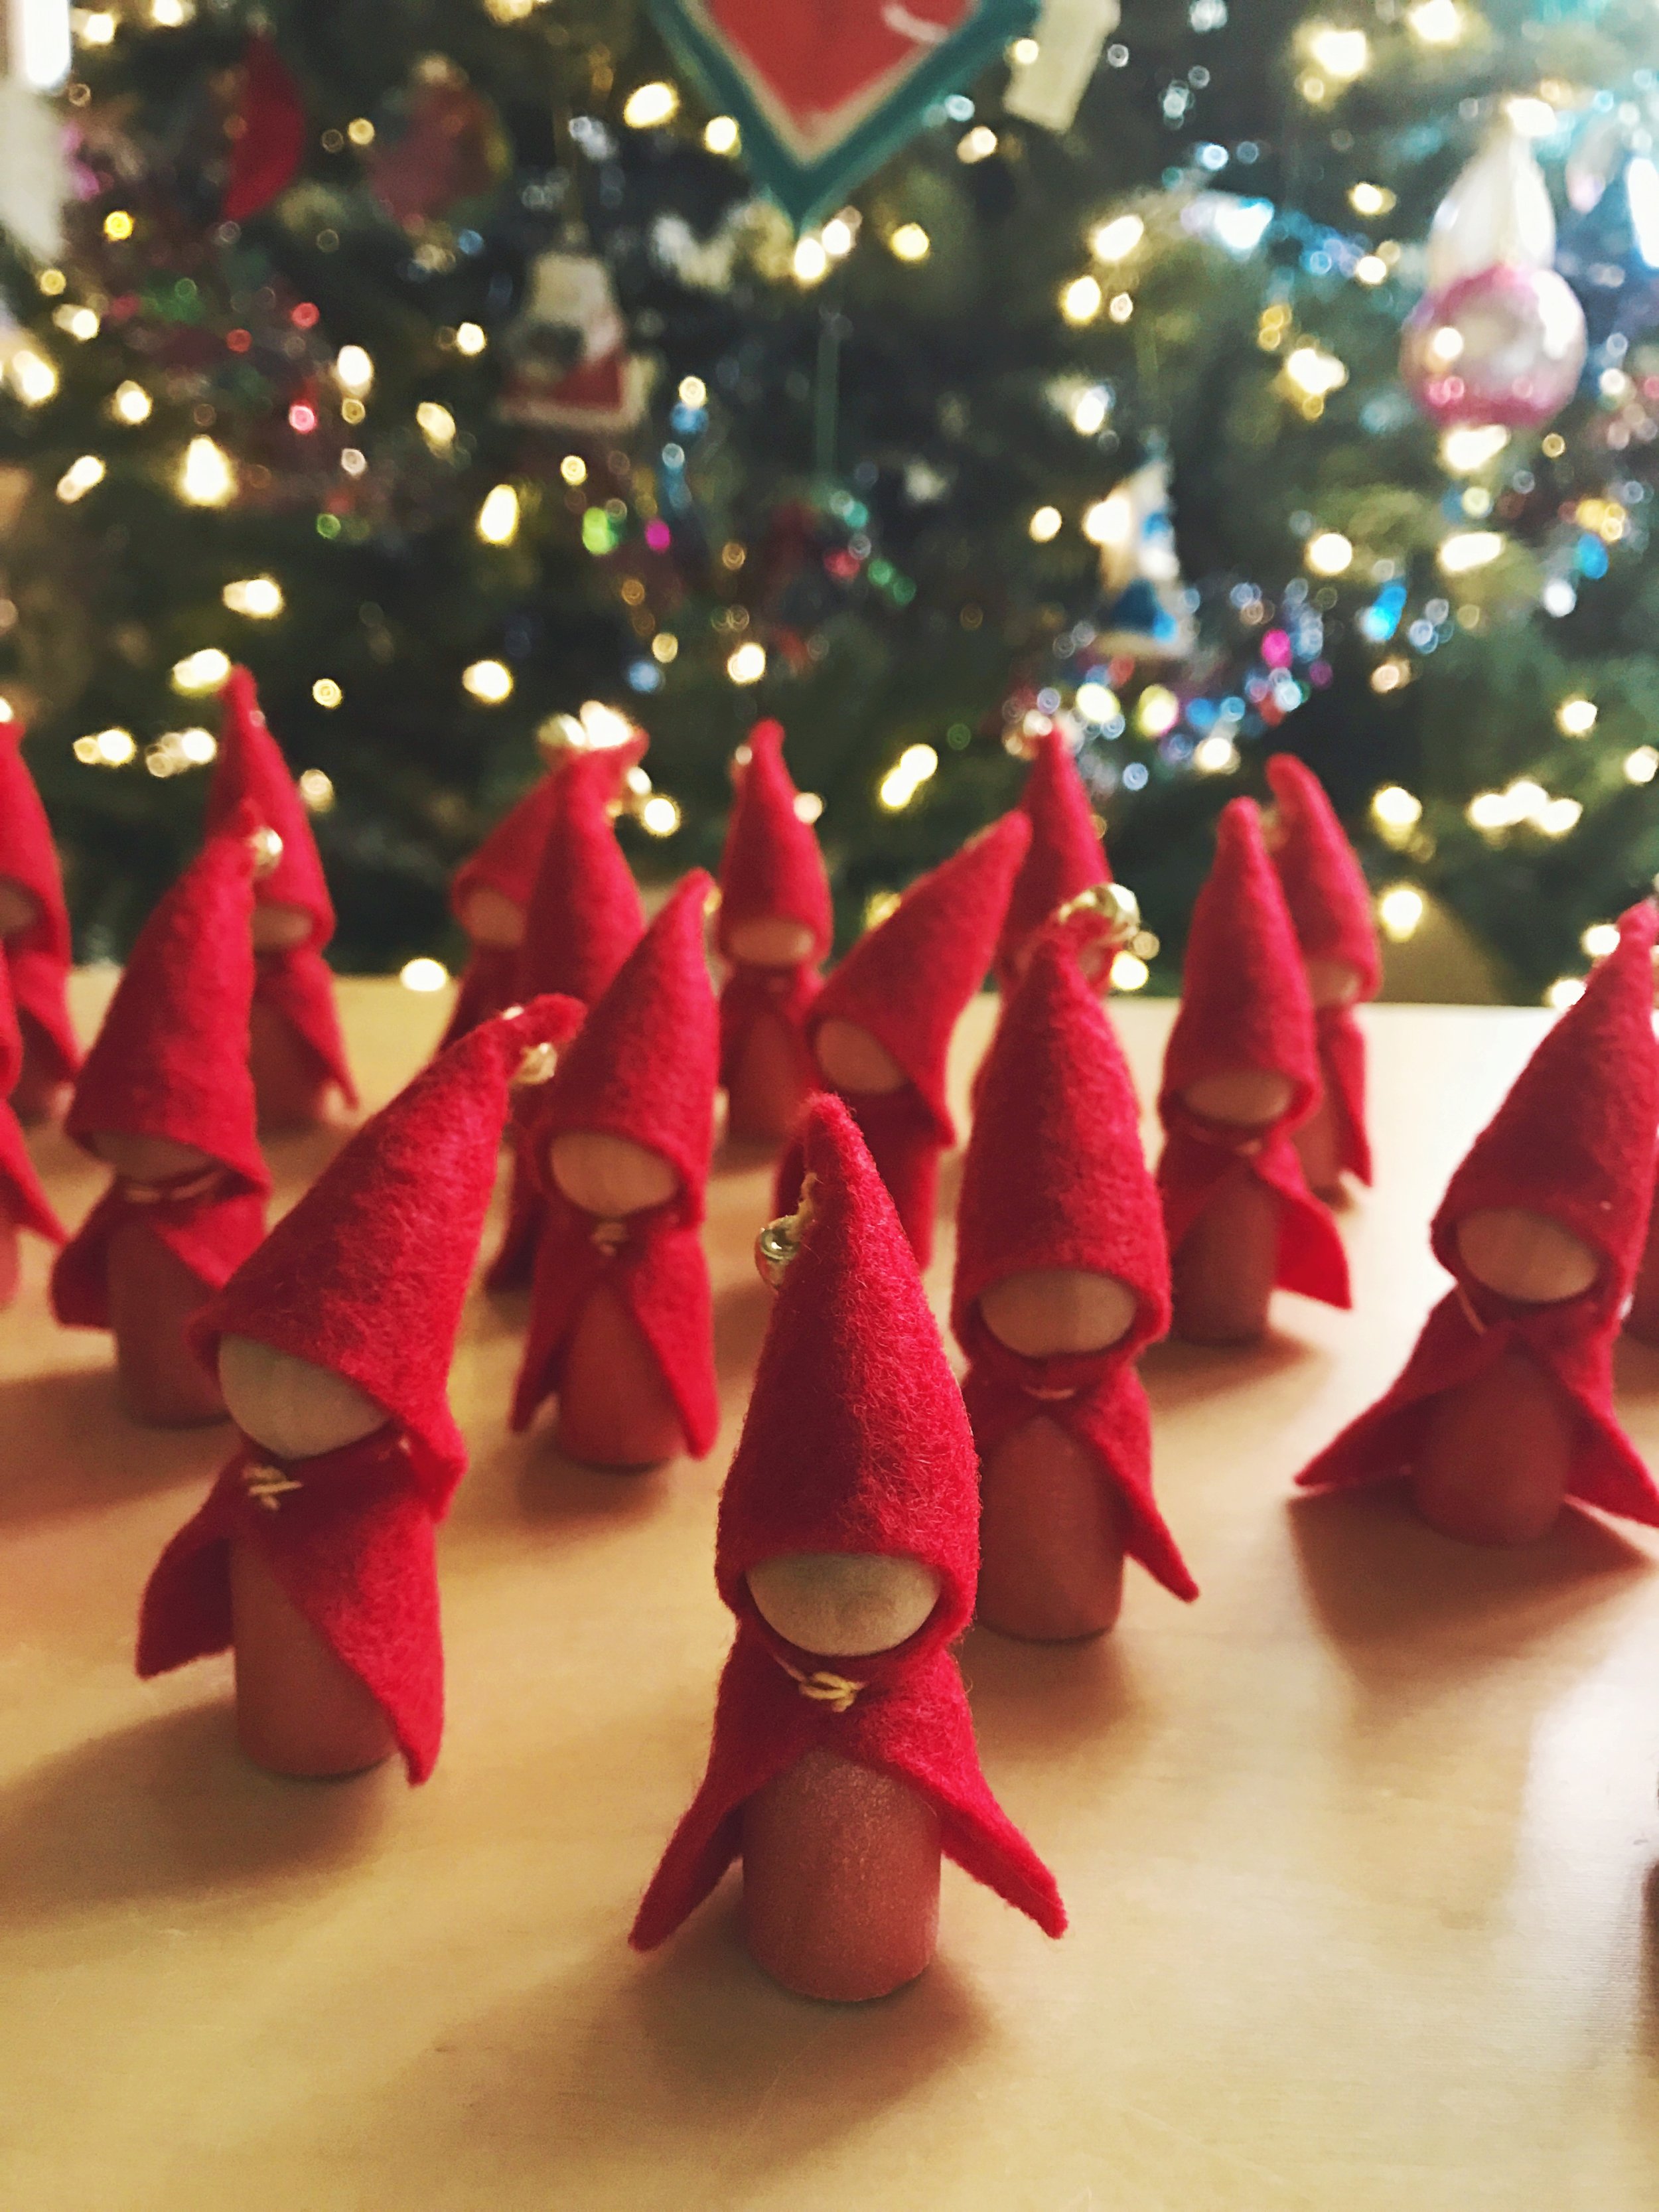
Little gnomes are off to help my son's class celebrate Saint Nicholas Day! Many European children leave a sock, stocking, or shoe by the fire in the hopes of a little treat from Saint Nikolas.
My dad is Czech. We celebrated Saint Mikulaš. He visited on a carriage led by a white horse. An angel and a čert (pronounced chert) traveled with him. The cert is a trickster devil who told Saint Mikulaš all the naughty things while the angel told all the kind, good things. You hoped that the angel had more to say than the devil :)
My son is learning about celebrations all around the world. He left slippers that they sewed together out in class today in case Saint Nicholas visited their school (spoiler alert! he did!)
These little gnomes didn't take very long for me to make. I kept things simple while my son was at school one day. In case you need to make many gifts quickly, here's how I made this collection.
- I painted the bases with watercolor paint and just a bit of sparkle with Iridescent Watercolor Medium mixed together.
- While the paint dried, I cut a little triangle and adjusted until I liked the height for the hat. I cut twenty by holding one and cutting felt without tracing. After all, imperfections are part of the fun. I sewed them with a few stitches, starting from the bottom and going up. I added a bell at the top and tied off. Set aside and repeat nineteen times.
- The capes are simple rectangles. I could have curved the corners at the bottom. Saint Nicholas wears a long cloak anyway. I cut a long strip of felt, measured around the peg person to find the right fit, then cut twenty. I tied a knot in the thread, started in the back midway, then ran a stitch towards the front. I secured onto the dry peg dolls with a few stitches at the front (pulling the first stich to help gather the cape a little). I ran a few stitches towards the back and tied a knot. The hat would hide all of the knots. Repeat nineteen times.
- Finally, I tucked a tiny bit of stuffing into the hat and glued onto each little gnome. Magic!
My daughter helped sew a few hats and cloaks. Thank you!
I have found, when creating larger projects, it helps me to complete all of an element at once. Say, sew twenty hats, instead of trying to complete one character at a time. It sure is gratifying to see them all come together at the end!
My son came home bubbling with stories about everything he found in his little stocking. Here's to all the gift-givers and magic-makers :)
*this post does contain an affiliate link. If you choose the iridescent medium, a small portion returns to the forest while your cost remains the same. Thank you!
So Thankful
We appreciate all the magic. The creativity. The support. The sharing. The love. The wonder. The delight. The laughter. The surprises. The adventure. The ideas. The colors. The surprises. The gifts. The joy.
So much gratitude. We hope you get to spend the day with family and friends, enjoying lots of treats and laughter. Happy happy!
Zombie Bride and Groom
My daughter created this charming couple. We love zombies! In the Fairy Forest, the zombies are the wild children. They embrace mess. Tangles. Layers of rough-cut felt.
These two are cake toppers for a contest she entered featuring Ugly Cakes (yep, it's a real thing) at the Nevada County Fair. She was inspired to make a zombie wedding cake. She could make layers, and drizzle raspberry sauce, and add black icing (yuck)! We knew that a bride and groom cake topper would bring the entire cake together.
We used the zombie patterns from Forest Fairy Crafts. The layer of creepy cloth is easy to find in the Halloween season. I bought a mantle decoration years ago and use it for all of our zombies.
Our biggest challenge was their fancy hats. For the bride, we cut a strip of felt to hold her veil. We sewed the tulle onto felt with a few stitches and ended up securing the back with a stitch as well. Otherwise the tulle stood straight up!
For the groom, we used the same pattern as the witch and pirate hat. Except we created a tube instead of a triangle. I sewed a black rectangle to the top, then clipped around the edges to make it circular. I ended up doing these tricky parts because my daughter was distracted with lots of gooey decorating on the cake.
We wrapped a little creepy cloth around the hat as well. The nice thing is that we didn't have to worry about messy stitching or uneven edges. He is a zombie, after all.
For their faces, we used sharpie and smeared the ink before it dried. Again, we love the freedom of imperfections!
I hope these might inspire you to make happy zombie couples of your own! I ended up going to great lengths to keep them after the cake won a Blue Ribbon. Yes, she won first place!
And here's where they belong. On a zombie wedding cake!
Aren't they wonderful? The little dish at the top protected them from all of that icing.
And, don't worry, no one ate this cake :)
Remember, you have time to come to Circle of Hands Toys and Gifts on Saturday, October 17 to meet me and Margaret Bloom of We Bloom Here. Visit our Events for more information.
*this post does contain an affiliate link to our book. Should you choose to purchase, a small amount returns to the forest while your price remains the same. Thank you!
"Leaf" Gratitude
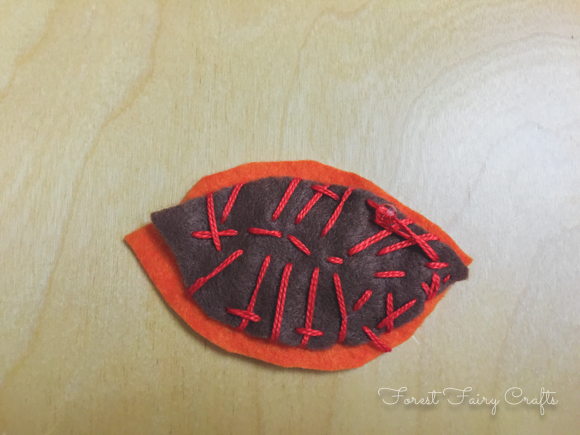
A student named this project. I wanted a way to treasure all the amazing things in our world. We were inspired by the many leaves turning colors and falling this time of year. What if we could sew a leaf where students could collect gratitude inside on slips of paper?
The leaf can become a decoration with a surprise. Students decided they might add gratitudes before Thanksgiving to share on the day. Or they might go around on Thanksgiving and ask everyone to add a gratitude on a little piece of paper to keep inside the leaf. Either way, they discovered these are the perfect way to 'Leaf' a gratitude!
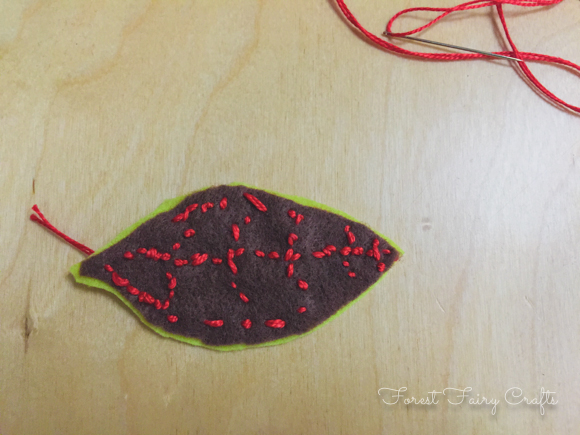
Supplies:
- Two colors of felt
- Scissors, needle, and thread
- Decorations (beads and sequins)
I cut paper with this second/third grade class a lot. I hoped we could make the leap into felt (saving me a ton of prep time). So I brought in rectangles of brown felt. We talked about shapes of leaves and "cutting out" triangles or curves to create a leaf. Students often want to "cut around", twisting the felt and cutting things in half accidentally. We had mixed success. A few needed a second piece of felt, or the leaf was super-small, or not what they expected. We worked through the hiccups.
We talked about decorating one side of the felt. I did show them how to stitch so they could to embroider the veins of the leaves if they wanted. They all looked beautiful in their own way. Students chose the color for the back of the leaf.
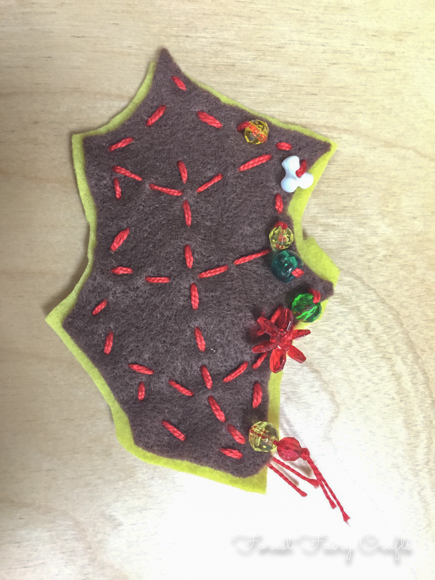
At home, I cut the chosen felt bigger than the leaf. I made it roughly similar, but did not meticulously cut the felt to match. This way, if it wiggled, they had room to keep sewing.
For the next class, we talked about sewing up and down (running stitch) and traveling around the edge of the brown leaf like a little caterpillar. "Leave a gap," I said, "So your leaf has a secret compartment for gratitudes." They could add beads and sequins as they travelled around. Each leaf became lovely. We tied loose ends and children promptly planned how they would surprise their family with gratutides in the pocket. A few plan to add it to the Thanksgiving table. A few want to add a loop to hang their leaf. Lots of ideas.
Which is my favorite kind of project. A craft that inspires!
You can see the little gap on this leaf- a space without stiching so you can get inside the leaf.
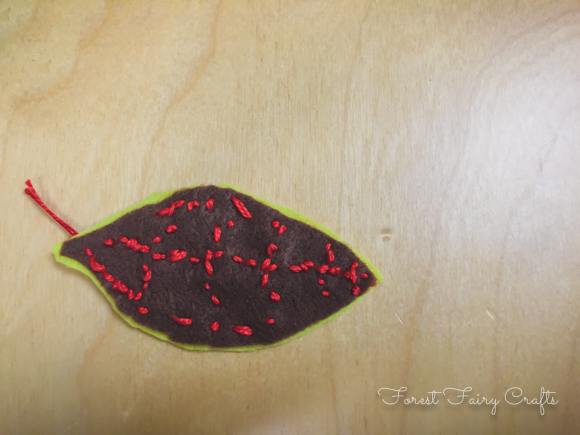
Hurrah! Wishing you and yours a very thankful season :)

Happy Fourth of July!
Hello fairies!
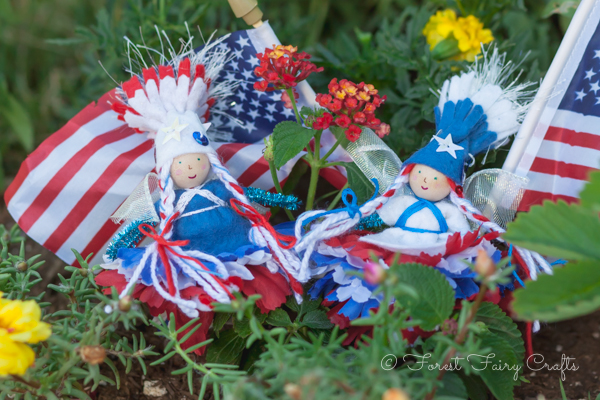
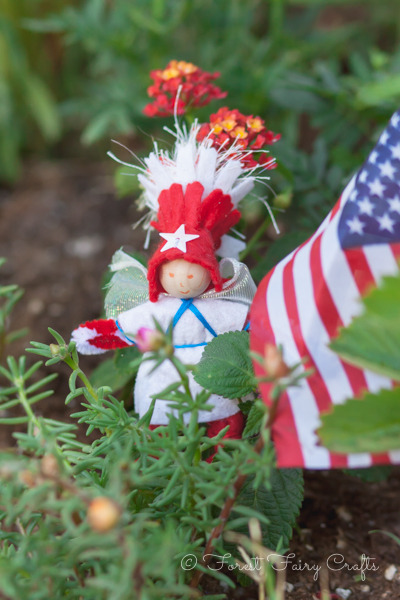
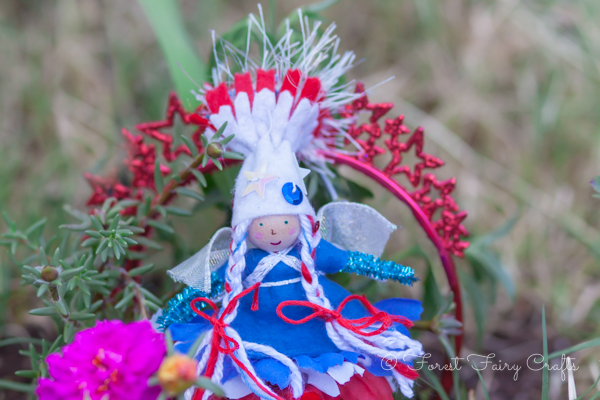
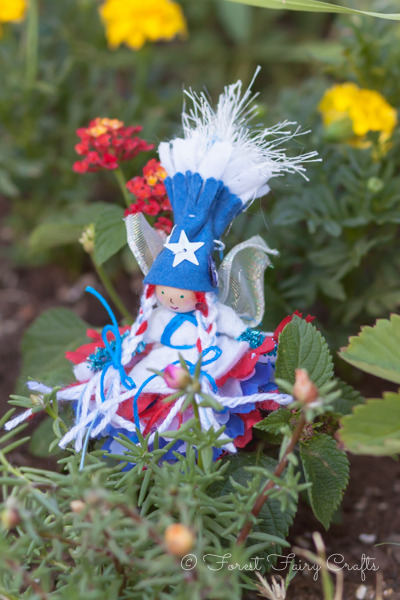
This week we made fairies to celebrate the Fourth of July. They are so festive and fun!

We were inspired by carnations in the craft store with red, white, and blue petals. We found great supplies with my Christmas collection of pipe cleaners, sequins, and sparkly threads. We realized that pompoms make perfect fireworks :)
So we sewed the design of the Leprechaun Hat with a long top (layered with another color). We tucked the pompom inside. Magic :)

Ian made a boy that had Fireworks Power. The blue thread going down his arm is how he shares his power to make fireworks.
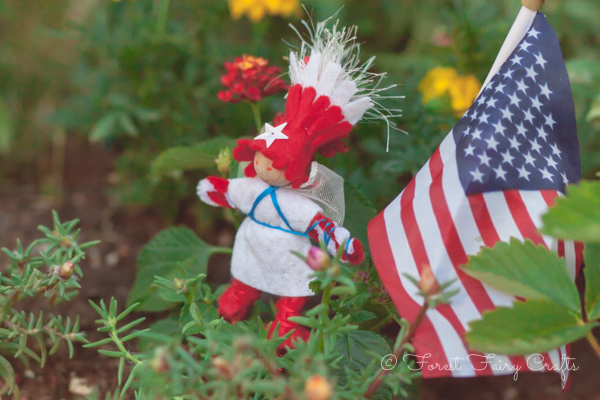
And he wanted an orange face. This boy loves orange (he has a collection of All Things Orange by his bed).
We have a big party today (it's my birthday!) so I better go decorate :)
Enjoy the holiday! Happy Fourth of July! Happy Fairy Crafting!
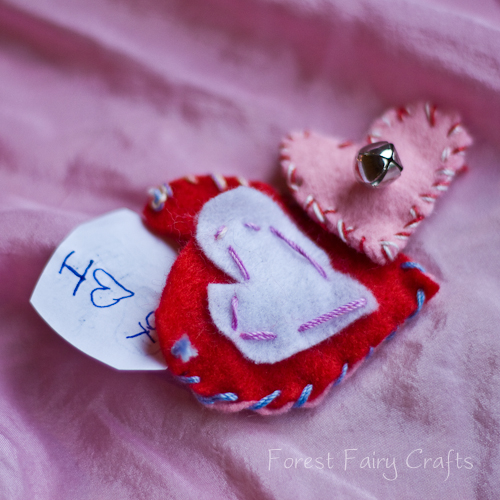
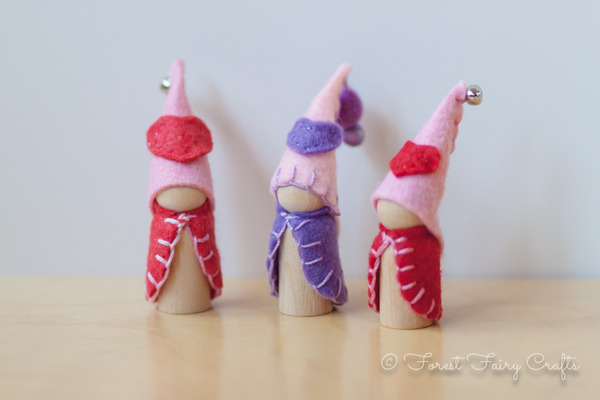
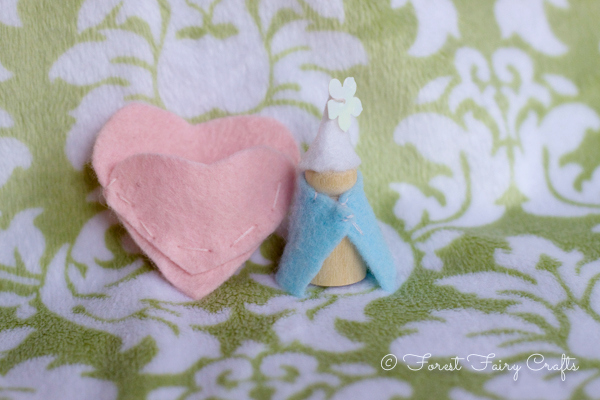
Favorite Valentine Crafts
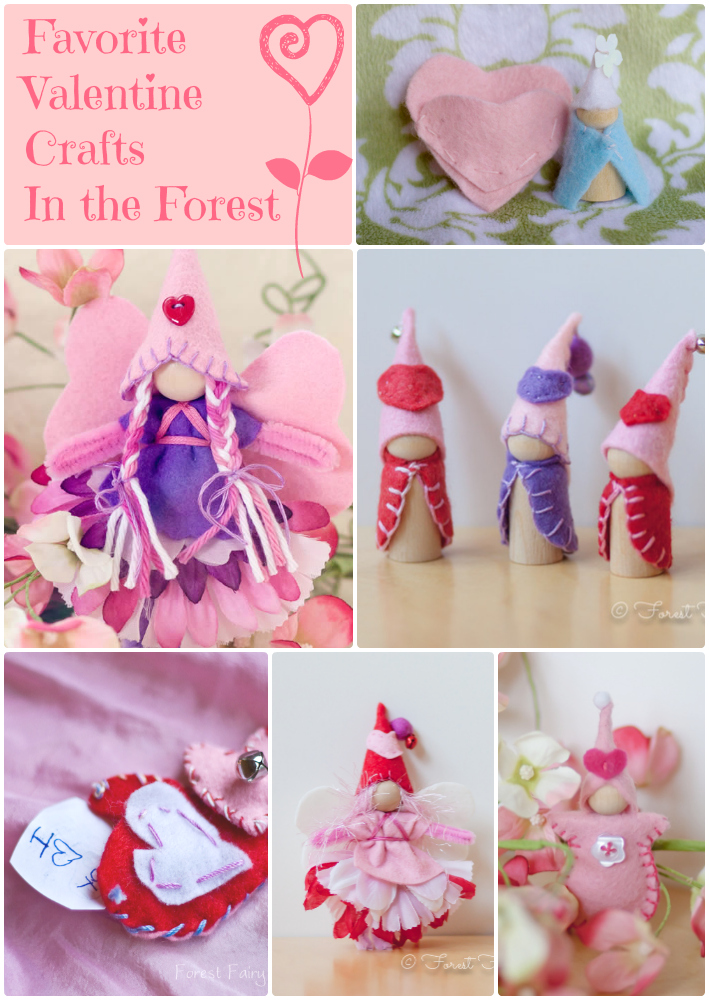
Time to collect our favorite Valentine Crafts in the forest!
Valentine's Day is the holiday of love and friendship. With children, we notice all the gifts that love brings into our lives. The time we spend together, the sweetness of a hug, the joy of shared laughter. Our families and our friends are tremendous gifts.
The crafts here have been created over the years to show appreciation for the ones we love. We hope they inspire you to create and share!
Most of these links show ideas and do not have patterns or tutorials included (a few have step-by-step directions). You can find detailed instructions (with many photos) in our Forest Fairy Crafts book. The book is also available for instant download using Kindle
, iBooks, or Nook.
Wishing you lots of love this week and all year :)

