Leprechaun Baby
Hello wee leprechaun!
Happy Saint Patrick's Day!
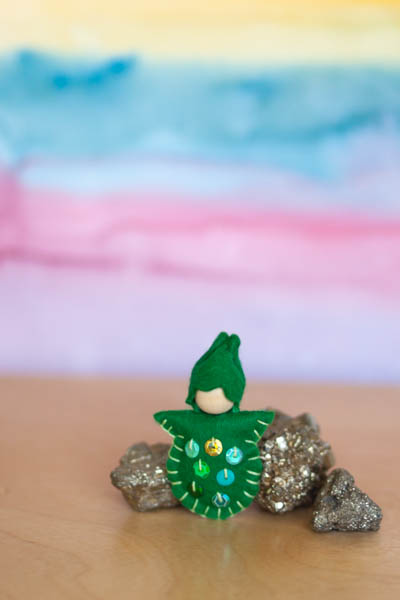
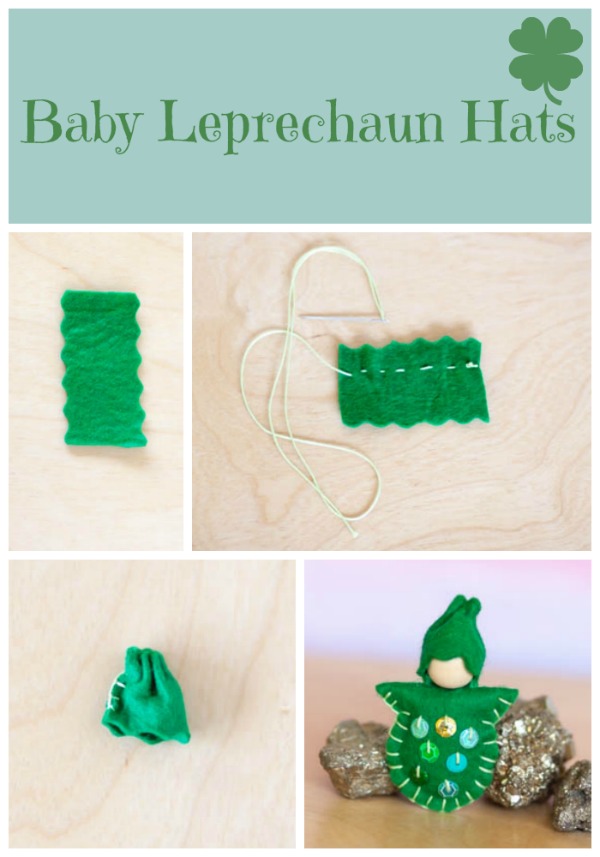
Today I get to sew with little friends in first grade. I will be taking photos to share of course. I had to make a sample for them. And it's so fun to make these little leprechauns. I used the Blossom Baby pattern on Page 99 of our Forest Fairy Crafts book. I used green felt and green and gold sequins.
I was a little creative with the hat. I didn't have enough acorn caps for my class project. And I want to finish them and send them home today. That means I needed to glue hats the day before. I made the hats ahead of time. And I had fun with the design.
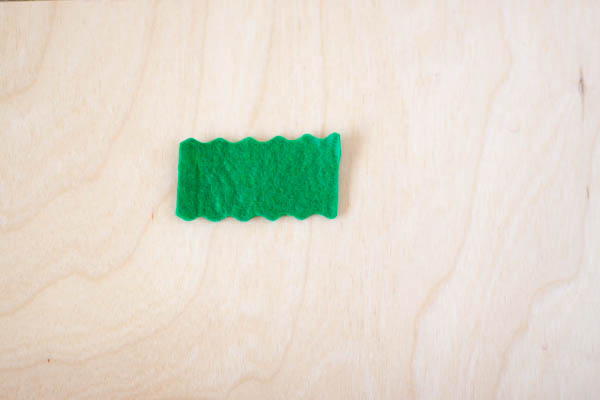
I cut a rectangle with curvy lines (I just measured around the 5/8" bead, very scientific). It came out to 2" if you are curious. I made a few taller and a few shorter. I like every fairy to be unique :)
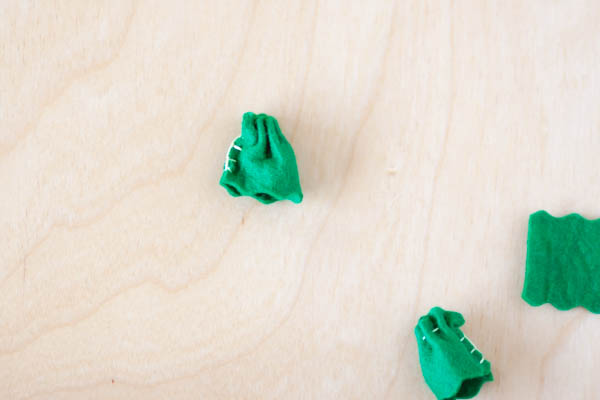
The next step would be tricky for children, but I sewed all these hats so I was okay with a few tricks :). I ran a stitch near the top of the hat. Note: for children, I always double the thread and knot so the needle won't pull off. These were for me. I've had a lot of practice :)
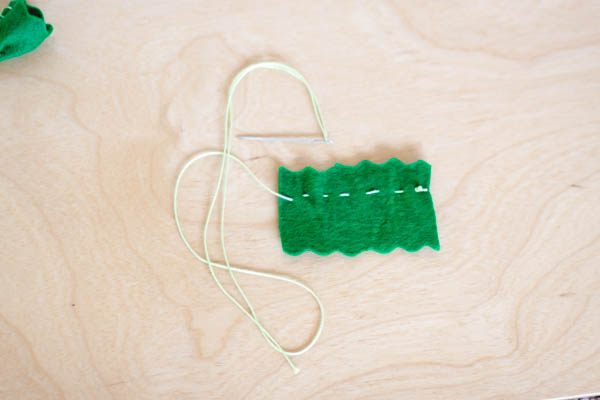
I cinched the thread tight and tied a knot so it wouldn't come loose. I am pondering how to best teach this to children... more on that soon. Anyway, I folded the hat in half and sewed a few stiches along the back.
Easy cuteness!
Ready to glue :)
I could have added sequins or a clover of course, but I have one day to finish these. I wanted the children to sew sequins on the body, sew around the outside, stuff, and close up. Will be fun!

Wishing you lots of magic today!
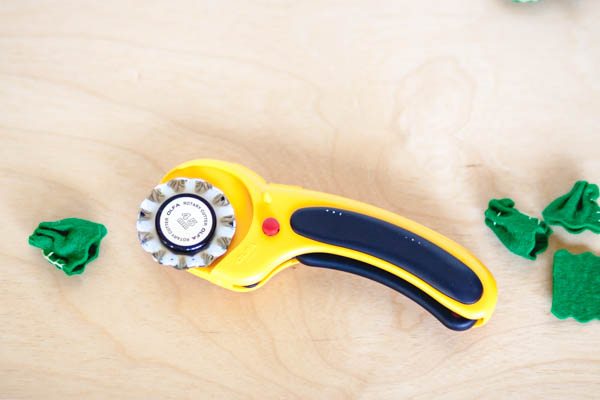
Tip: Last summer I realized that curvy lines were a challenge for cutting, yet looked wonderful. I took the leap and treated myself to a rotary cutter. I love the curves for blossoms and mermaid waves. It took me ages to choose, so here's the link in case you are interested: OLFA Rotary Cutterwith the Olfa Scallop Blade
. And I use a small cutting mat
(not photographed). It's been a great investment!
*Please note: this post does contain affiliate links. Should you purchase anything, your price doesn't change, but a small percentage commission returns to the Forest. Thanks for helping us buy more felt :)
For sharing:
 Enjoy!
Sweetheart Fairy Babies
Fun in the forest sounds like, "Guess what I made?"
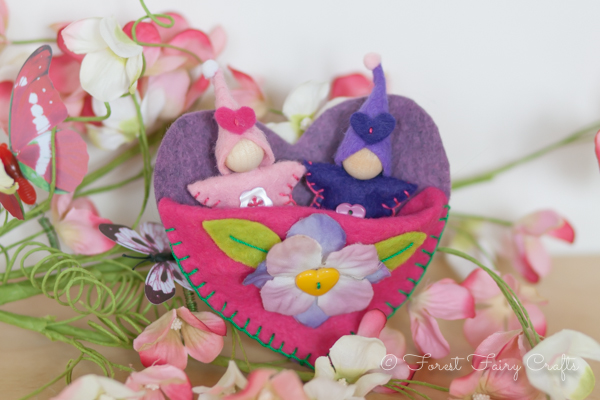
Aw, welcome little sweetheart fairies!
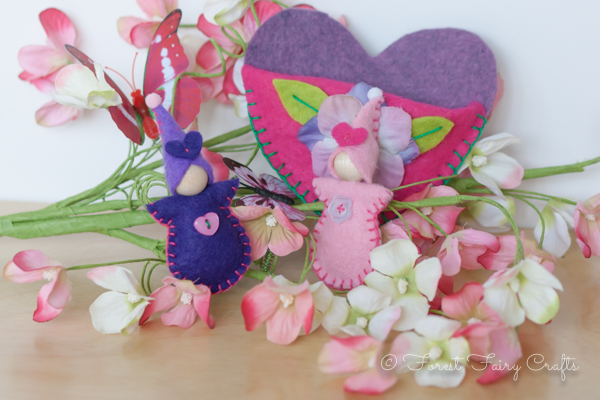
Asia shared these darlings with me last week. We love being inspired by the season.
Asia used ideas from our Forest Fairy Crafts book and switched them around to match the holiday. We've been getting more requests for holiday-theme projects. We aren't able share the exact directions, but we can point you towards inspiration.
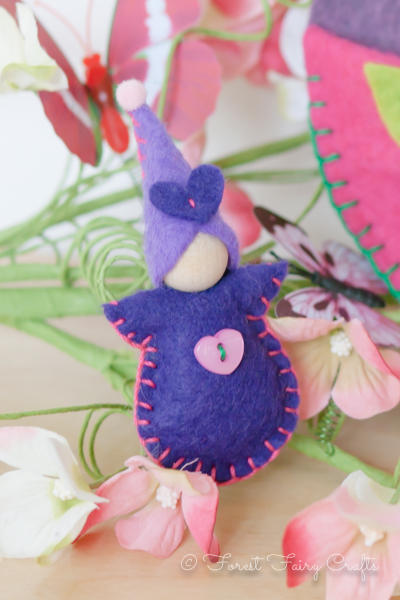
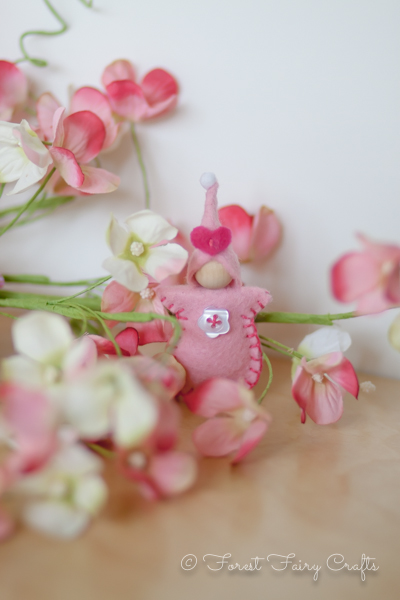
The wee babes started as Blossom Fairy Babies (page 100). Instead of a leaf bed, Asia made a heart similar to the heart pockets on page 114. She then took the hat from the Love Fairy on page 66 and made the heart-shaped hat small enough for a baby.
Putting it all together is brand-new magic!
Certain things, like the pom-poms on their hats and felt heart decorations, are not in our book. The pom-poms are in most craft stores and can be sewn with a little stitch at the top of the hat. The hearts are cut freehand and secured wtih a stitch.
We keep hearing about mixing and matching ideas from the book. We love that!
Of course, each idea began as a question. "How could we...?" I have a few ideas tumbling in my thoughts right now. "How can I...?" And the results are so much fun!
We wish you lots of love as you create :)
The First Fairy Mobile

Last month, I wanted to create a gift with our class of kindergarten and first grade students. Our beloved teacher was going to have a baby! What a perfect chance for me to try a long-time idea. How could I make the fairies into a mobile?
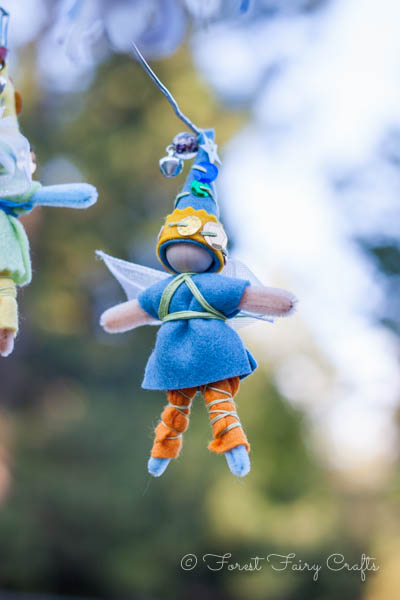
This was the perfect gift. Each student helped with one of the six fairies. We didn't know if the baby would be a boy or a girl, so we kept neutral colors. I chose the felt and cut the pieces before we sat down to sew- orange, blue, yellow, and green. The children helped sew hats and sequins so we had three girls and three boys.
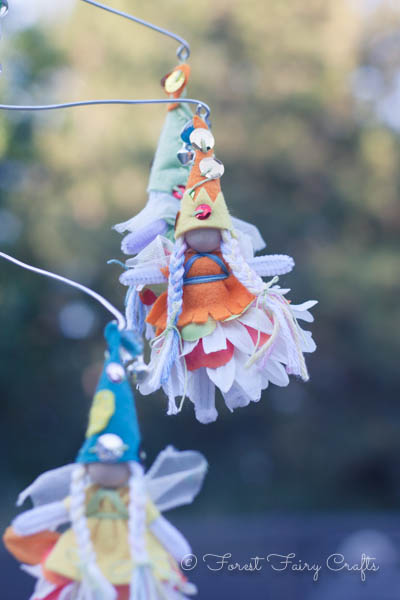
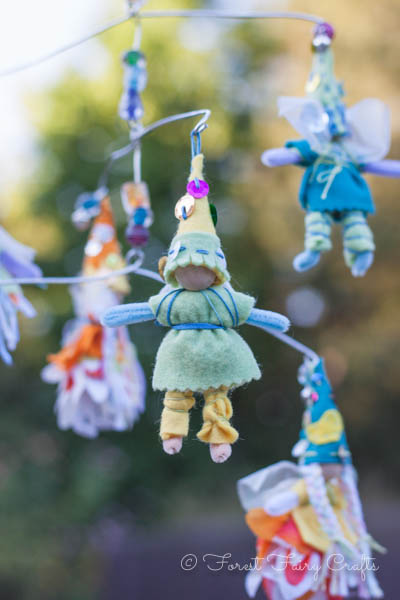

I also kept the thread choices blue or green. This way, the fairies looked similar with their unique personalities. Children also chose the beads for the hat that would end up matching the beads I used to connect the wires (I didn't plan that ahead of time, but it worked out perfect).
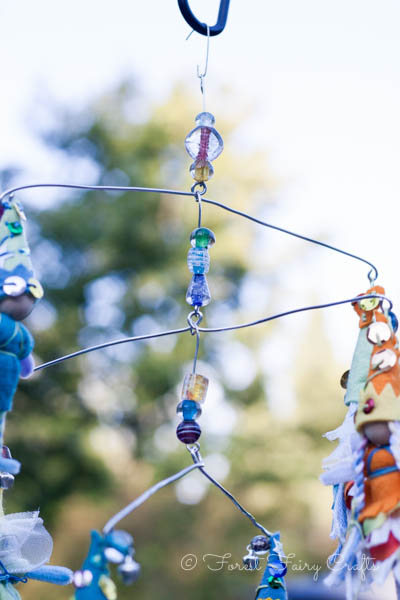
Once I had the six fairies, I used floral wire and the heaviest beading wire that I could find in our local craft shop. The beading wire was pretty, shiny, and soft. The floral wire was thin, but strong. I ended up using both wires. I liked the 'character' of the softer wire. The uneven bends here and there just added to the charm. I used beading pliers to make simple loops at the ends and the center. Each wire balanced with a girl and a boy. I attached these together with short pieces of wire. I felt like the middle sections needed a little something, and the beads were a perfect solution!

I could make a tutorial if people are interested in all the details of putting the mobile together. My magic was seeing how each child contributed to a collaborative gift. I have wanted to make a fairy mobile for ages! I am glad that I got the perfect opportunity. I have also seen lovely mobiles using a hoop. I would love to try sticks, too, for the natural elements.
I loved creating this fairy mobile with the children. We hope the baby loves our hanging Fairyland!