

Heartfelt Hearts with Children
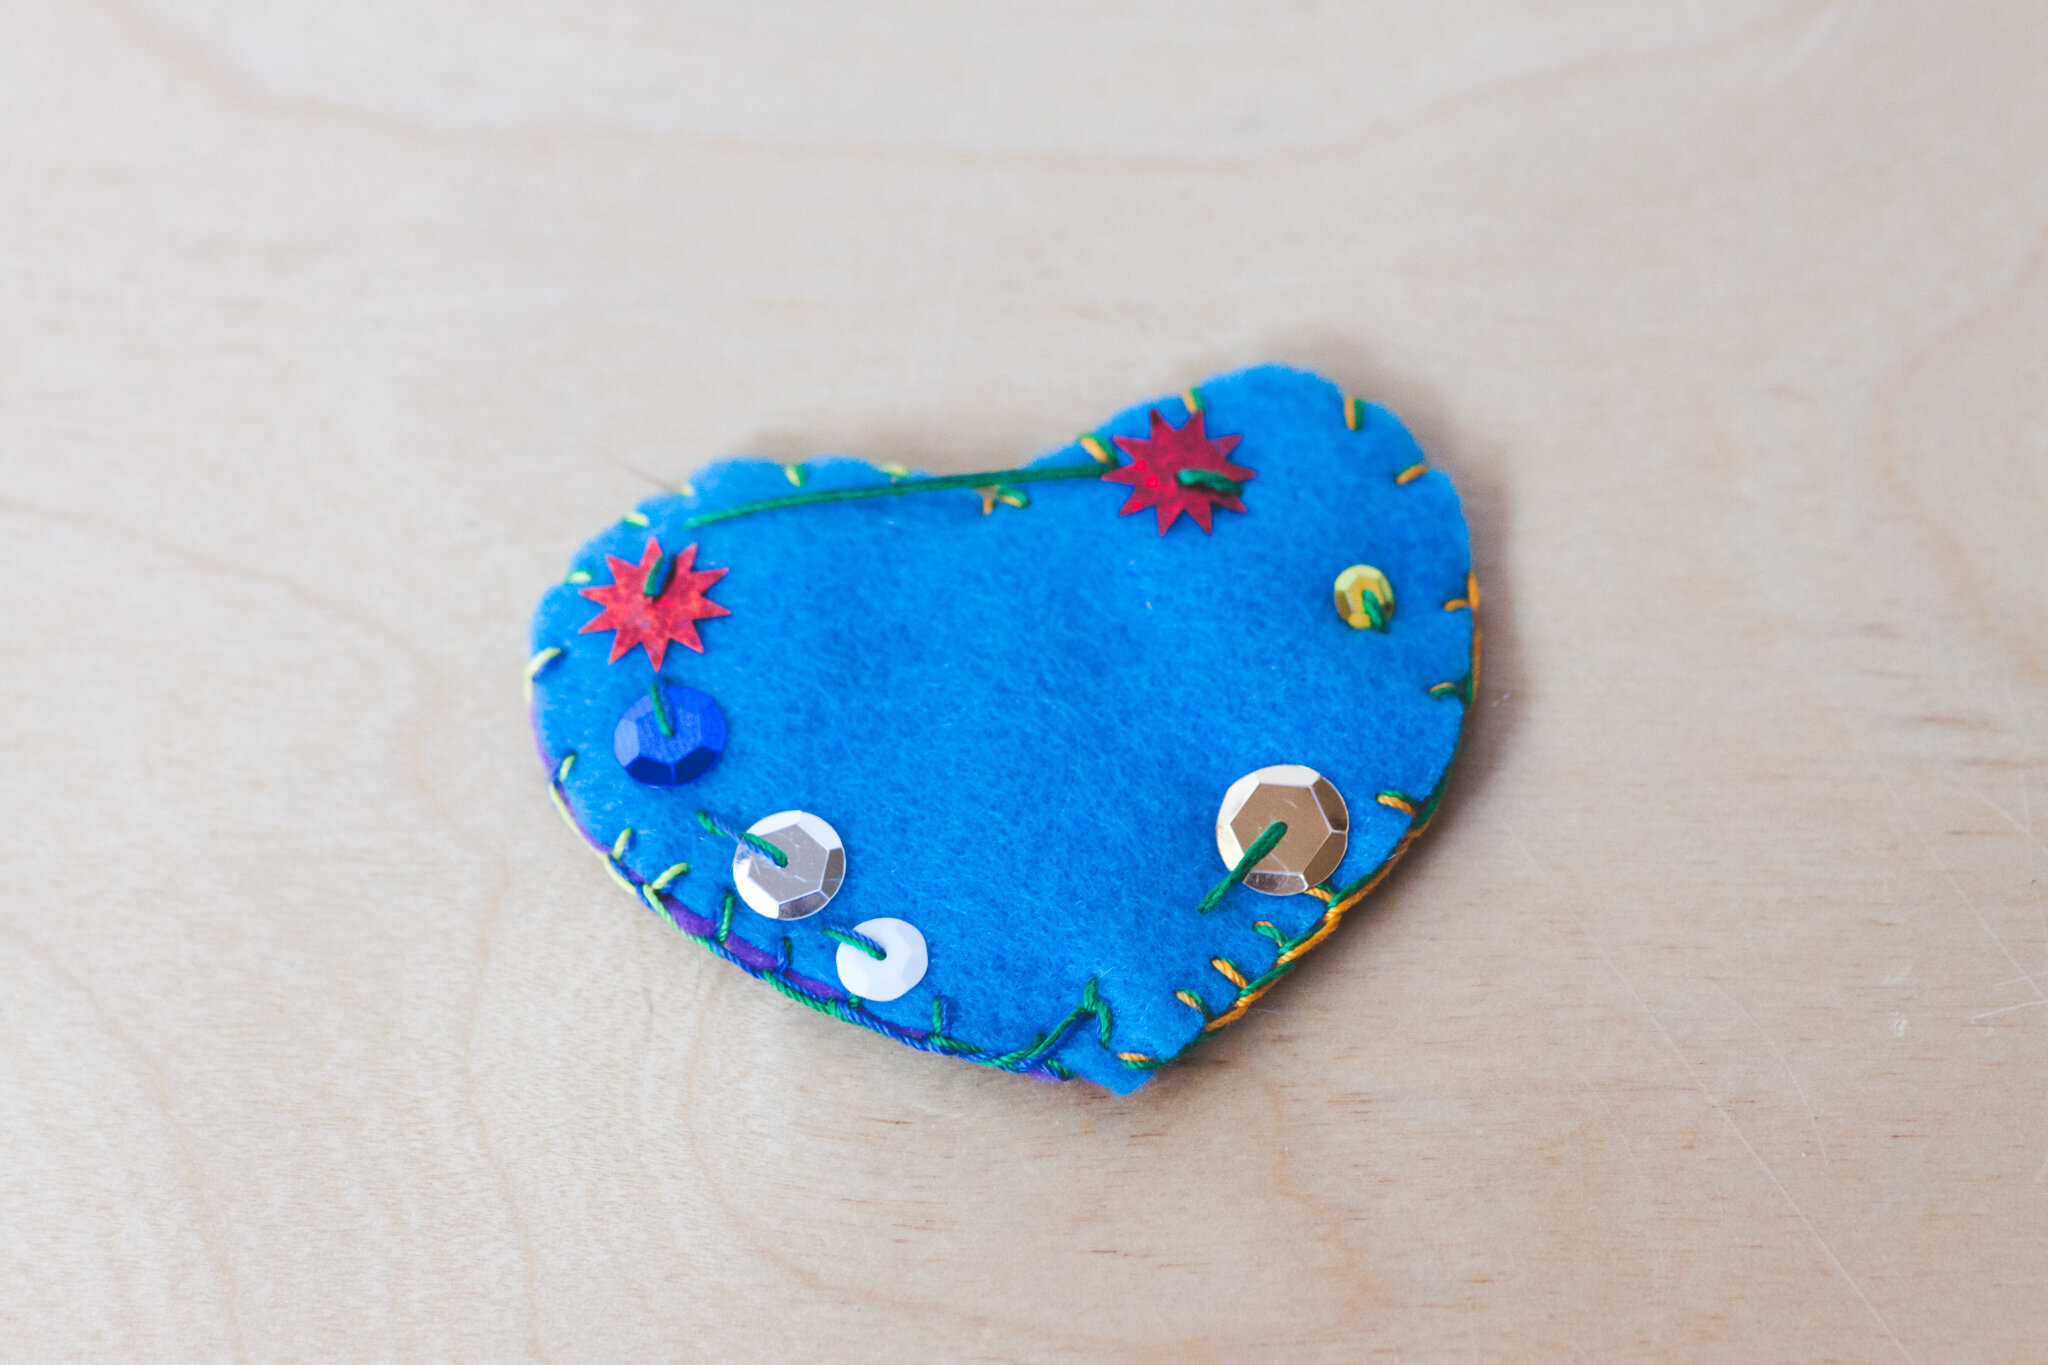
Invite children to decorate to their heart’s content. This felt sewing project is an opportunity for children to add many decorations. The resulting heart is lovely to hang as decoration or gift to loved ones.
As with all of our projects, be mindful of a child’s abilities and the sharpness of the needle. If you’re using a blunter needle (like a tapestry needle), more layers may be too many layers of felt.
You can also make the heart any size. We recommend not making it a size where the felt becomes floppy and won’t hang straight. You can draw your own pattern on a piece of paper before cutting out of felt. Or we have a heart pattern in Forest Fairy Crafts Through the Seasons.
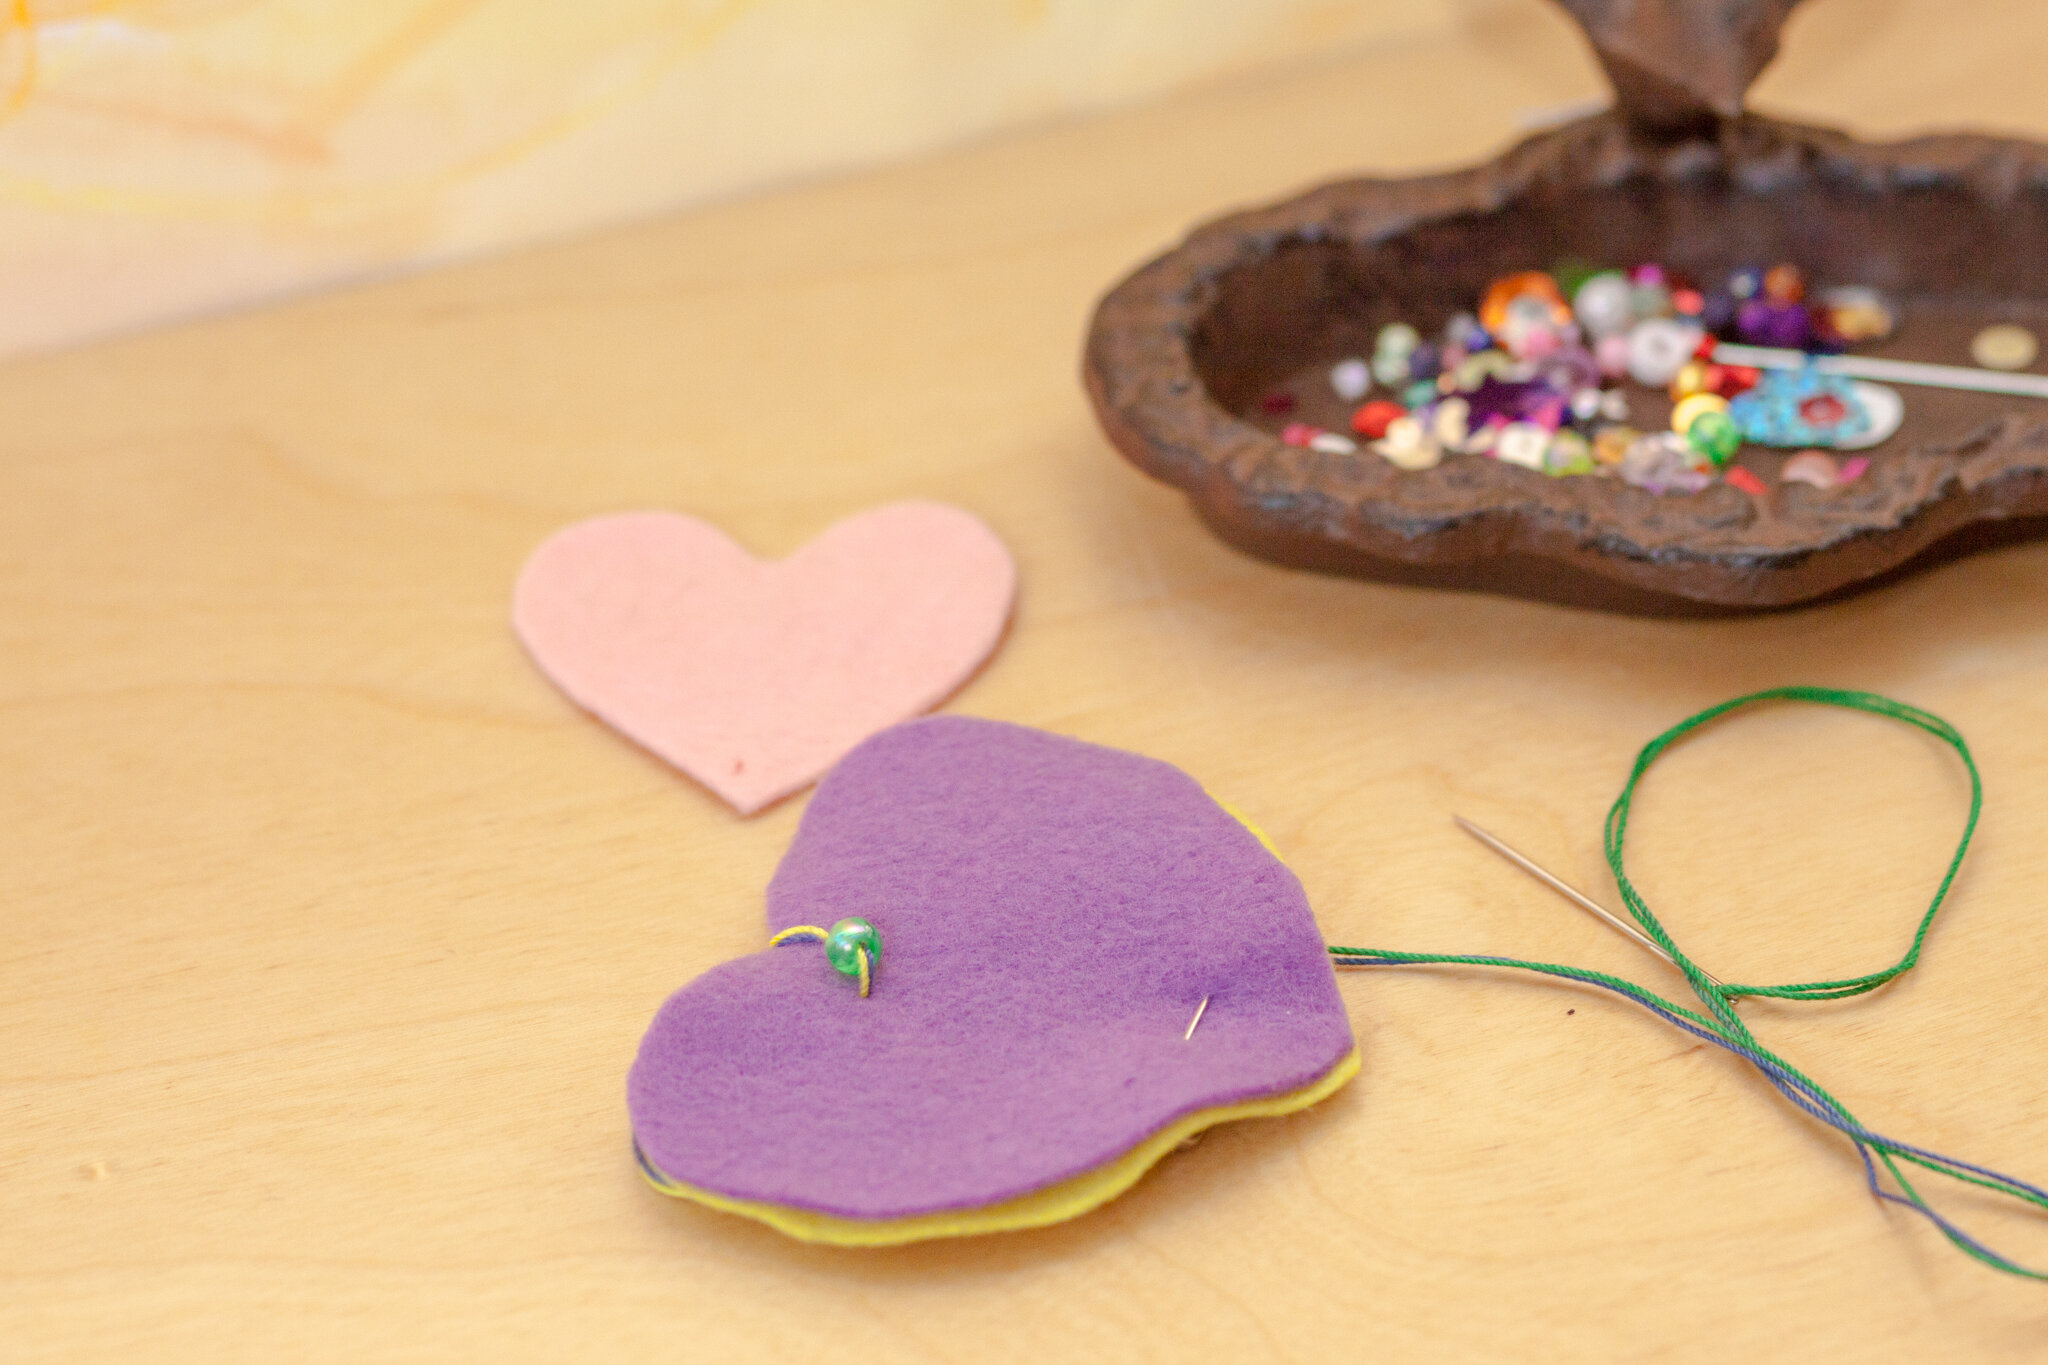
For any version of the heart, cut out your felt heart shapes. We use crochet thread which doesn’t tangle as easily as embroidery thread. For children, we always put the thread through the eye of the needle, fold in half, then tie slipknot securing both ends together. This prevents the needle from pulling off when they pull the thread taut. The multicolor thread in the photos is due to a variegated thread which changes color on its own.
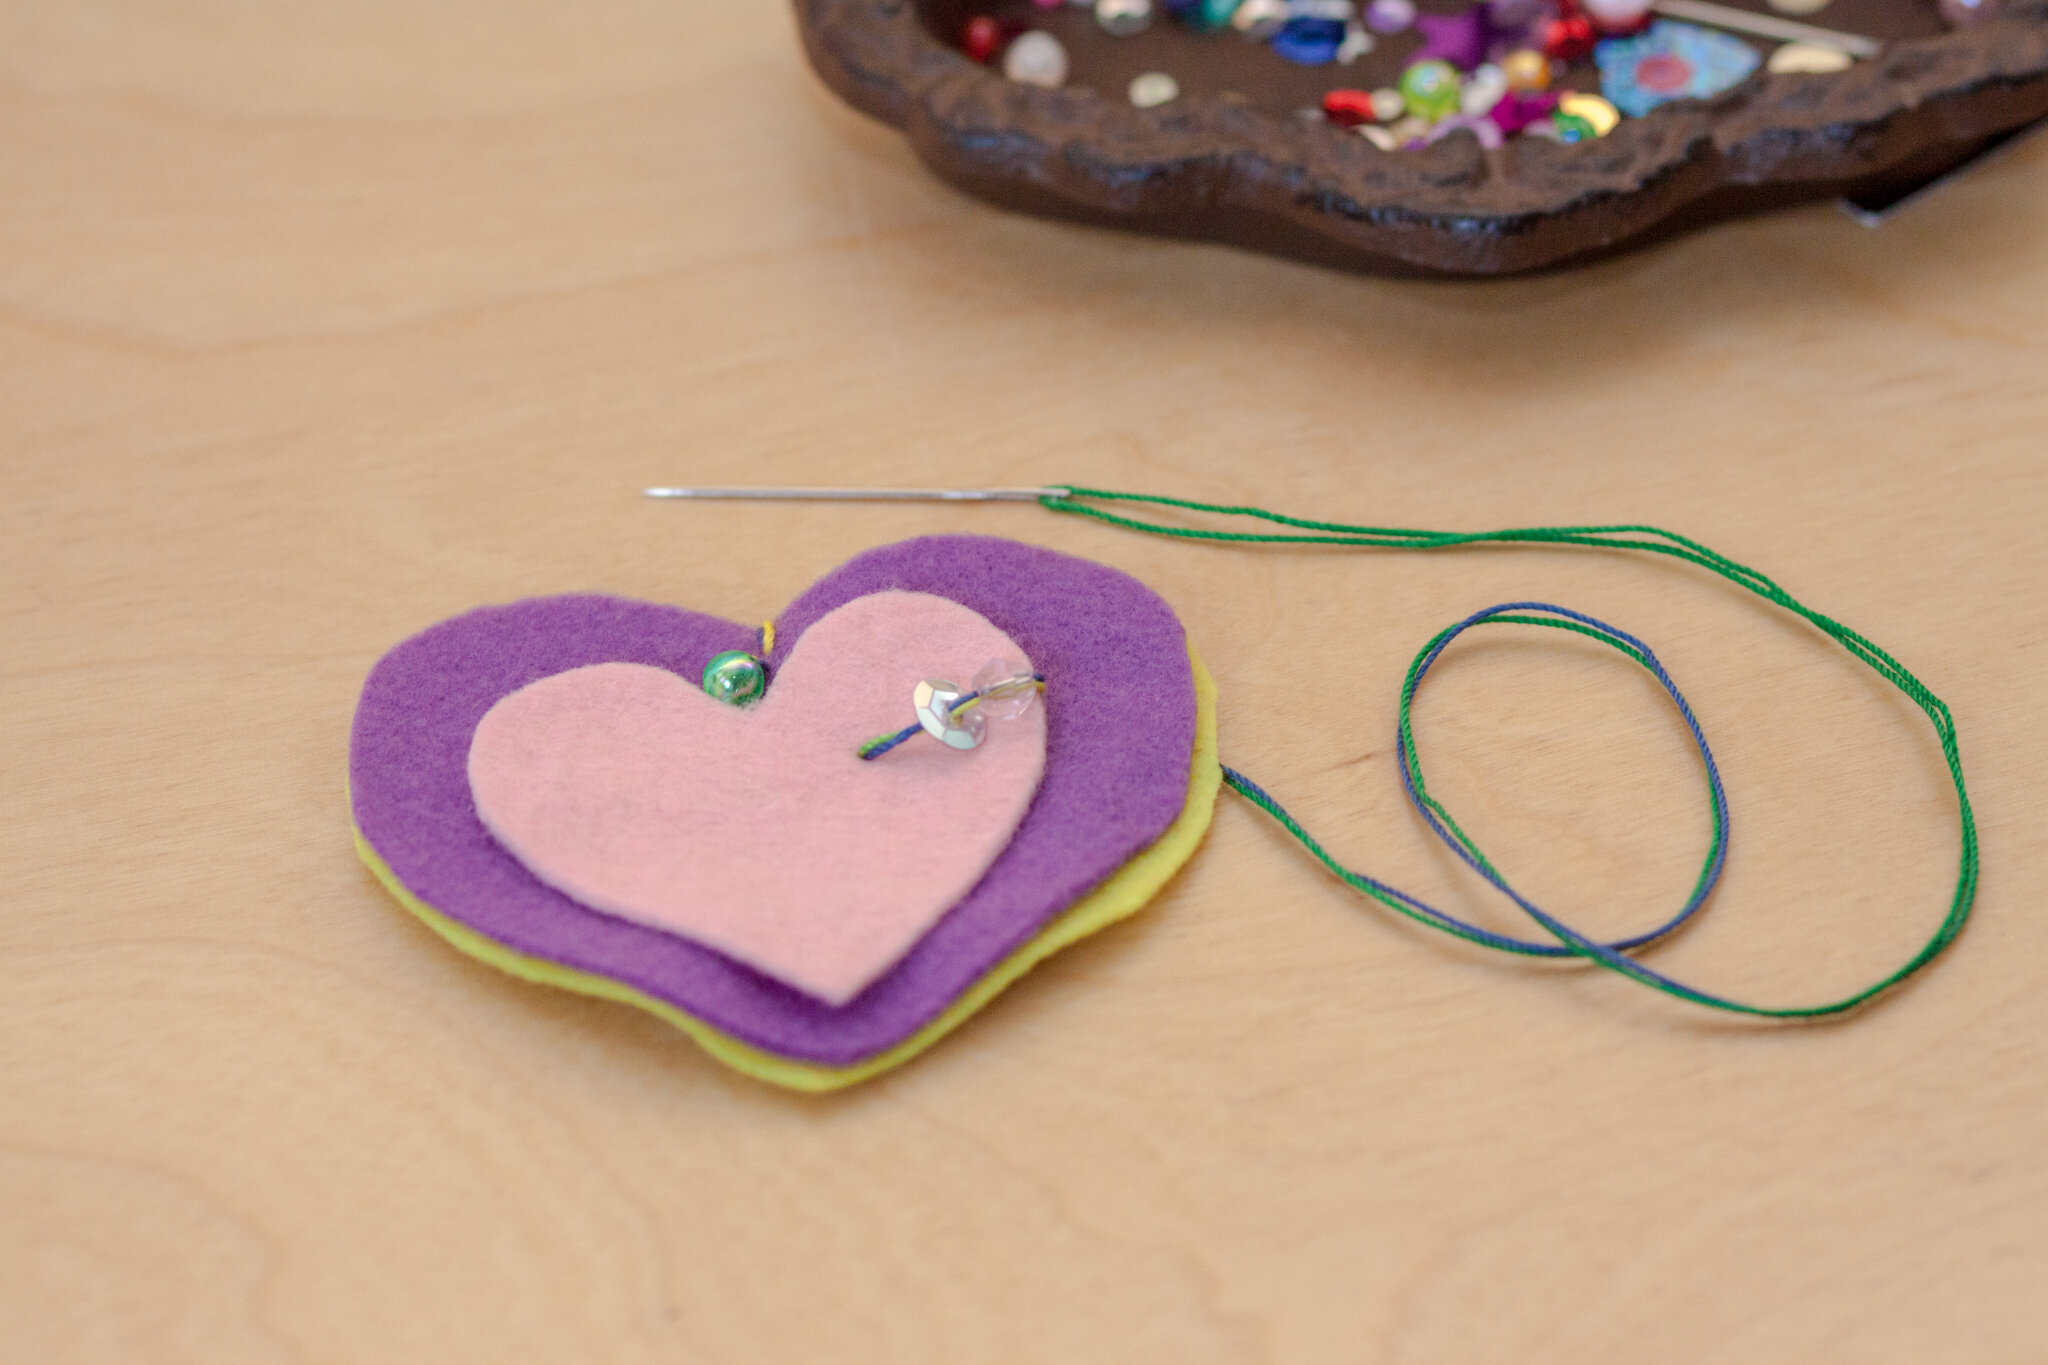
Use a safety pin to hold the felt hearts together at first. Sew through one piece of felt so the knot will be “sandwiched” between the two felt hearts. Loop around the first stitch so the hearts won’t wiggle (or you can secure with more than one safety pin). Lay a smaller heart on your hearts after a stitch or two.
The direction is to “add decorations, push your needle through, then add decorations.” Repeat and repeat.


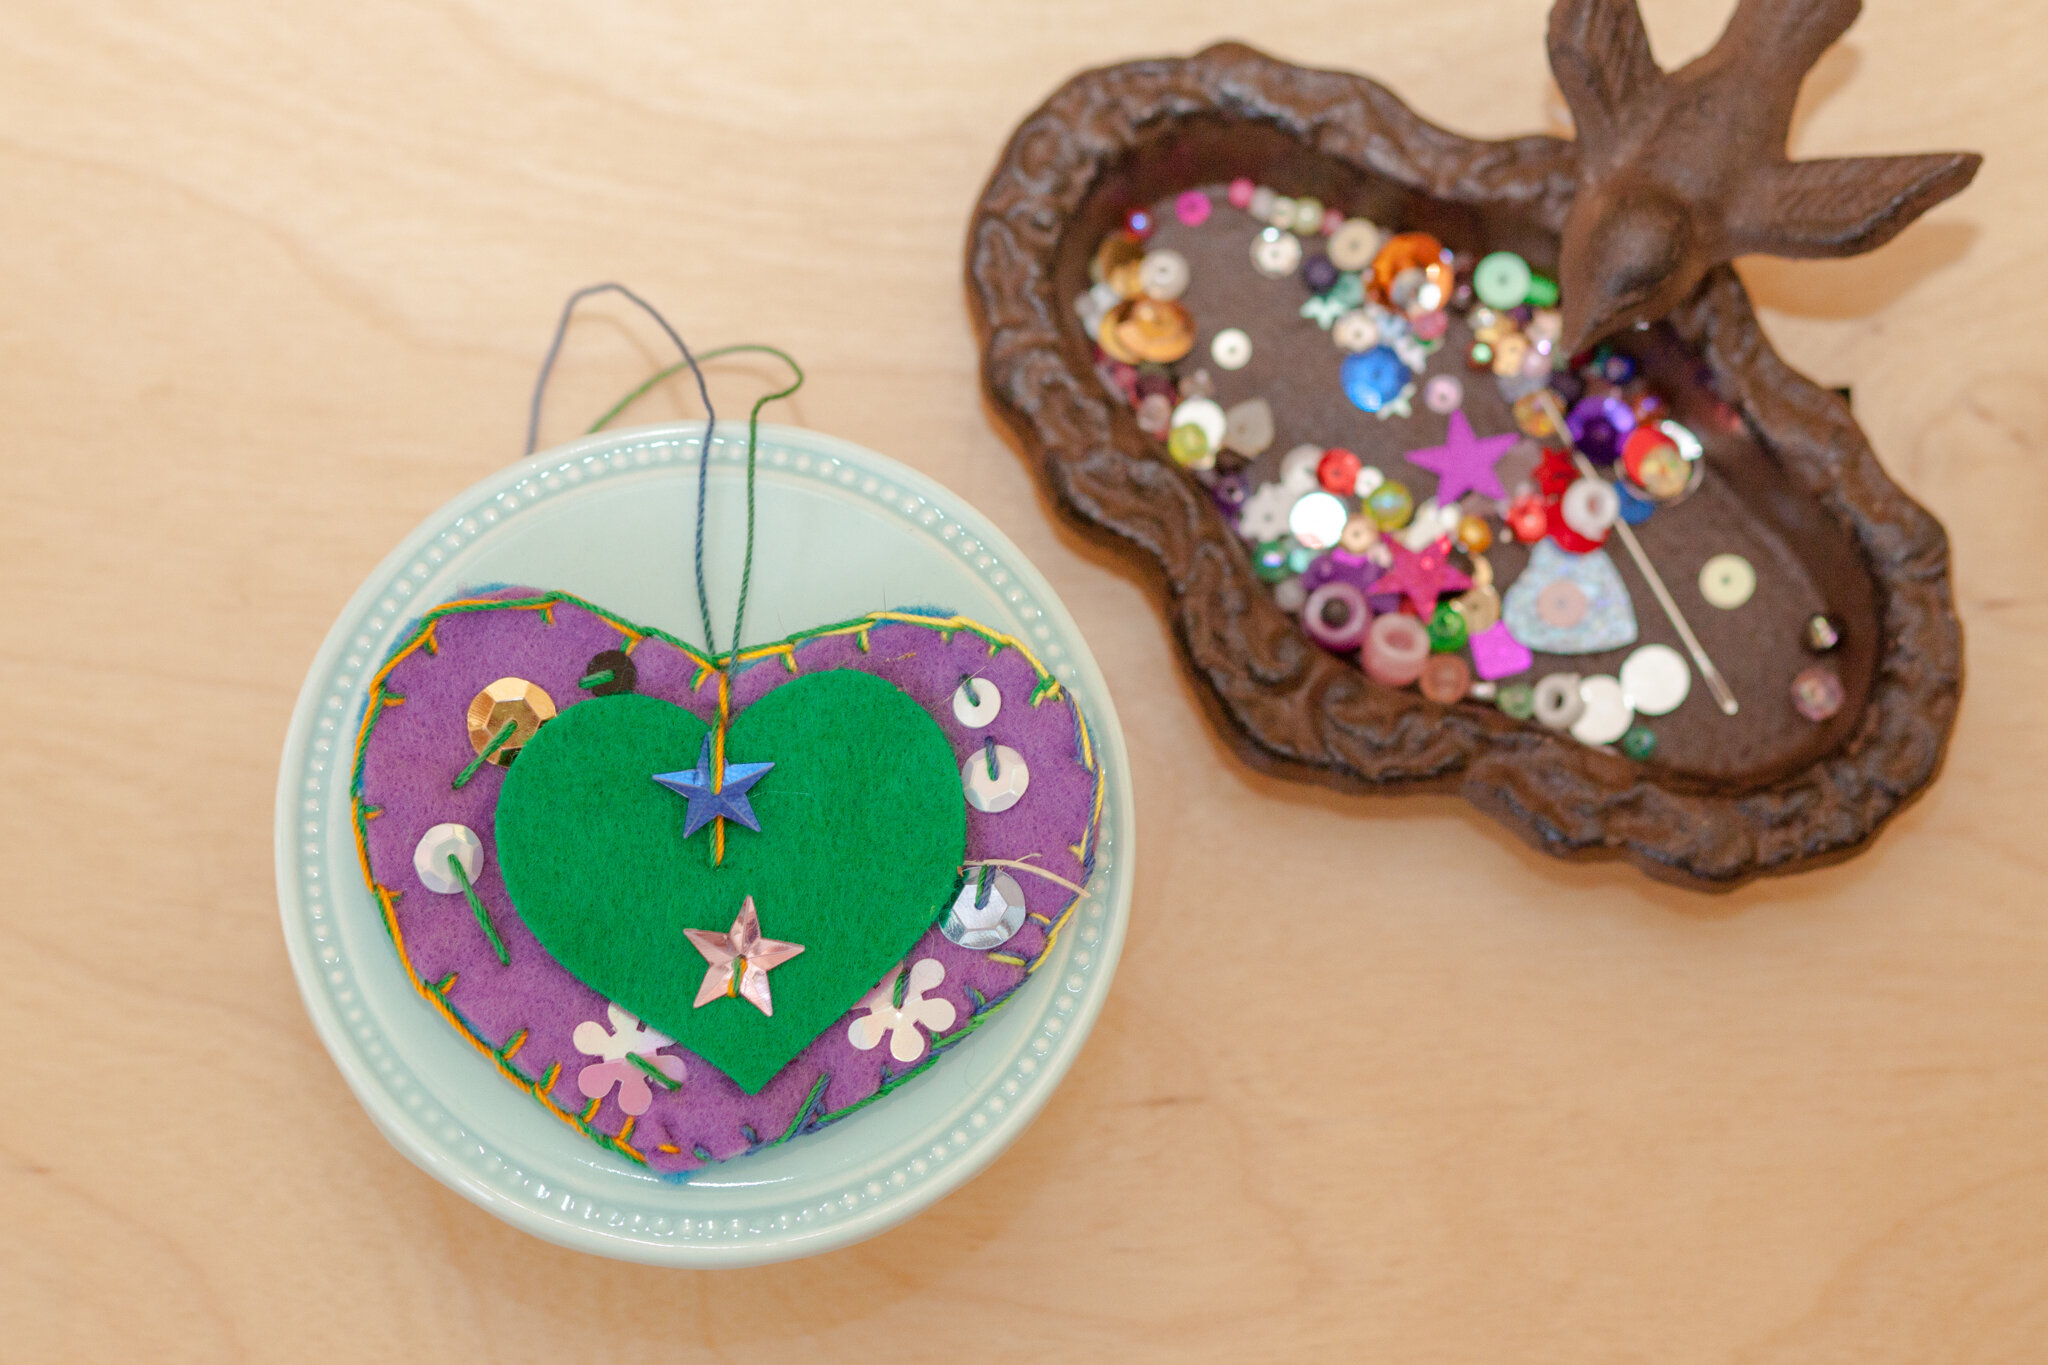

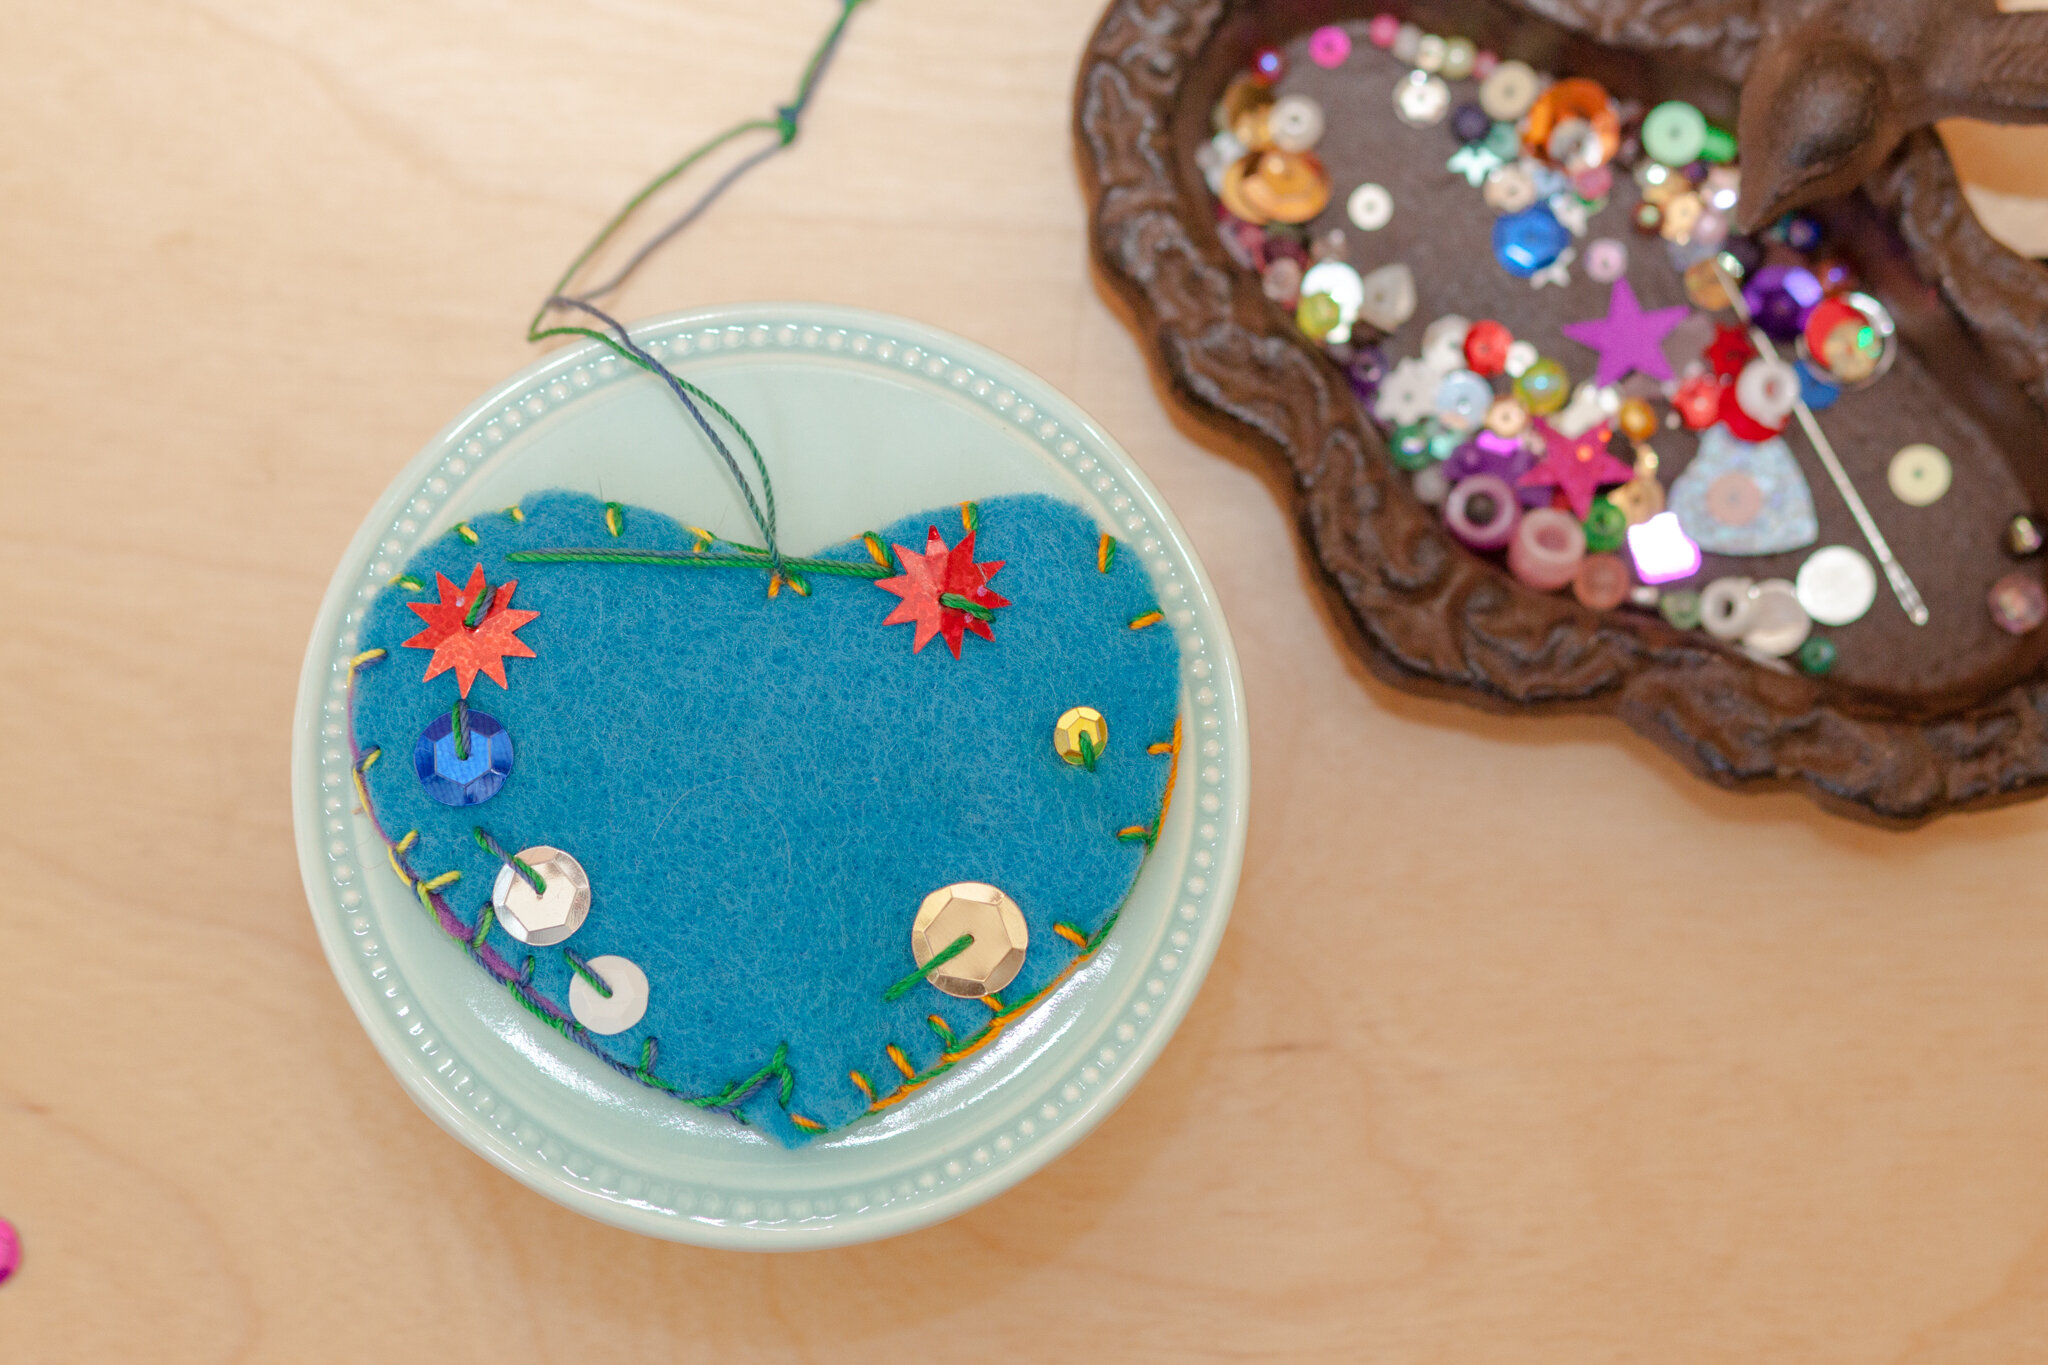
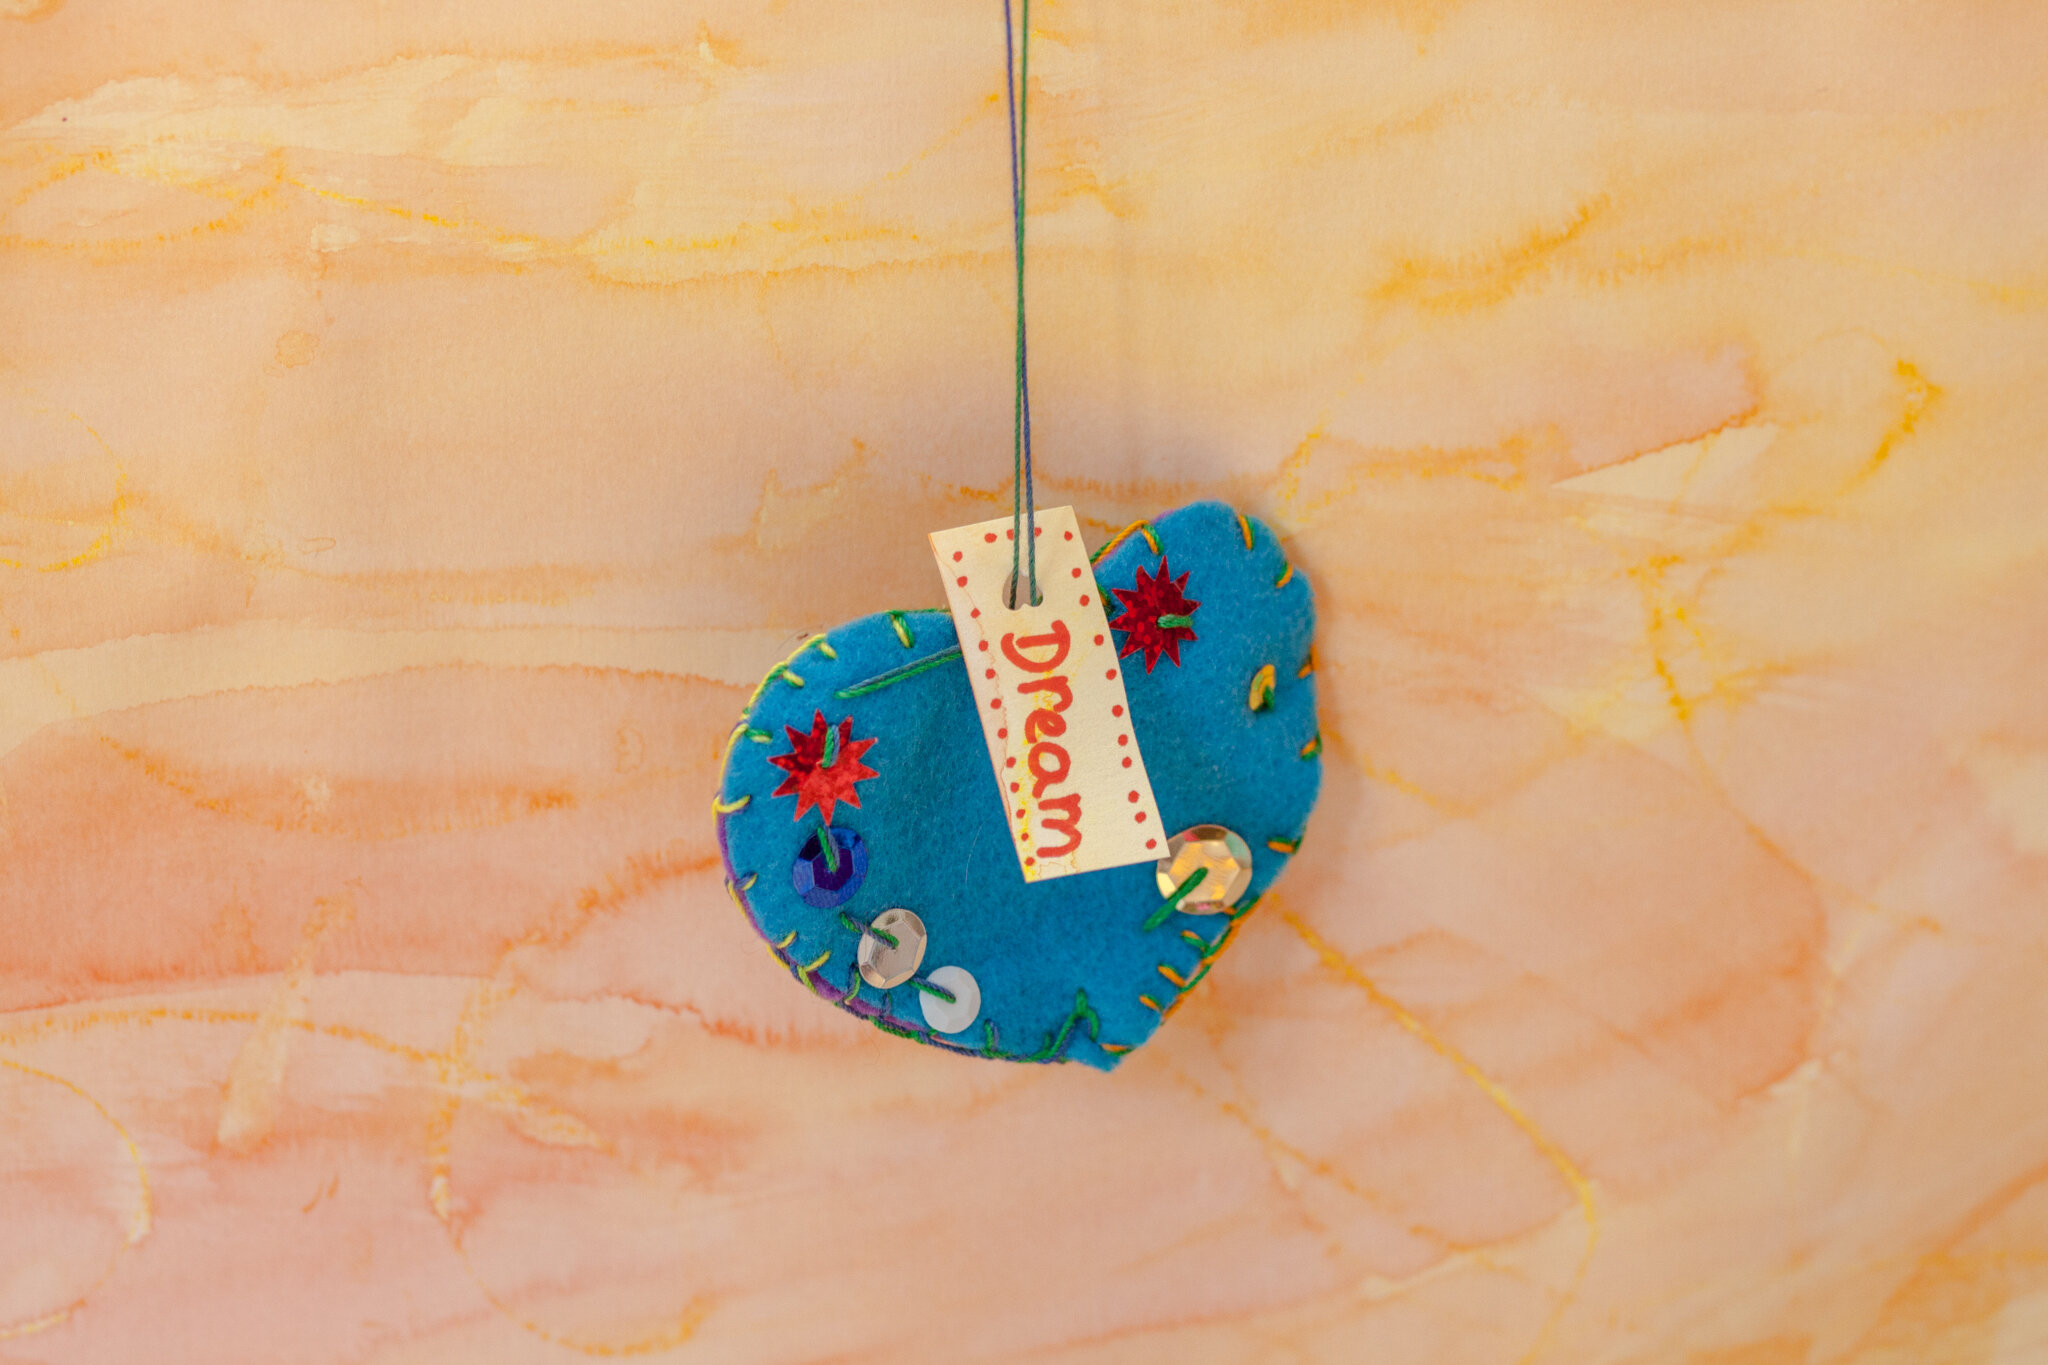
These can be strung together to make a garland or mobile. We enjoyed a class collection hanging from the ceiling overhead. They become such expressions of whoever sews them. May your heart’s wish come true!


Upcycled Owl and Cat Treasure Keepers
Upcycled owl and cat treasure keepers by students feature incredible personalities and embellishments. Upcycled means to take one item and use it for another purpose. Worn clothing with holes can become toys. Upcycling is a fun way to repurpose fabric instead of throwing things in the trash.
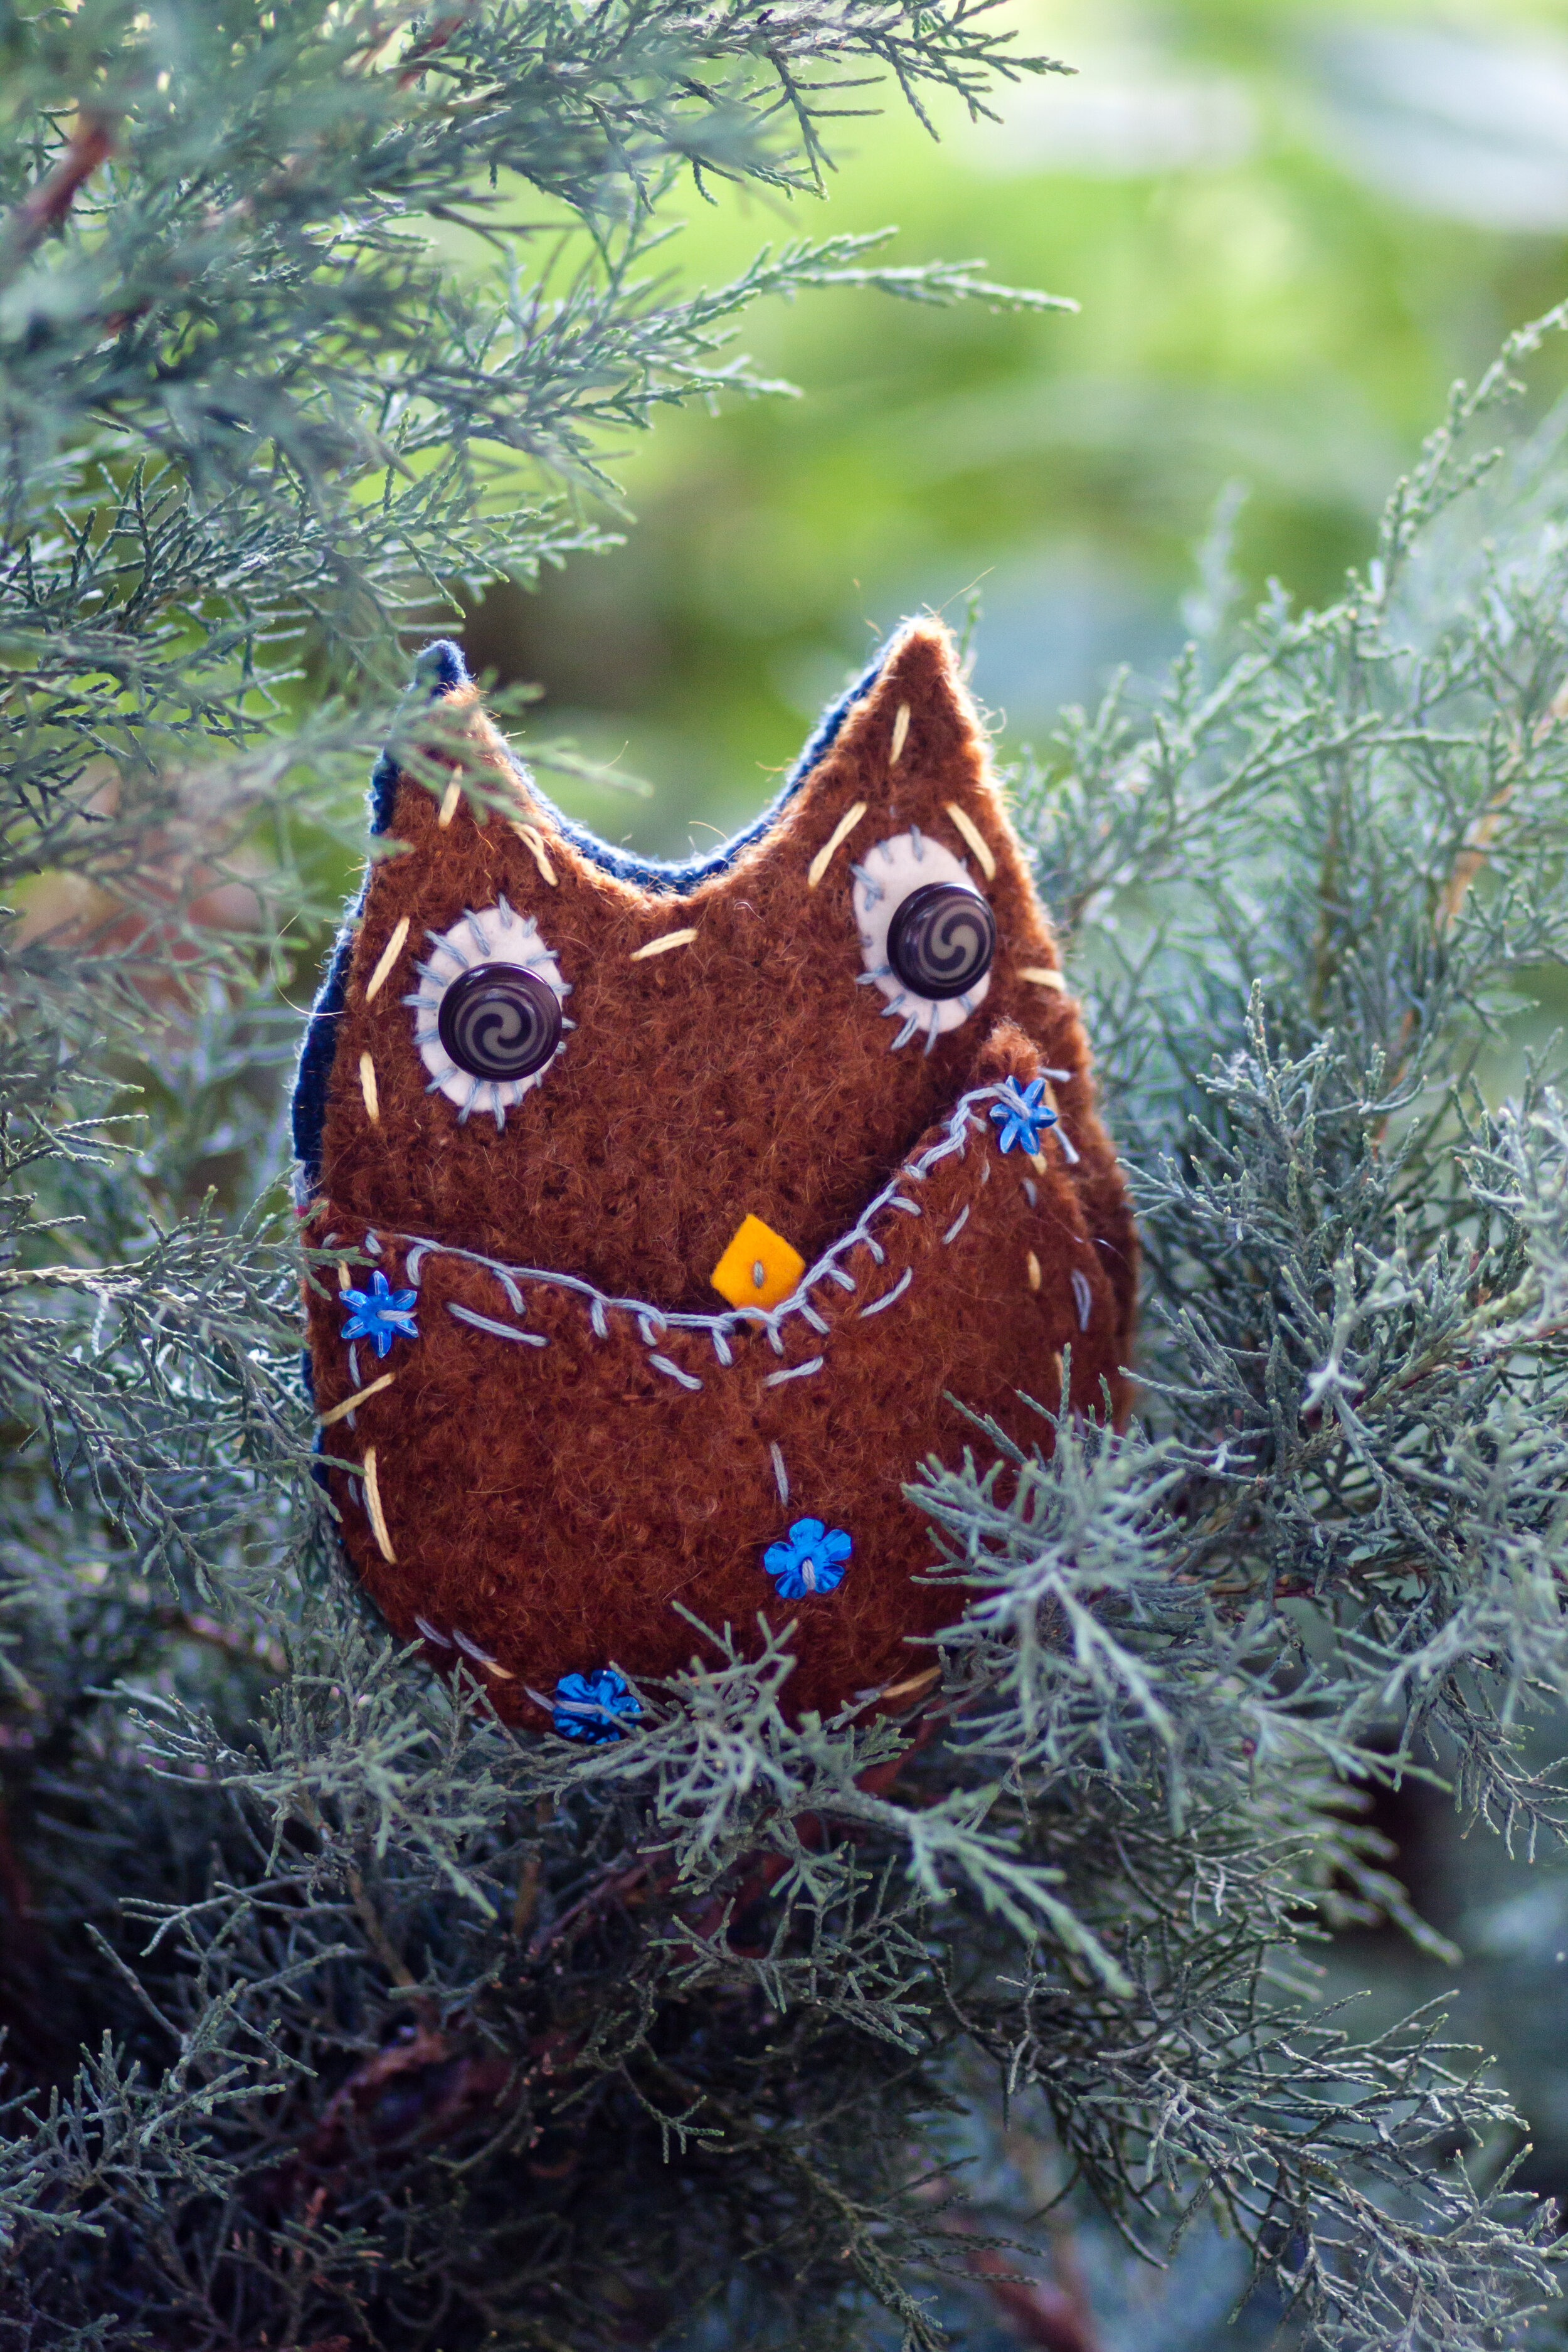


Any fabric that doesn't fray easily and isn't too stretchy or thick for pushing a needle through it will work fine for fairy crafts. We see every project as an invitation to create. We welcome exuberant self-expression when children sew. The pattern and tutorials for the Owl and Cat Treasure Keepers are in the first Forest Fairy Crafts book. They're a wonderfully fun activity when it's chilly outside. The front decoration is actually a pocket. Perfect for little treasures. Or tooth fairy pillows. The Forest Fairy Crafts book shares patterns, tutorials, and photographs for making your own little critters.

And they’re so cute!

Another Way to Wind Yarn Balls
As promised, here’s another way to wind yarn balls. This way is quicker if you are making a pile of yarn balls, such as for a summer camp or basket of yarn for children to choose from. This technique doesn’t give the same level of fine motor skills, though, and it’s harder for little hands to control the yarn from slipping off of their fingers. So it’s a friendly version for adults or older children. But the other way gives children more winding practice around their fingers. Choose which one feels easier for you.
The beauty of handwork is that we all get to choose what works best for us. And I’m sure there’s even more ways to start winding yarn. It may be a worthy experiment to teach both methods to children and then ask them which way works better for them. The results may surprise you!
Onward to another way to wind yarn balls :)


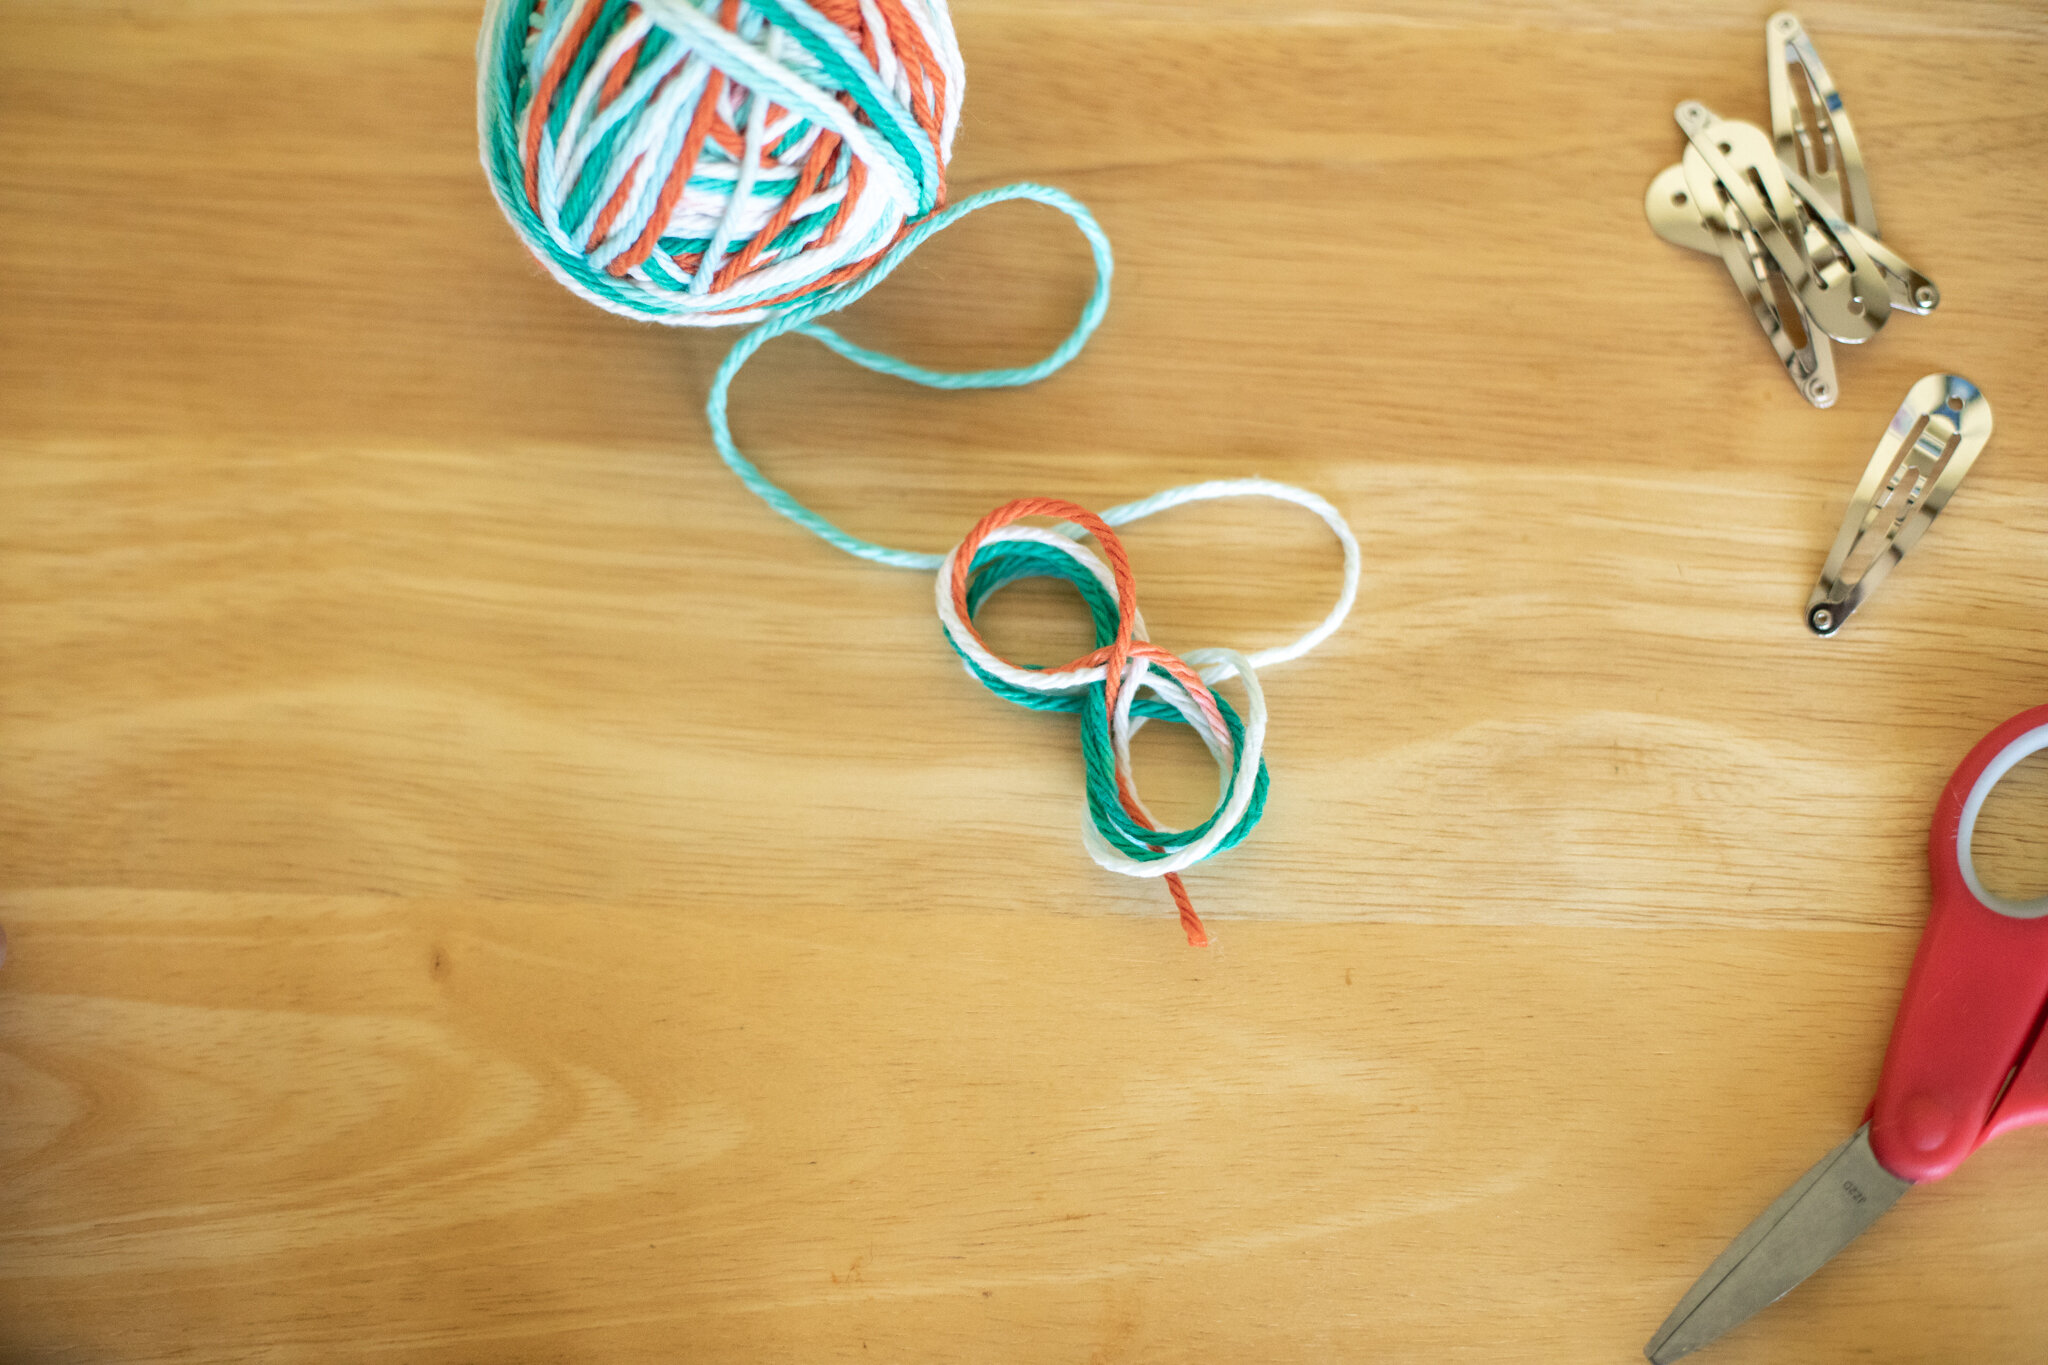
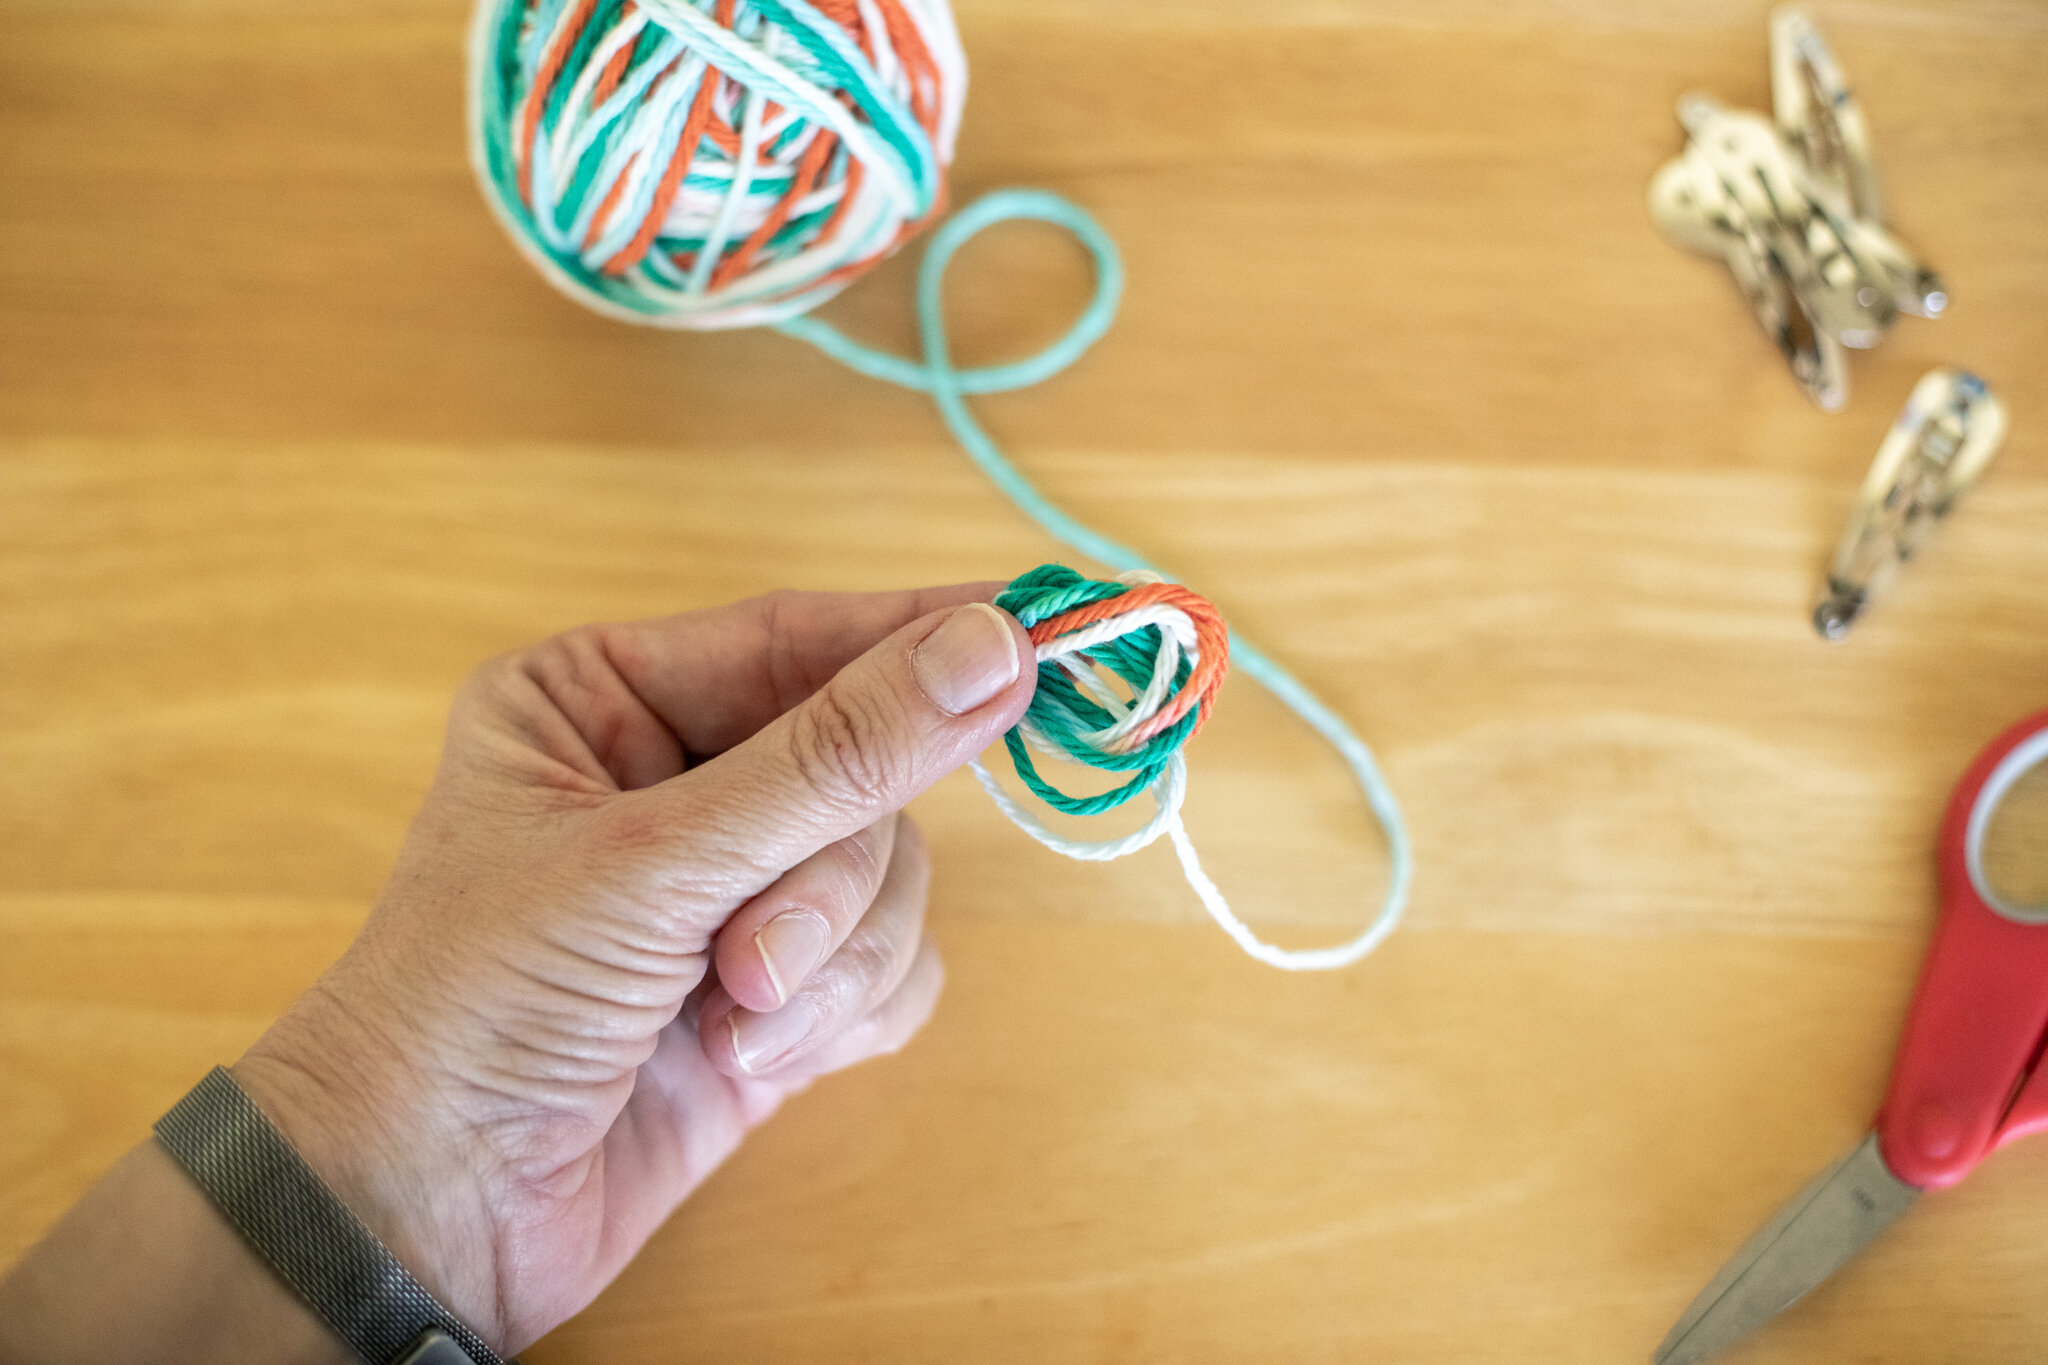
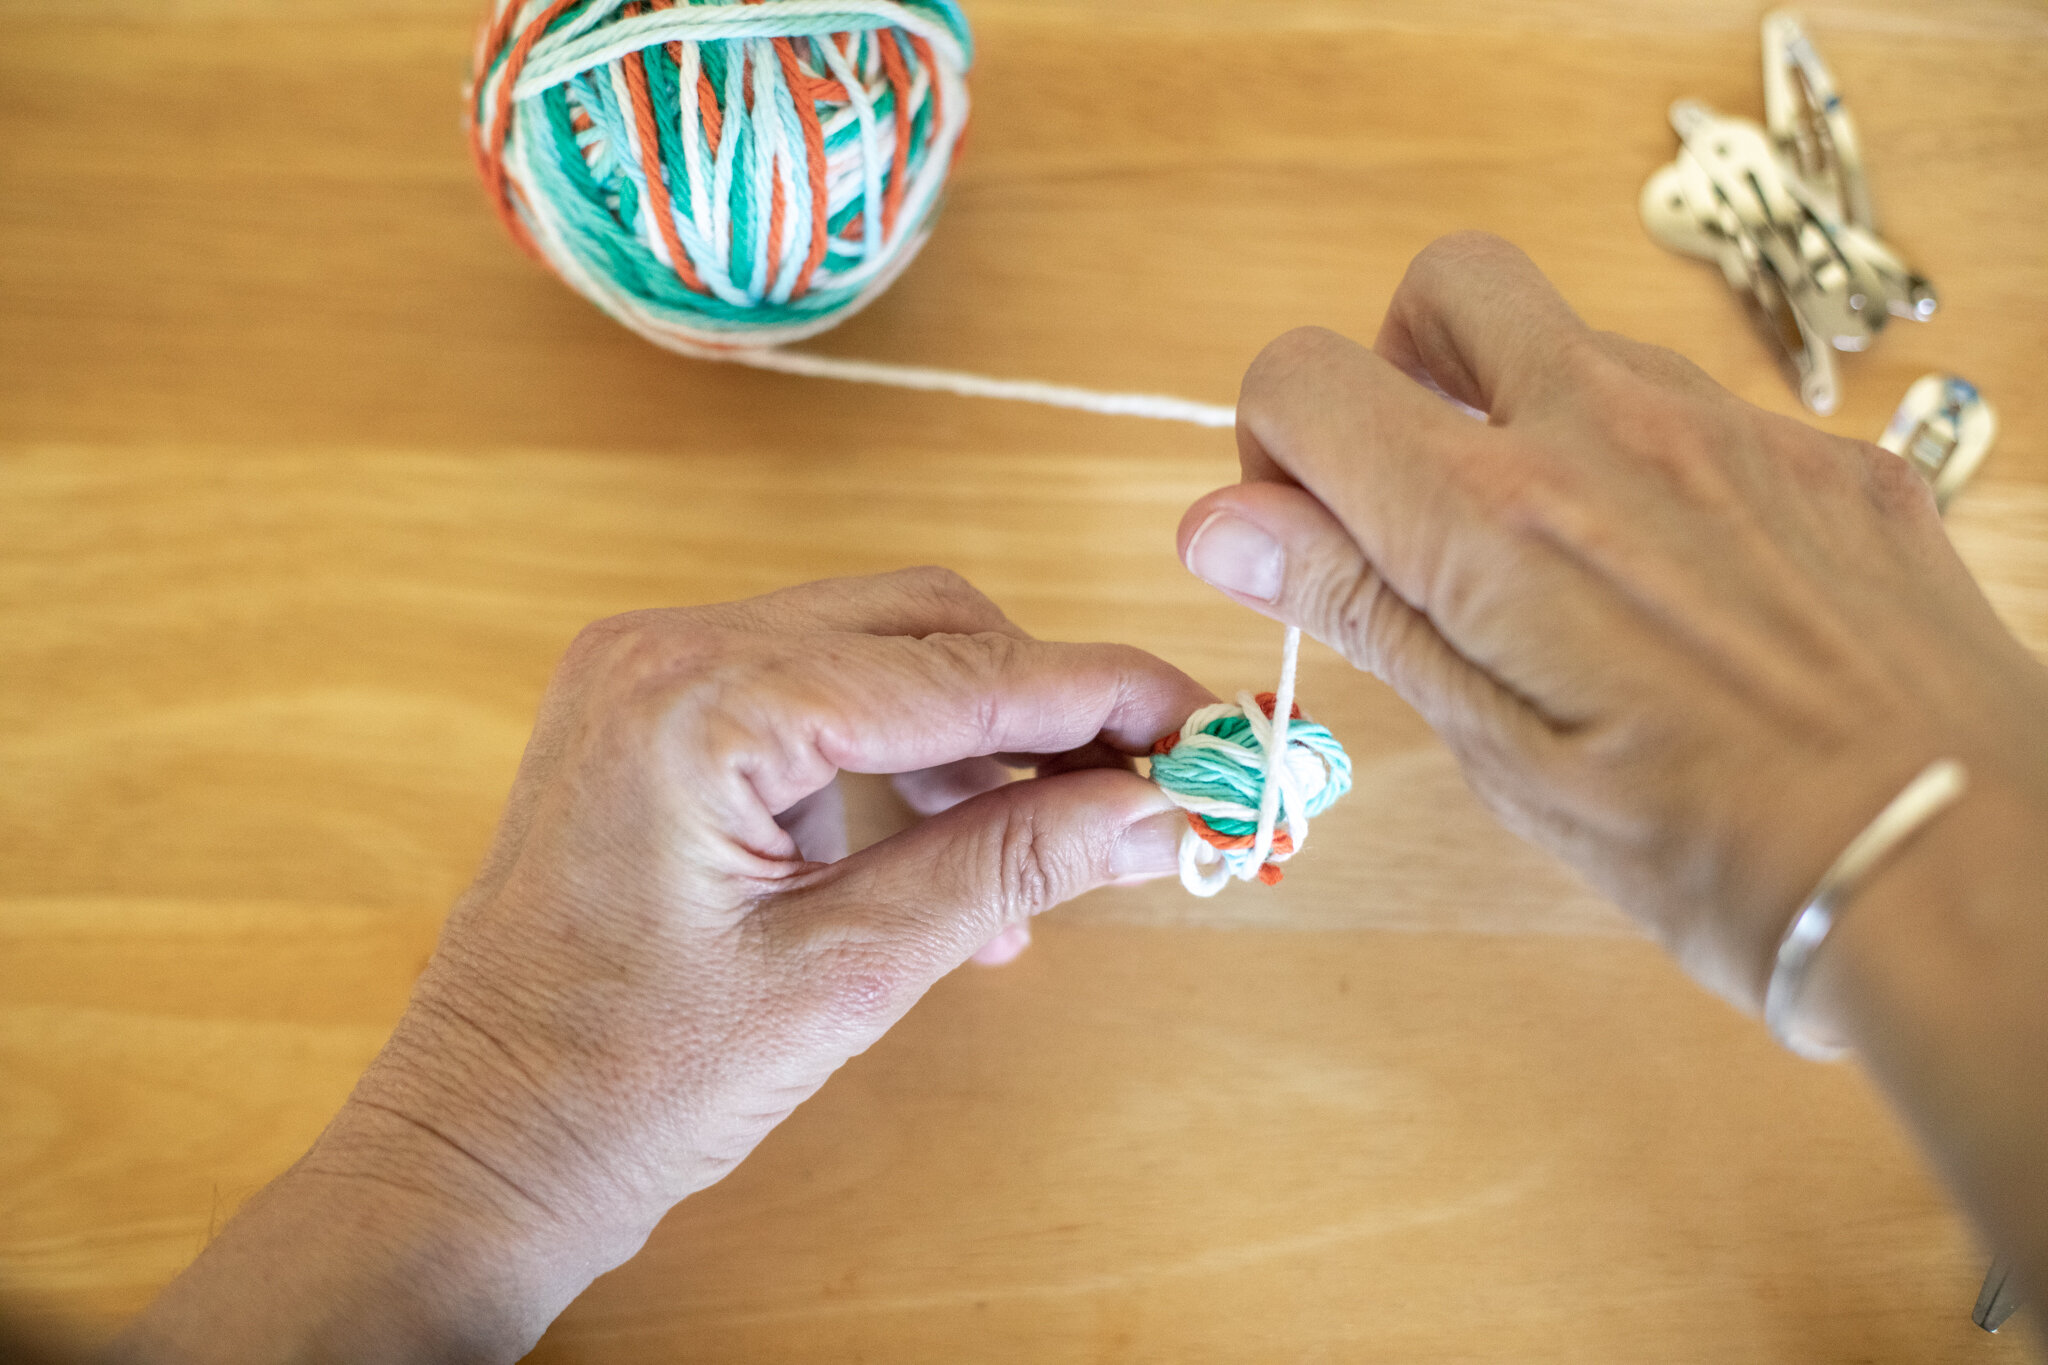
For young-young children, you can start the ball, then hand it over to them once it’s past the super-fiddly-fall-apart-if-you-let-go phase of creating them. They enjoy winding the yarn around and around. You can work towards a point where they can then use your hand to start the yarn ball. So you would hold the yarn between your fingers and they wrap it around your fingers for the first step. Eventually, they will develop the skills to hold and start the ball all on their own. It’s tricky to do two different activities with different hands.
If you know how to make a slip-knot, that’s another way to start where children' won’t pull the tail loose during the very first step. If you make a slip knot that can fit over a finger, that would hold the yarn on their finger for the first step.
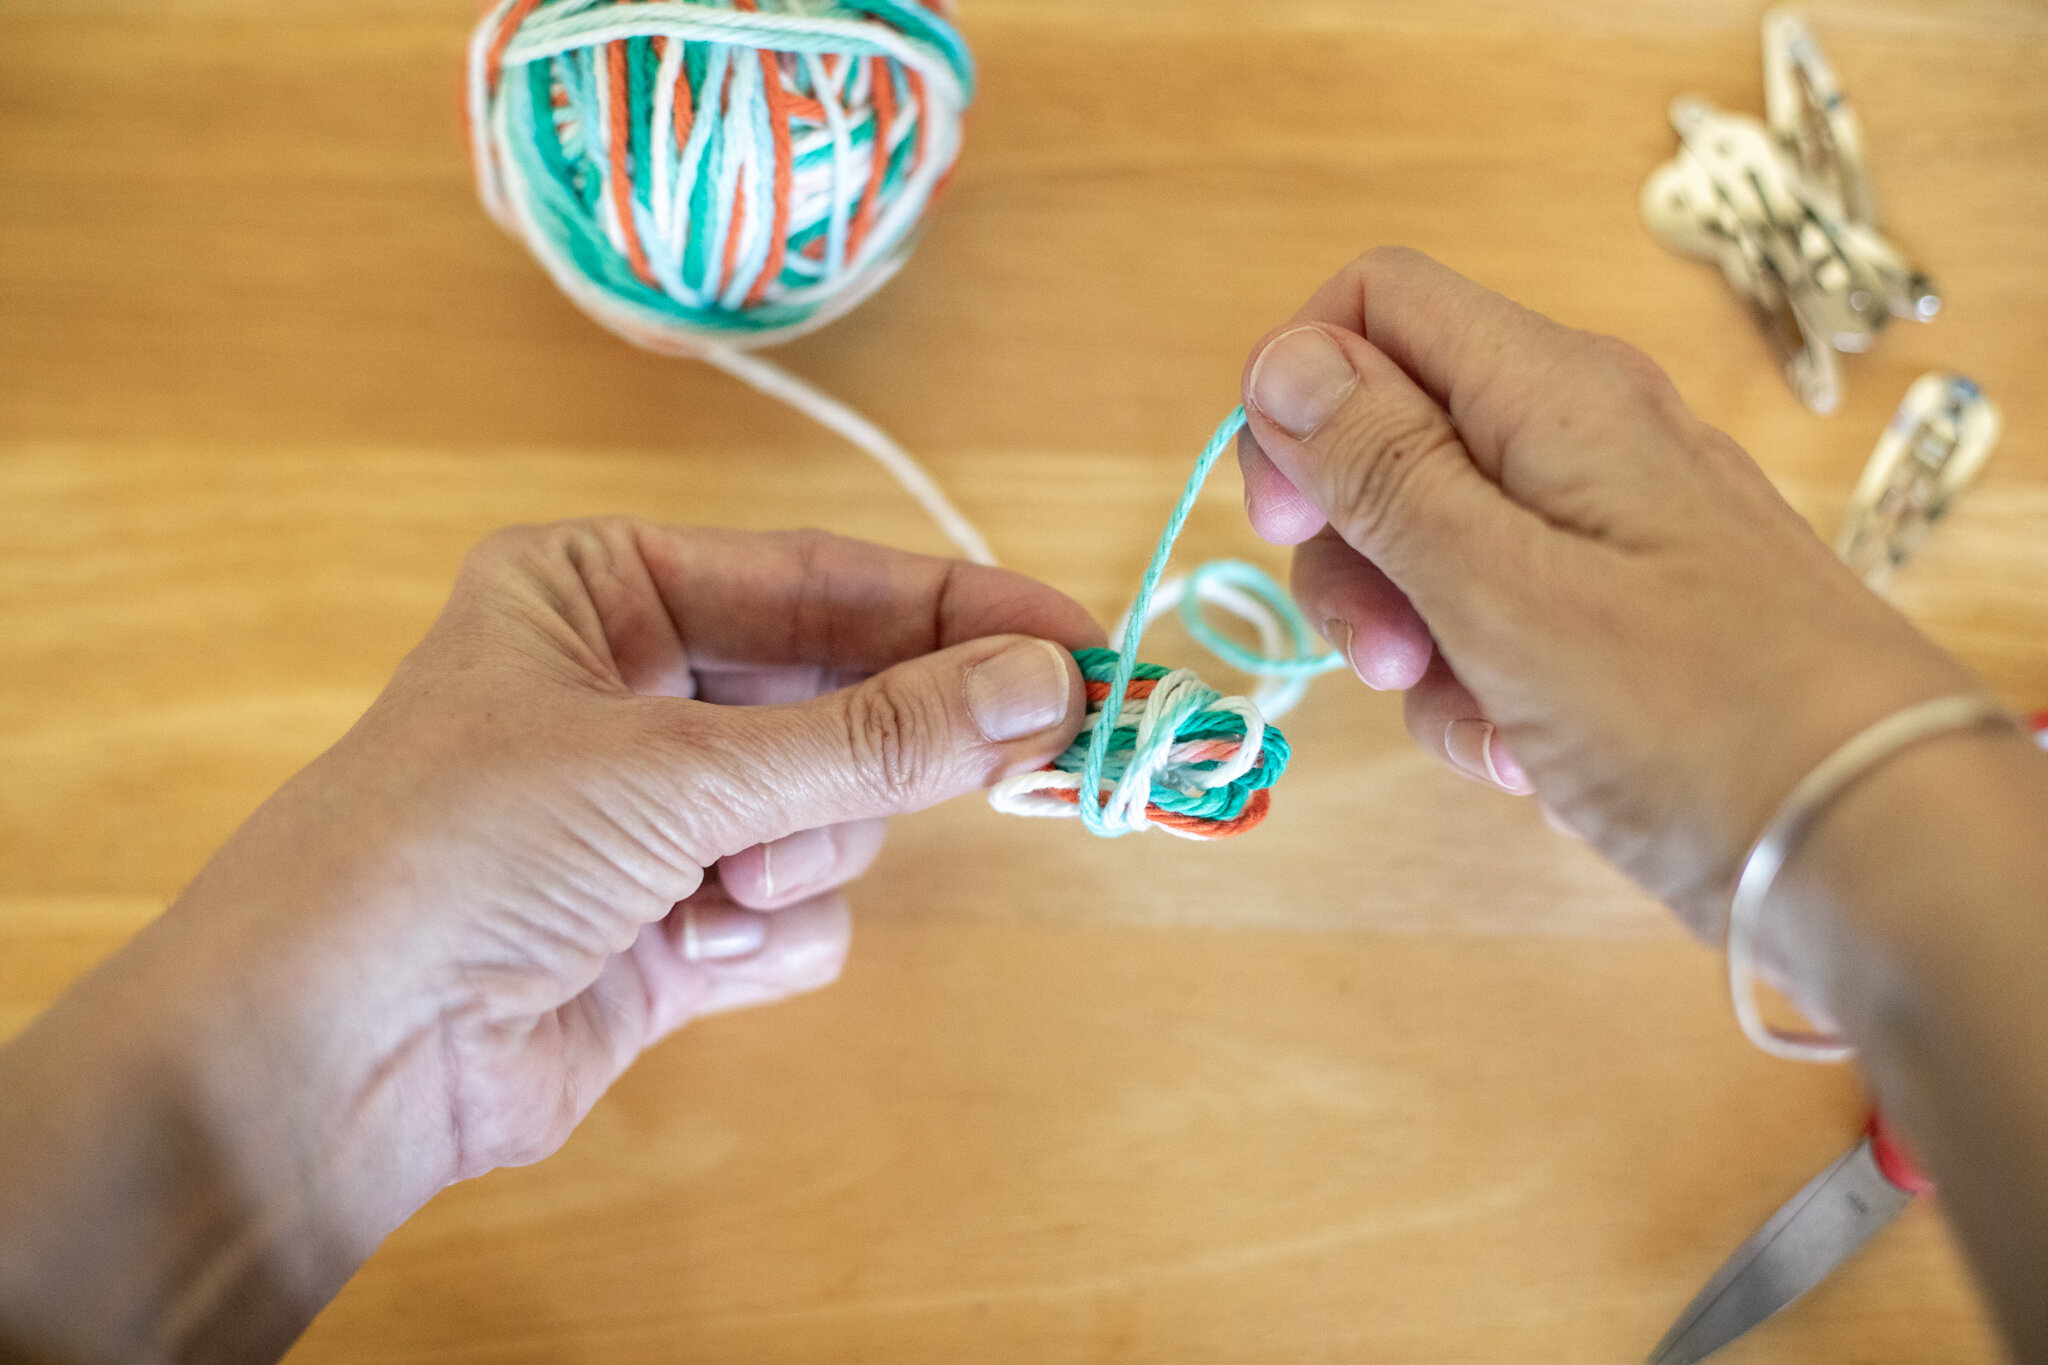
The other trouble-spot that children fall into is winding the yarn way too tight around their fingers, which makes it difficult to pull off for the next step. Learning tension is a big skill. With this mistake, it’s pretty simple to unwind and start over. It’s best to supervise until they have the hang of it on their own.
We hope these techniques help you tame your yarn collection so children can easily select different colors for different projects. The calming winding of yarn is a lovely way to pass the time. You can even wind yarn balls while reading or watching a documentary. Children love to see their yarn in a tidy collection.
We hope this week finds you healthy and inspired. And, if productivity is a struggle, that’s okay too.

Make a Yarn Ball
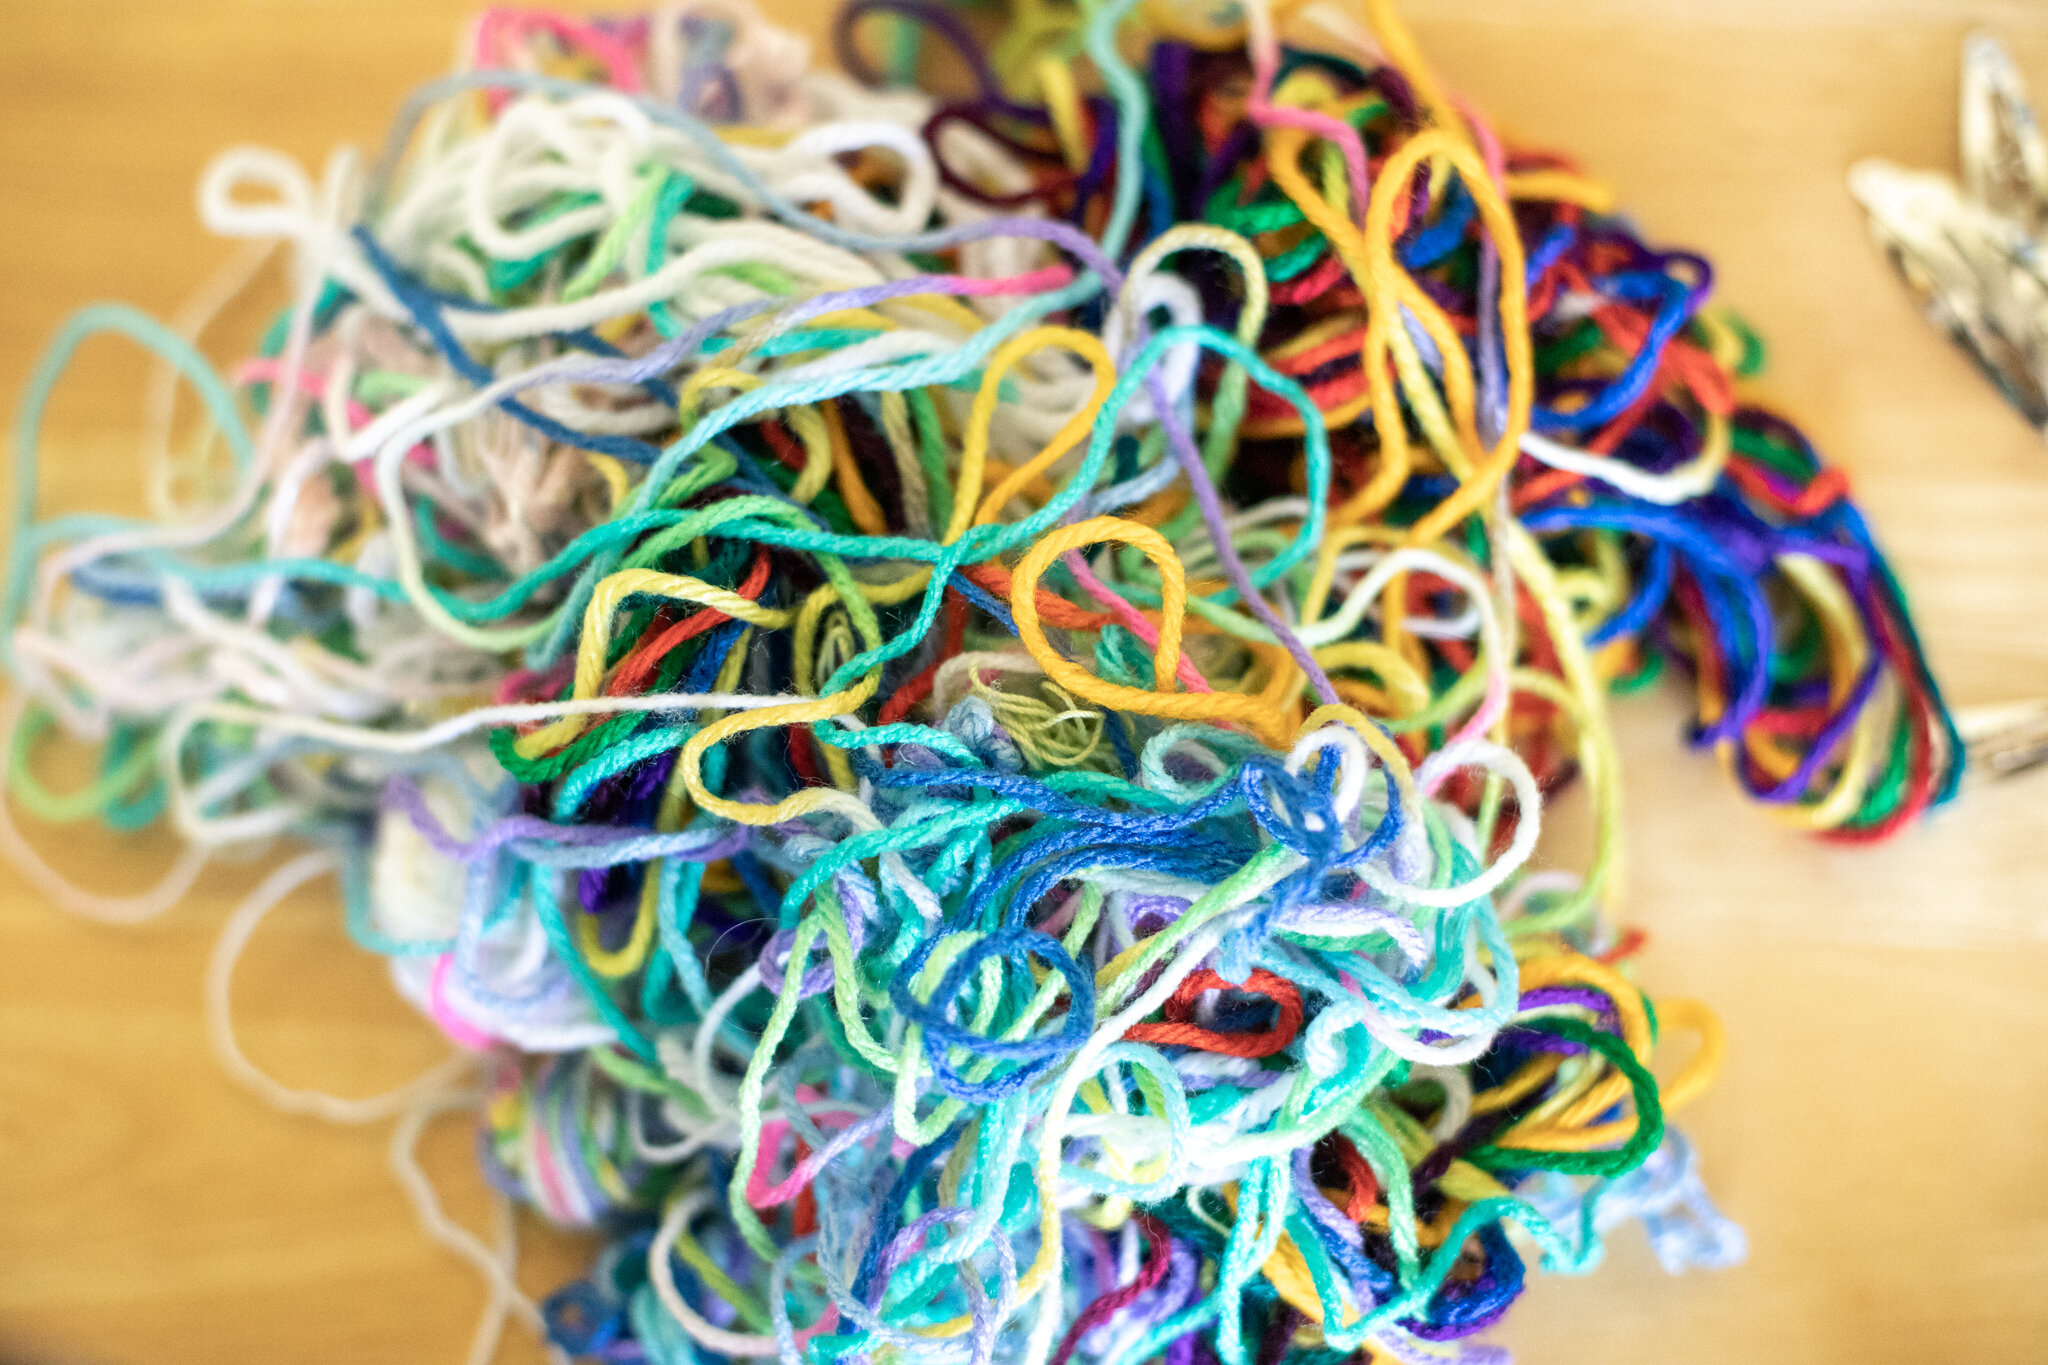
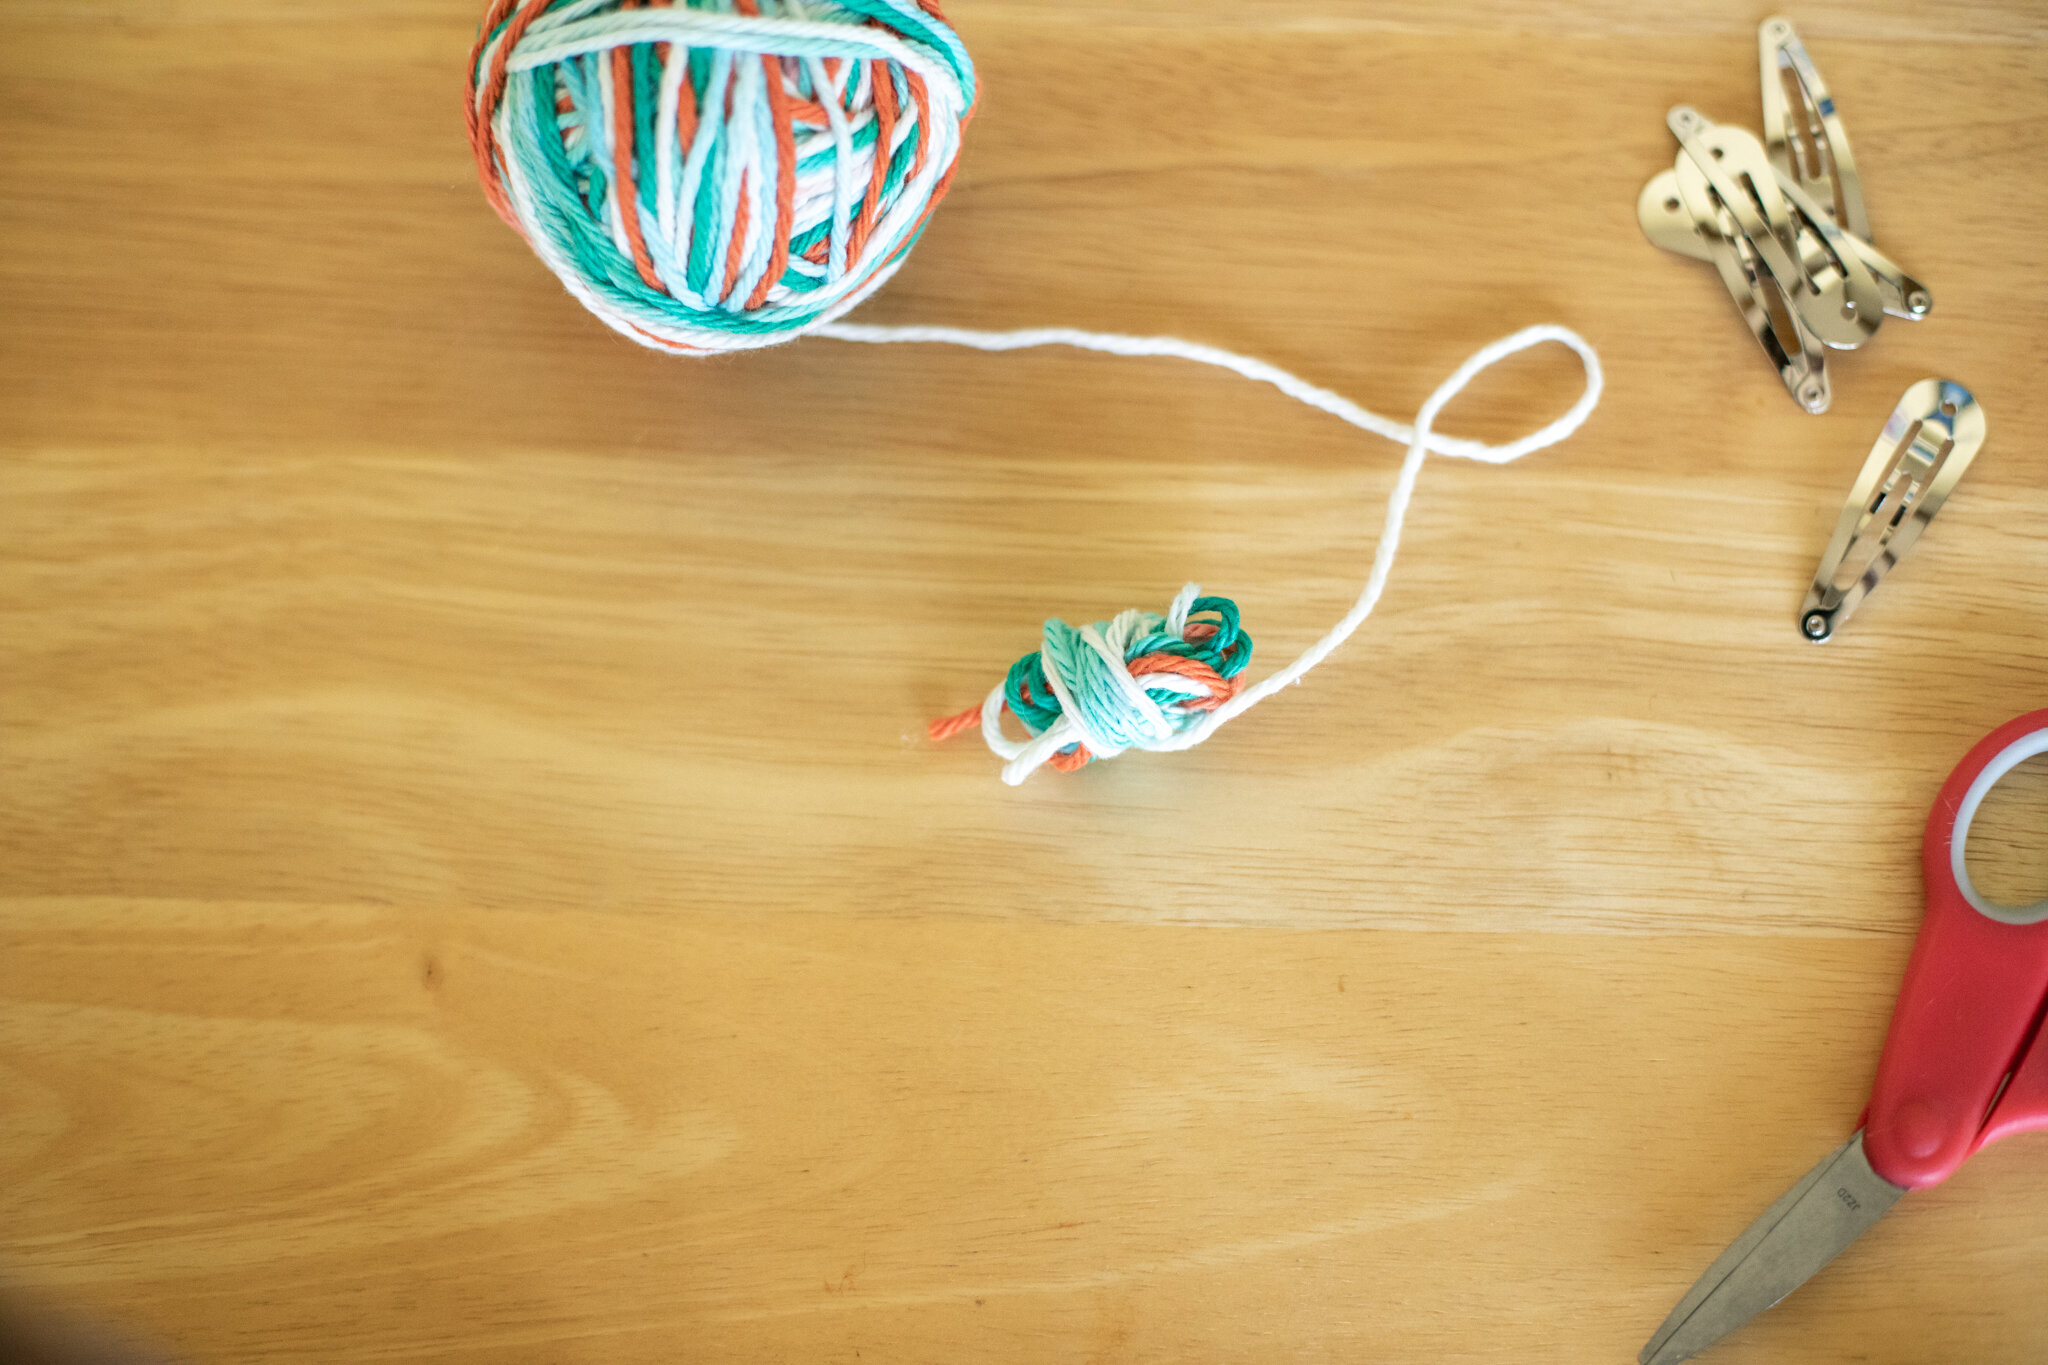
Anyone that has enjoyed yarn projects with children (or as an adult) knows this pile of tangled yarn all too well. An easy way to avoid this headache is to wind the skein of yarn into smaller balls. This can be especially handy if you work with different children, because then one skein of yarn can easily be made into many balls of yarn.
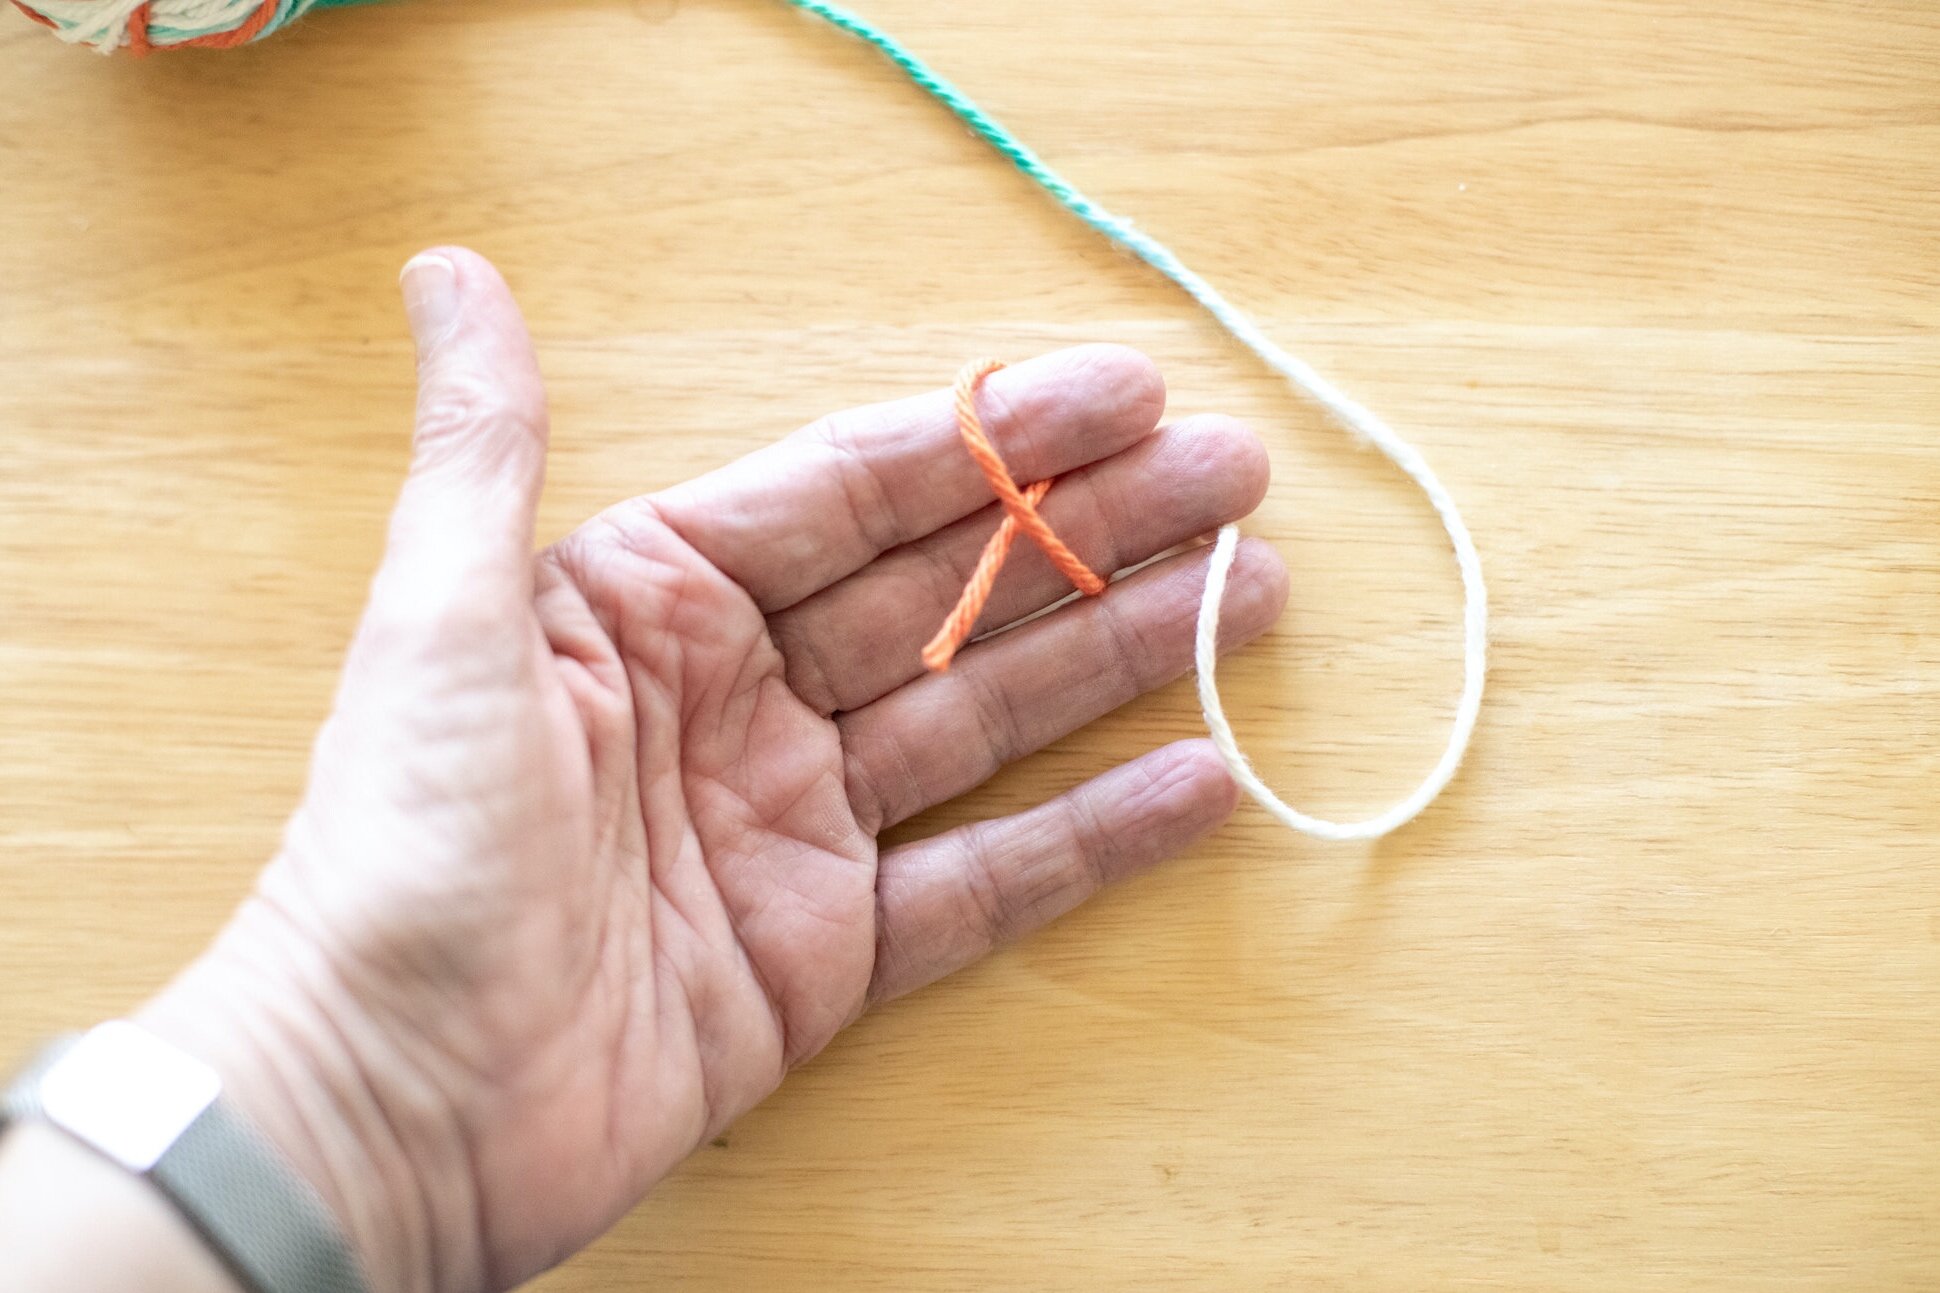
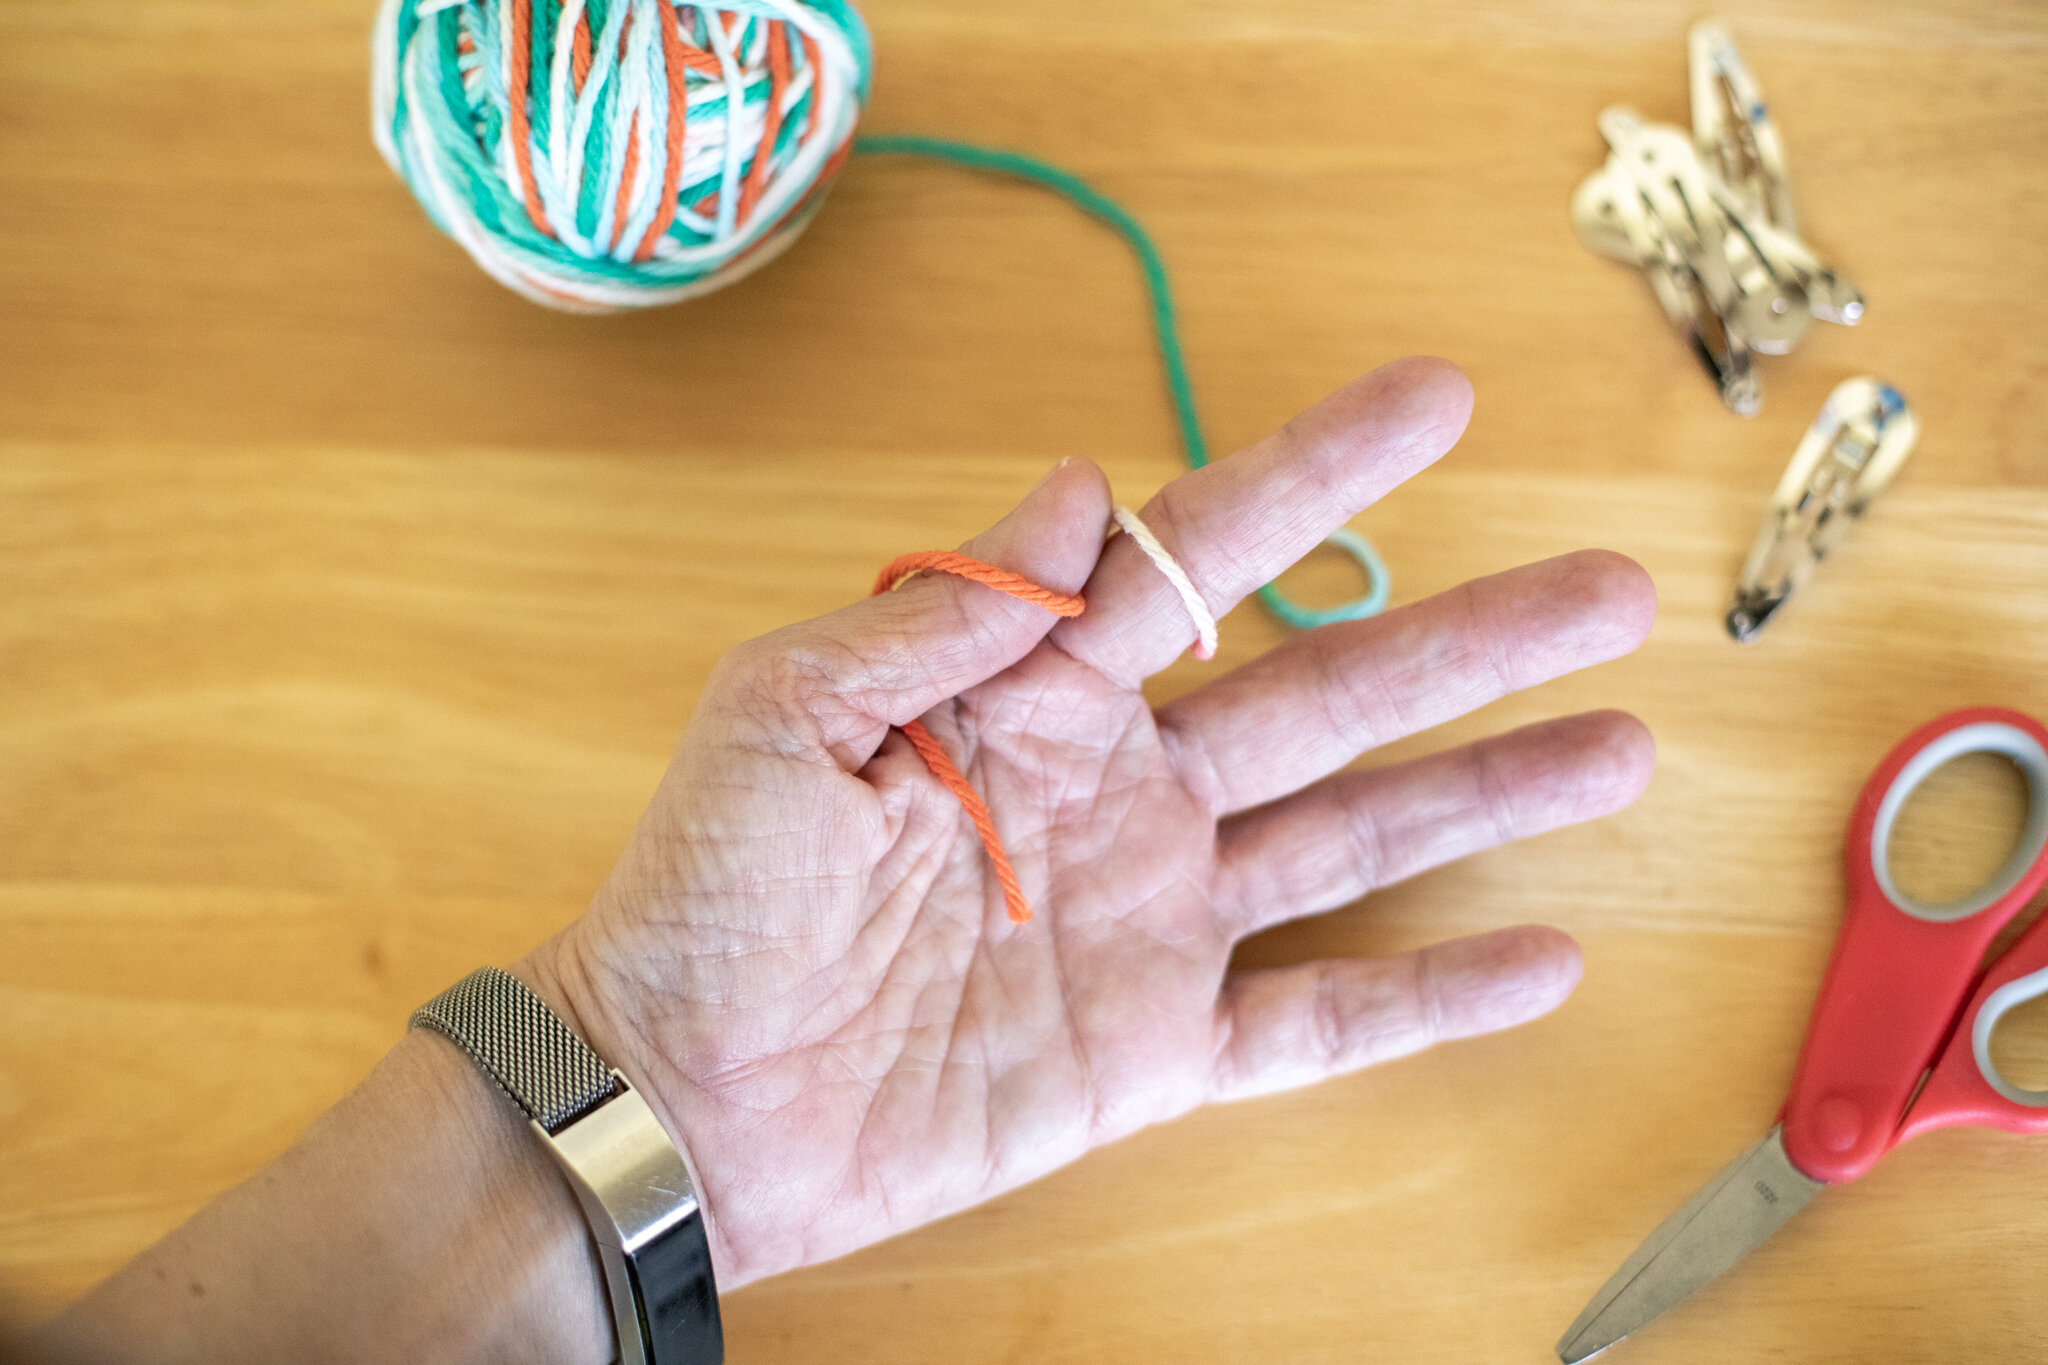
And children love making yarn balls. It’s a soothing and satisfying process. When you make them soon after bringing new yarn home, you can avoid the tangled mess photographed above. I have two different ways to start the yarn ball. You can try each and choose the way that’s easier for you. We would teach “granny’s glasses” (the first way) because it was a little easier for kids to start the ball after they figured out how to get it around their thumb and finger successfully.
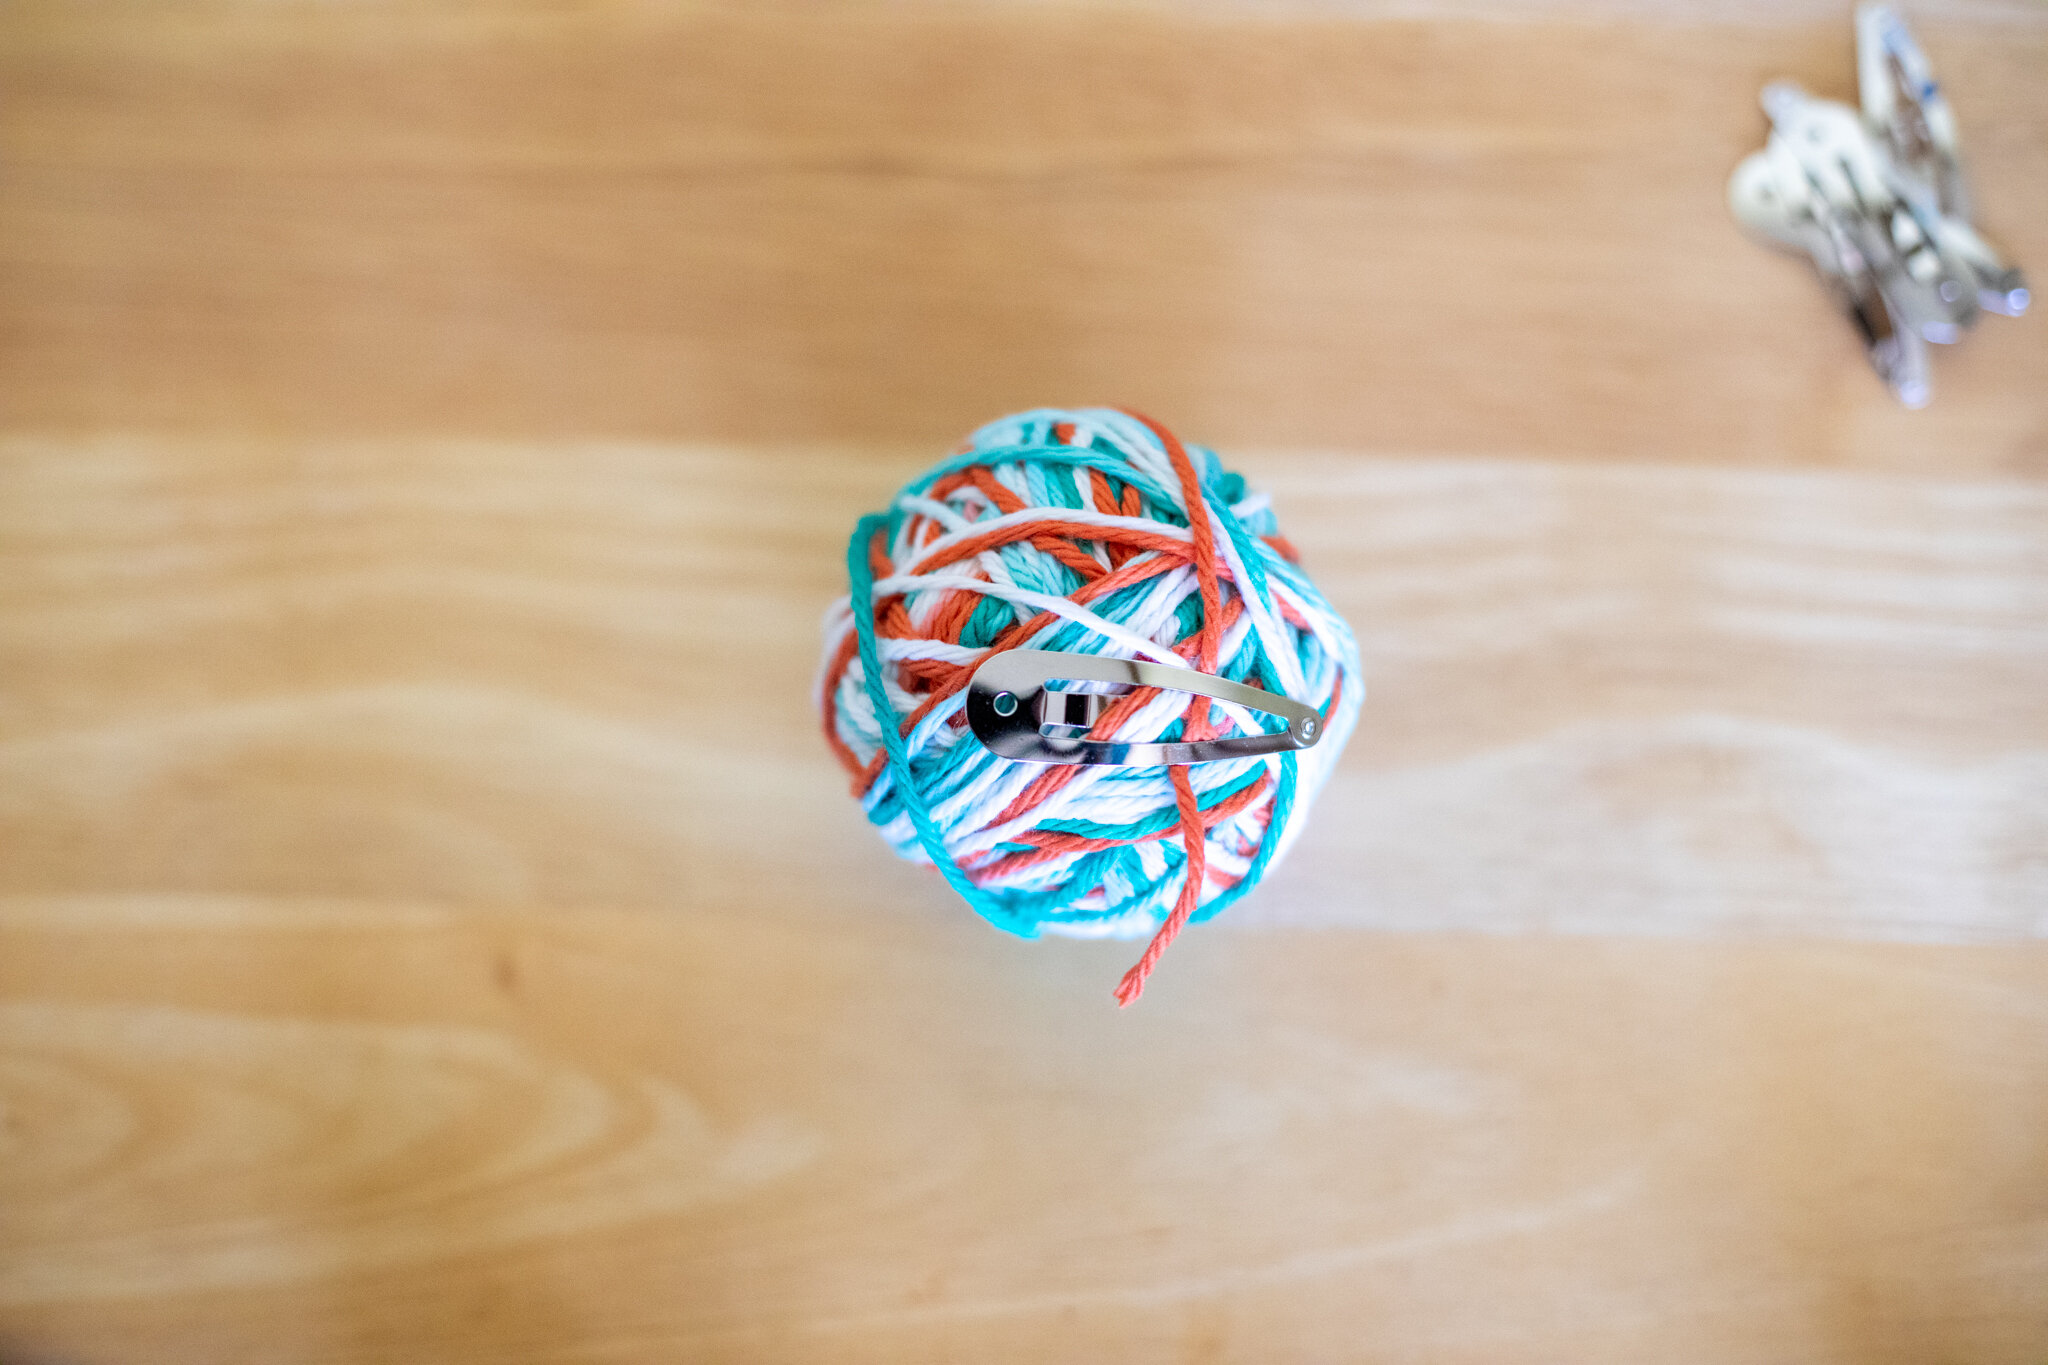
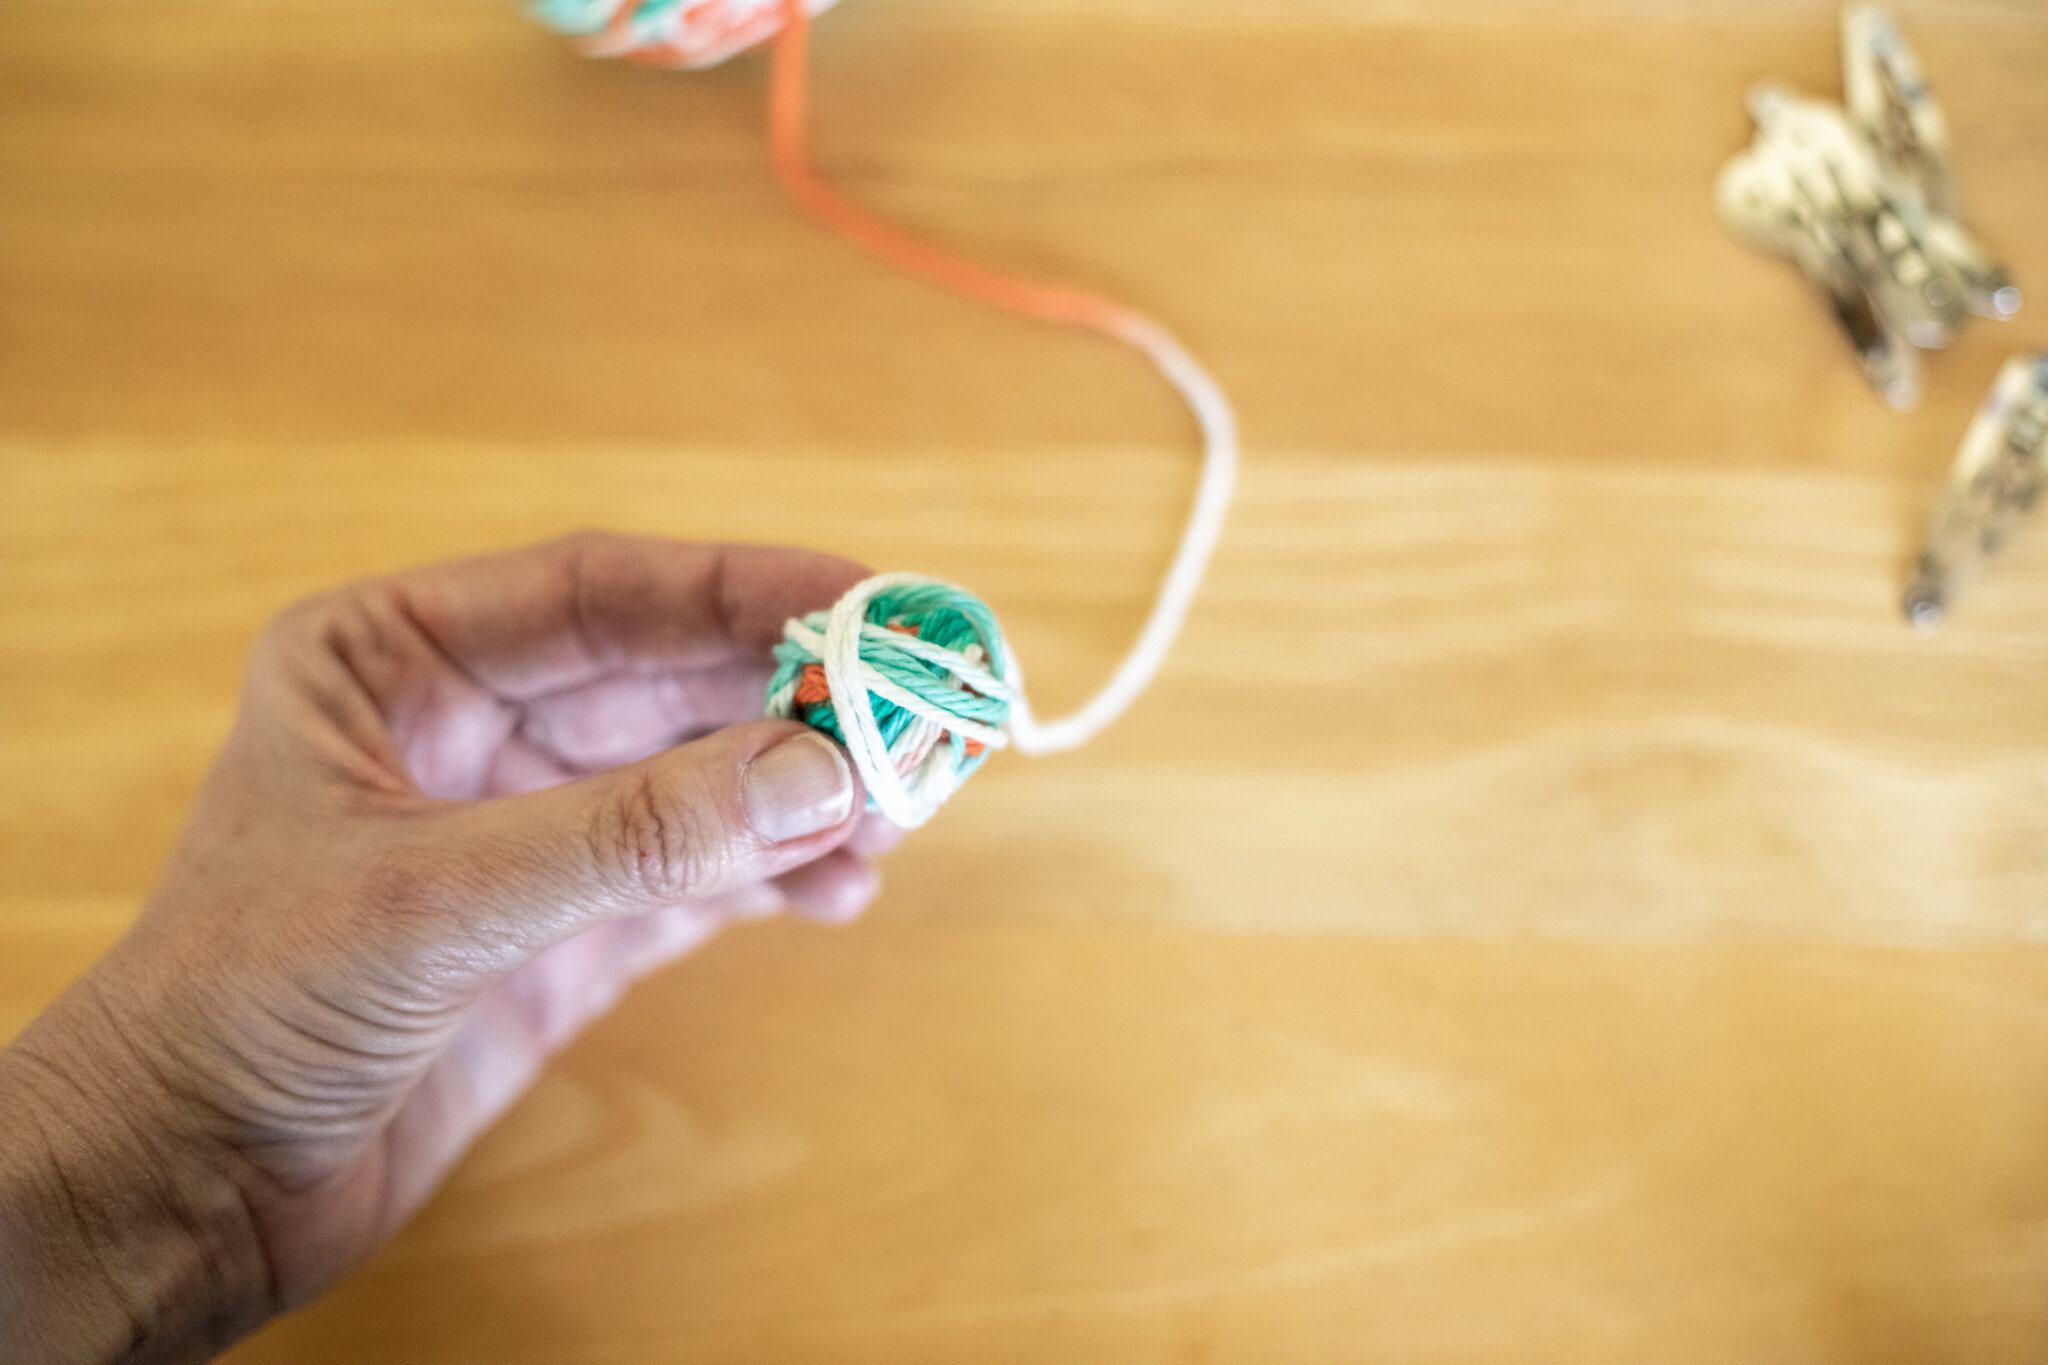
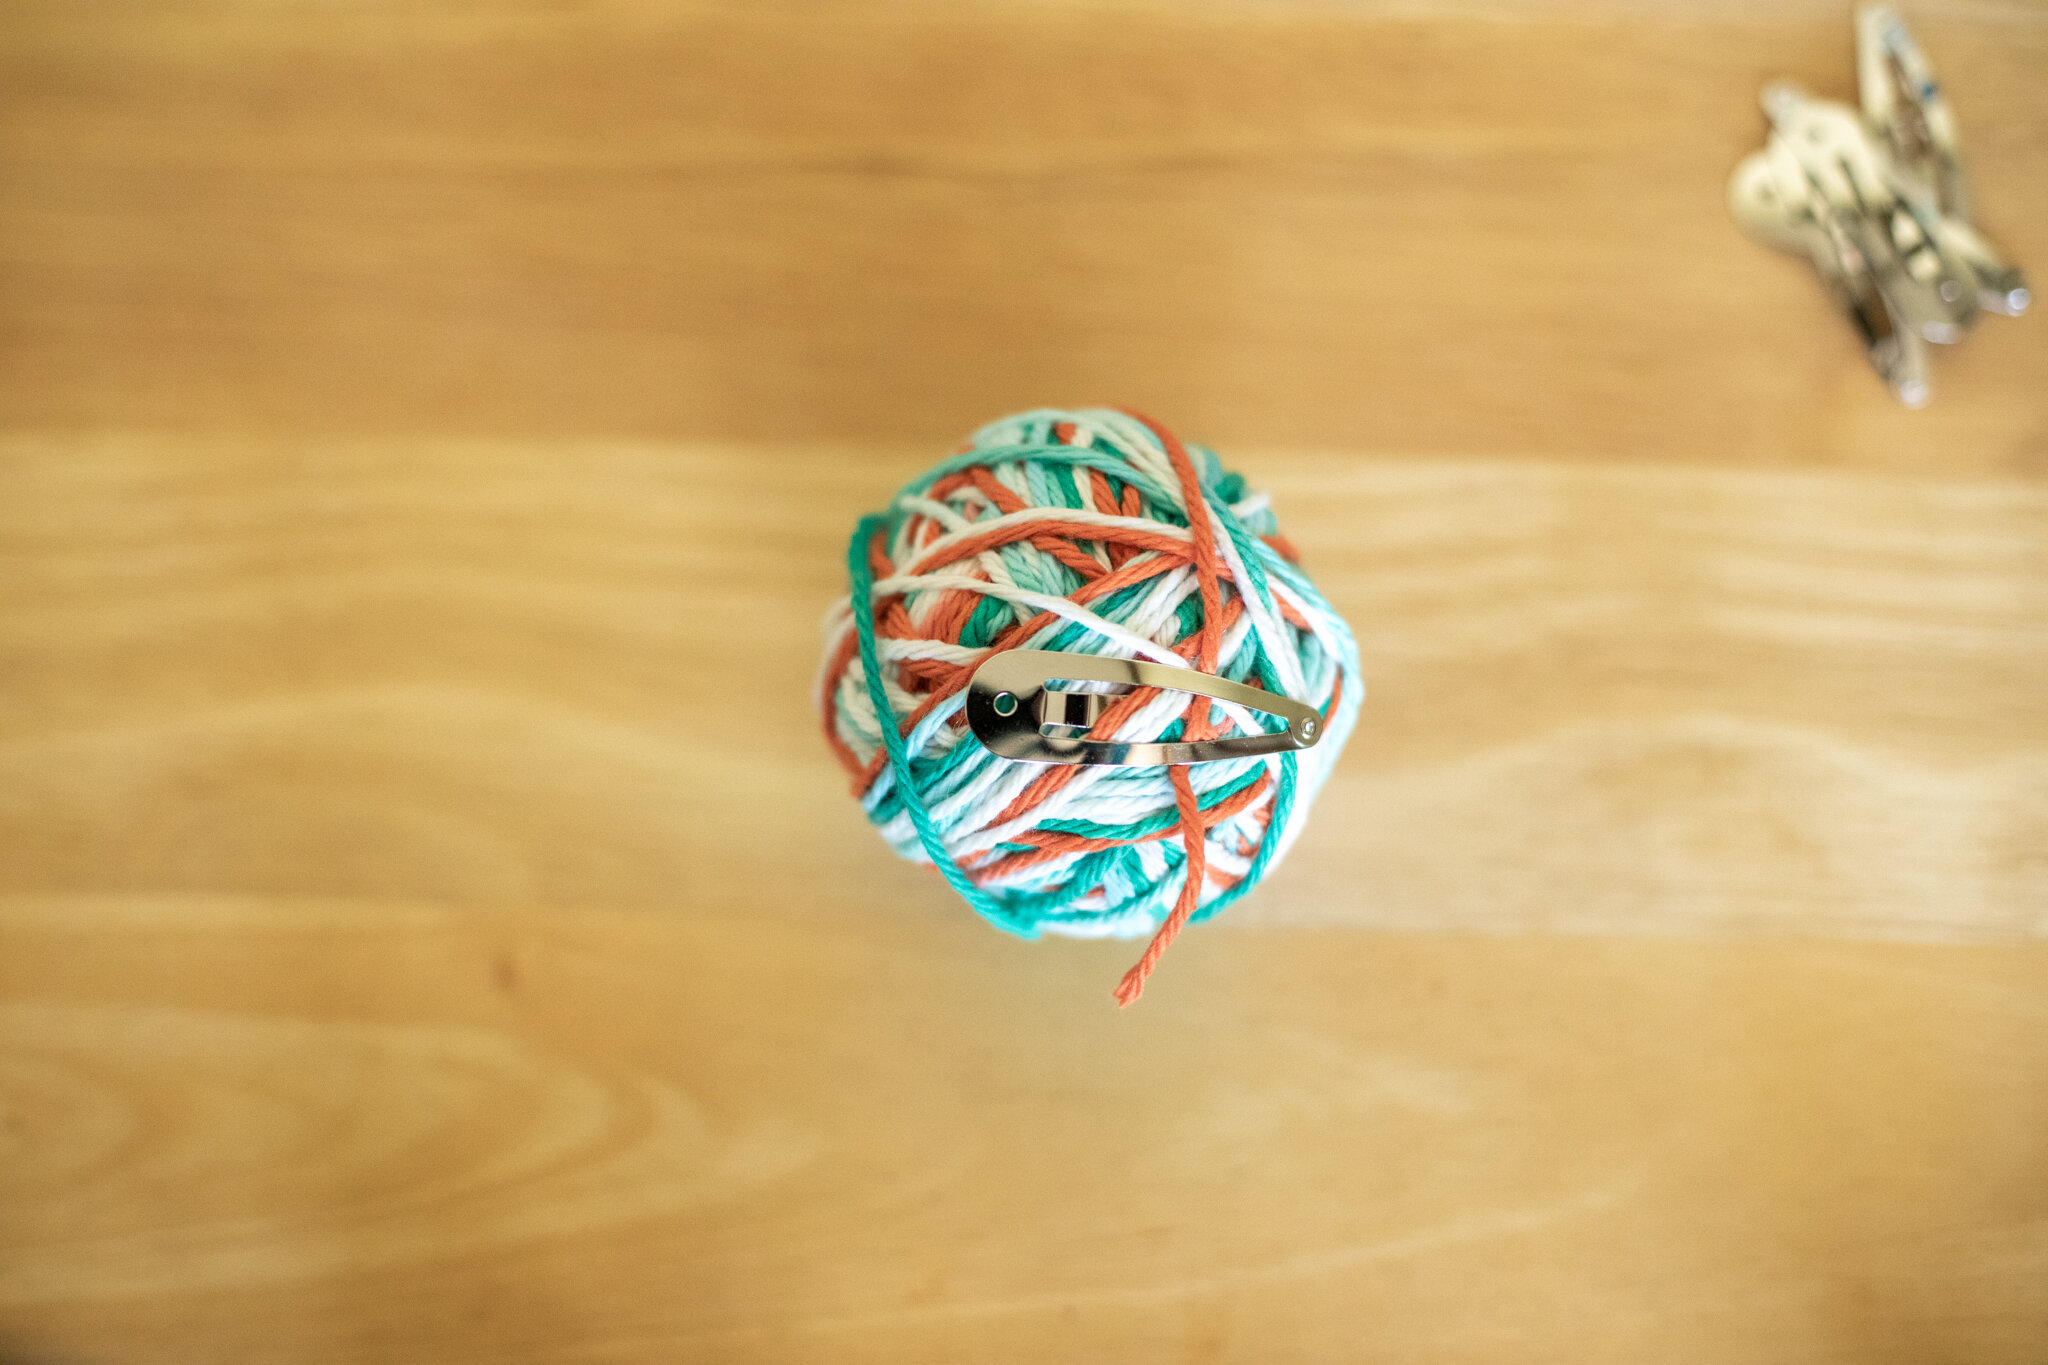
For young-young children, we would start the ball for them (because the first few steps require the most fine motor skills), and then hand it over so they could wind it bigger. For classes, we would make the ball a few inches wide (not very big) because projects didn’t need very much yarn and that way no one monopolized a color for very long (ten smaller balls was easier in a classroom than 1 giant ball). At home, I wind the cotton yarn for fairy hair into one big ball because I don’t need to share (and fairies only need a little). You can stop the ball anytime. Simply clip the yarn and secure it with a bit of tape or a springy hairclip so they won’t unwind and tangle in a basket.

Supplies:
Yarn
Scissors
Optional: springy clips or scrap of tape to hold down the “tail” of yarn when finished

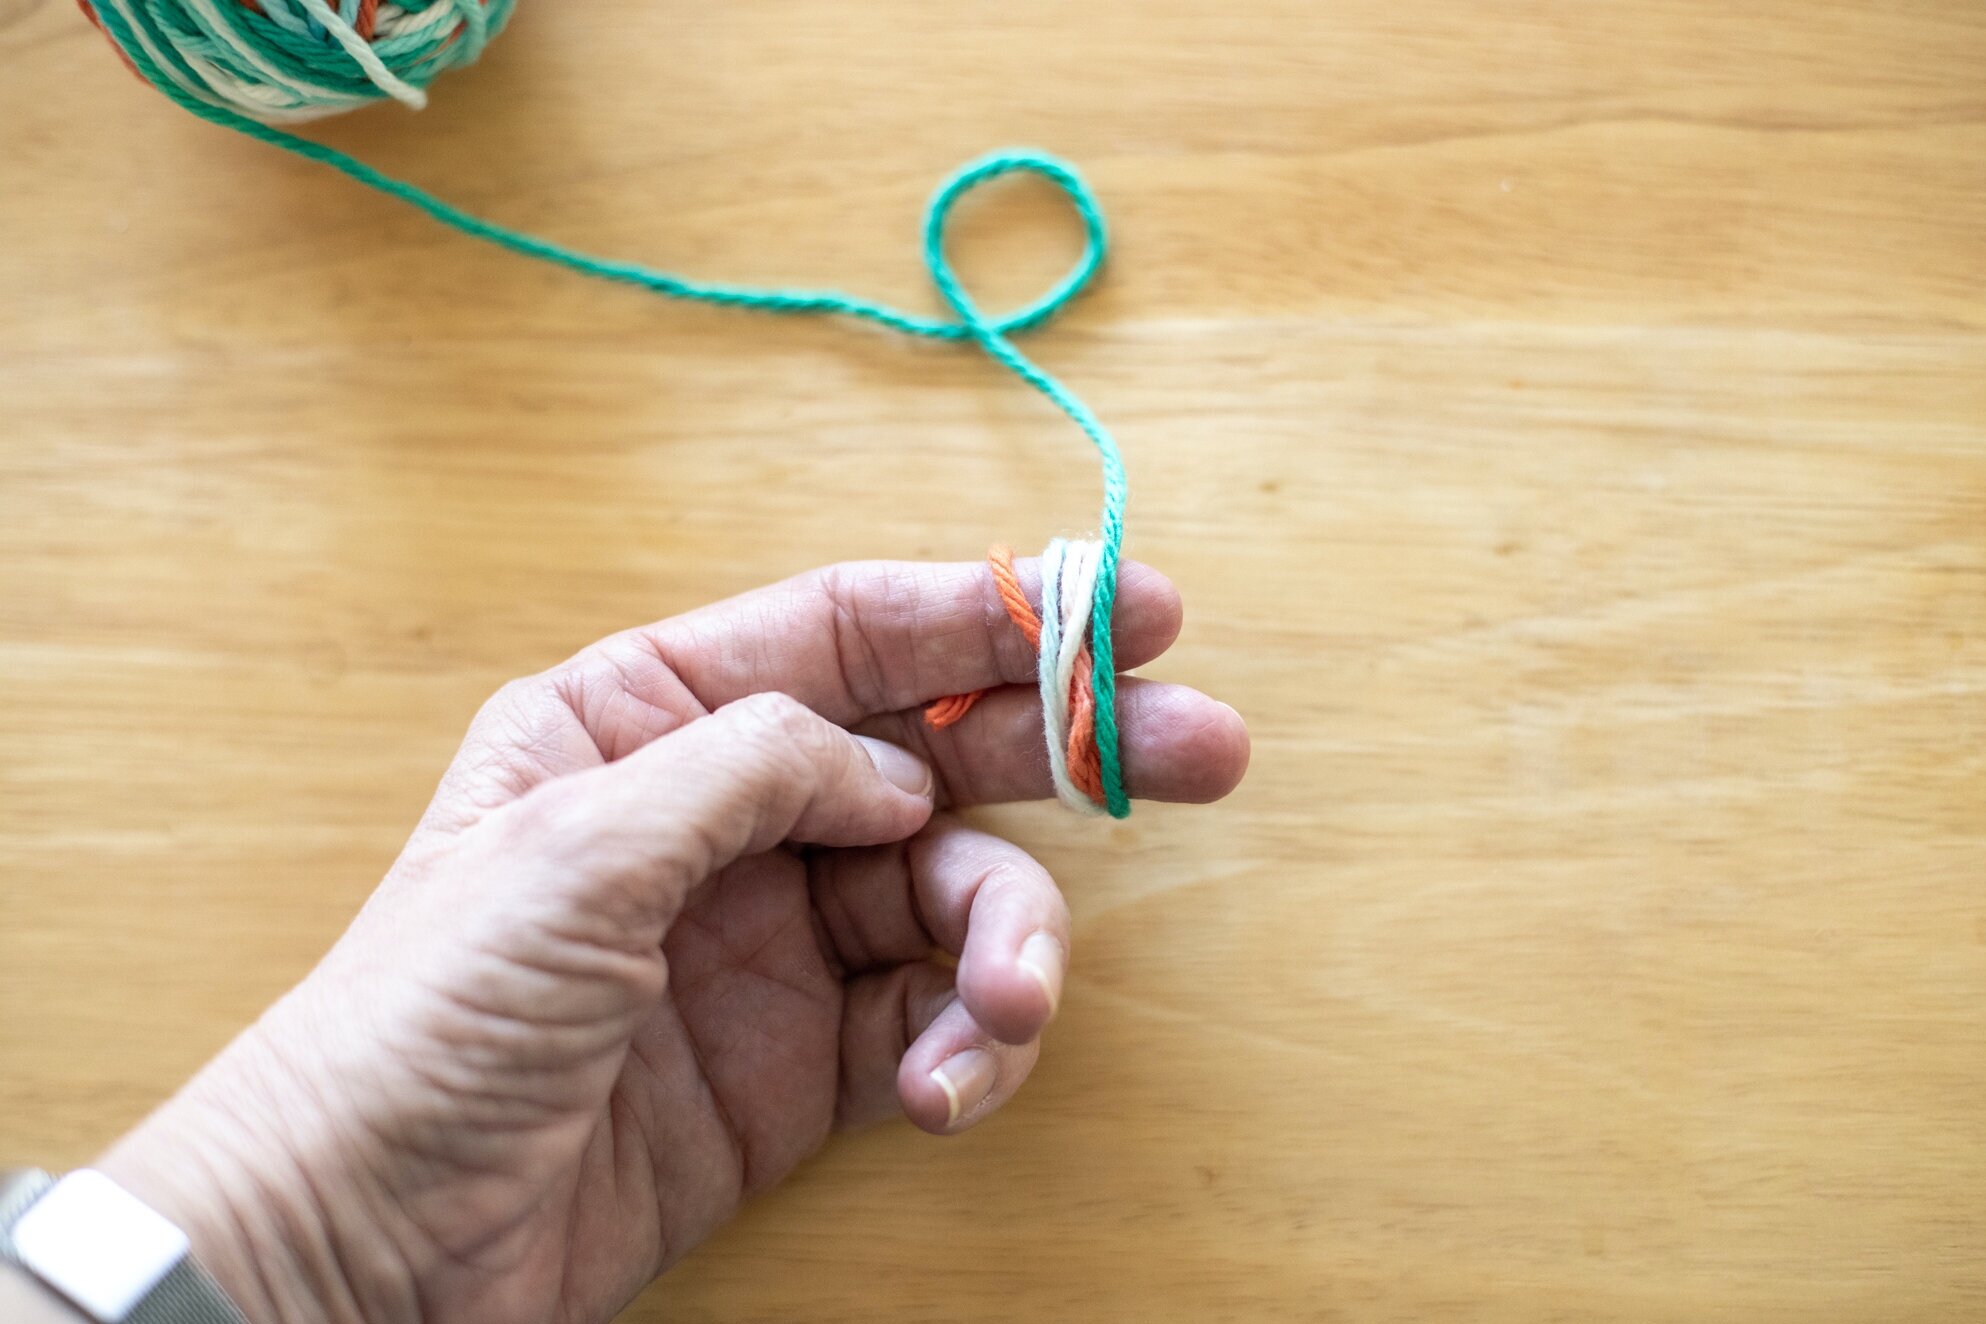
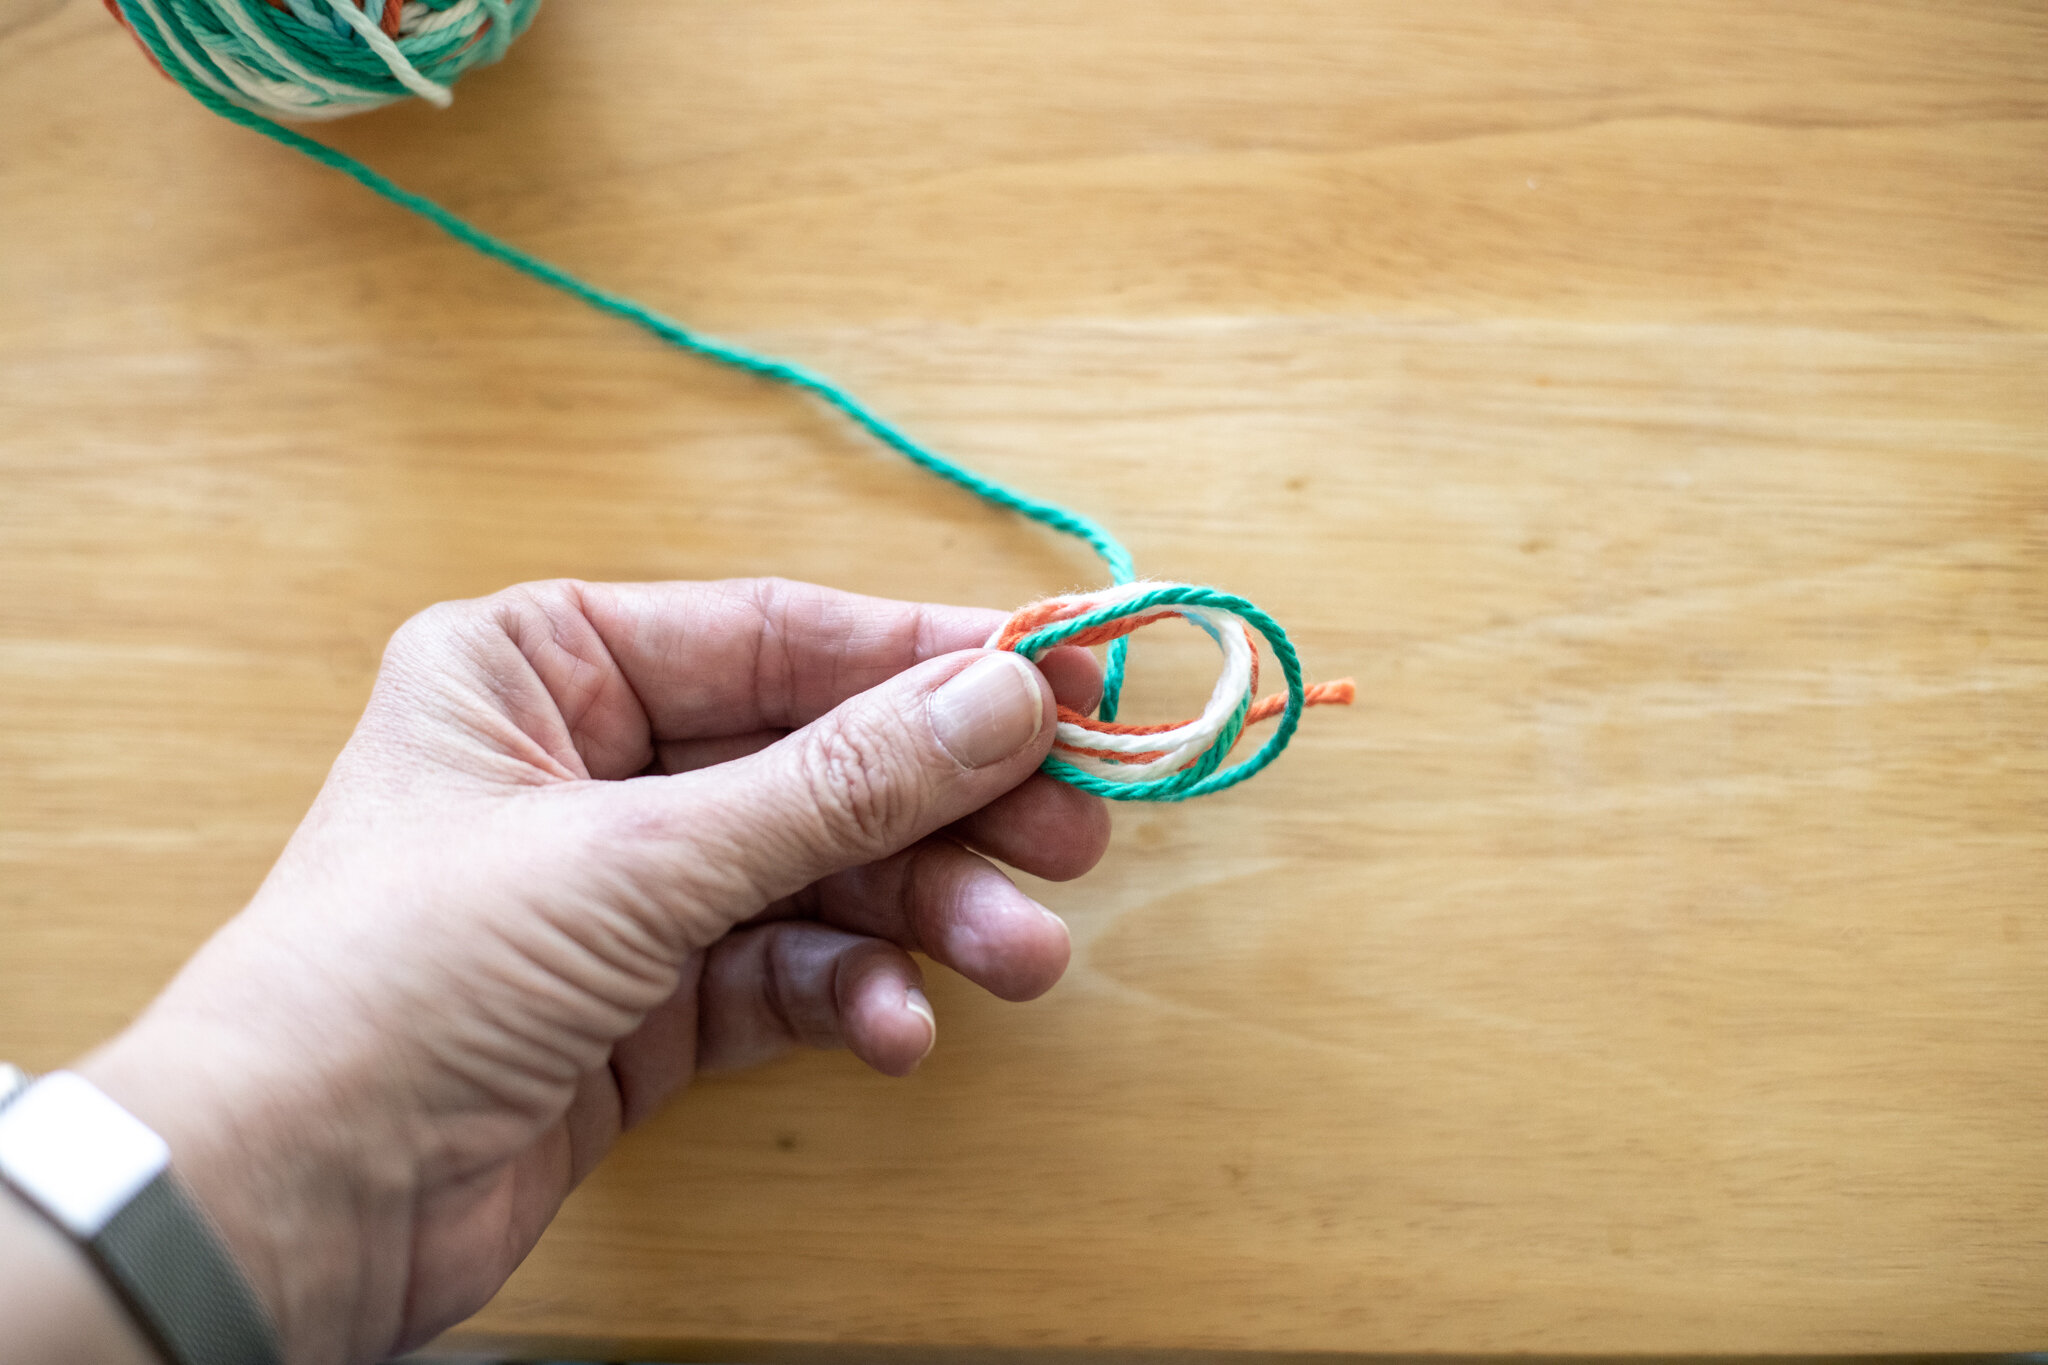
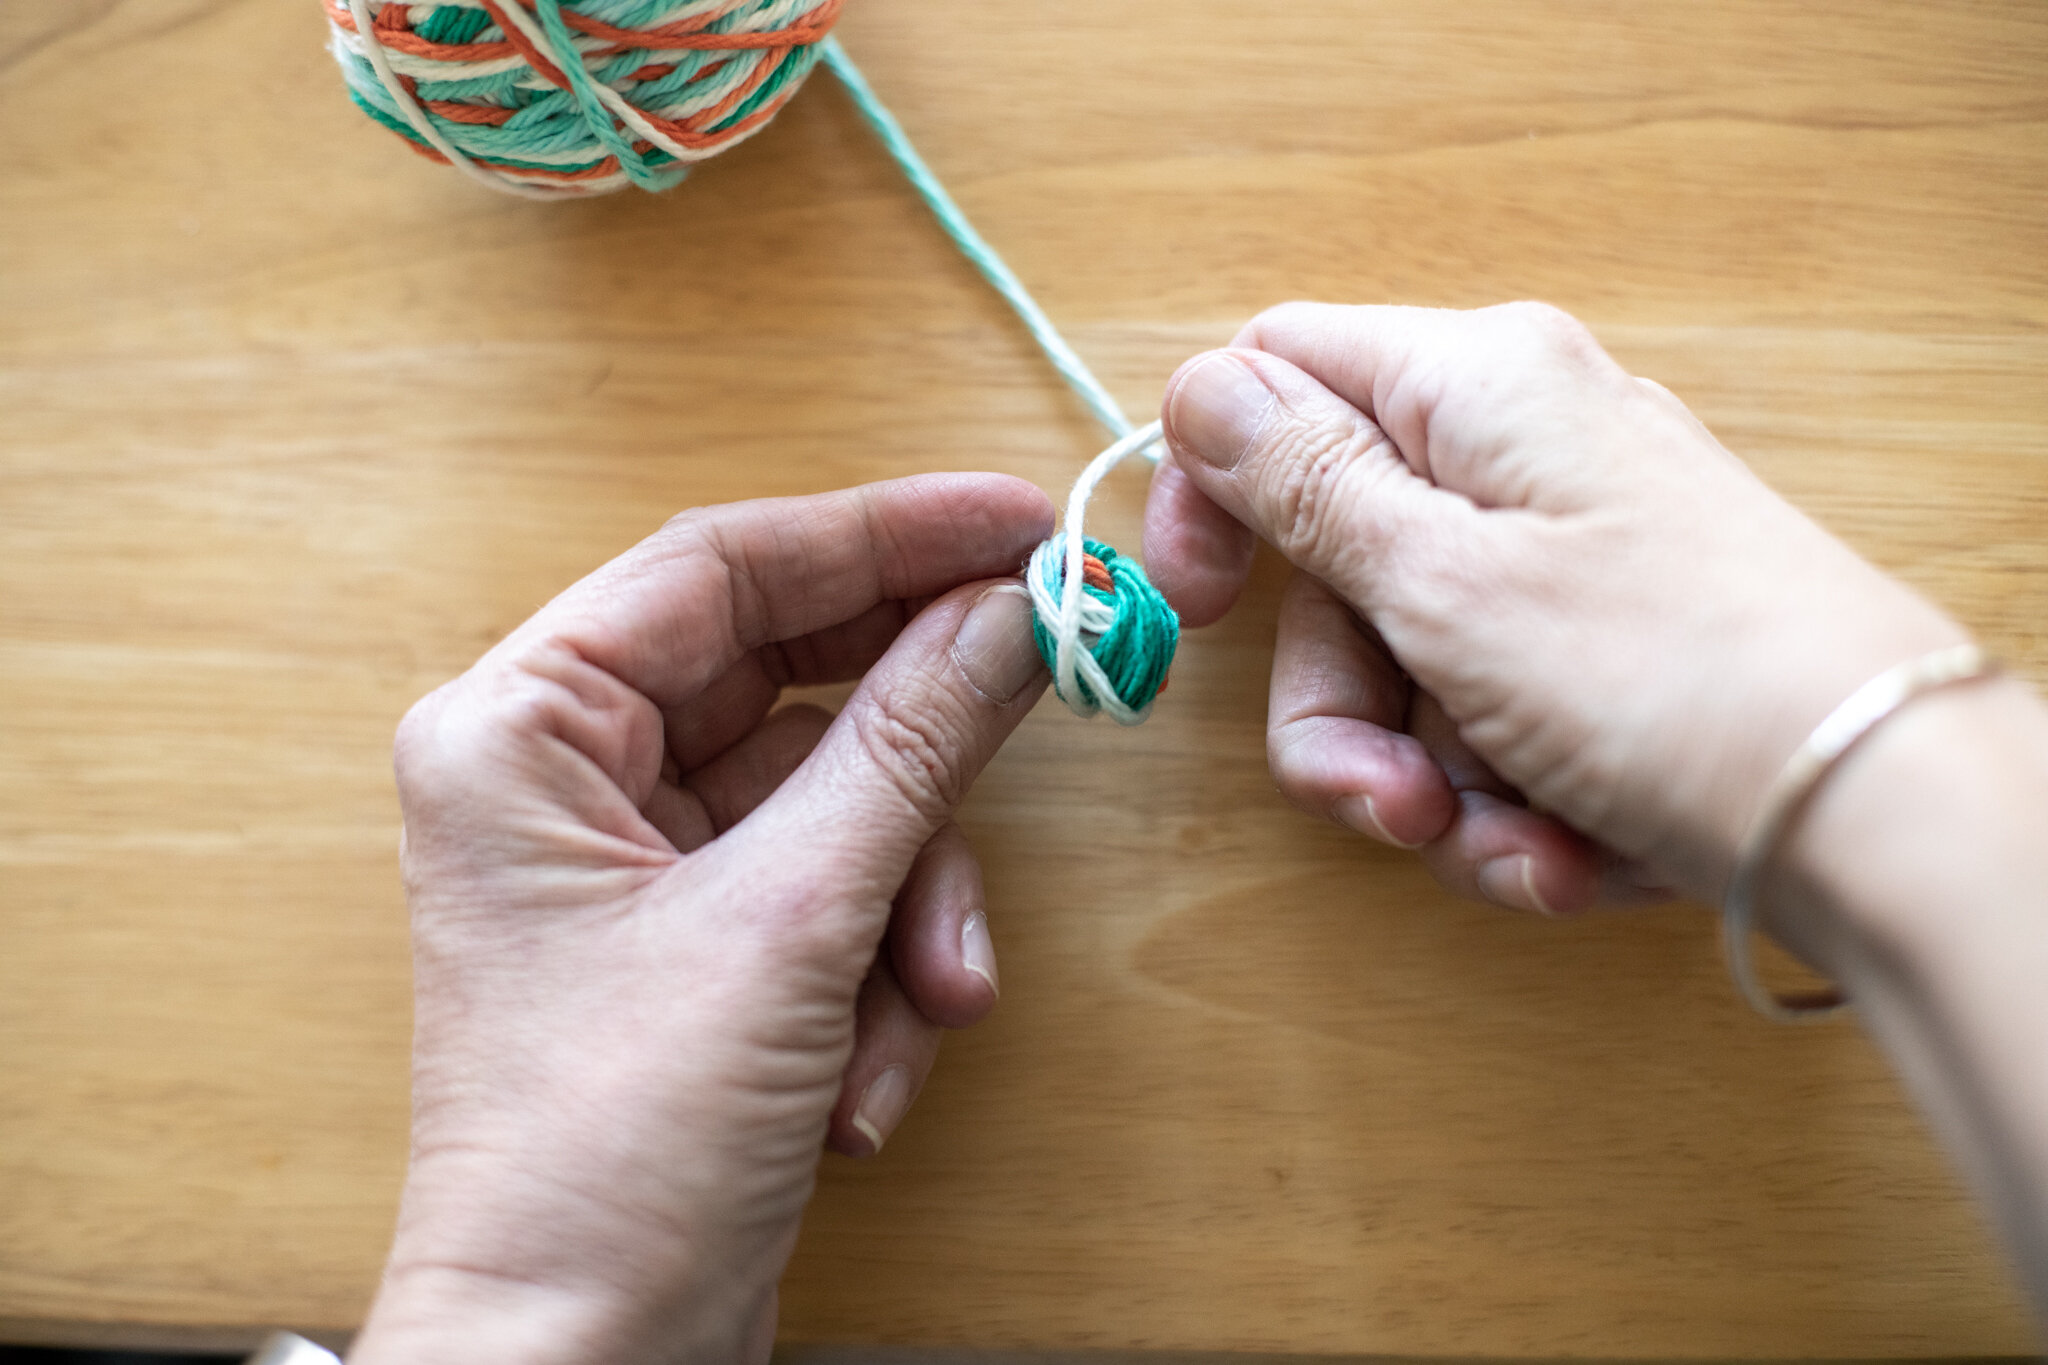
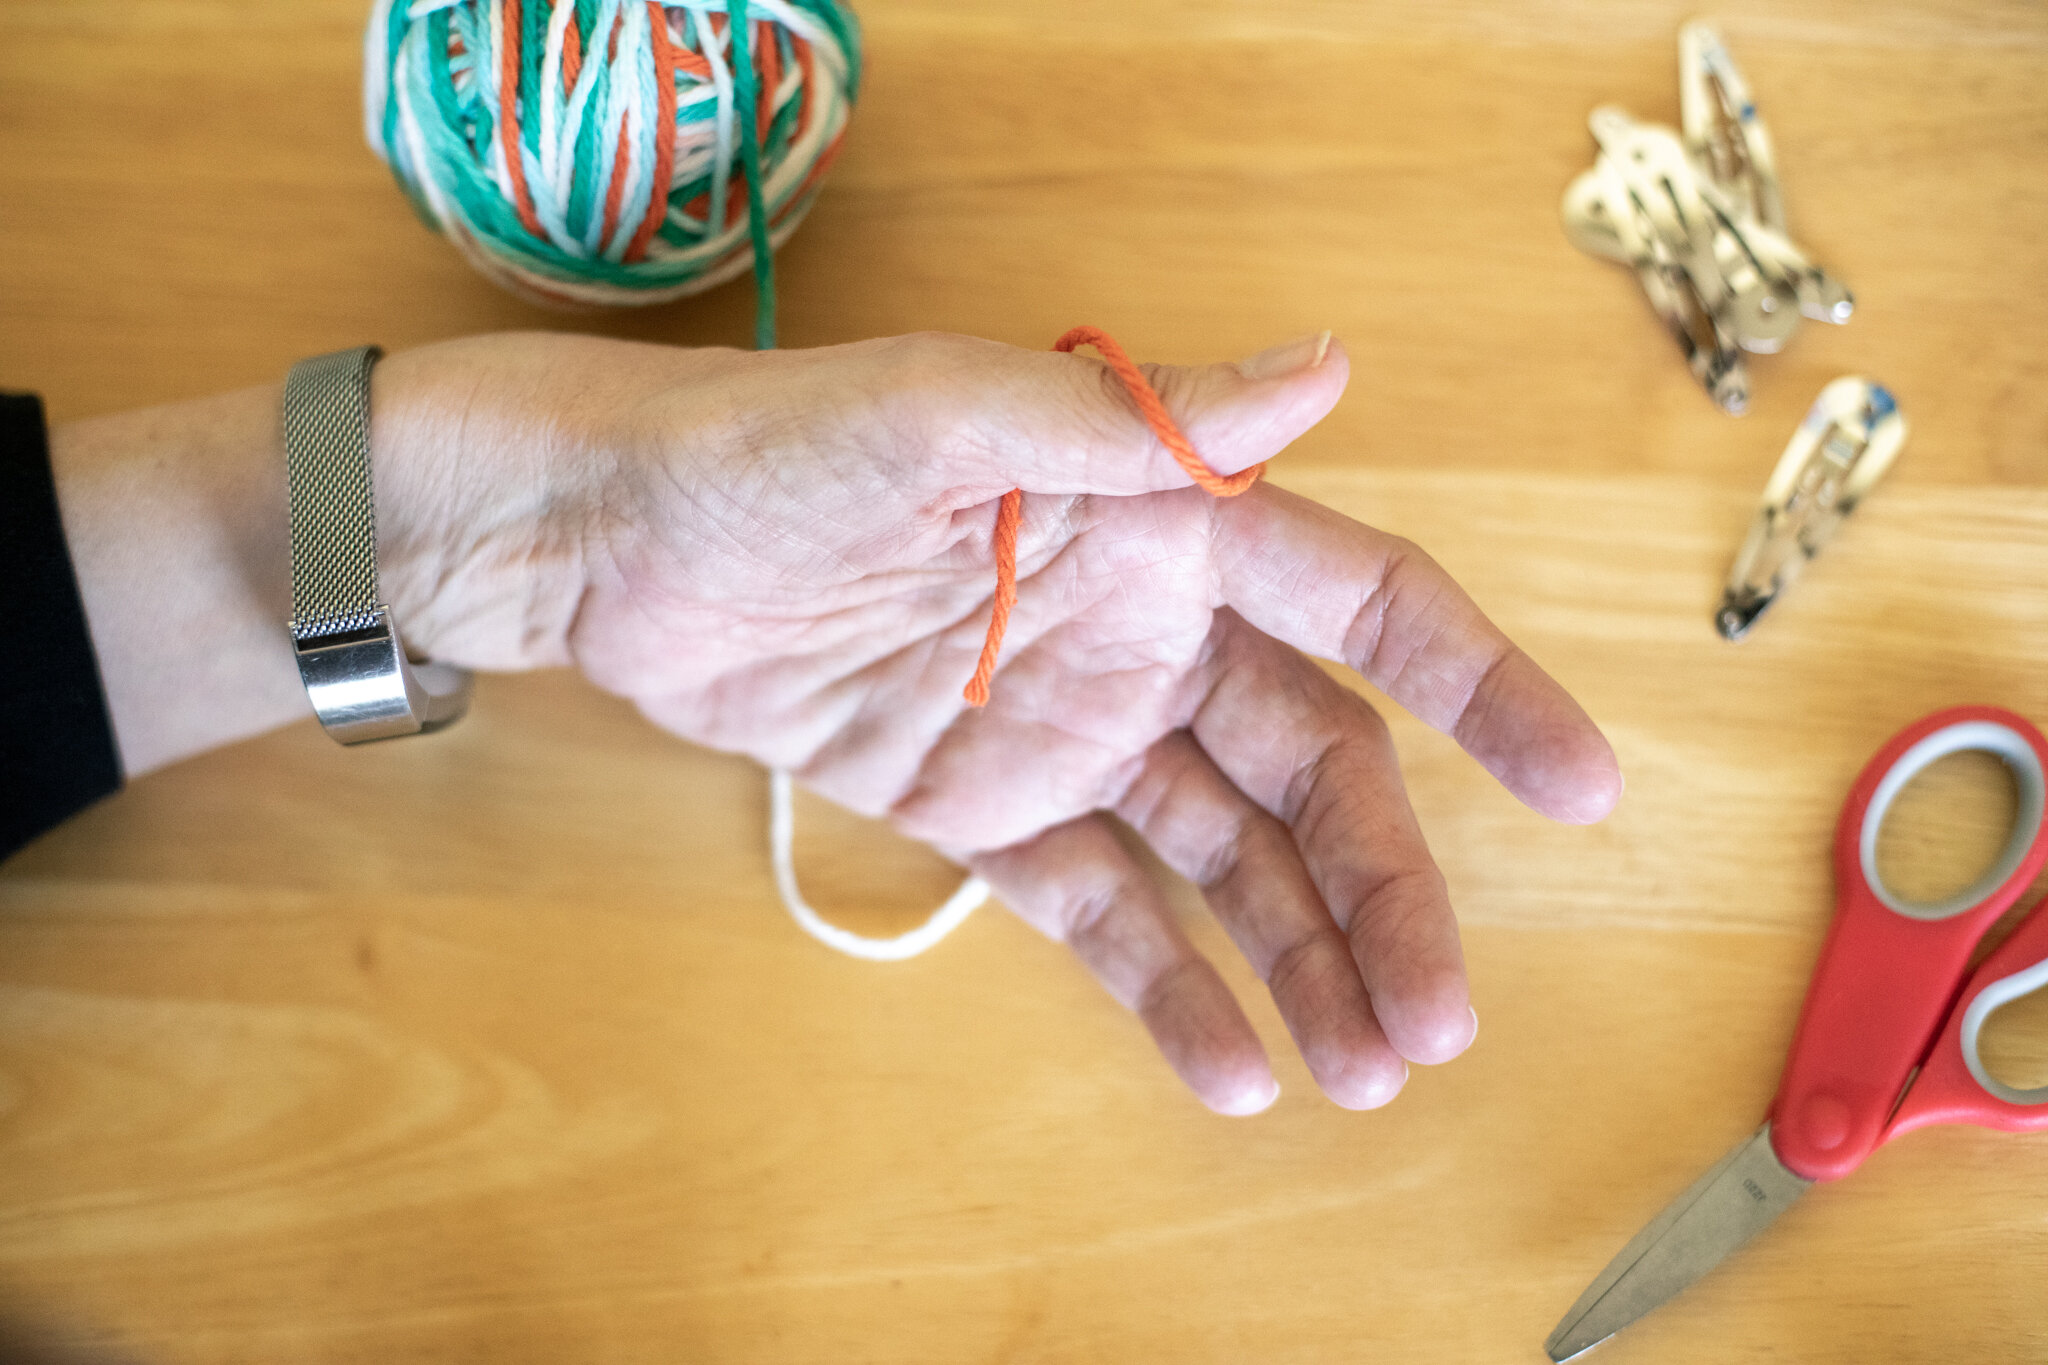
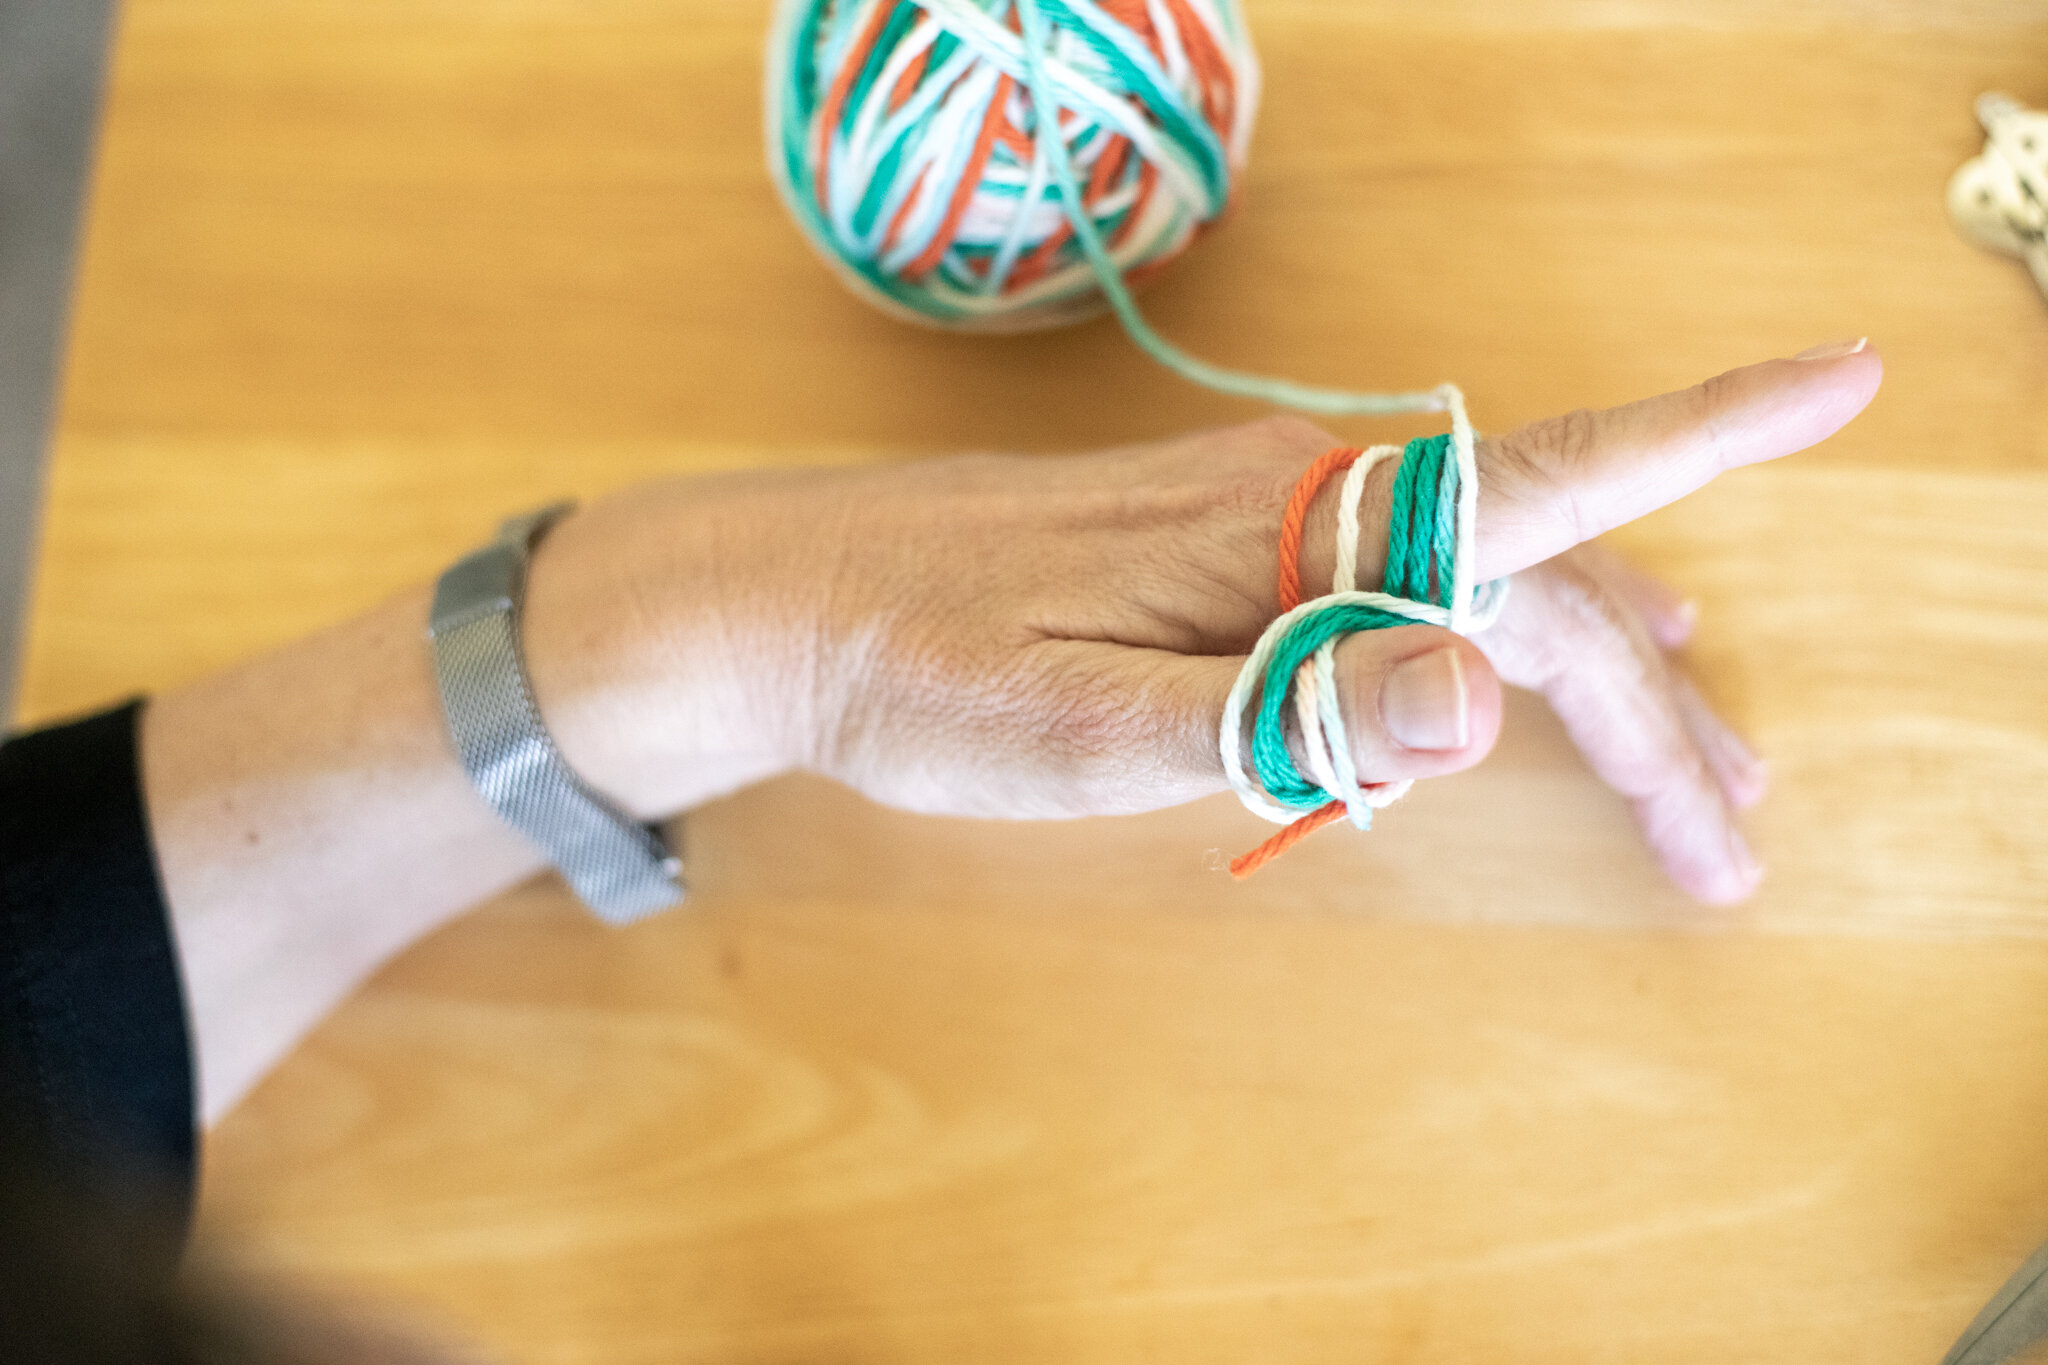
To start, tuck the yarn between you thumb and finger. I am right handed, so I hold the yarn with my left hand. You can try different hands to see which hand works better for you. Hold the yarn so it doesn’t come loose. The second photo shows the end of the yarn between the thumb and finger. The end can be fairly long so it doesn’t come loose too easily.
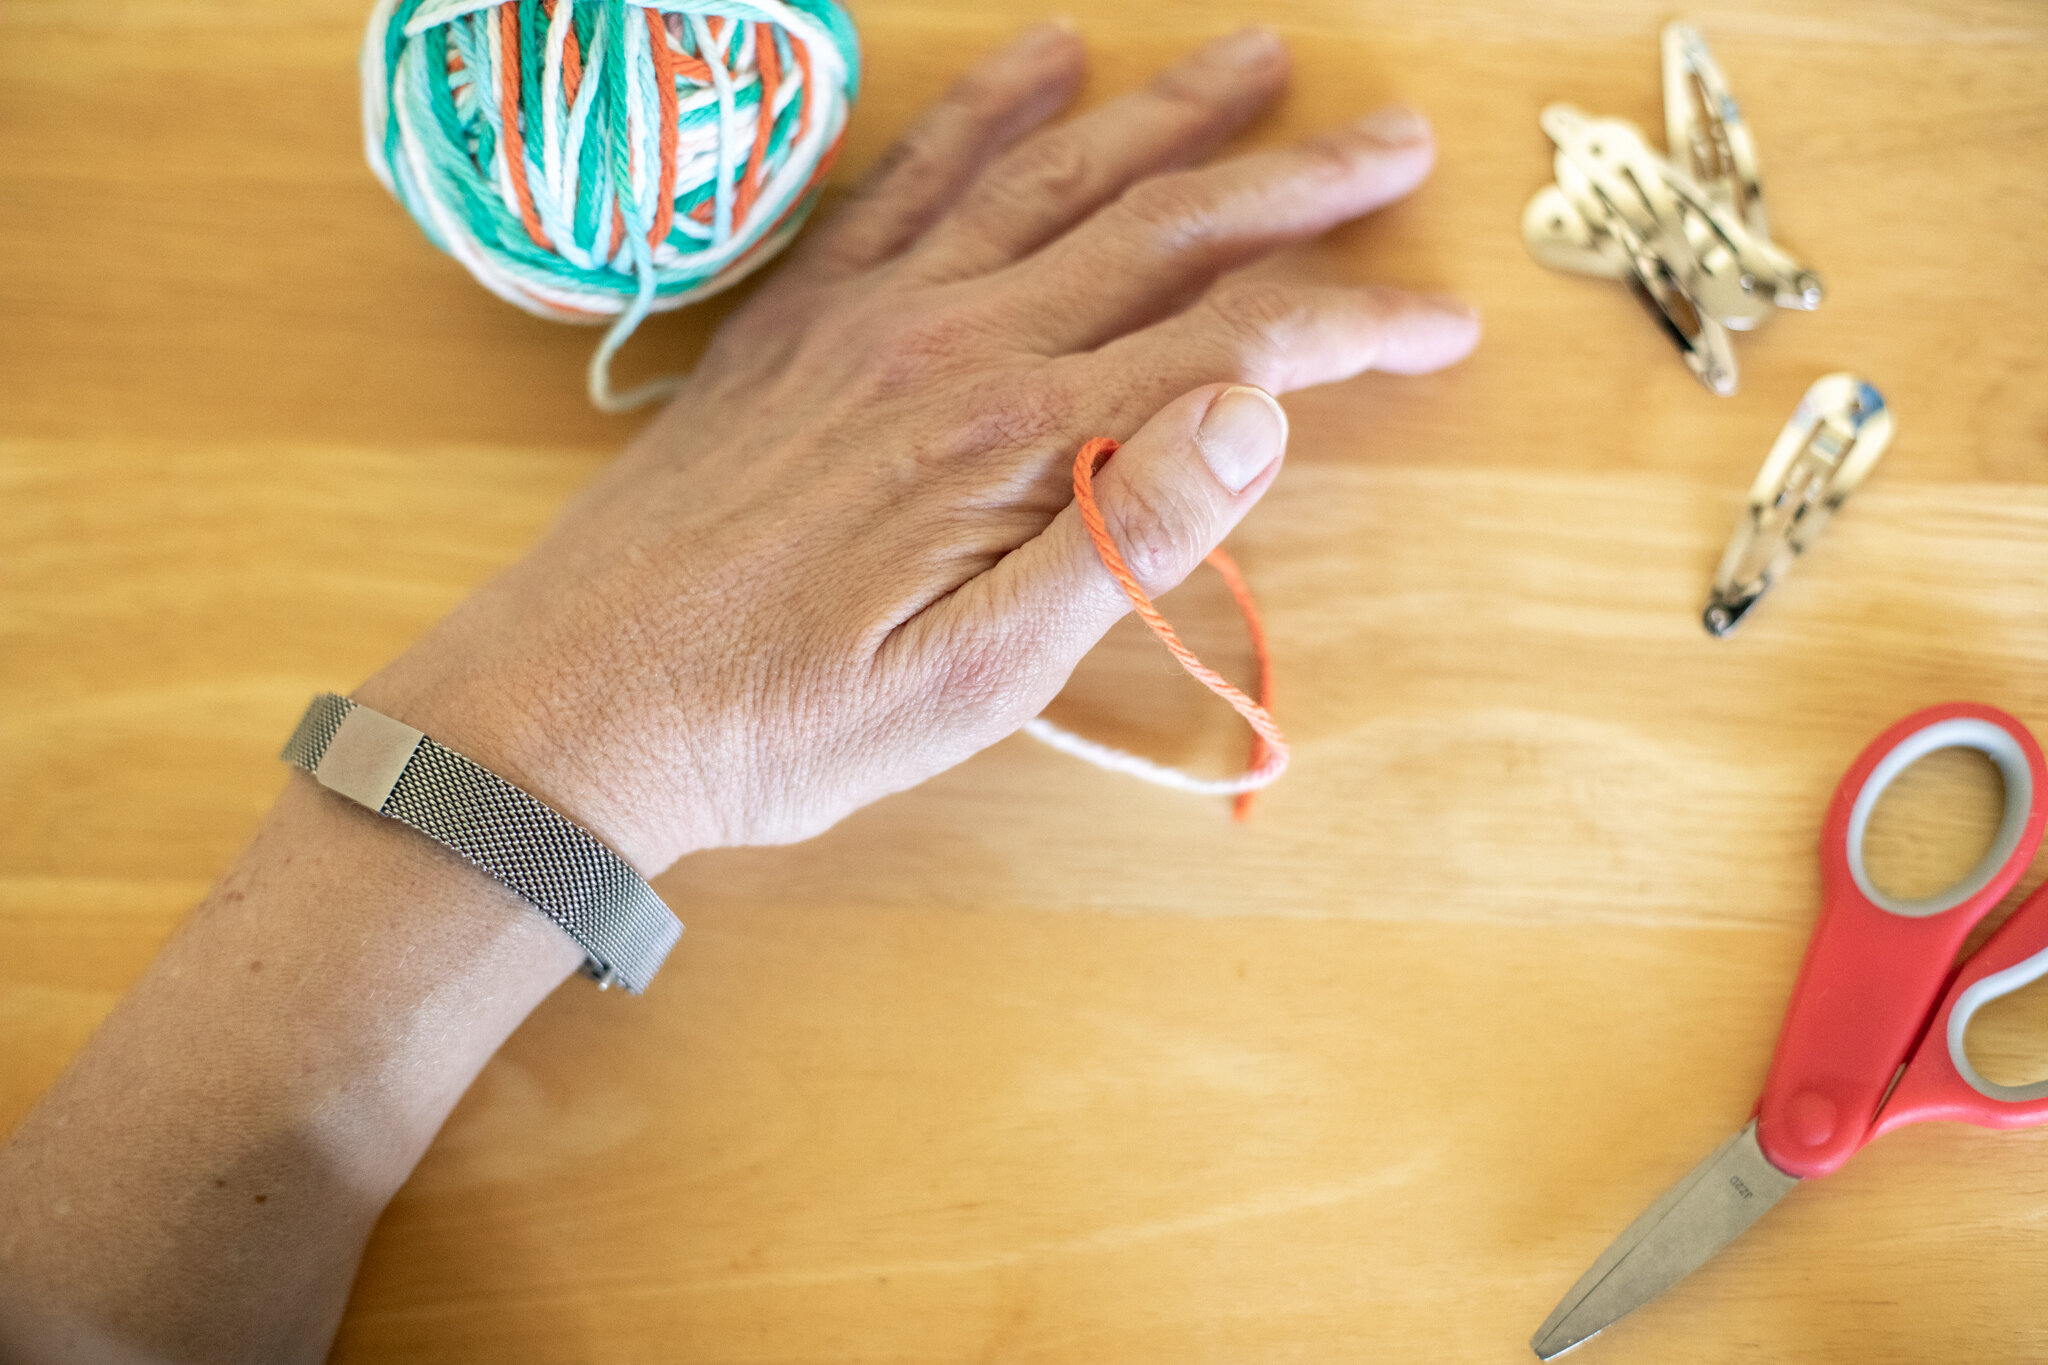

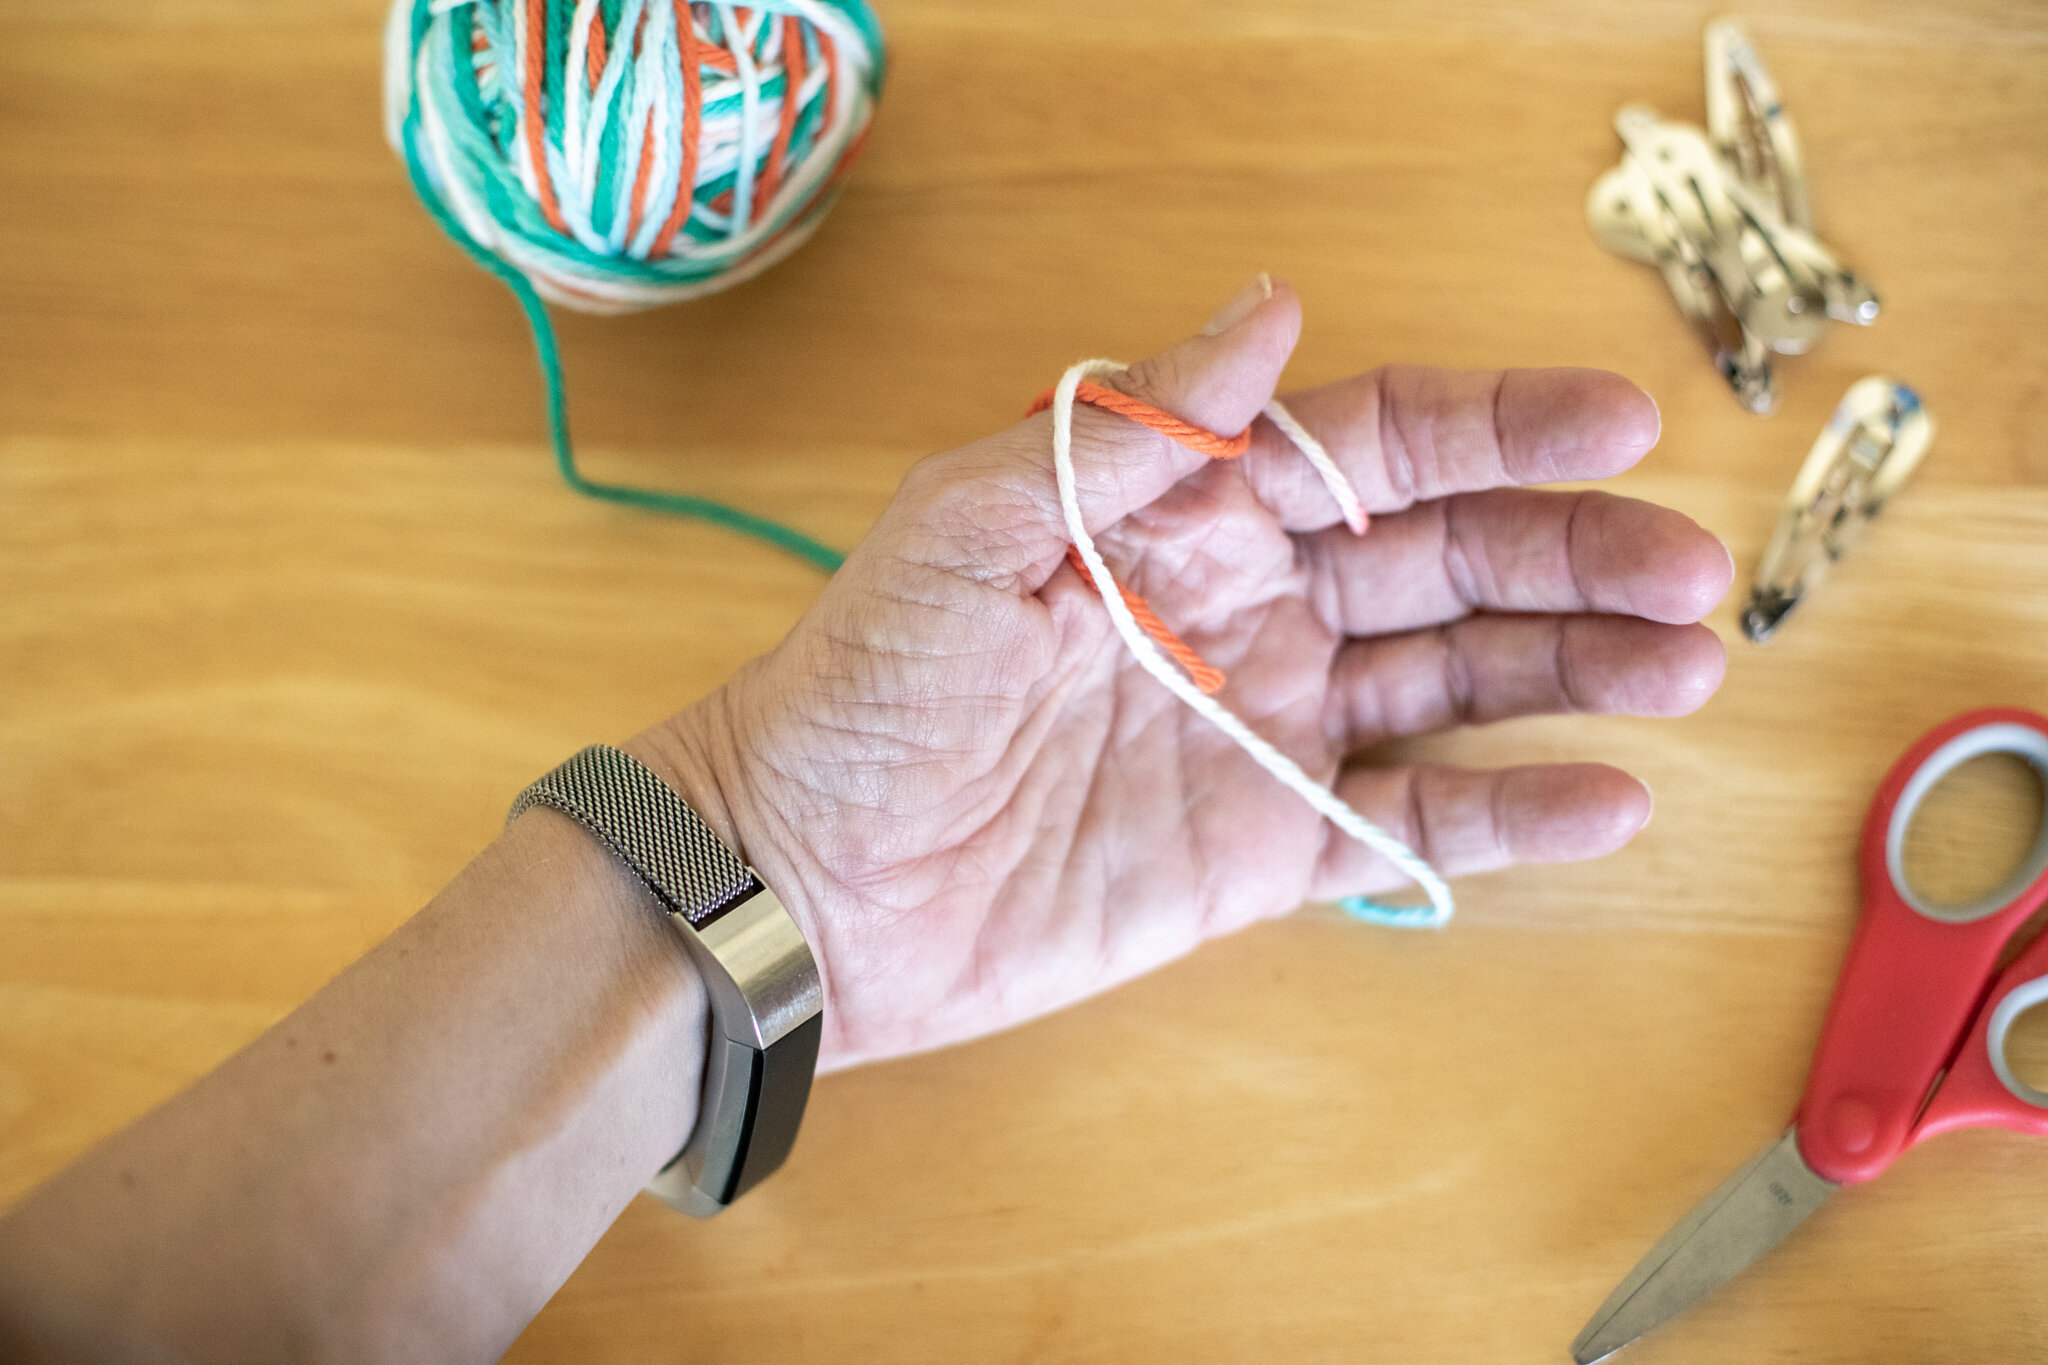
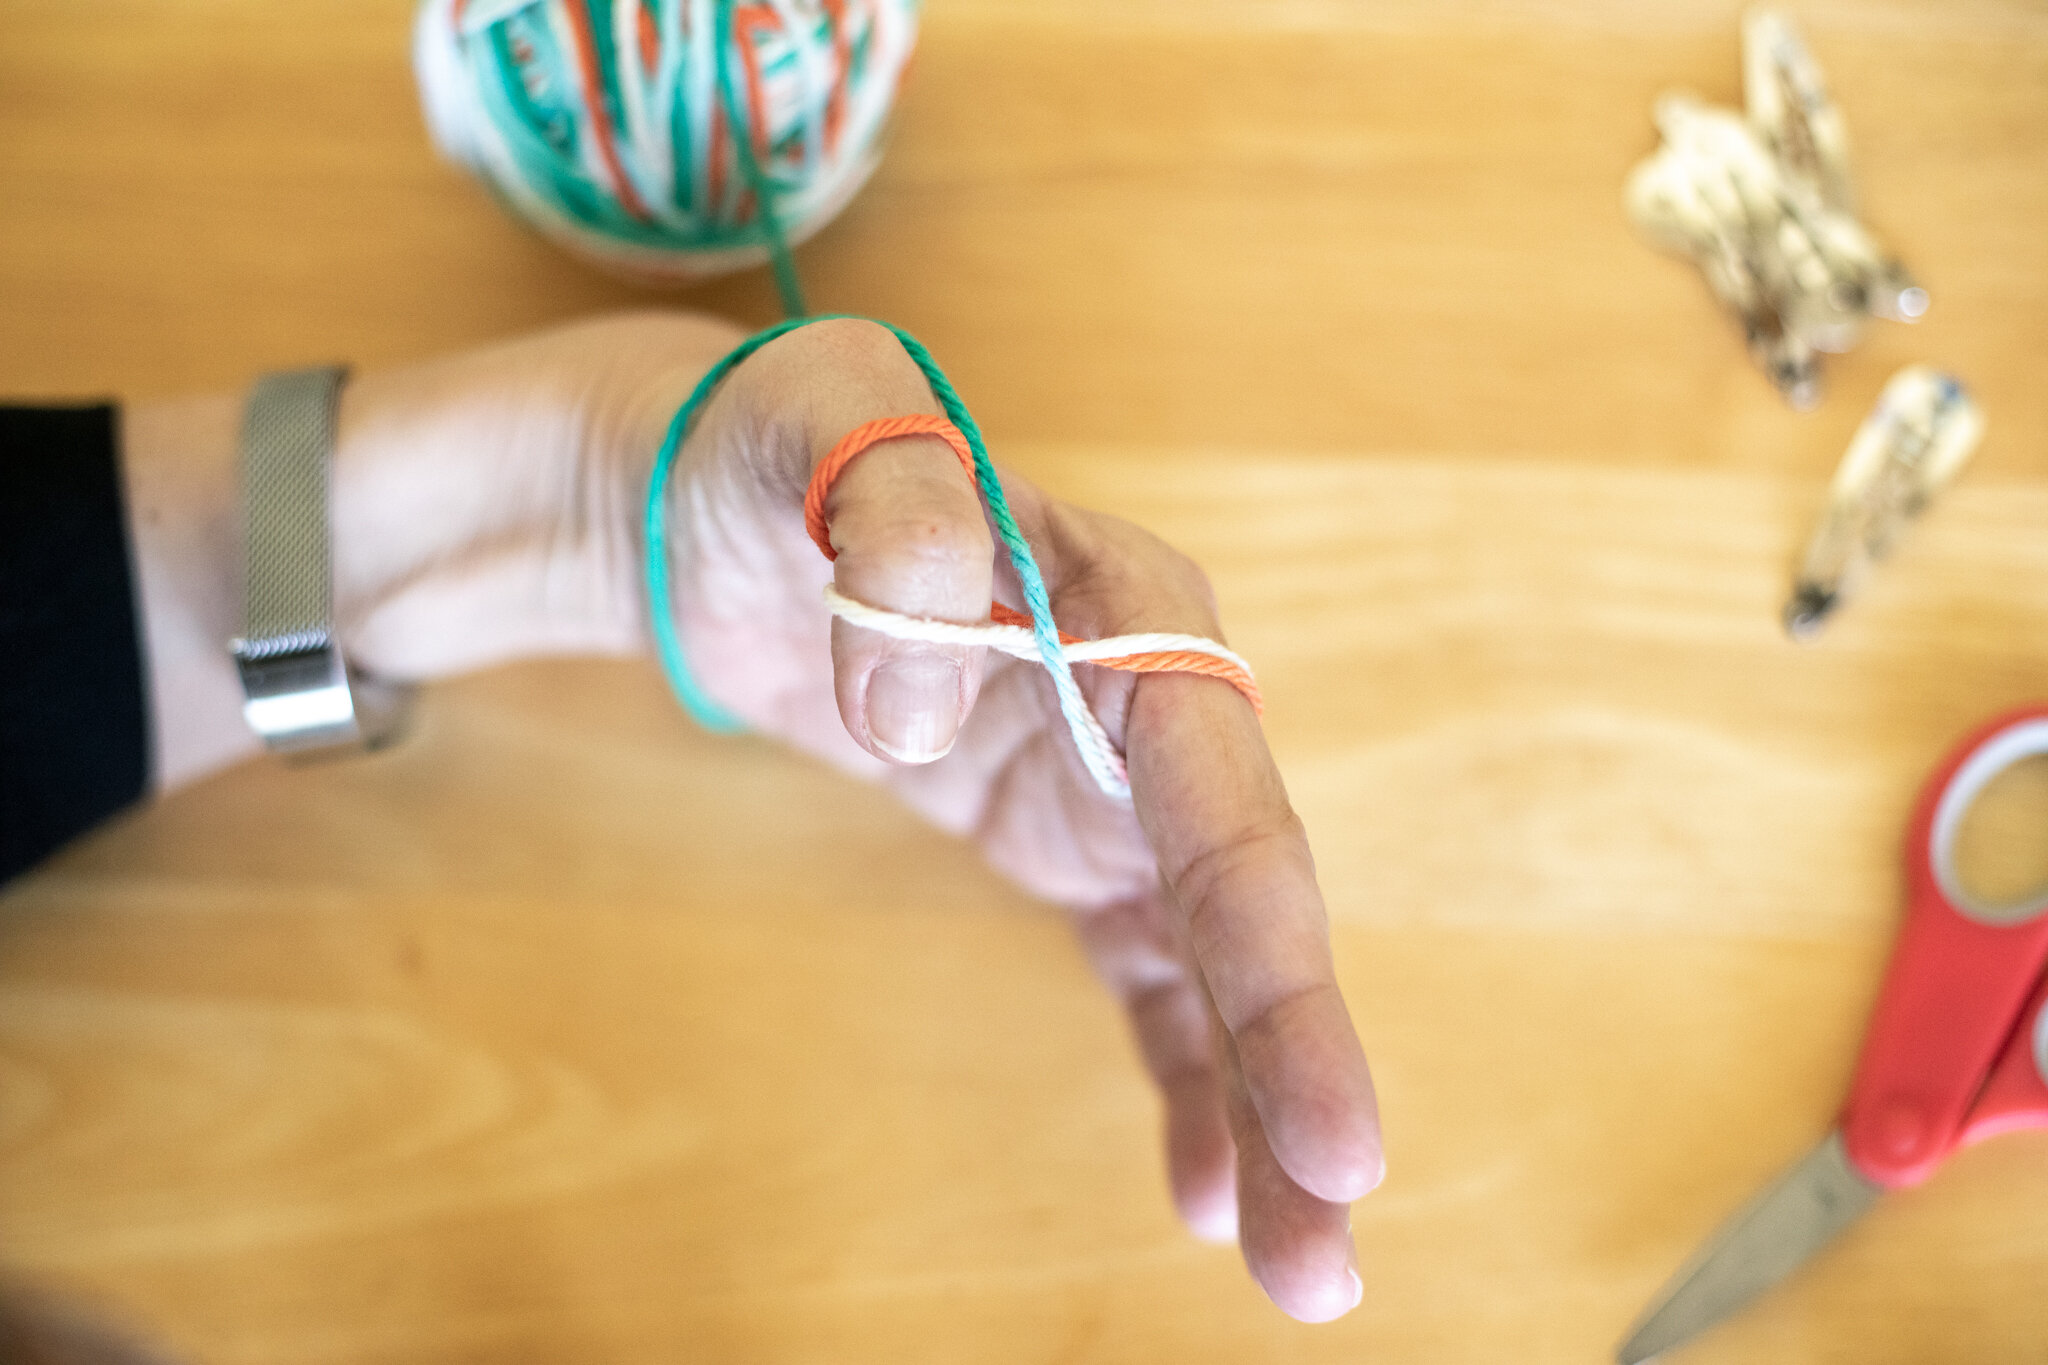


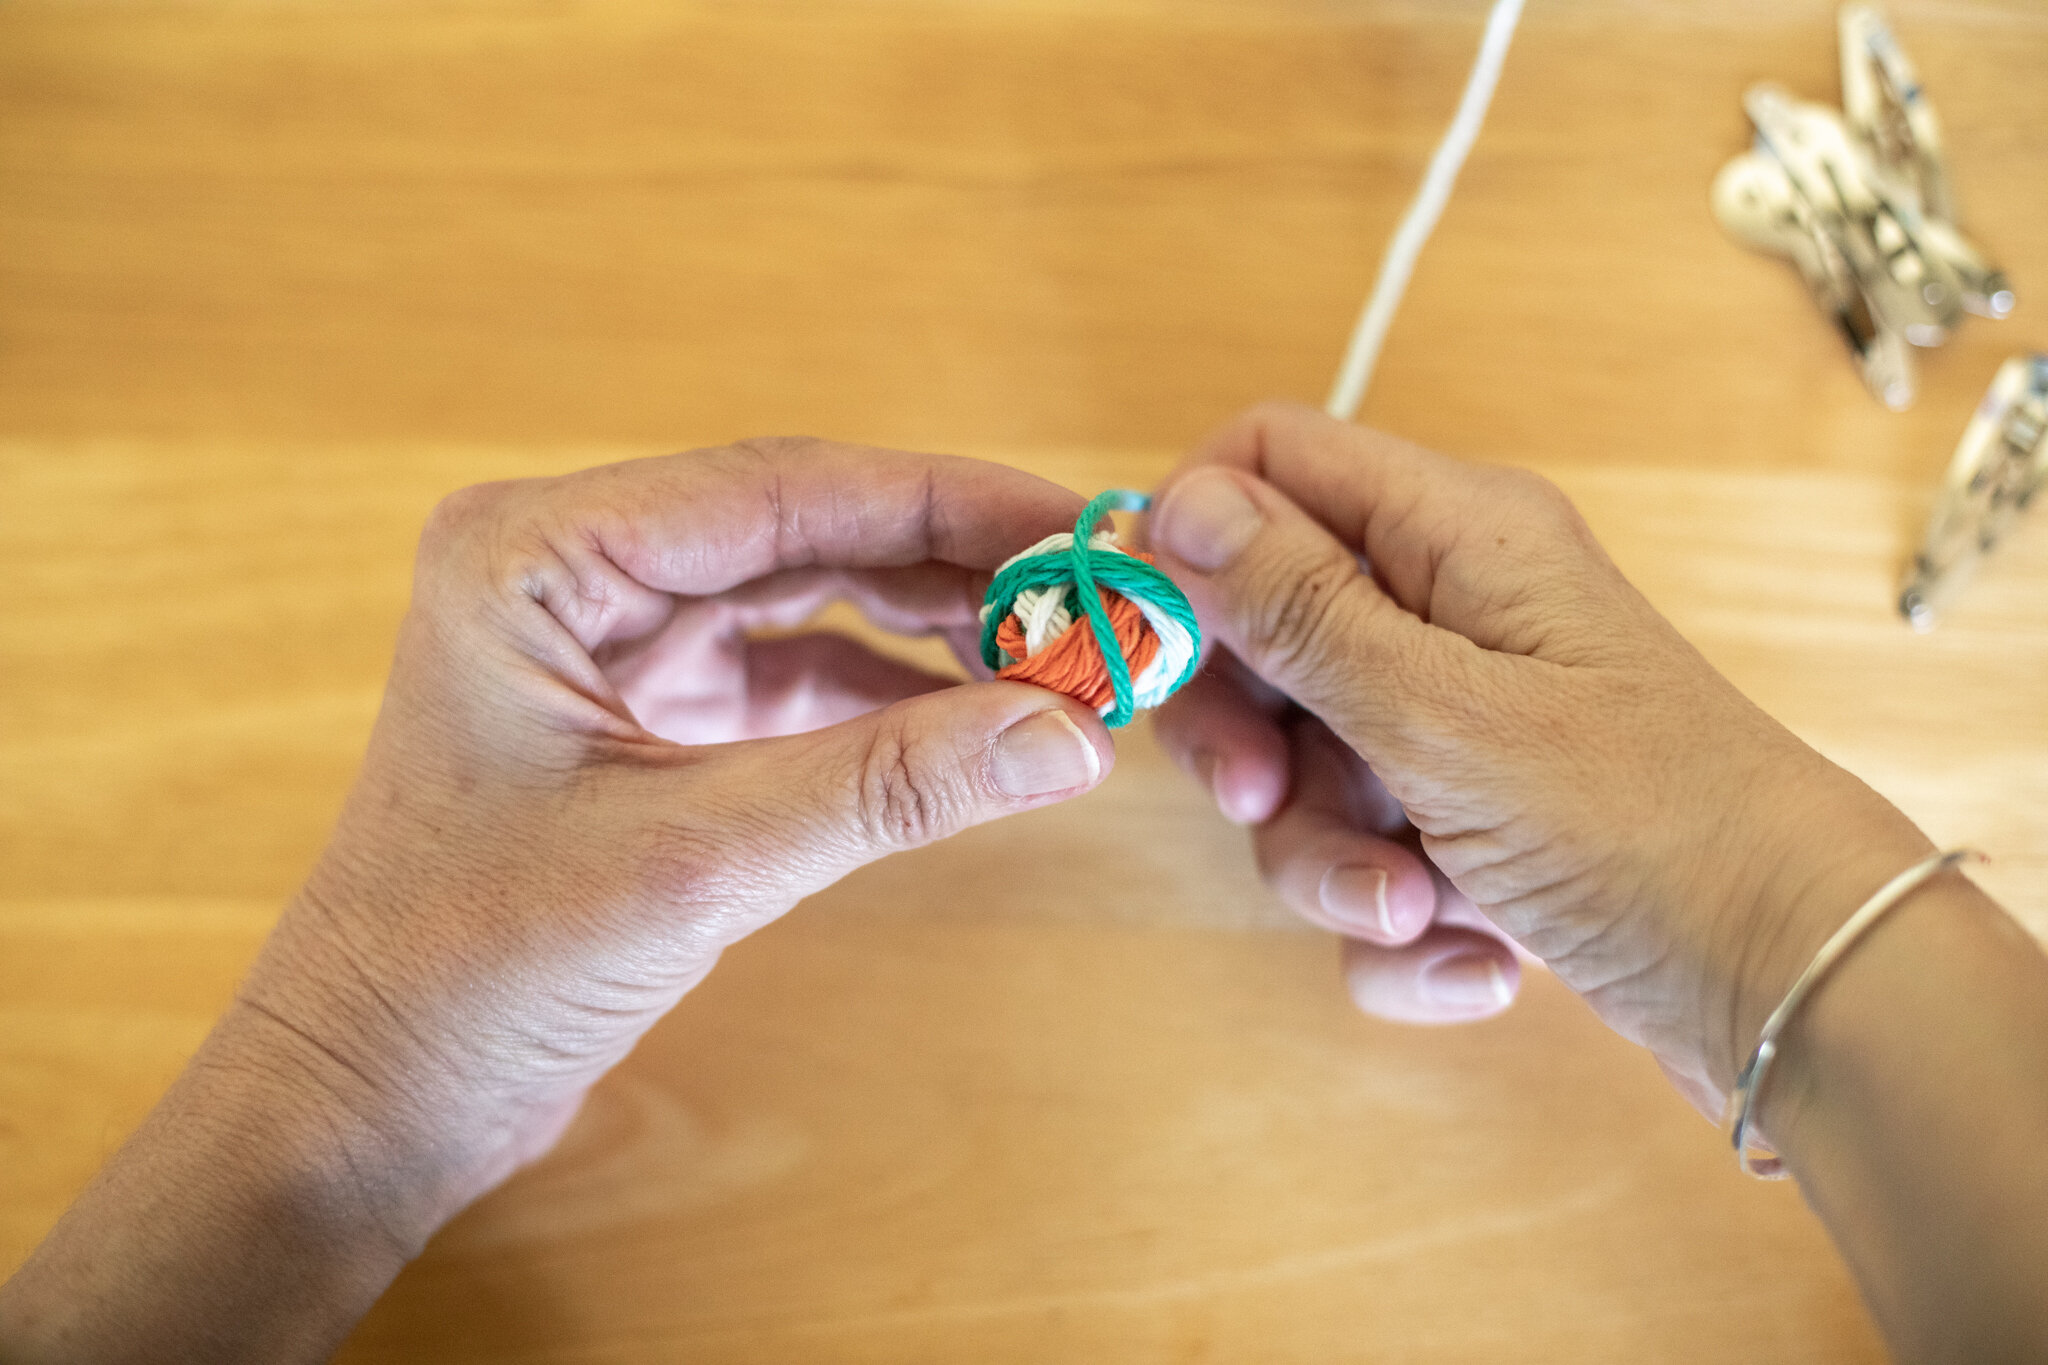

You can choose how big (or small) to make your yarn ball.
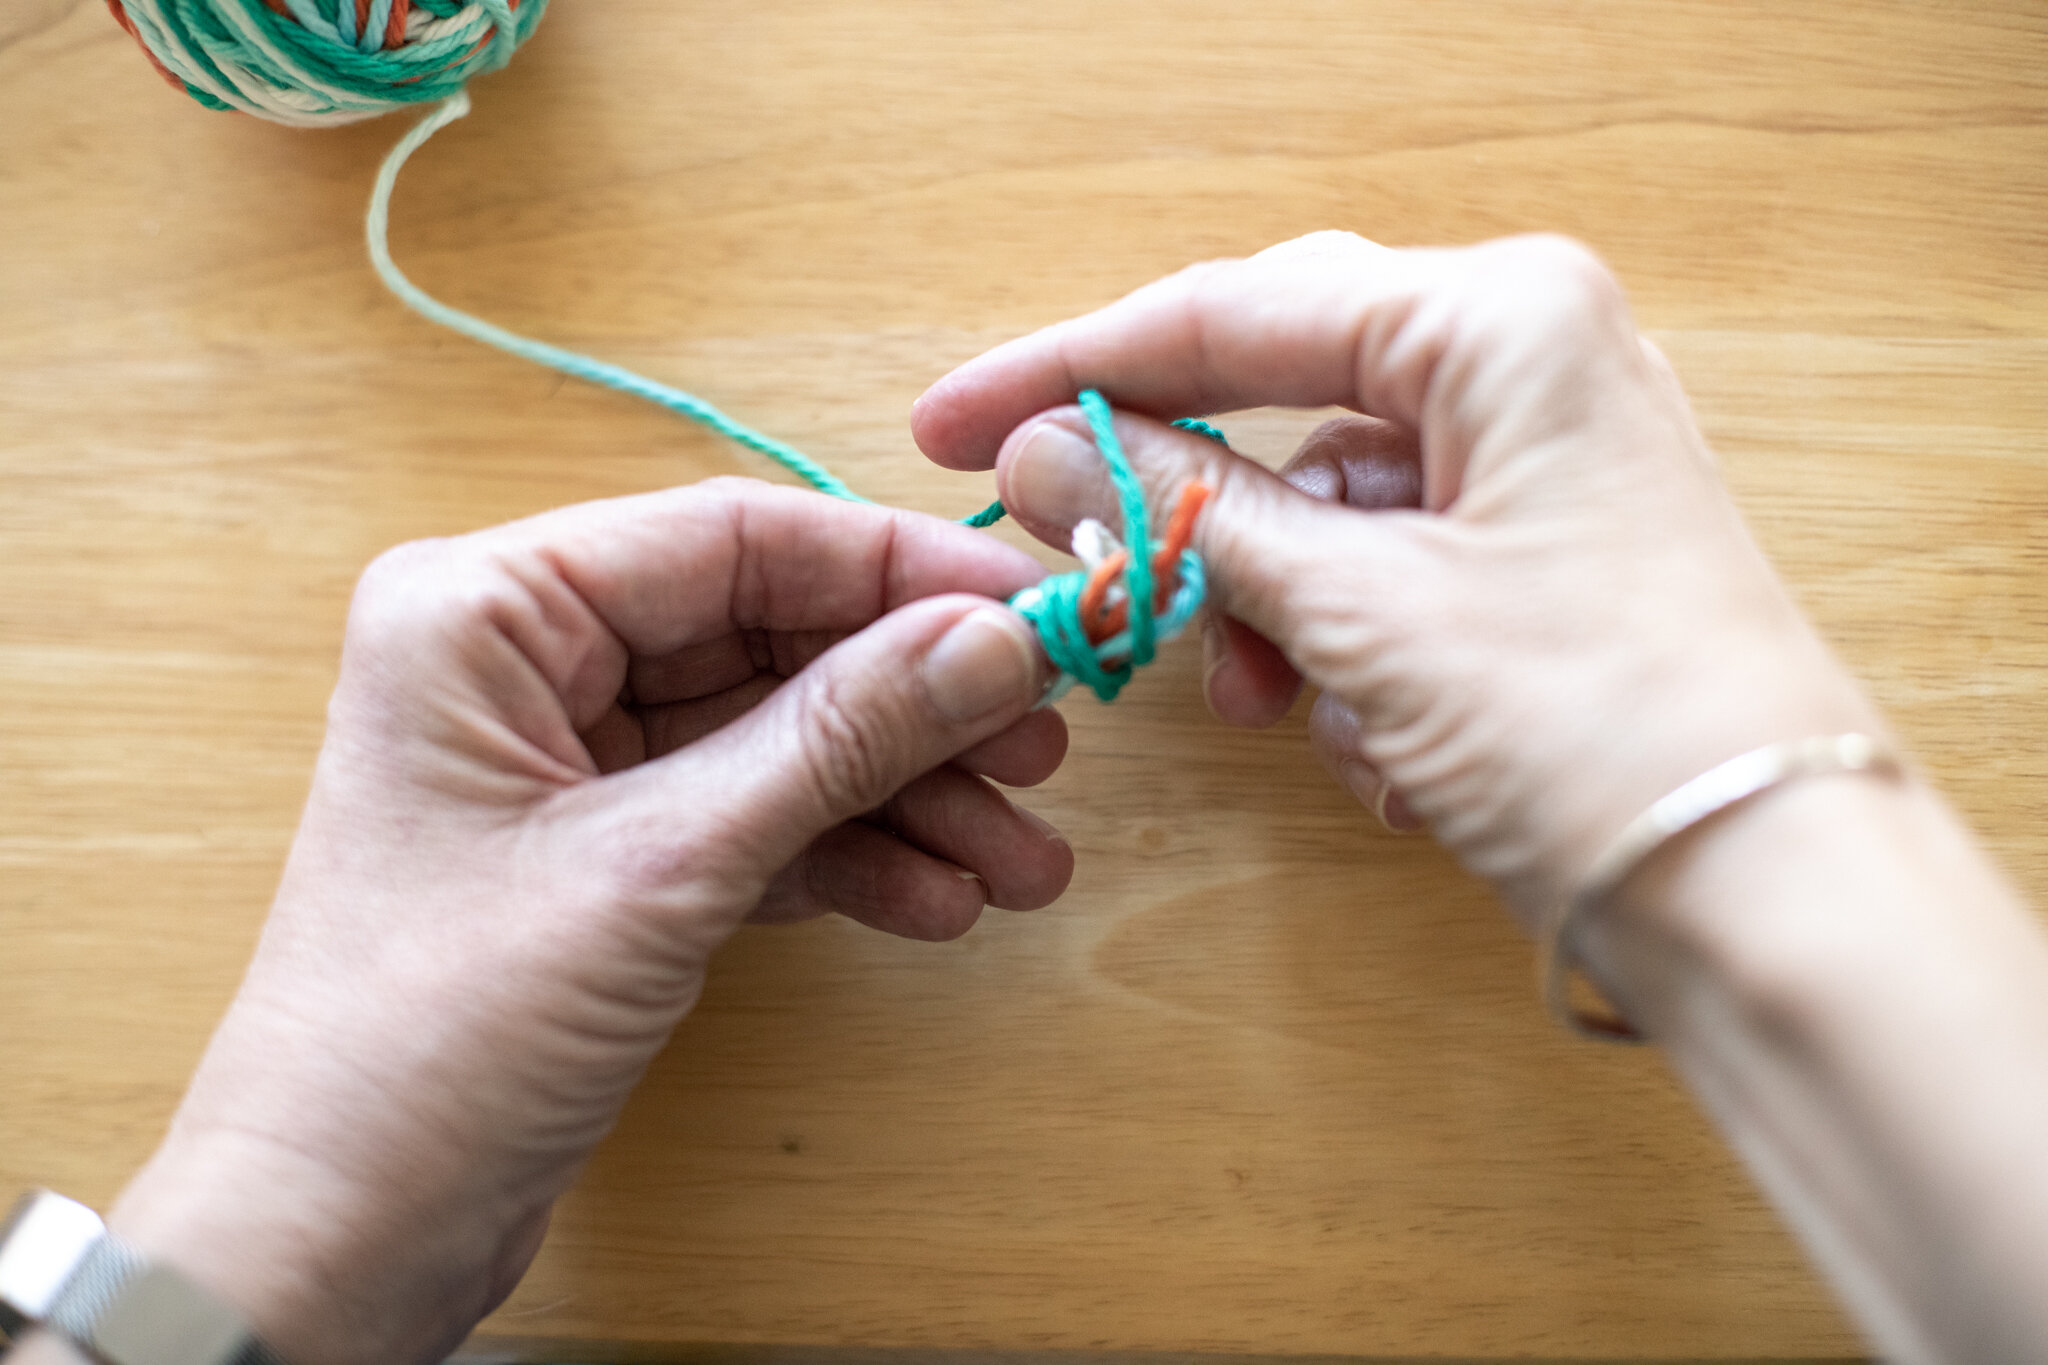
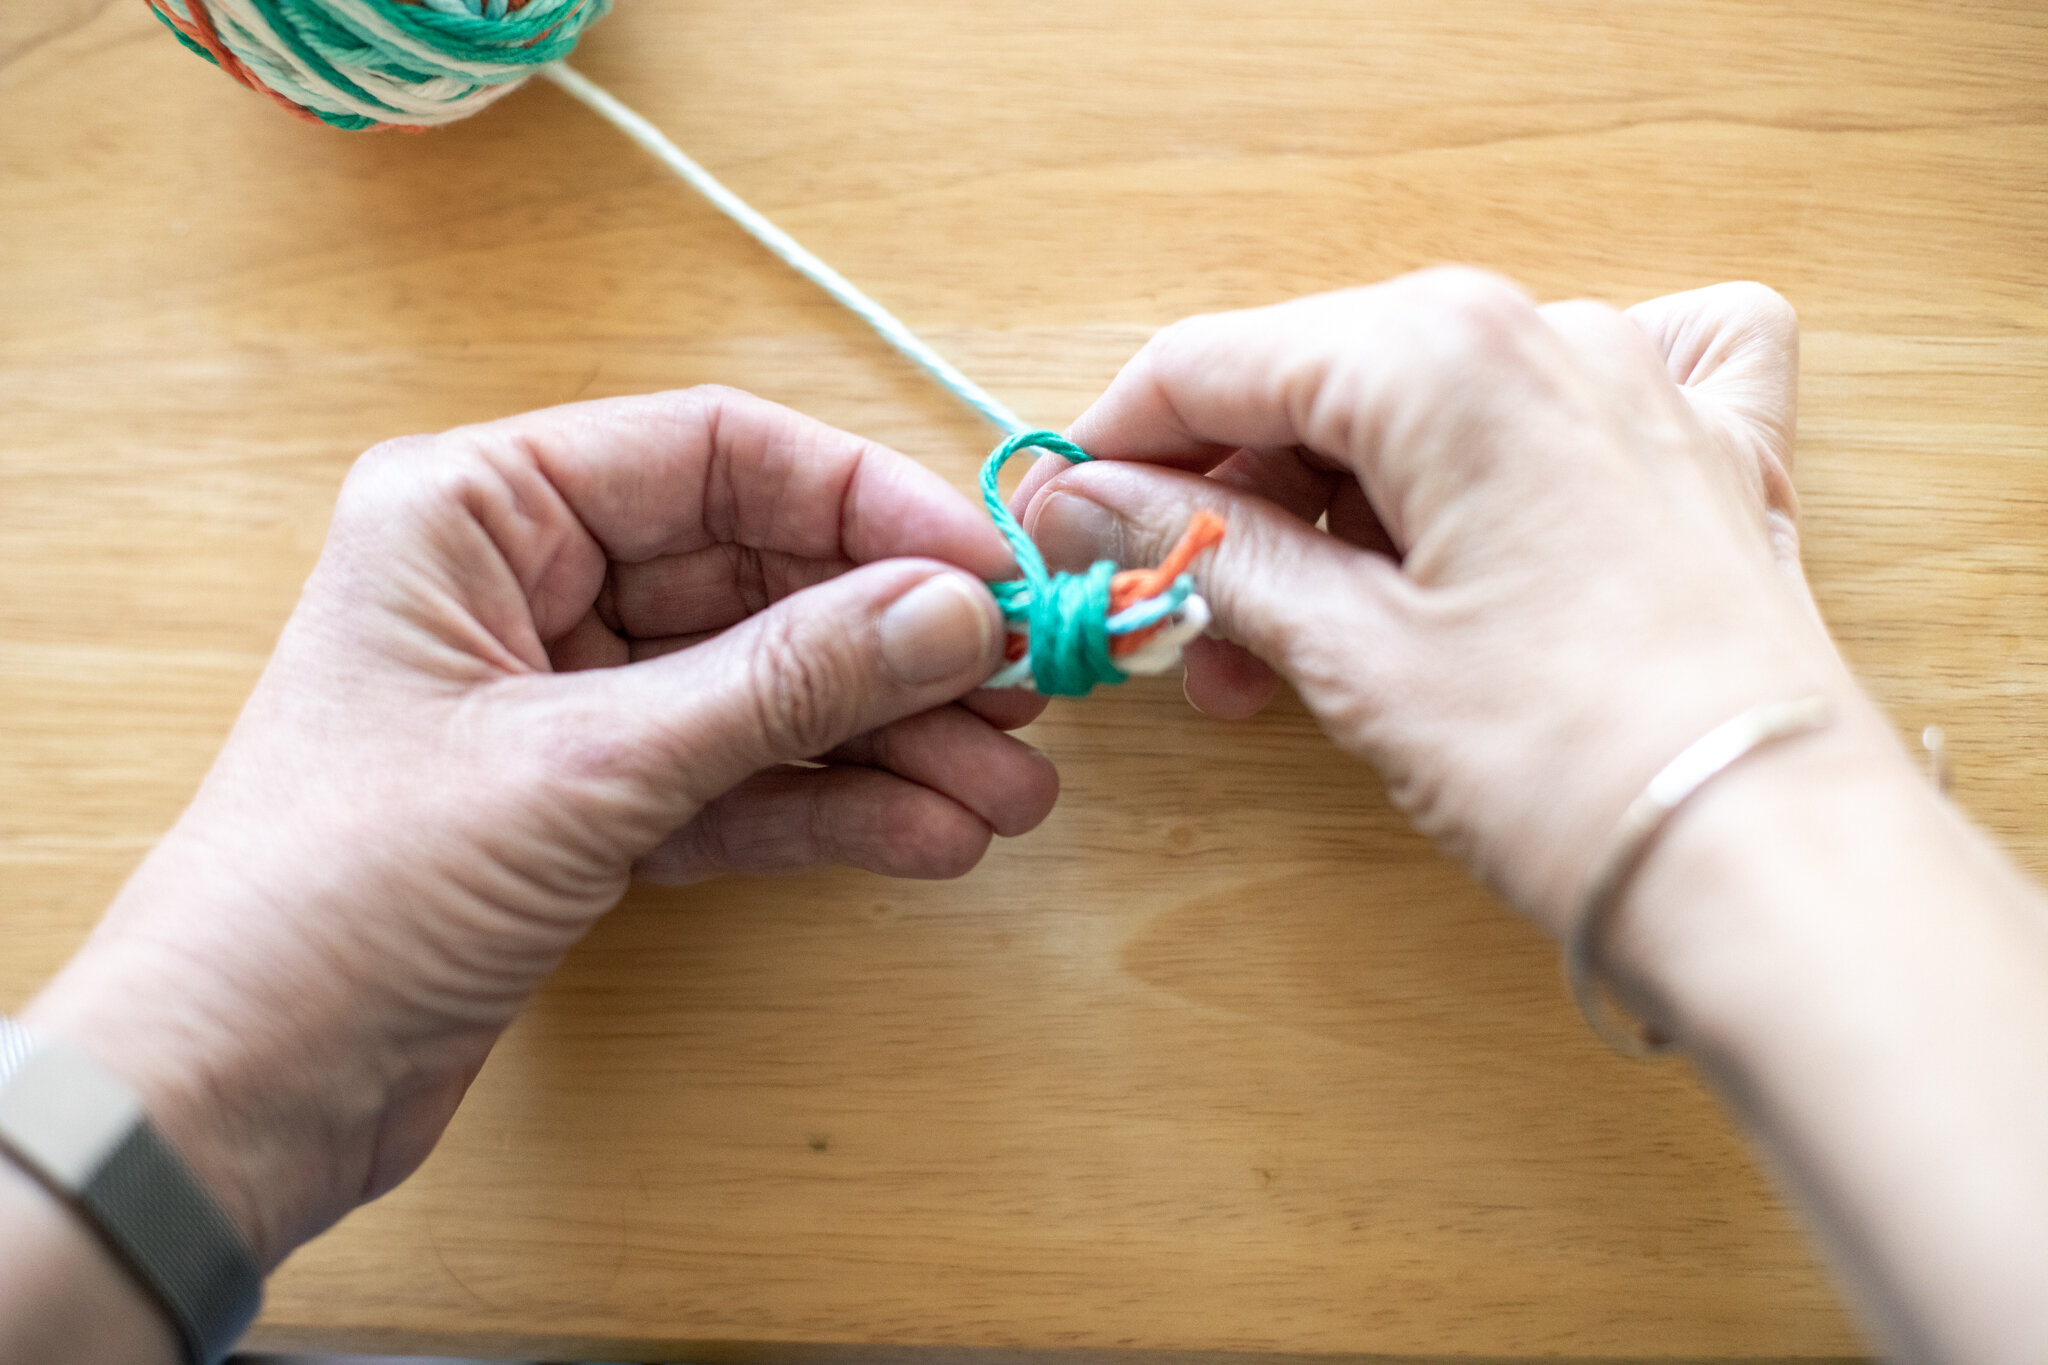
Supporting kids: If your child is frustrated with having to control two things at once- pinching a tail while winding yarn, you can always show them how by using your hand for the “glasses”. So you pinch and hold the tail, then hold their hand to guide them with the yarn into going back and forth, back and forth between your finger and thumb. When they have the hang of it, you can let them continue adding loops on your fingers independently. You may notice that they pass the yarn from their one hand to the other as they wind it around your finger and thumb. This is a developmental stage where they need the hand closest to the “action” to be in charge. So reaching across is harder for them than handing the yarn to the other hand. One day it stops because they made the “leap” developmentally, so don’t worry if you wonder how is passing the yarn back and forth between left and right hands possibly efficient.
You can also reverse this teamwork asking the child to pinch the tail between their finger and thumb, then you wind the first few loops so it’s not so easy to pull loose.
You know the children best so do whatever helps them (and you) feel successful. The more that they make, the easier all the steps become. And it’s ok to start over! Crafting is all about adjusting and learning and trying again. Let them practice resilience :)
You can also start the most fiddly beginning part of the ball and hand it off to them when it’s manageable for them.
I also highly recommend practicing on your own before trying to teach children. It’s so hard to be “hmmm, what is happening here?” while a child is eagerly waiting for progress. If you’re comfortable, it’s easier to coach them through the process.
With this said, it is good to model learning a new skill with children, so feel free to dive in together if you want to learn together.
Phew, photograph turotials are more time-intensive than I remembered :). So I’ll make a post soon with the second way to wind a yarn ball.
I enjoyed sharing this idea for creating a tidy collection of yarn that’s easy to share. This process project is a great way to organize. And then you’re ready for the next epic project using your yarn balls!
PS- many children choose making yarn balls over and over and over. They don’t necessarily need more projects :). You could even make little collections of yarn balls to gift a neighbor or family member or send in a care package. They’re fun to make and share. Enjoy 💕
We hope this week finds you healthy and inspired ✨
Click here for the second way to wind yarn balls. Which way is easier for you?

Creative Leprechauns
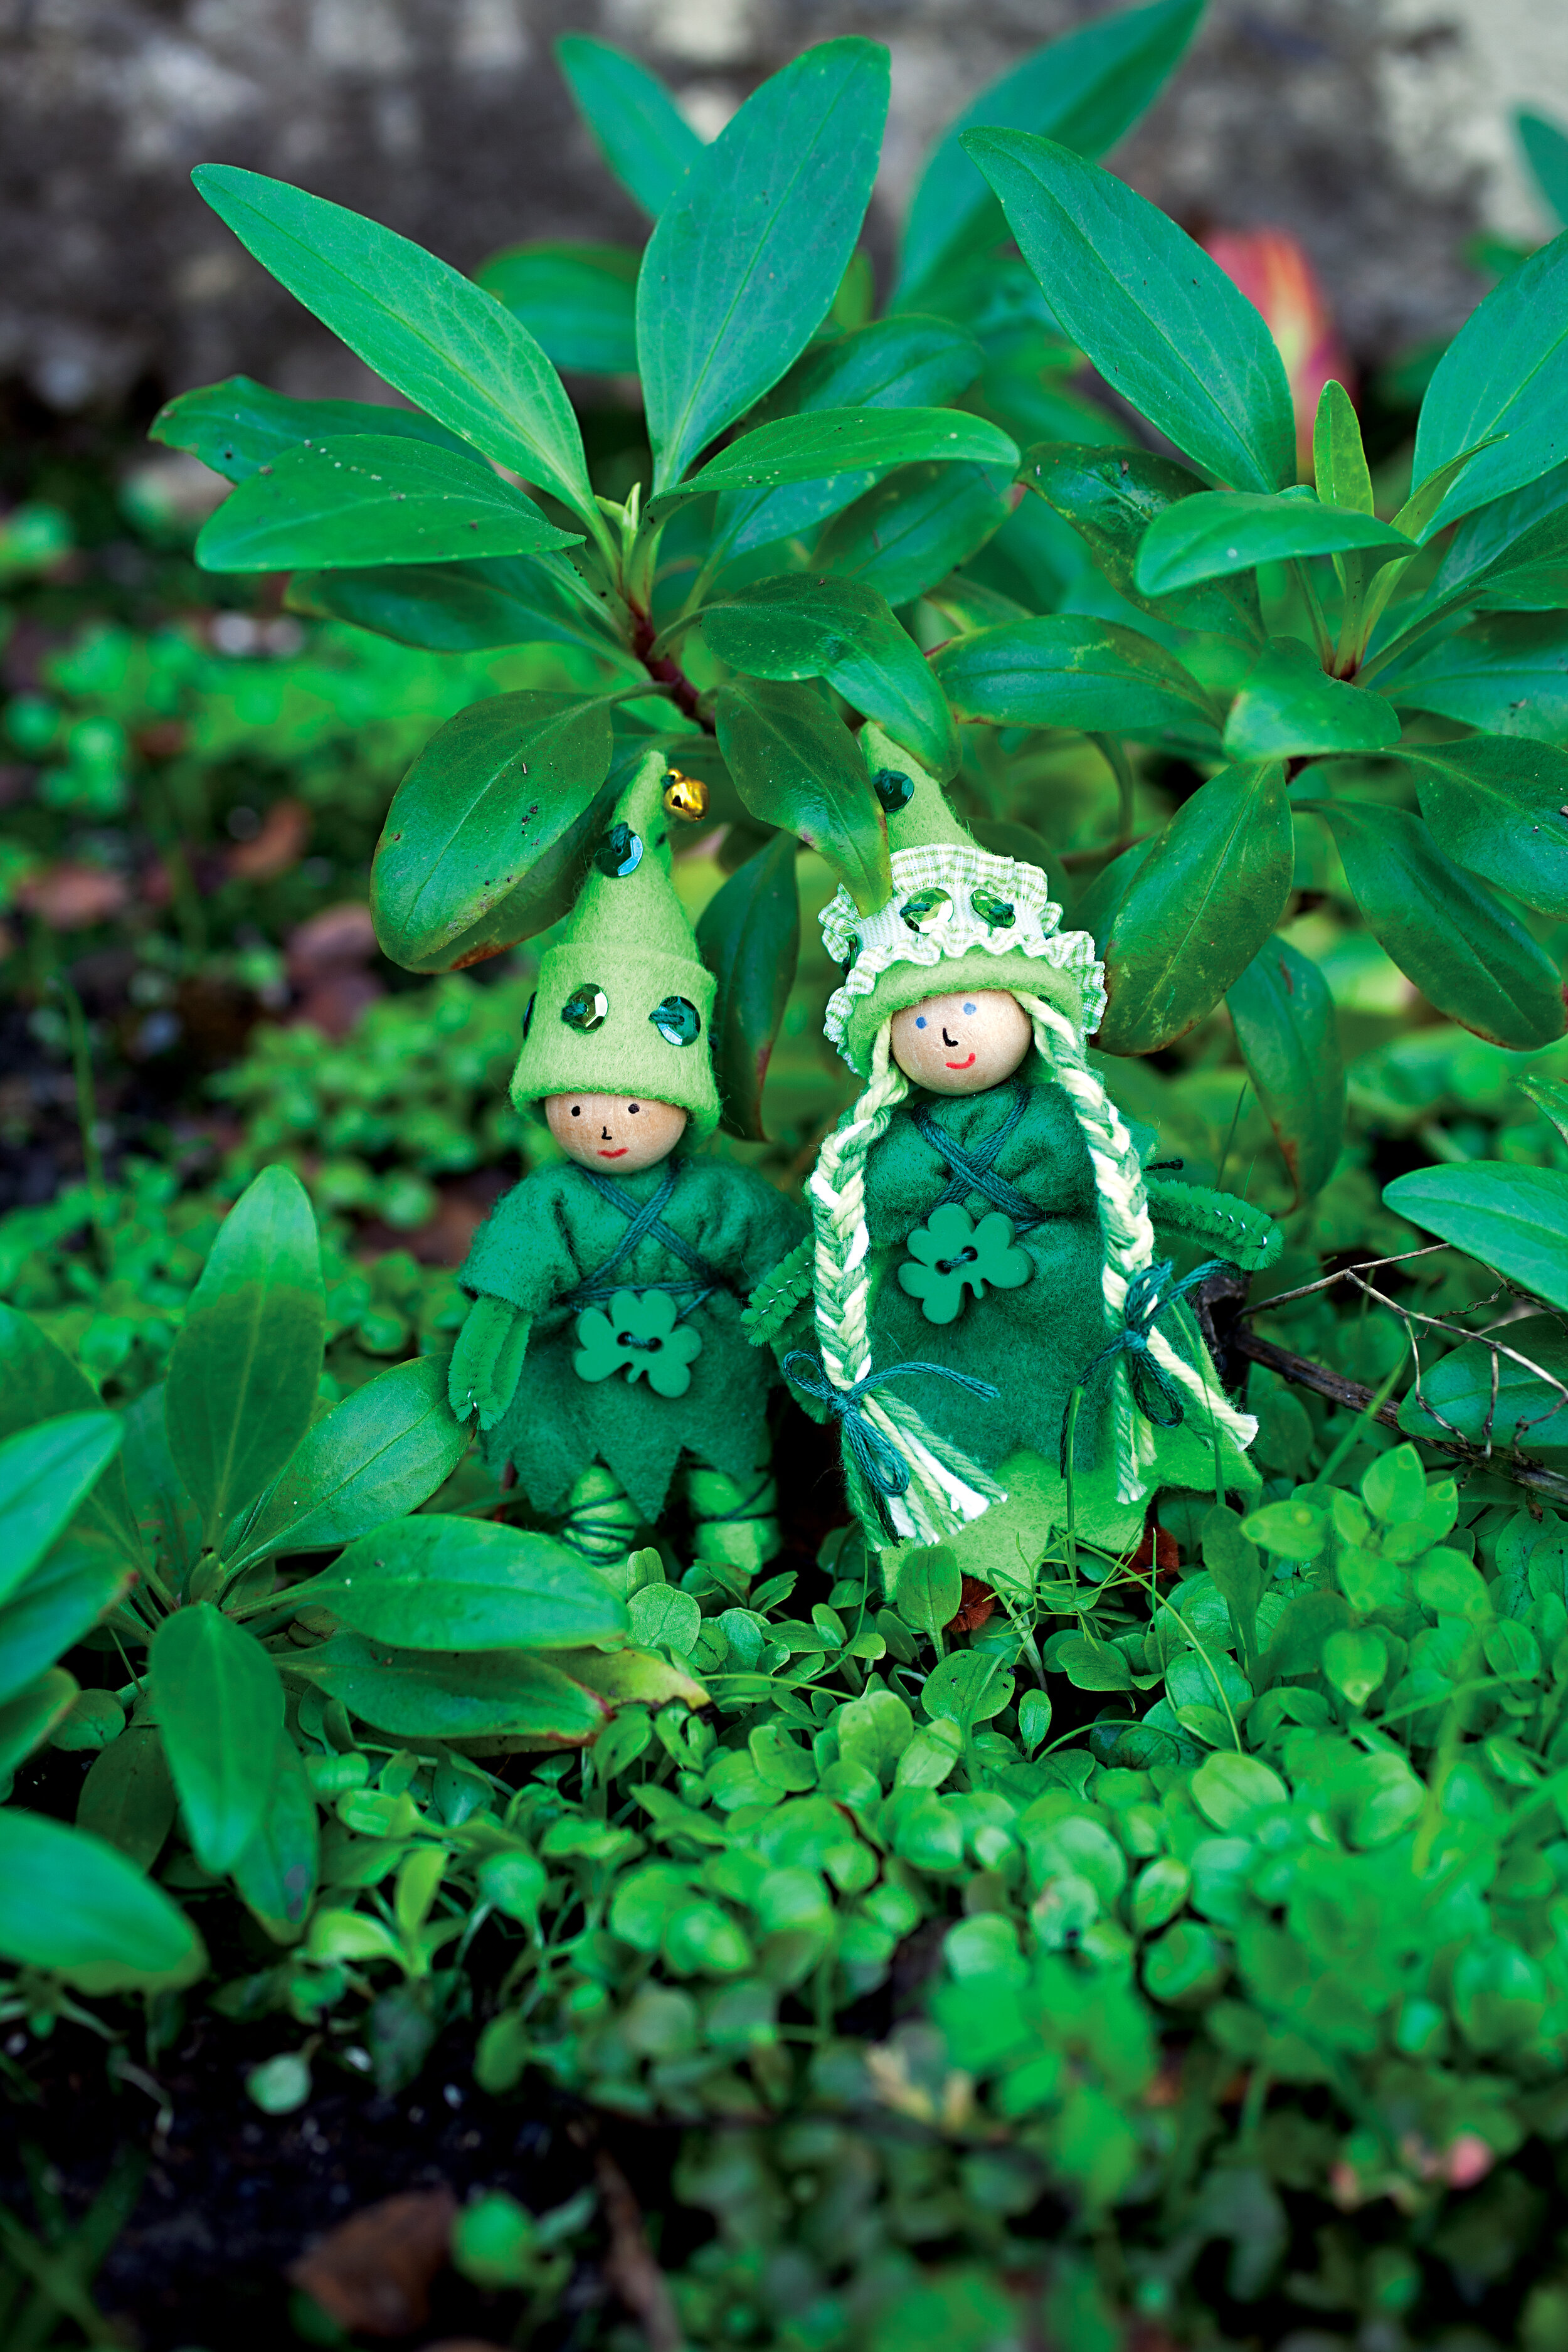
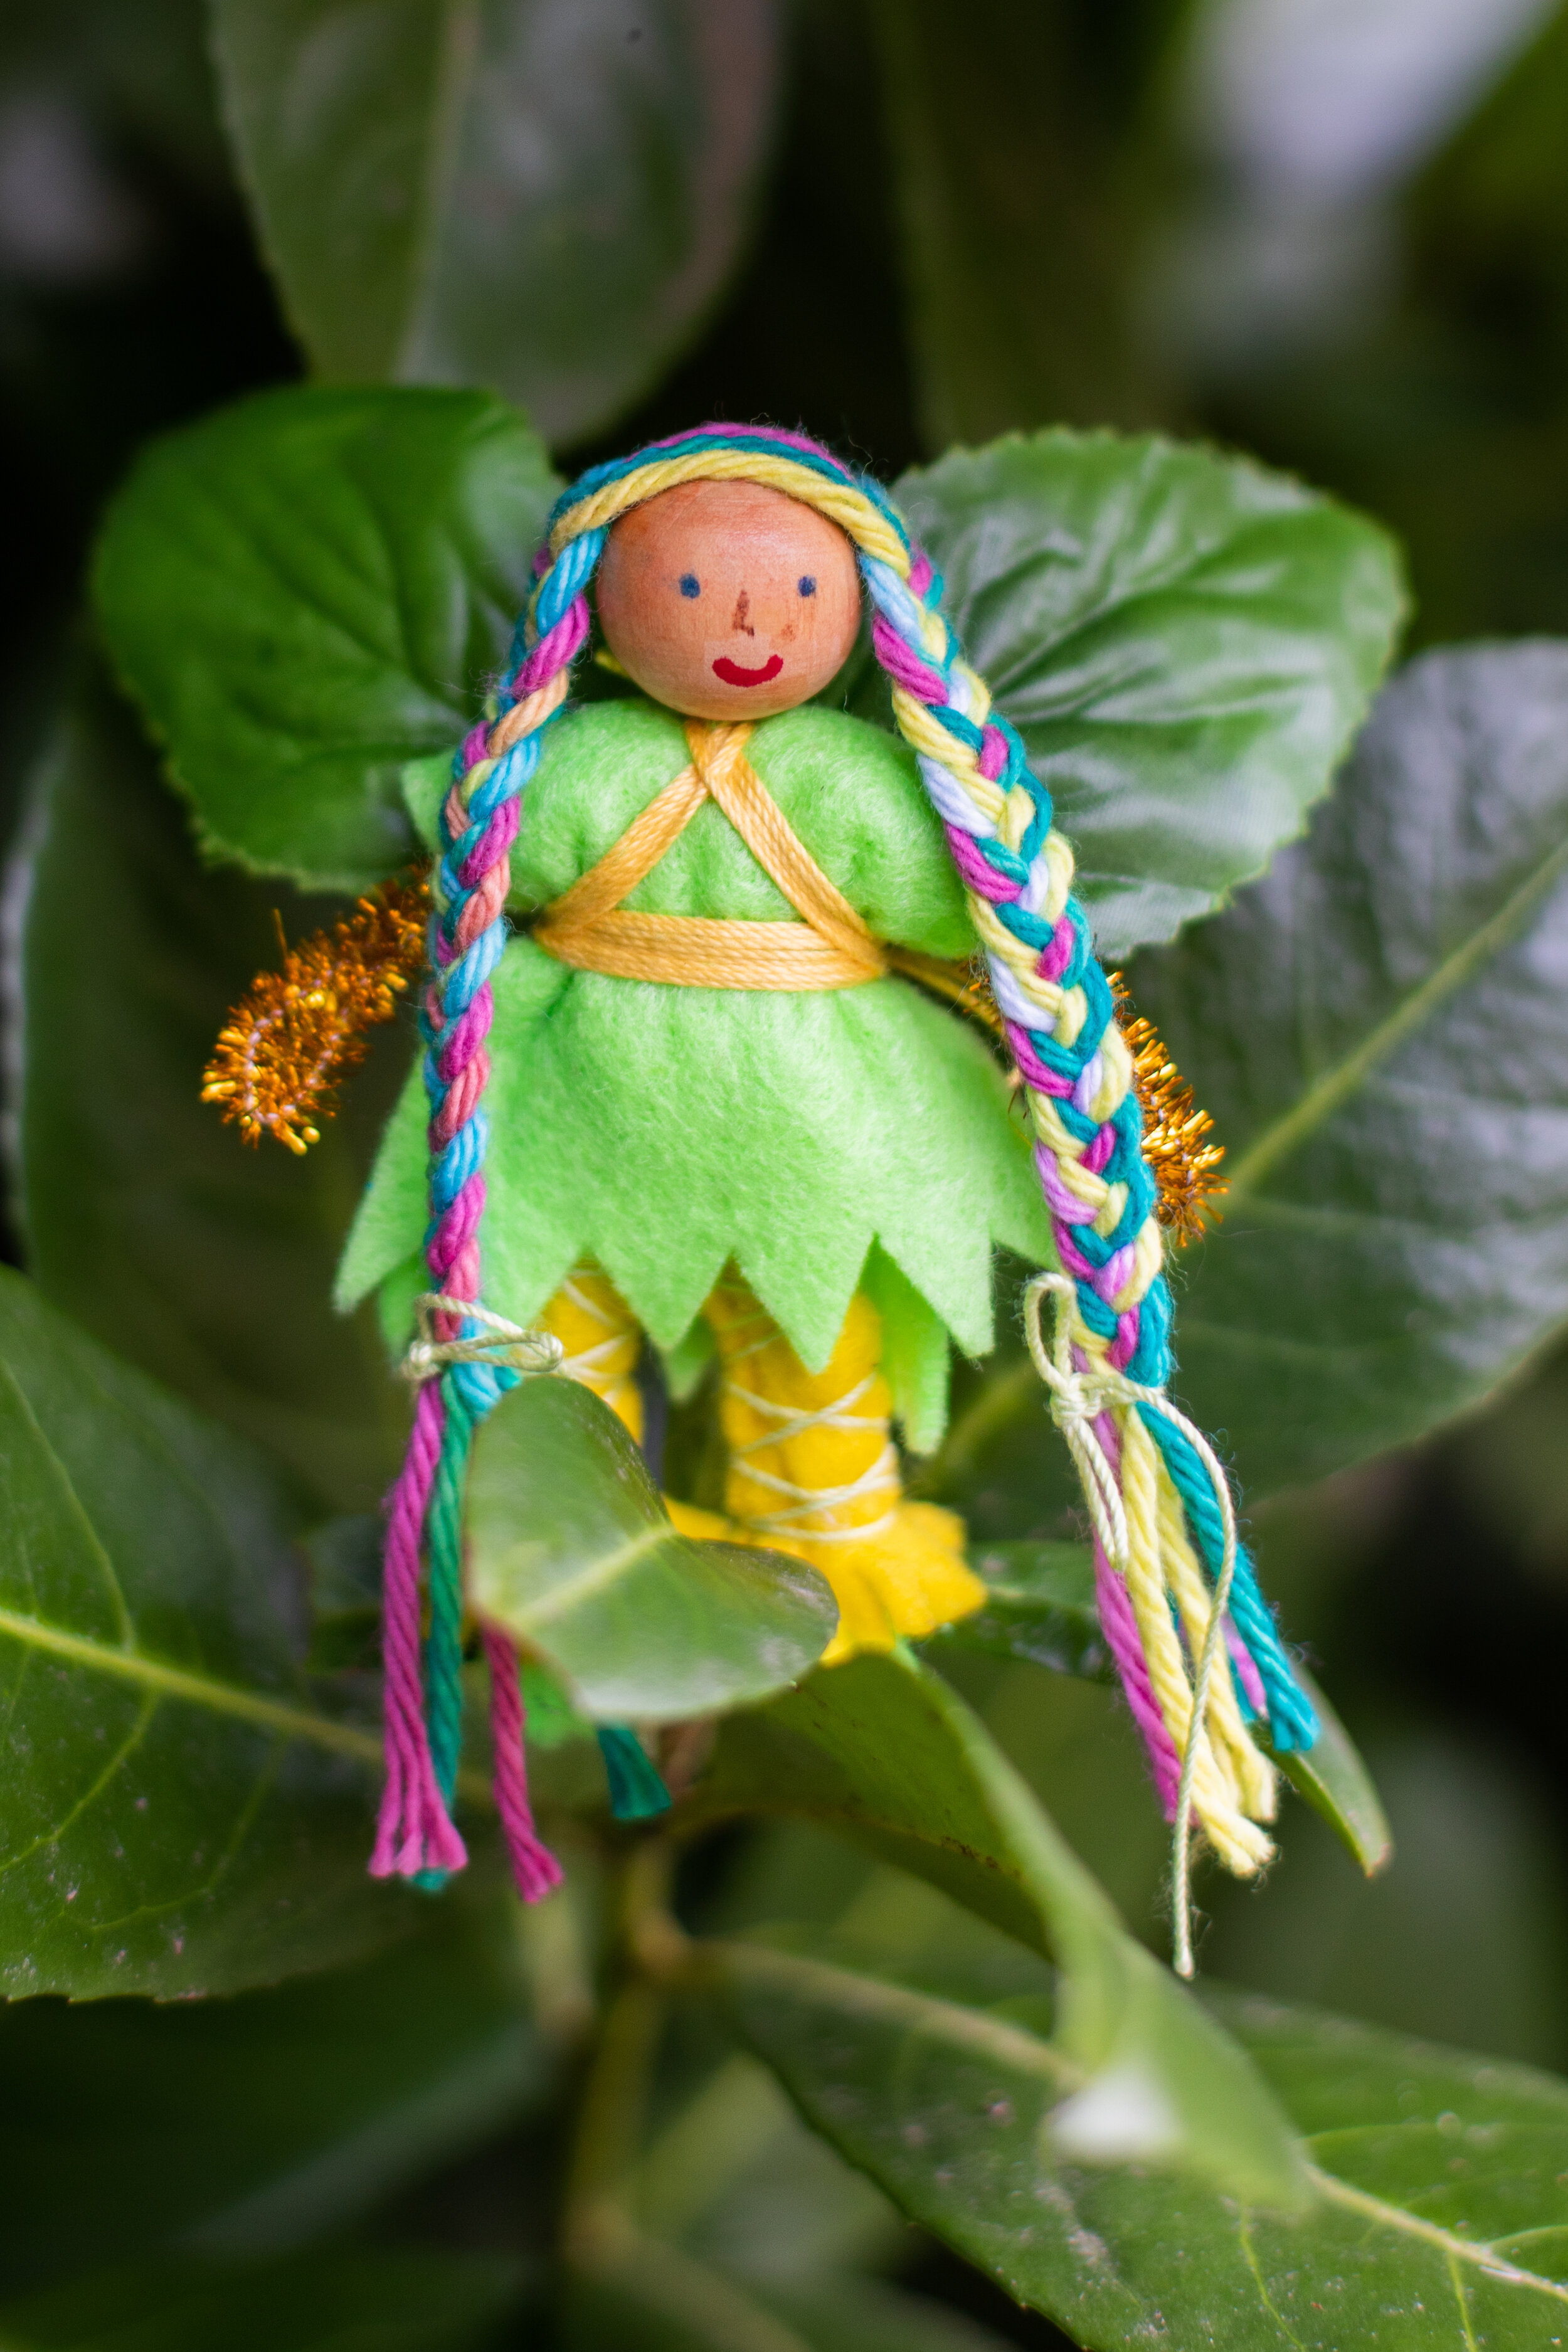
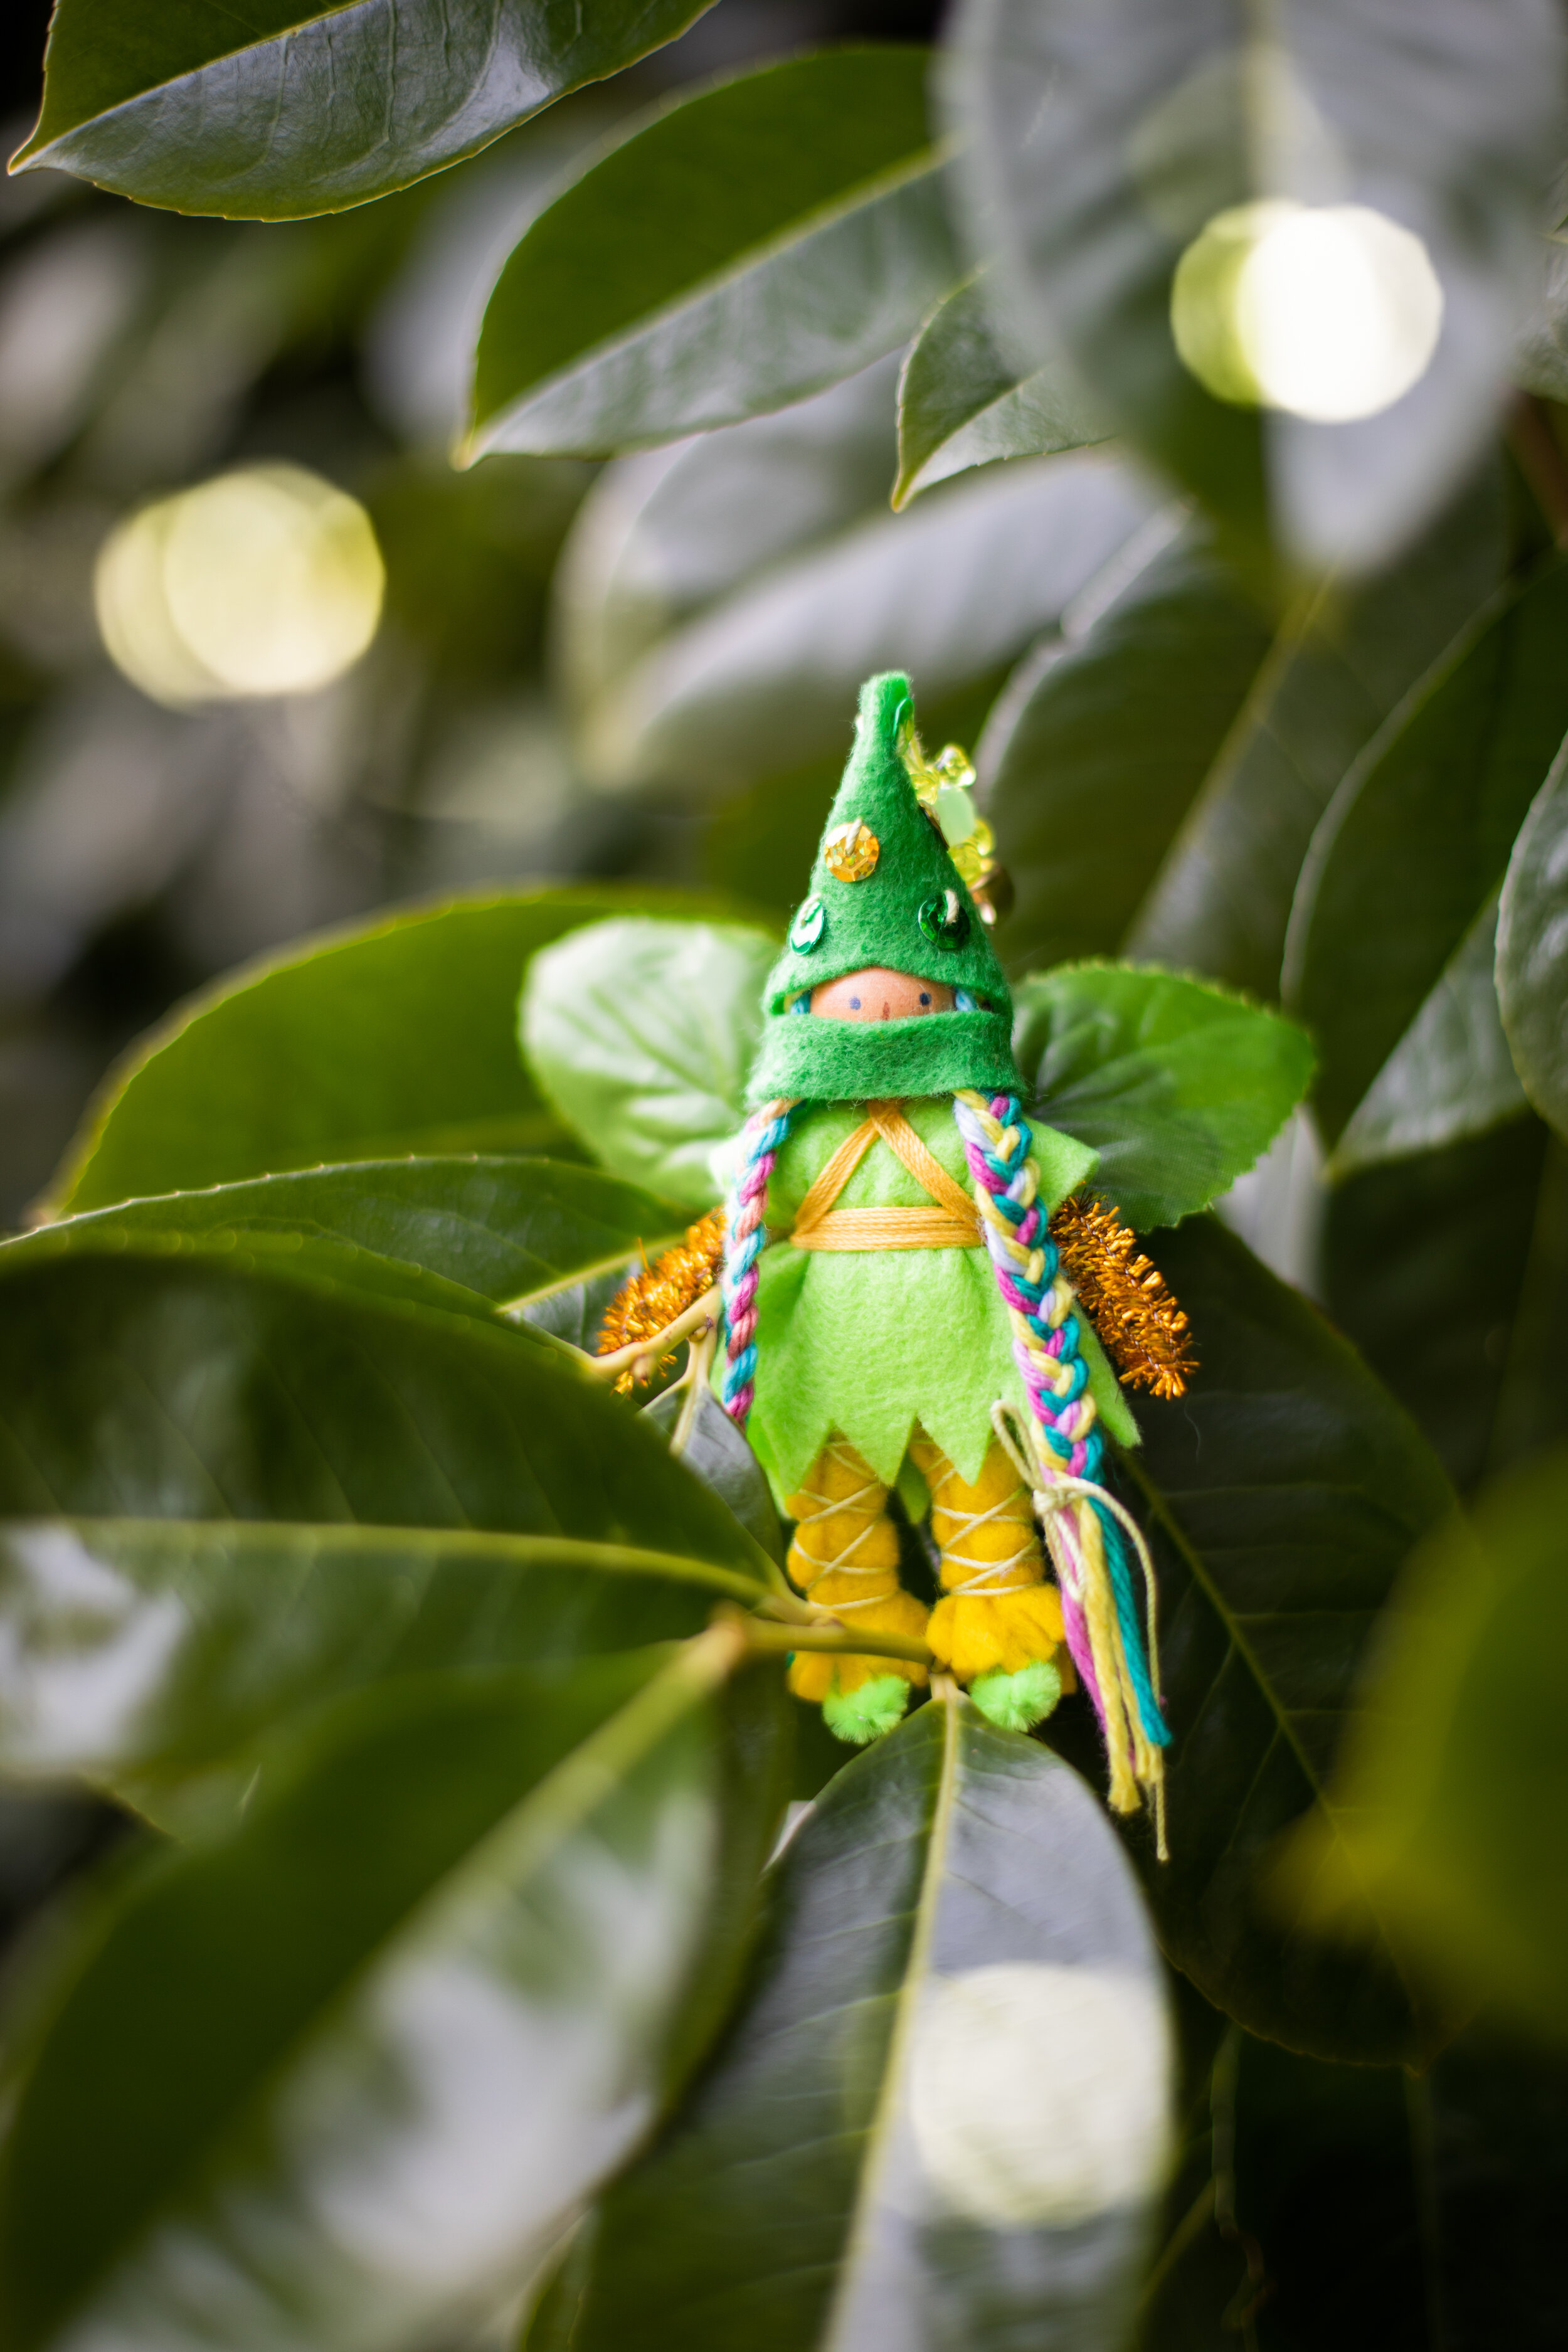
Leprechauns have diversified through the years. The jolly little folk hanging around rainbows have sought out adventure in recent years. And children are delighted to imagine all the ways that leprechauns may appear in modern times. Our first Forest Fairy Crafts book is perfectly suited to this creative craft. You can make any style of leprechaun by leaning into green and gold (especially sequins). This means that the ninja leprechaun can move through the world.

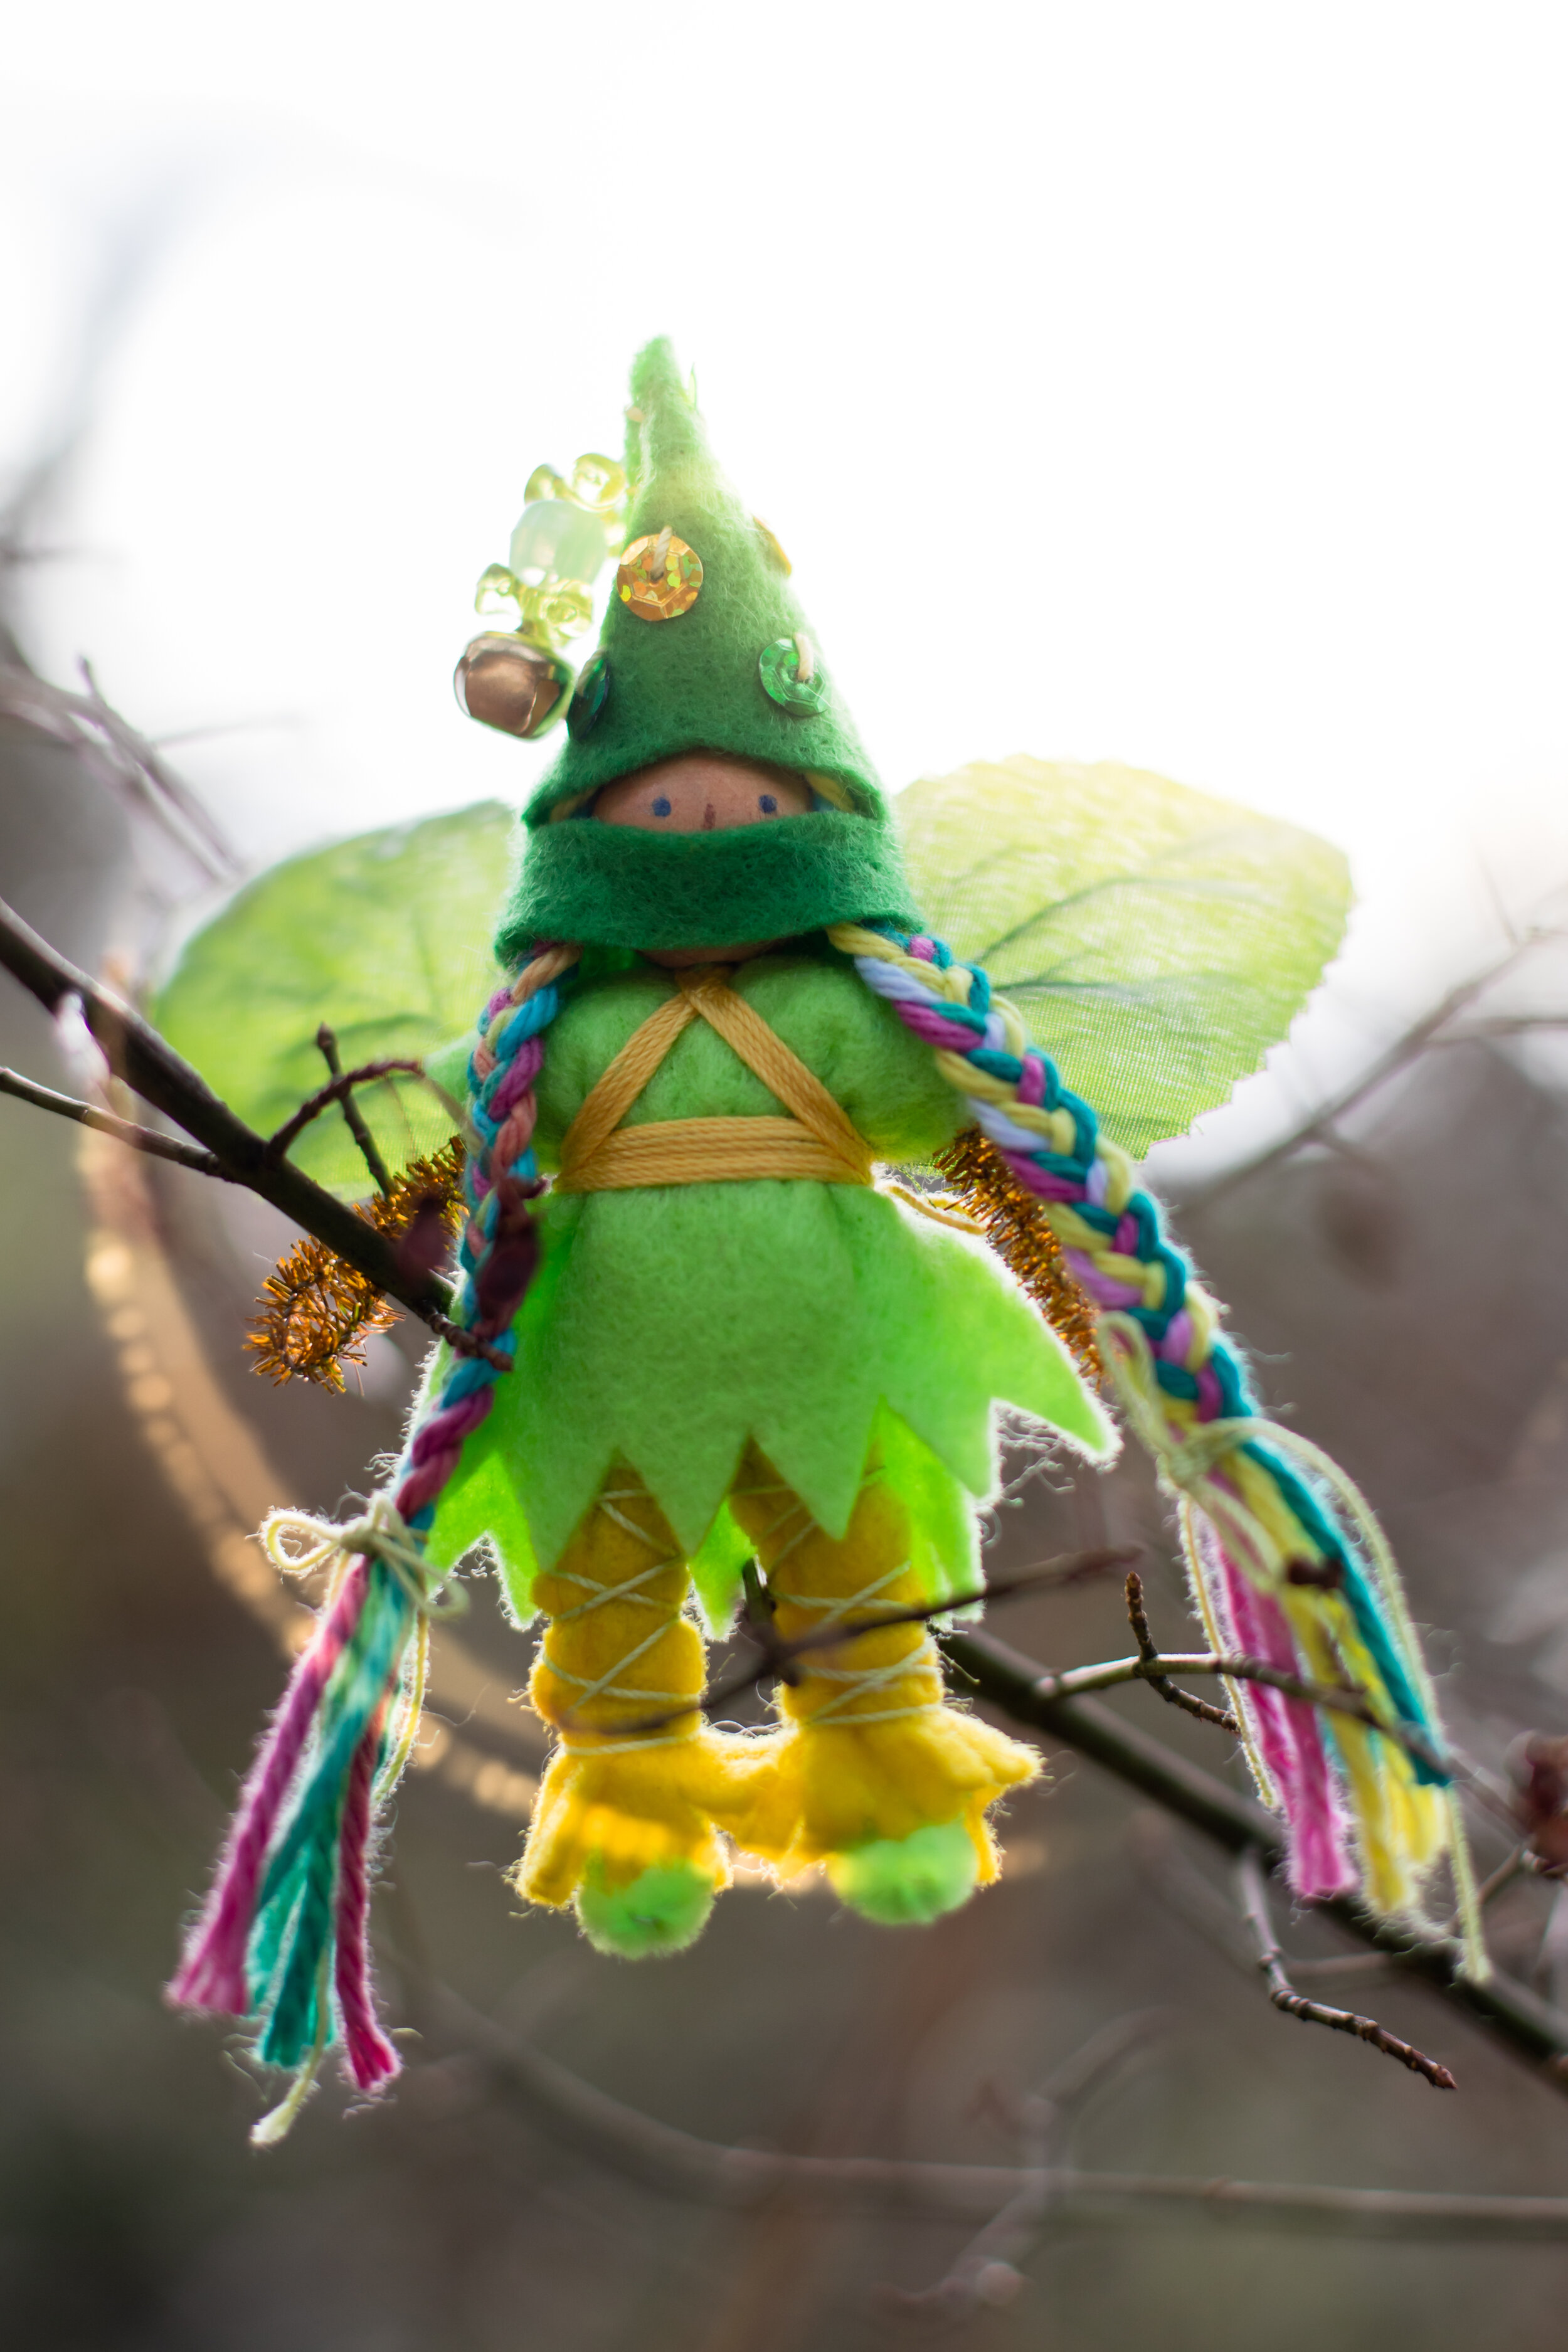
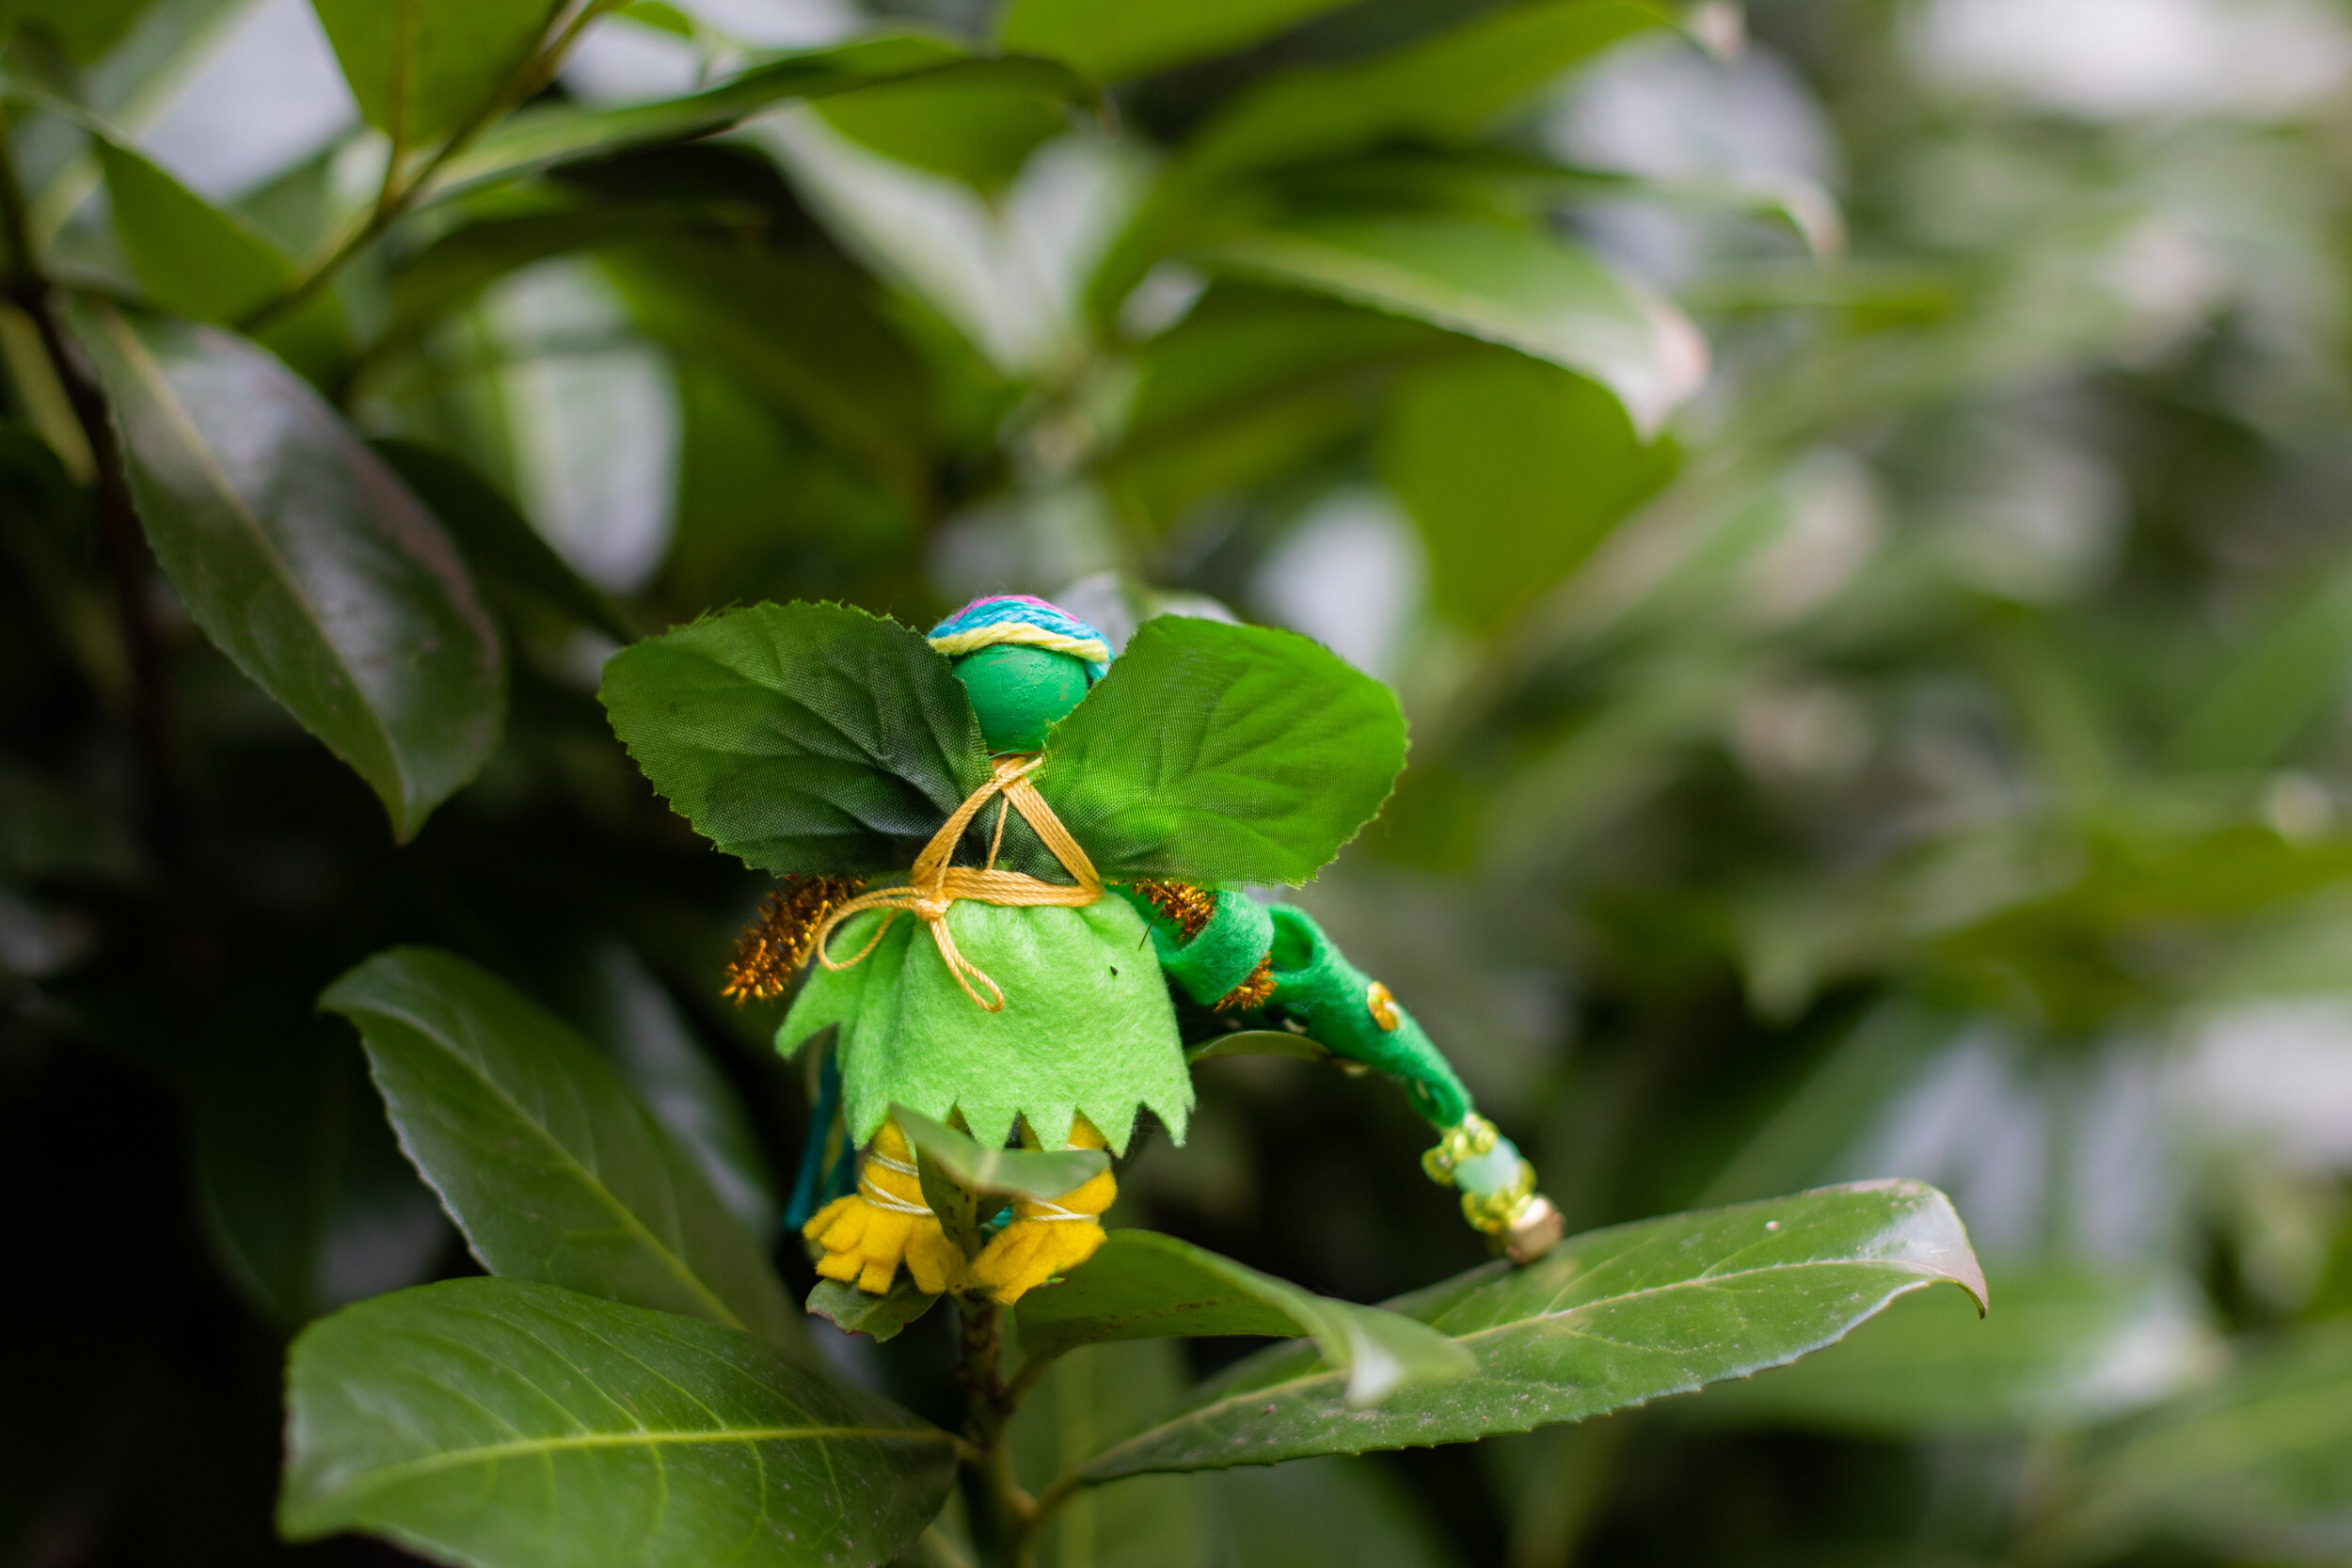
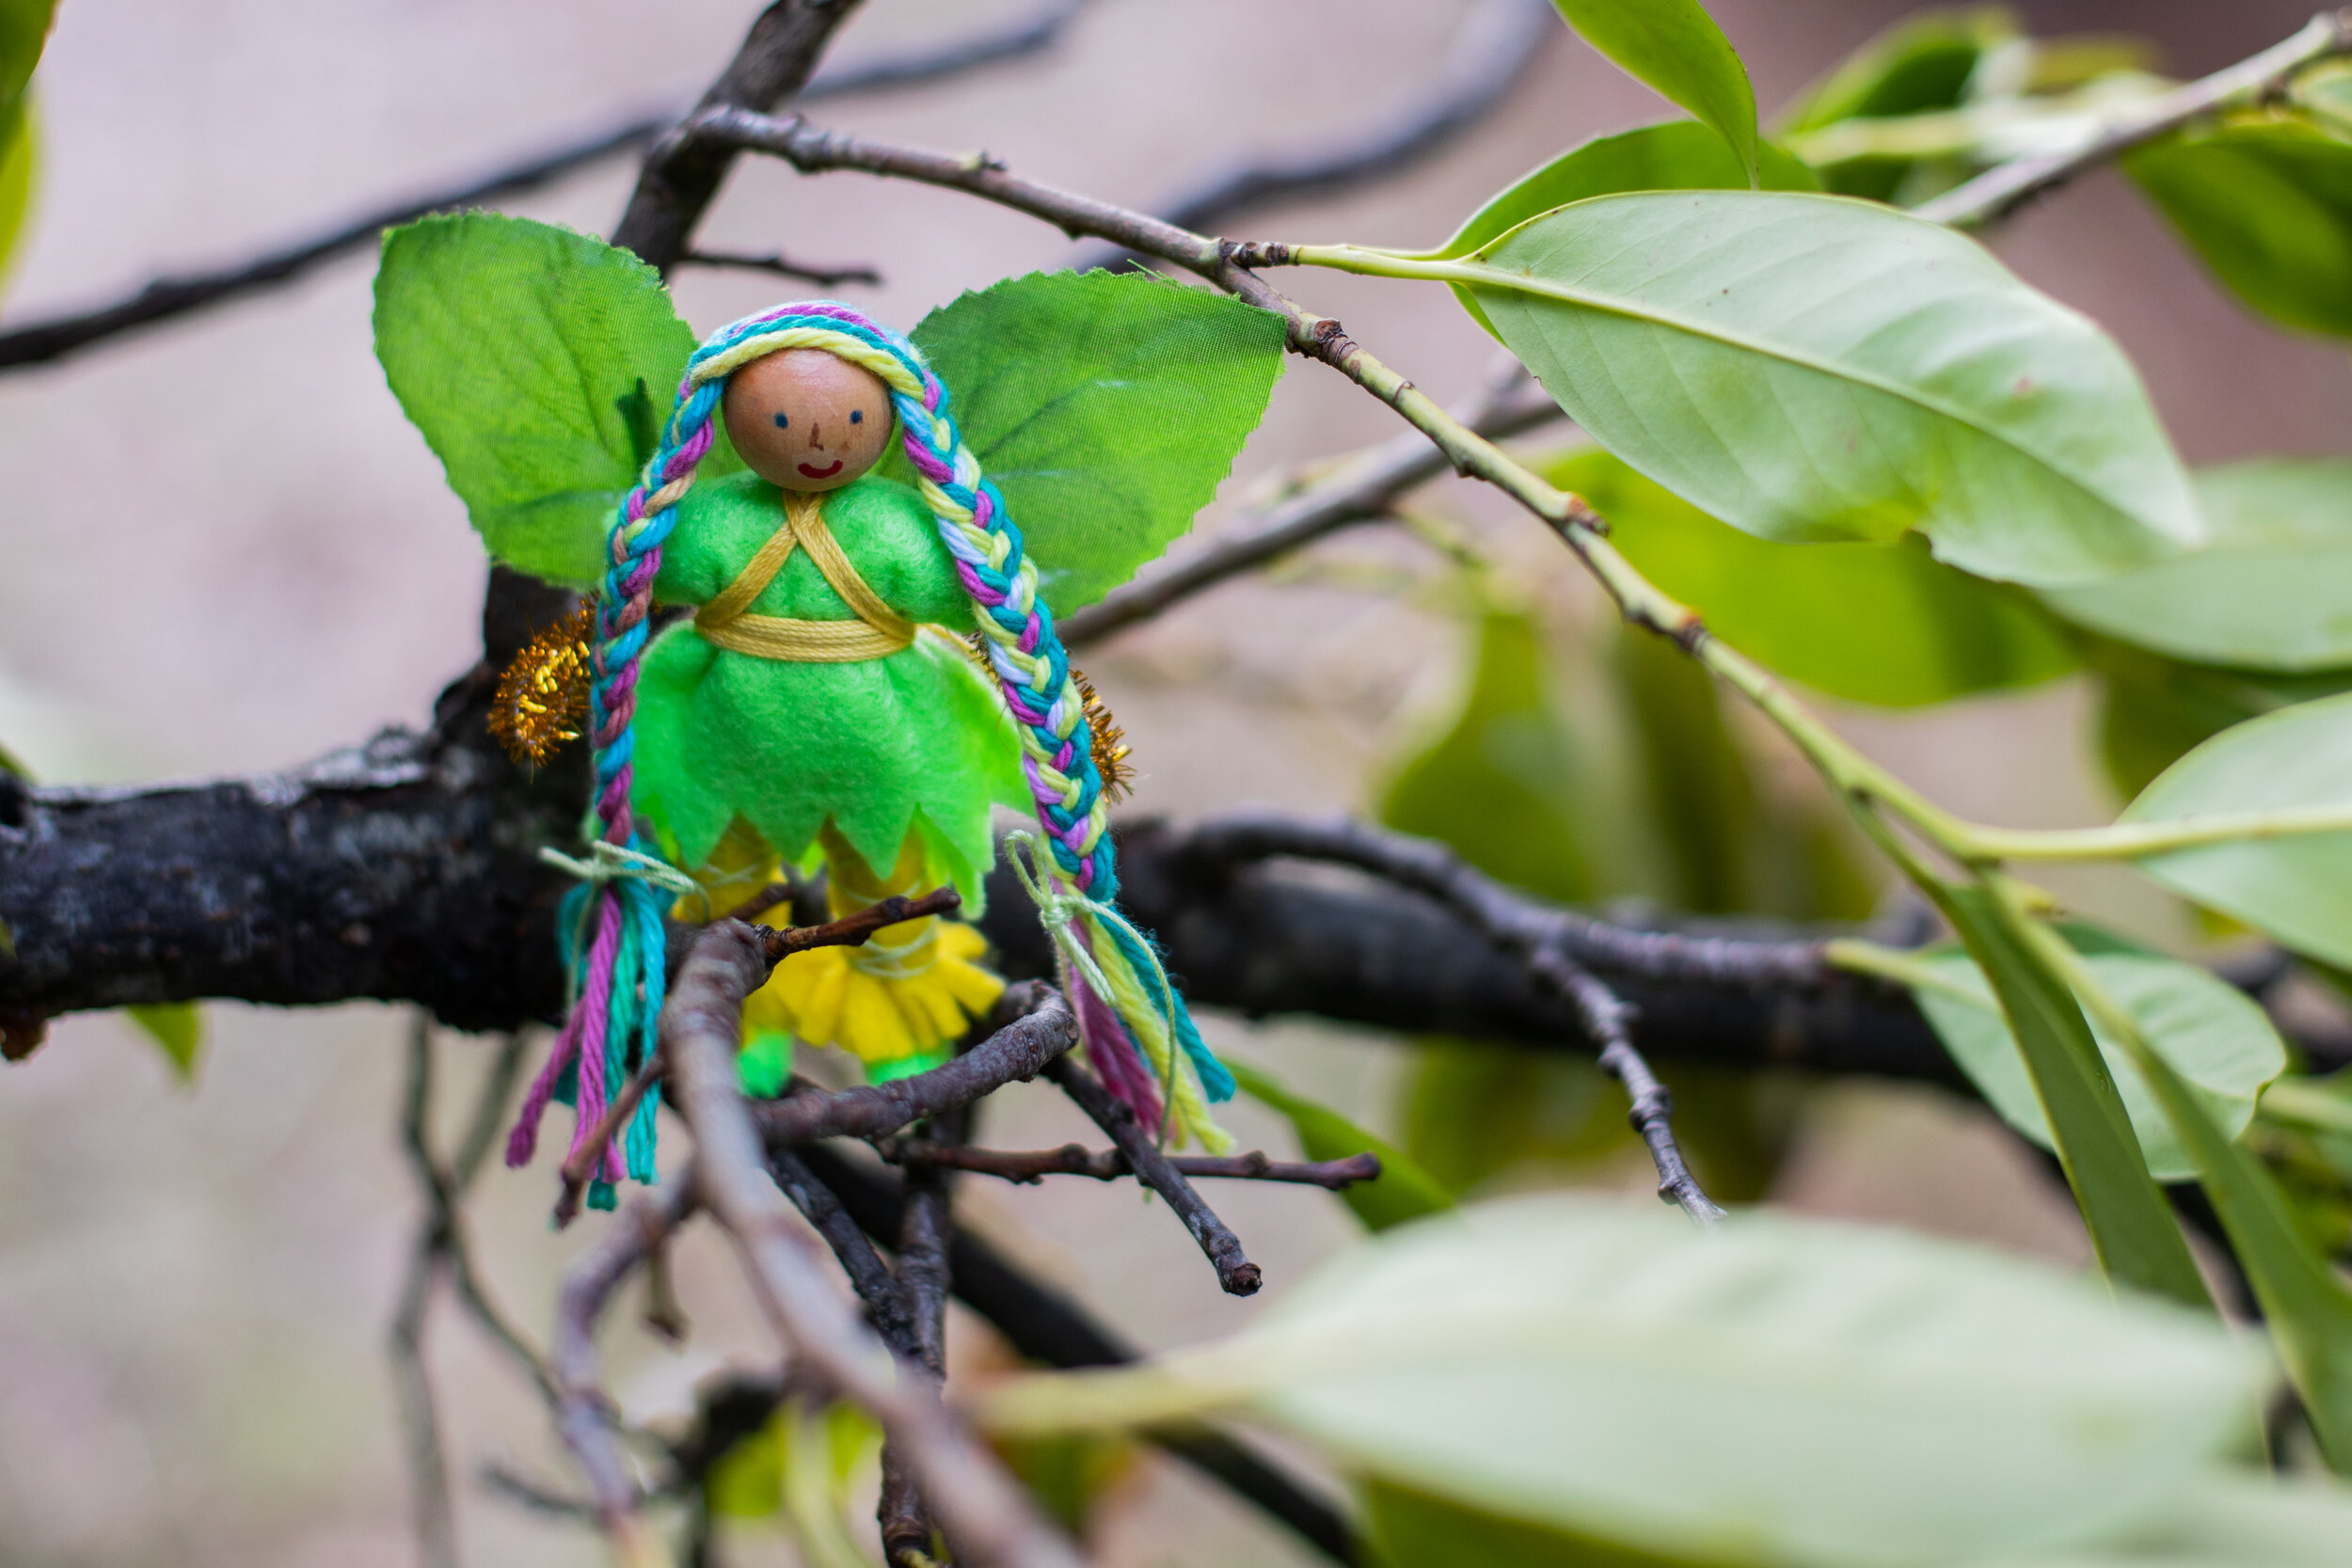
This little leprechaun was so fun to imagine with her rainbow hair and sparkly gold arms. I simply used the ninja pattern with different colors. This inspired me to wonder about a pirate leprechaun. Or a leprechaun mermaid? The possibilities are endless.
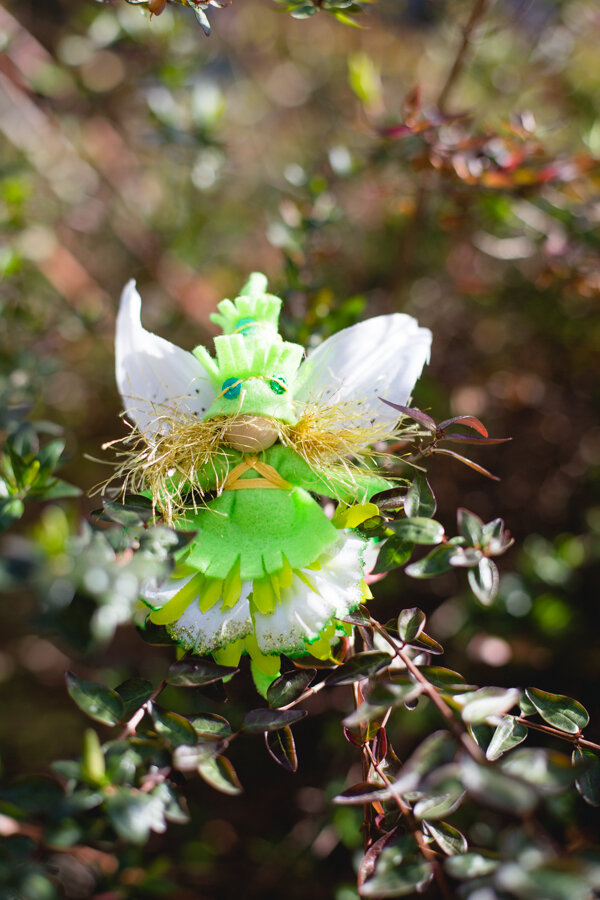
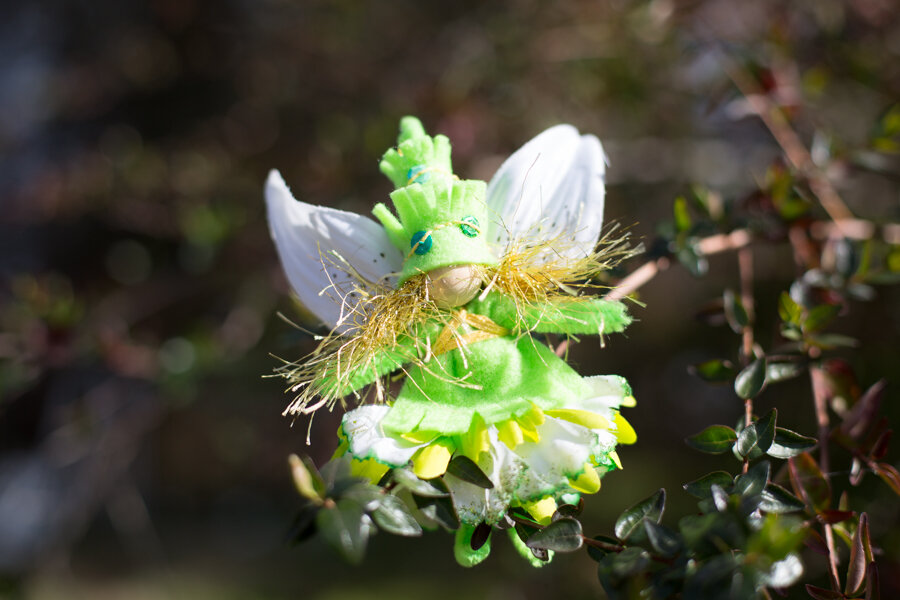
Of course, a fairy pattern can easily be made into a leprechaun. And it’s fun to celebrate gold and green, especially if you can find yarn threaded with gold or, like this fairy’s hair, a gold eyelash yarn.

So fun how they sparkle!
Of course, the book has an official leprechaun as well.

A fun way to add extra magic to the leprechauns world is to paint little pebbles gold (or simply pretend they’re gold). After all, couldn’t leprechauns use a magic spell to disguise their gold while on an adventure?

Photo credit C&T Publishing
I could imagine games with leprechauns that you create together. You could use larger pieces (or sew two pieces of felt together to show “gold”. Then hide them around the house similar to an Easter Egg hunt. Make your leprechaun a leprechaun home. I have it on good authority that leprechauns love new homes far more than leprechaun traps. Build a leprechaun town!
With the Magical Forest Fairy Craft Through the Seasons book, you can create any of the patterns with gold/green themes. You could make beanbags with sparkly sequins that could then be gently tossed onto chosen targets, such as into a bucket or onto a felt square.
Then write a story about your leprechaun(s). And draw a picture or two of them. You could write about their adventures when they met children for the first time, or what their home is like in Leprechaun-Town or what life is like for leprechauns. Honestly, after you make a leprechaun or two or three, the children tend to inspire their own games and ideas. What can you create together?
We also made Leprechaun babies. The baby pattern is in the first Forest Fairy Crafts book. And this post shows how to make the cute little hat.

So many magical ways to bring Leprechaun magic into your home. We hope that all the good luck of the Leprechauns finds you and your family!
For more Leprechaun inspiration and activities, visit these posts:
Happy Saint Patrick’s Day!

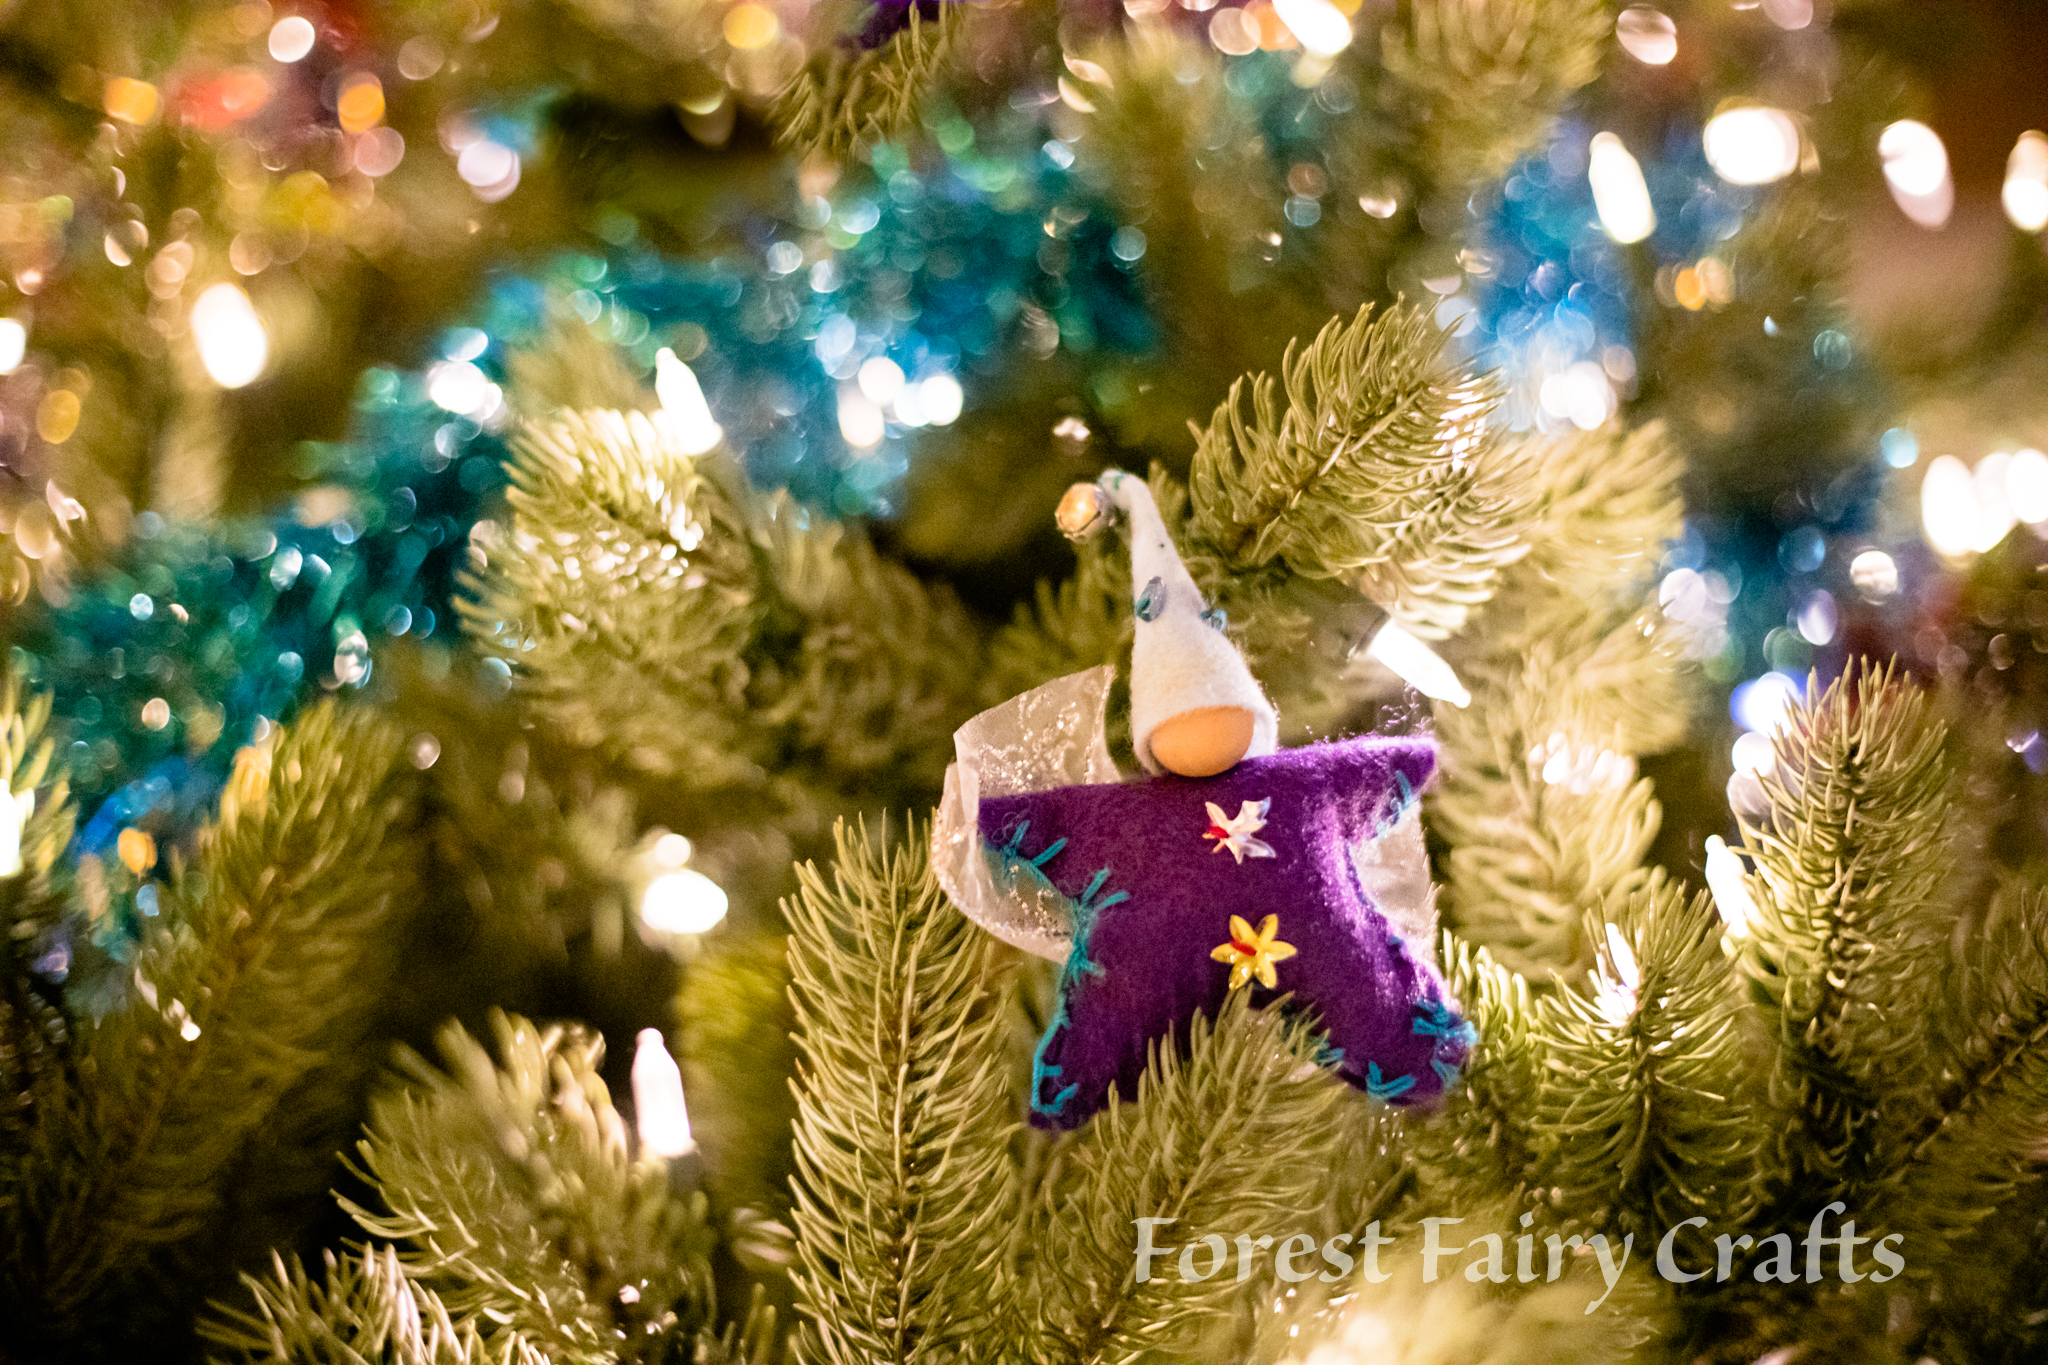
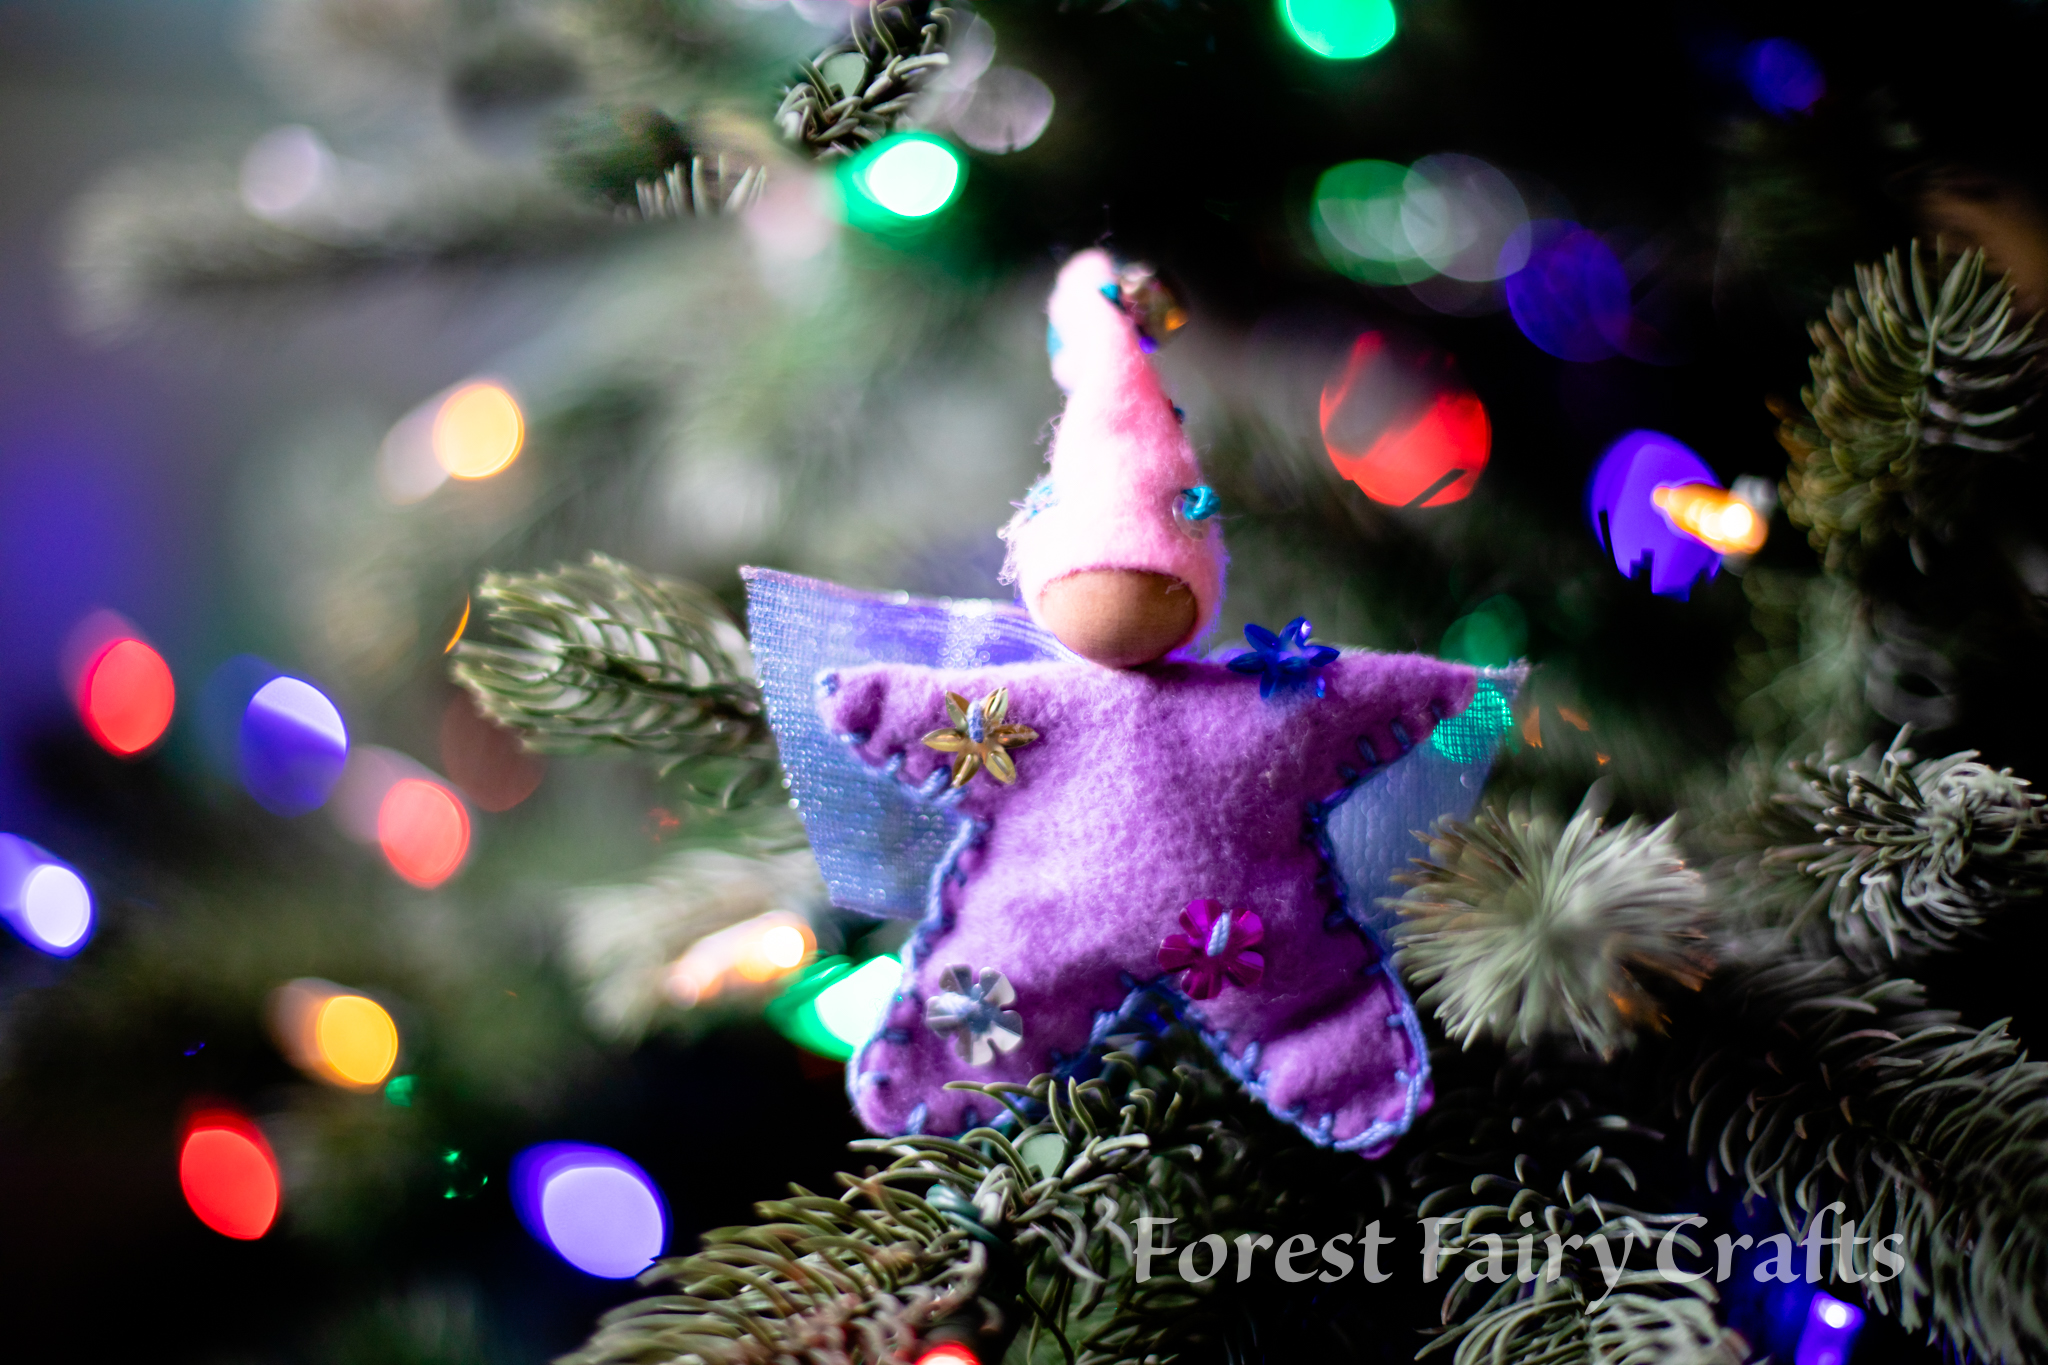
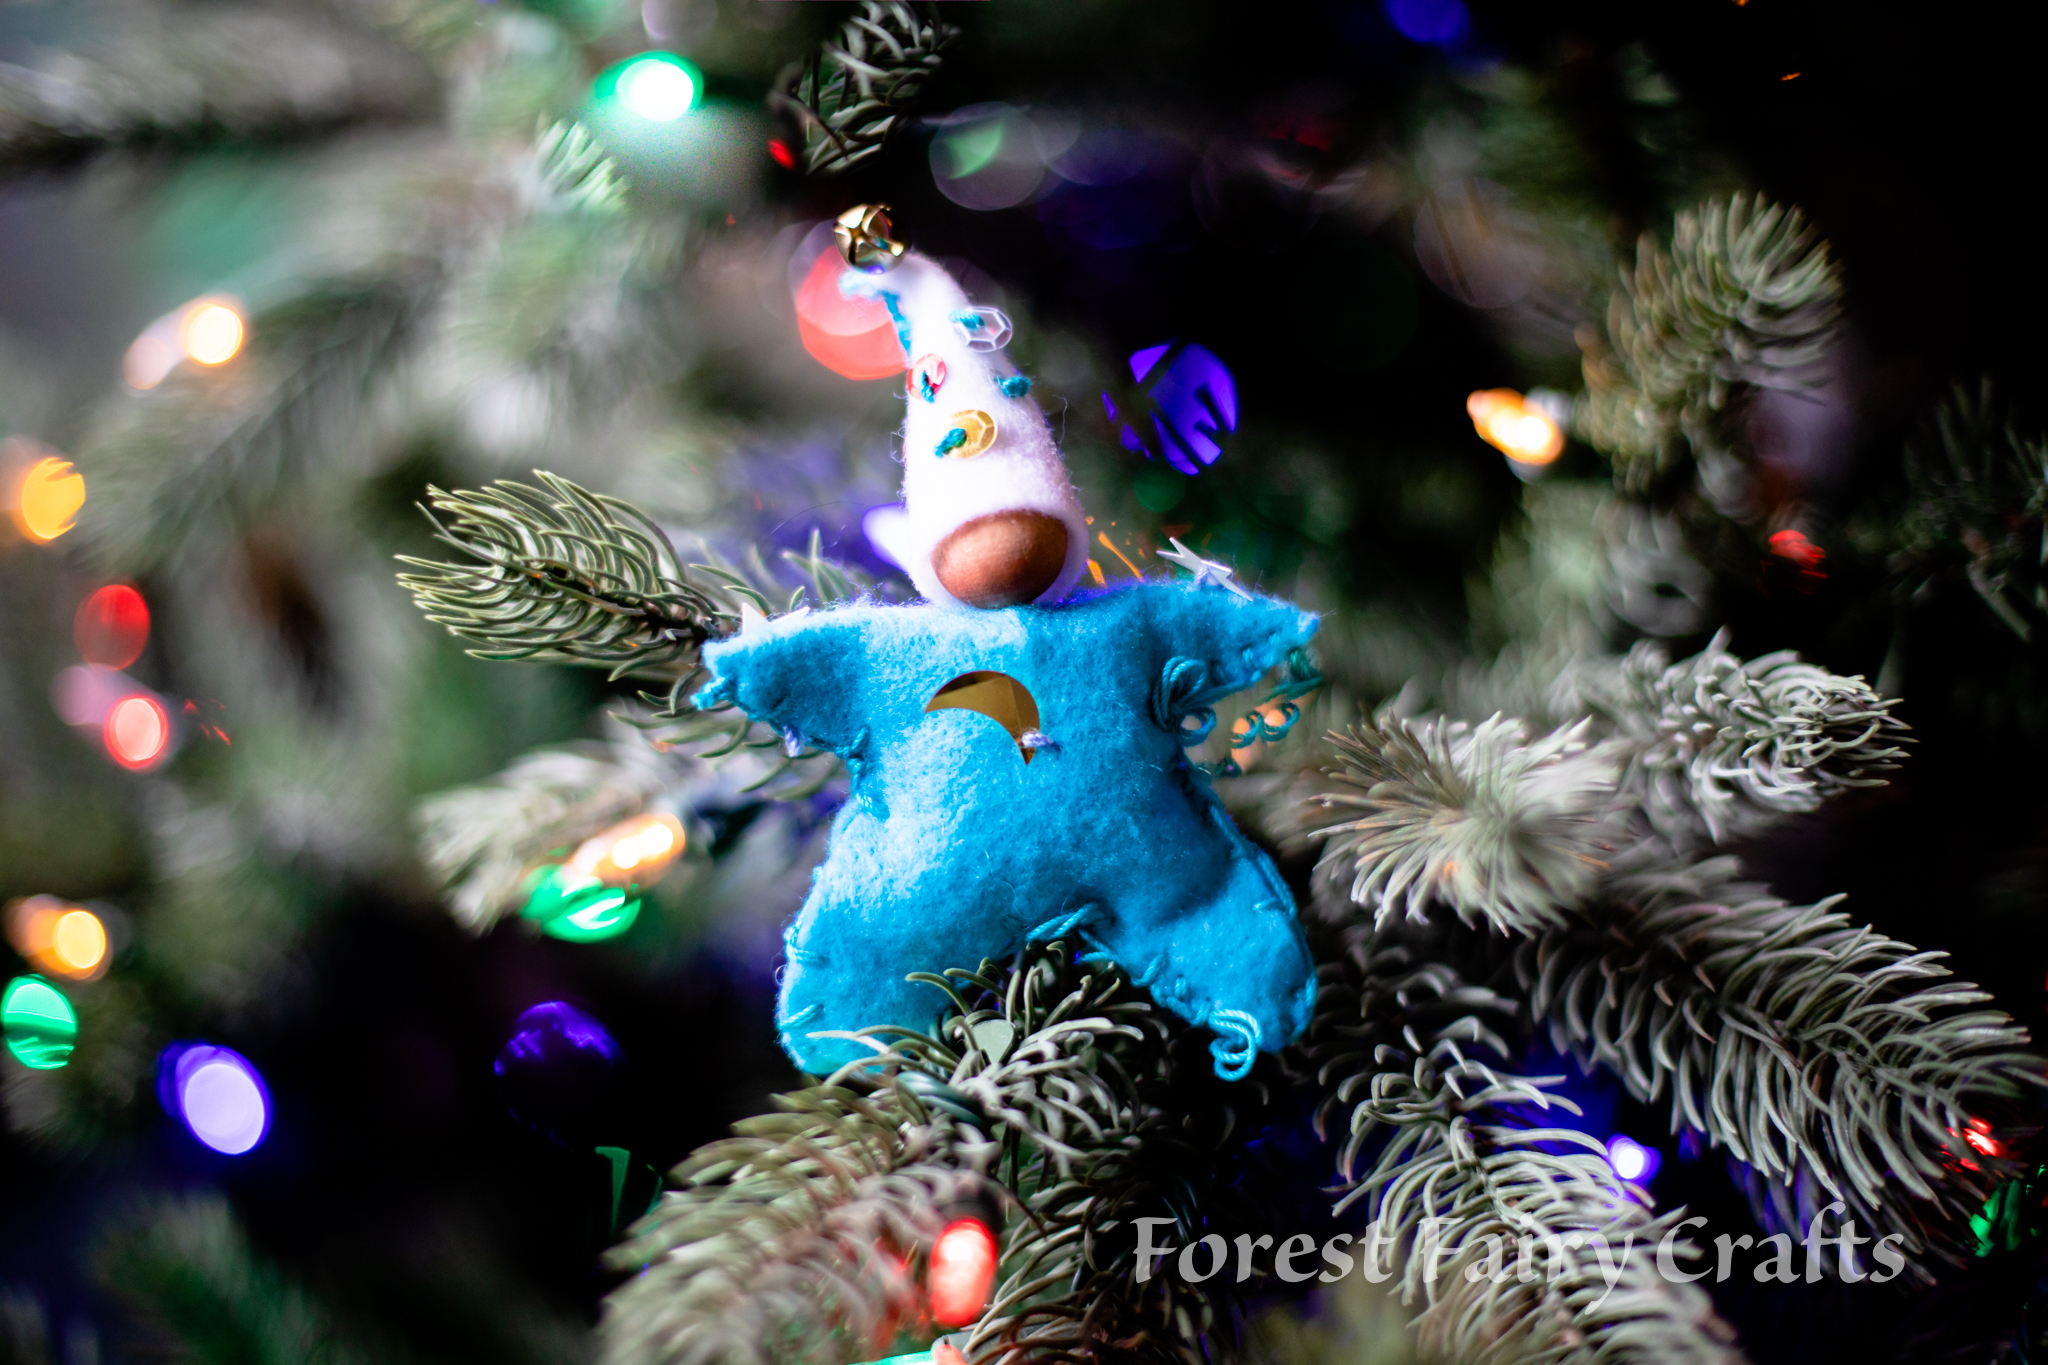
Star Babies made by Children
Star Babies made by Children using Forest Fairy Crafts Book by Lenka Vodicka-Paredes and Asia Currie | Christmas Ornaments and Decorations with Fairy Dolls and Felt Crafts
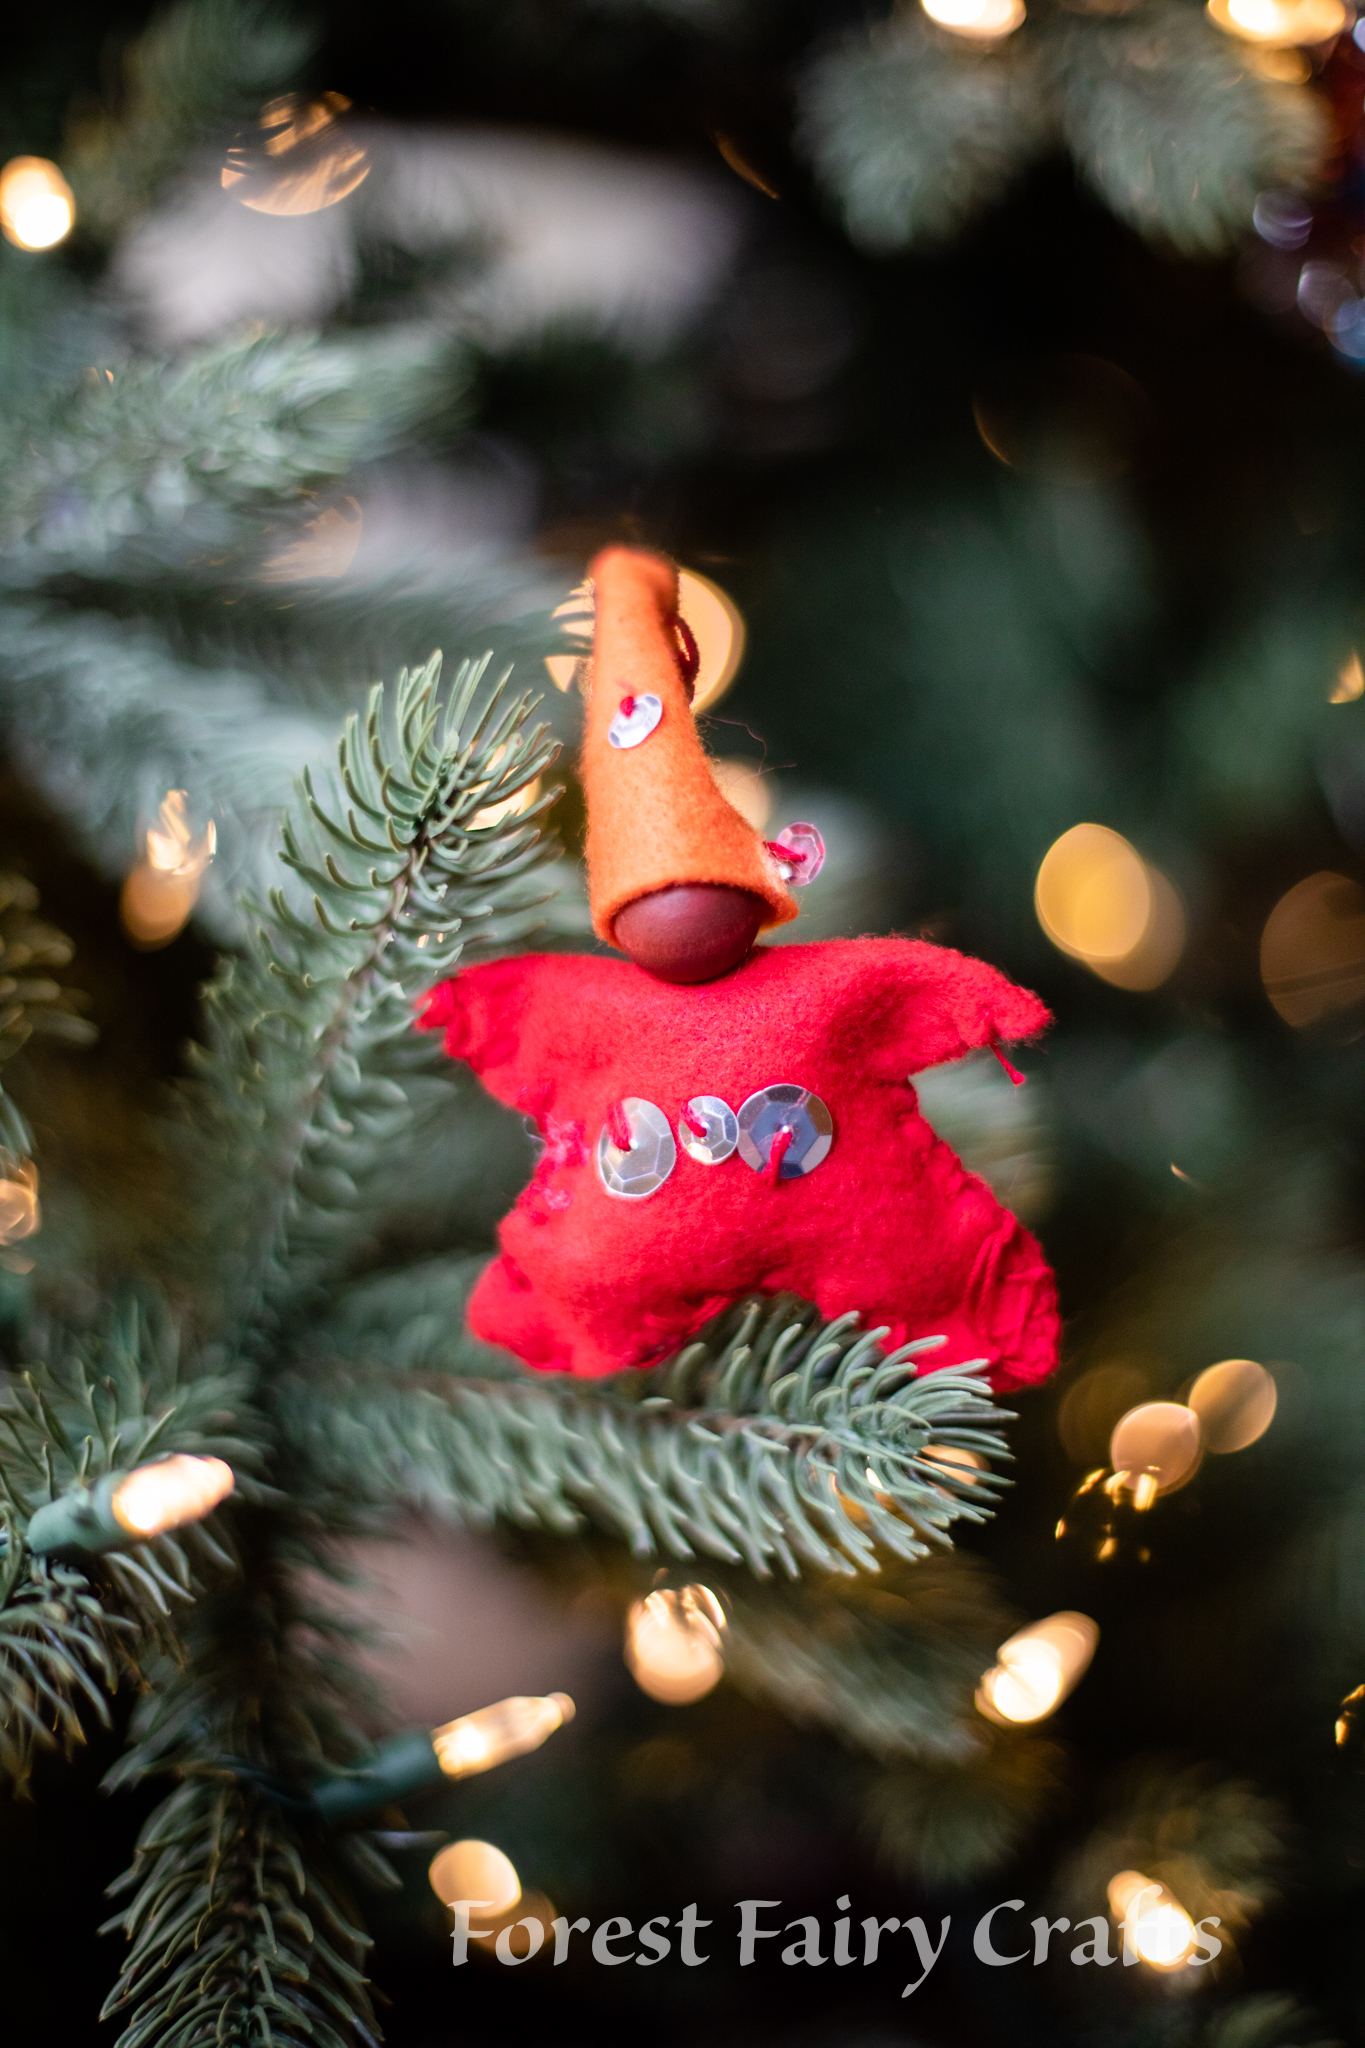
This time of year is all about the magic of making and giving. The Star Babies are a delight to make and share. They are perfect ornaments or decorations on a shelf. Over the years, we’ve made hundreds of star babies with children. They enchant children. This year, Asia brought a new technique to class. And the kids loved it!
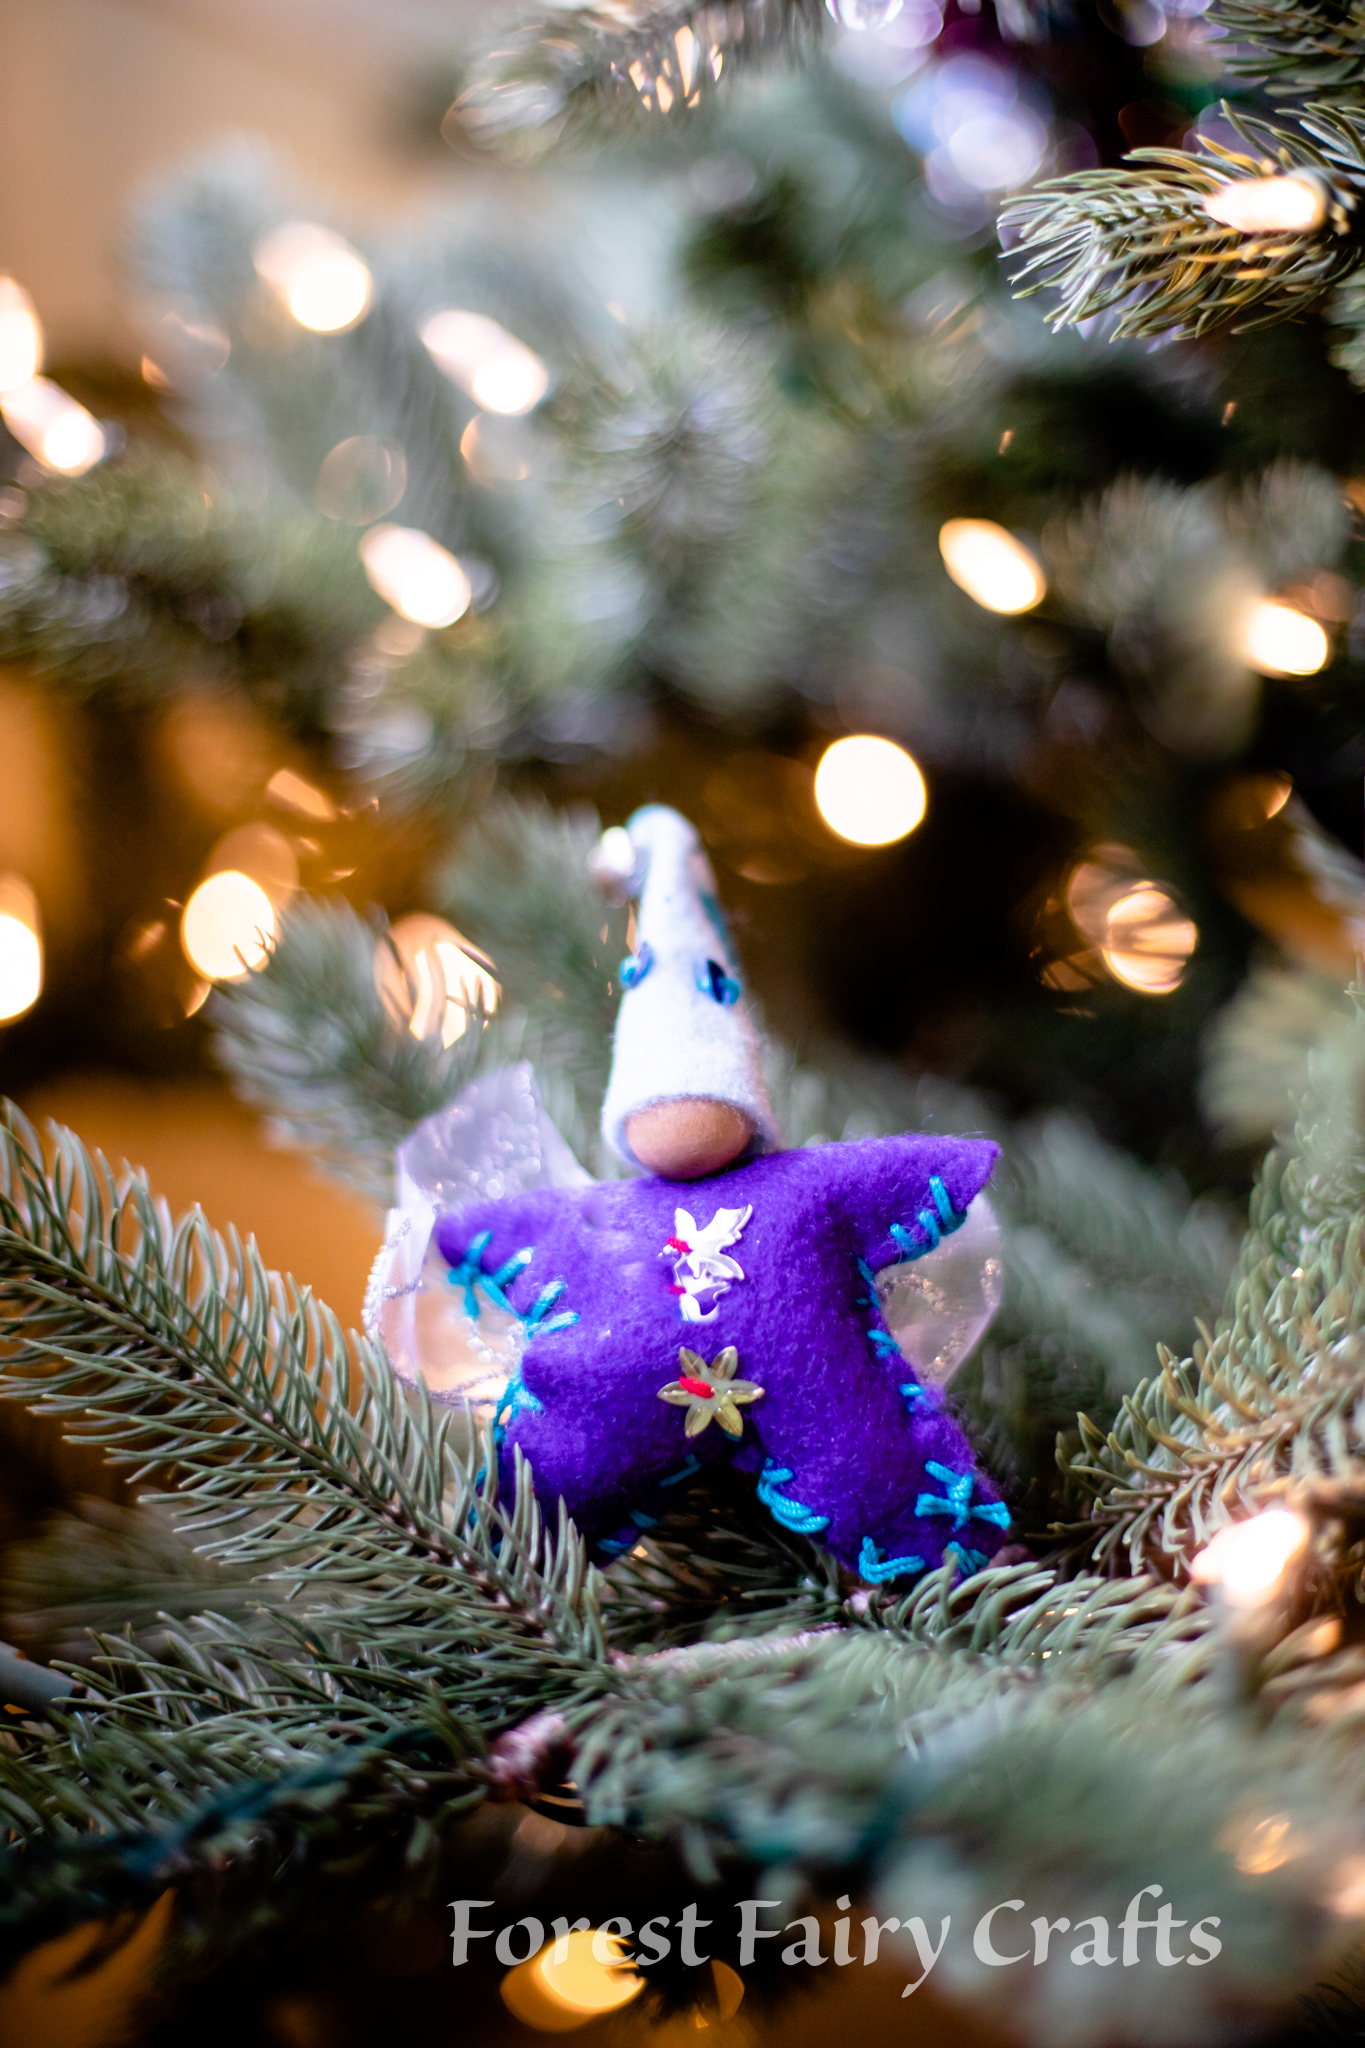
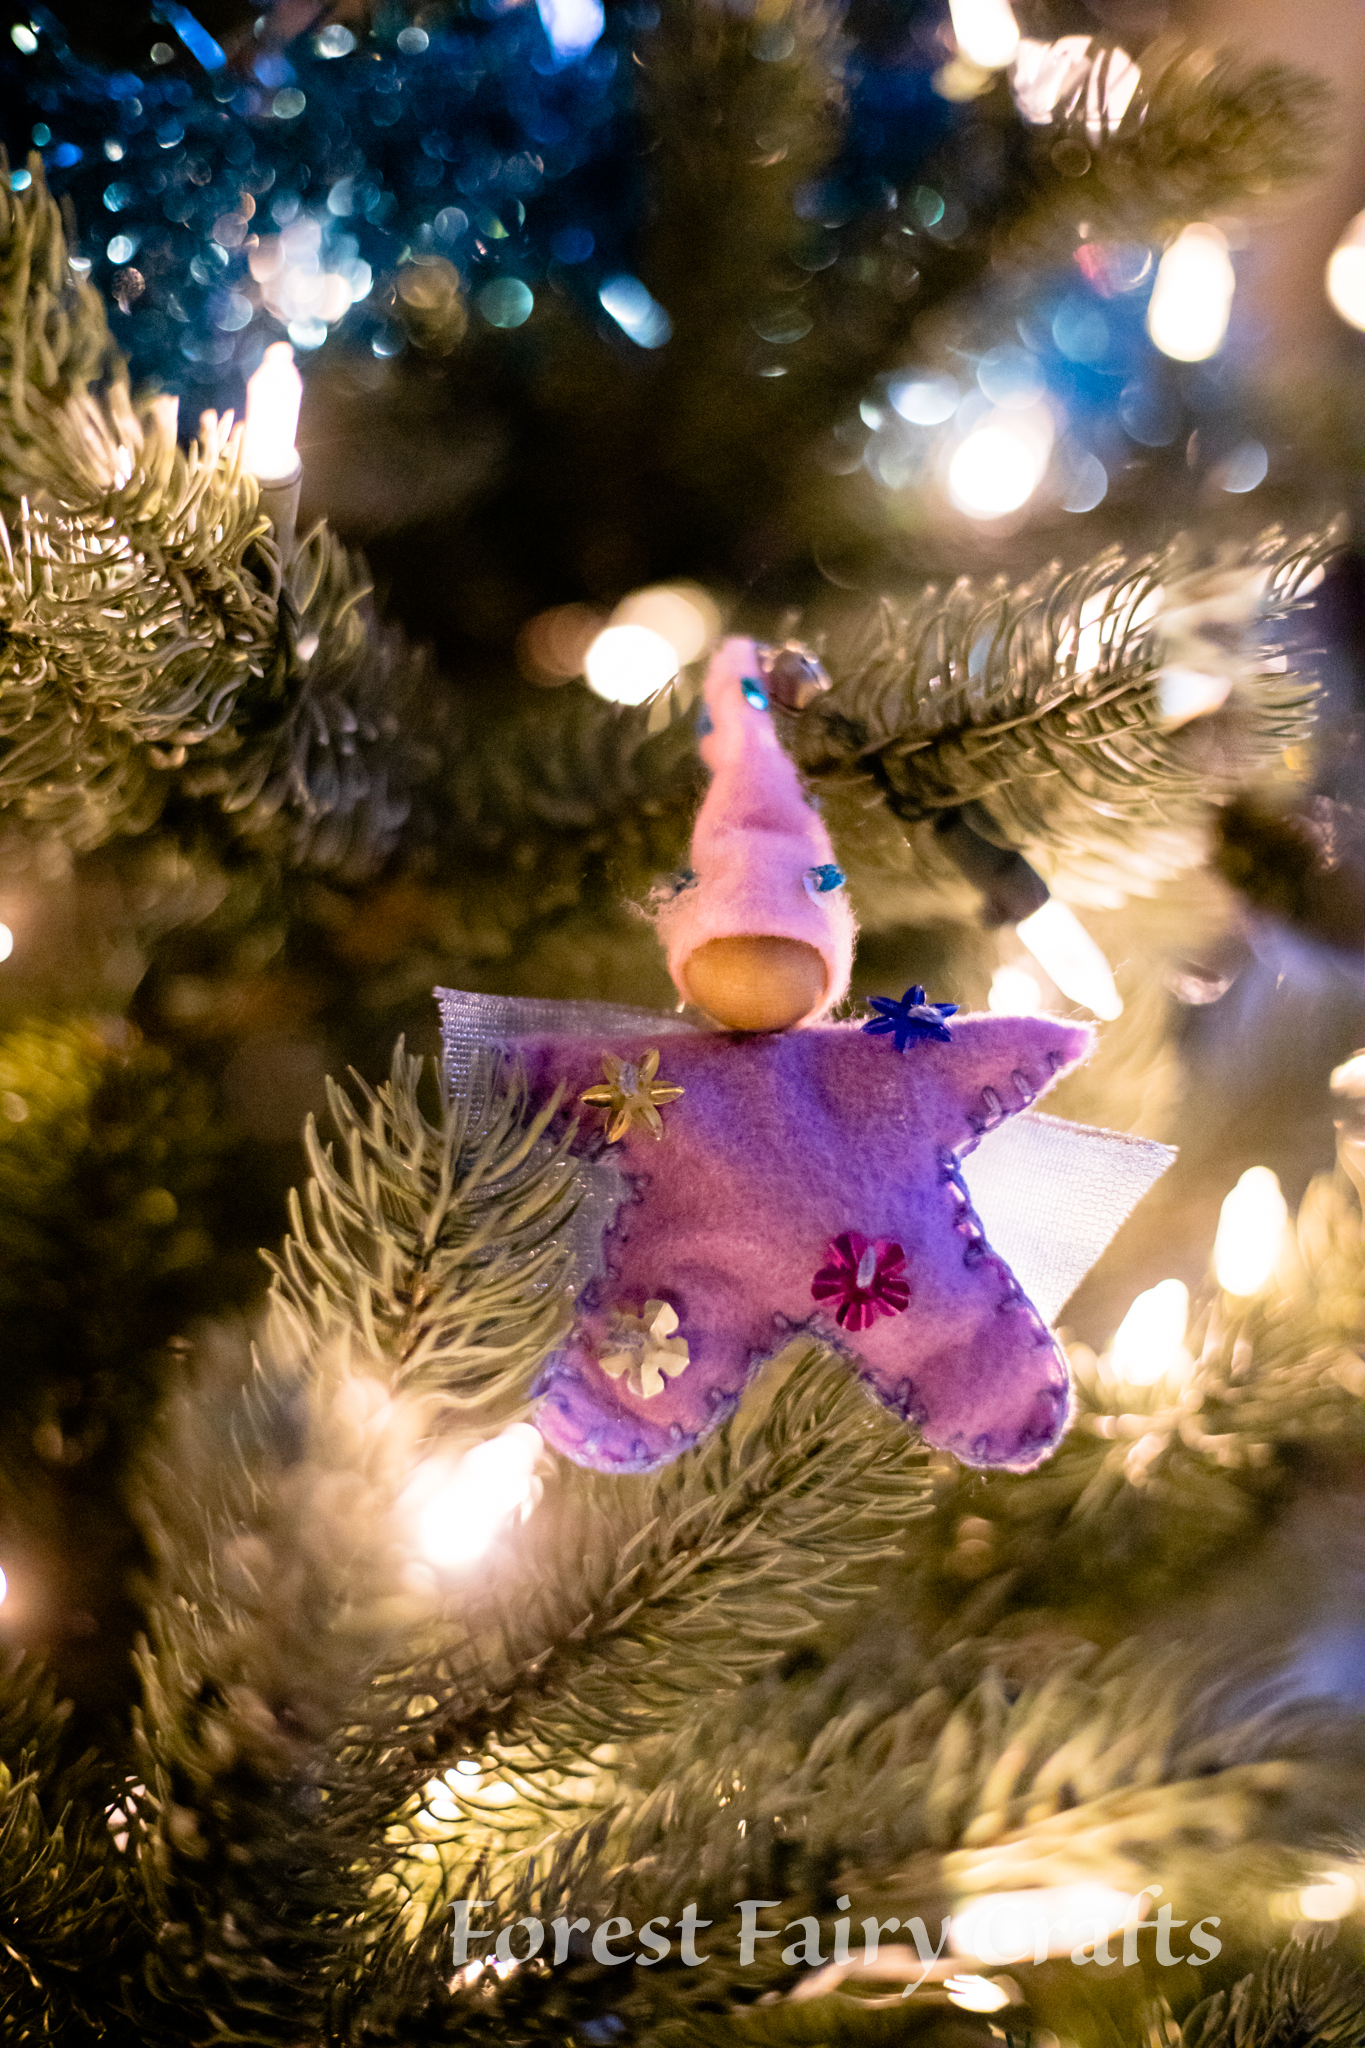

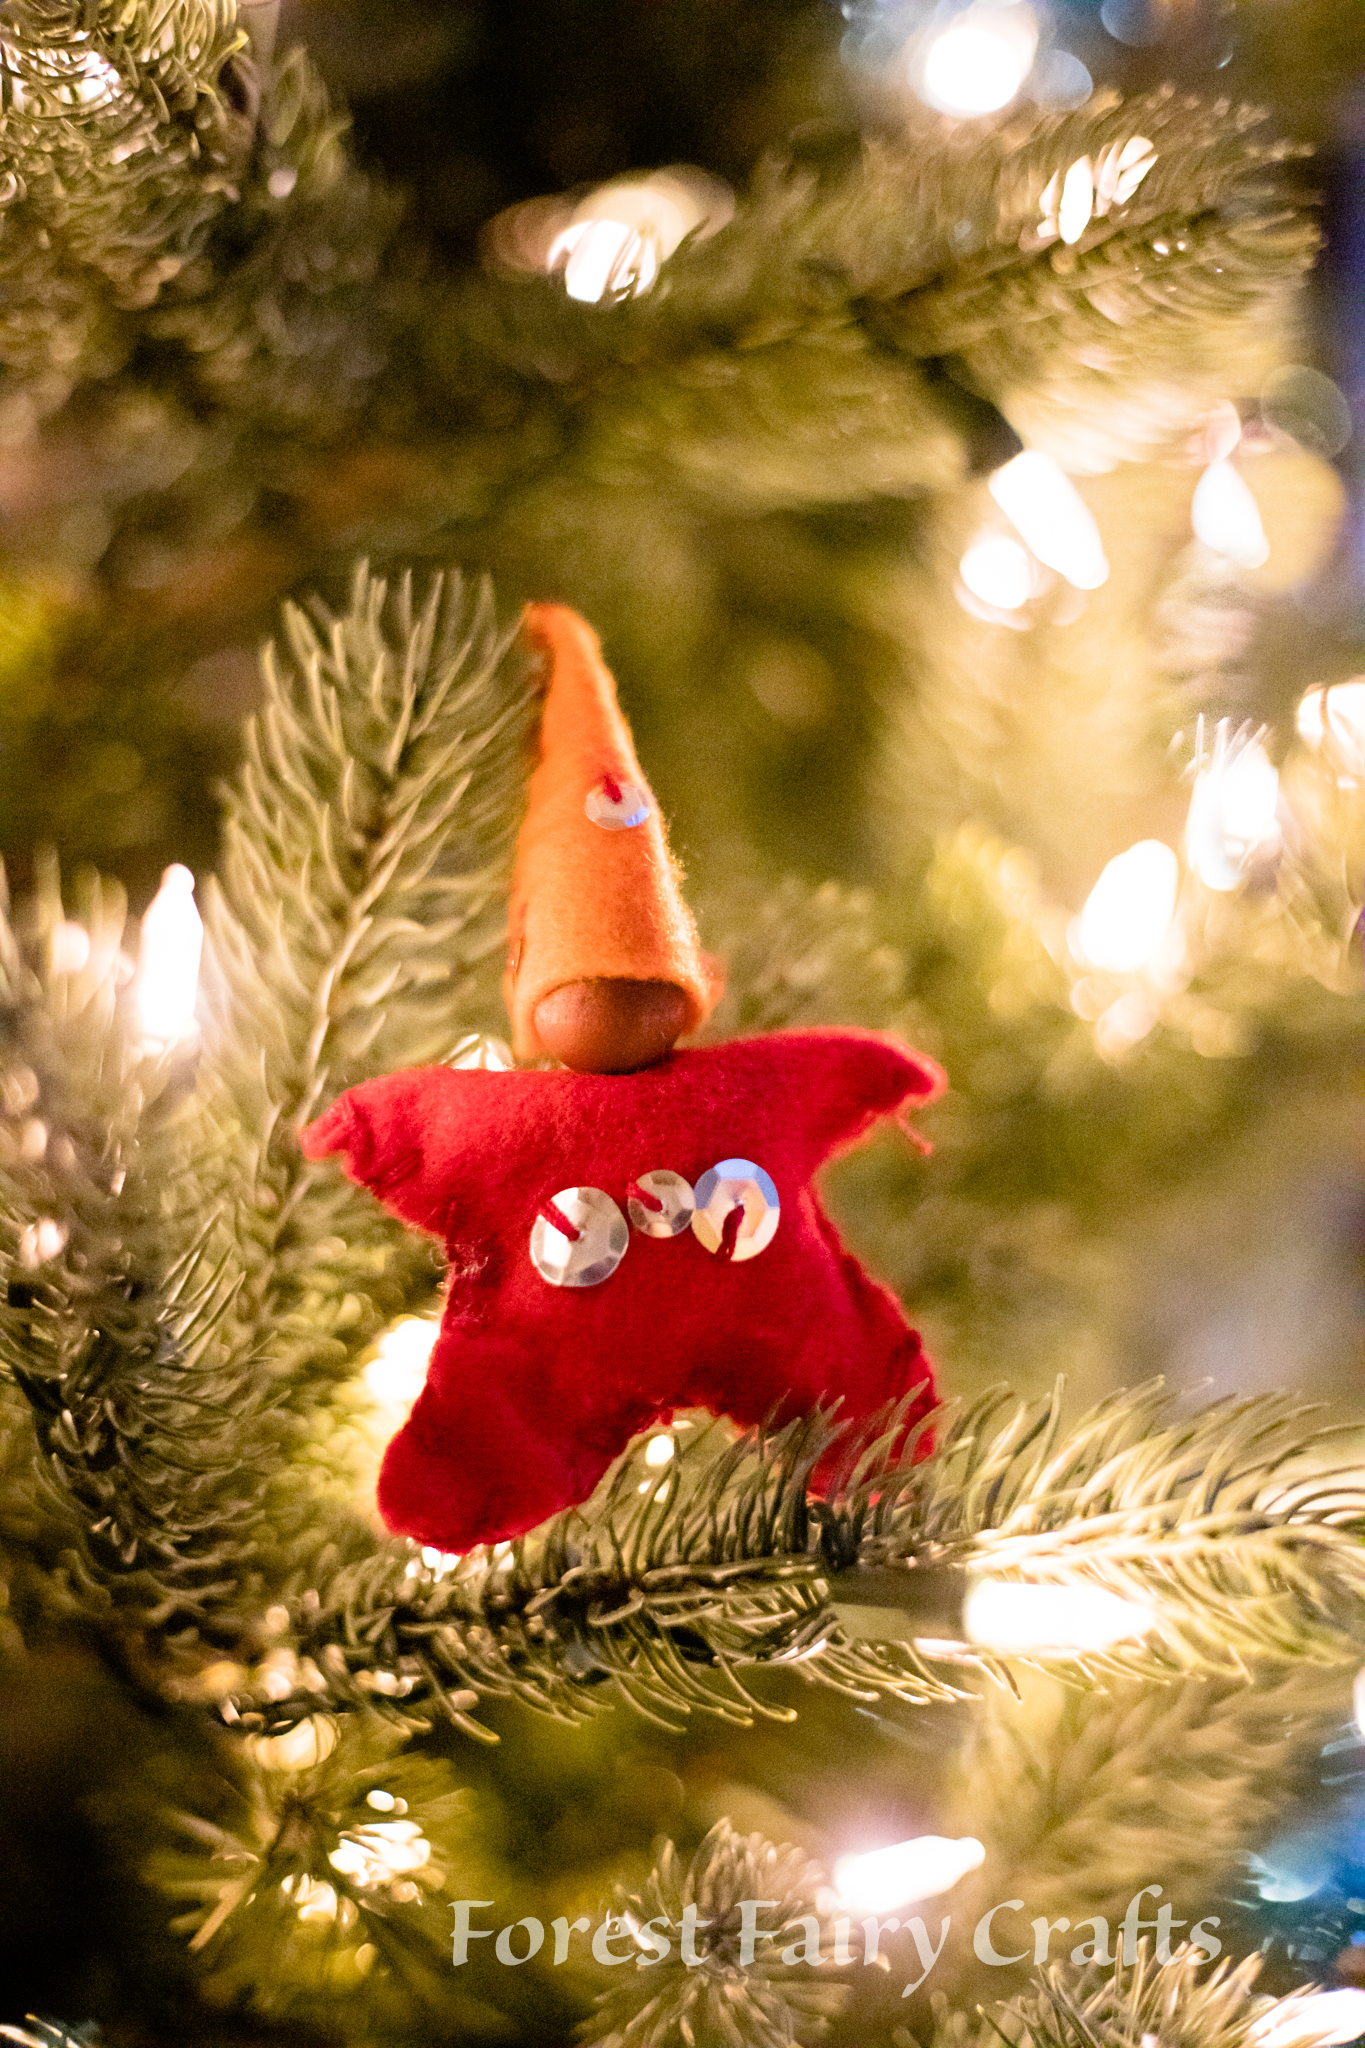
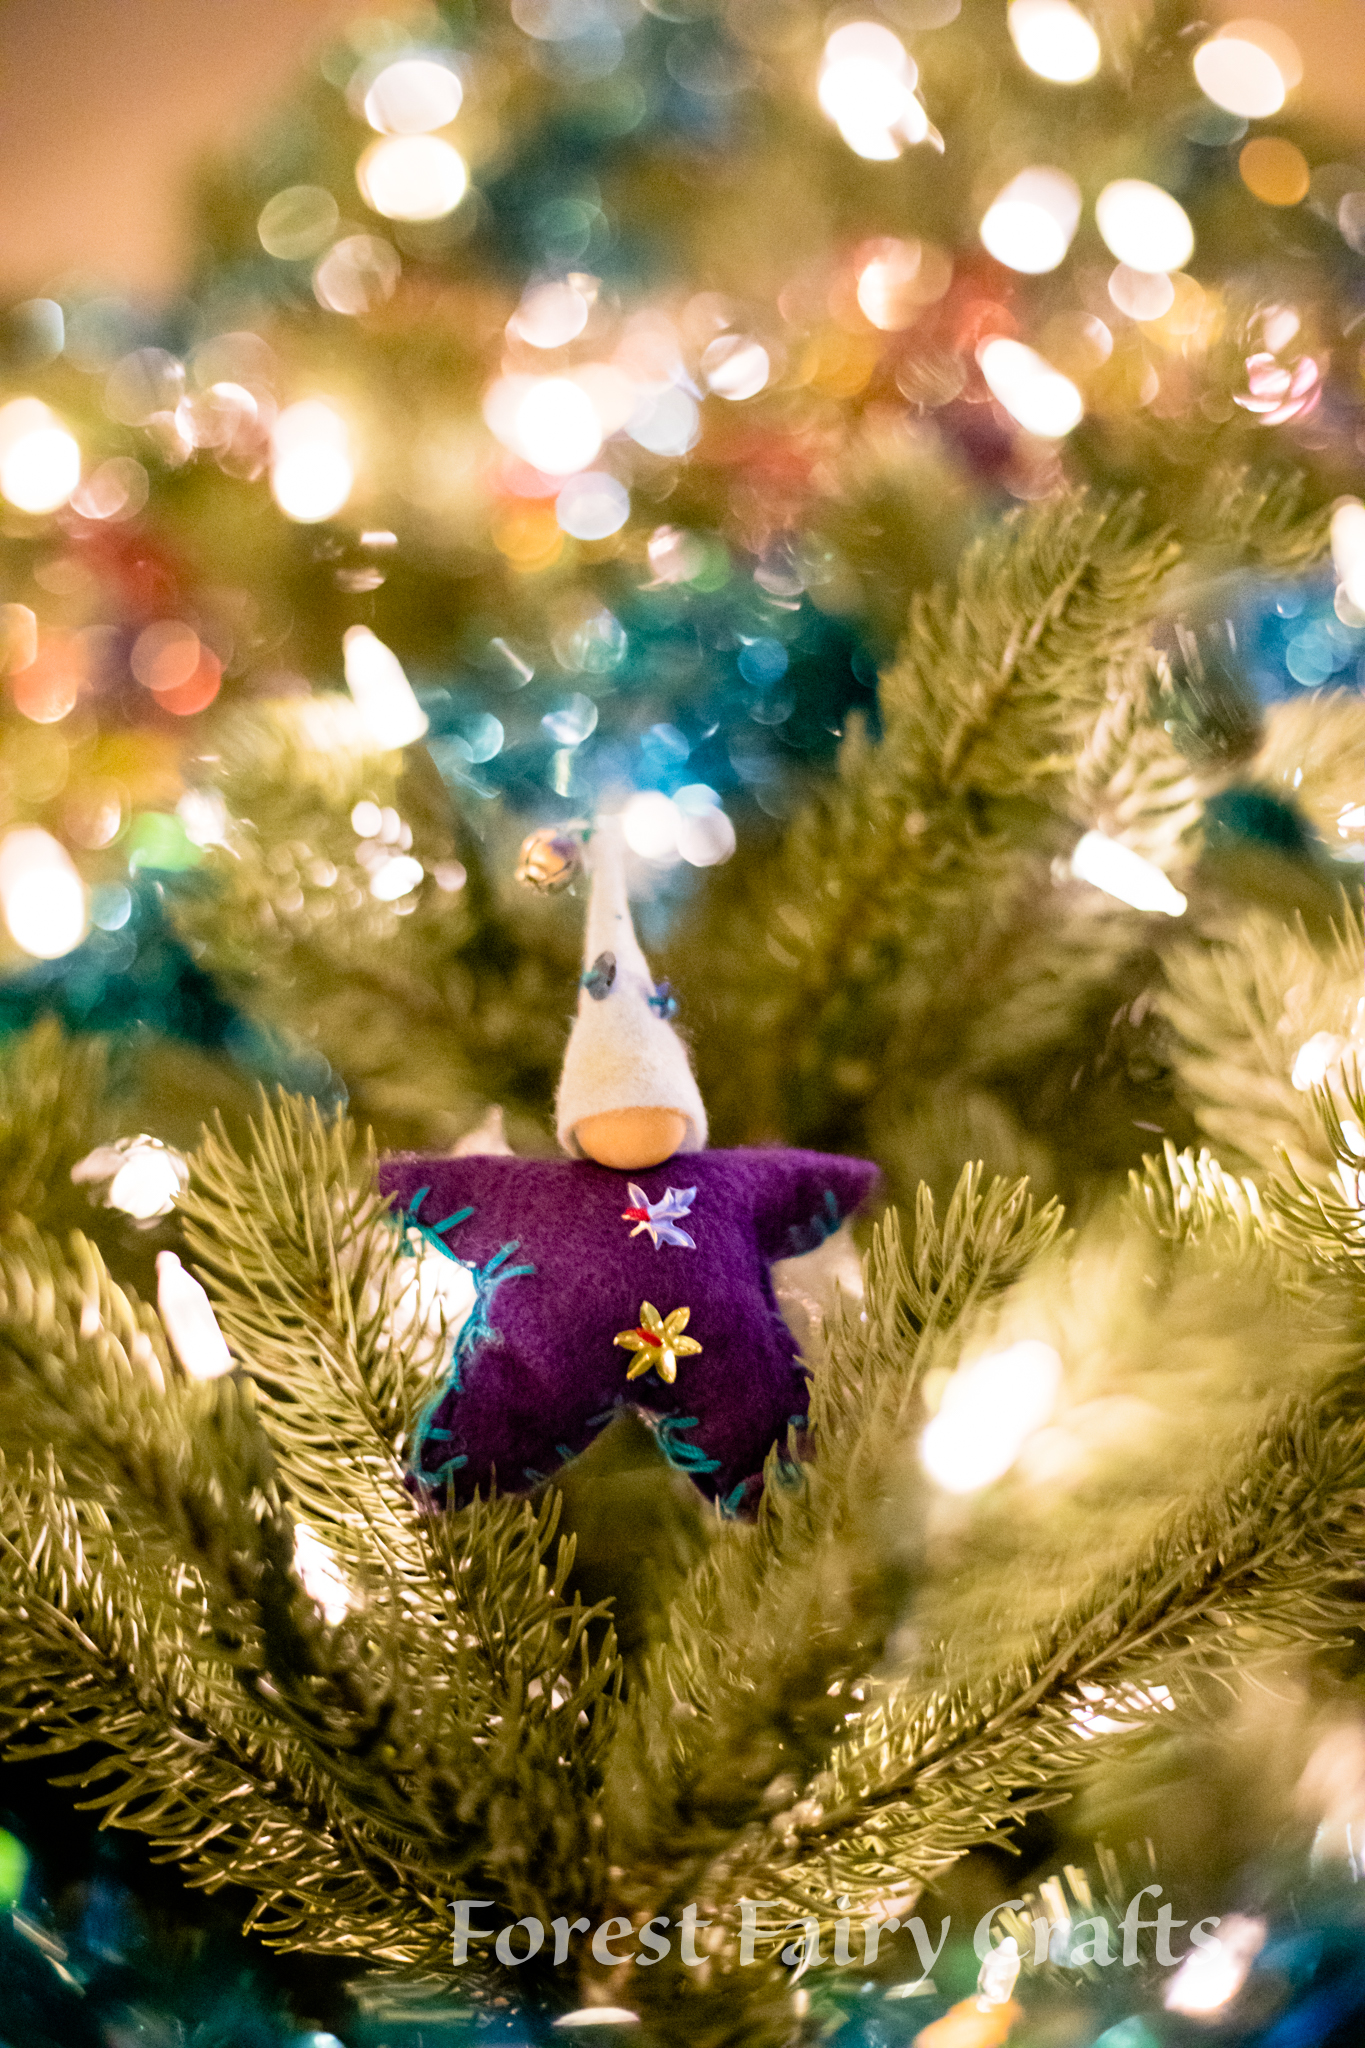
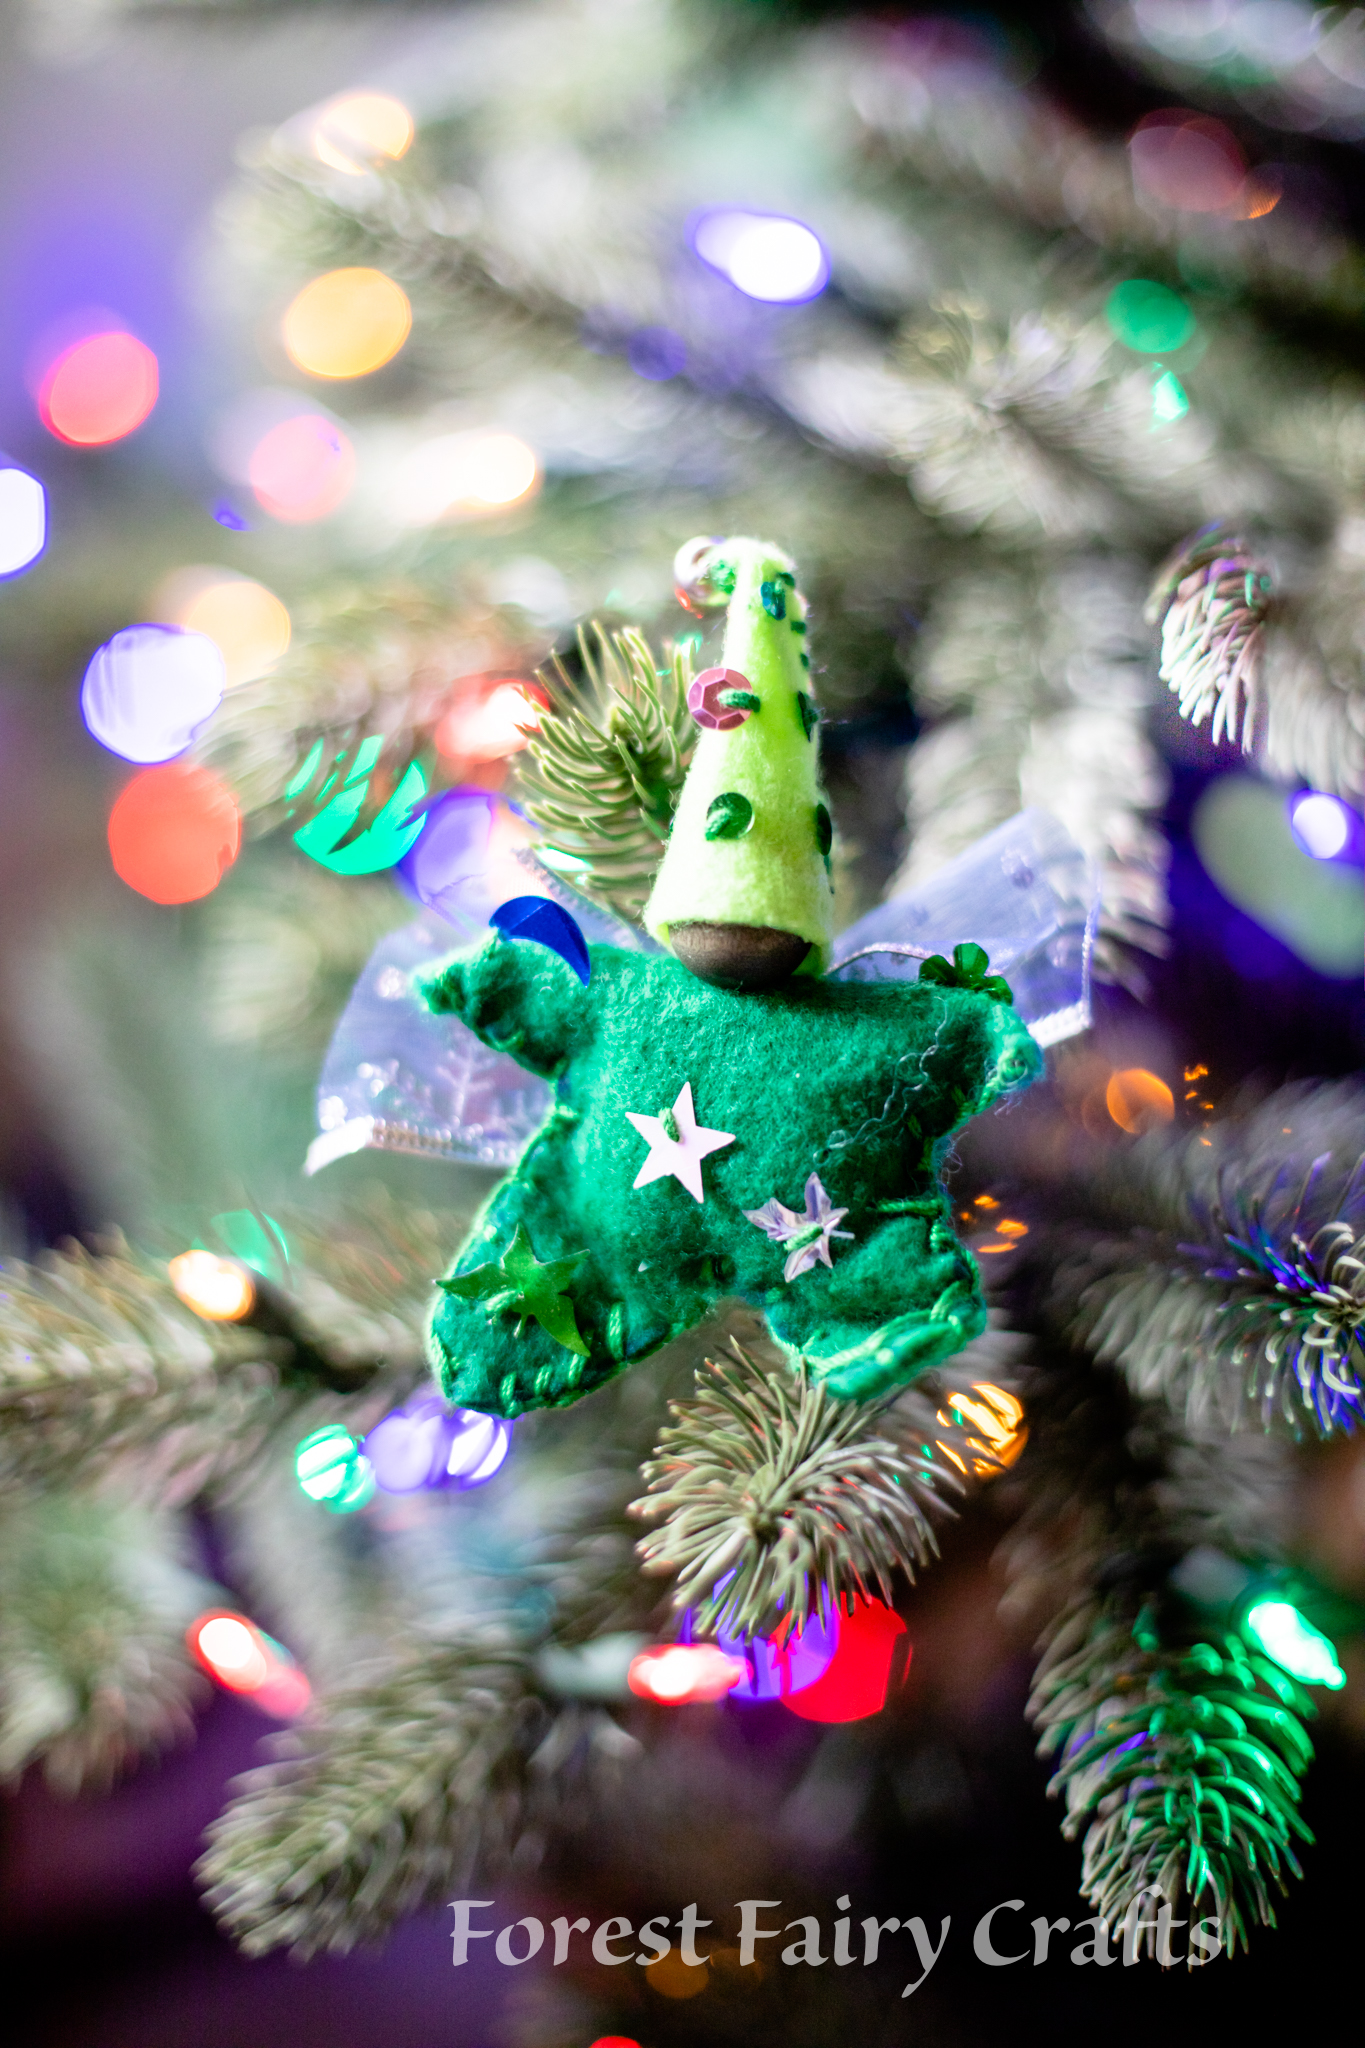
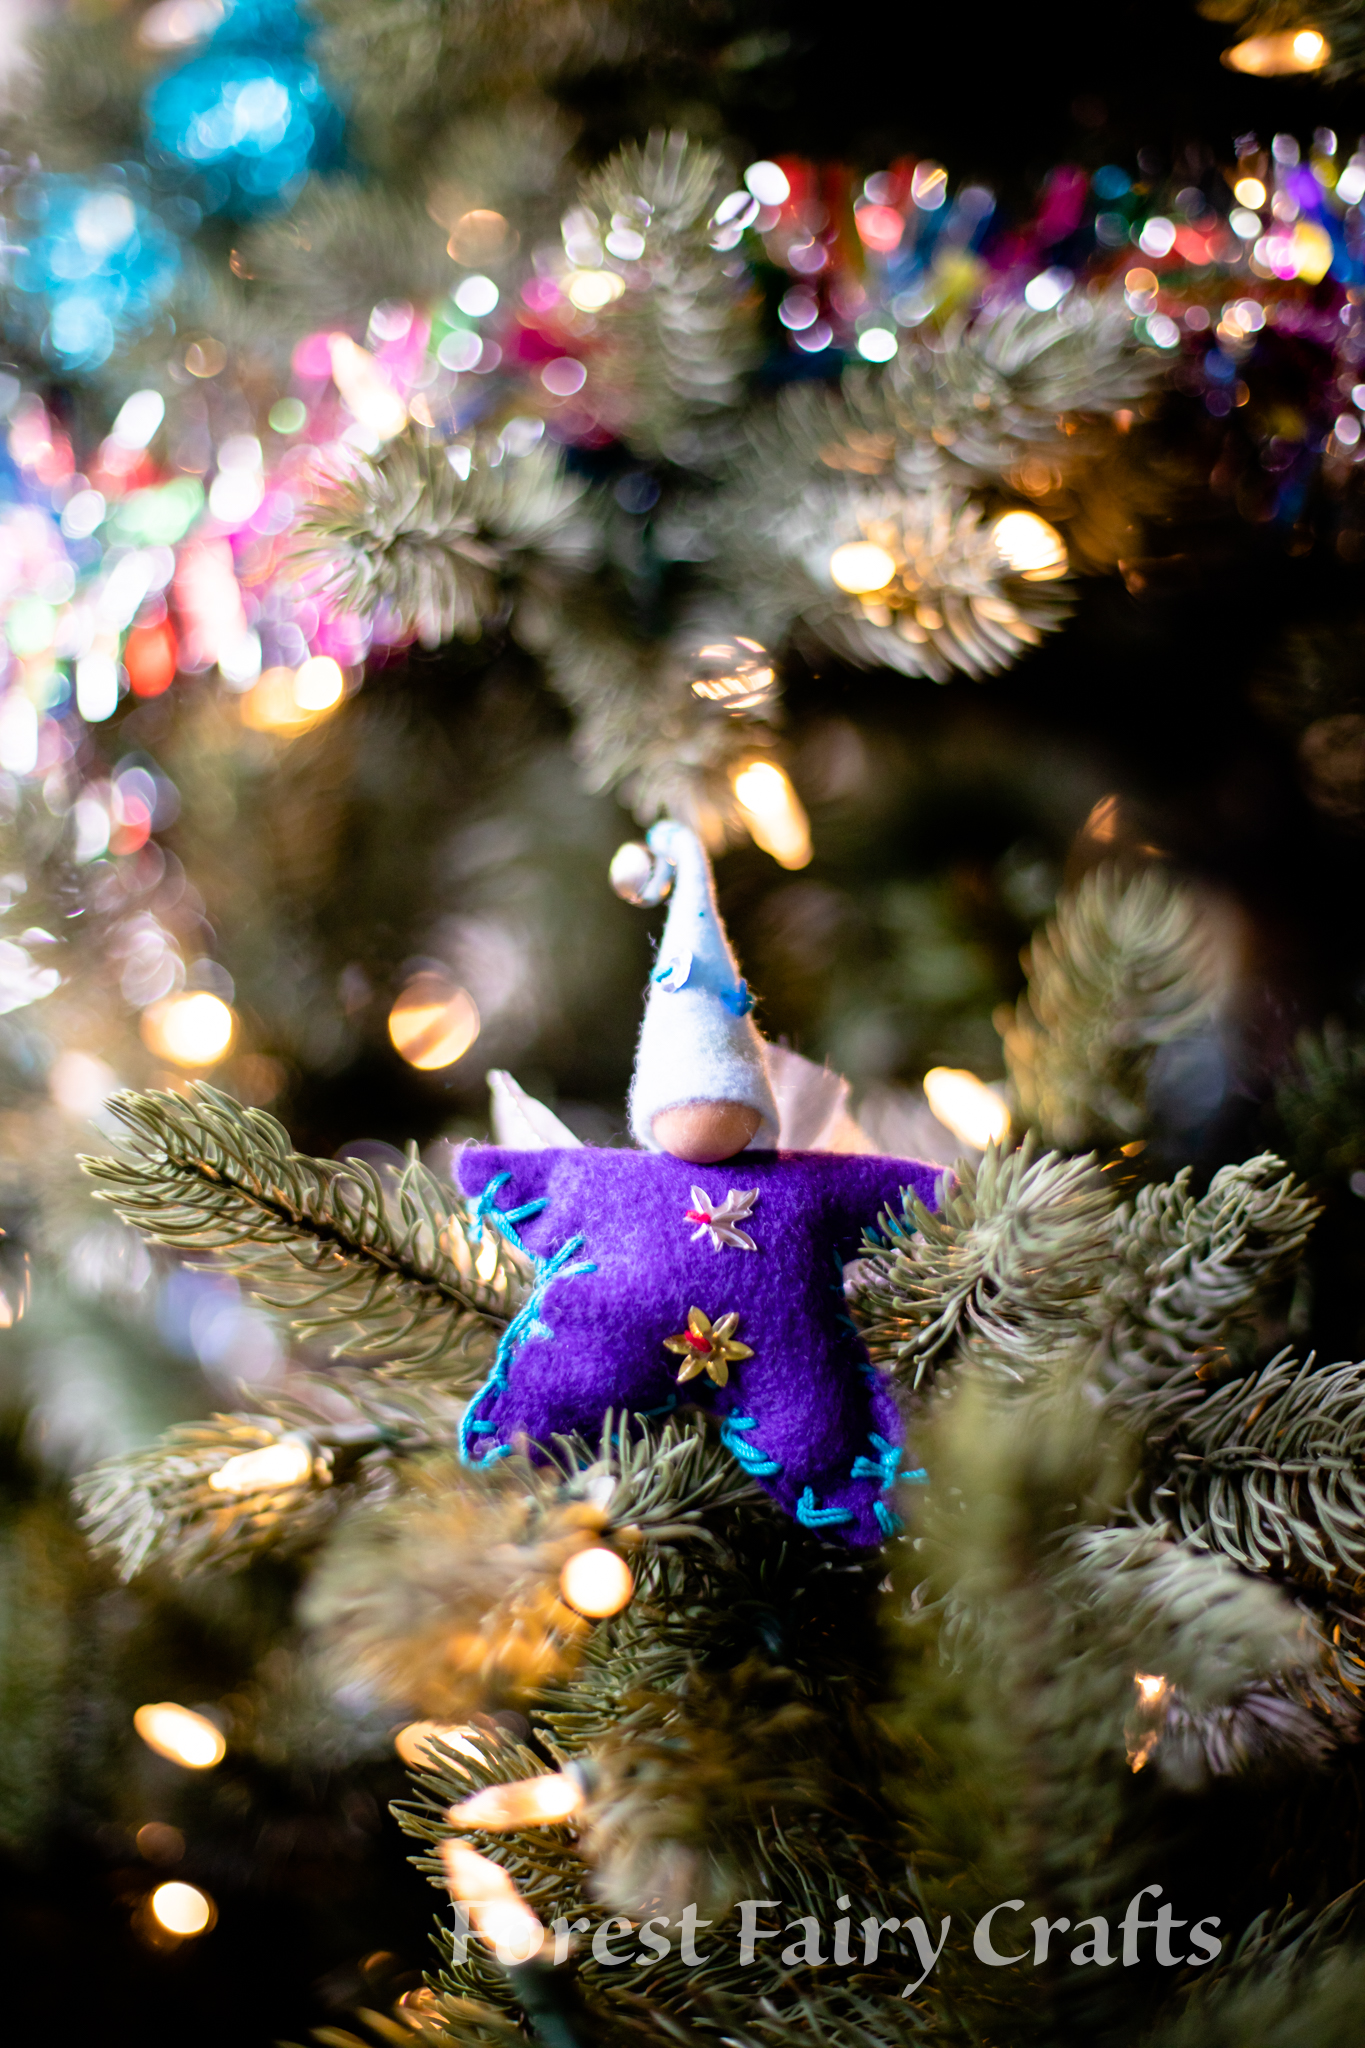
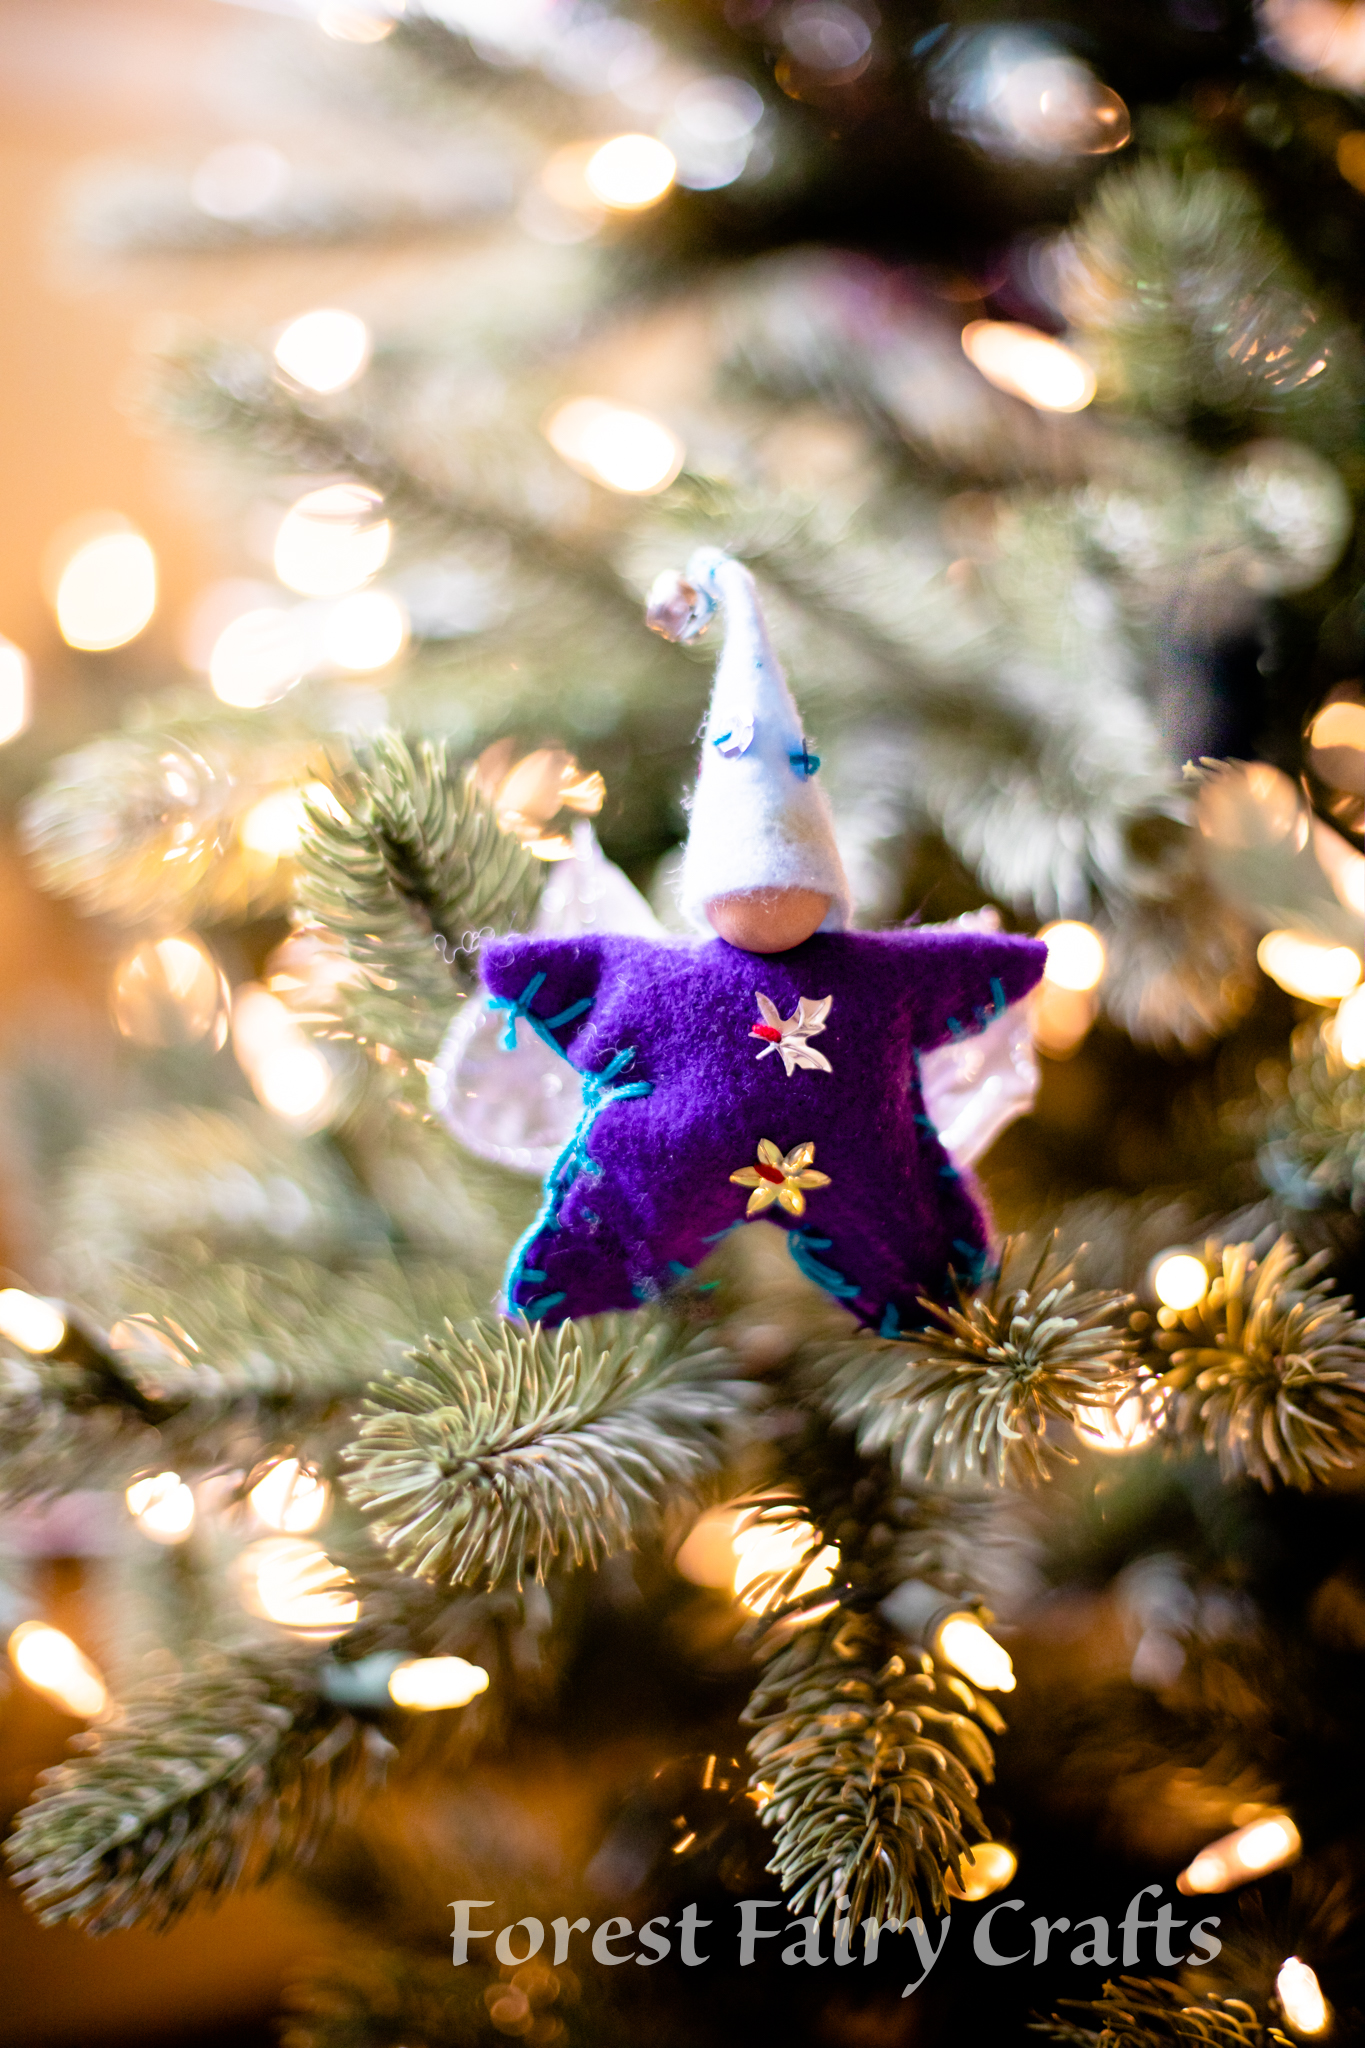
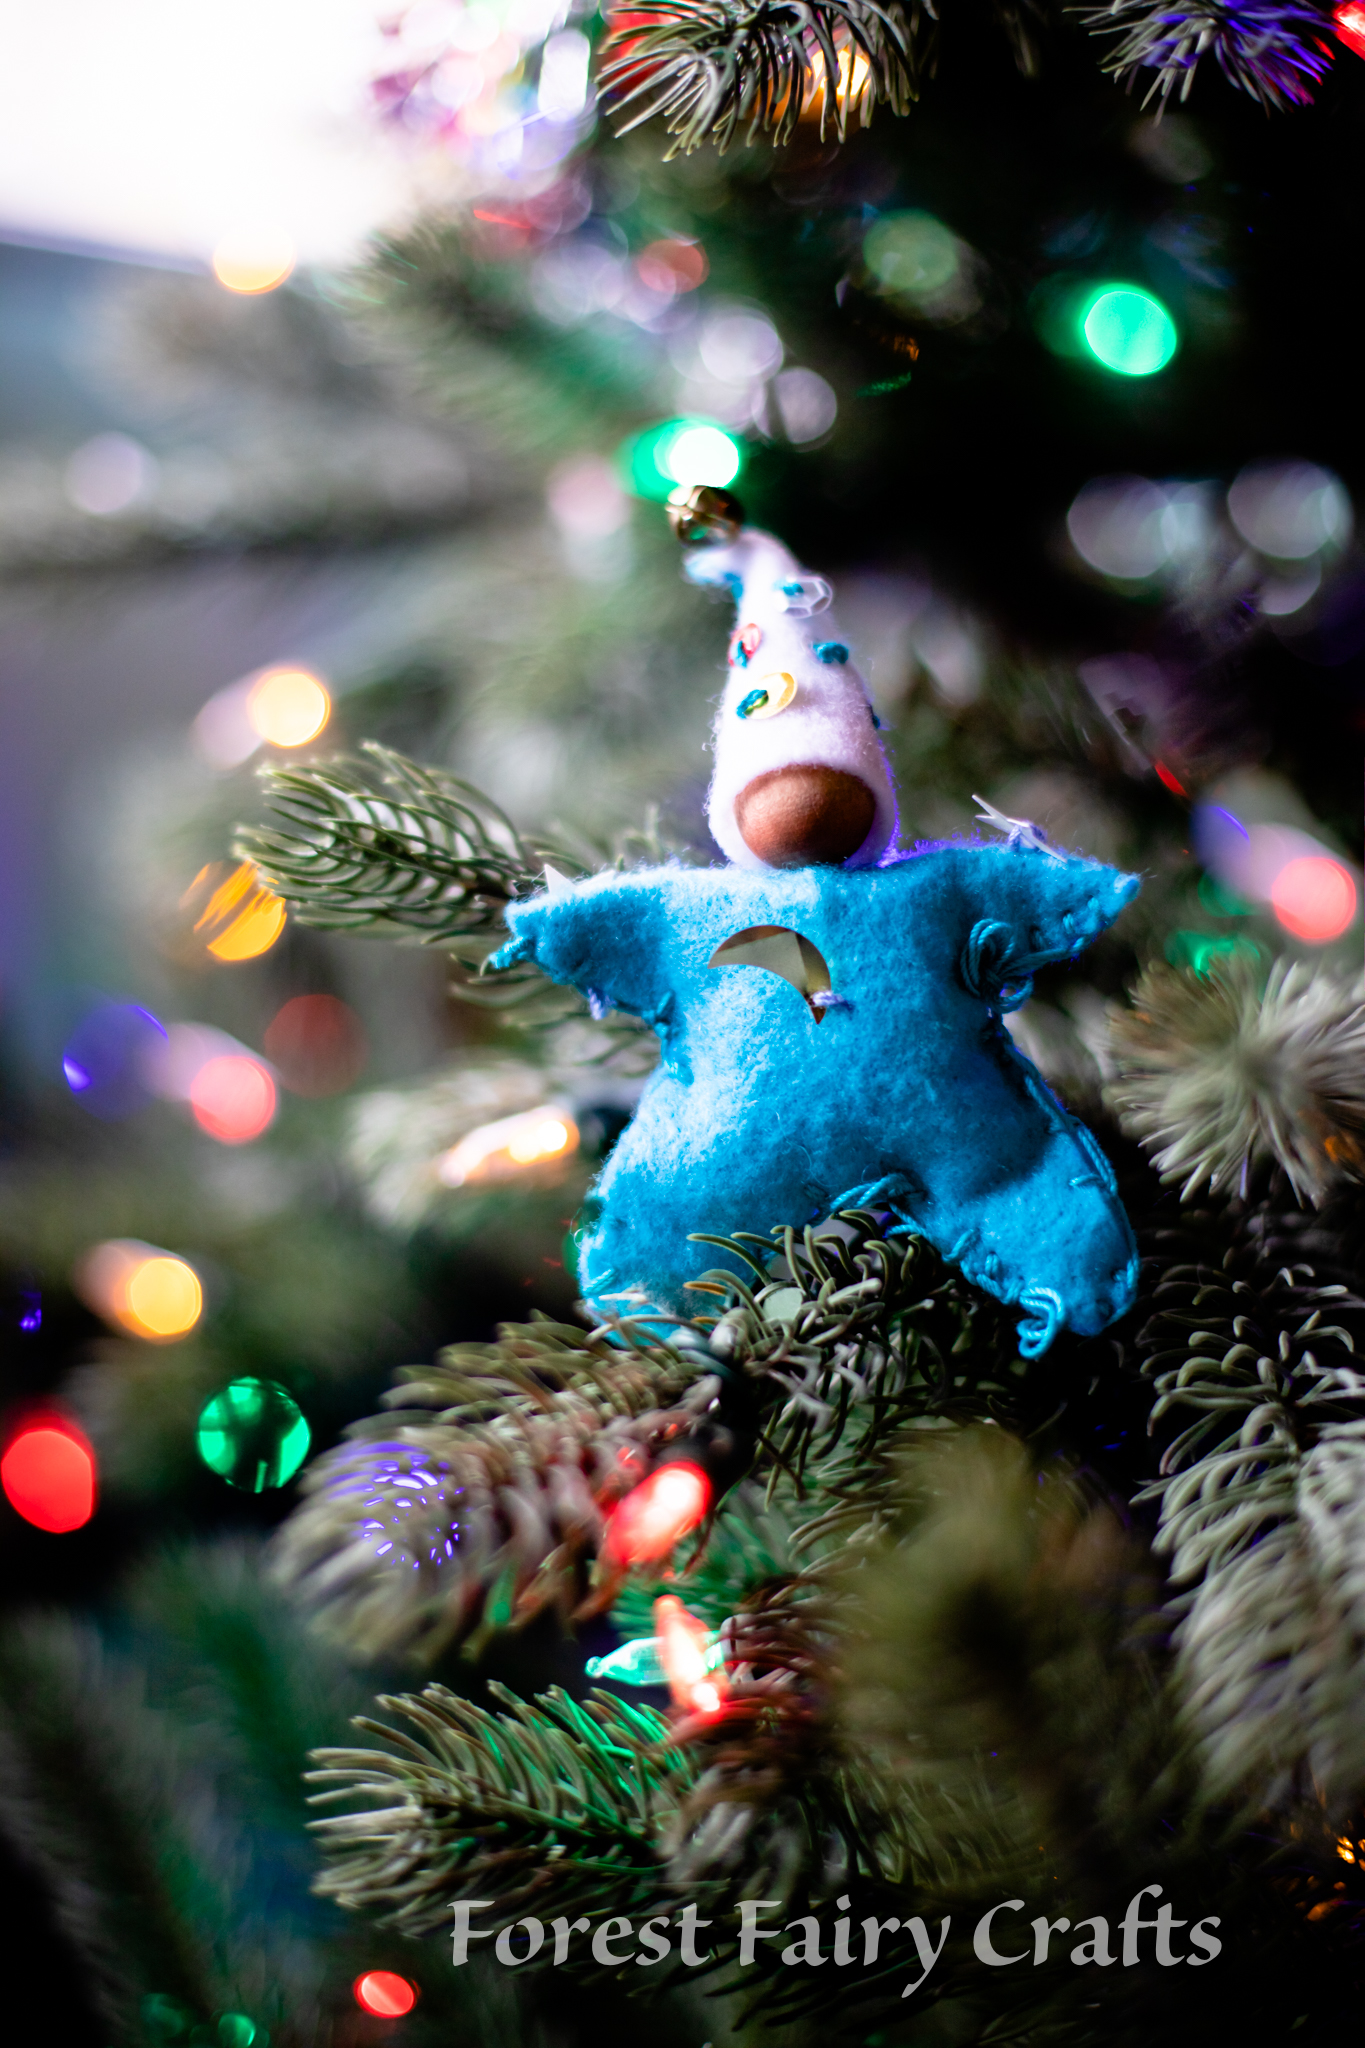
This year, they painted the beads different colors. Classes discussed different skin tones and mixing colors. They painted beads different colors. Star babies enjoy being represented in many different colors.
All of the directions, with photographs, to make Star Babies are in our first Forest Fairy Crafts* book. We paint the beads with watercolors. Make a few for your tree with children you love :)
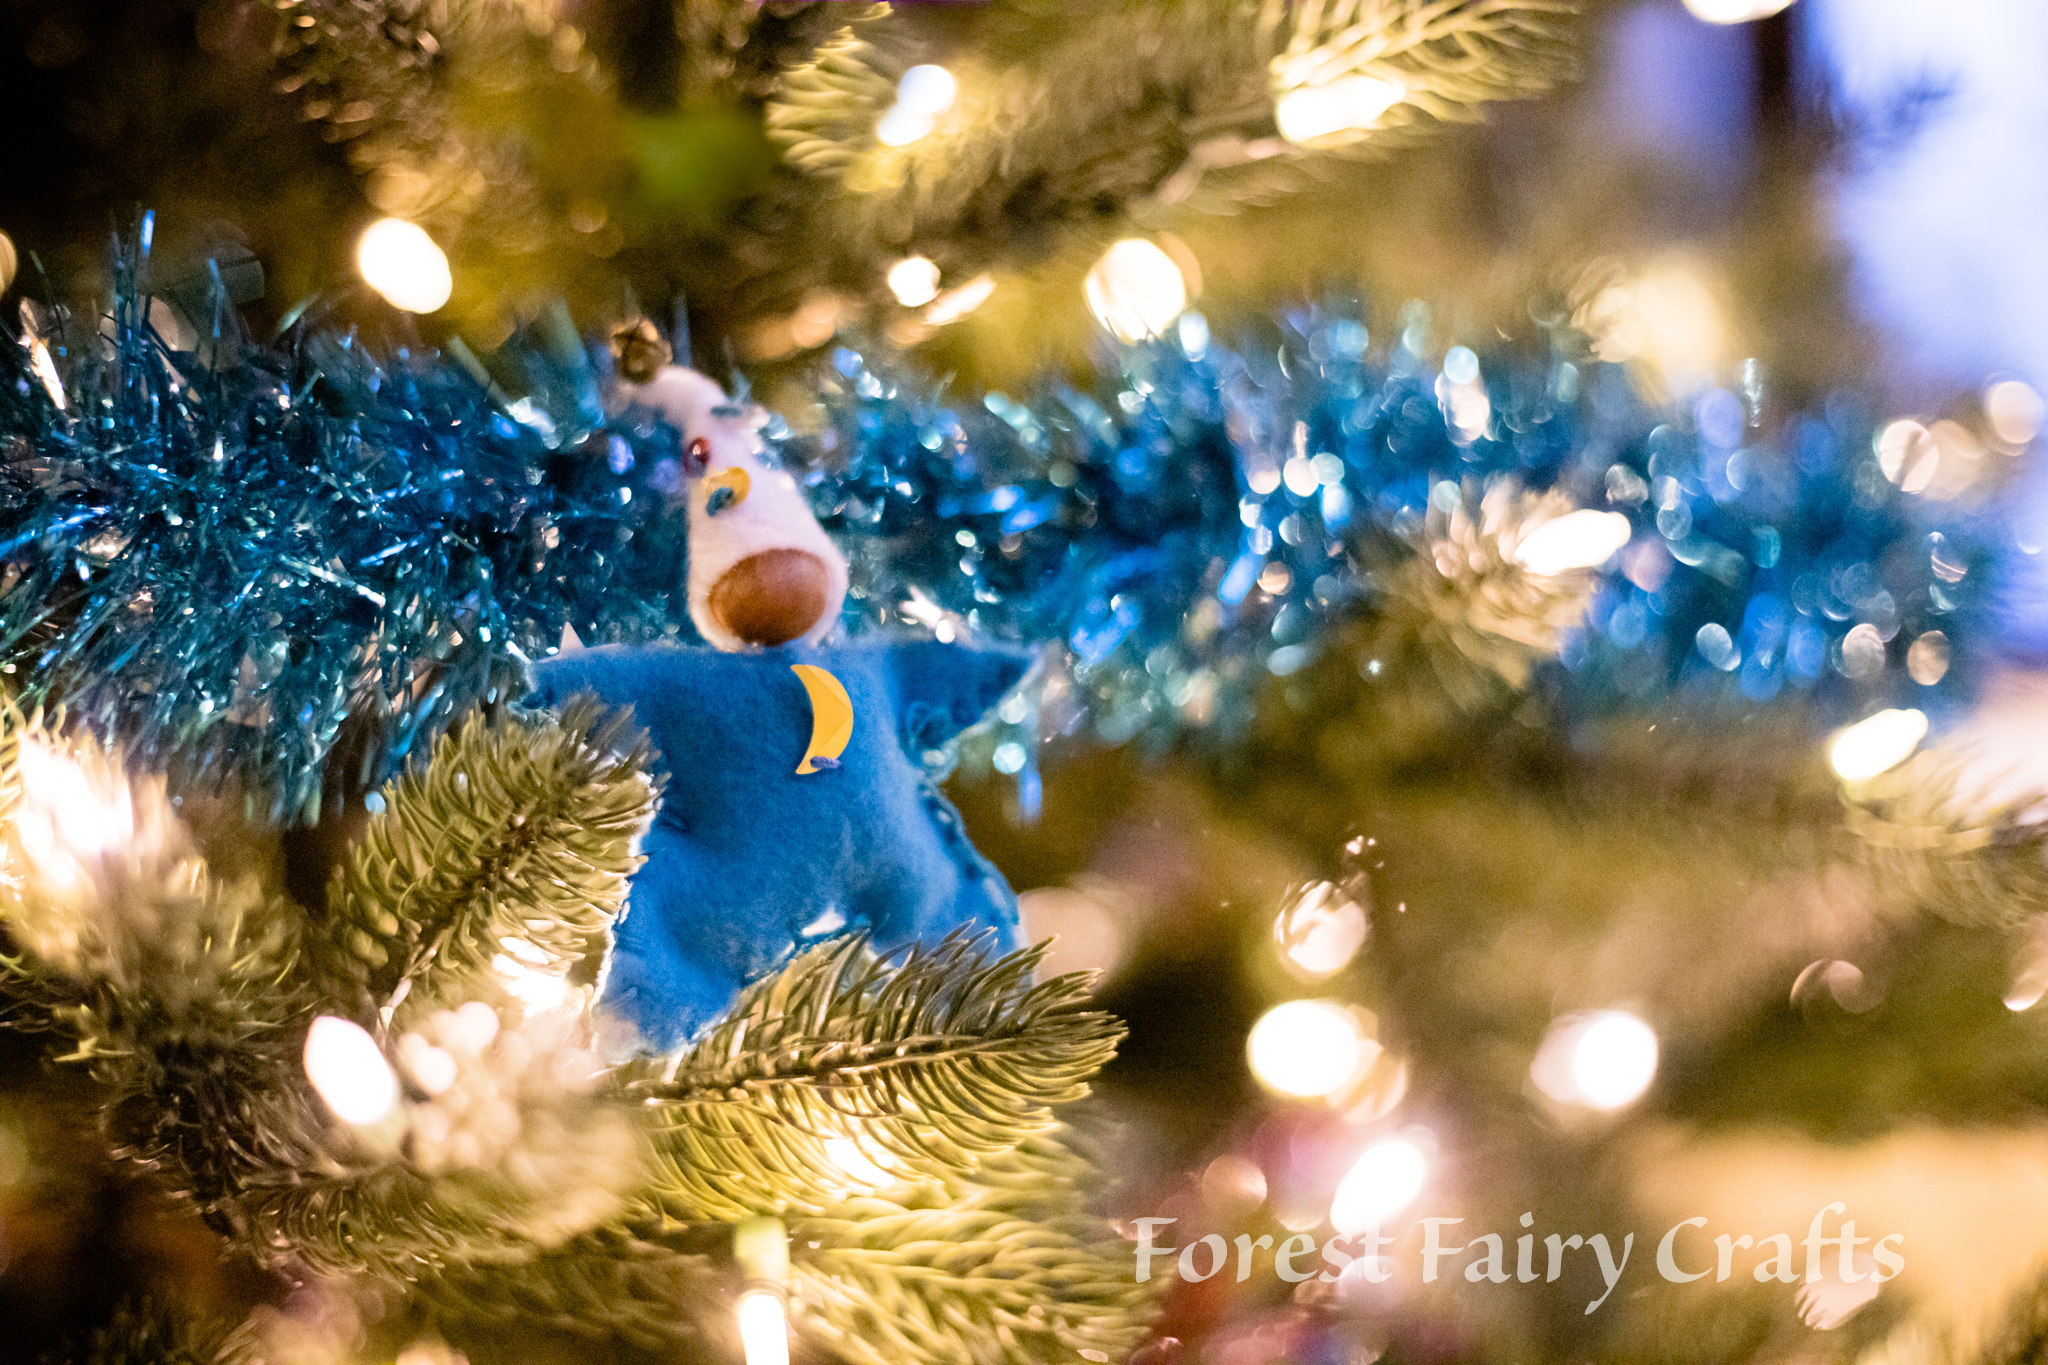

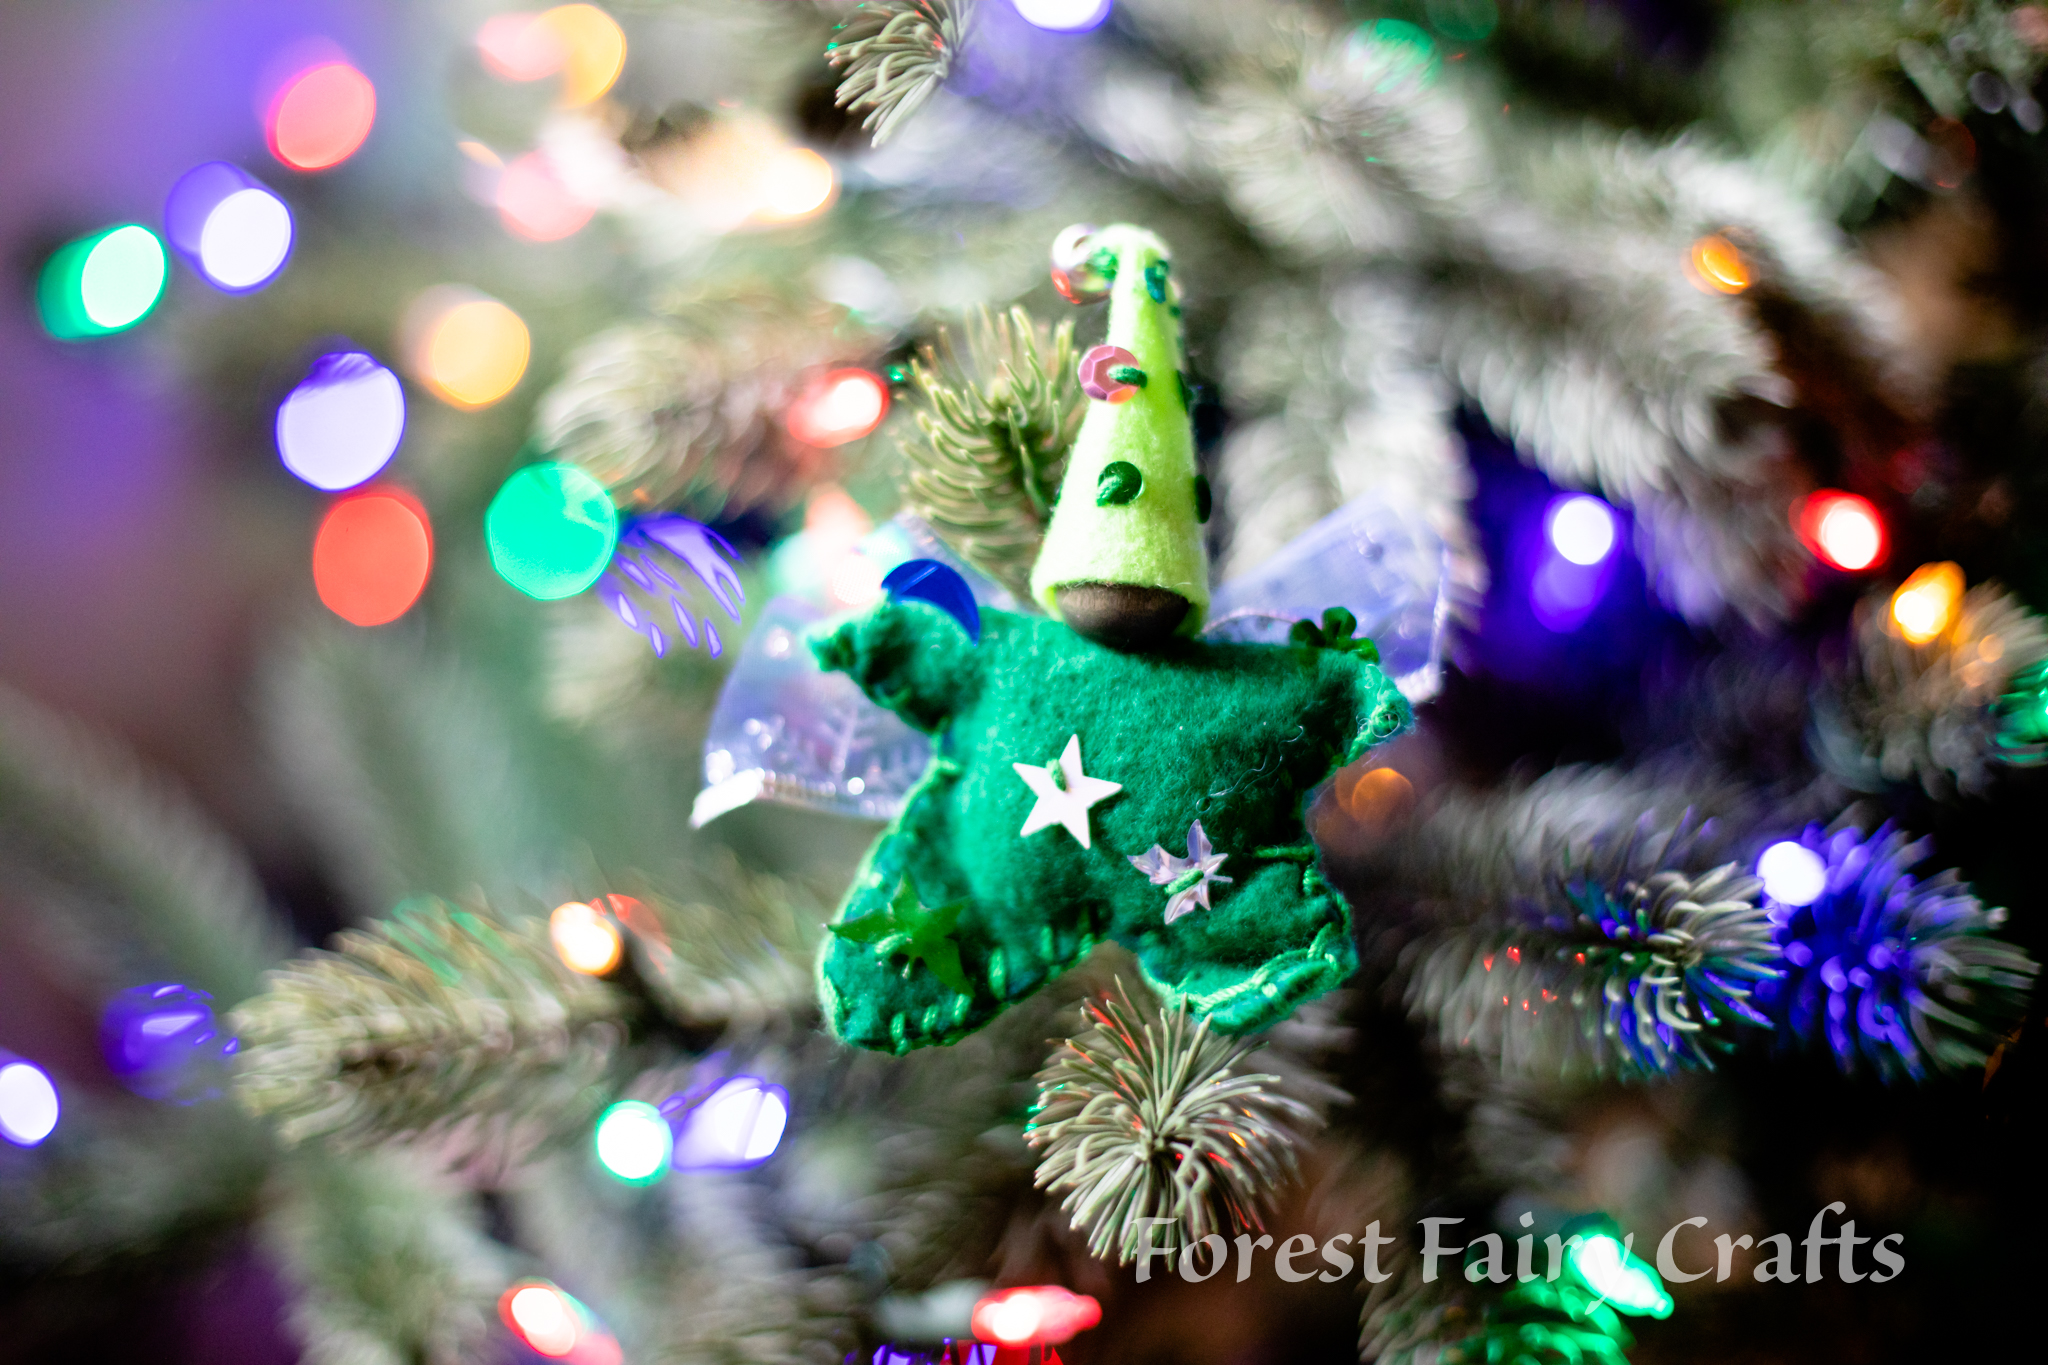
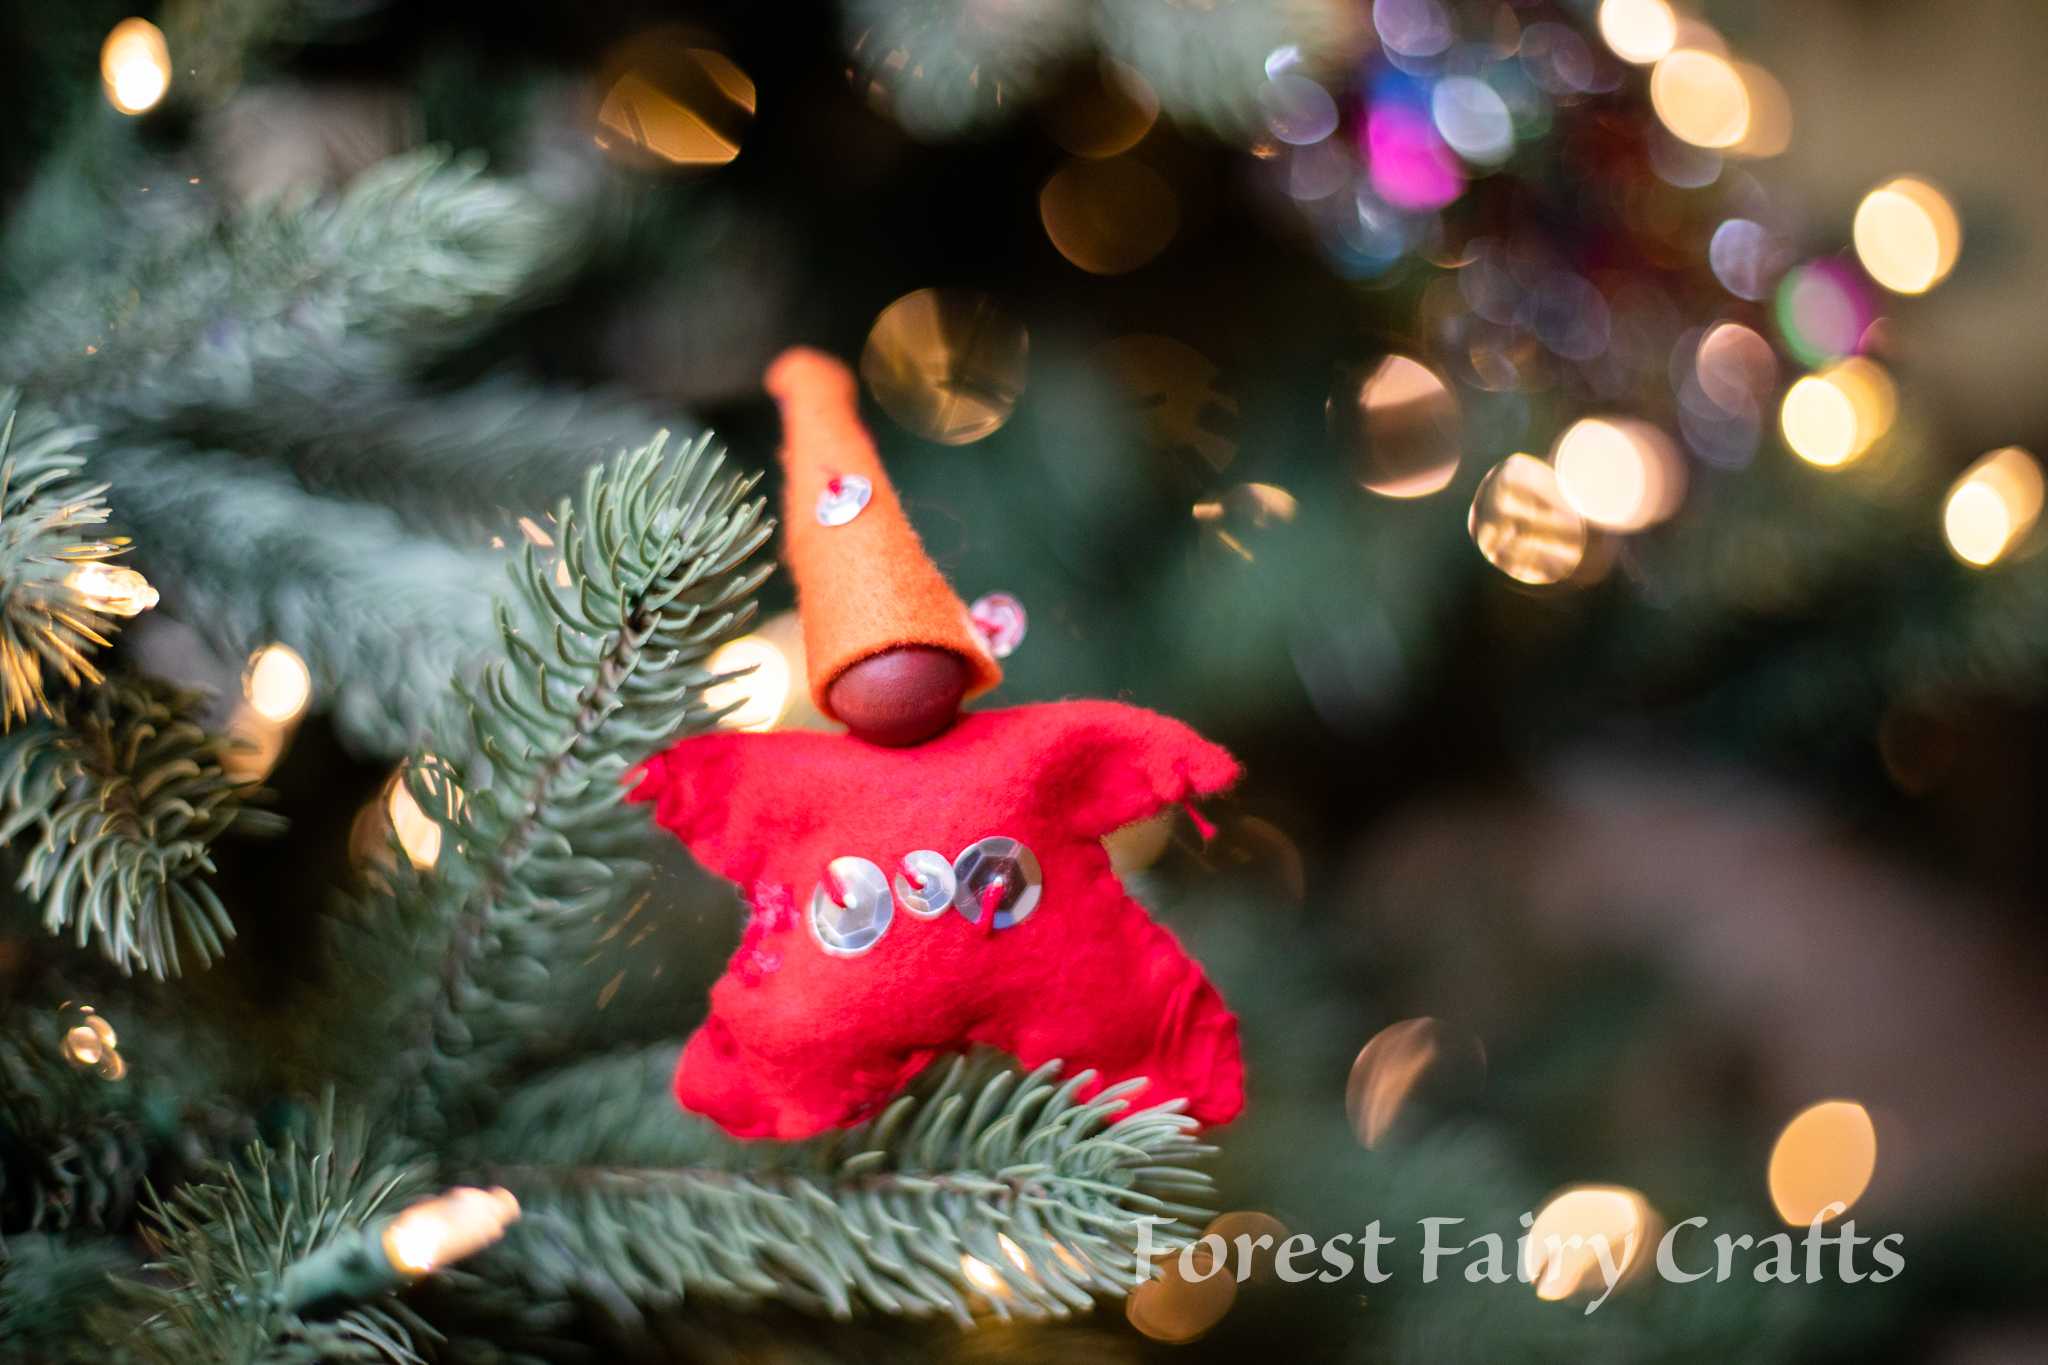
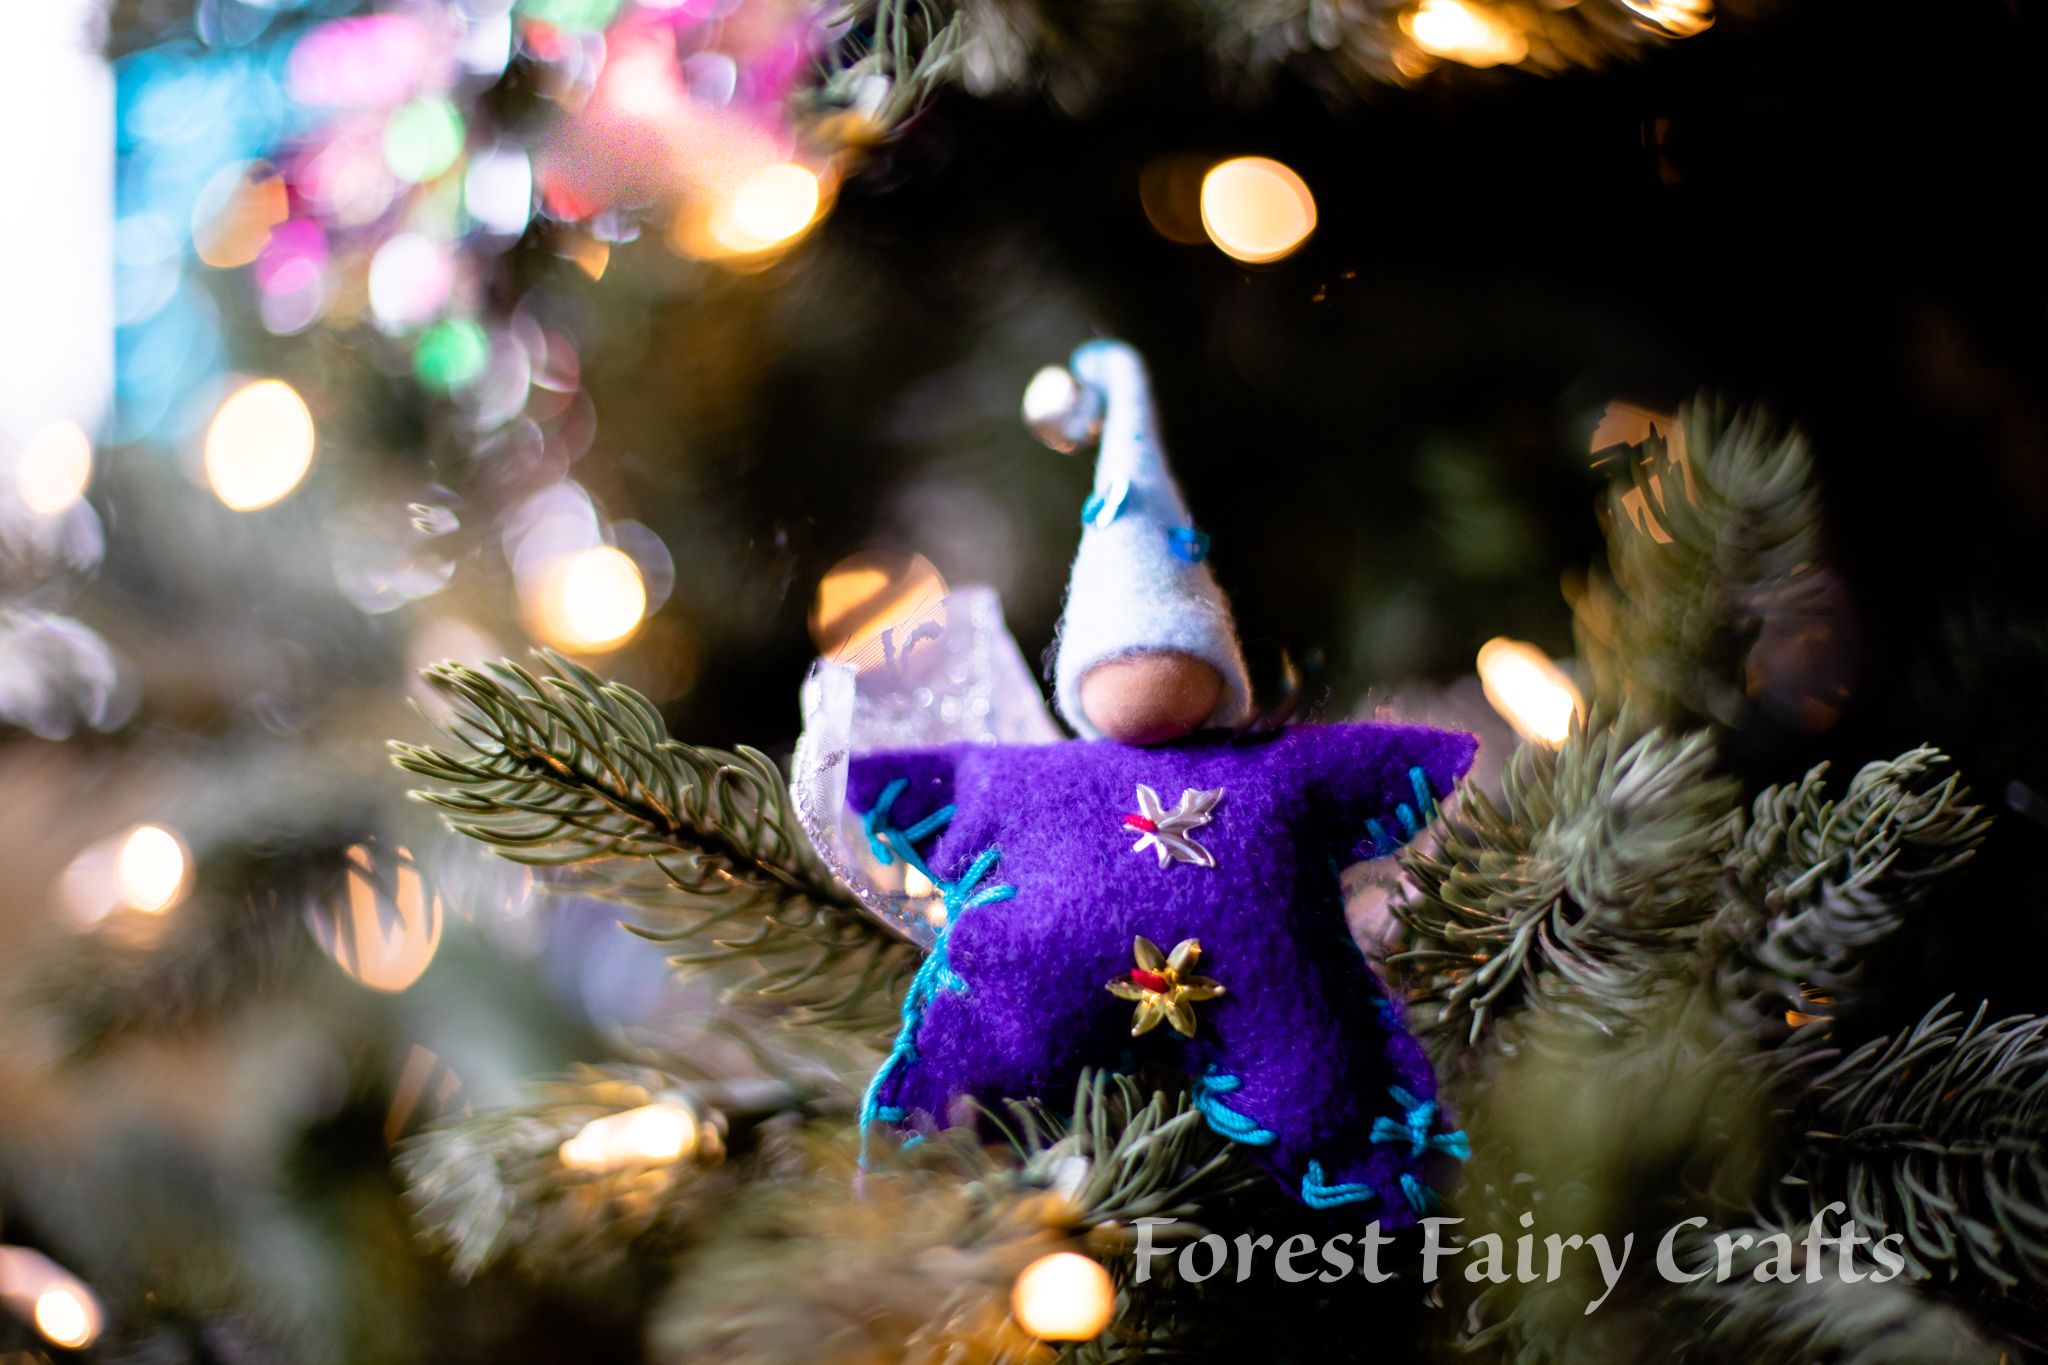
Paint beads first so they can dry while you sew decorations on your felt. And embrace that messy stitching :)
Enjoy the holidays!
*affiliate link- a small portion returns to the Forest while your price remains the same. Thank you for your support!