

Another Way to Wind Yarn Balls
As promised, here’s another way to wind yarn balls. This way is quicker if you are making a pile of yarn balls, such as for a summer camp or basket of yarn for children to choose from. This technique doesn’t give the same level of fine motor skills, though, and it’s harder for little hands to control the yarn from slipping off of their fingers. So it’s a friendly version for adults or older children. But the other way gives children more winding practice around their fingers. Choose which one feels easier for you.
The beauty of handwork is that we all get to choose what works best for us. And I’m sure there’s even more ways to start winding yarn. It may be a worthy experiment to teach both methods to children and then ask them which way works better for them. The results may surprise you!
Onward to another way to wind yarn balls :)


For young-young children, you can start the ball, then hand it over to them once it’s past the super-fiddly-fall-apart-if-you-let-go phase of creating them. They enjoy winding the yarn around and around. You can work towards a point where they can then use your hand to start the yarn ball. So you would hold the yarn between your fingers and they wrap it around your fingers for the first step. Eventually, they will develop the skills to hold and start the ball all on their own. It’s tricky to do two different activities with different hands.
If you know how to make a slip-knot, that’s another way to start where children' won’t pull the tail loose during the very first step. If you make a slip knot that can fit over a finger, that would hold the yarn on their finger for the first step.
The other trouble-spot that children fall into is winding the yarn way too tight around their fingers, which makes it difficult to pull off for the next step. Learning tension is a big skill. With this mistake, it’s pretty simple to unwind and start over. It’s best to supervise until they have the hang of it on their own.
We hope these techniques help you tame your yarn collection so children can easily select different colors for different projects. The calming winding of yarn is a lovely way to pass the time. You can even wind yarn balls while reading or watching a documentary. Children love to see their yarn in a tidy collection.
We hope this week finds you healthy and inspired. And, if productivity is a struggle, that’s okay too.

Make a Yarn Ball
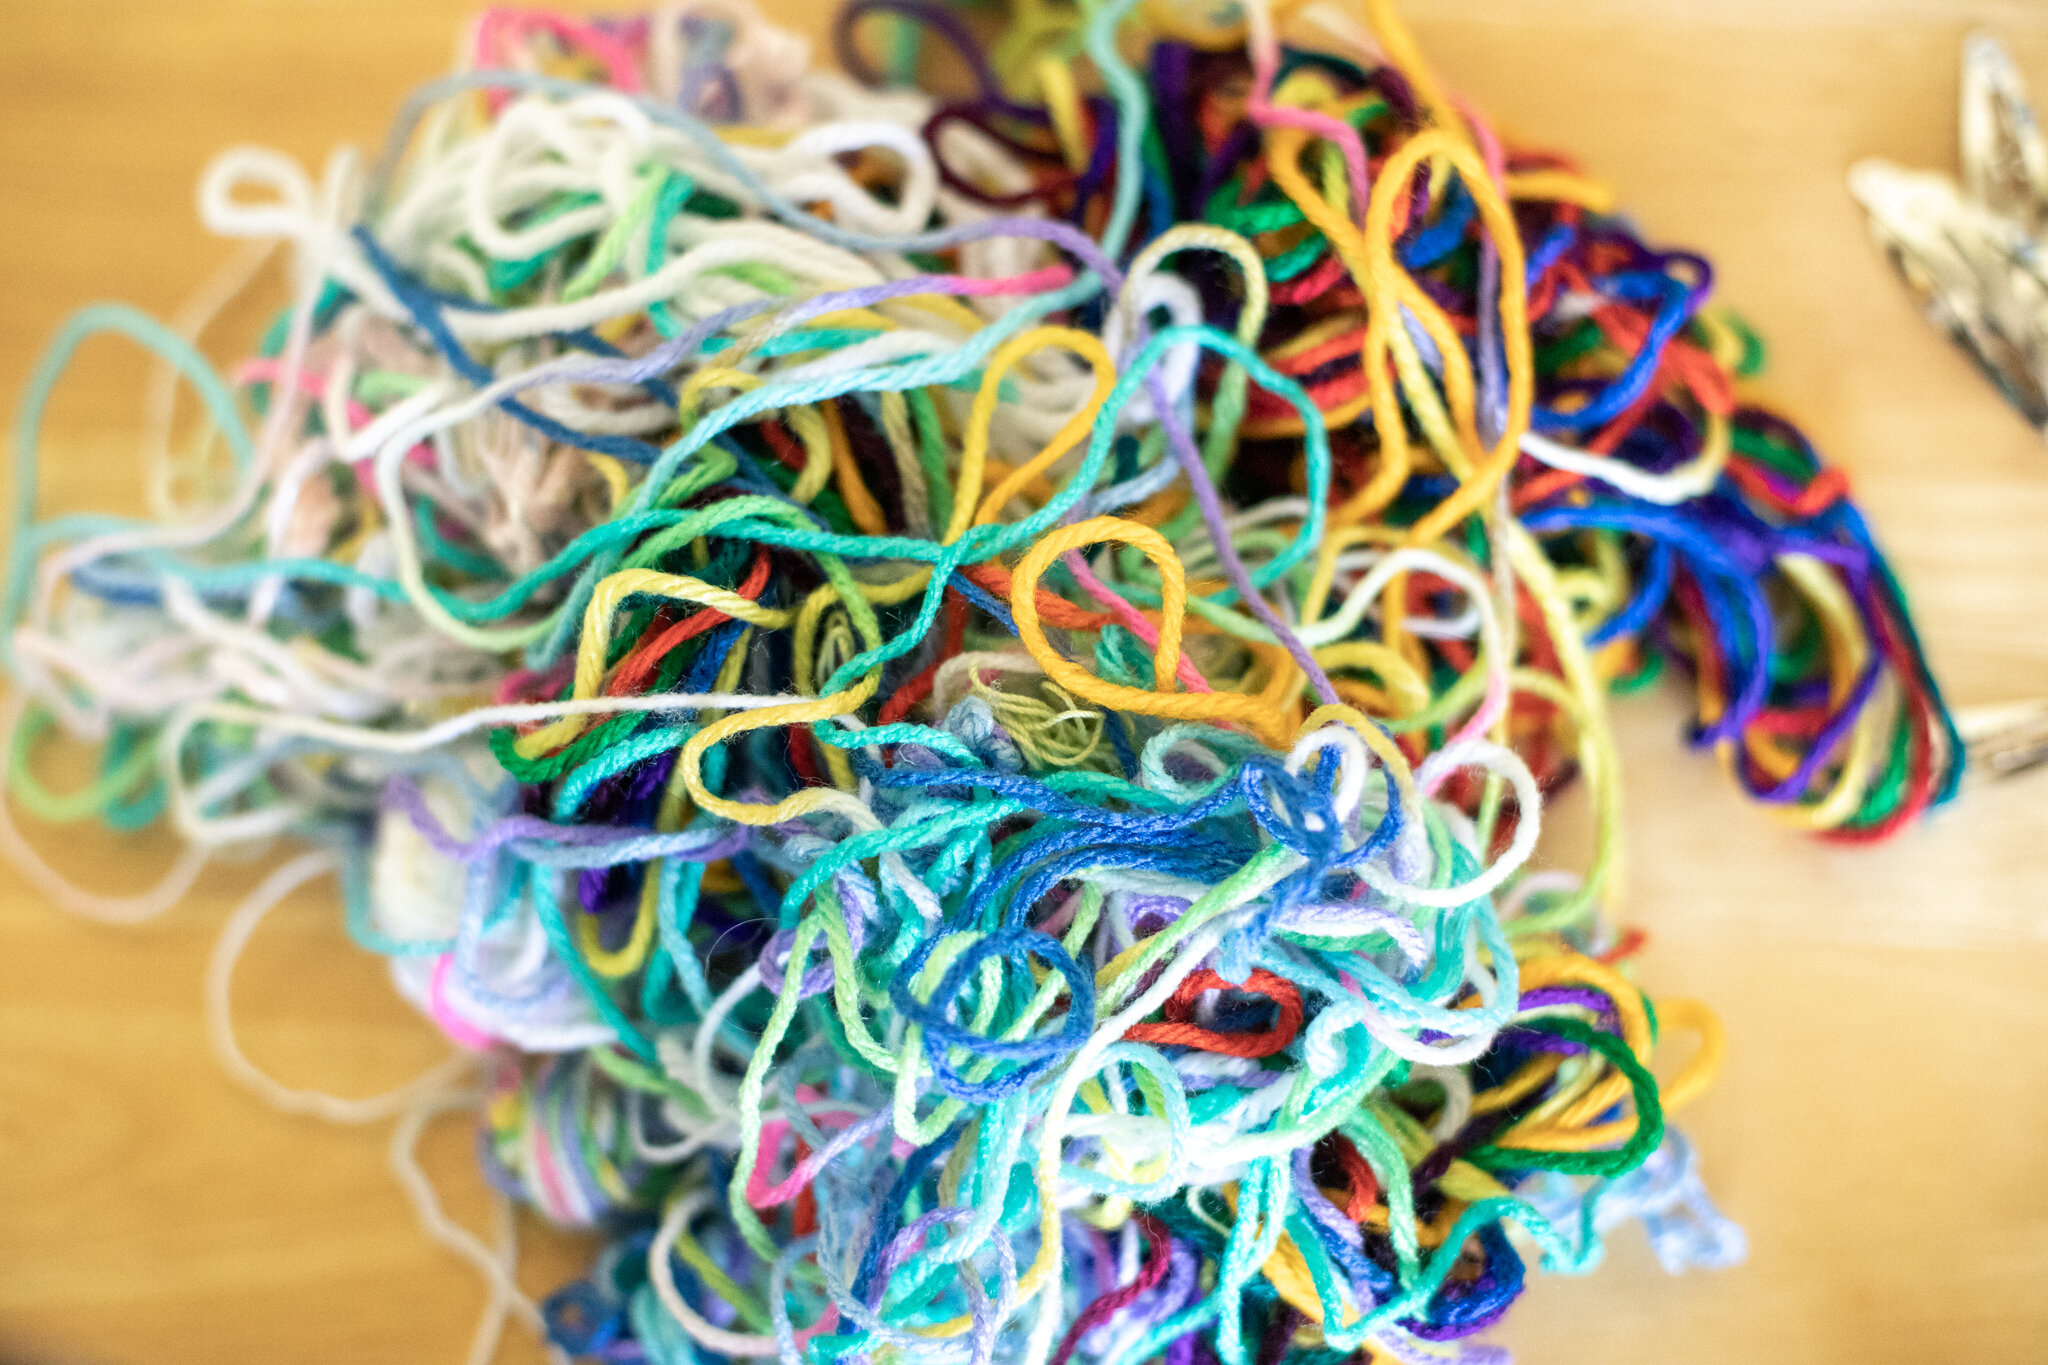
Anyone that has enjoyed yarn projects with children (or as an adult) knows this pile of tangled yarn all too well. An easy way to avoid this headache is to wind the skein of yarn into smaller balls. This can be especially handy if you work with different children, because then one skein of yarn can easily be made into many balls of yarn.
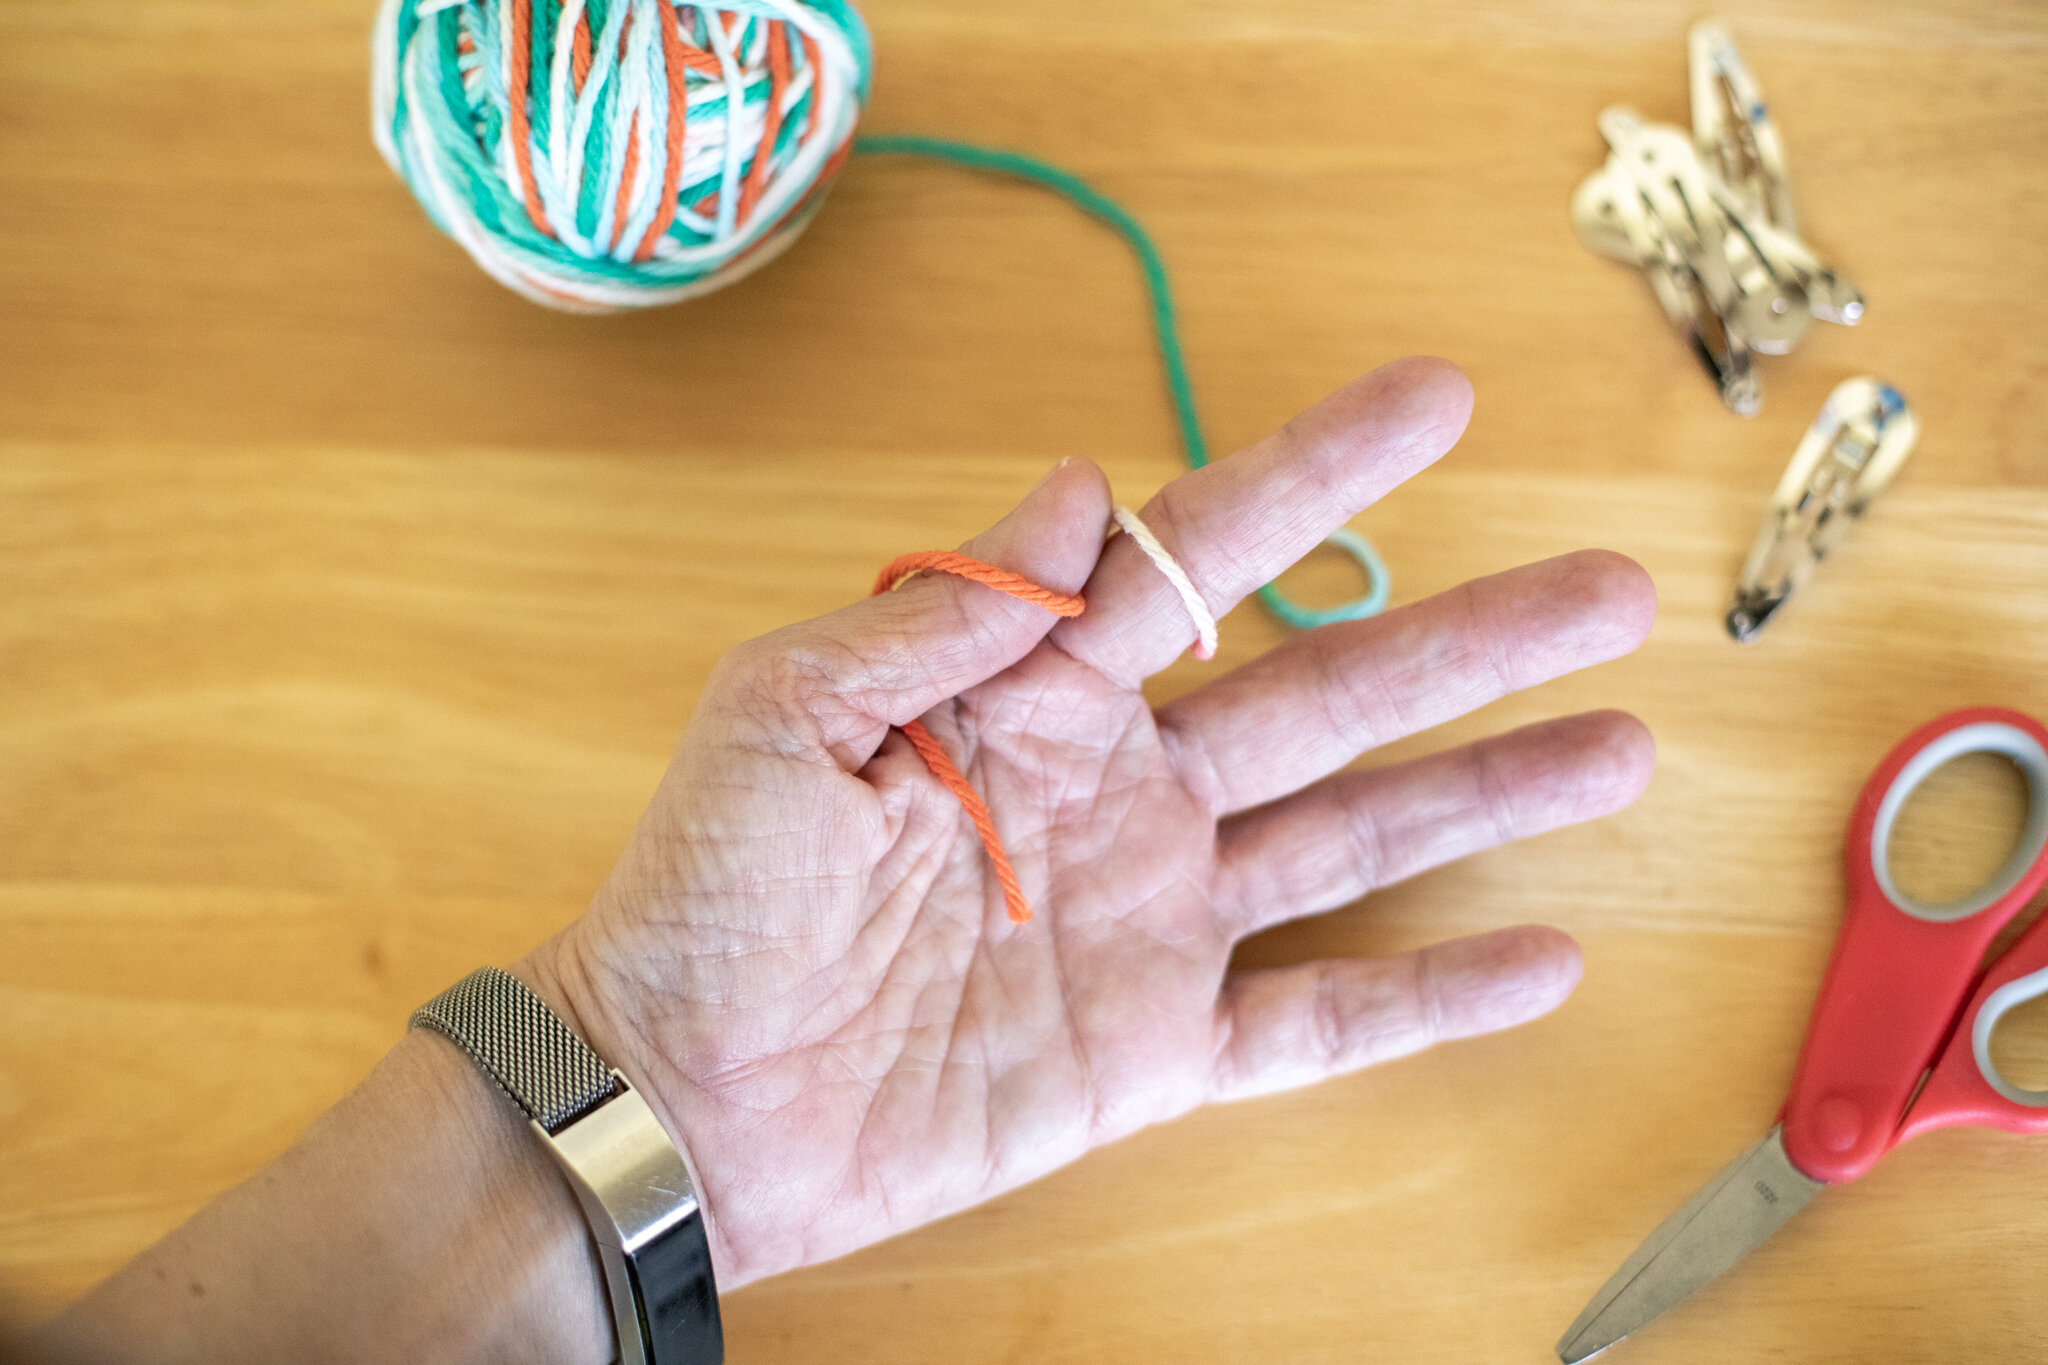
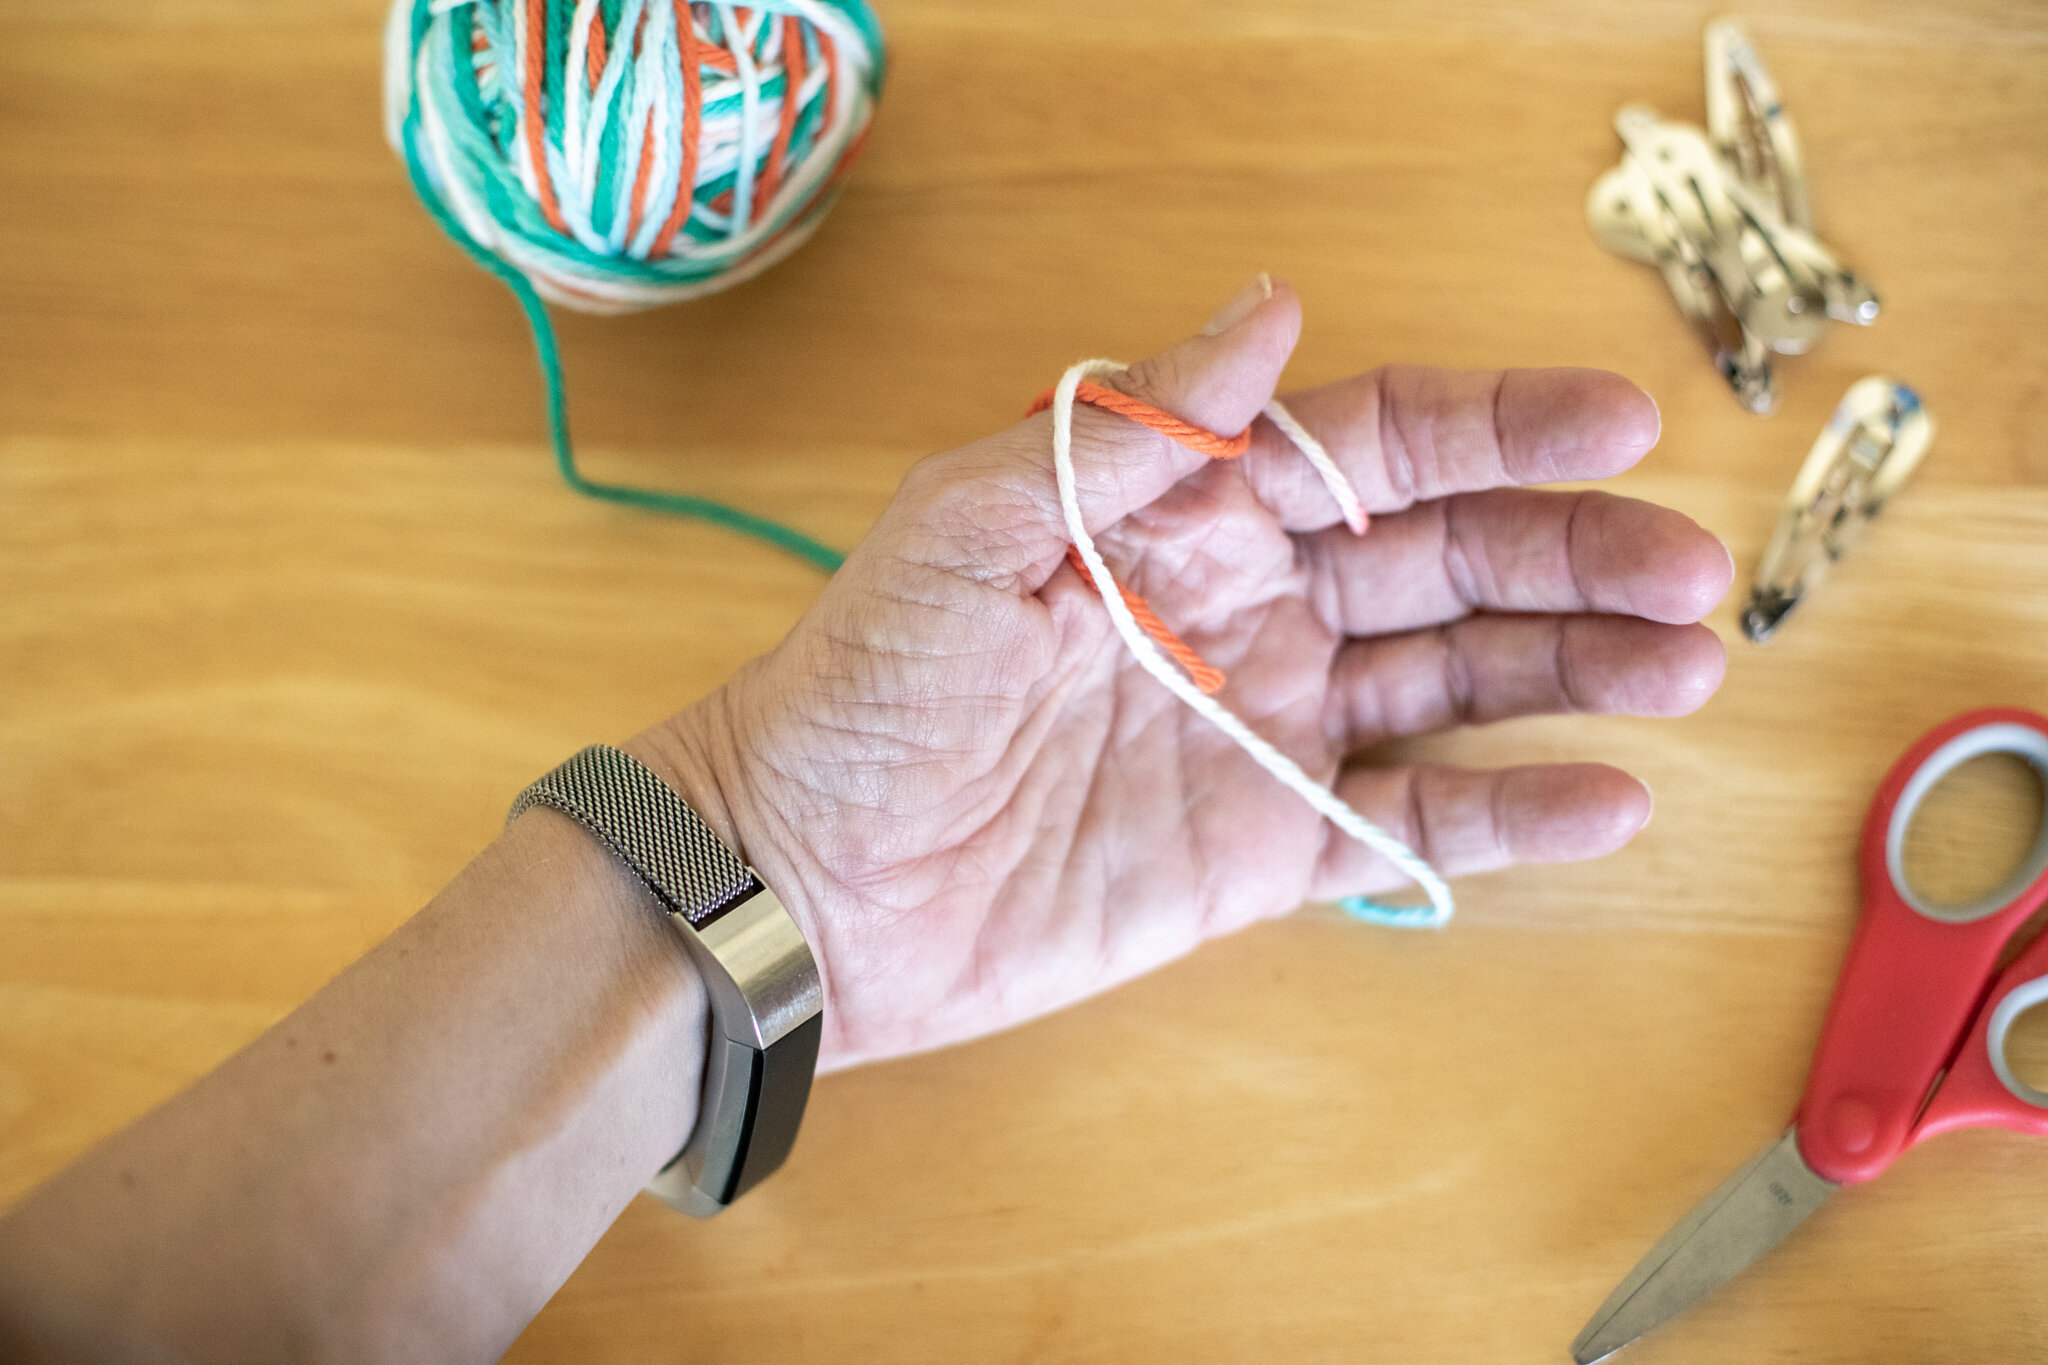
And children love making yarn balls. It’s a soothing and satisfying process. When you make them soon after bringing new yarn home, you can avoid the tangled mess photographed above. I have two different ways to start the yarn ball. You can try each and choose the way that’s easier for you. We would teach “granny’s glasses” (the first way) because it was a little easier for kids to start the ball after they figured out how to get it around their thumb and finger successfully.
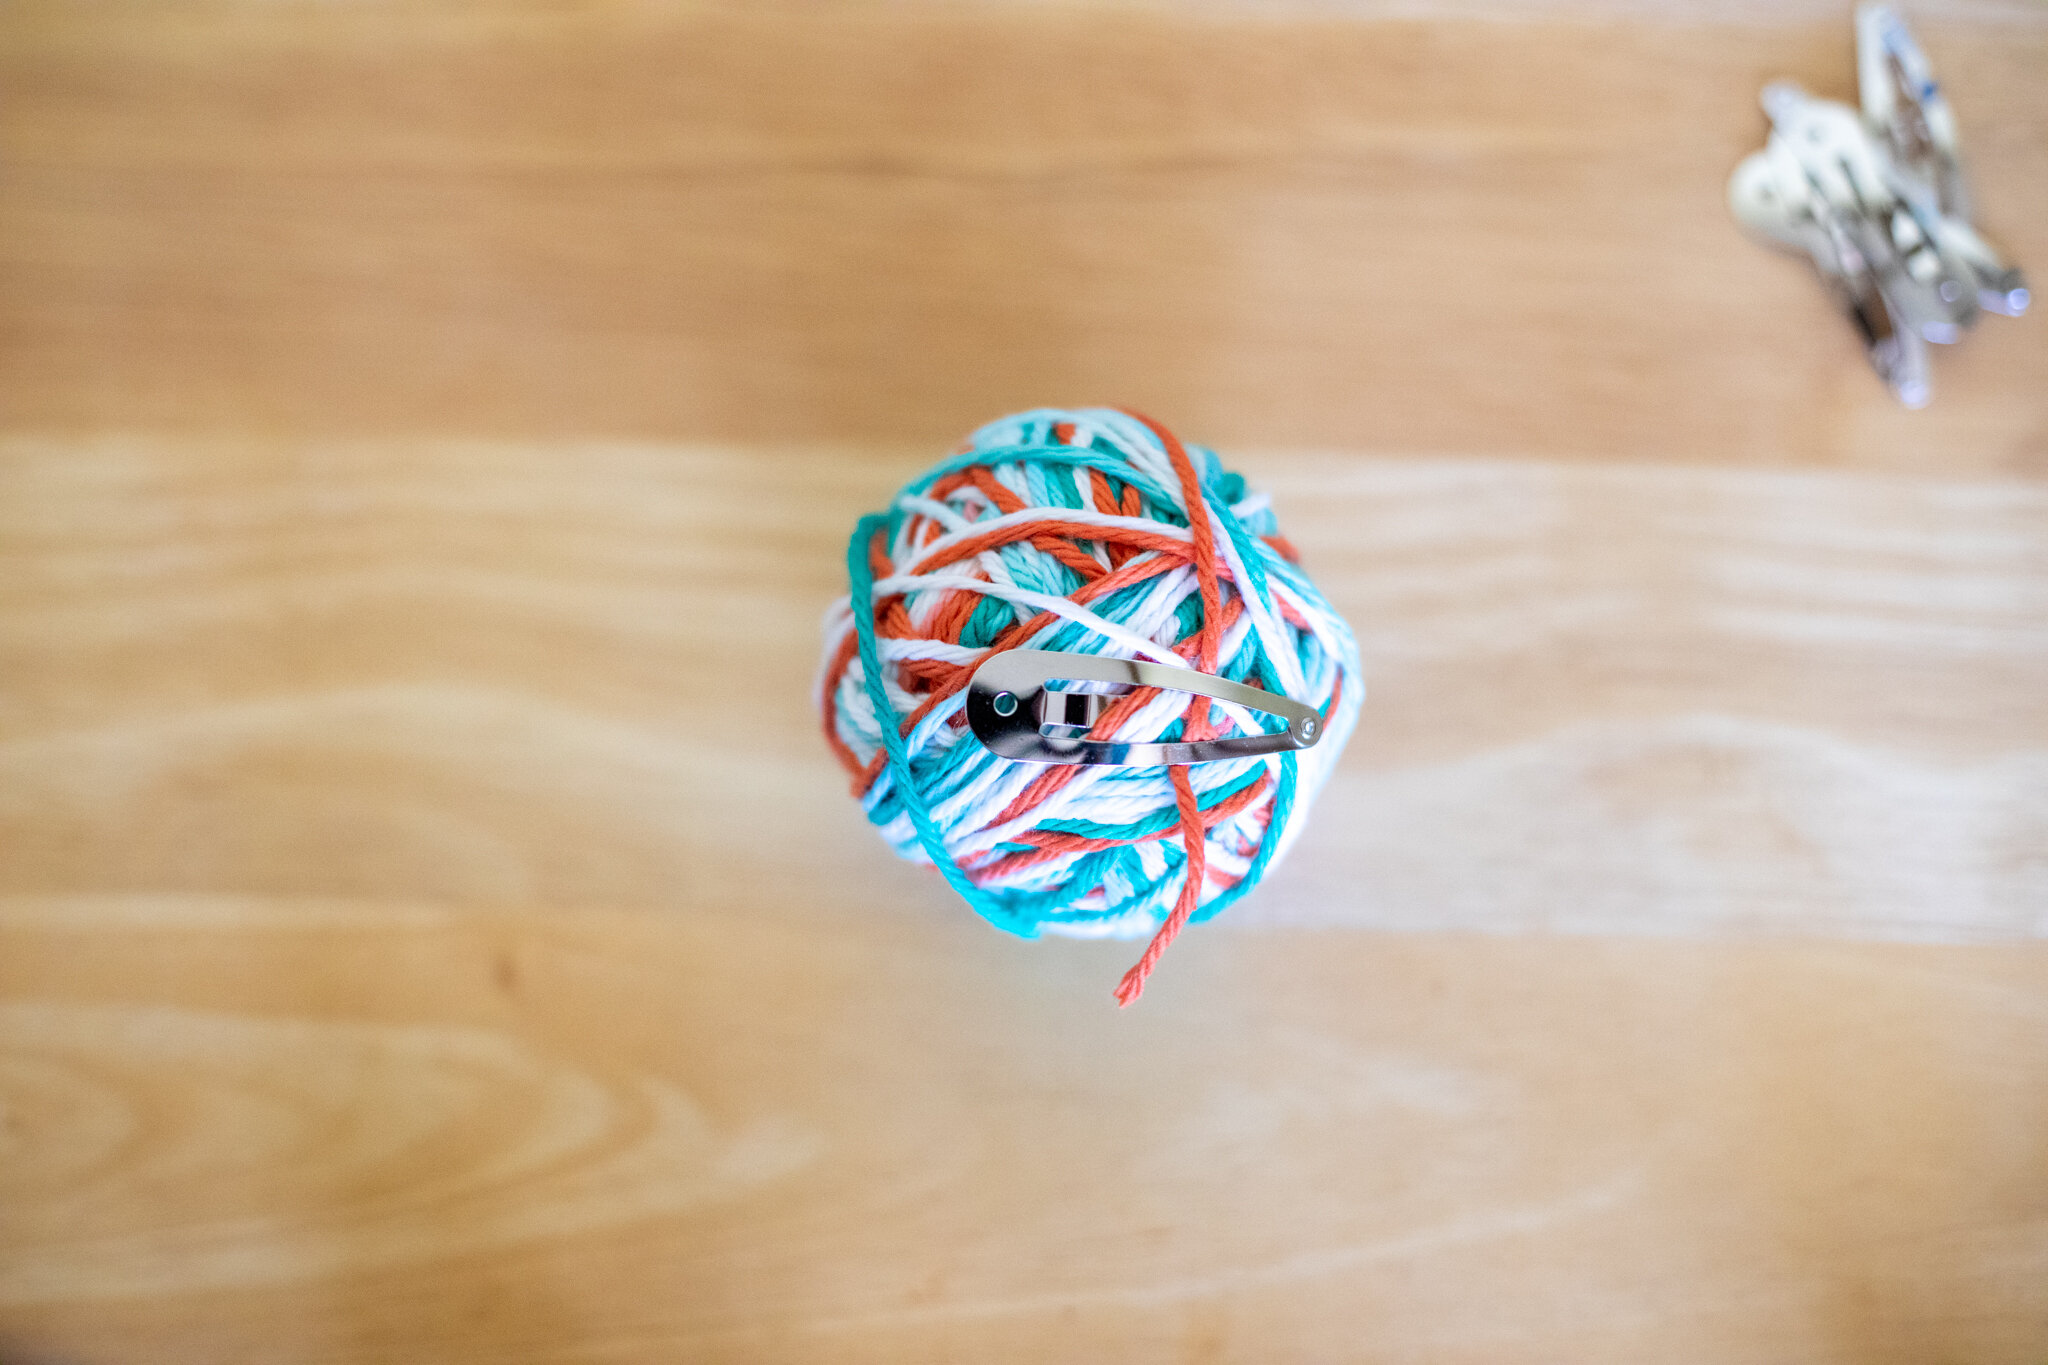
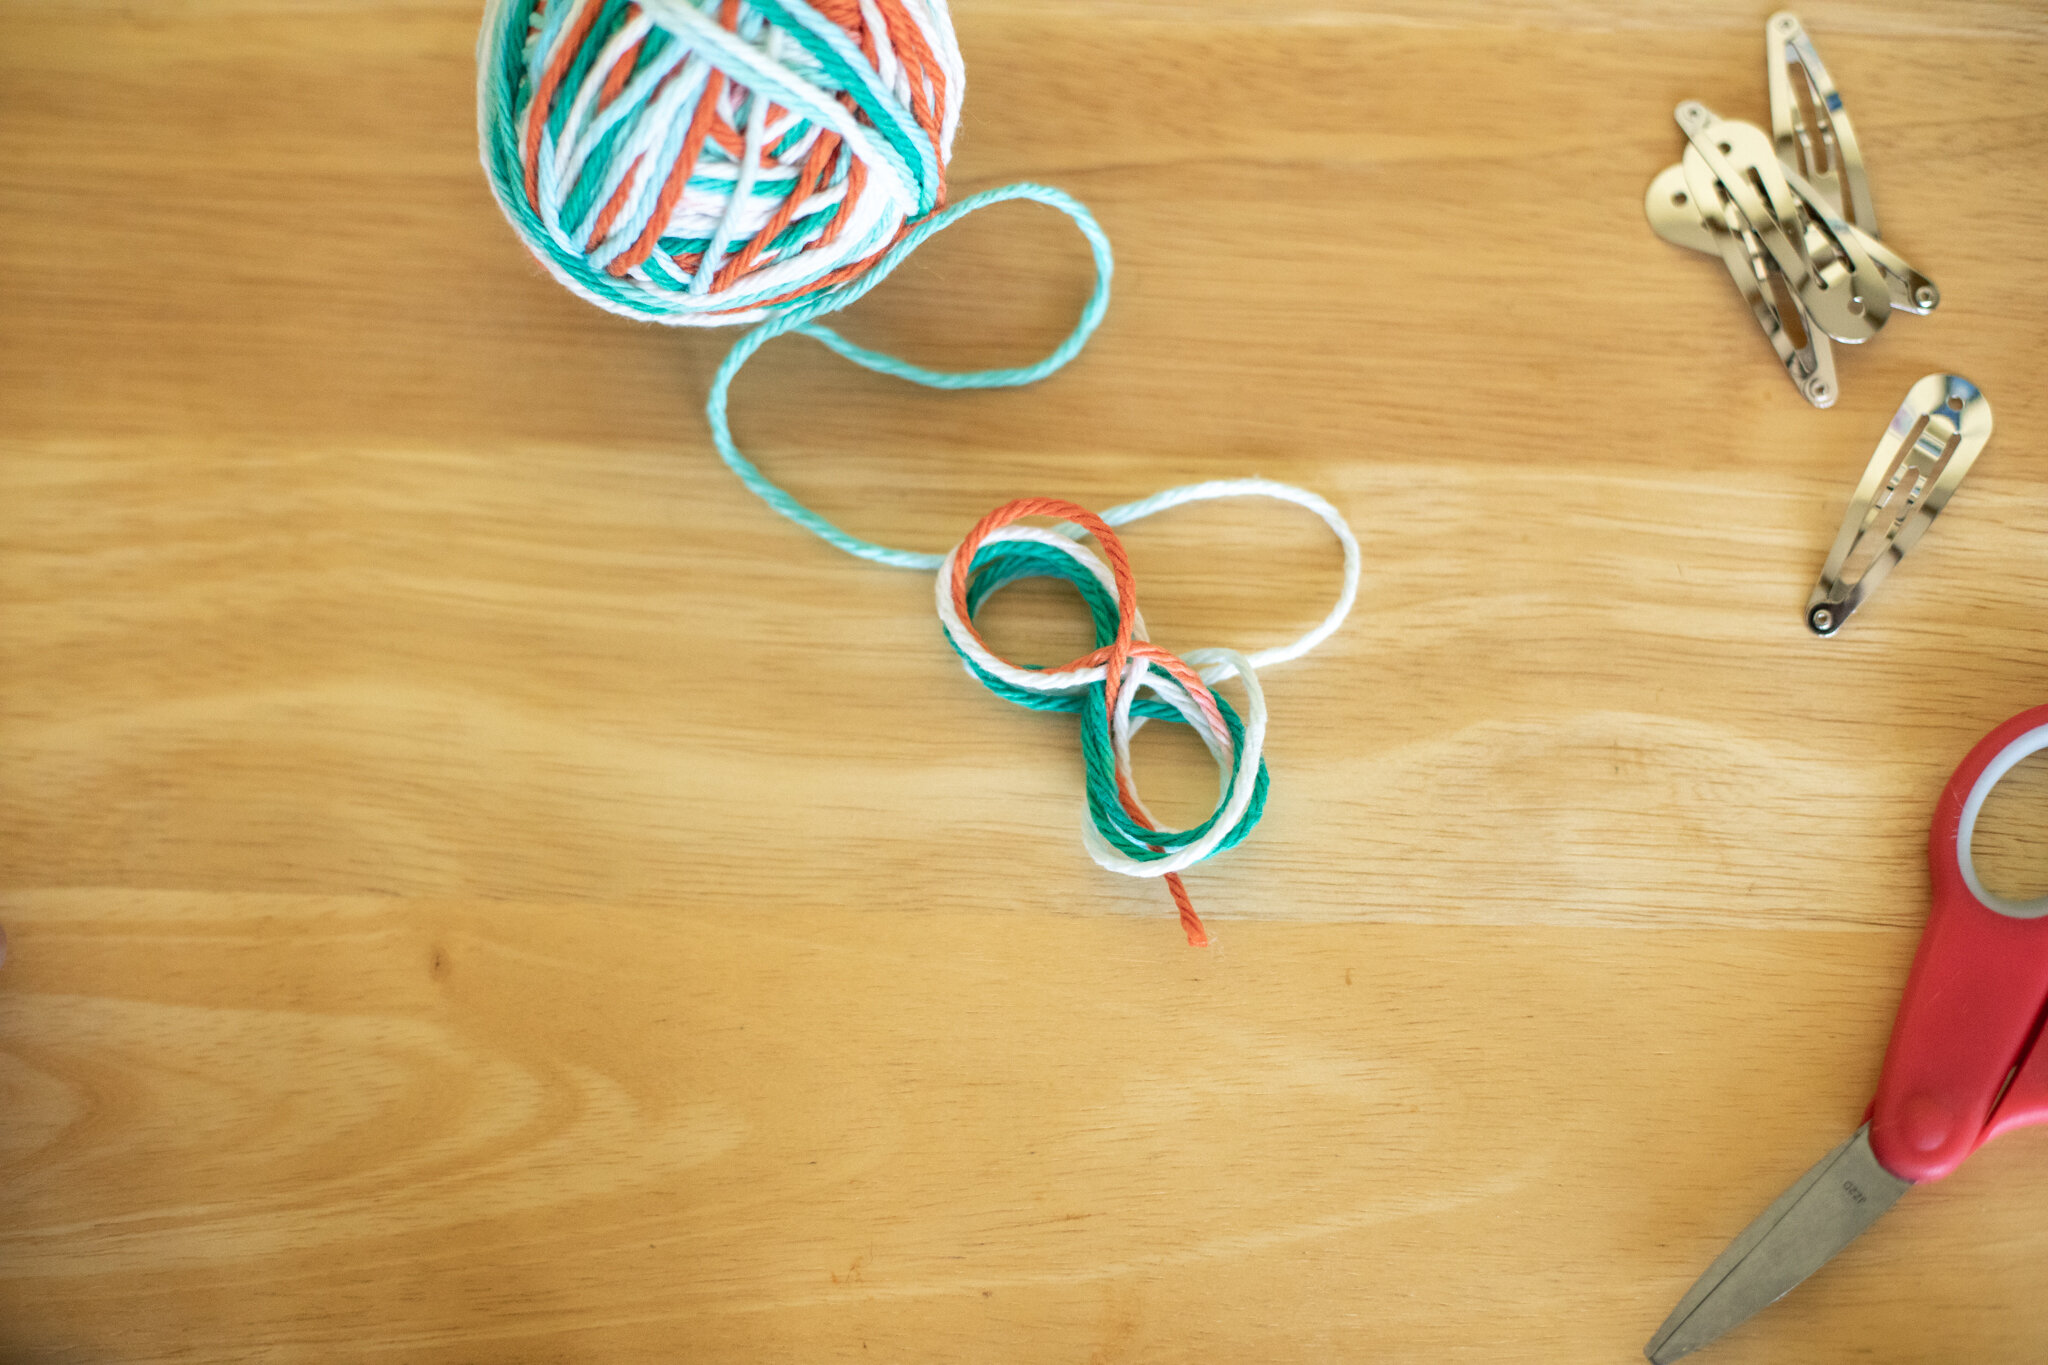
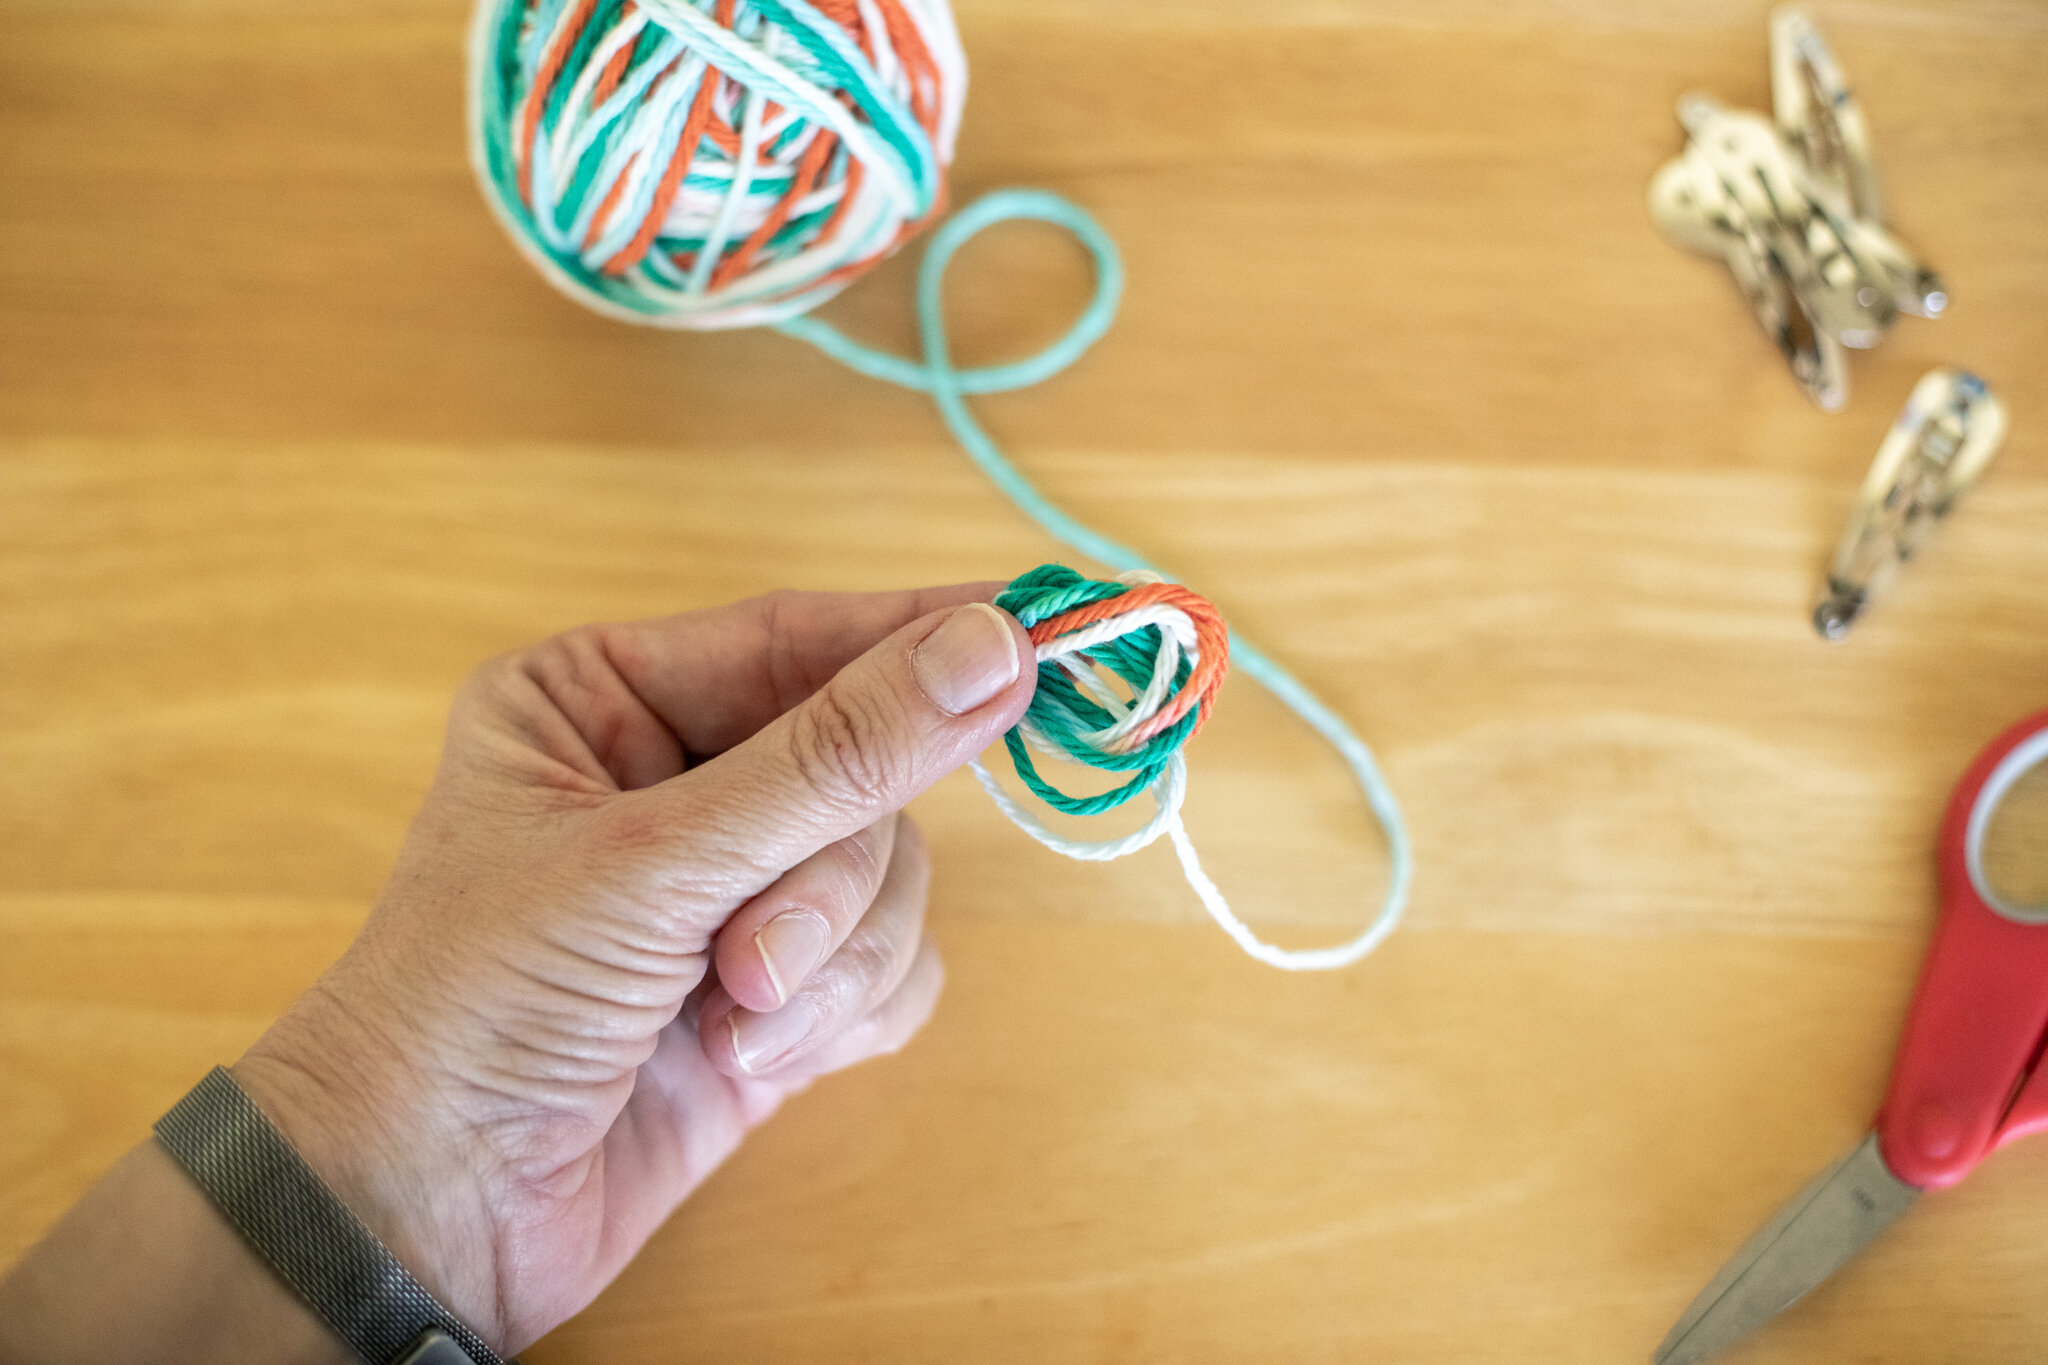
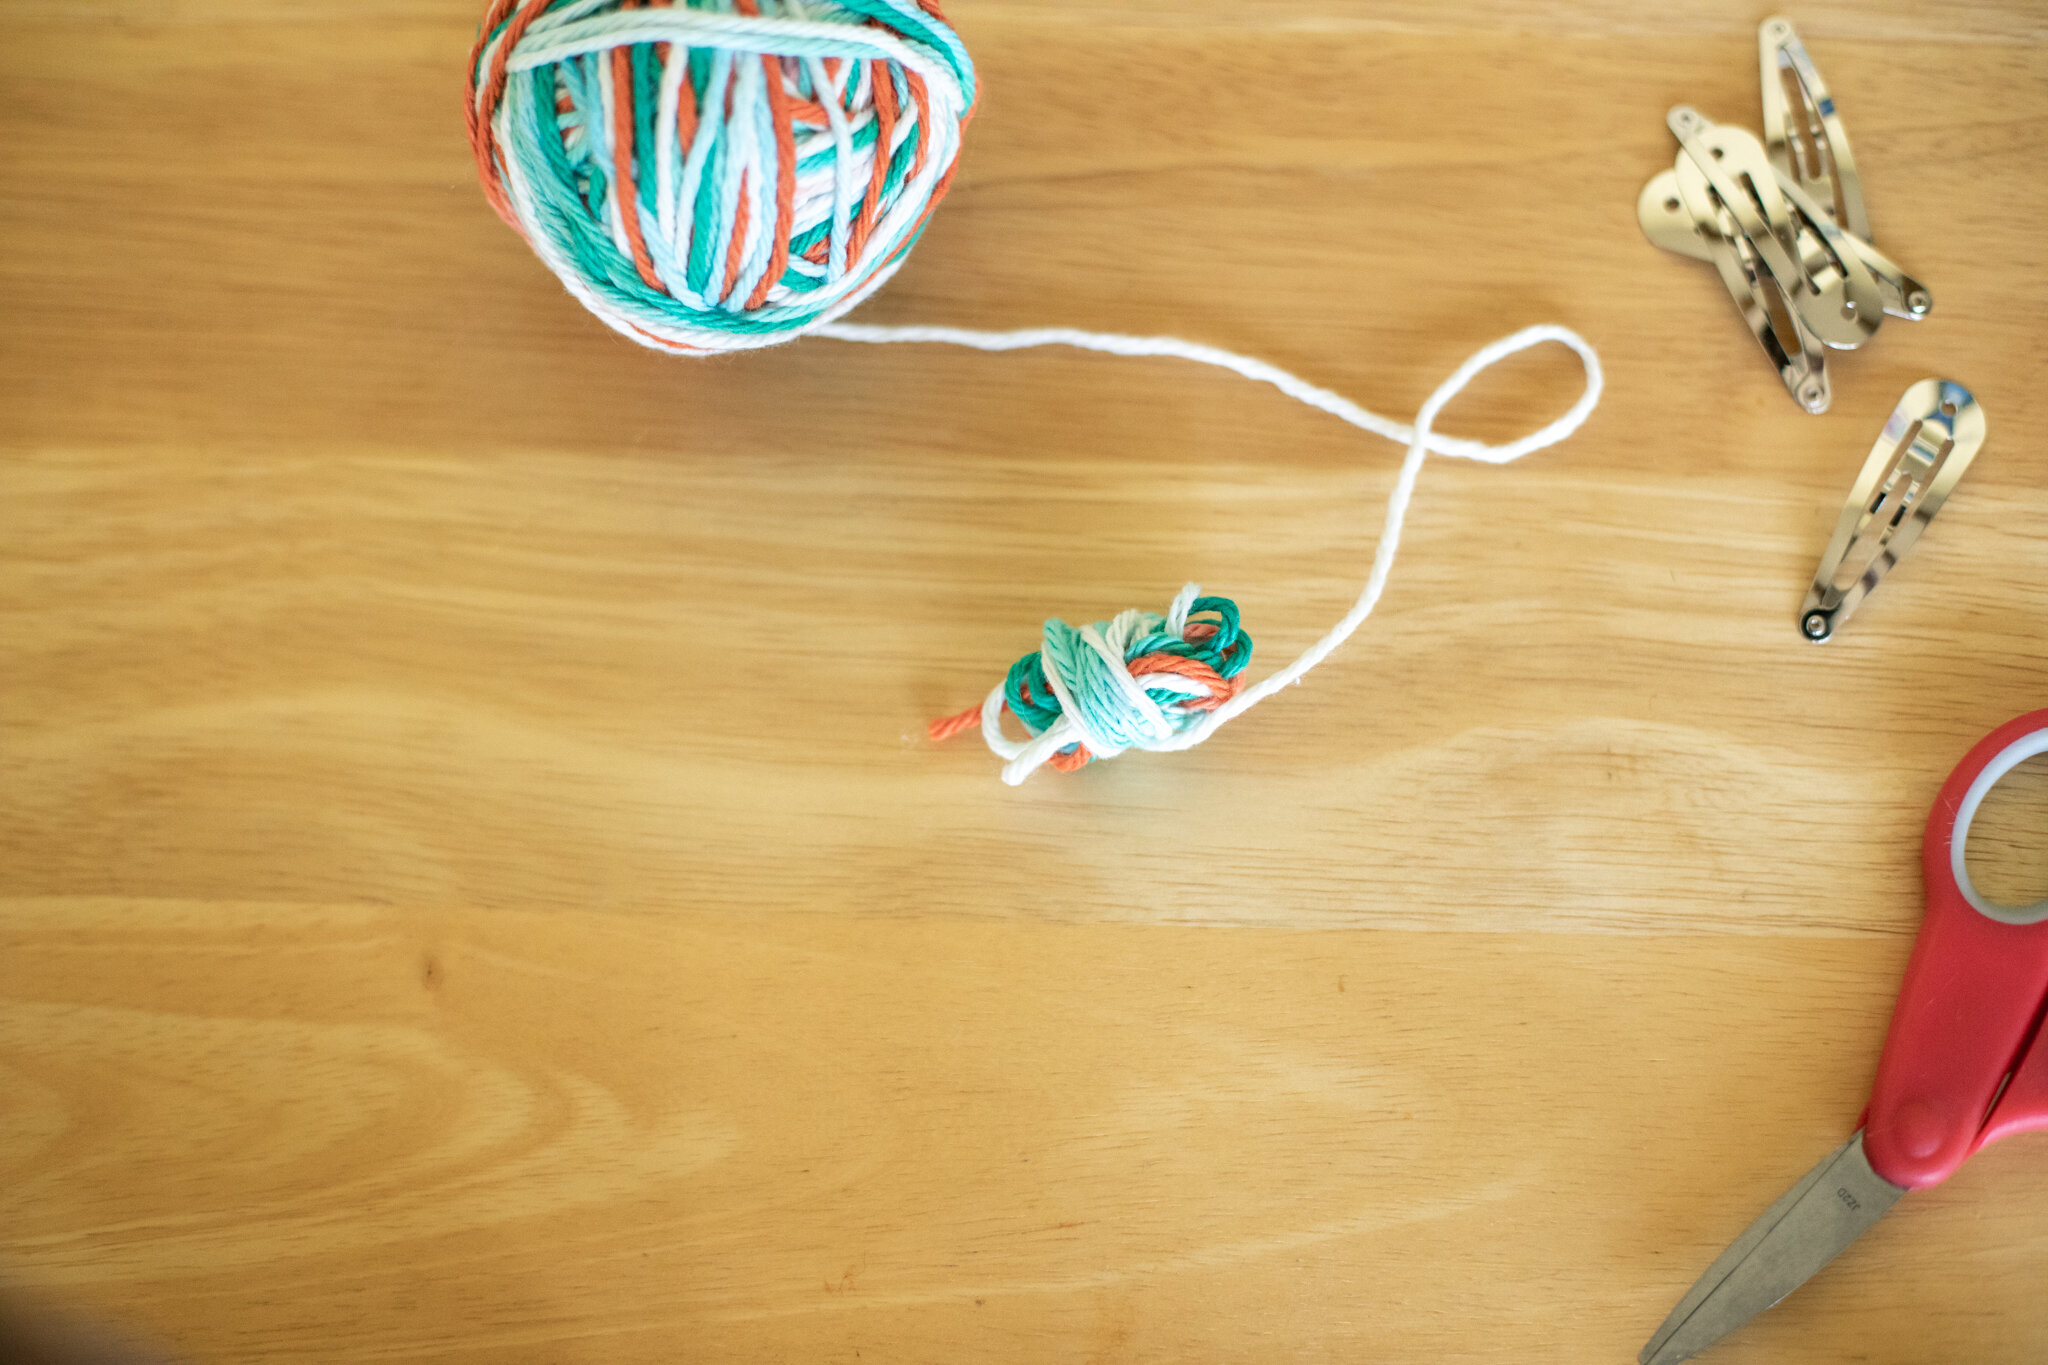
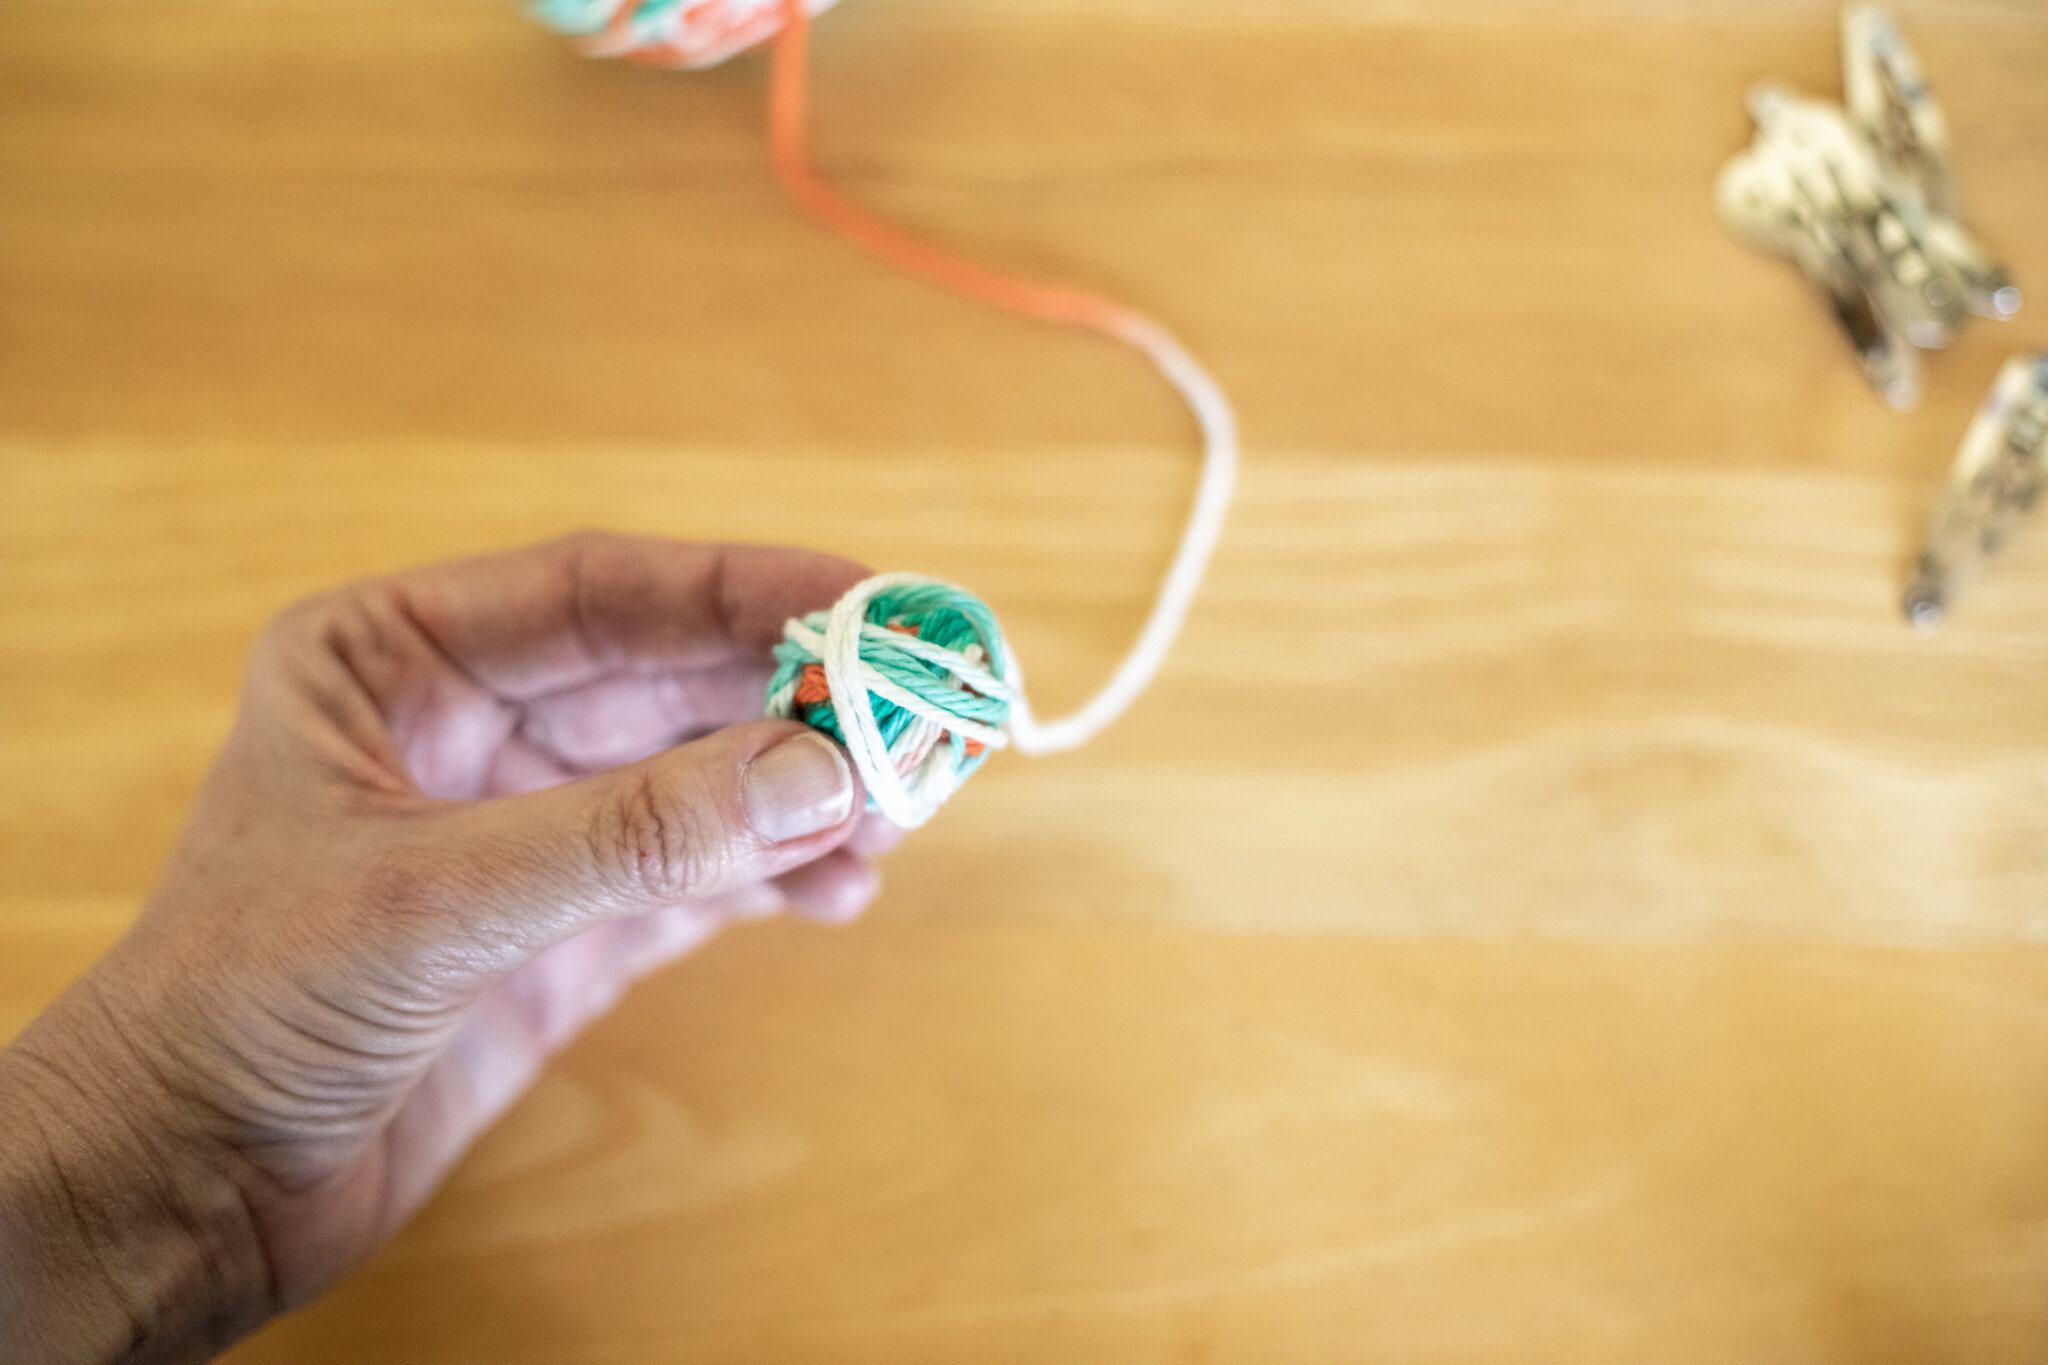
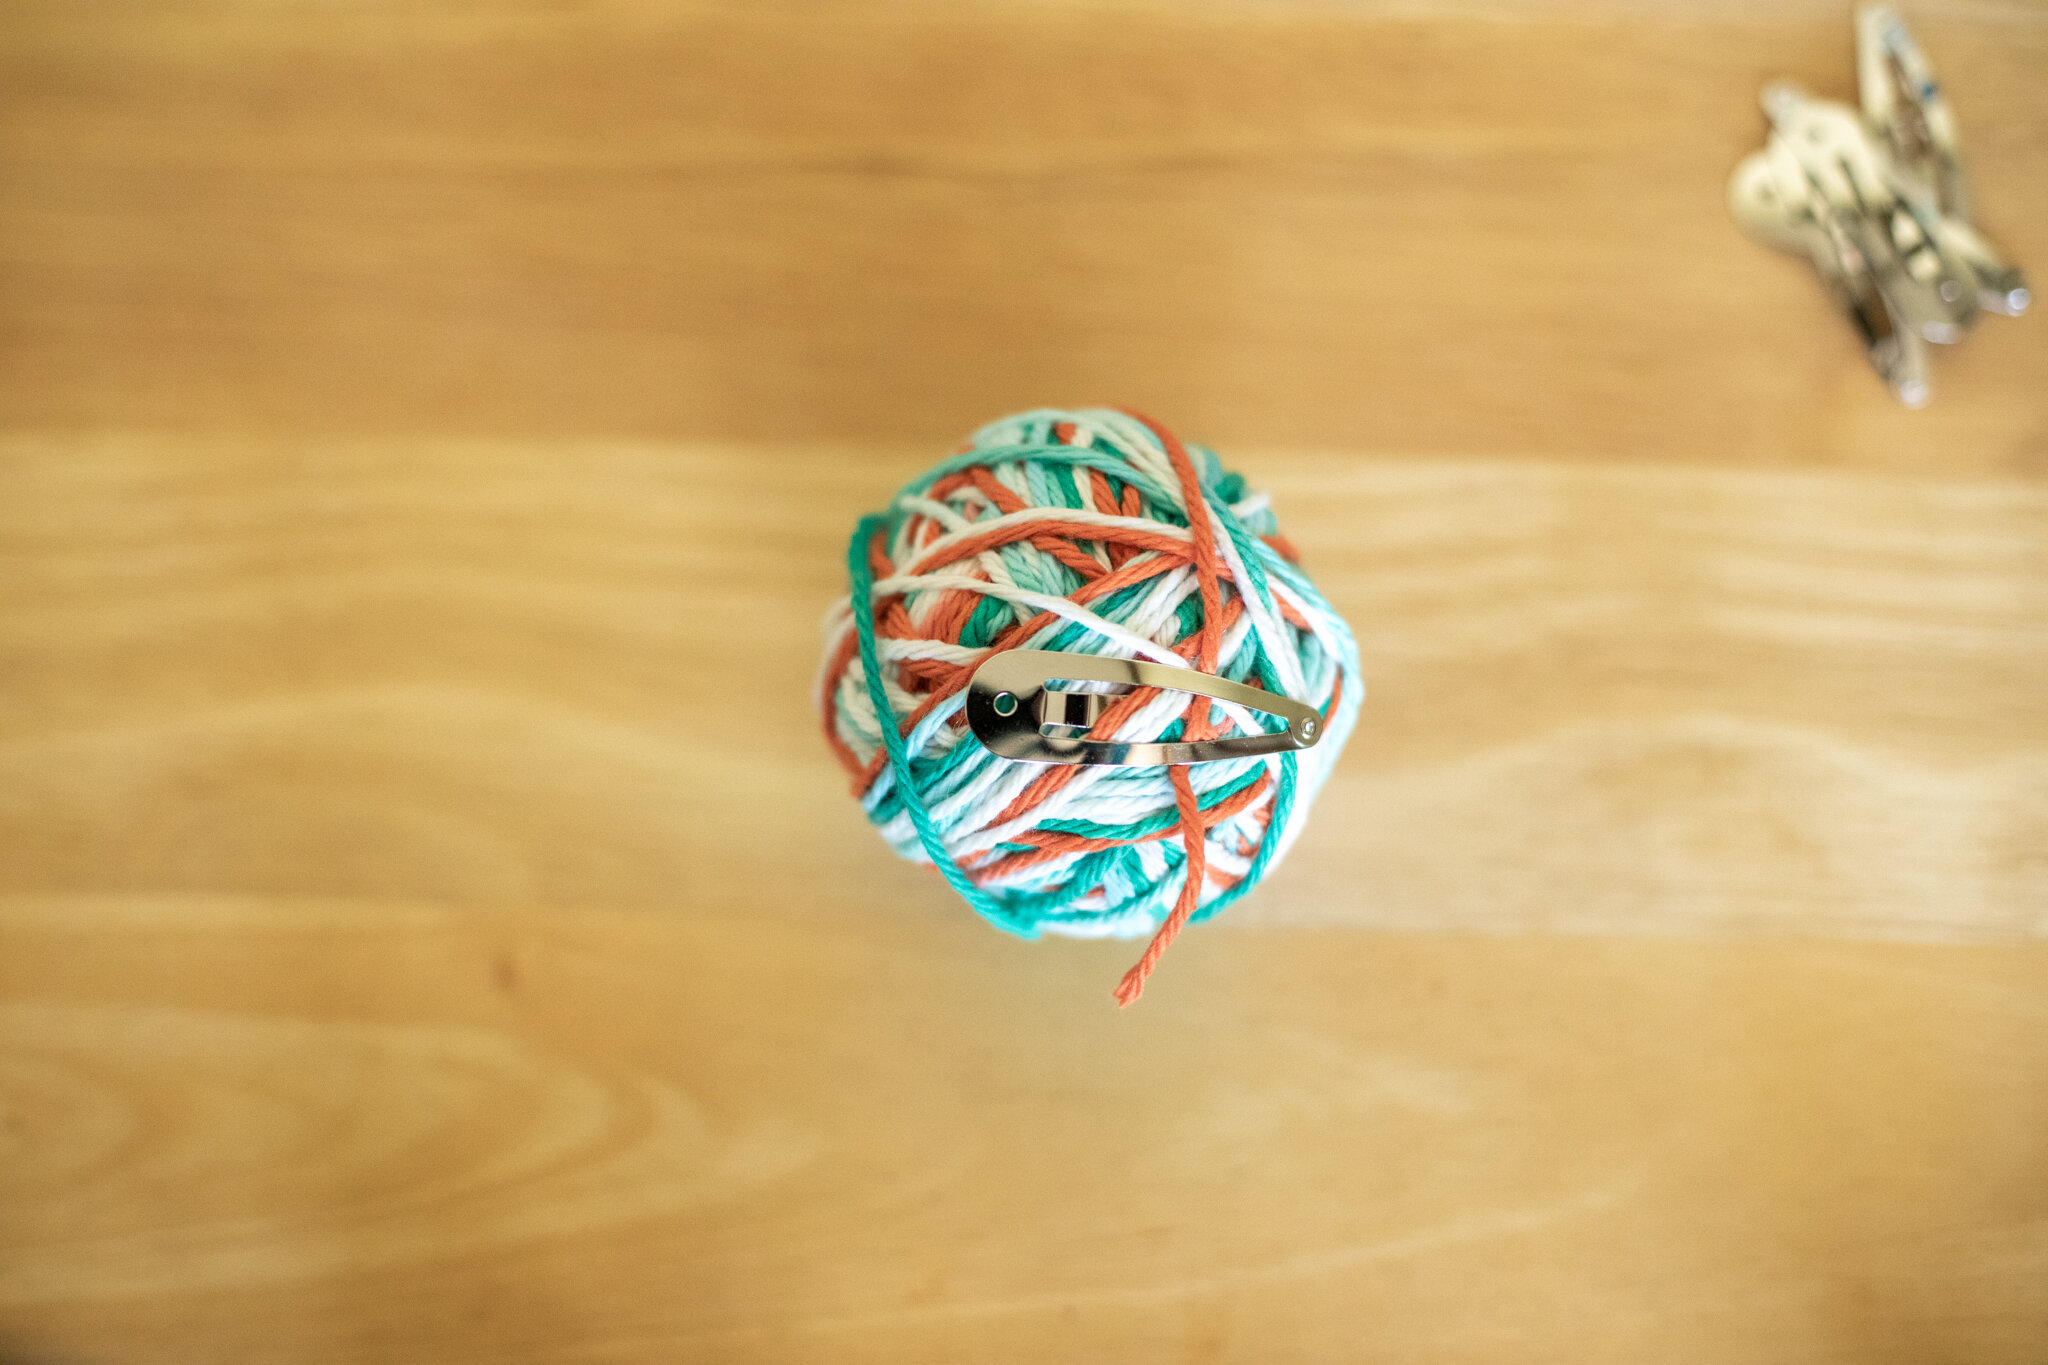
For young-young children, we would start the ball for them (because the first few steps require the most fine motor skills), and then hand it over so they could wind it bigger. For classes, we would make the ball a few inches wide (not very big) because projects didn’t need very much yarn and that way no one monopolized a color for very long (ten smaller balls was easier in a classroom than 1 giant ball). At home, I wind the cotton yarn for fairy hair into one big ball because I don’t need to share (and fairies only need a little). You can stop the ball anytime. Simply clip the yarn and secure it with a bit of tape or a springy hairclip so they won’t unwind and tangle in a basket.

Supplies:
Yarn
Scissors
Optional: springy clips or scrap of tape to hold down the “tail” of yarn when finished

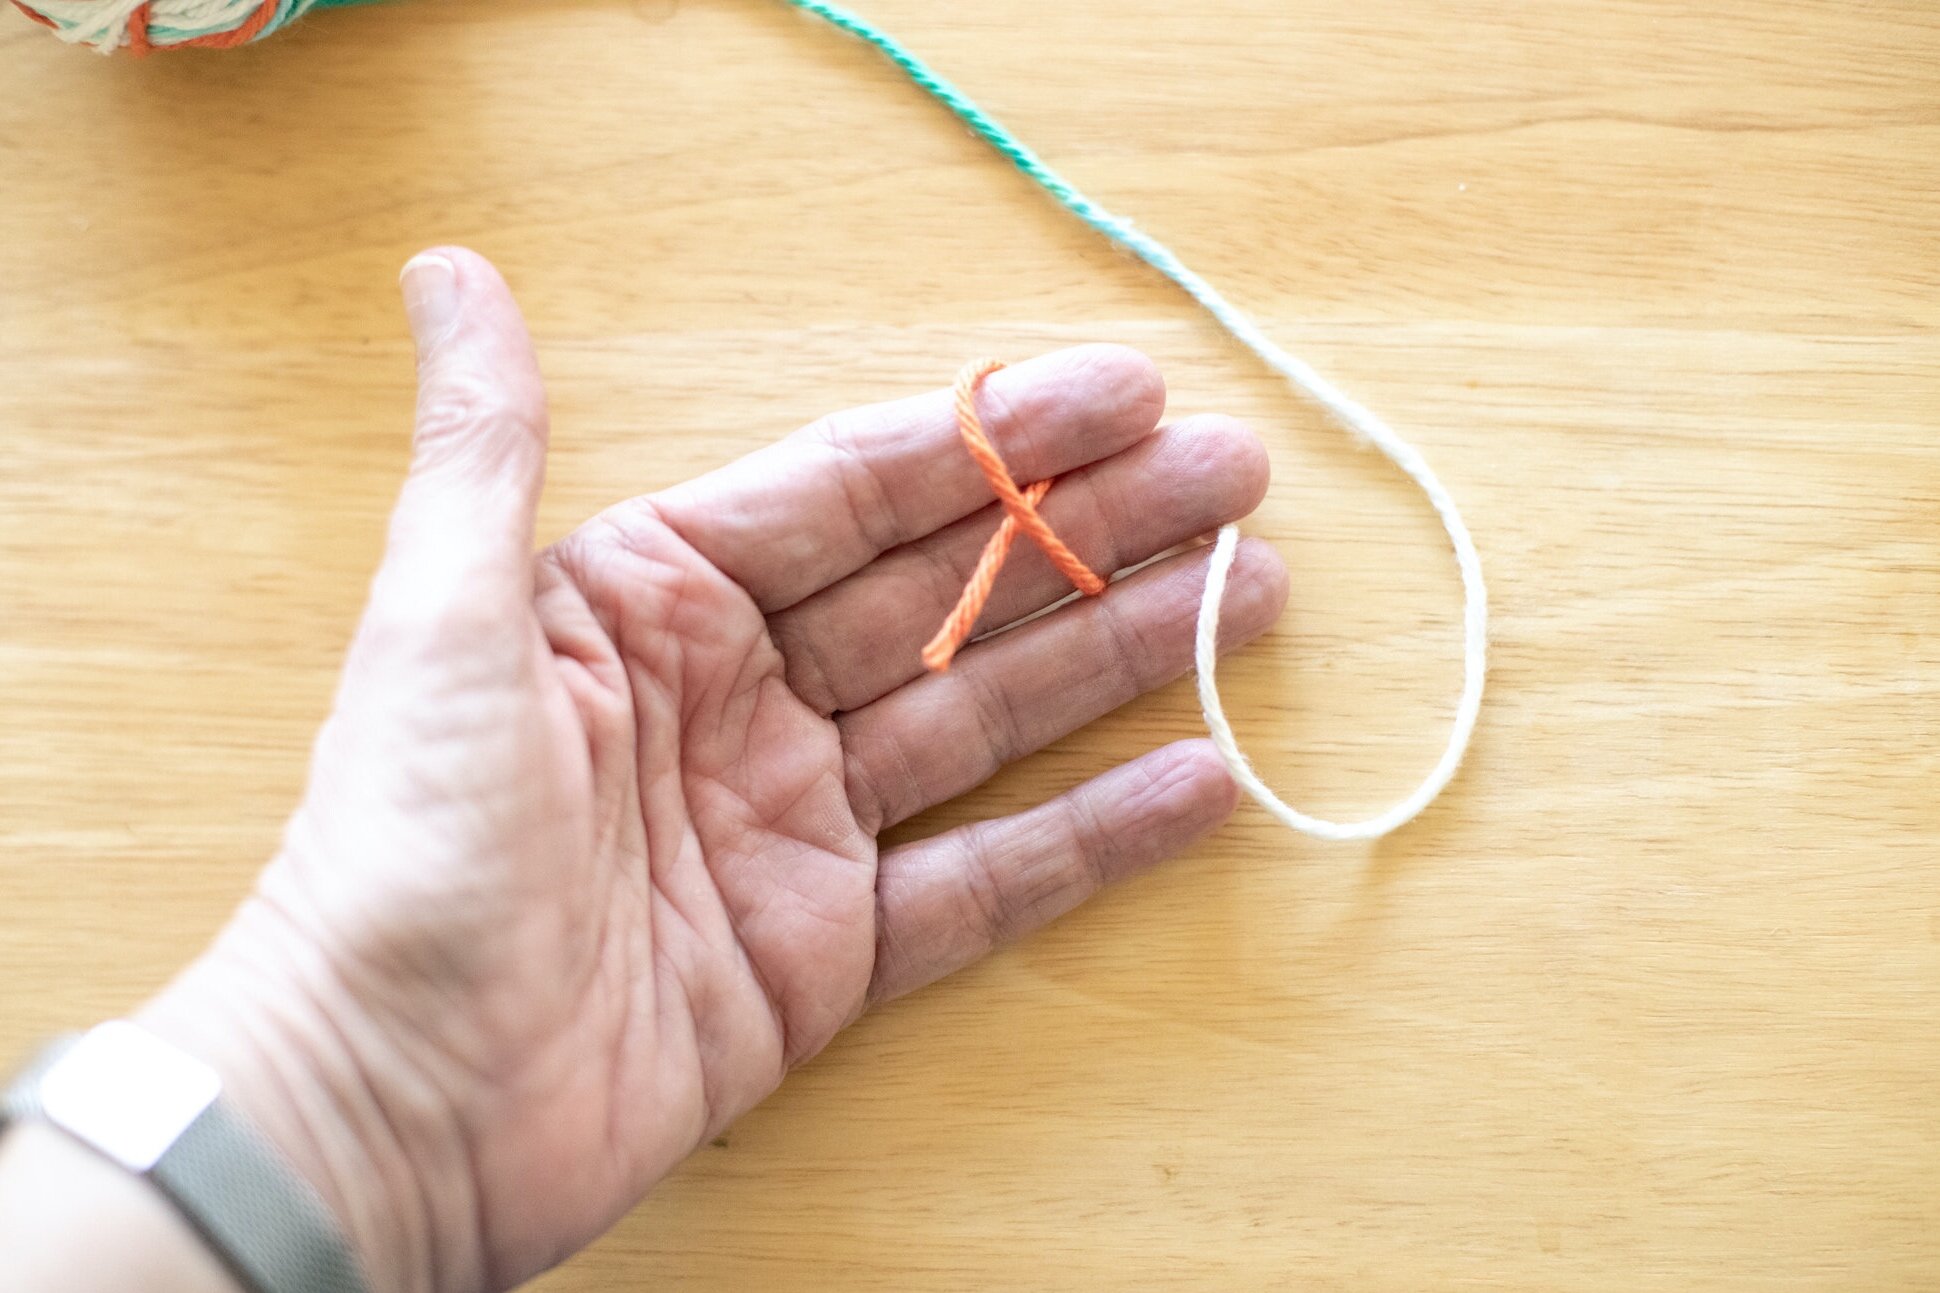
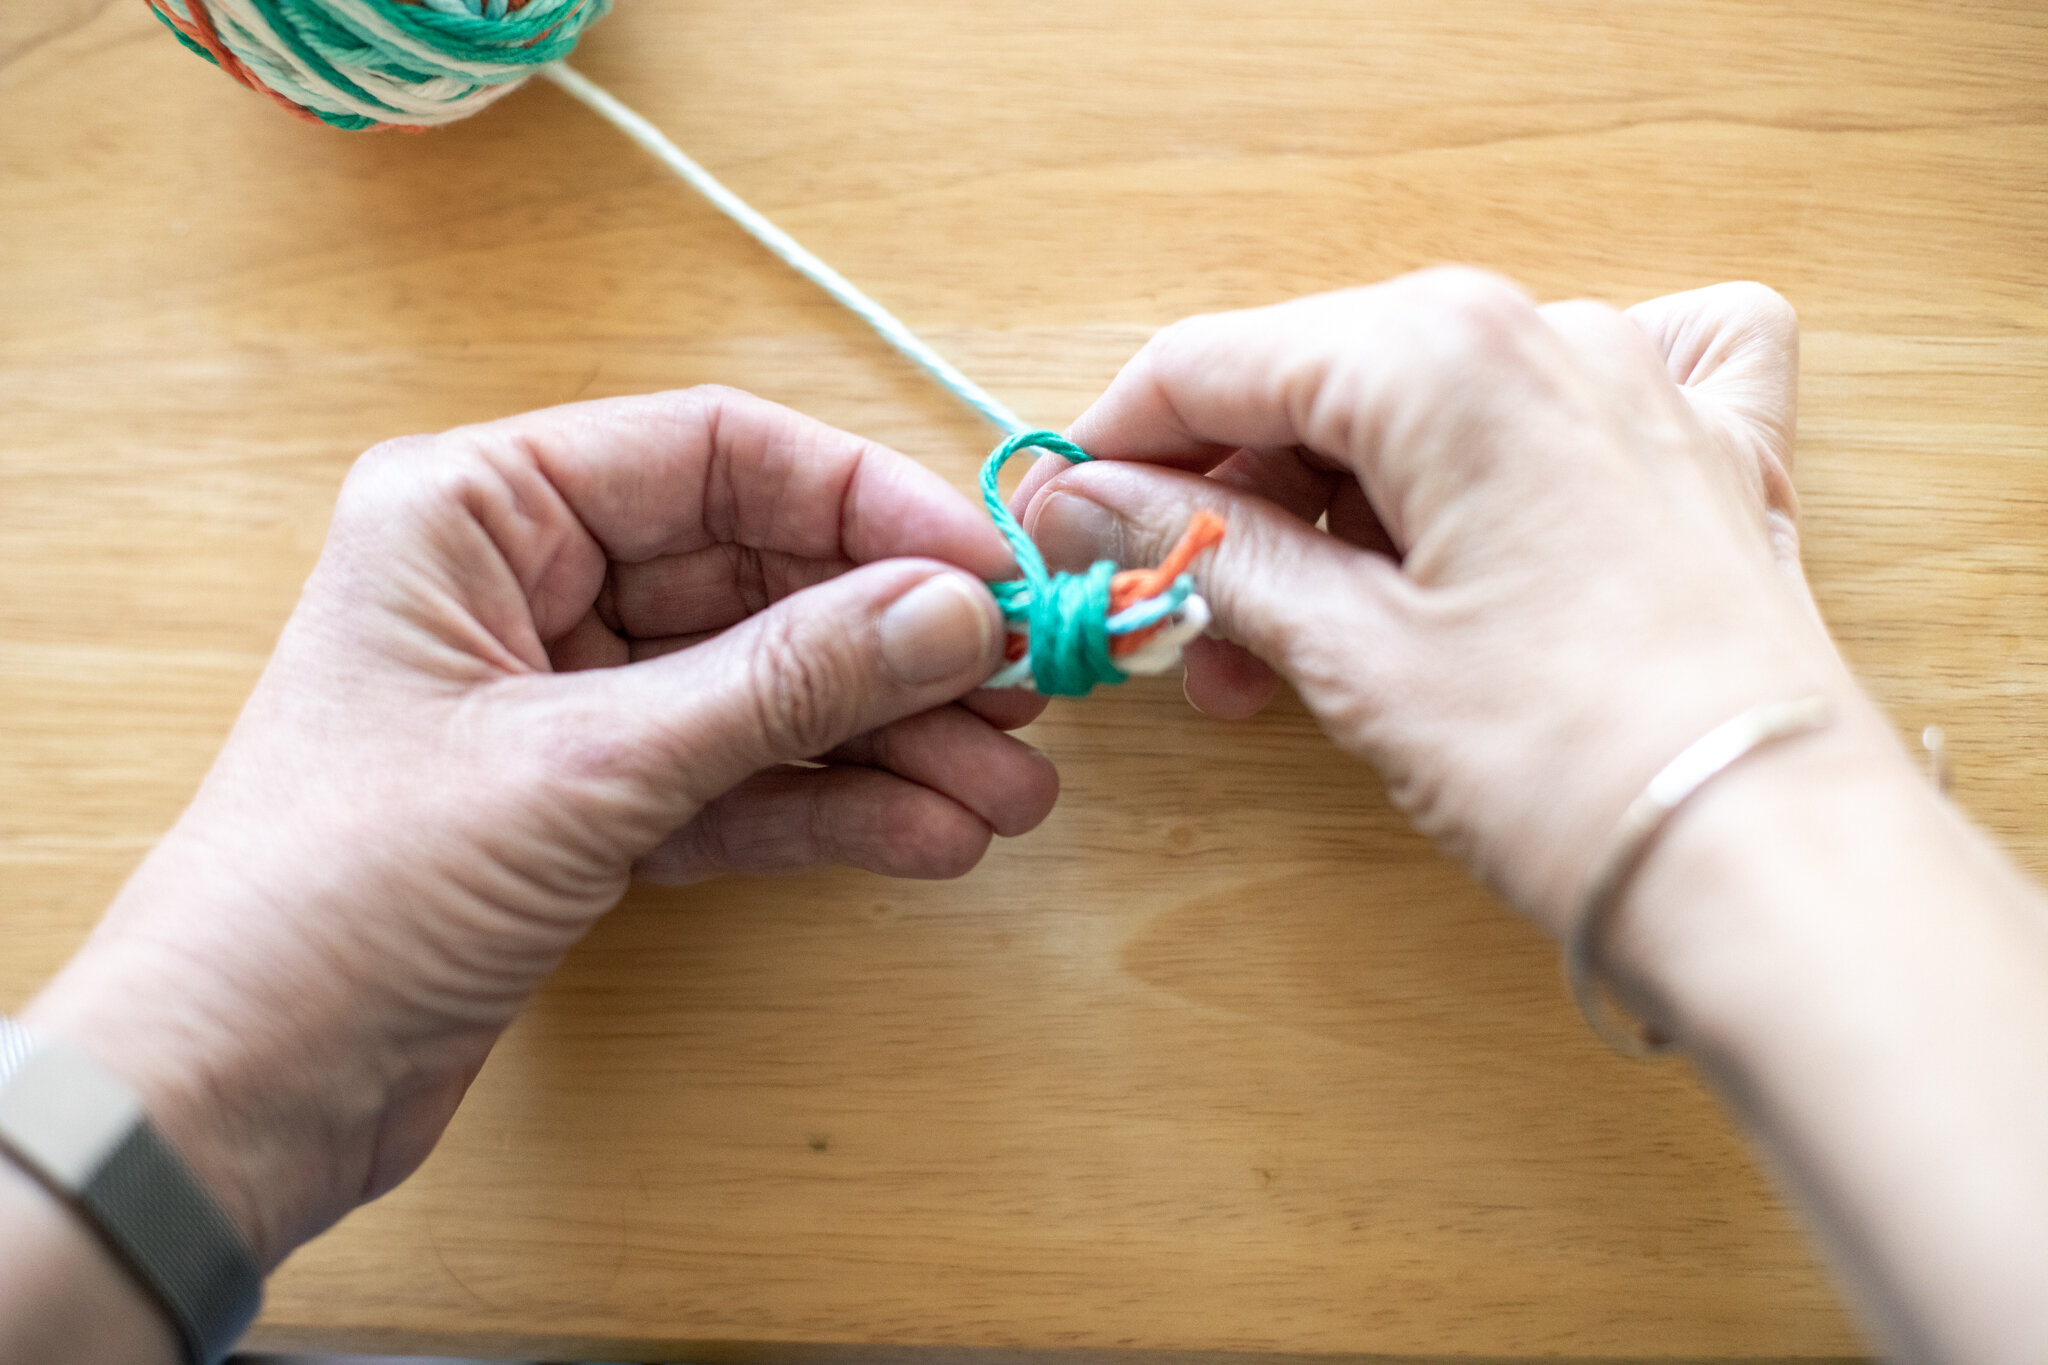
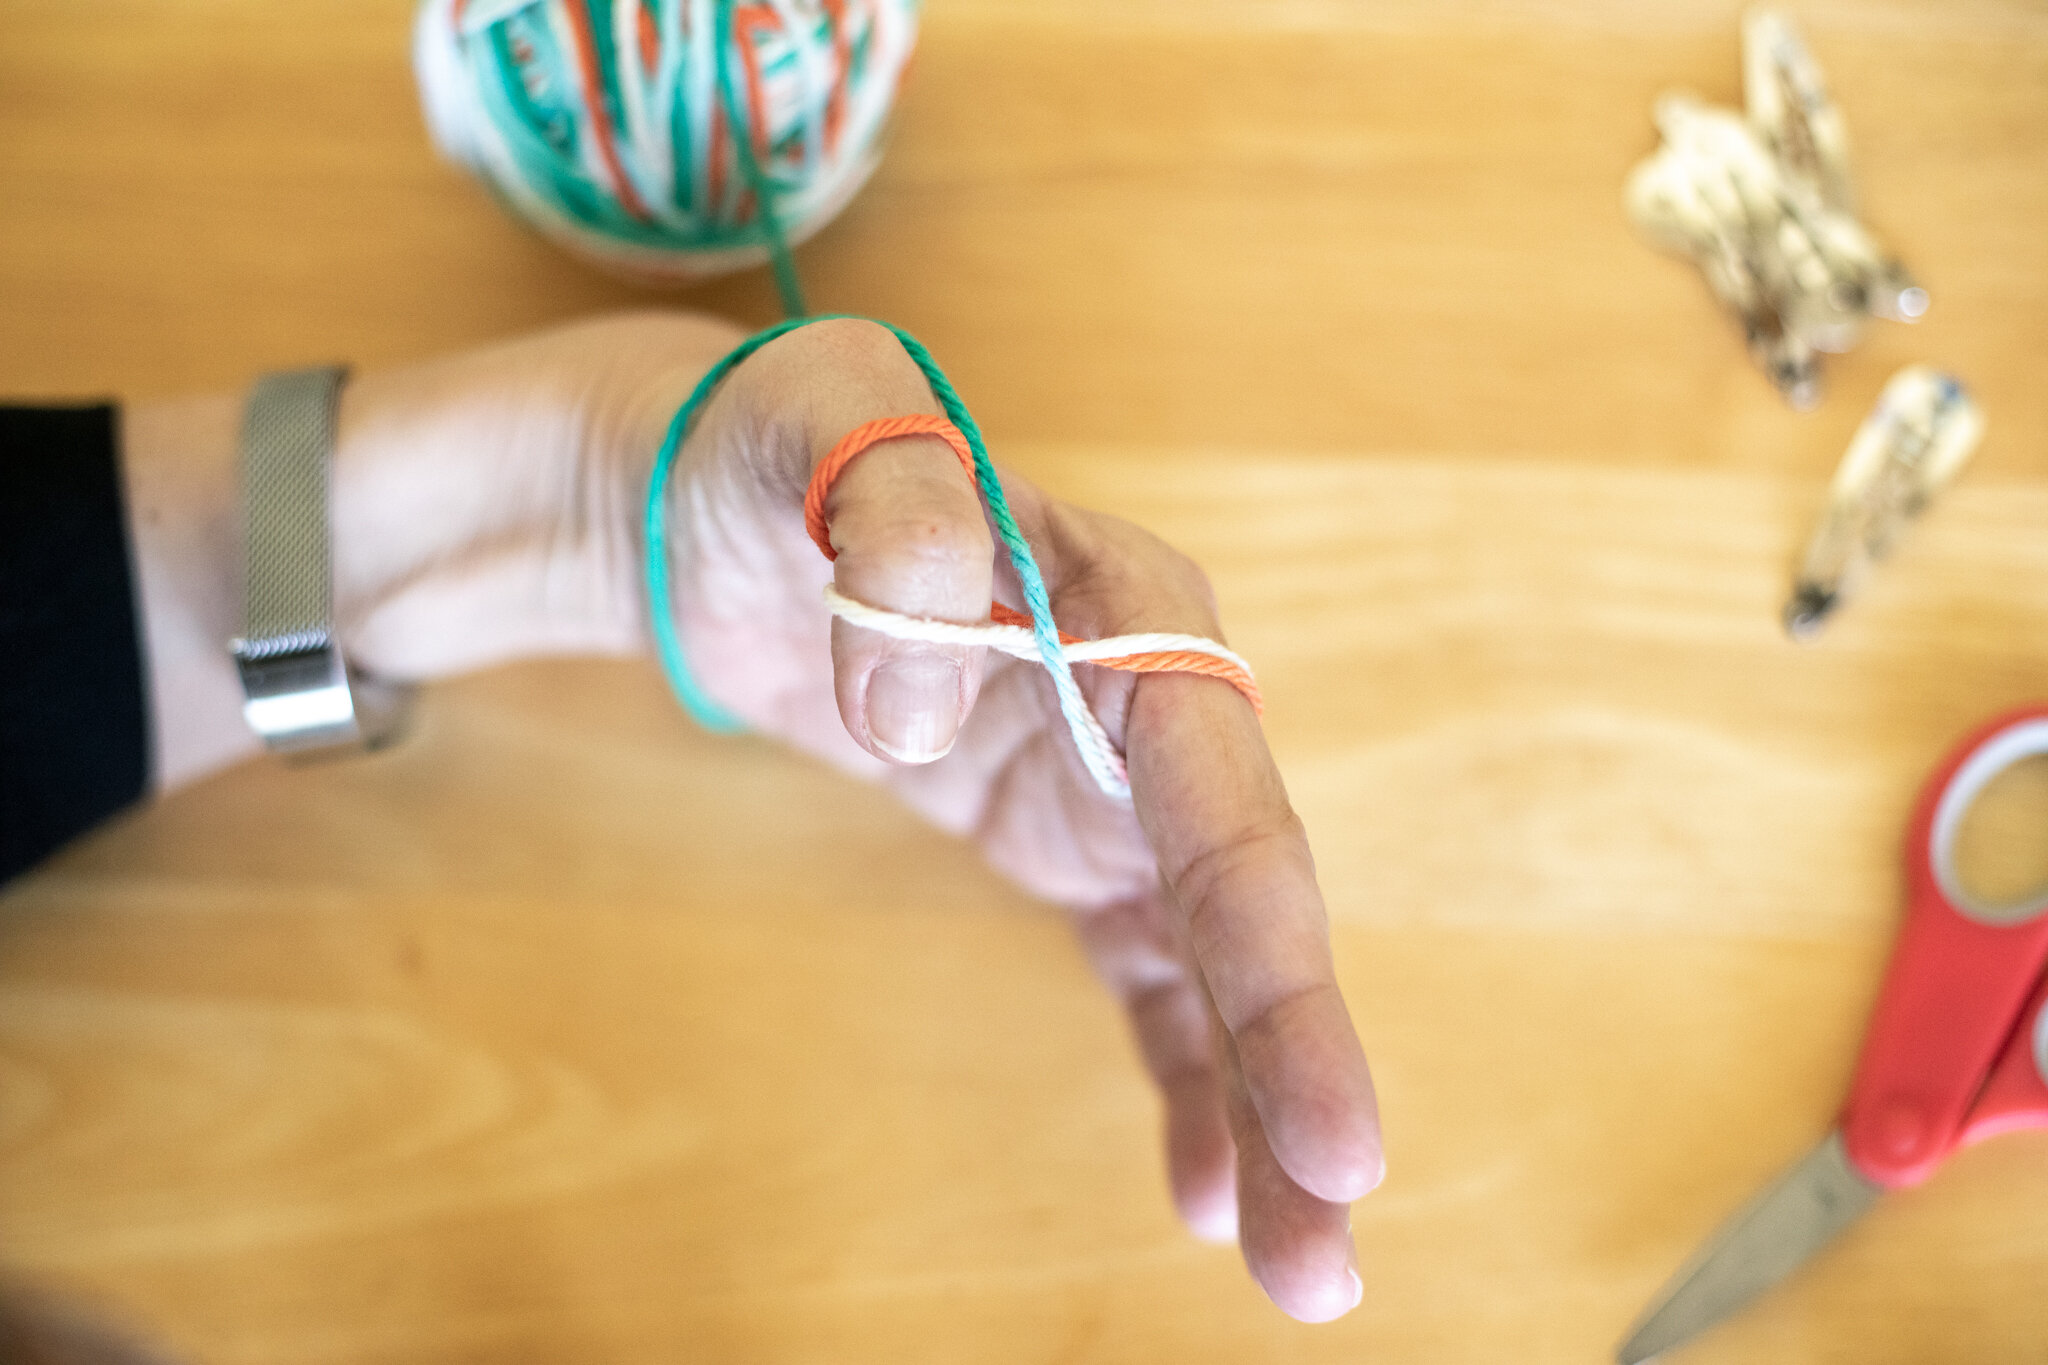
To start, tuck the yarn between you thumb and finger. I am right handed, so I hold the yarn with my left hand. You can try different hands to see which hand works better for you. Hold the yarn so it doesn’t come loose. The second photo shows the end of the yarn between the thumb and finger. The end can be fairly long so it doesn’t come loose too easily.
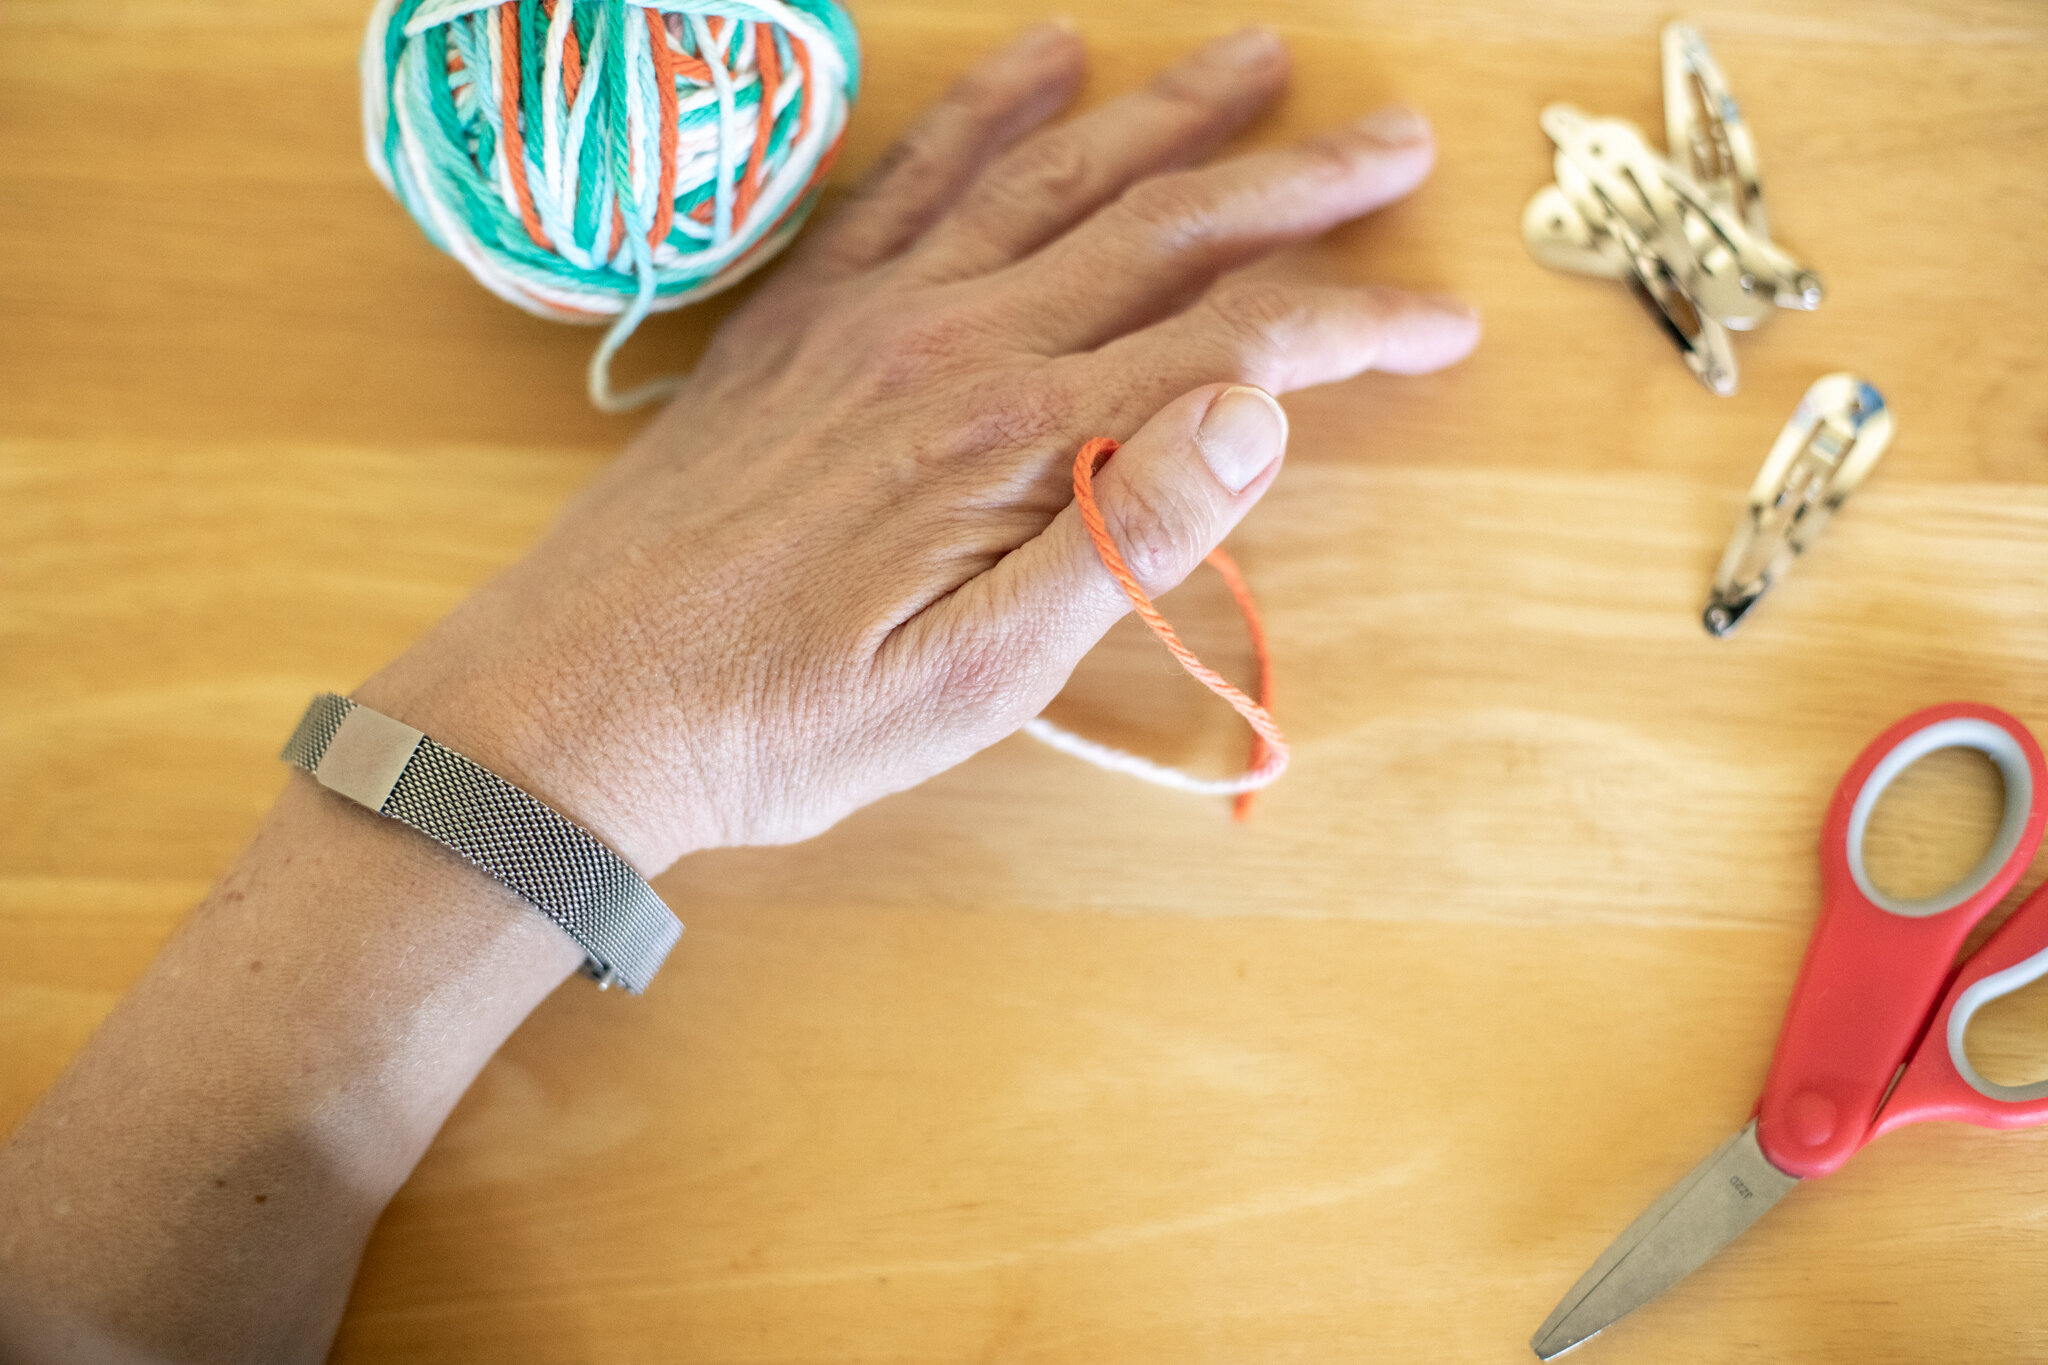
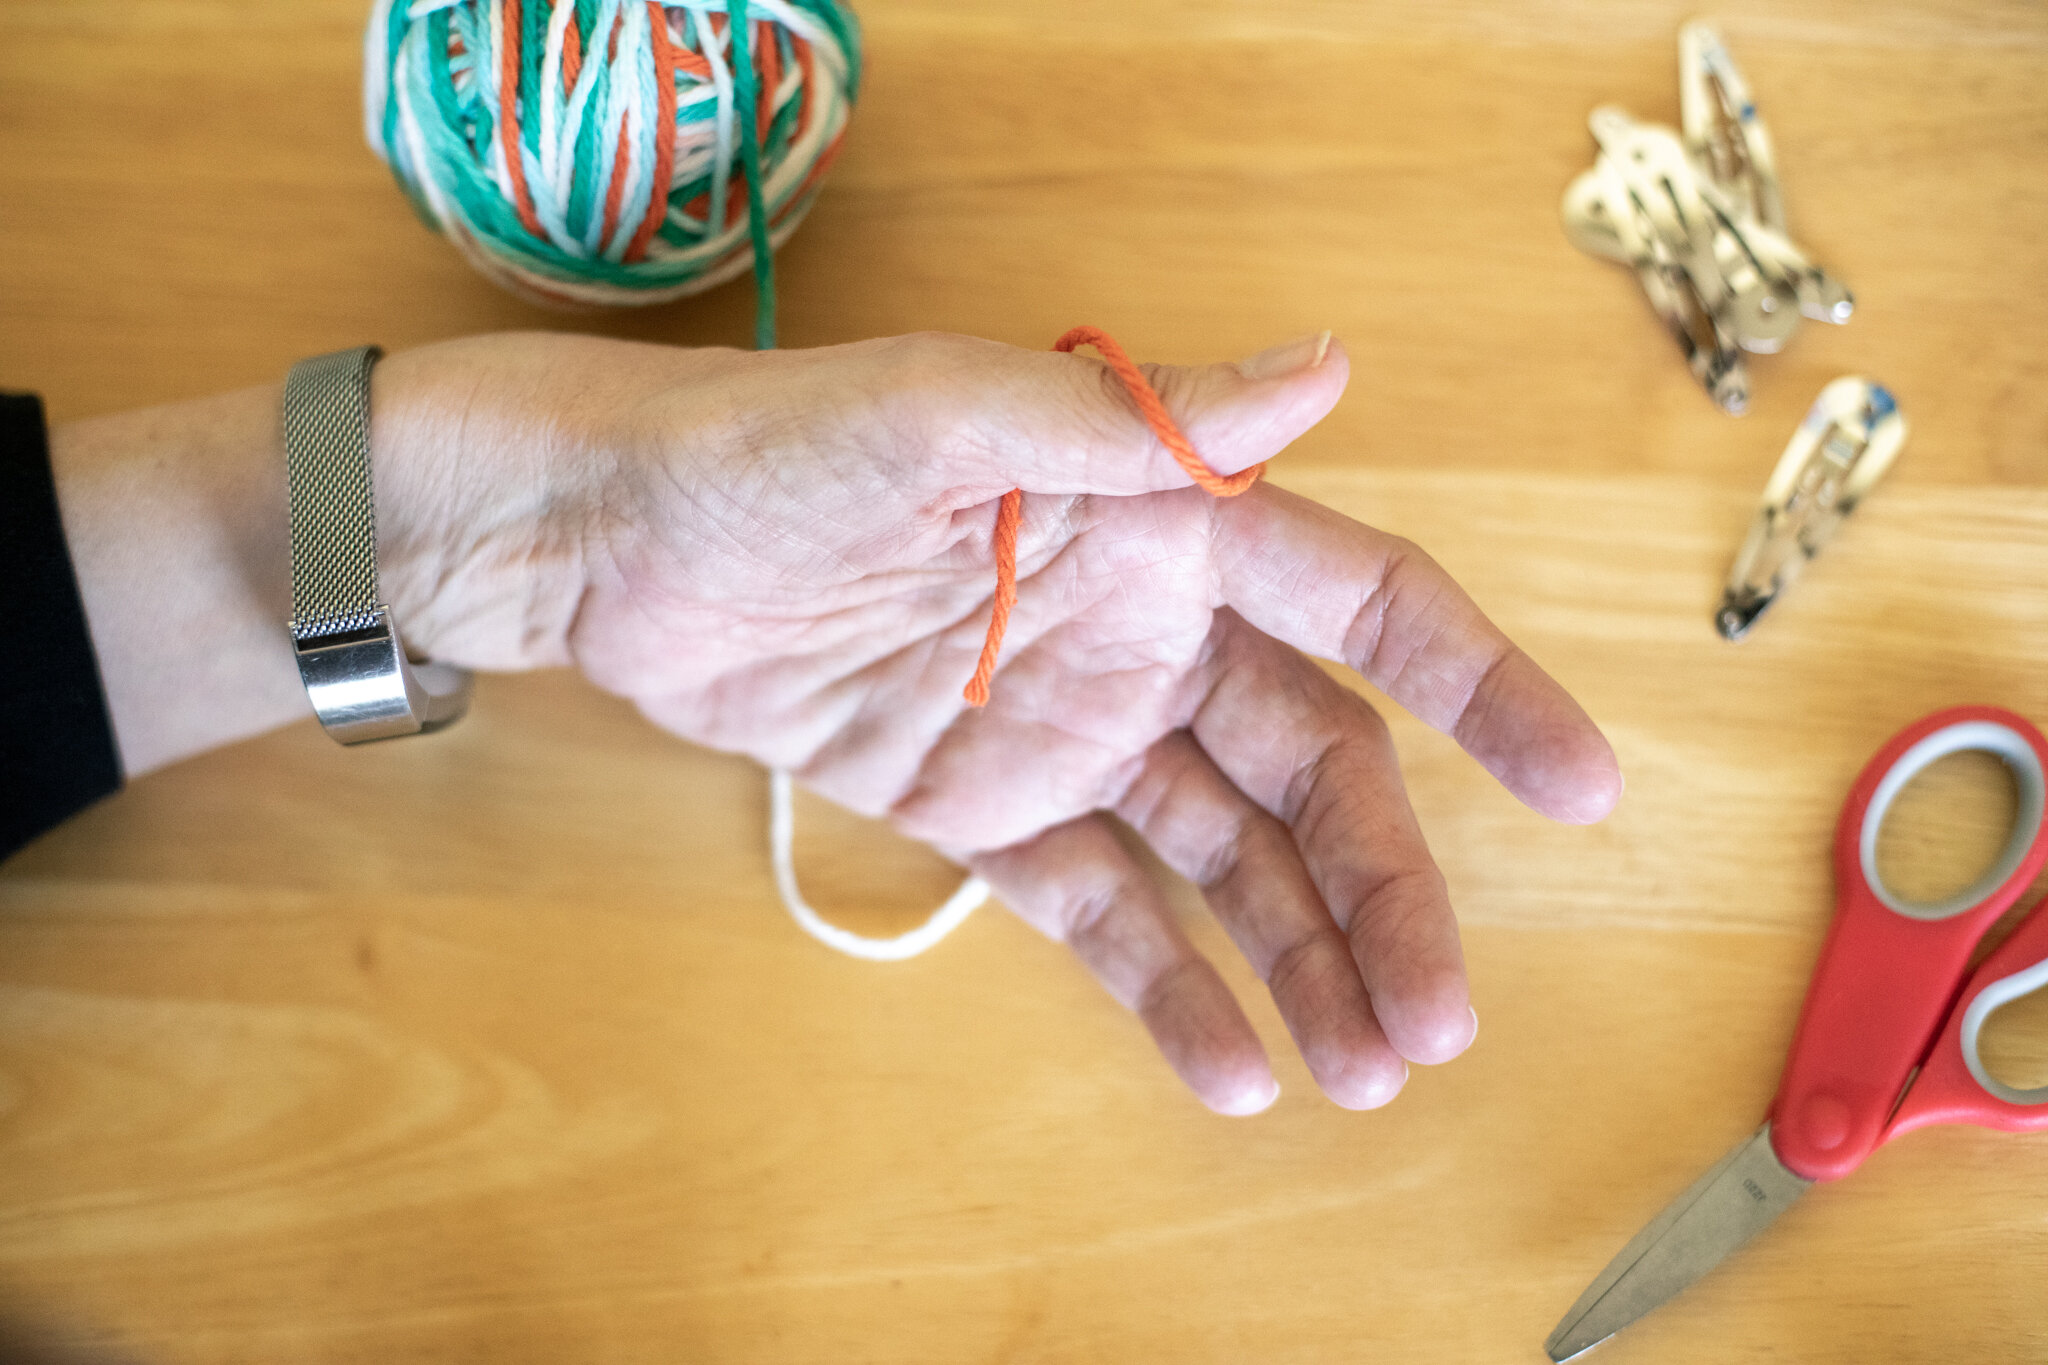


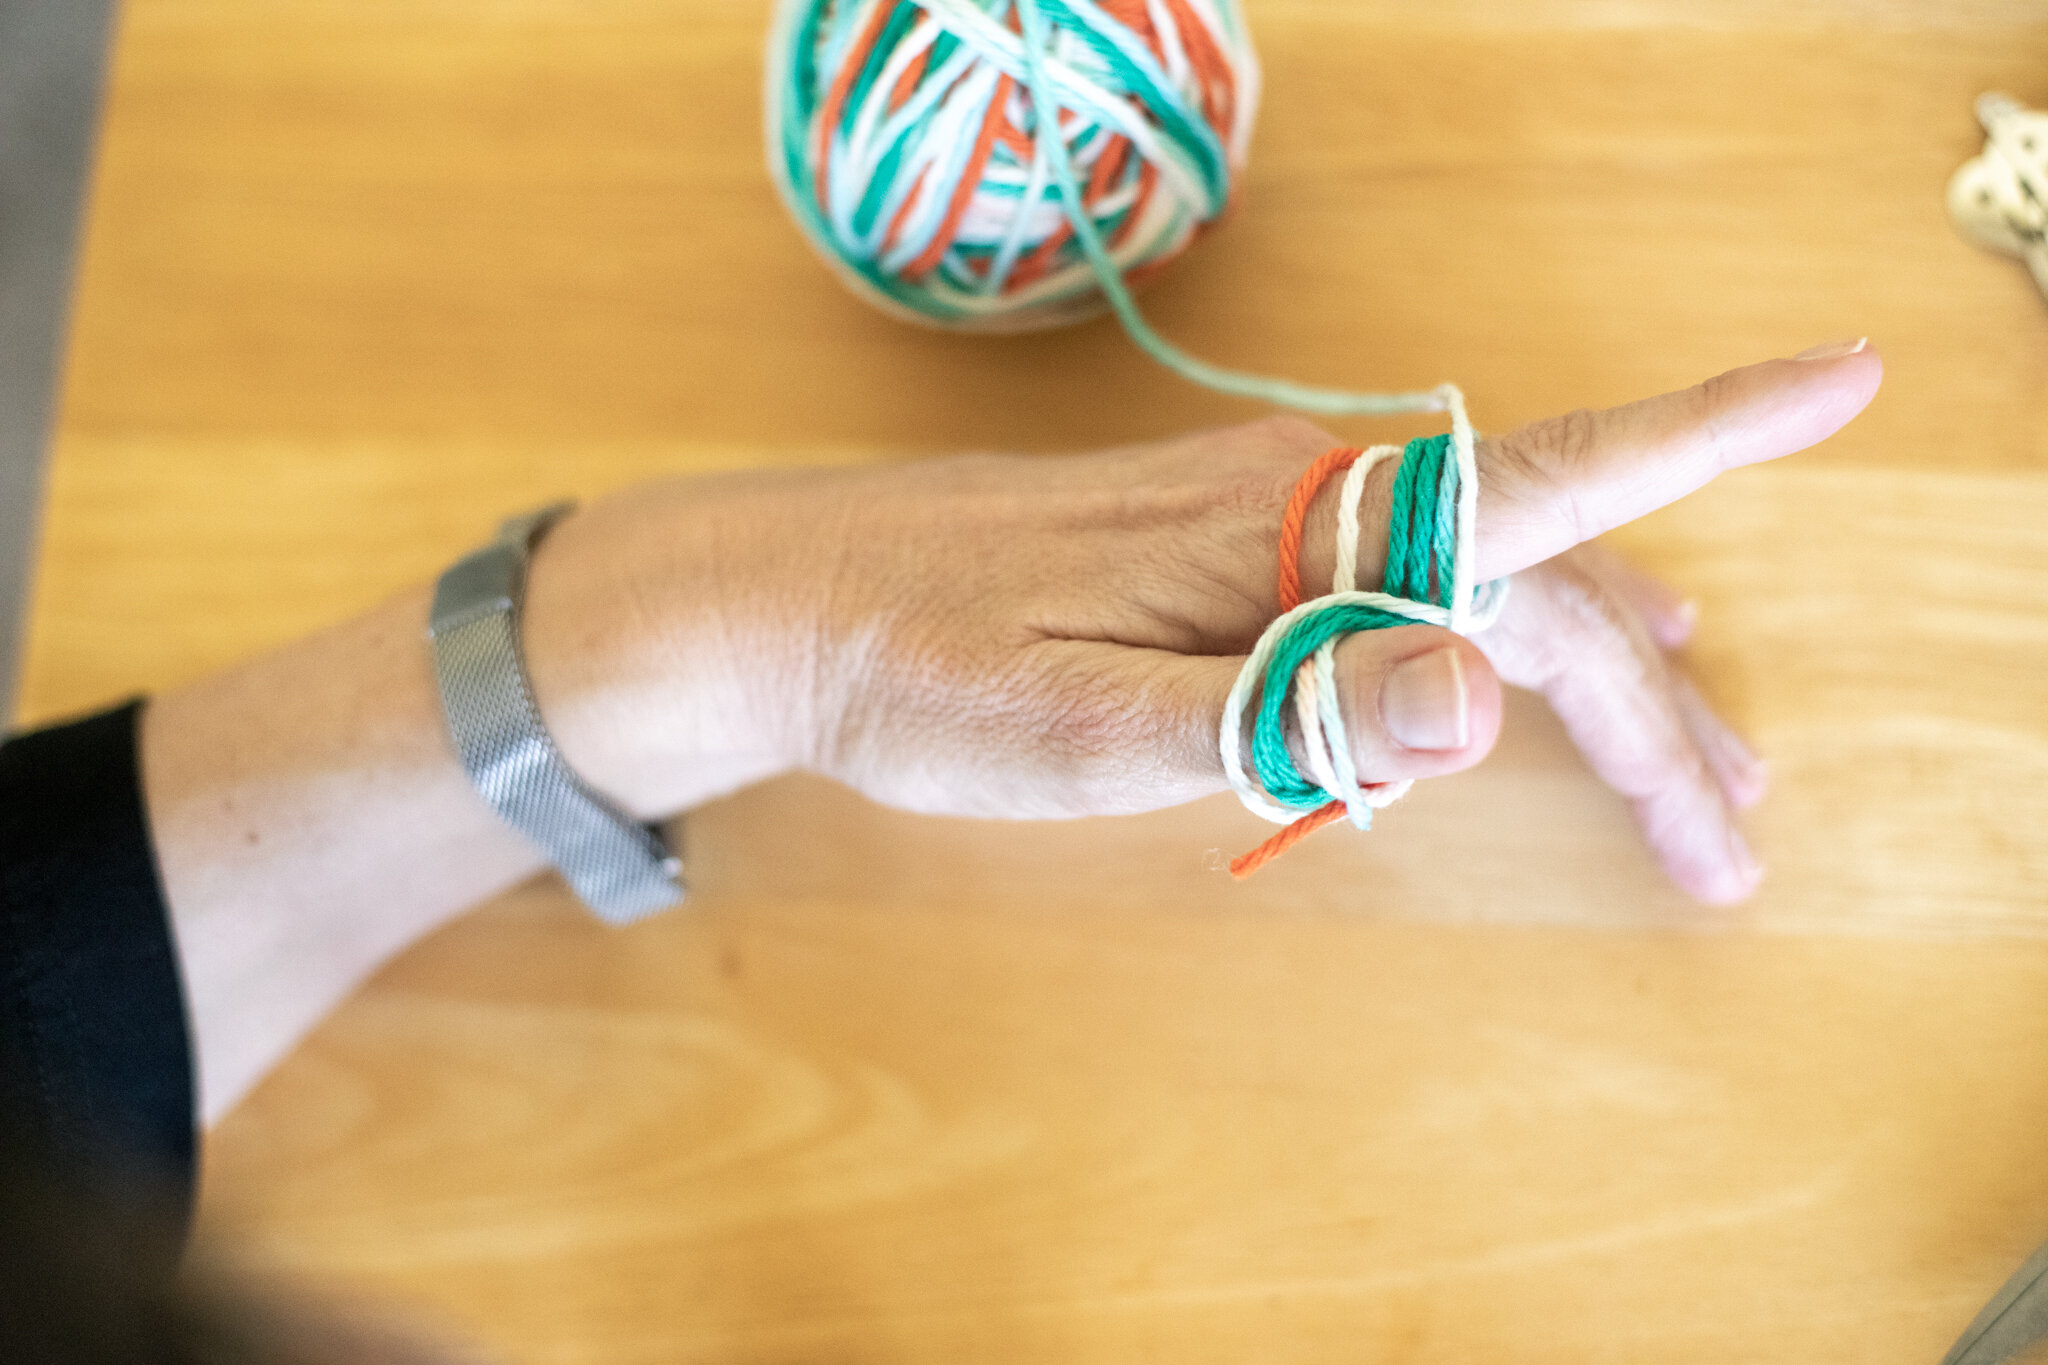
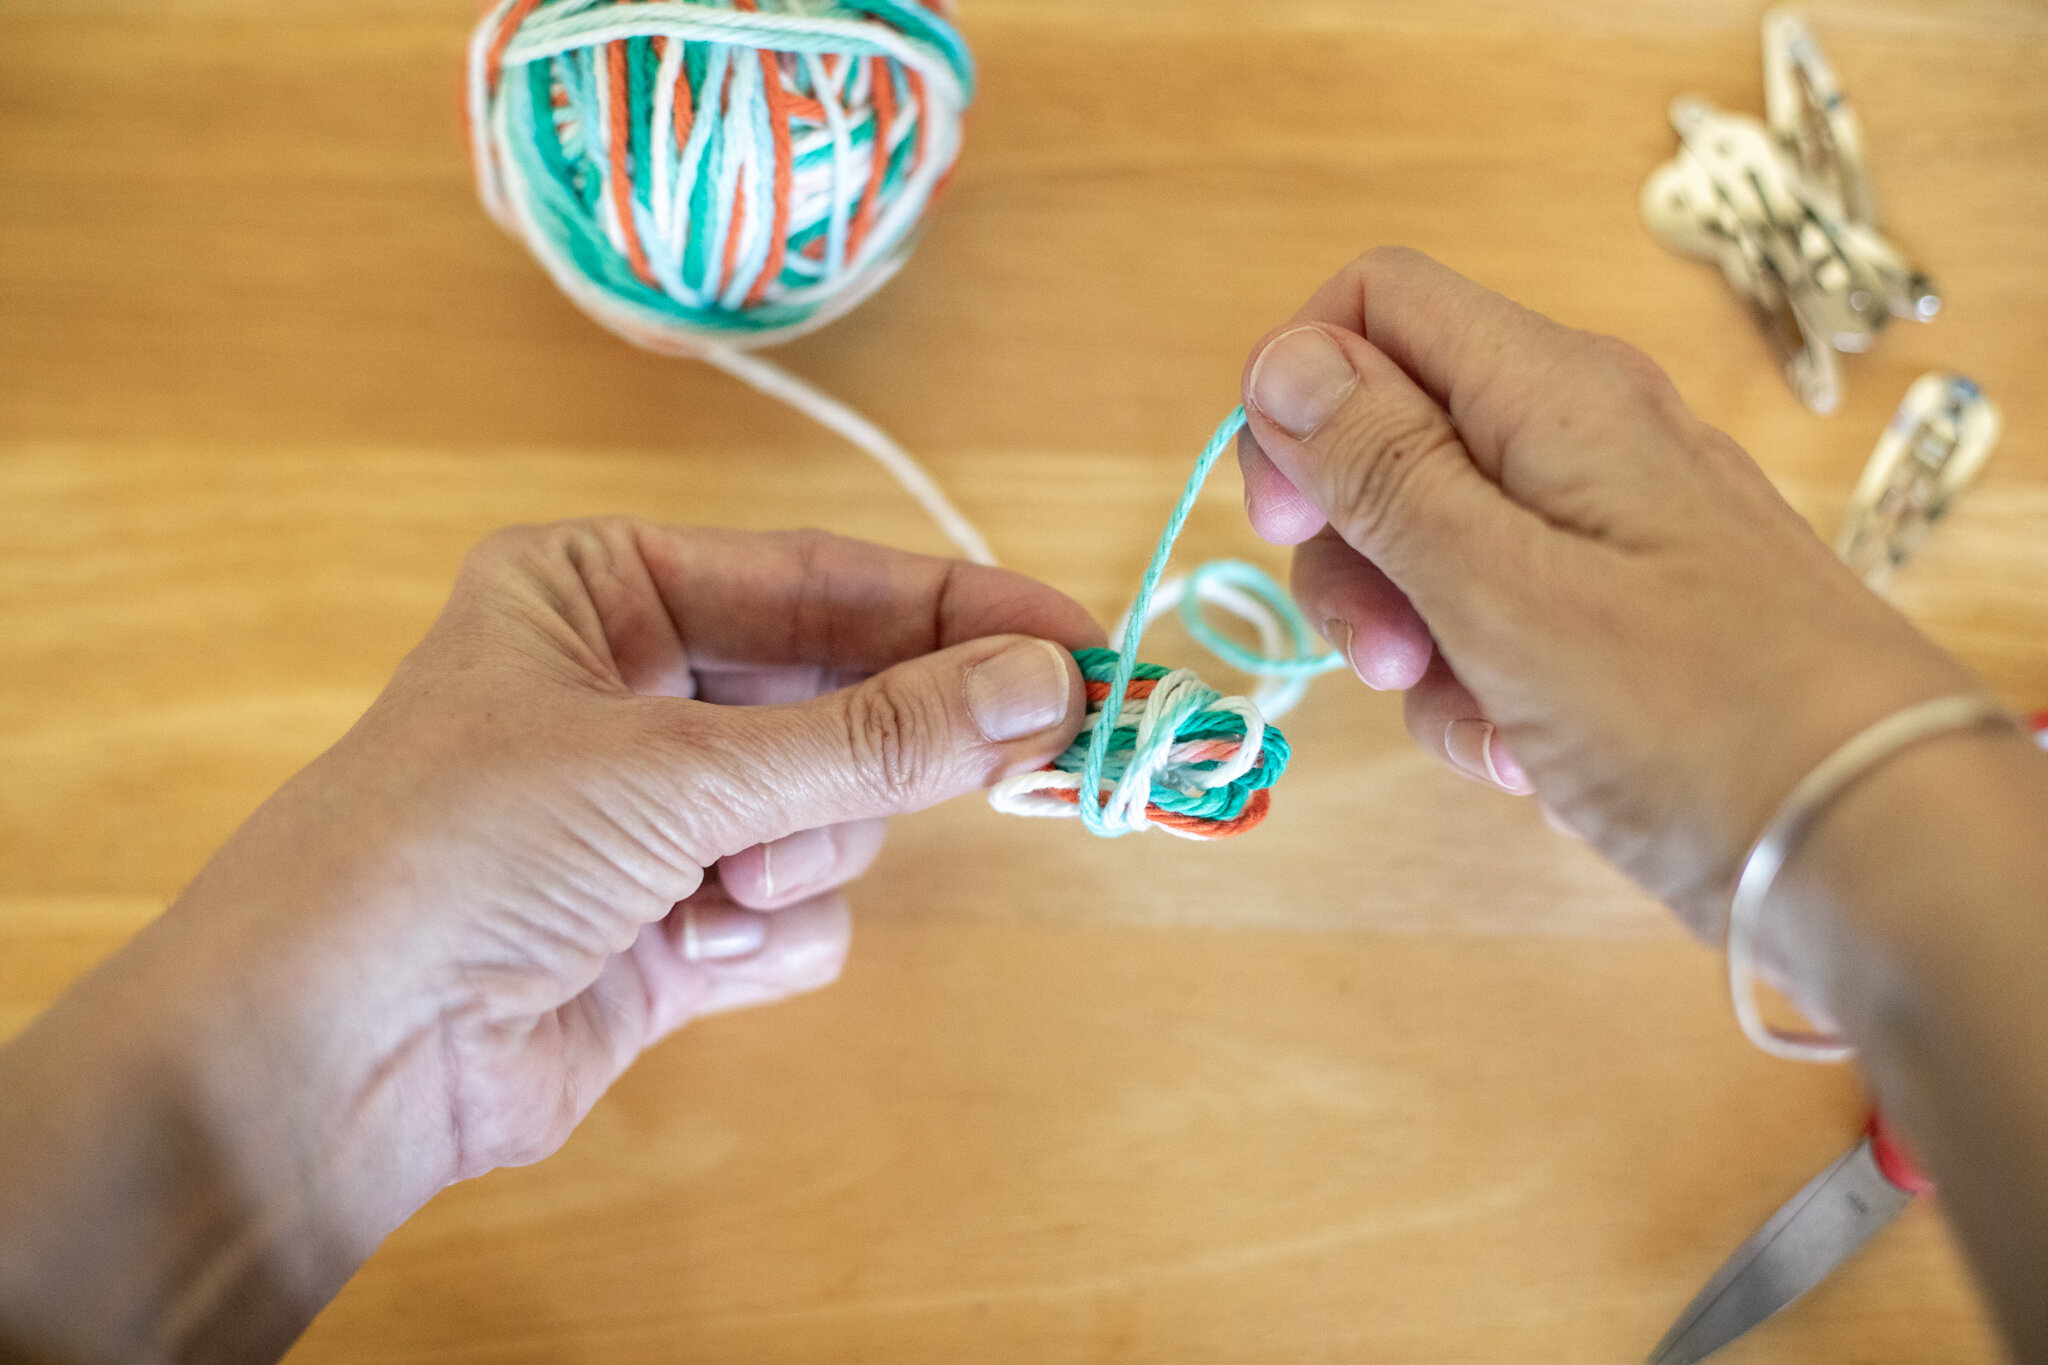


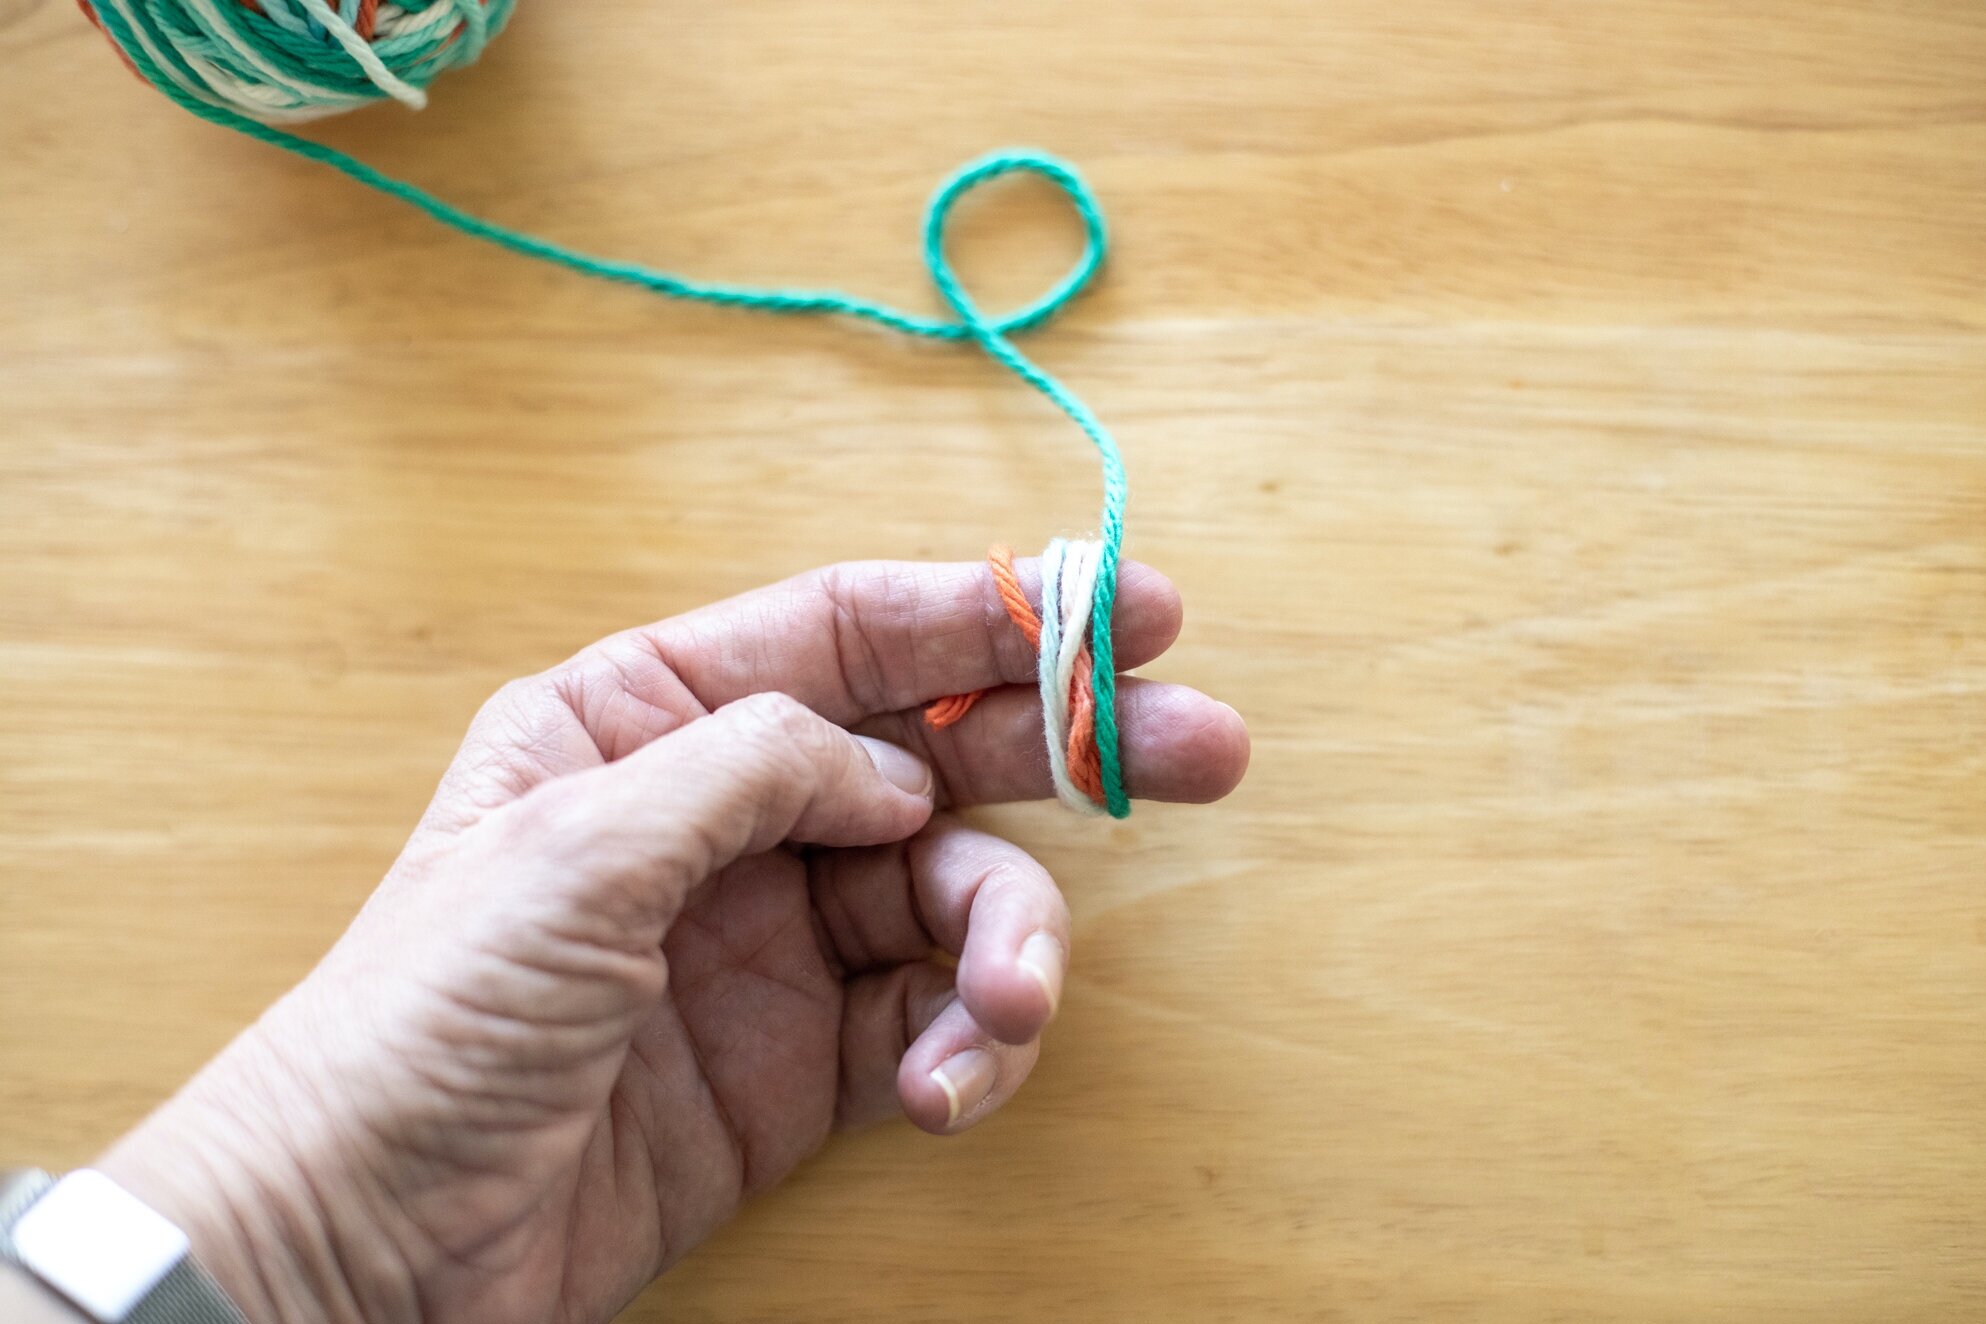
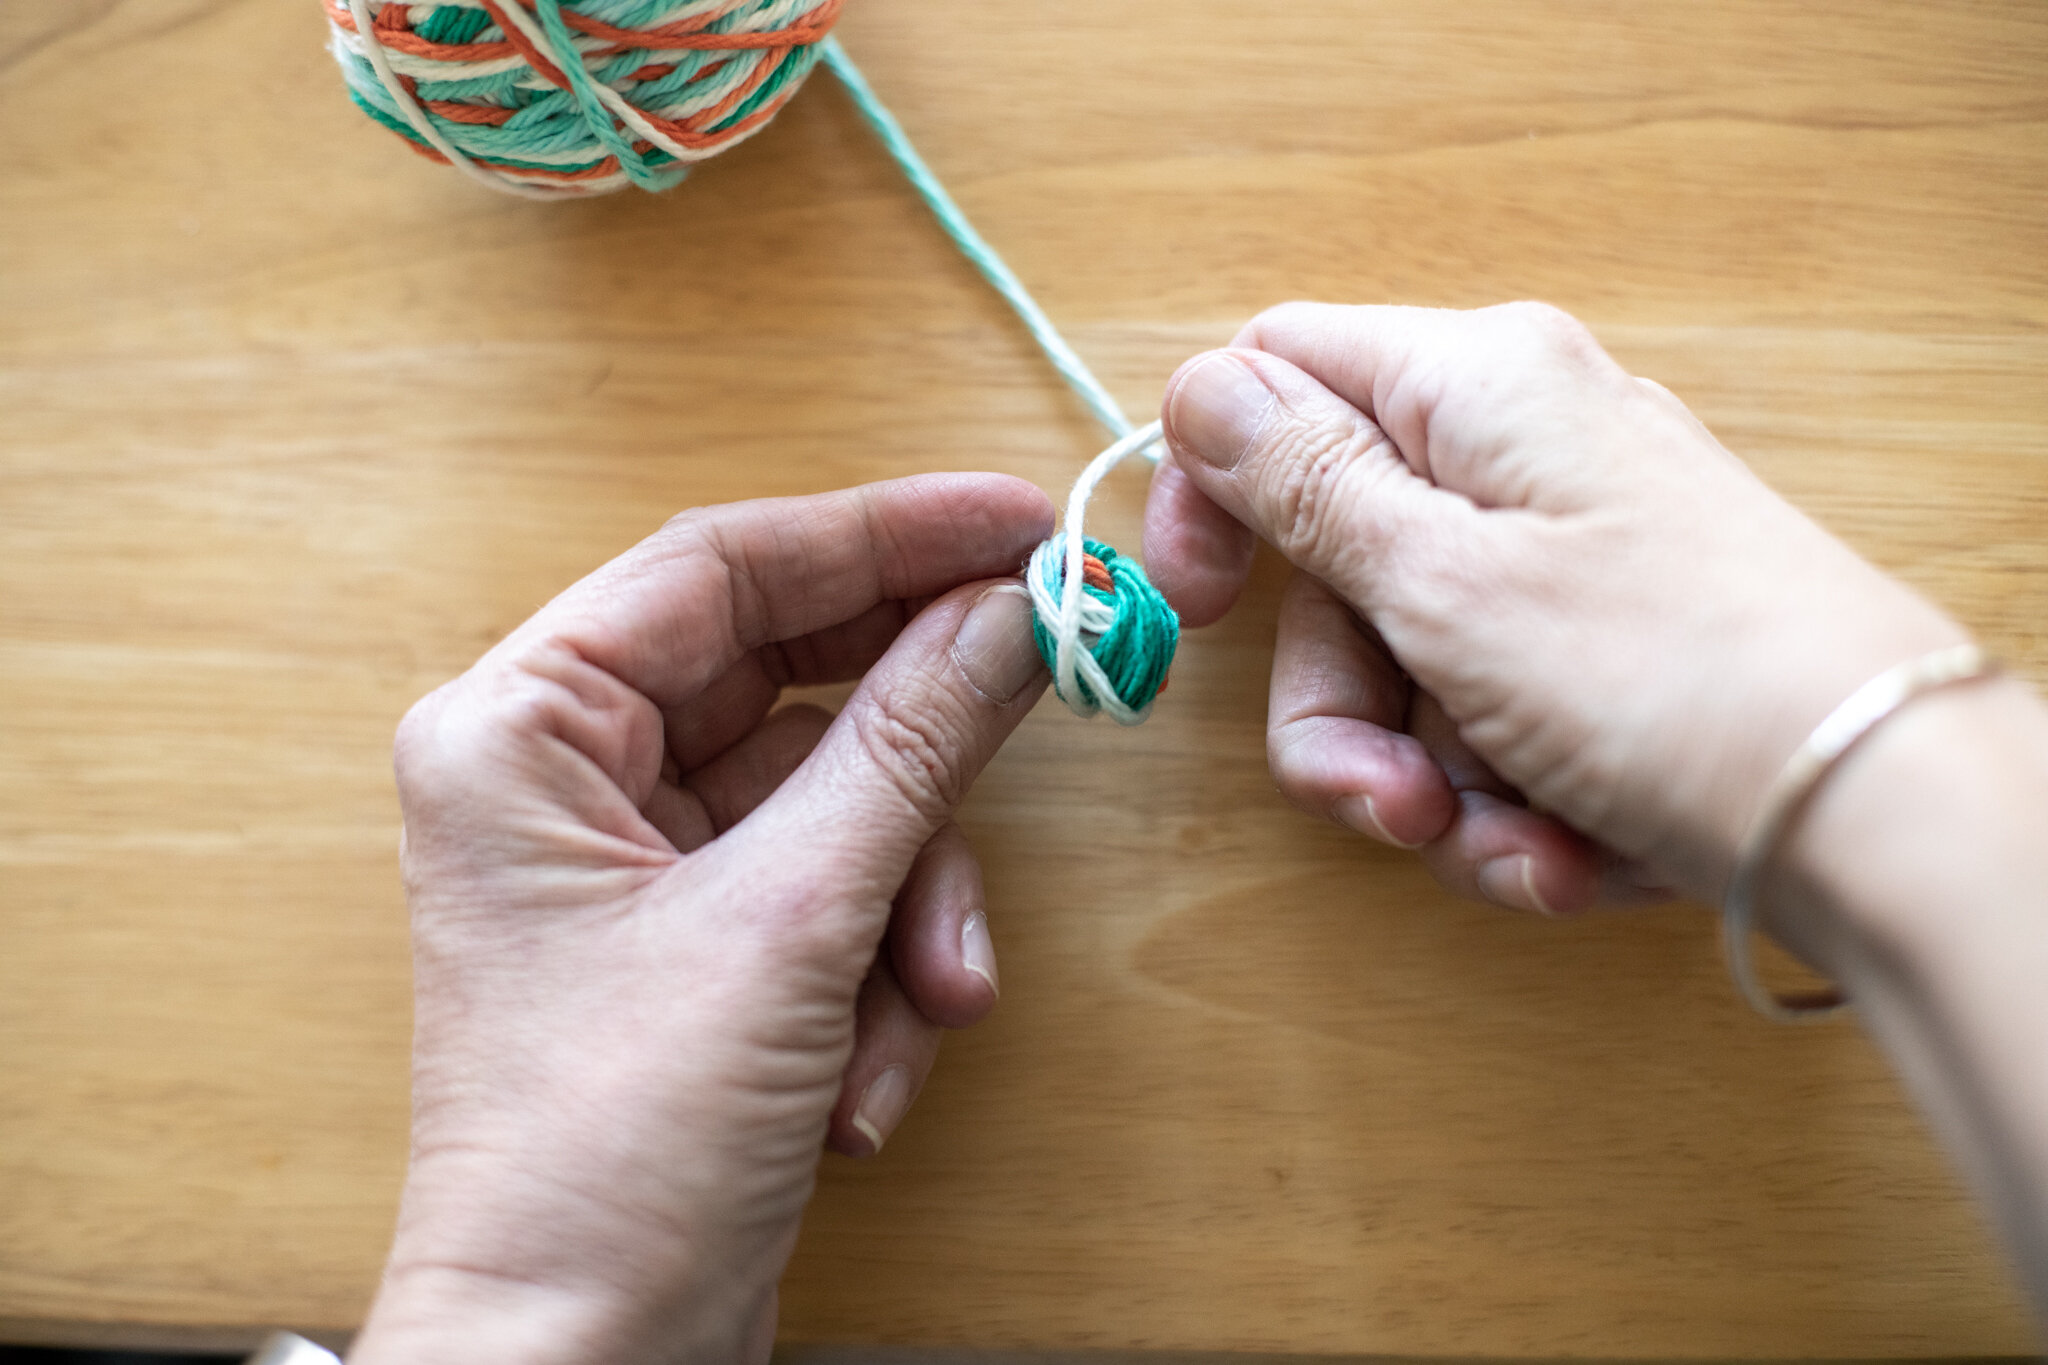
You can choose how big (or small) to make your yarn ball.
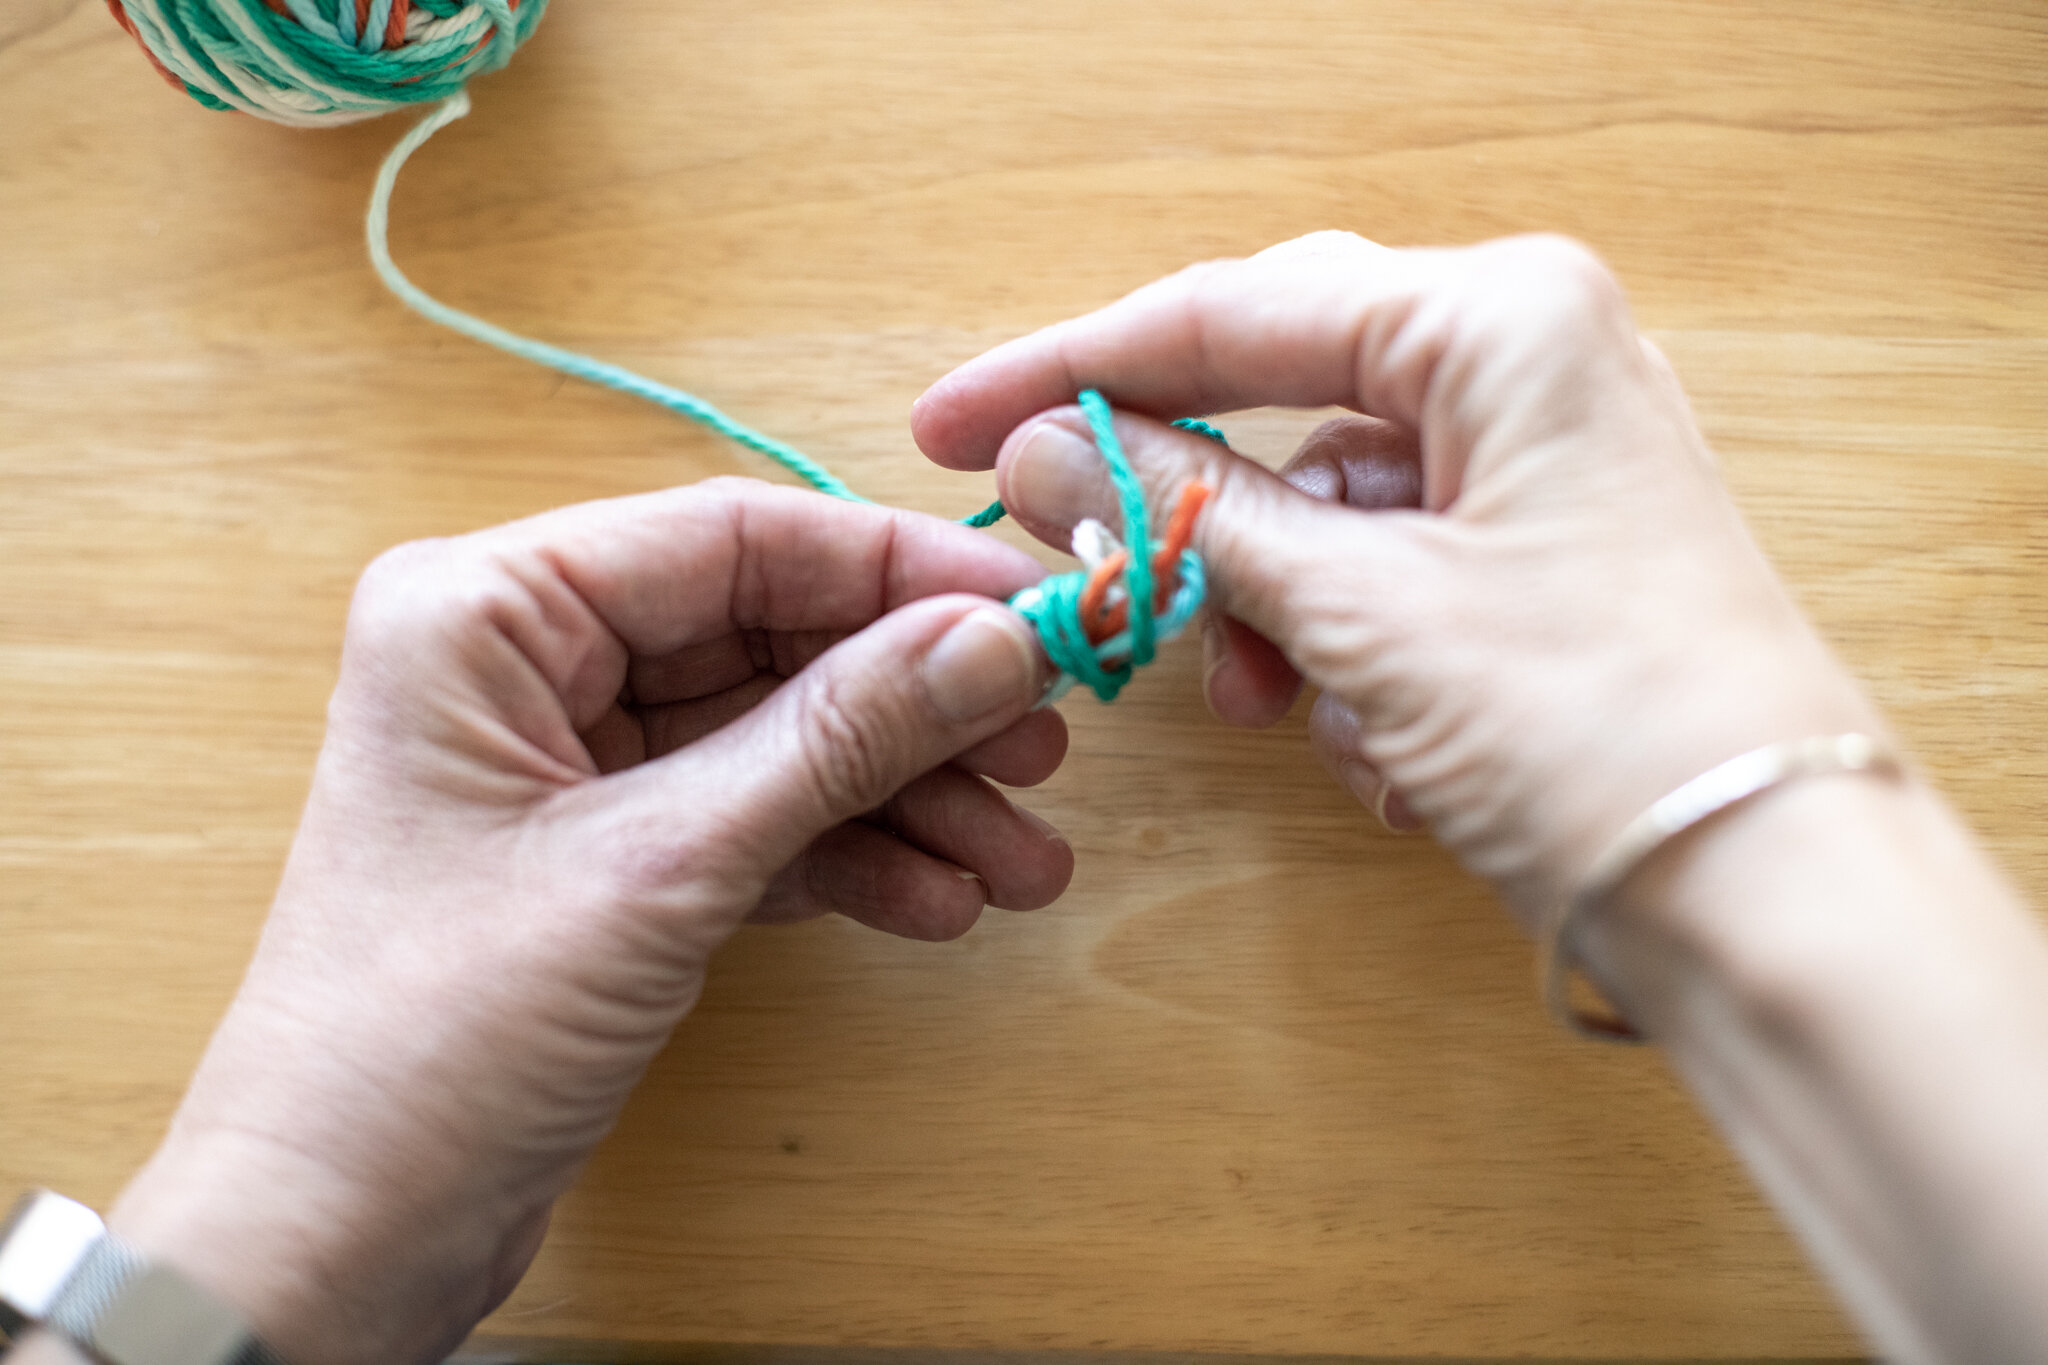
Supporting kids: If your child is frustrated with having to control two things at once- pinching a tail while winding yarn, you can always show them how by using your hand for the “glasses”. So you pinch and hold the tail, then hold their hand to guide them with the yarn into going back and forth, back and forth between your finger and thumb. When they have the hang of it, you can let them continue adding loops on your fingers independently. You may notice that they pass the yarn from their one hand to the other as they wind it around your finger and thumb. This is a developmental stage where they need the hand closest to the “action” to be in charge. So reaching across is harder for them than handing the yarn to the other hand. One day it stops because they made the “leap” developmentally, so don’t worry if you wonder how is passing the yarn back and forth between left and right hands possibly efficient.
You can also reverse this teamwork asking the child to pinch the tail between their finger and thumb, then you wind the first few loops so it’s not so easy to pull loose.
You know the children best so do whatever helps them (and you) feel successful. The more that they make, the easier all the steps become. And it’s ok to start over! Crafting is all about adjusting and learning and trying again. Let them practice resilience :)
You can also start the most fiddly beginning part of the ball and hand it off to them when it’s manageable for them.
I also highly recommend practicing on your own before trying to teach children. It’s so hard to be “hmmm, what is happening here?” while a child is eagerly waiting for progress. If you’re comfortable, it’s easier to coach them through the process.
With this said, it is good to model learning a new skill with children, so feel free to dive in together if you want to learn together.
Phew, photograph turotials are more time-intensive than I remembered :). So I’ll make a post soon with the second way to wind a yarn ball.
I enjoyed sharing this idea for creating a tidy collection of yarn that’s easy to share. This process project is a great way to organize. And then you’re ready for the next epic project using your yarn balls!
PS- many children choose making yarn balls over and over and over. They don’t necessarily need more projects :). You could even make little collections of yarn balls to gift a neighbor or family member or send in a care package. They’re fun to make and share. Enjoy 💕
We hope this week finds you healthy and inspired ✨
Click here for the second way to wind yarn balls. Which way is easier for you?
