

Fairy Fair Garden
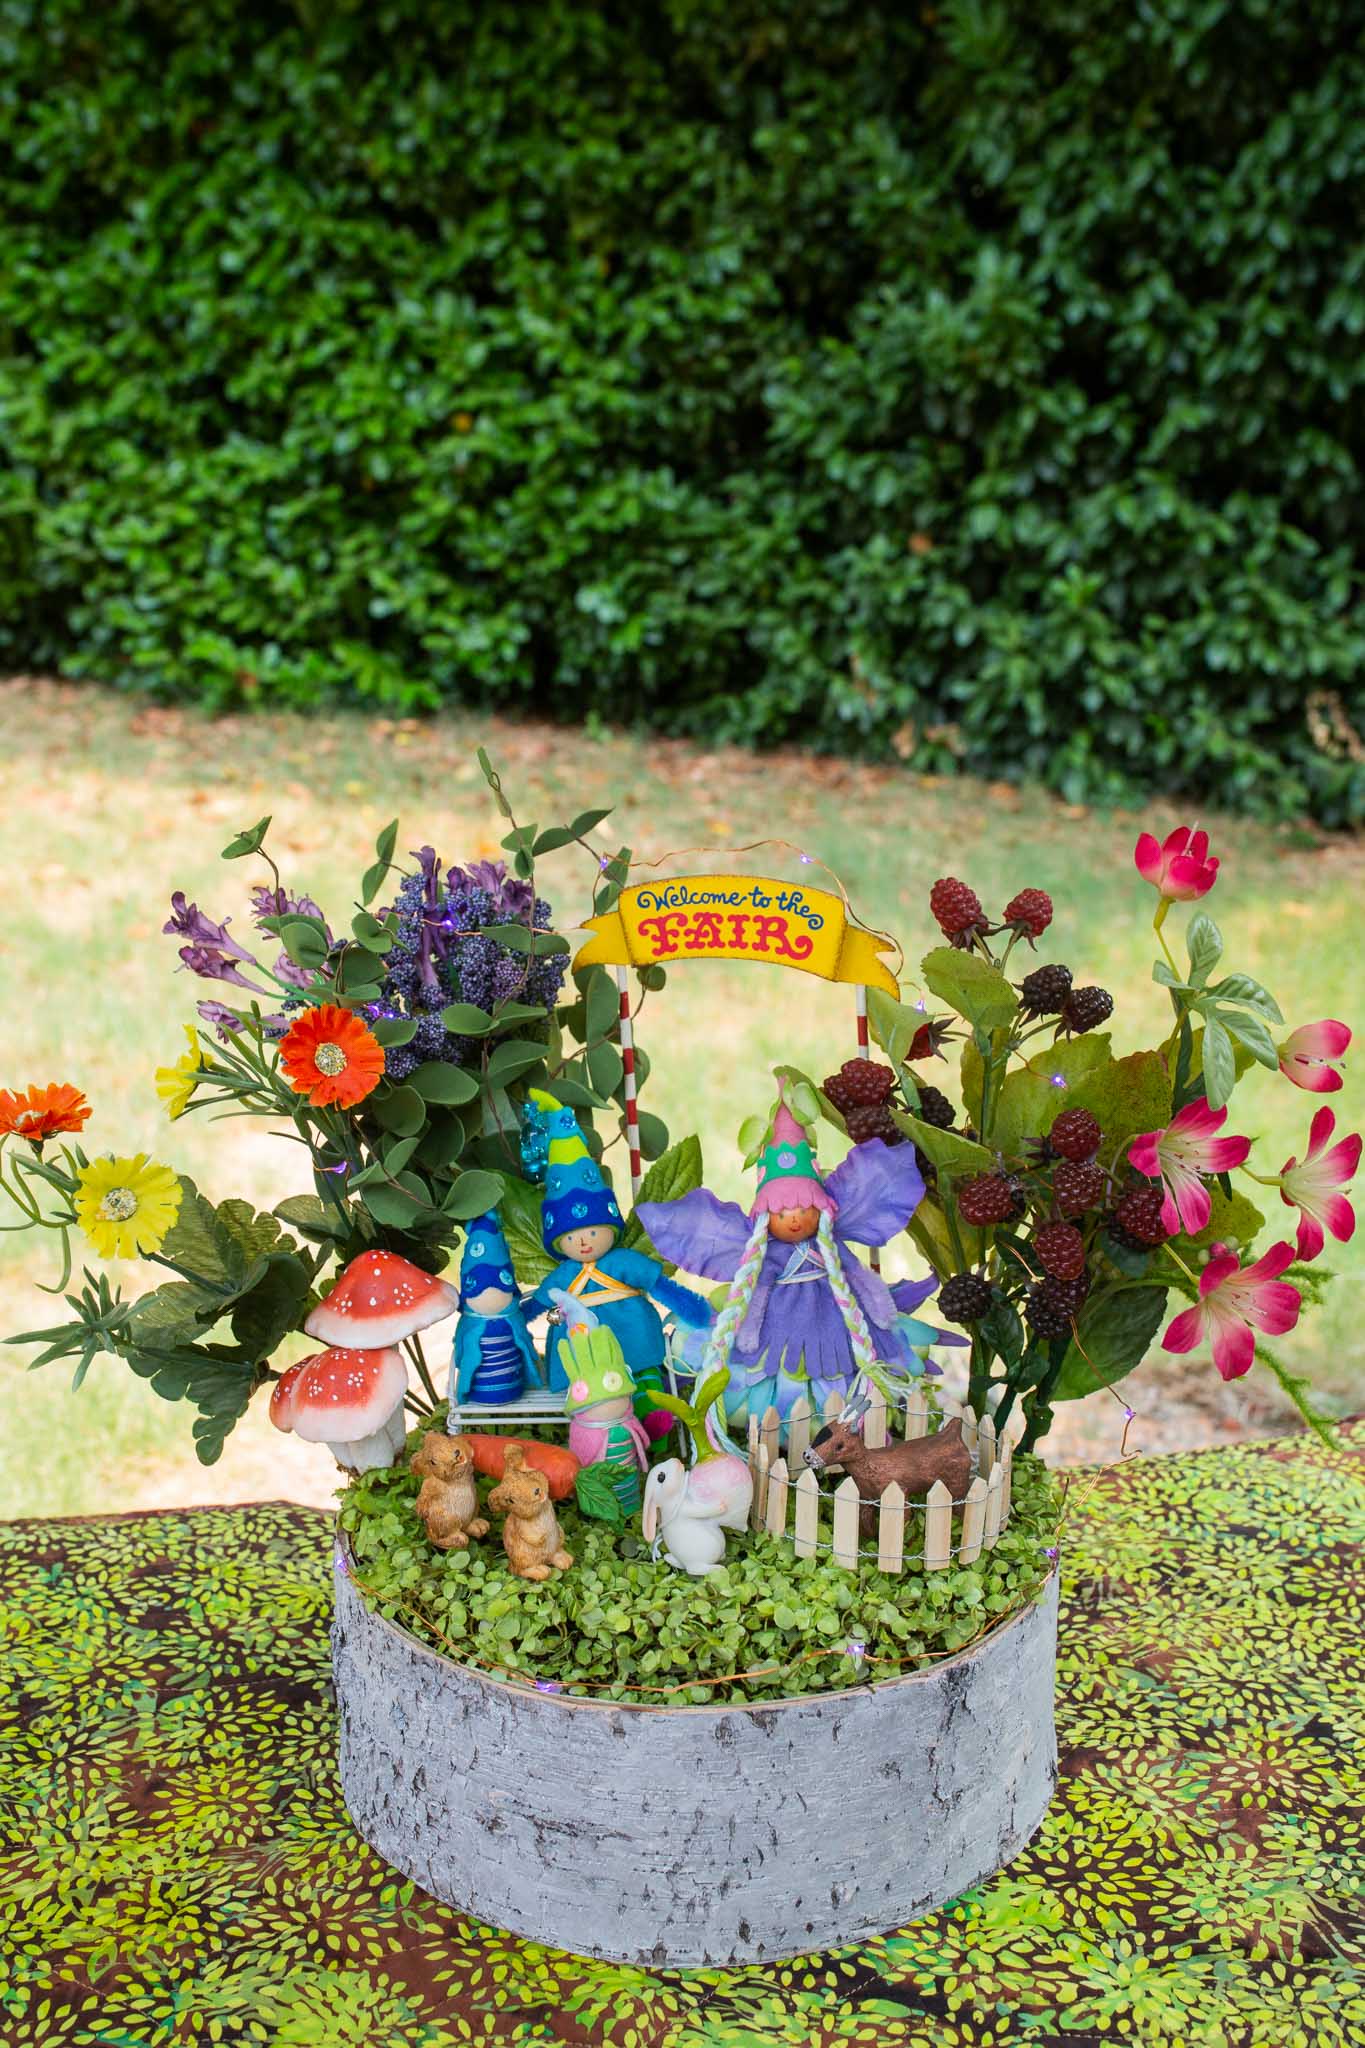
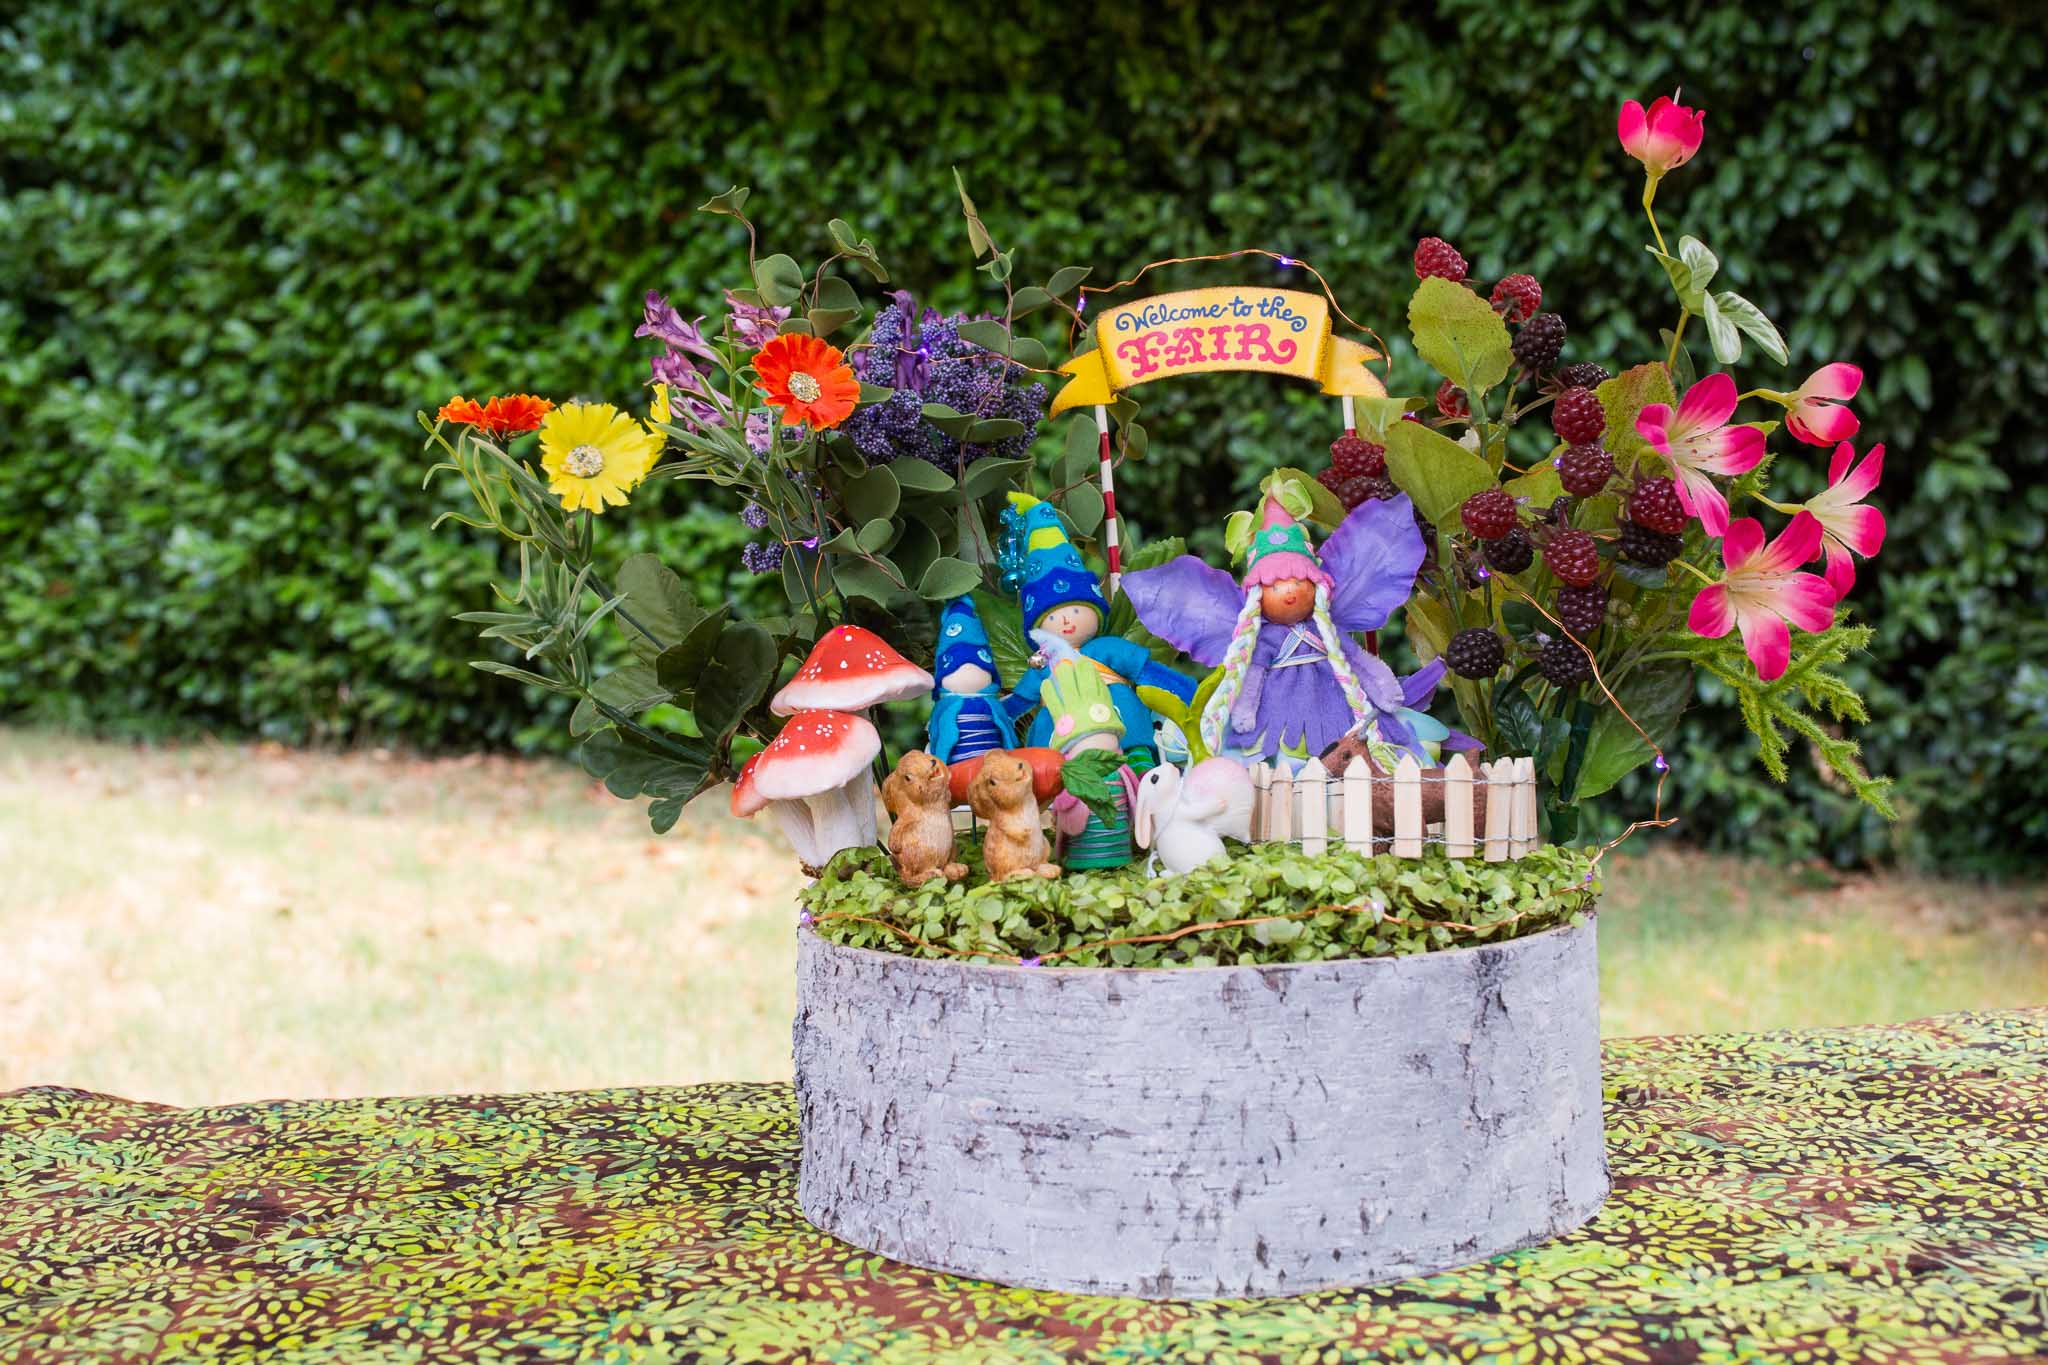
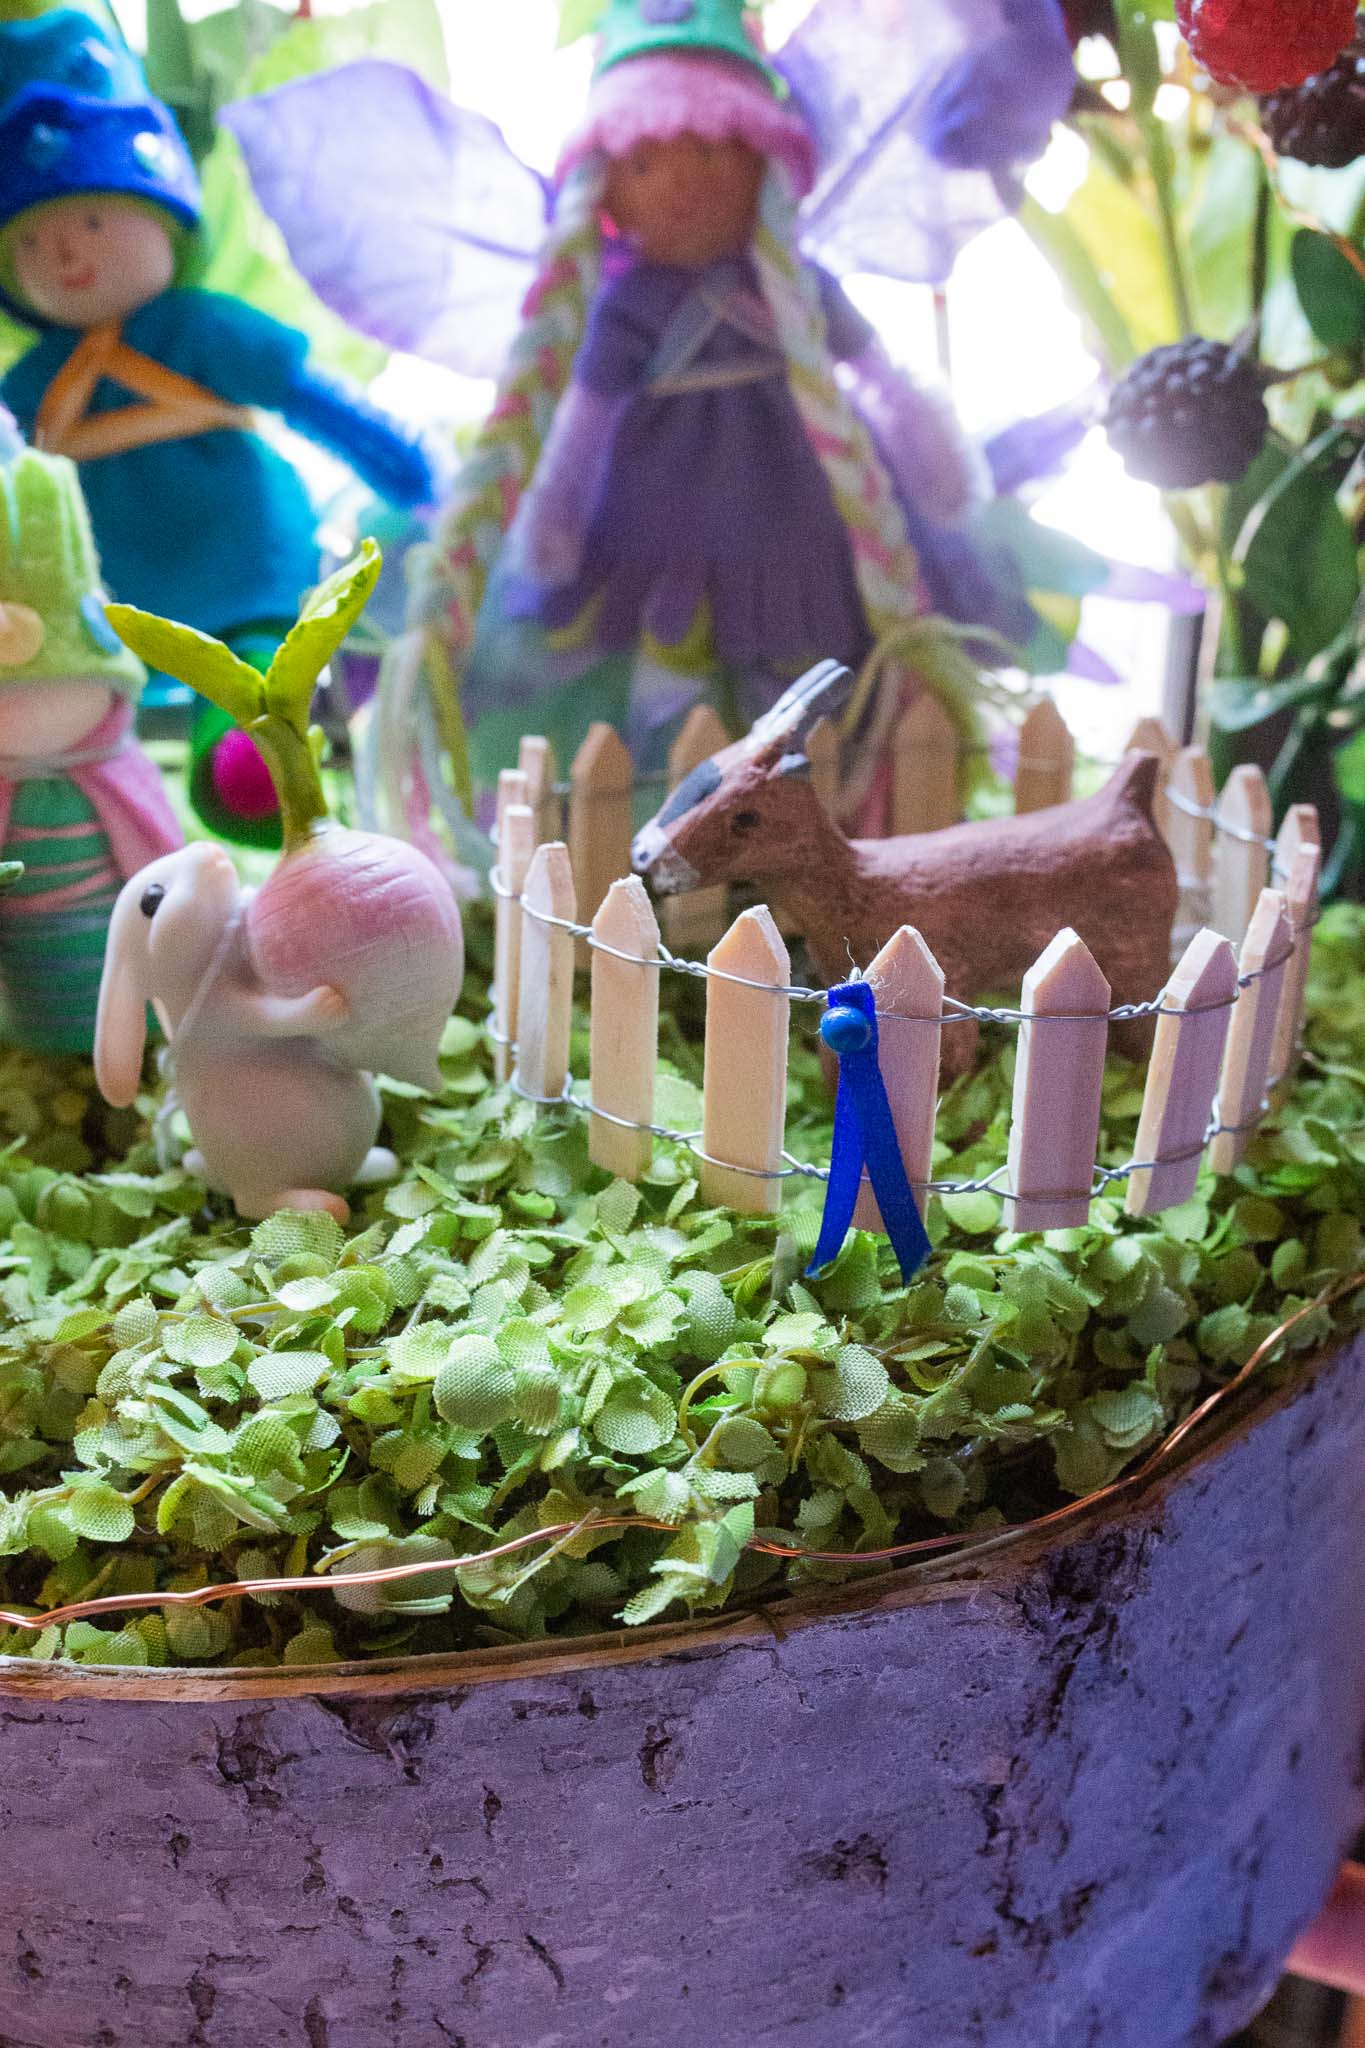
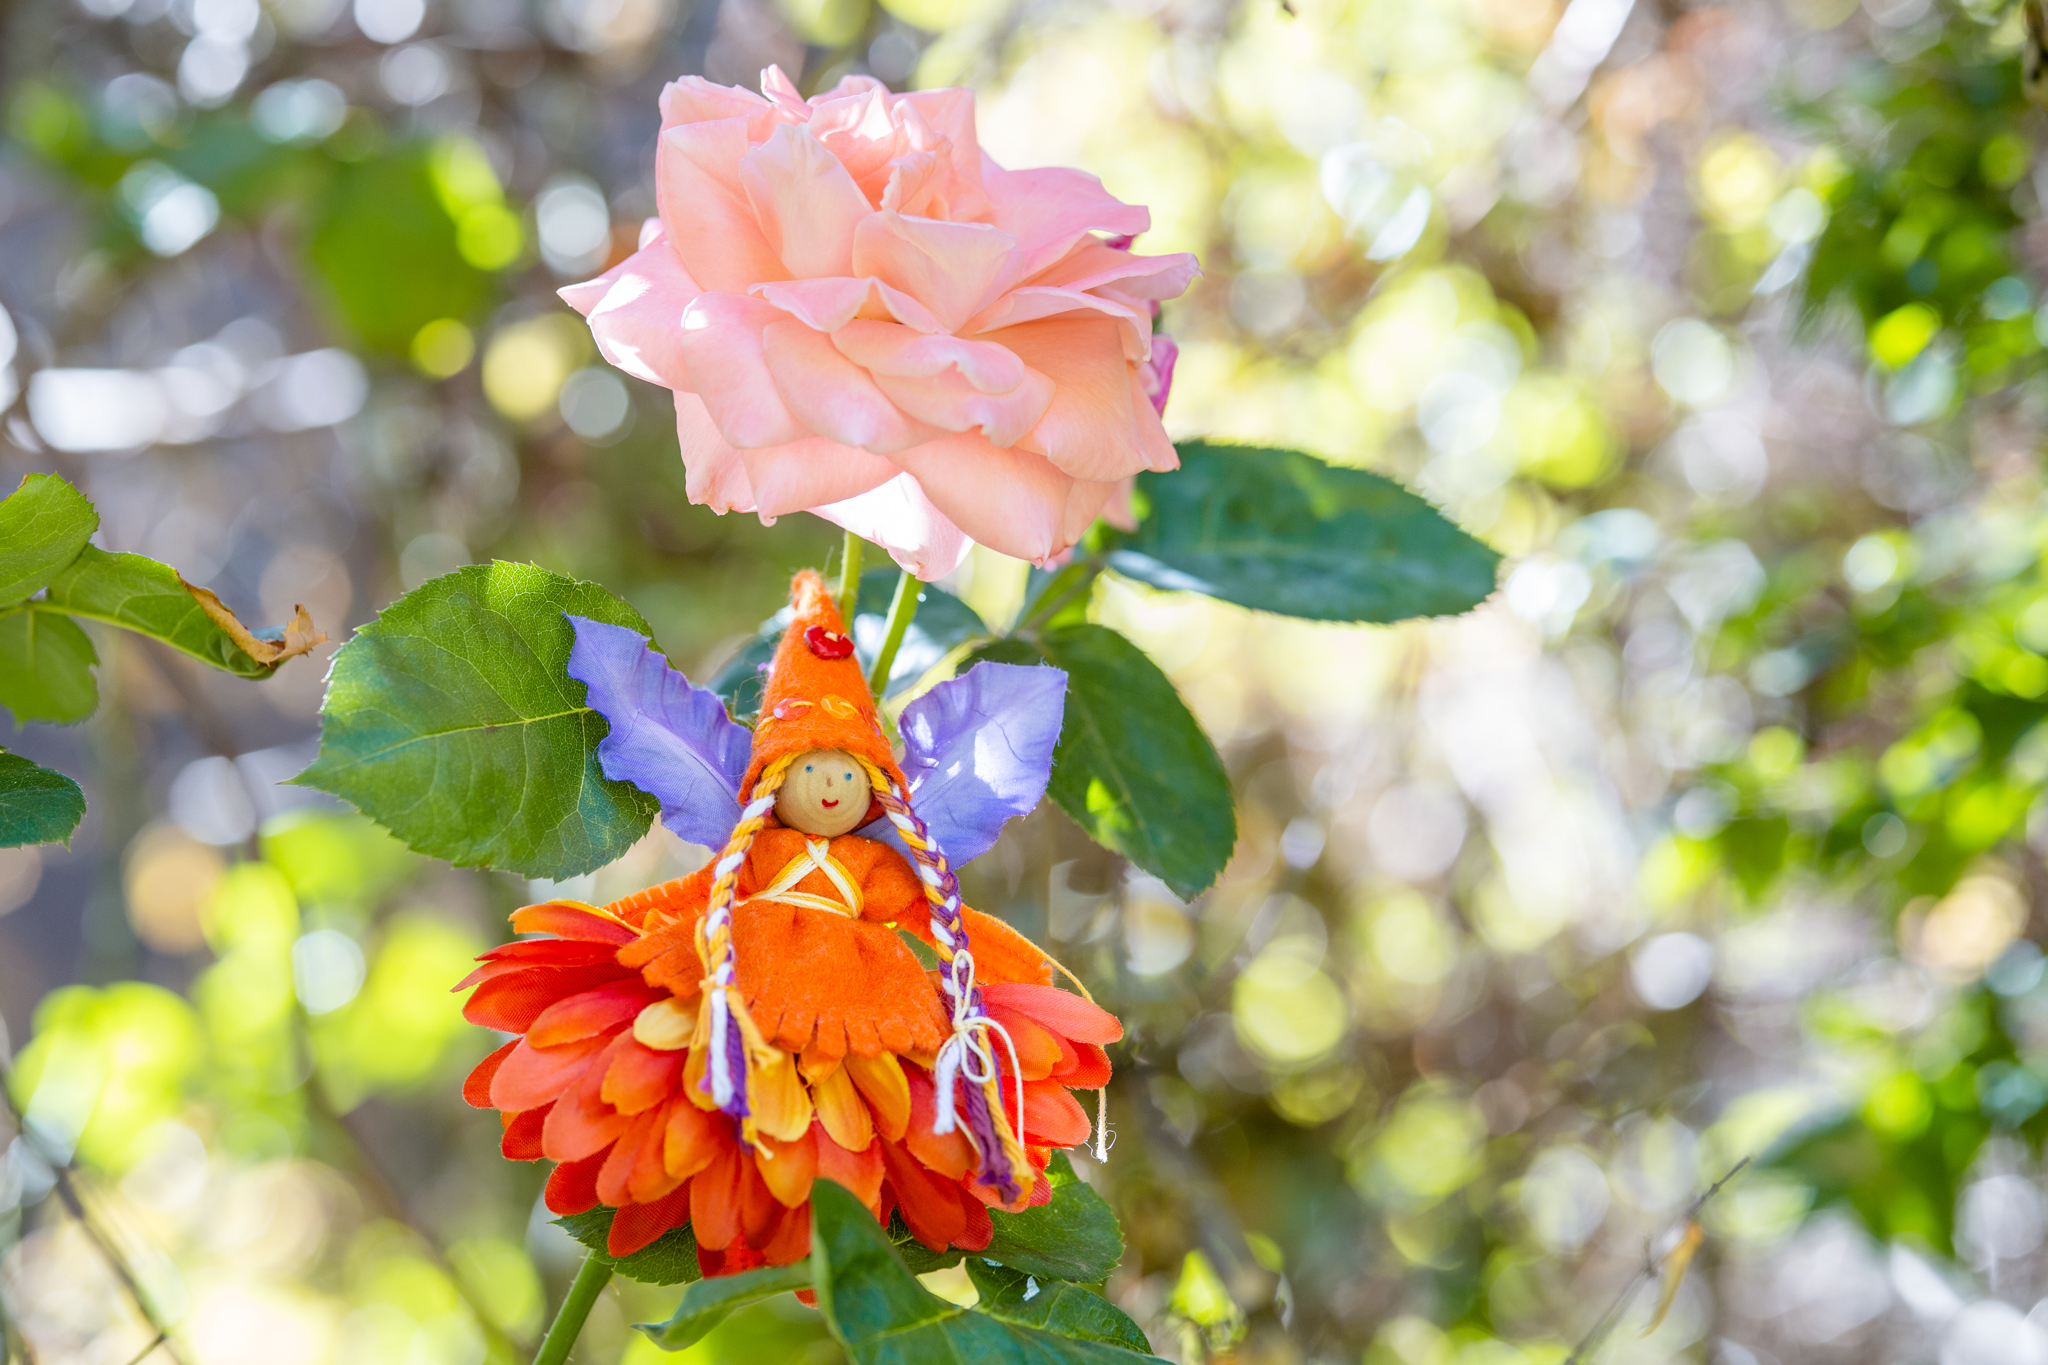
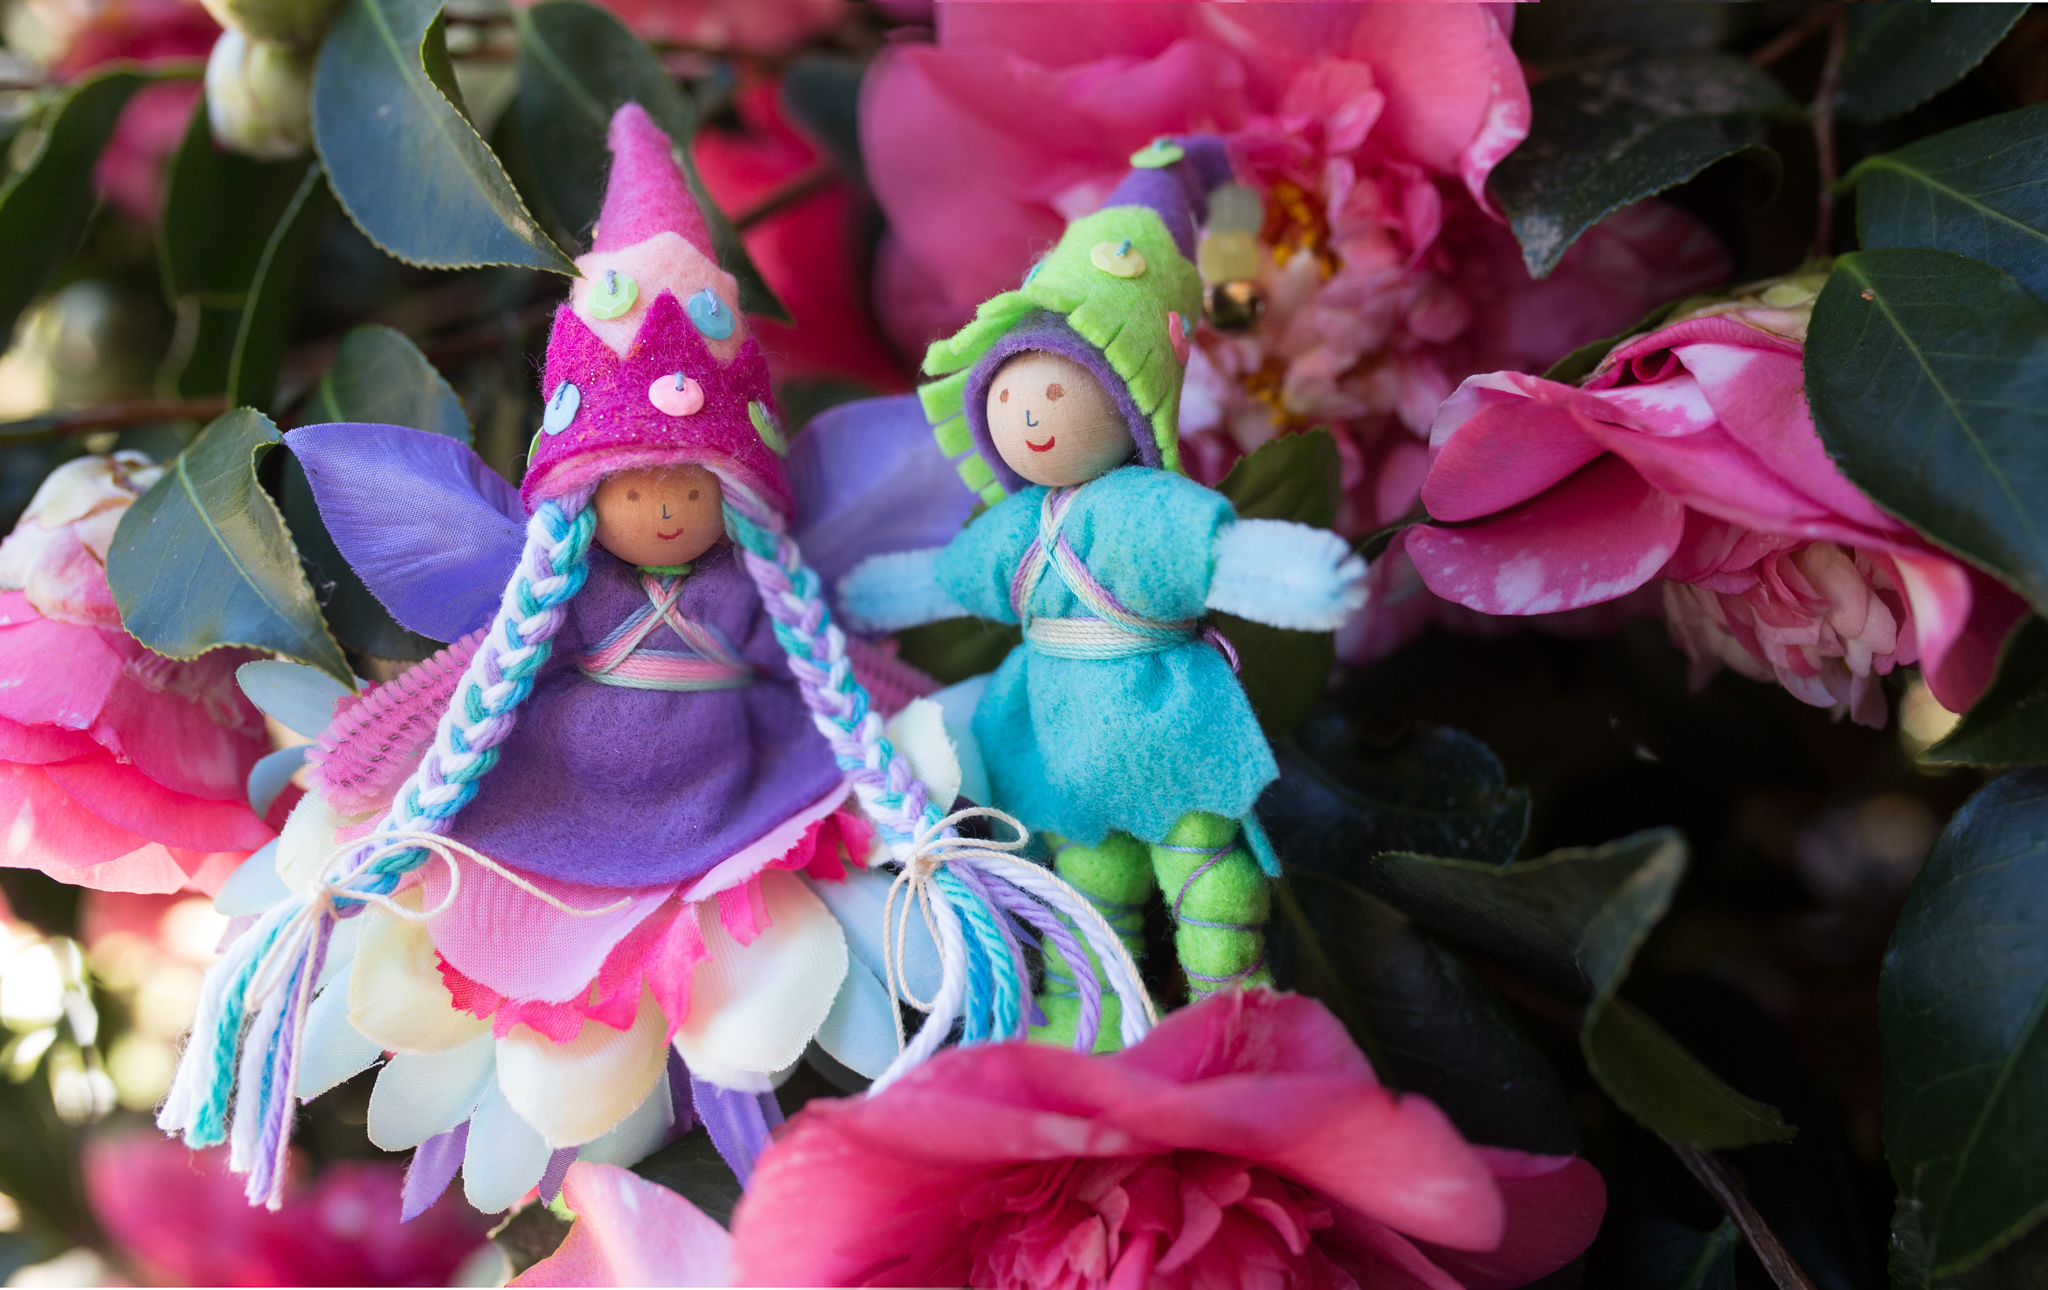
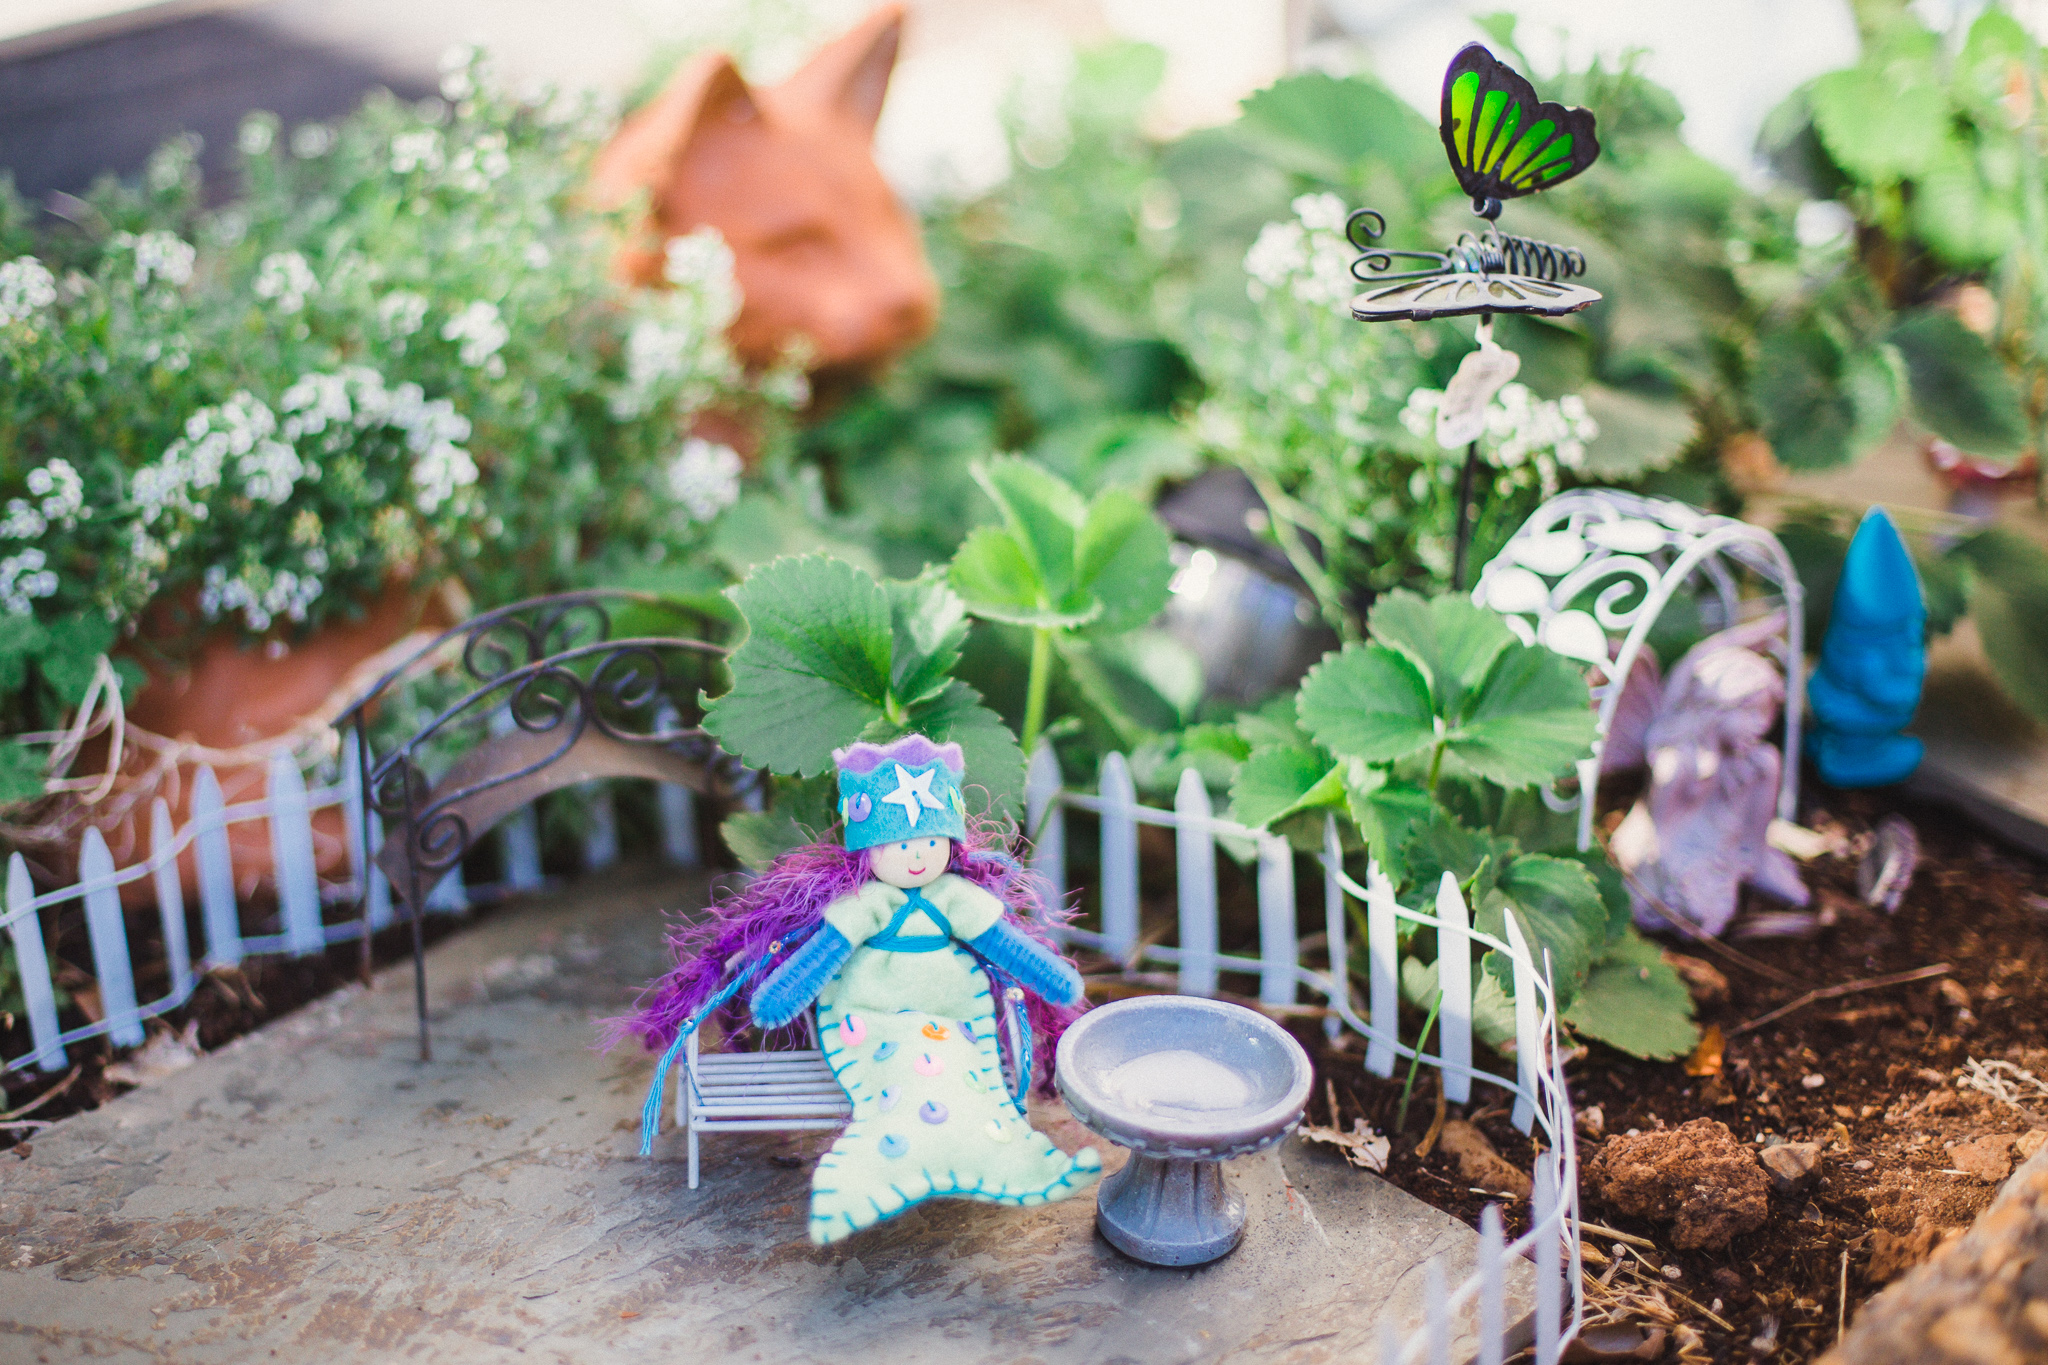
Our county fair features Fairy Gardens, which is perfection! This year, my daughter and I had ideas. Then we thought about a Fairy Fair. Where fairies and gnomes come with their forest friends to share seasonal bounty and win blue ribbons. We had a fantastic time creating this little world. And we found innovative solutions to challenges like wire to hold the little animals upright. She’s a teen now, but we continue to discover magic with the fairies. You’re never too old for fairy crafting :)
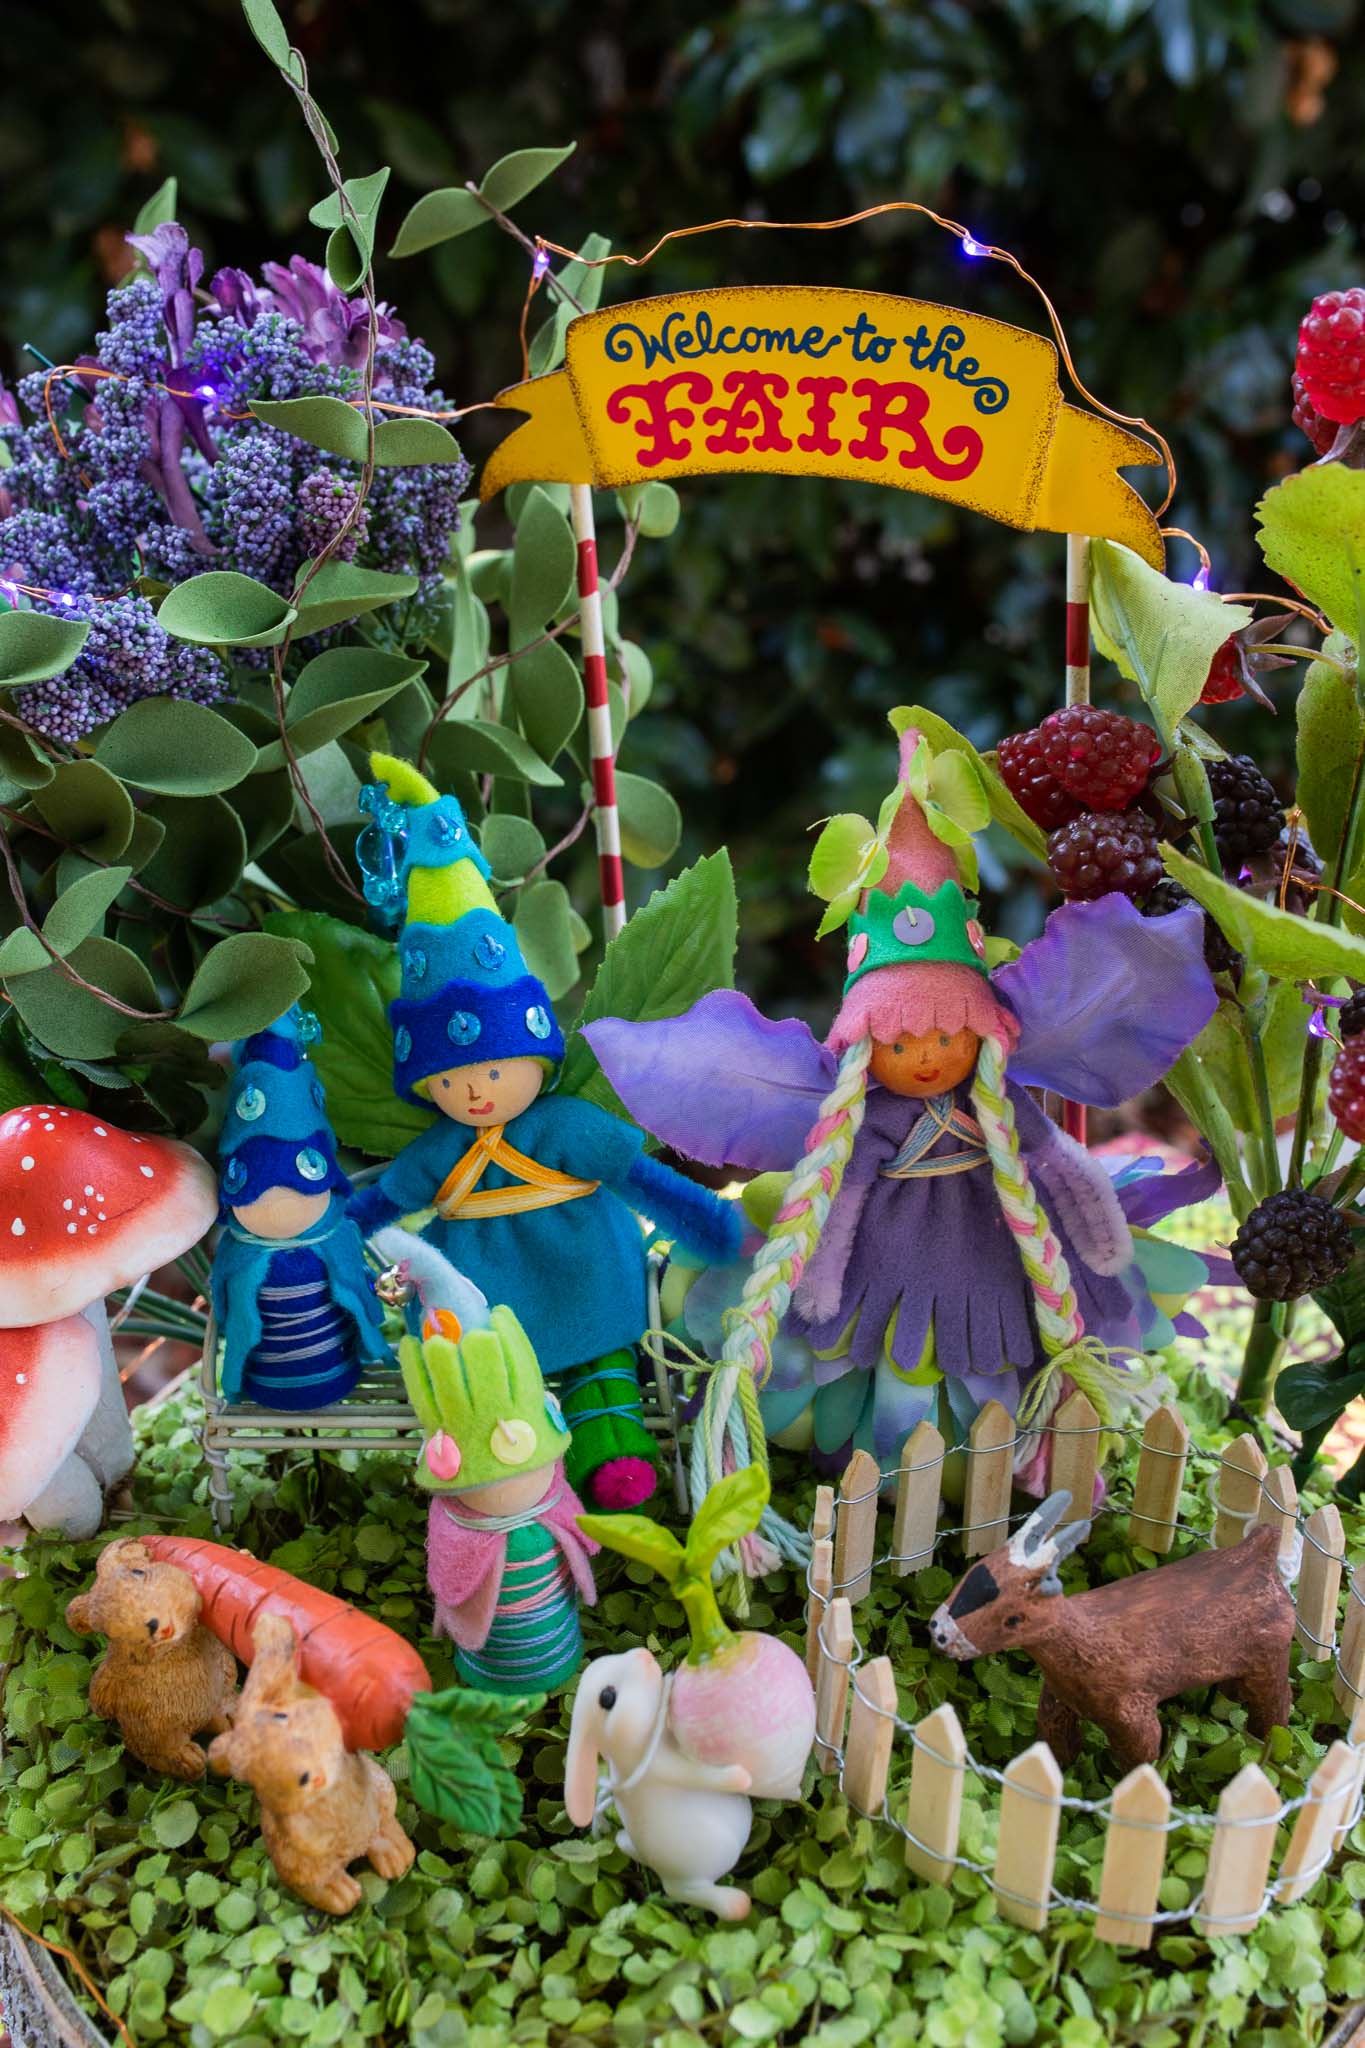
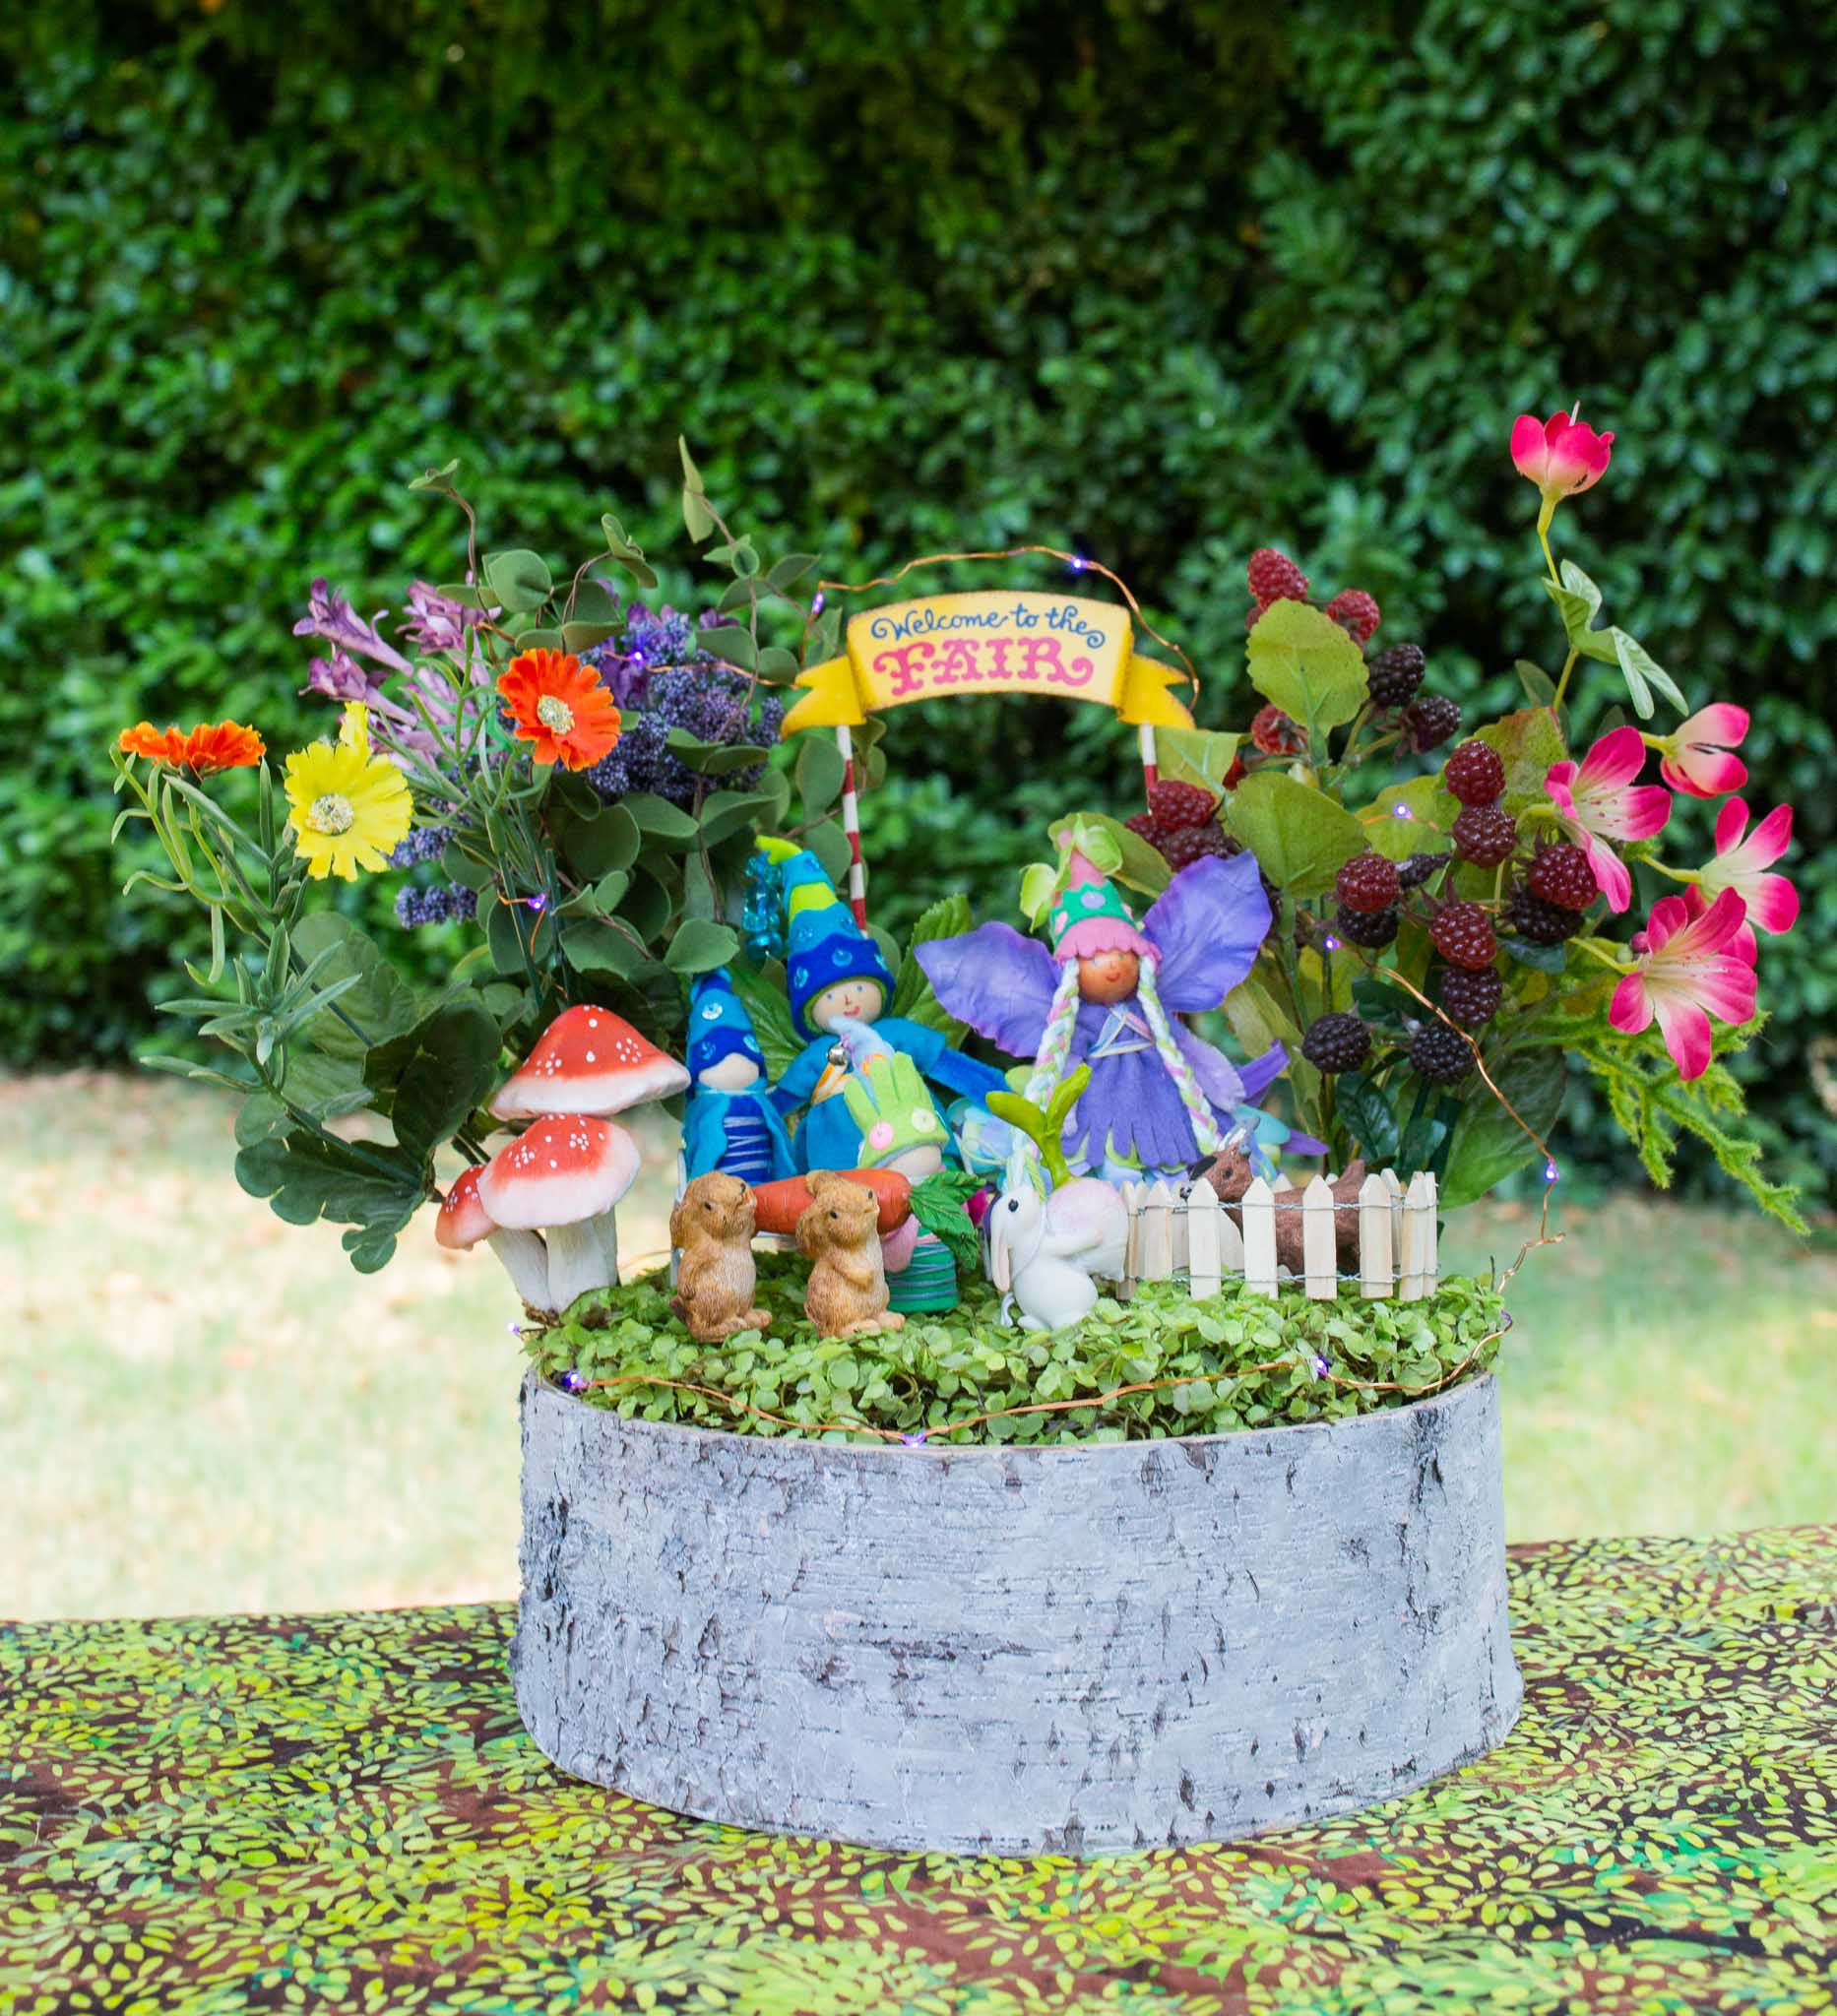

Even fairies love a county fair!

Favorite Things from the New Book
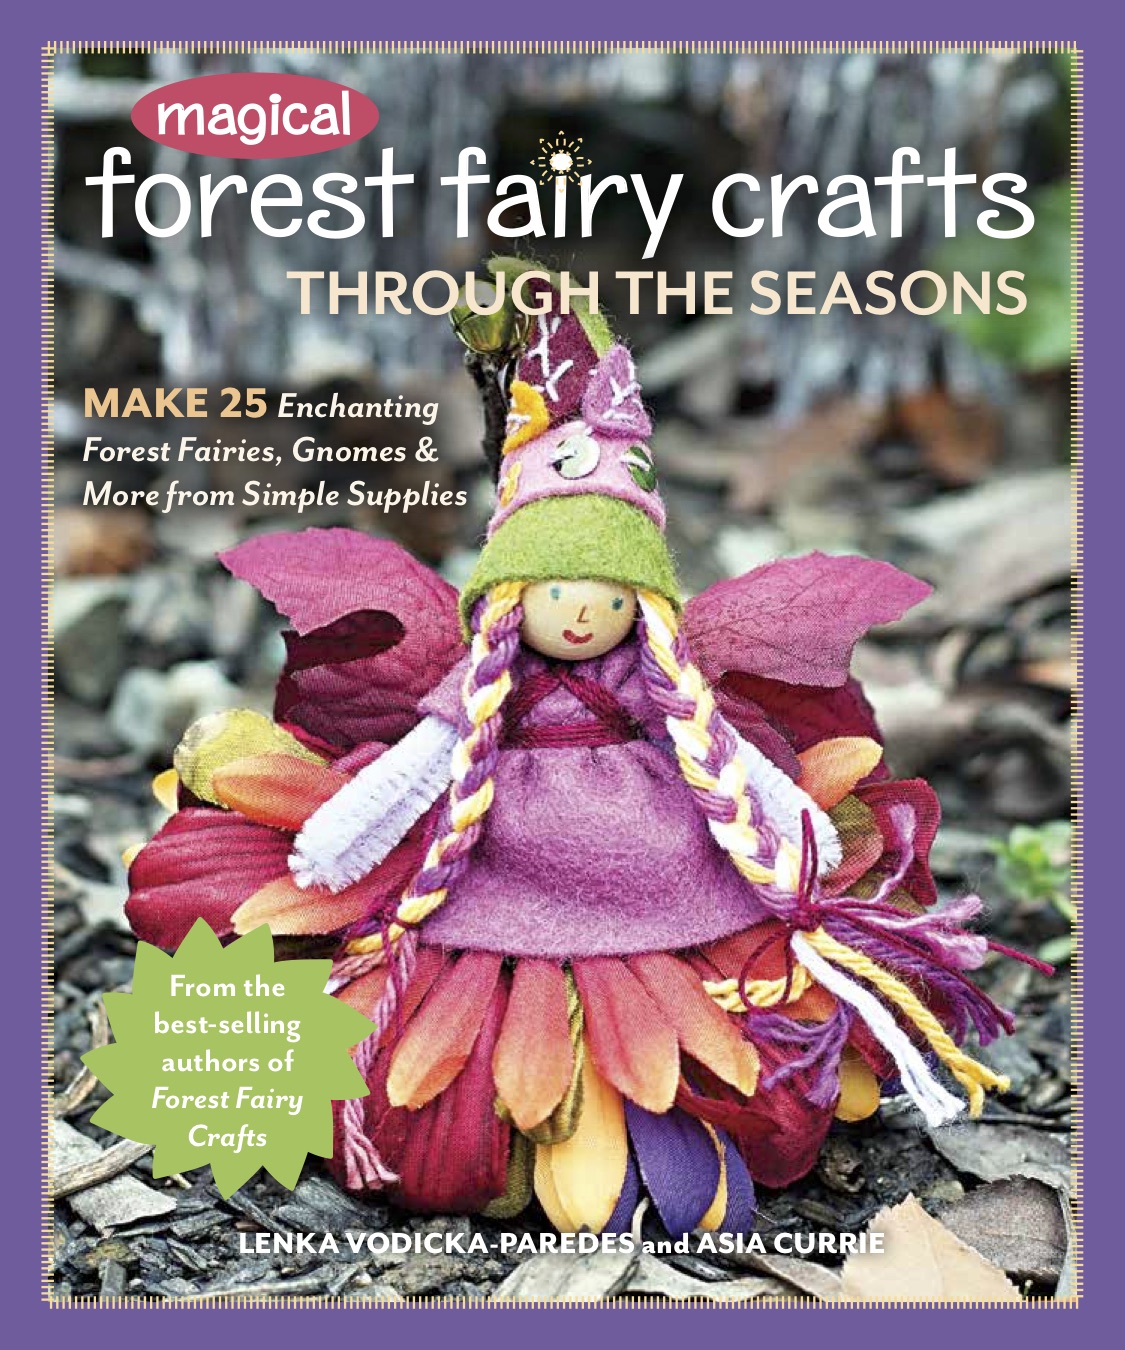
Yay for discovering new fairies, gnomes, critters, and crafts. Yay for decorating homes with colorful, pretty garlands and ornaments. Yay for new ideas, new creativity, new celebrations. Yay for Magical Forest Fairy Crafts through the Seasons*!
This book inspired us with new ideas and projects. We wanted to build on the foundation of the first book while giving new techniques and inspiration for our community. Here are five of our favorite things in the new book. We look forward to hearing your favorites!

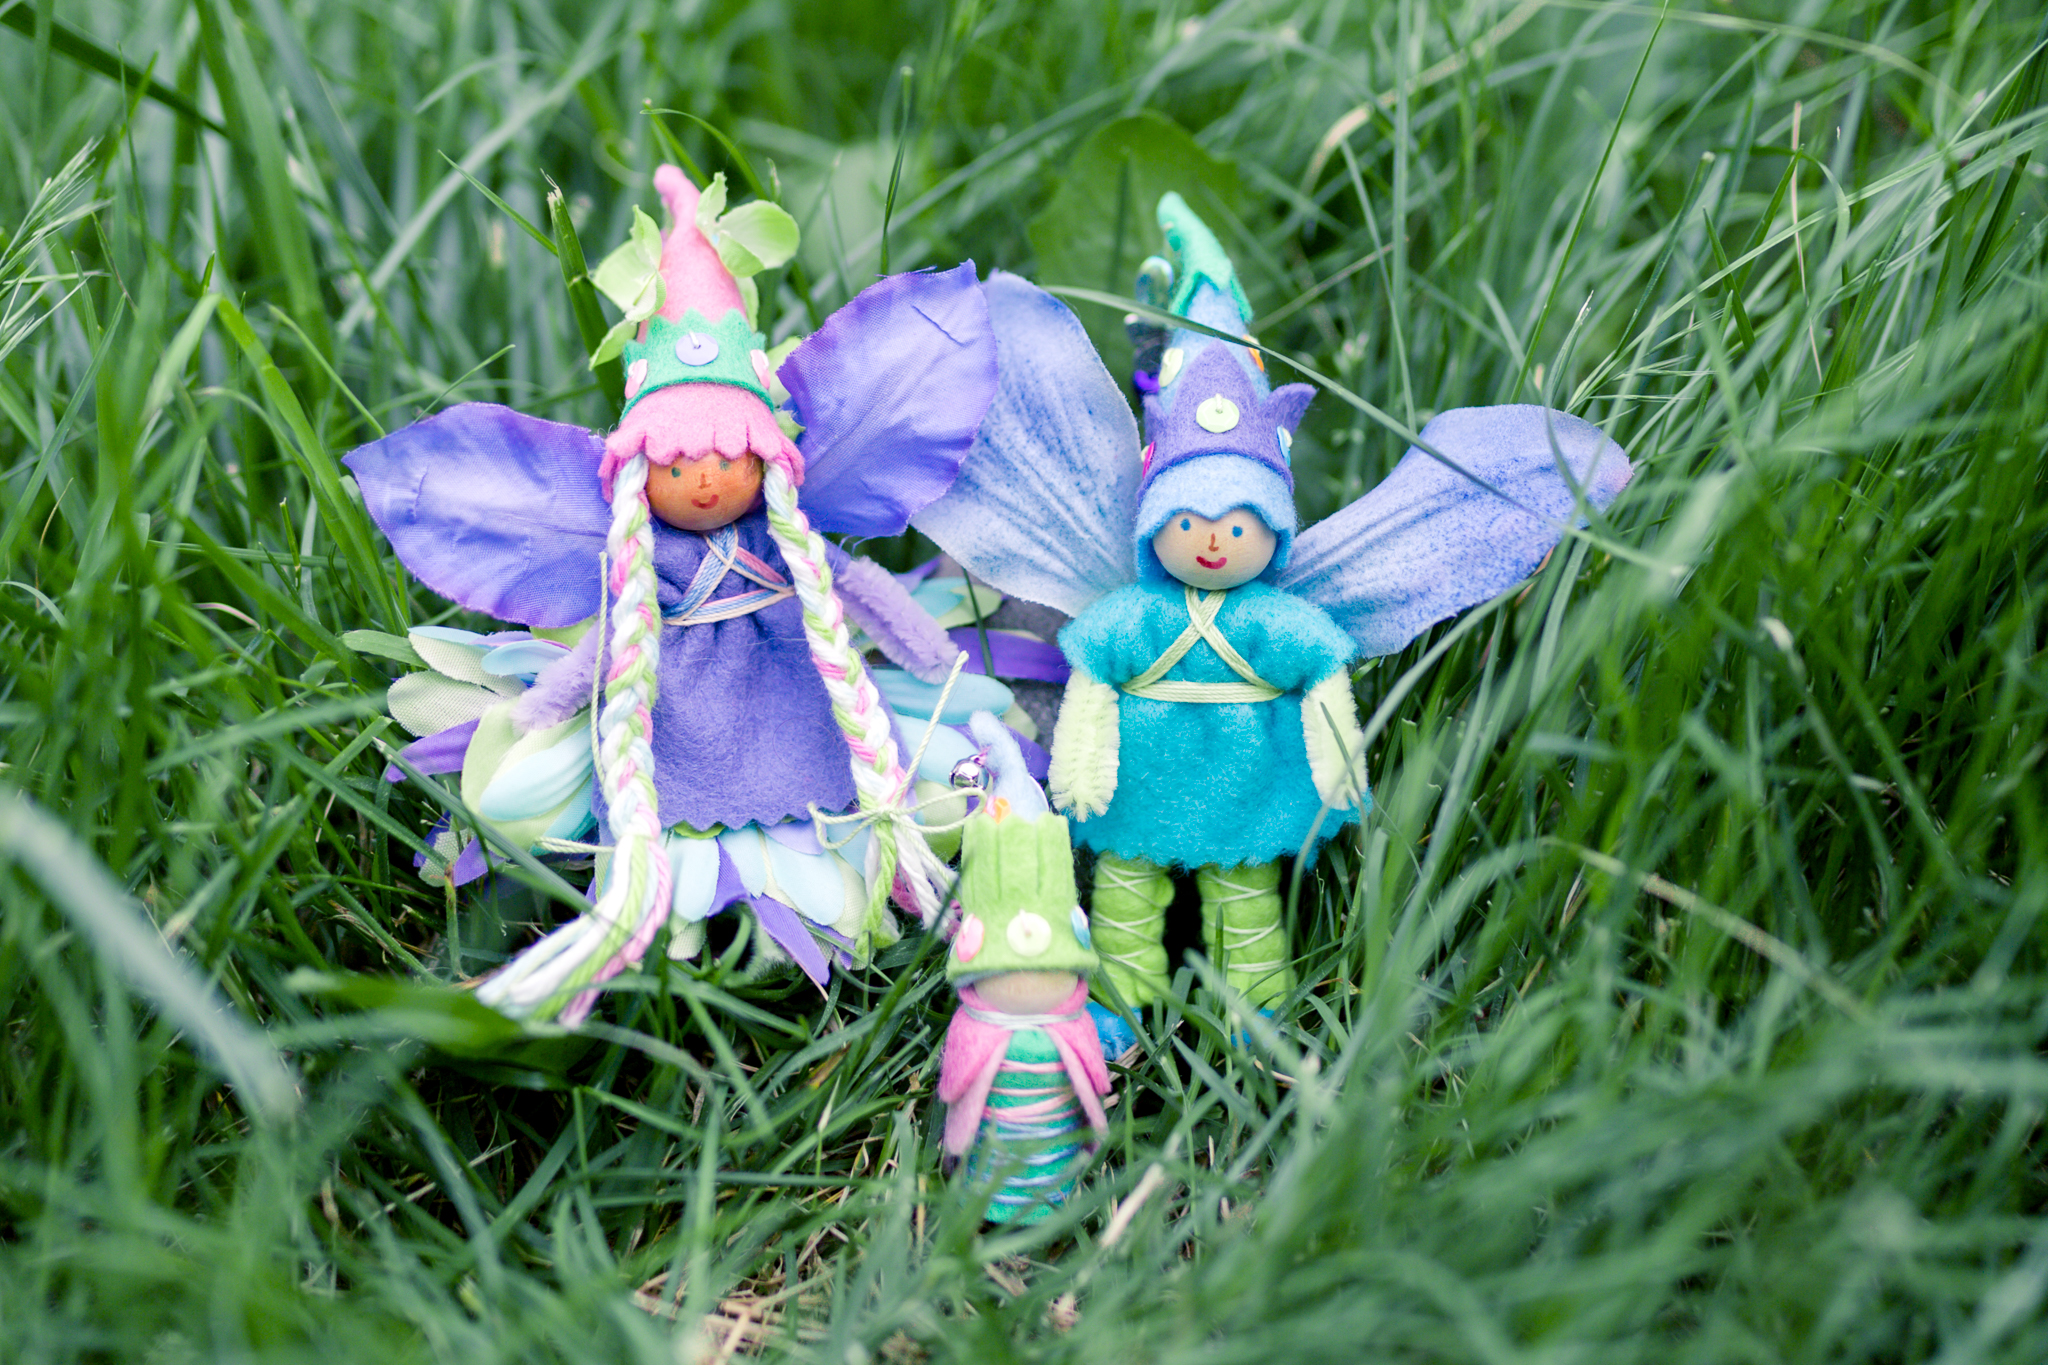
- Crafting for Girls AND Boys- it was so important for us that everyone gets to craft. Every fairy has a version with a fairy wearing a dress and a fairy wearing shirt with pants. We notice that the crafter gets to choose what a fairy wears. Girls can wear pants and boys can choose skirts too, if they want. Fairies could wear kilts if they want! We often craft with boys who make fairies with dresses as gifts. We believe in including everyone. We also paid attention to colors throughout the book, from sample projects to design elements, to show lots of colors. We know that families craft together so it's important to include everyone in the creativity. Also, we see how boys love making toys and learning how to sew. Everyone gets to have fun together!

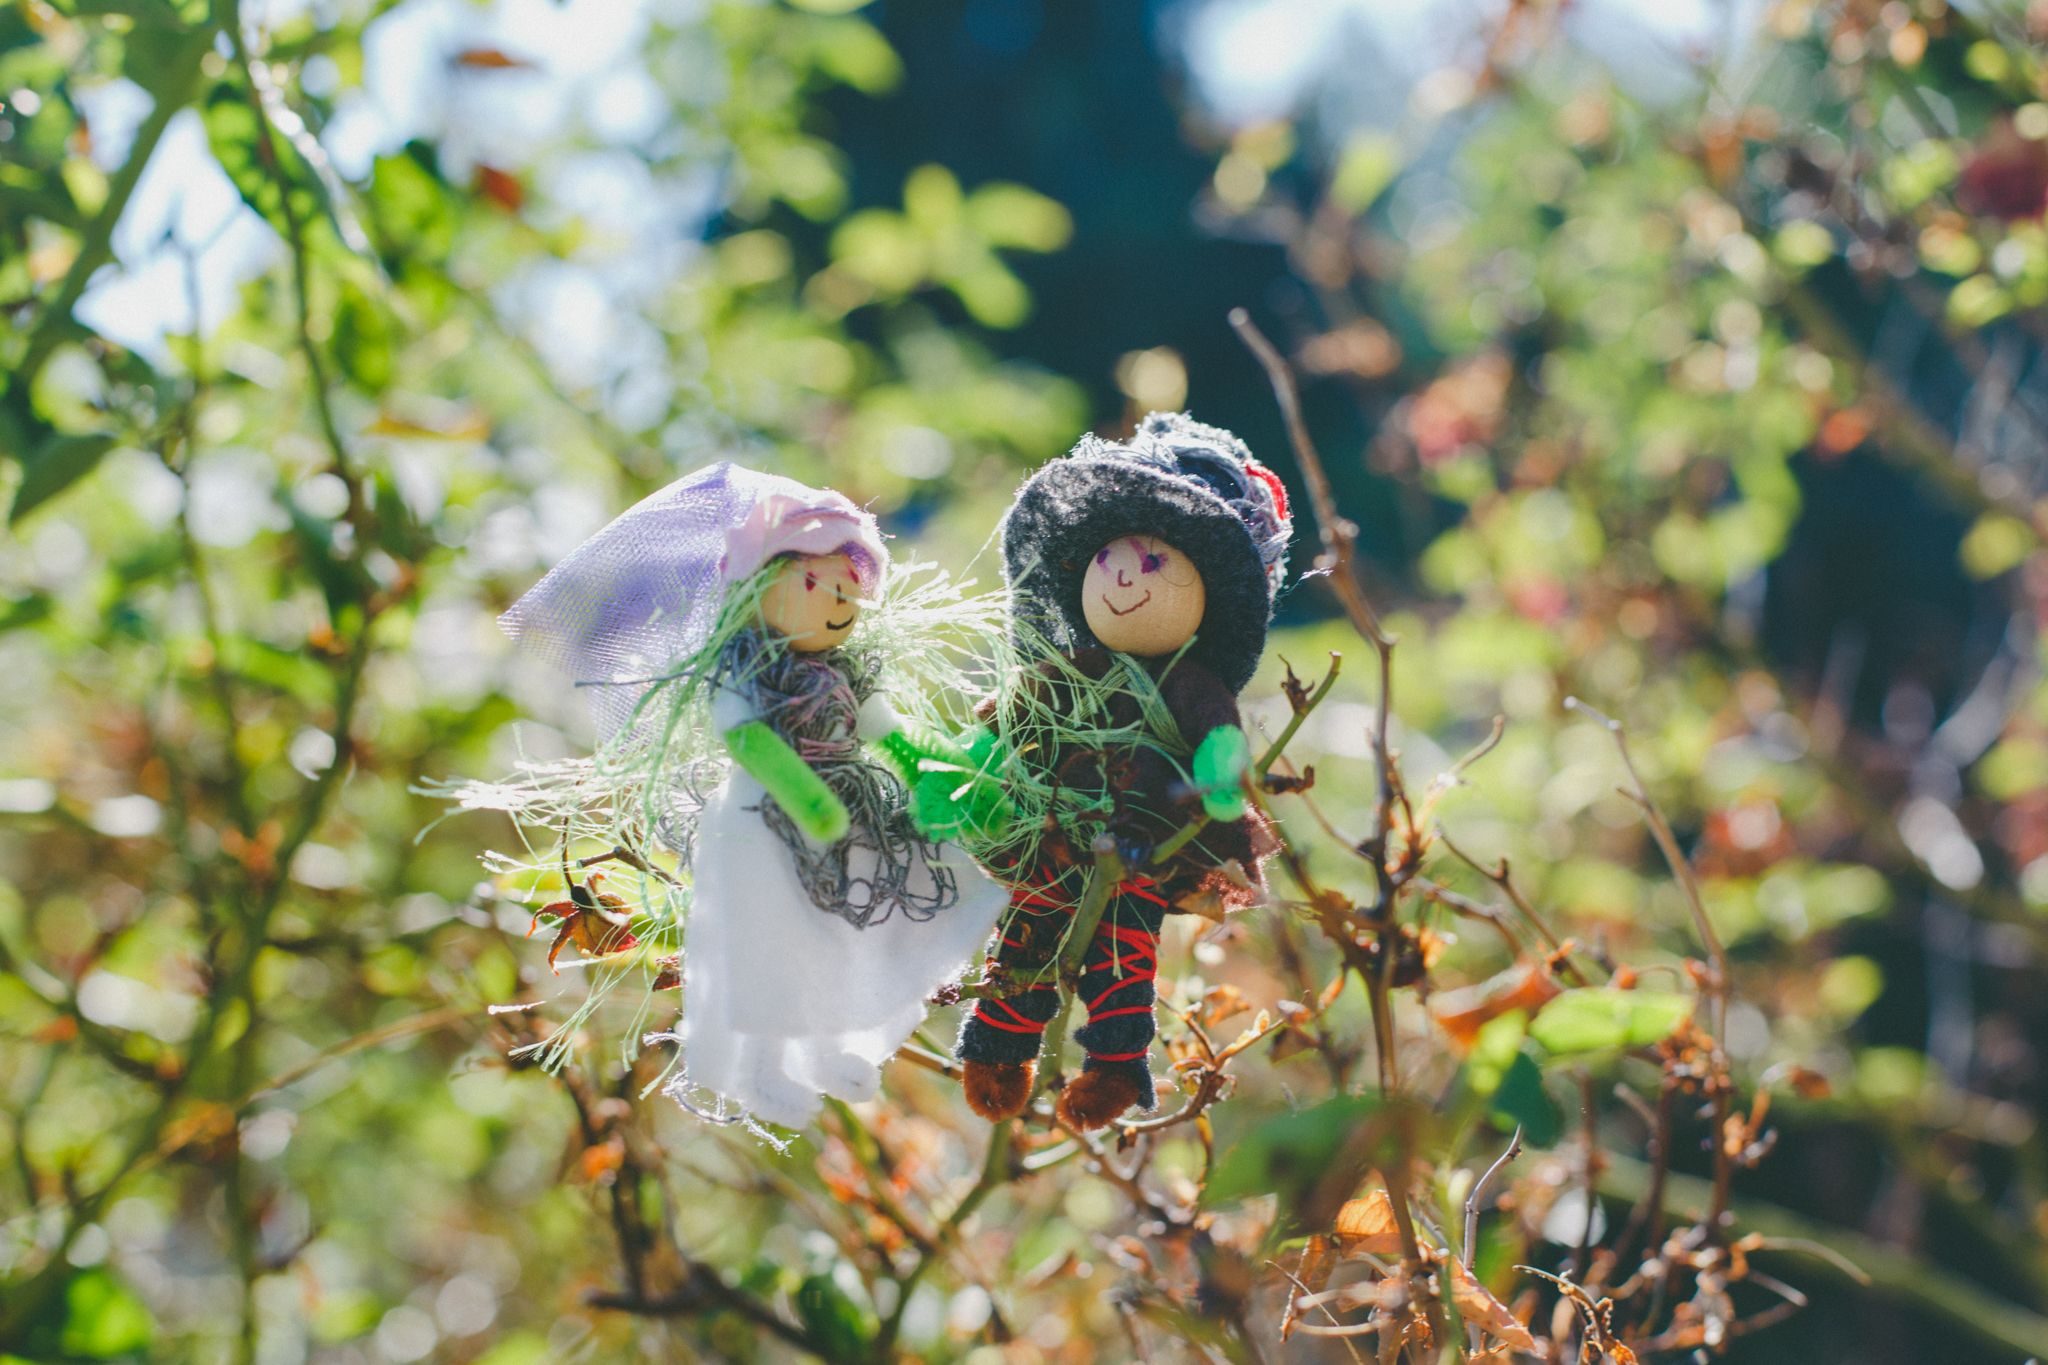
The bride and groom get to be part of the new book
- Diversity in the Forest- we found a way to create many different skin tones on fairies and gnomes. By painting the wood with watercolors, we were able to showcase all skin tones. Having representation is so important to us. We teach painting. We also model many different skin types in the example photos. All children deserve to see themselves in the crafts they create. Even our kid models for this book show diverse ethnicities. Everyone gets to be included in the Forest.
- Empowering makers- making toys gives children tremendous creative expression. We teach the tools so that they can understand how to sew anything their imagination can design. We show one way, then invite other ways to make a project unique. This gives children an invitation to explore ideas and colors. We believe, strongly, that children are incredible makers. They love opportunities that empower the creative process. This book is a launchpad for creativity.

Gnome and his friends gather to celebrate the new book
- Gnomes- In this book, we got to make more gnomes. We developed a new technique wrapping thread around their tummy to give gnomes more color and texture. And we realized that two capes are fancier than one. By making one smaller cape and one bigger cape, the gnome designs are cute and look fancy while being accessible for kids to make. We include patterns and lots of photos for the gnomes.

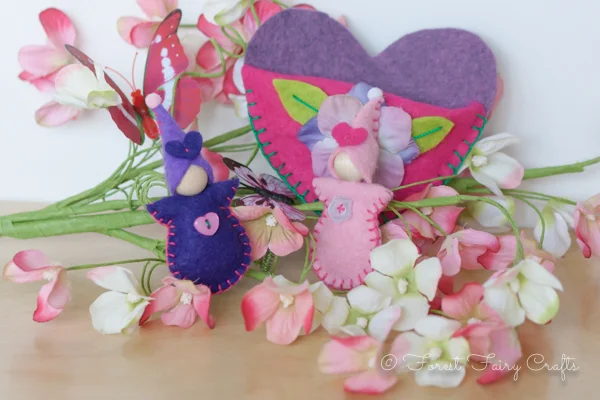
Garlands with hearts and blossoms.
- Celebrating the year- by far the biggest request we hear is ideas for each new season. What projects can be brought to classrooms, homeschool students, and programs for children? What can inspire children, and their favorite adults, month after month? So many of our projects are designed to be made again and again. For example, a garland can use colorful felt leaves in autumn. Then it can be made with snowflakes in winter. And blossoms in spring. Or you can add raindrops, or clouds, or hearts, or stars. You can see how one project can lead to many more :)
What we love the most is celebrating the magic of childhood imaginations. We appreciate our community so, so much that has helped create Forest Fairy Crafts over the years. Our very favorite thing about this new book is getting to create more crafts with all of you! Thank you for coming along on the journey. Let's make magic :)
We cannot wait for every to get a copy of their own. Please, let us know what you think. What's your favorite project? Or your favorite idea in the book?
You can order your copy on Amazon,* or visit your local bookseller. Let's return to the Forest!
*affiliate link- a small amount is given to the forest by the seller while your price remains the same. Win-win :) and thank you!
Book Month is Here!
It's almost time! This is the month! An entire new collection of fairies and crafts is arriving for children of all ages. The theme of this book is seasons. Each new season is a chance to celebrate and create. From the changing colors, to the scents of grass or cinnamon or snow, to the activities of collecting treasures or tossing beanbags, our book shares our favorite crafts.

The Summer Family

The Autumn Family

The Winter Family
The Spring Family
And each family has critters, decorations, and crafts to go along with the fairies and gnomes. It's going to be so fun to see what everyone creates. You can preorder a copy of Magical Forest Fairy Crafts through the Seasons on Amazon to be sure it arrives soon at your doorstep next week by clicking here*
We keep adding to our summer shelf. There's still time for epic summer crafting. What are you making today?
We're busy making a fairy garden to enter in the county fair. I'll take photos to share once we finish it. So fun to create fairylands. Hope you get to find magic today :)
Thank you to all the people who have preordered the book and supported the forest through the years. We appreciate you so much!
*affiliate link allows us to earn a small percentage from Amazon while your price remains the same.

Crafting for Social Action
The world is not always easy. We want to protect children from the sadness of the world, especially the difficult moments or difficult ideas. However, part of our job, as adults, is to help them understand difficult ideas, from homelessness to grief to disasters. And, hopefully, we can empower children to make positive changes for the future.
I often think of a quote by Mr. Rogers. Fred Rogers often told this story about when he was a boy and would see scary things on the news: “My mother would say to me, ‘Look for the helpers. You will always find people who are helping.’ To this day, especially in times of disaster, I remember my mother’s words, and I am always comforted by realizing that there are still so many helpers — so many caring people in this world.”
We can help children make sense of the world by showing them ways to express their support for helpers. Many groups and organizations showcase support with activities that may help children wrangle ideas into action. Every family, of course, needs to find their own way through a briar of life events that may or may not connect with a child's world.
For example, I was a first grade teacher during 9/11. We planned to keep conversations at home, where, hopefully, children wouldn't see the worst of the news. Then a student learned that one of her relatives was in one of a buildings. That family couldn't possible keep distance between current events and their child. You may not get to choose when a child reckons with global or local events.
What helped students throughout many years of teaching, and many scary events, was creating positive action. We made cards. We thanked first responders. We created thoughtful ways to express hope.
I am dismayed, with heartache, every time I hear about guns in schools. I want to insulate my children, except they come home with stories of Quiet Drills, or stories about when they're supposed to run into the woods instead of hiding in a closet. These drills break our collective hearts.

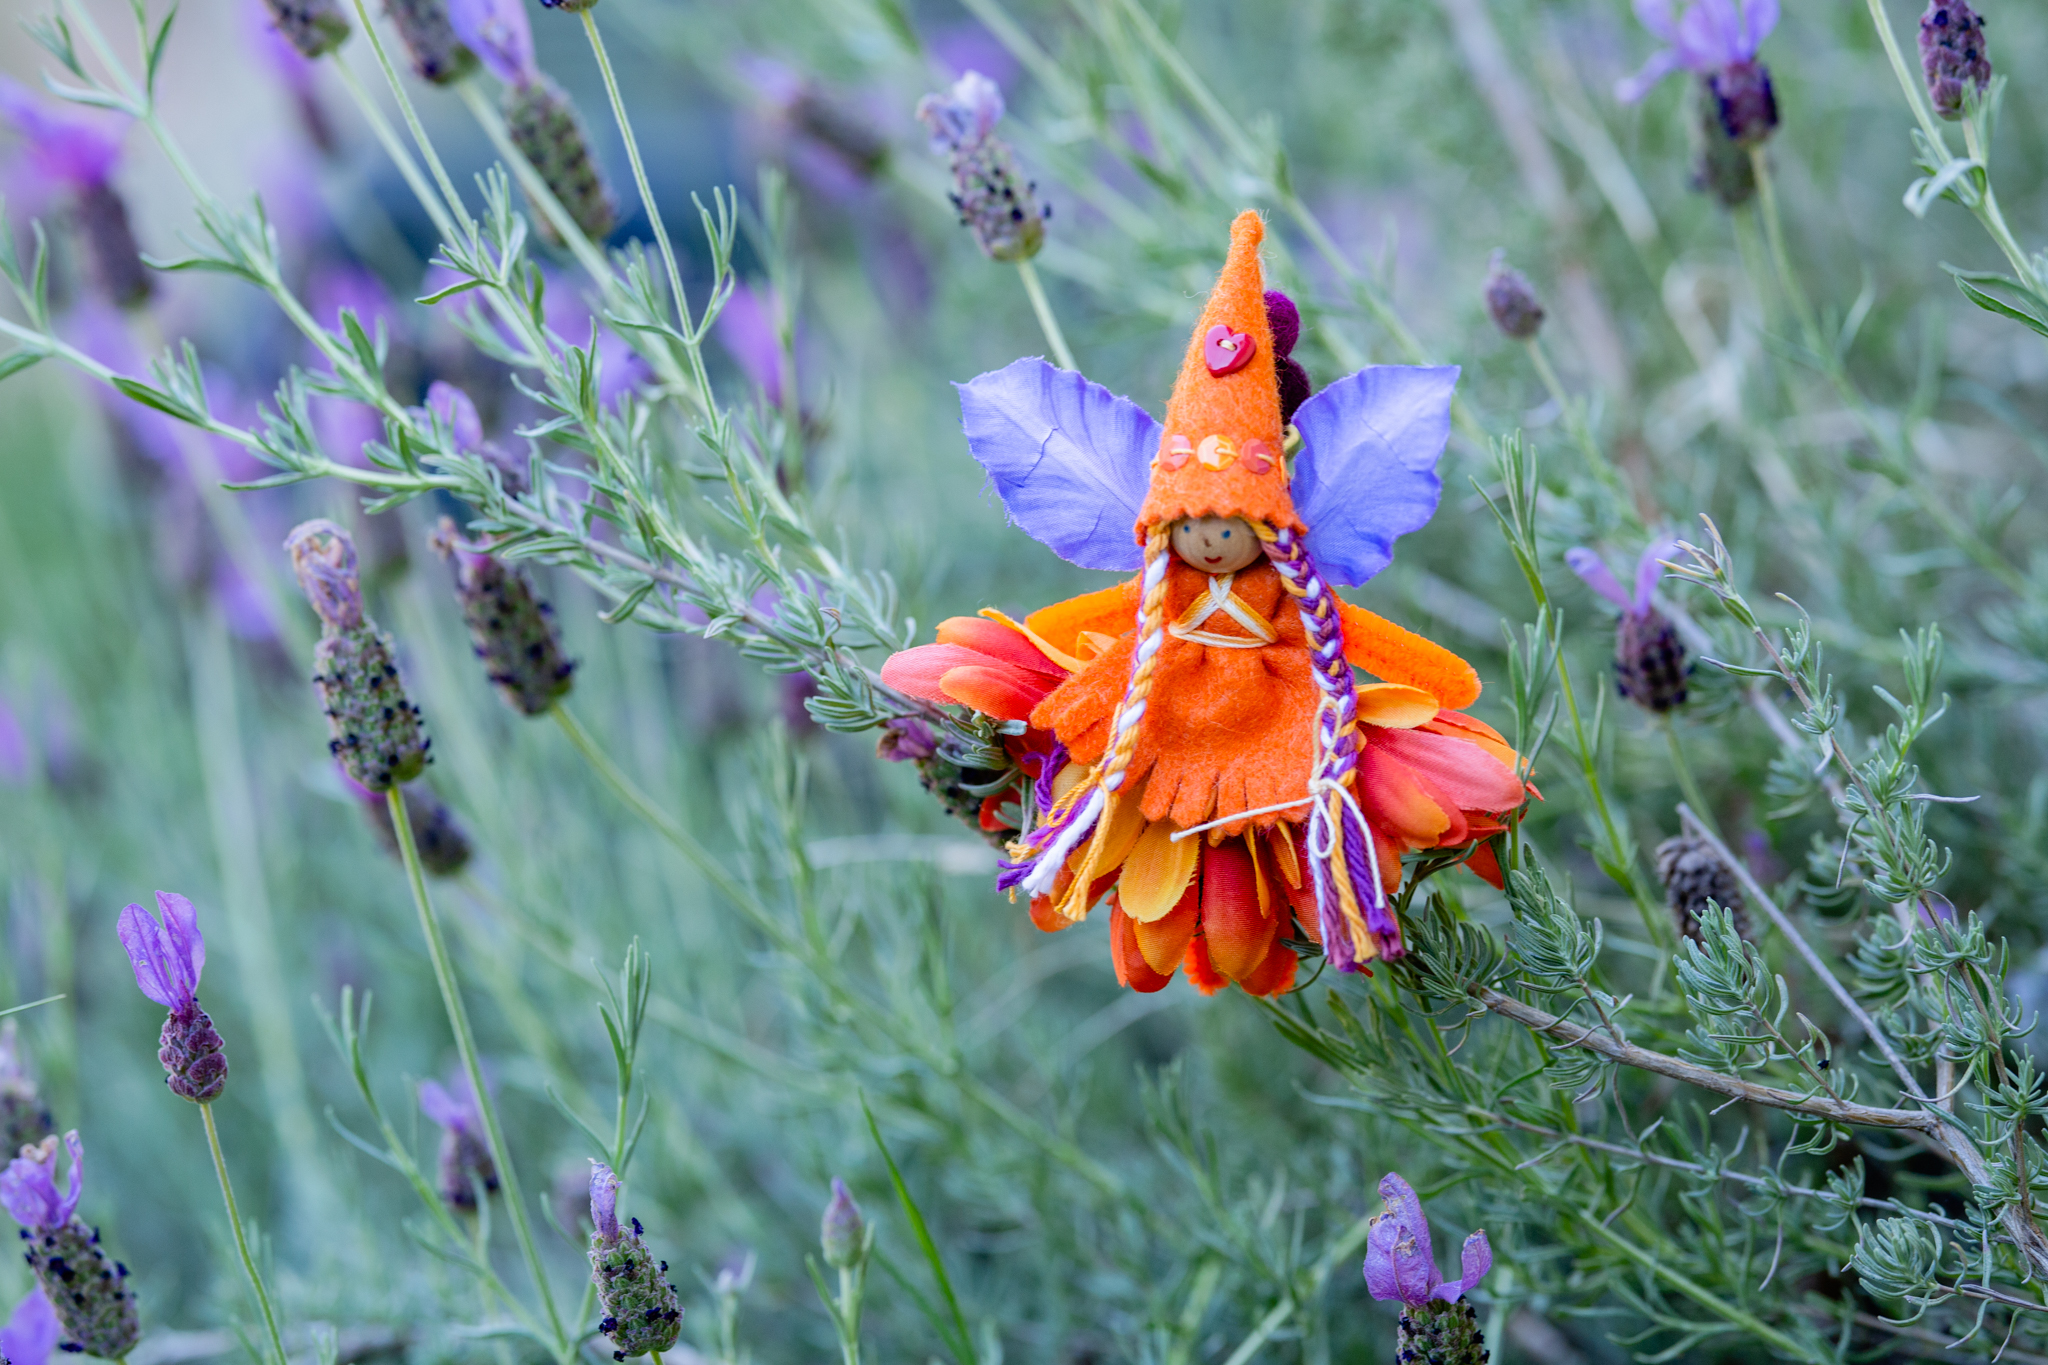
So my orange fairy shows support for Moms Demand and Everytown. I didn't want to put images of children online, but fairies are happy to be colorful supporting causes.
Children may want to be involved with groups or ideals that resonate with them. They may want to help animal shelters or relief organizations. You may want to encourage social engagement. You may want to show support without posting images of children online. Enter the fairies. You can make fairies or crafts to support movements and empower children. Children can express themselves by sending crafts as gifts to first responders or people they admire. Or share photos of fairies online. Children, and fairies and crafts, can become the helpers.
We know it's not easy. We know that we want to protect the children. We must treat their understanding of the world with compassion and care. Do your research before discussing any scary news events with children to learn what's appropriate for their age and understanding. If you do find yourself struggling with how to be a helper for children, perhaps crafts can help give intentional direction to the efforts. We all want a better world.
We want children to believe the world is filled with good magic. Together, we can create more good magic in the world. I believe that with all my heart.
Just as the fairies believe in us.
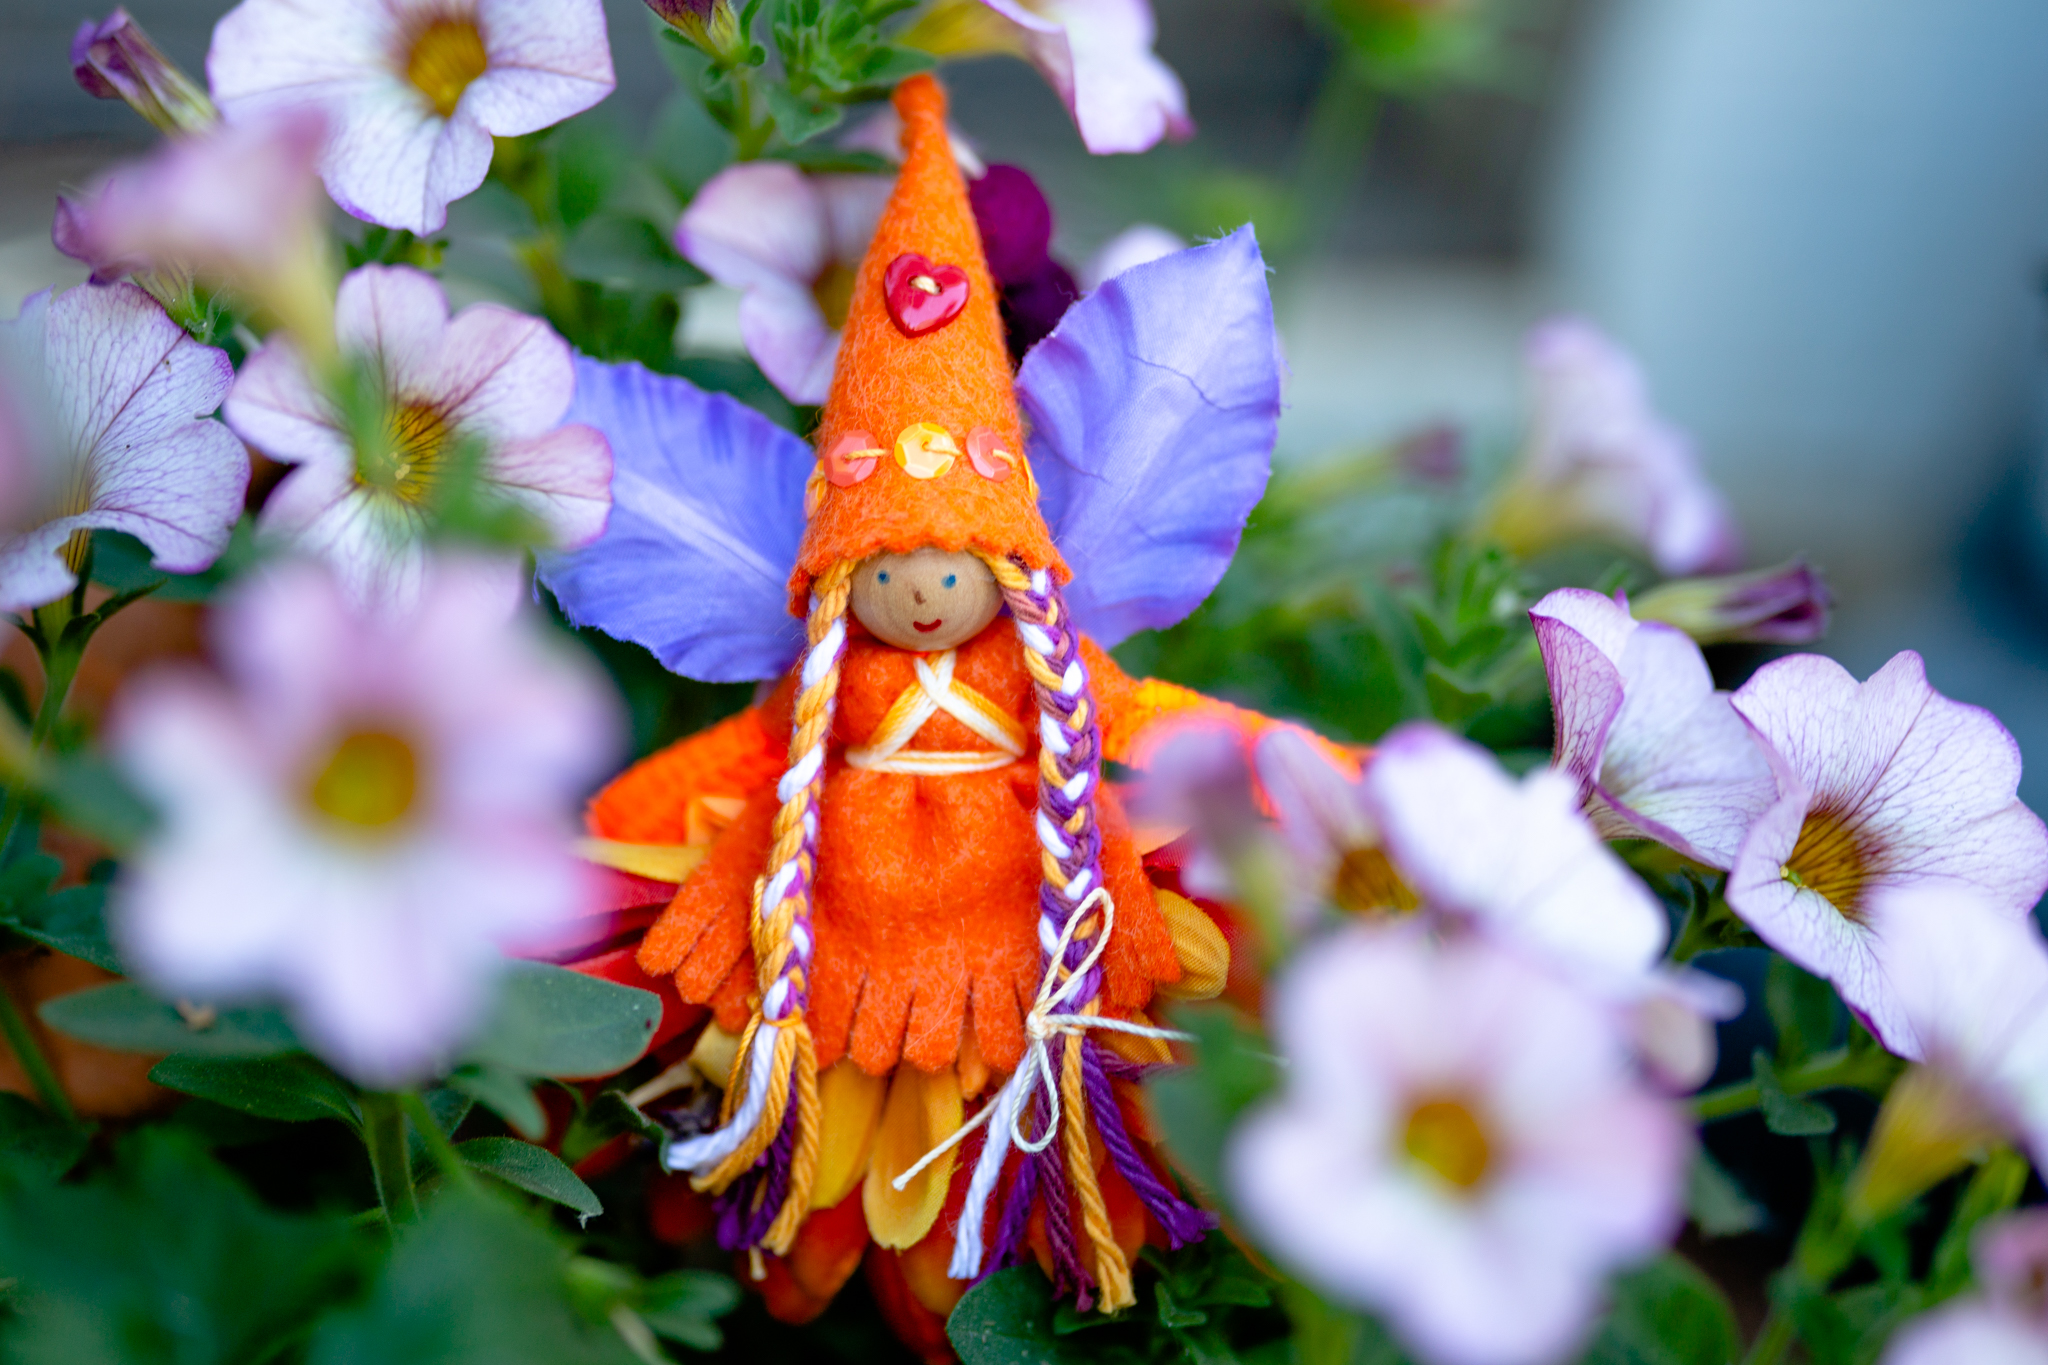
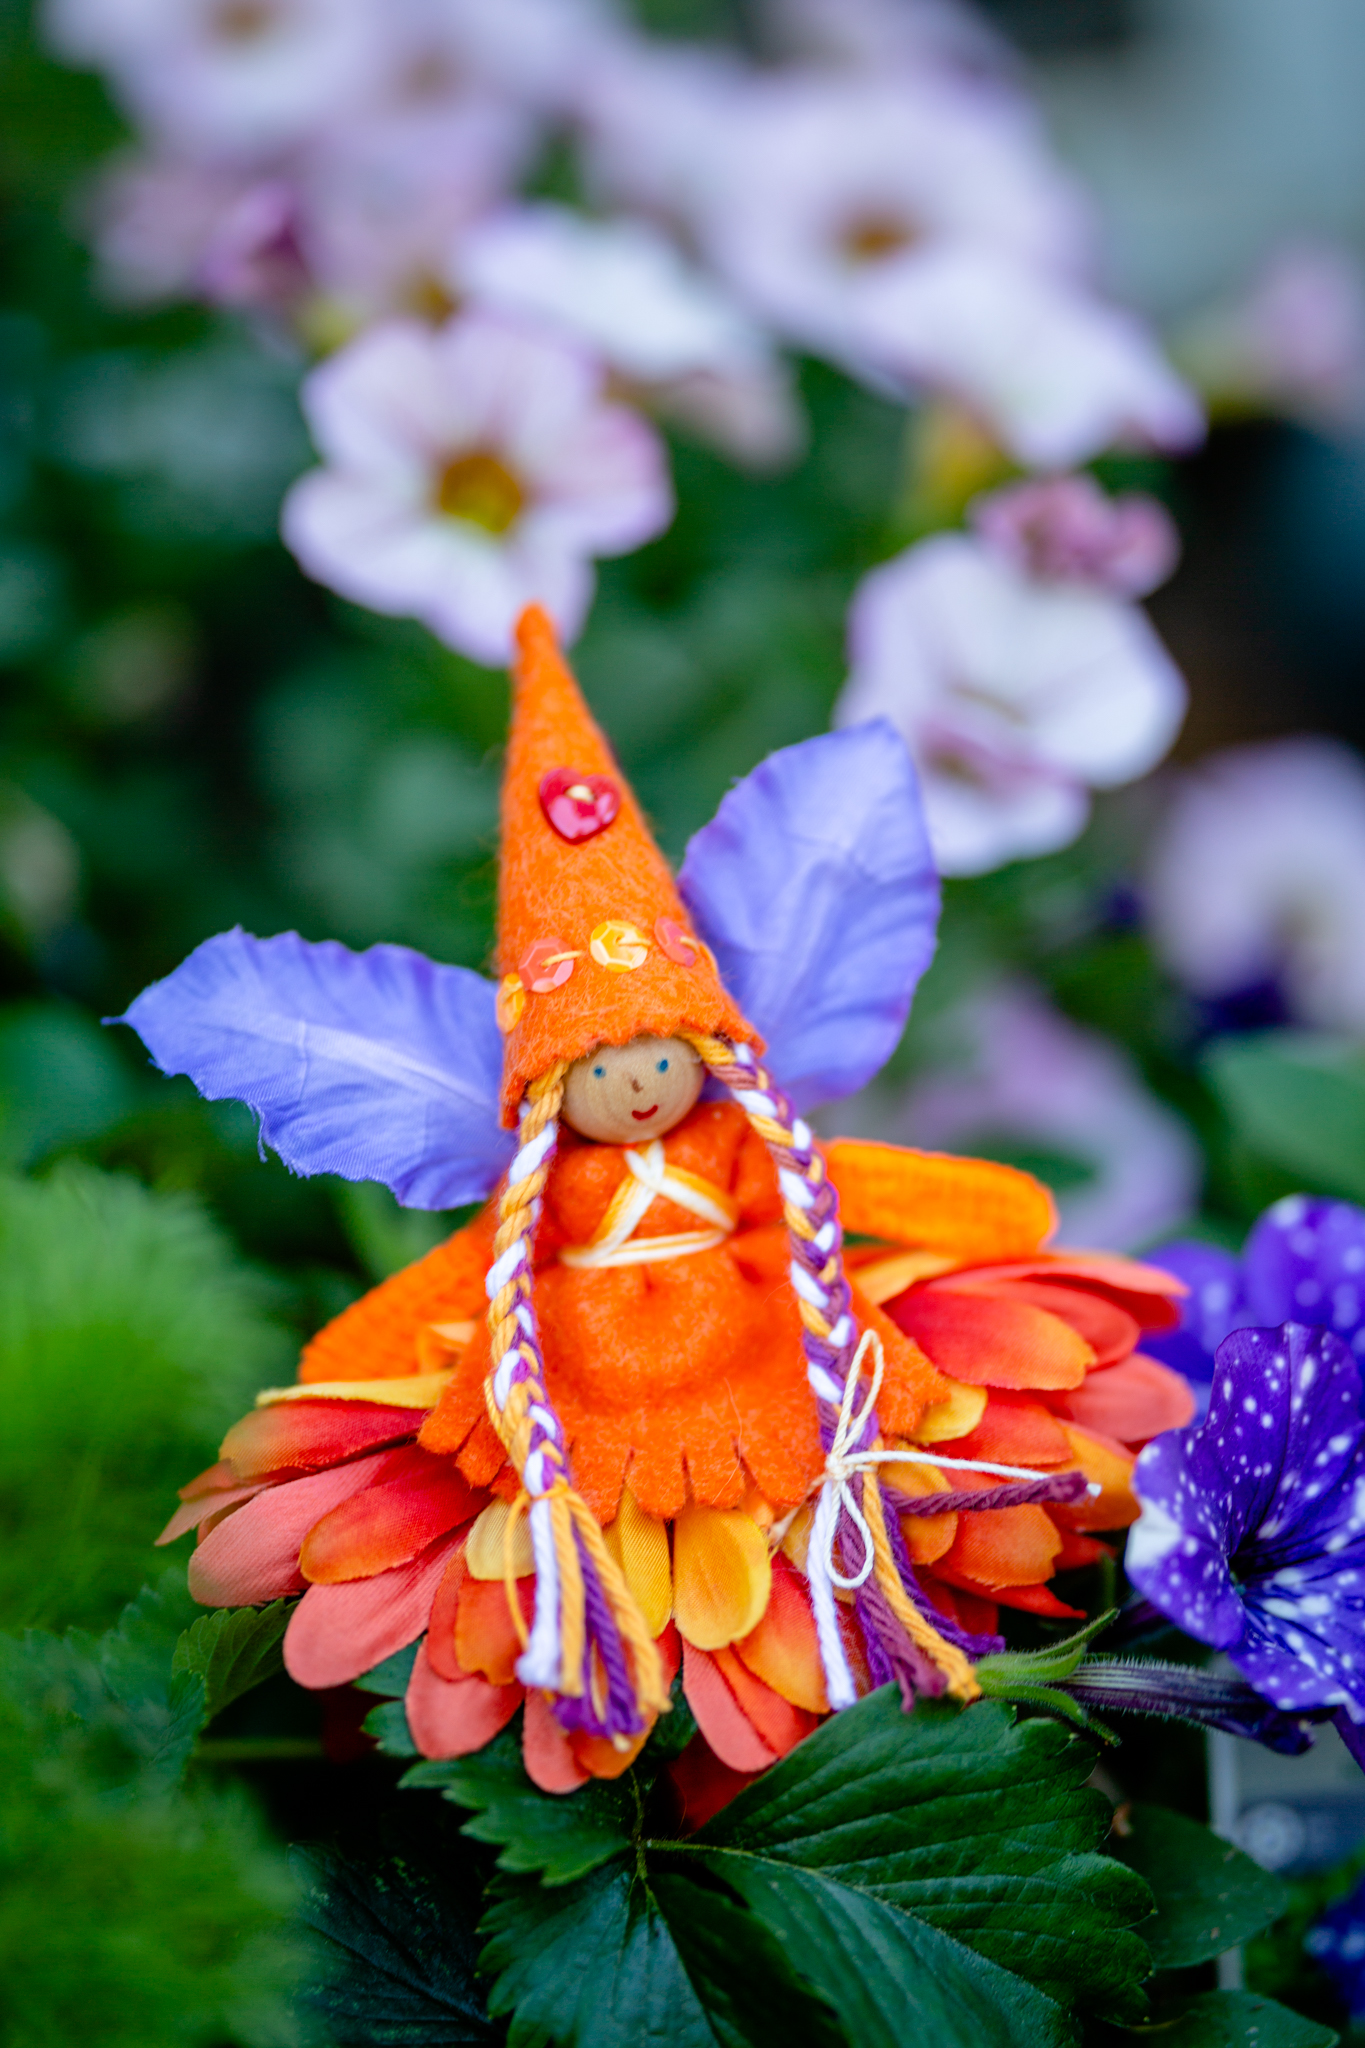
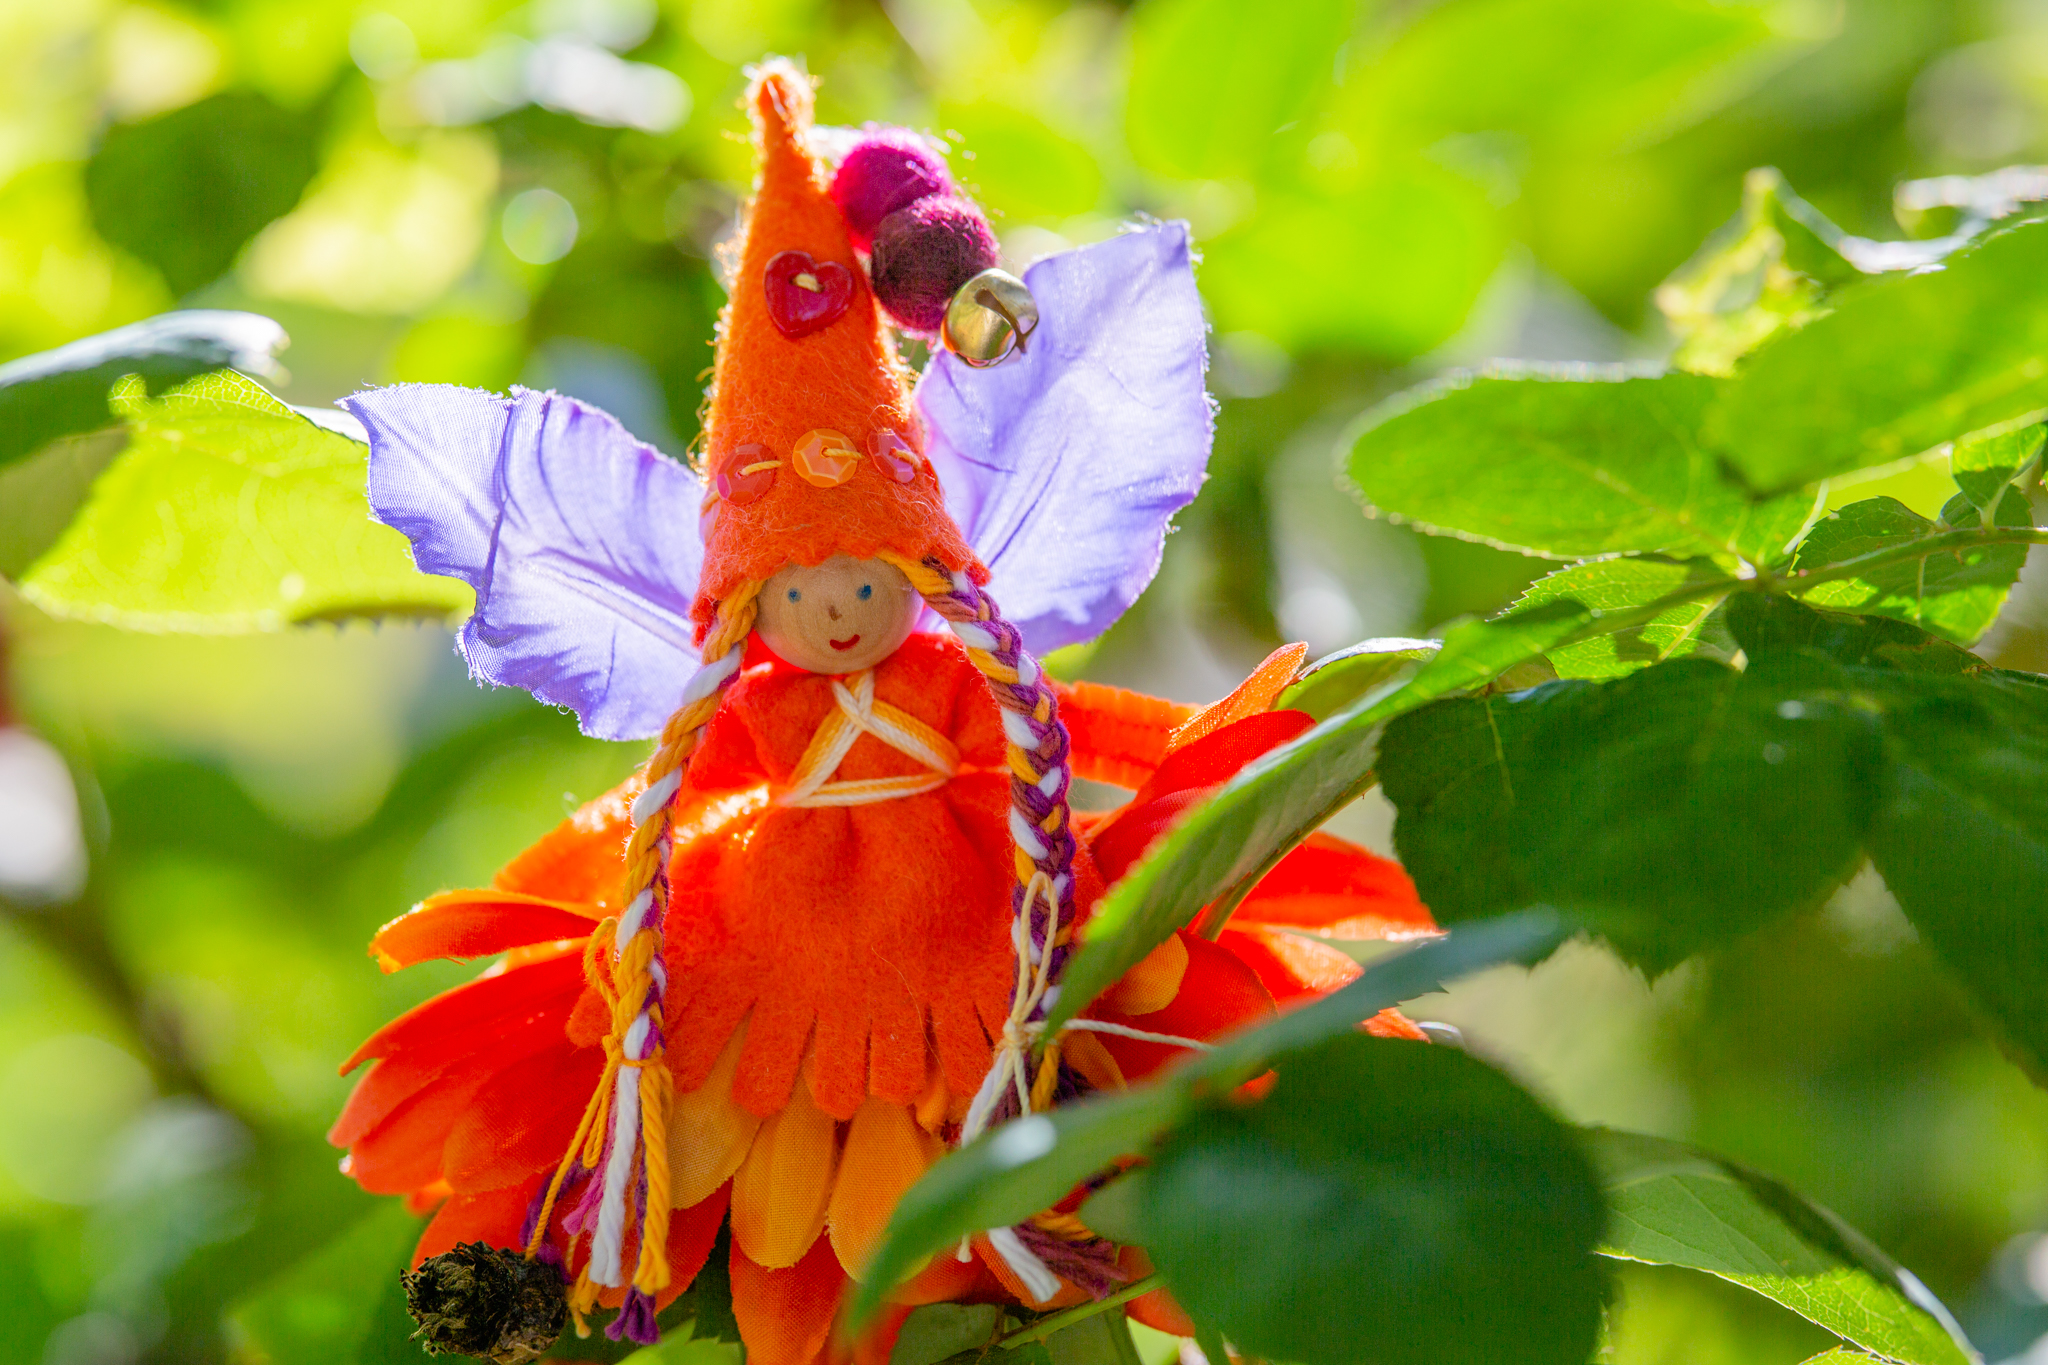
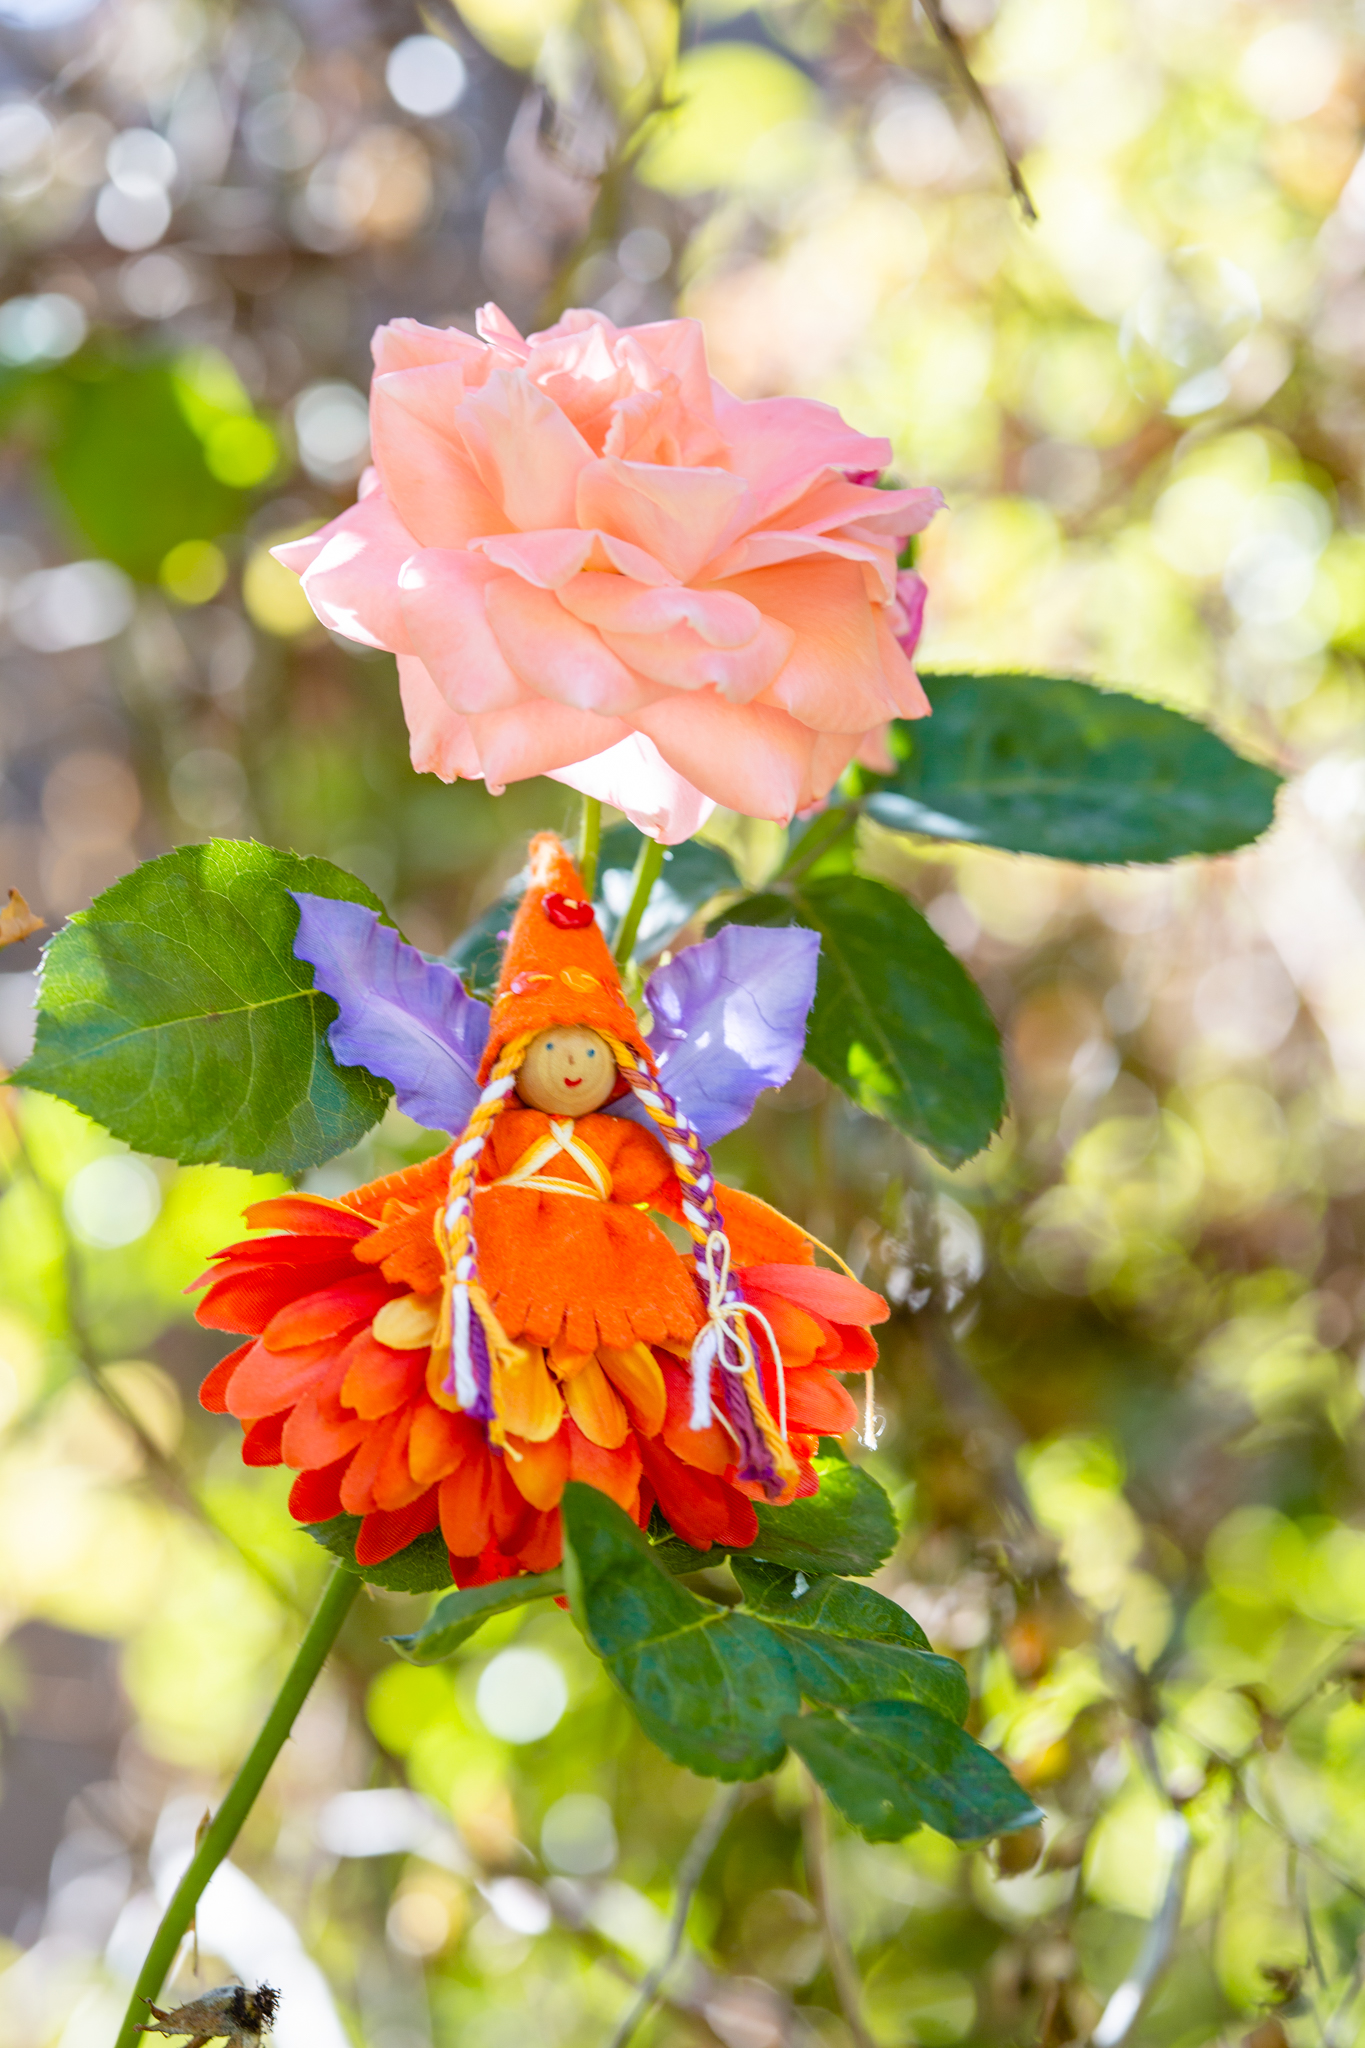

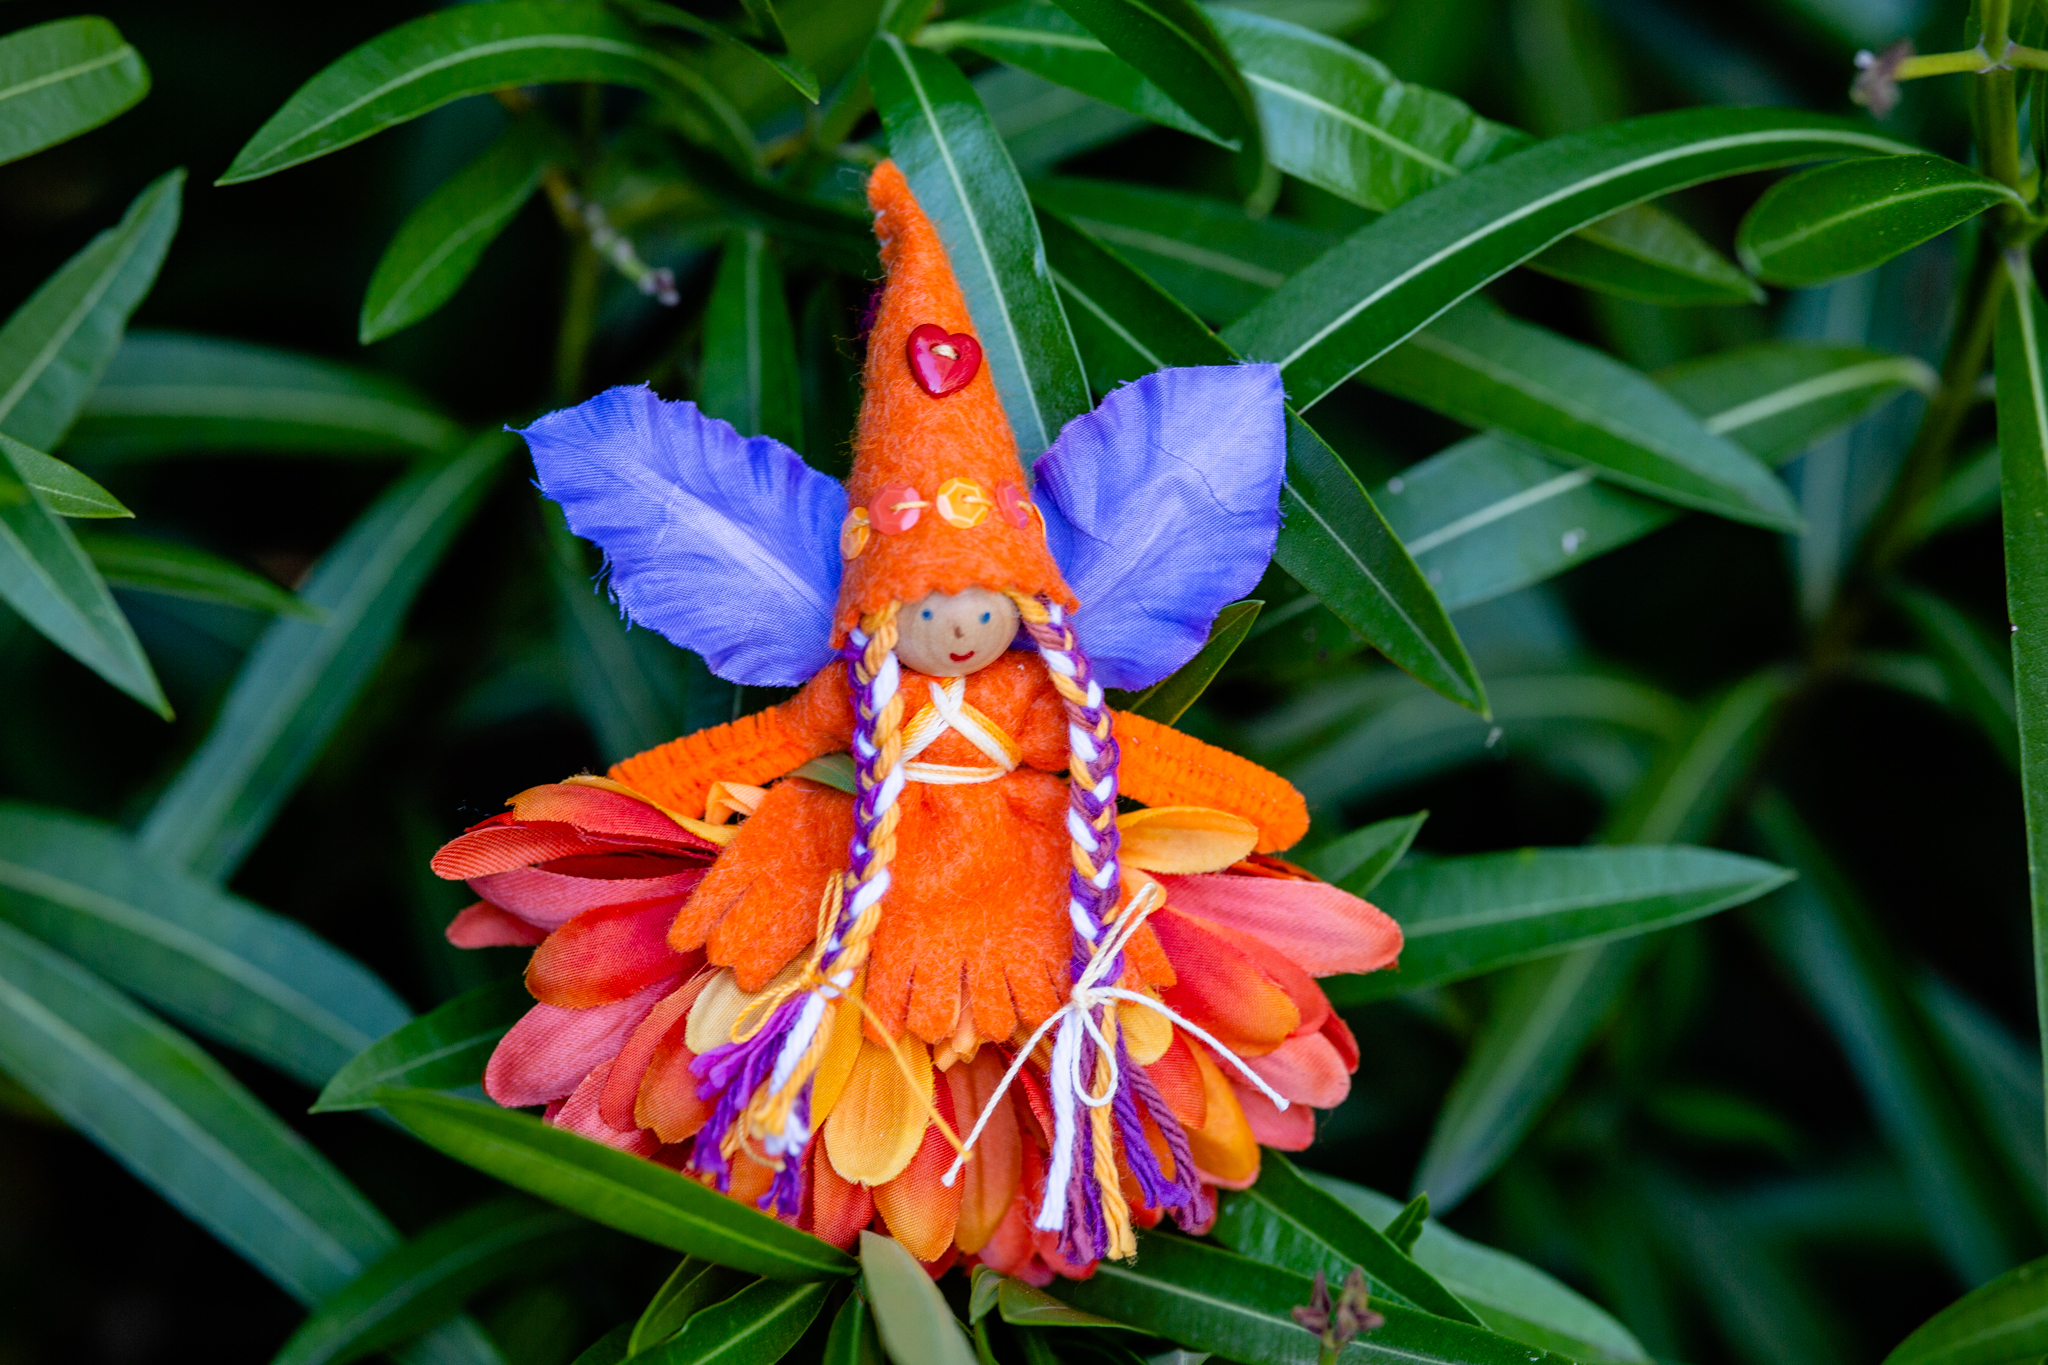
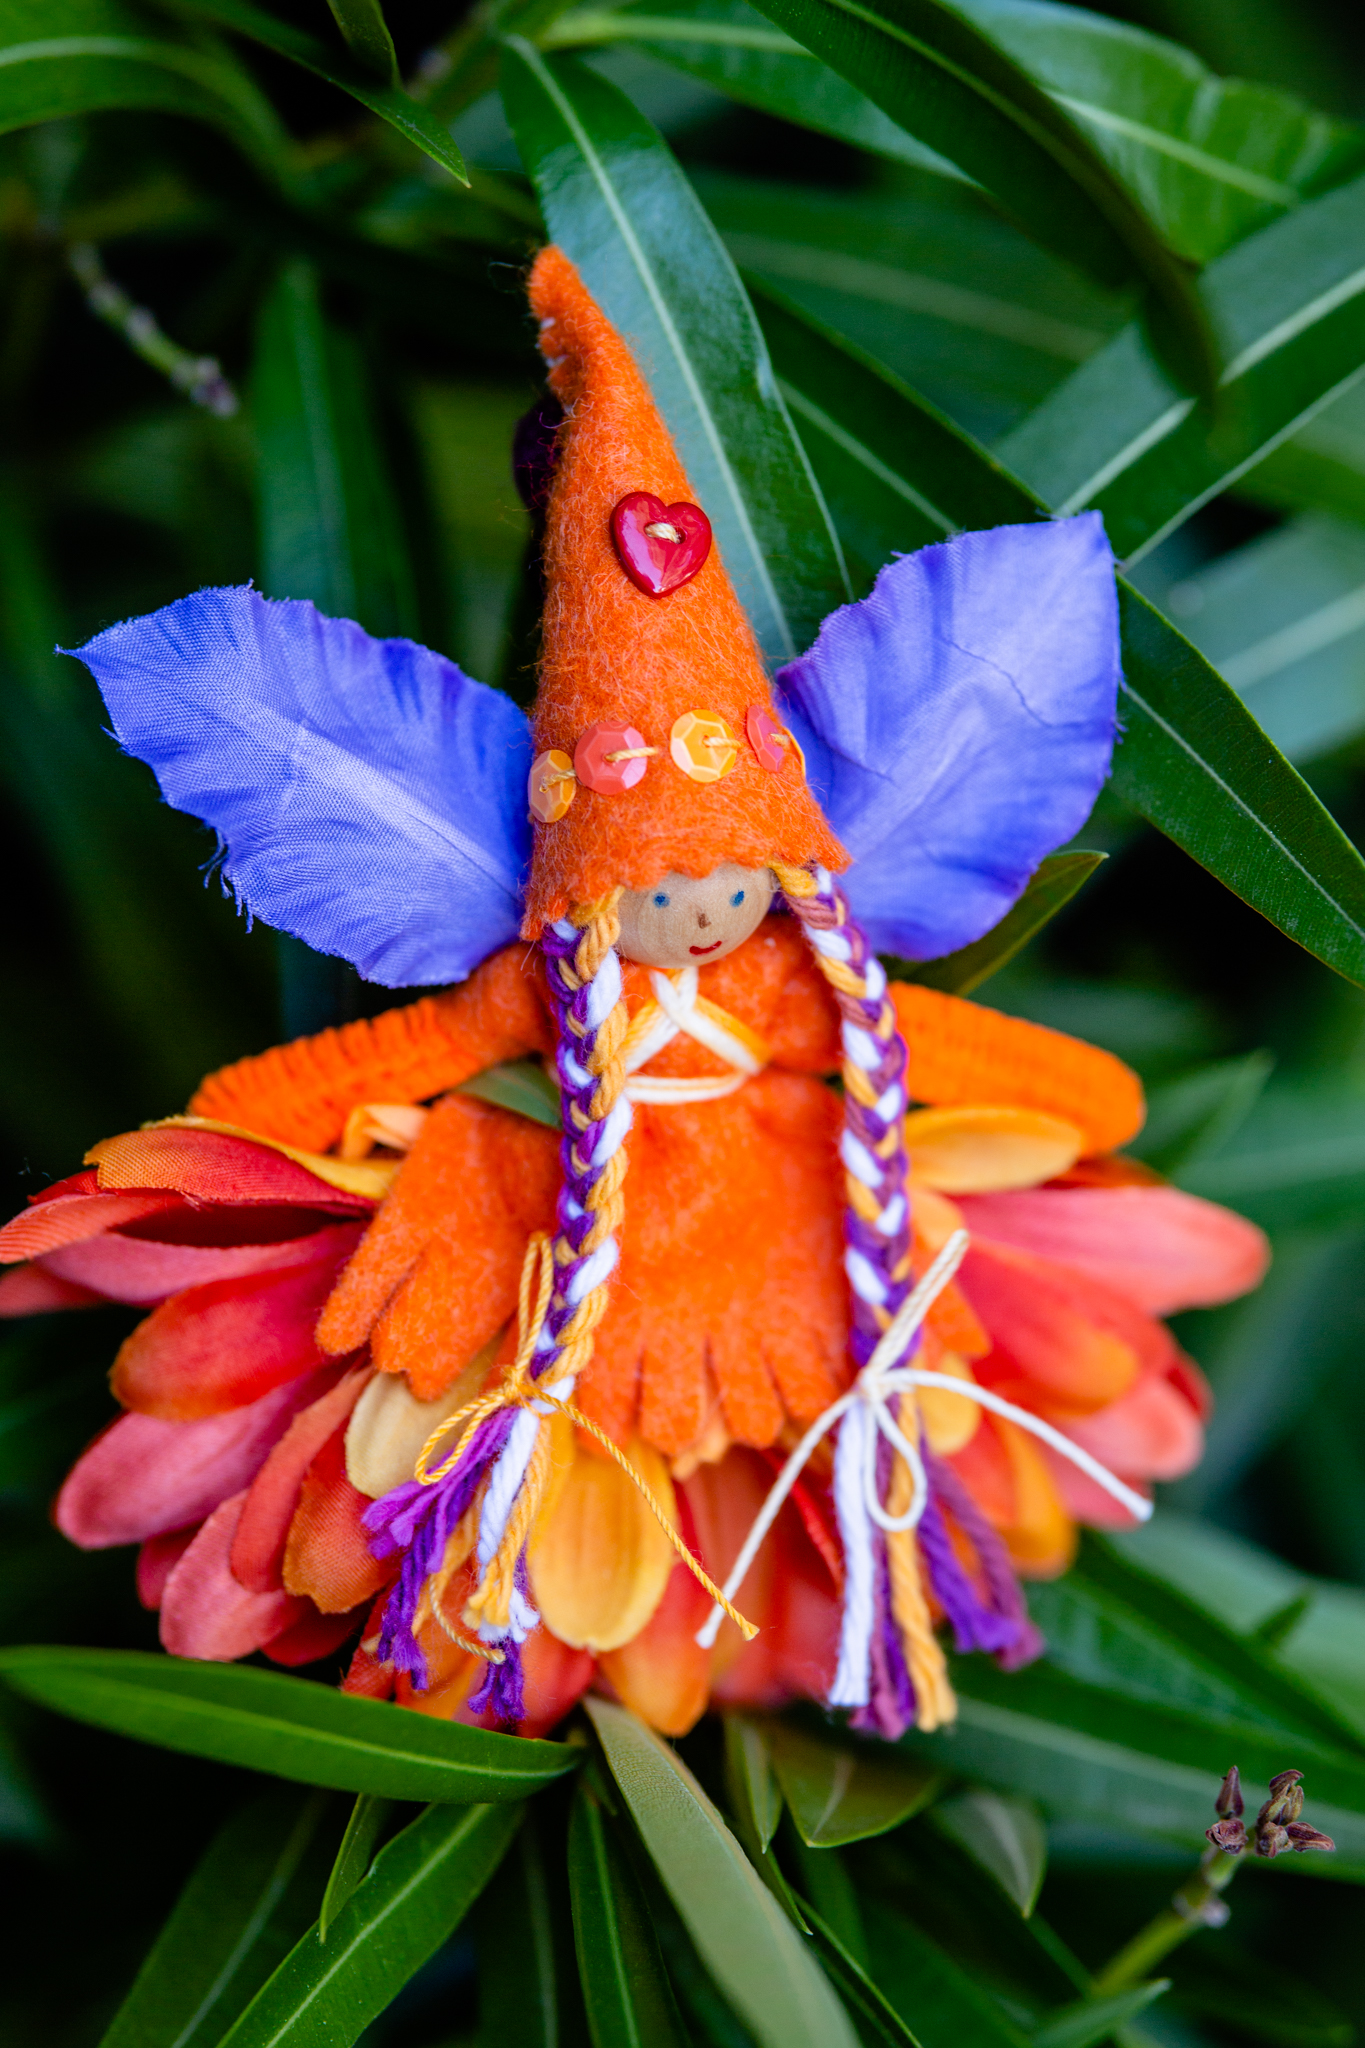
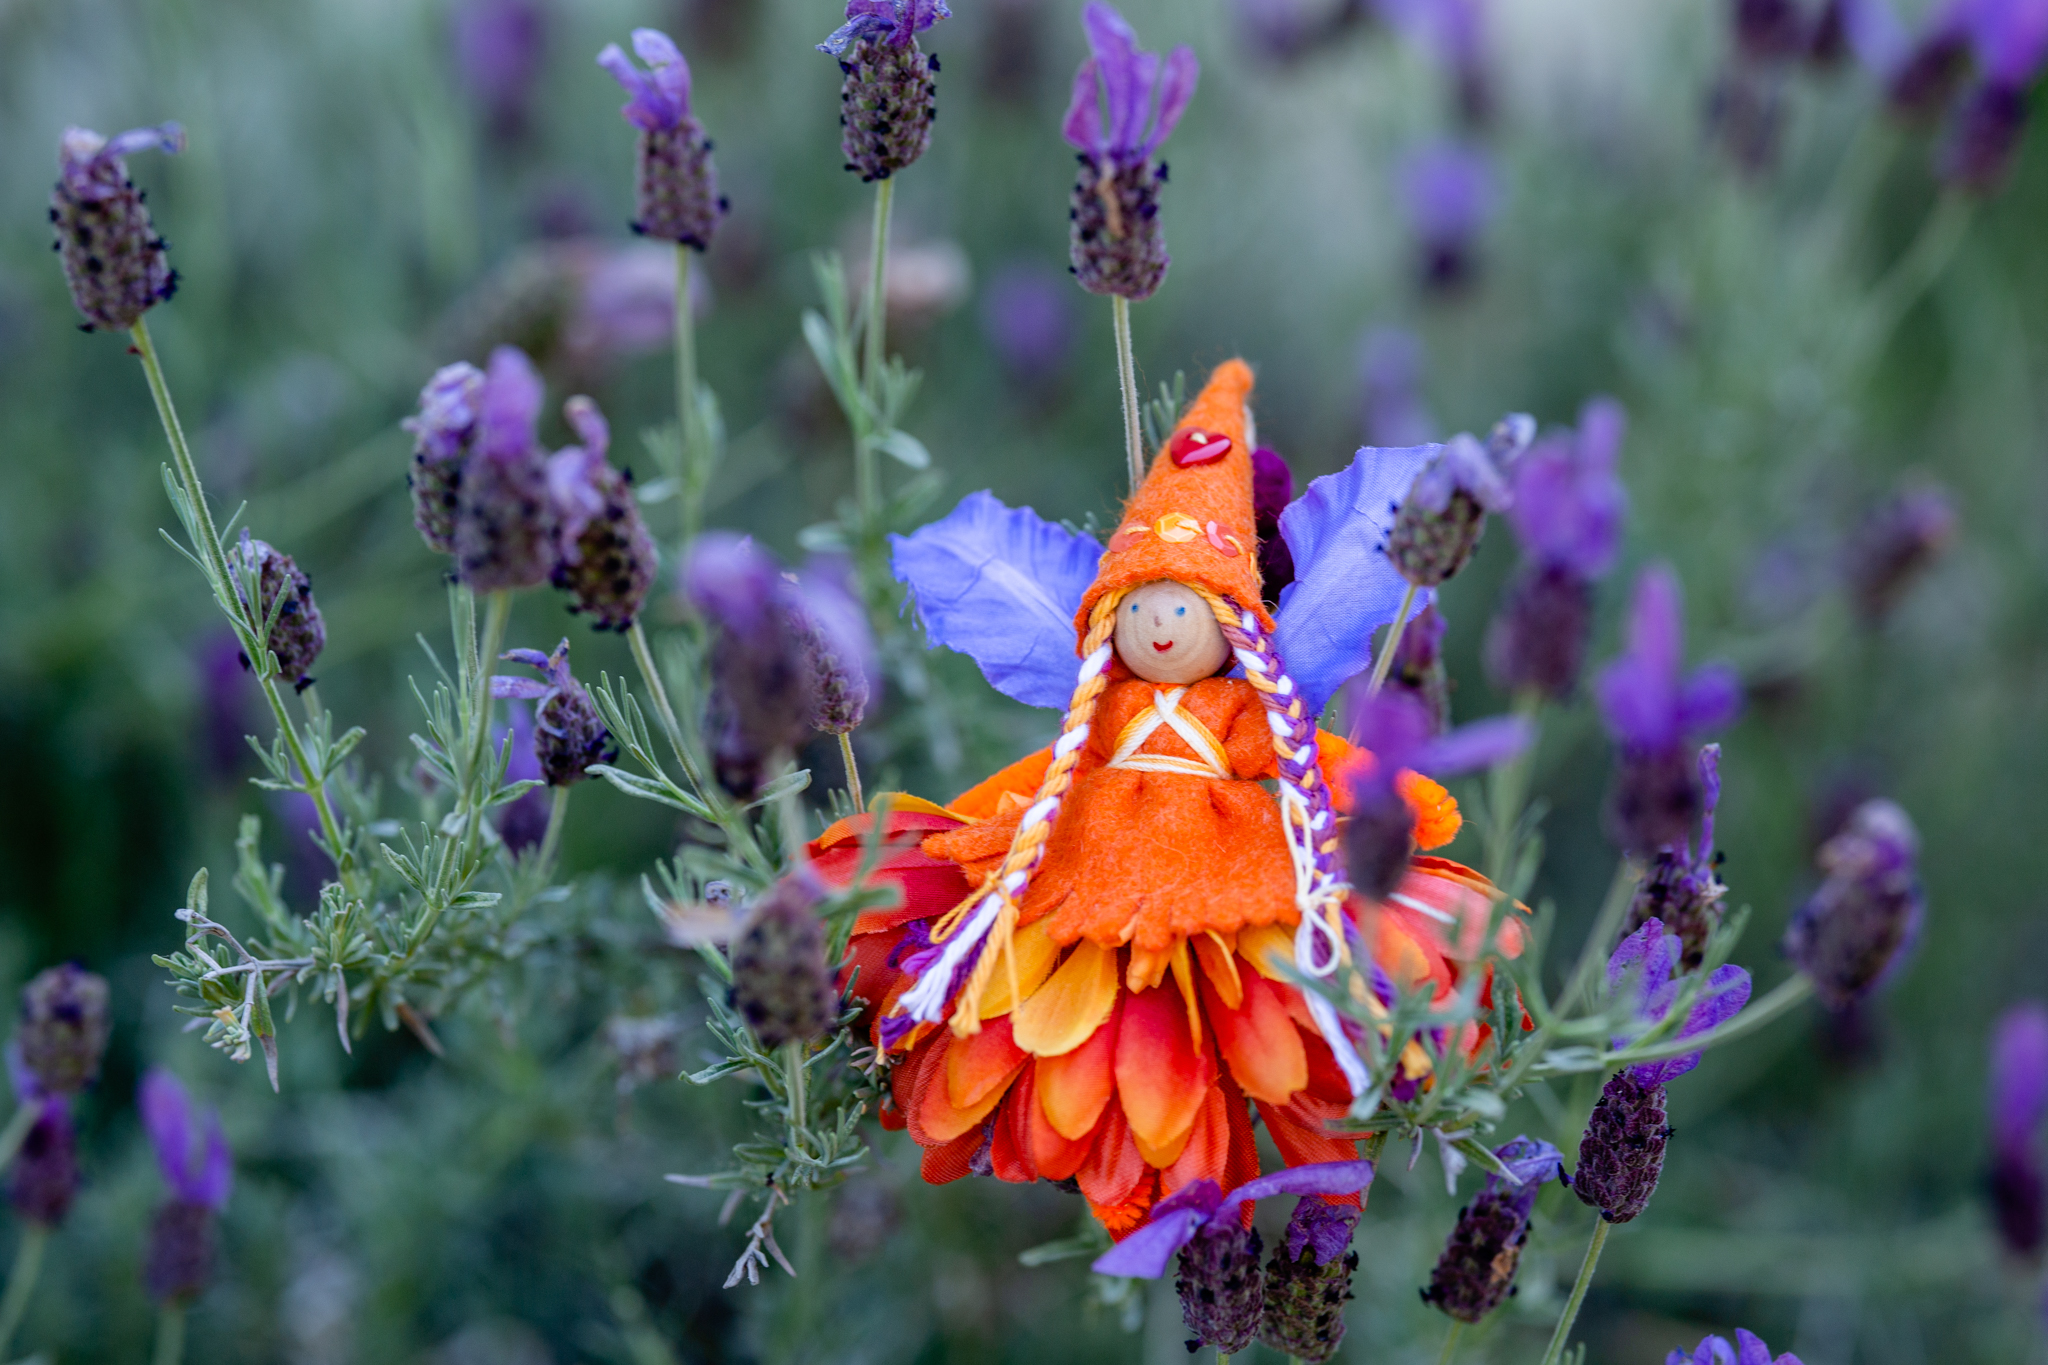
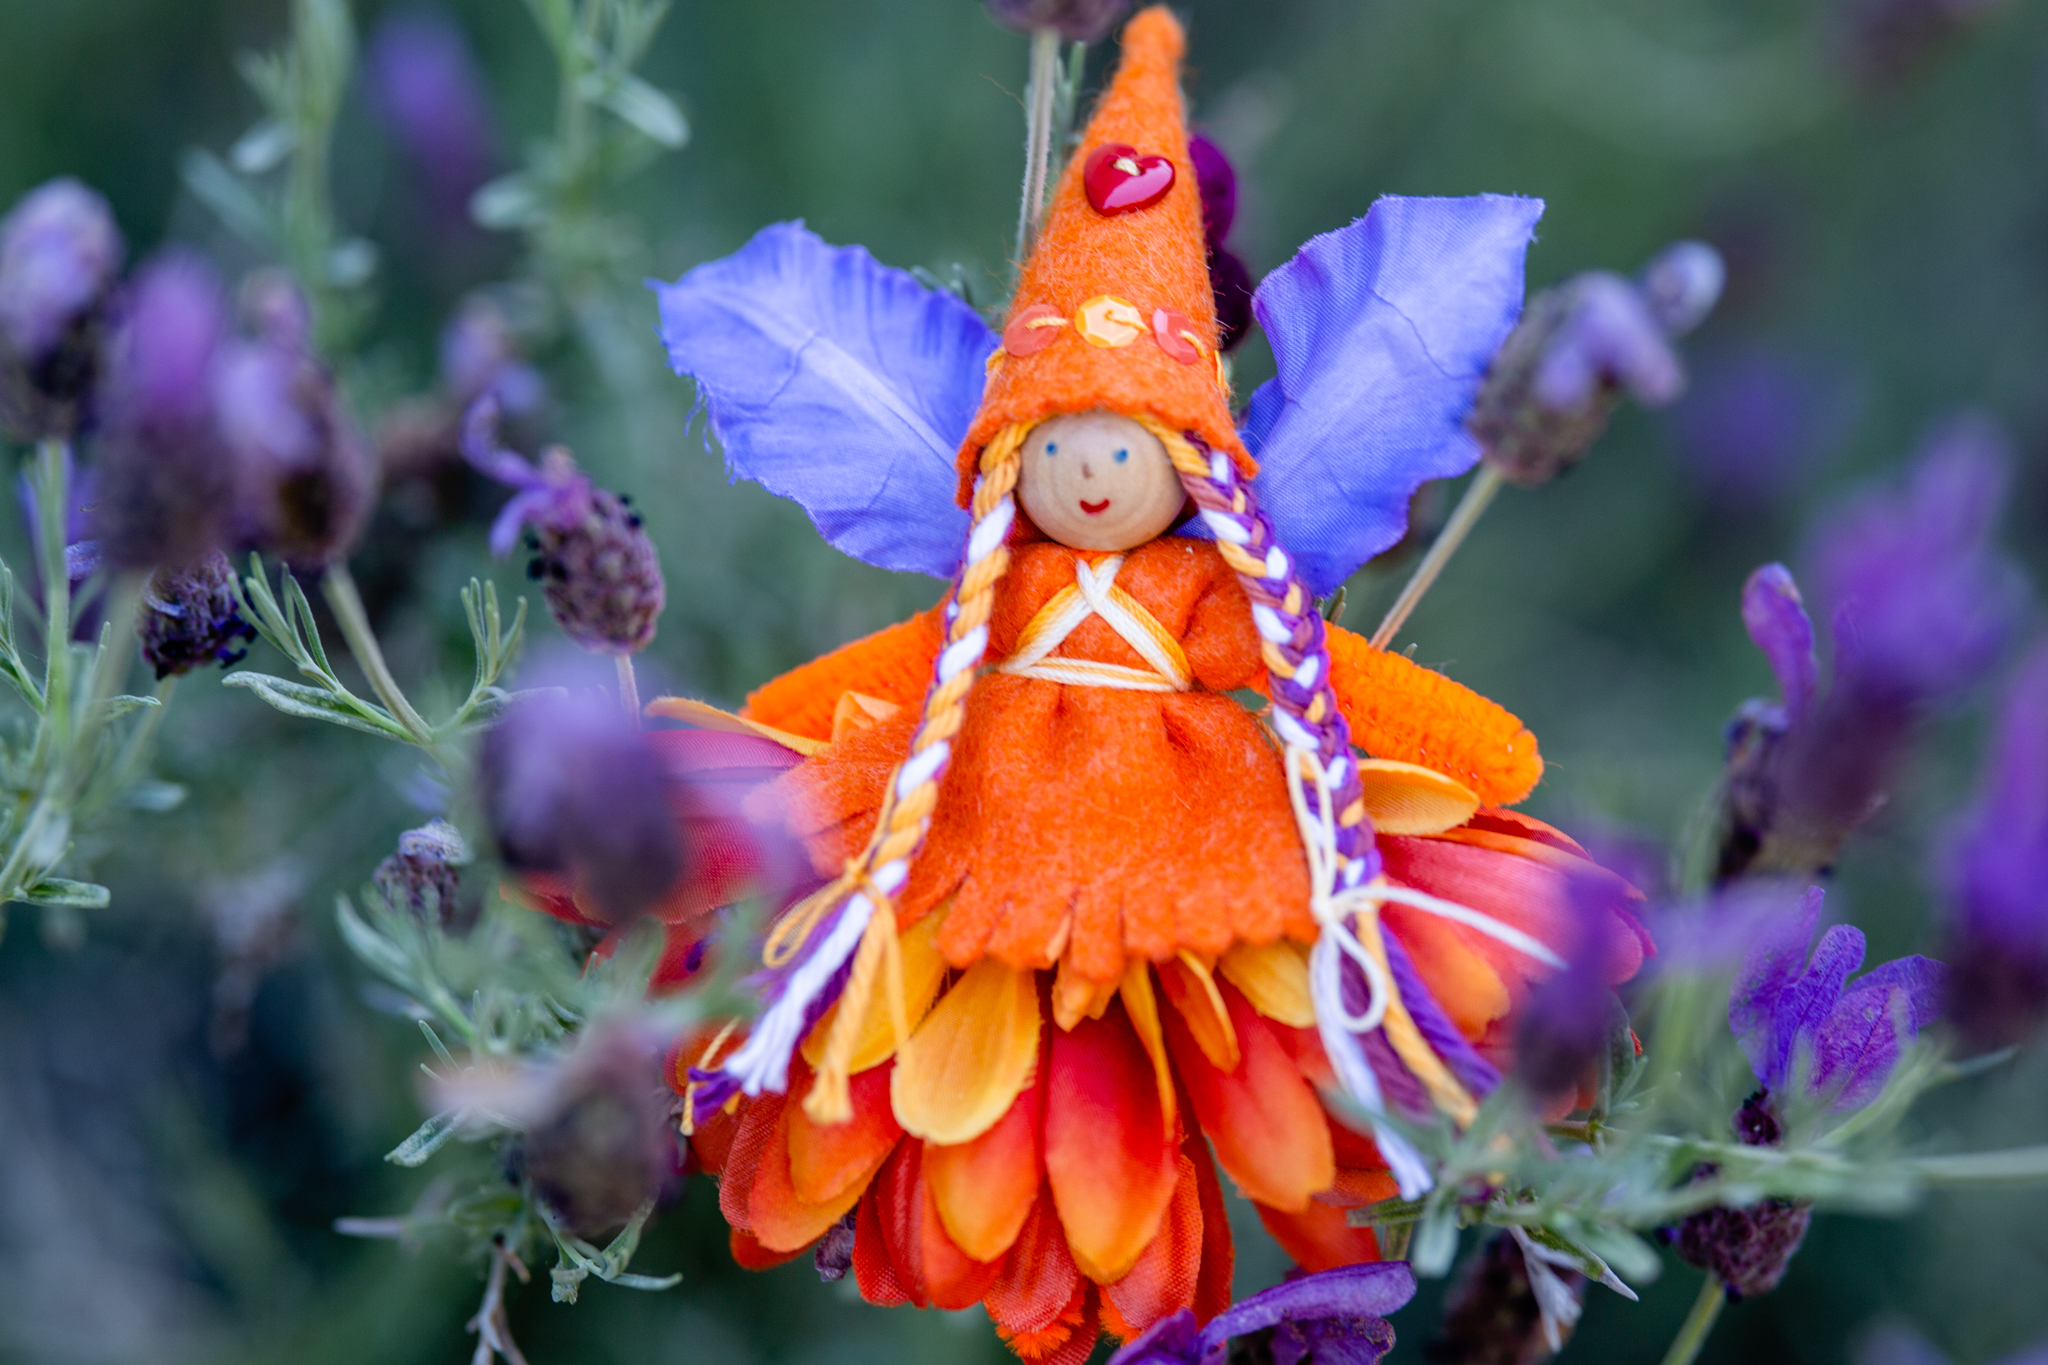
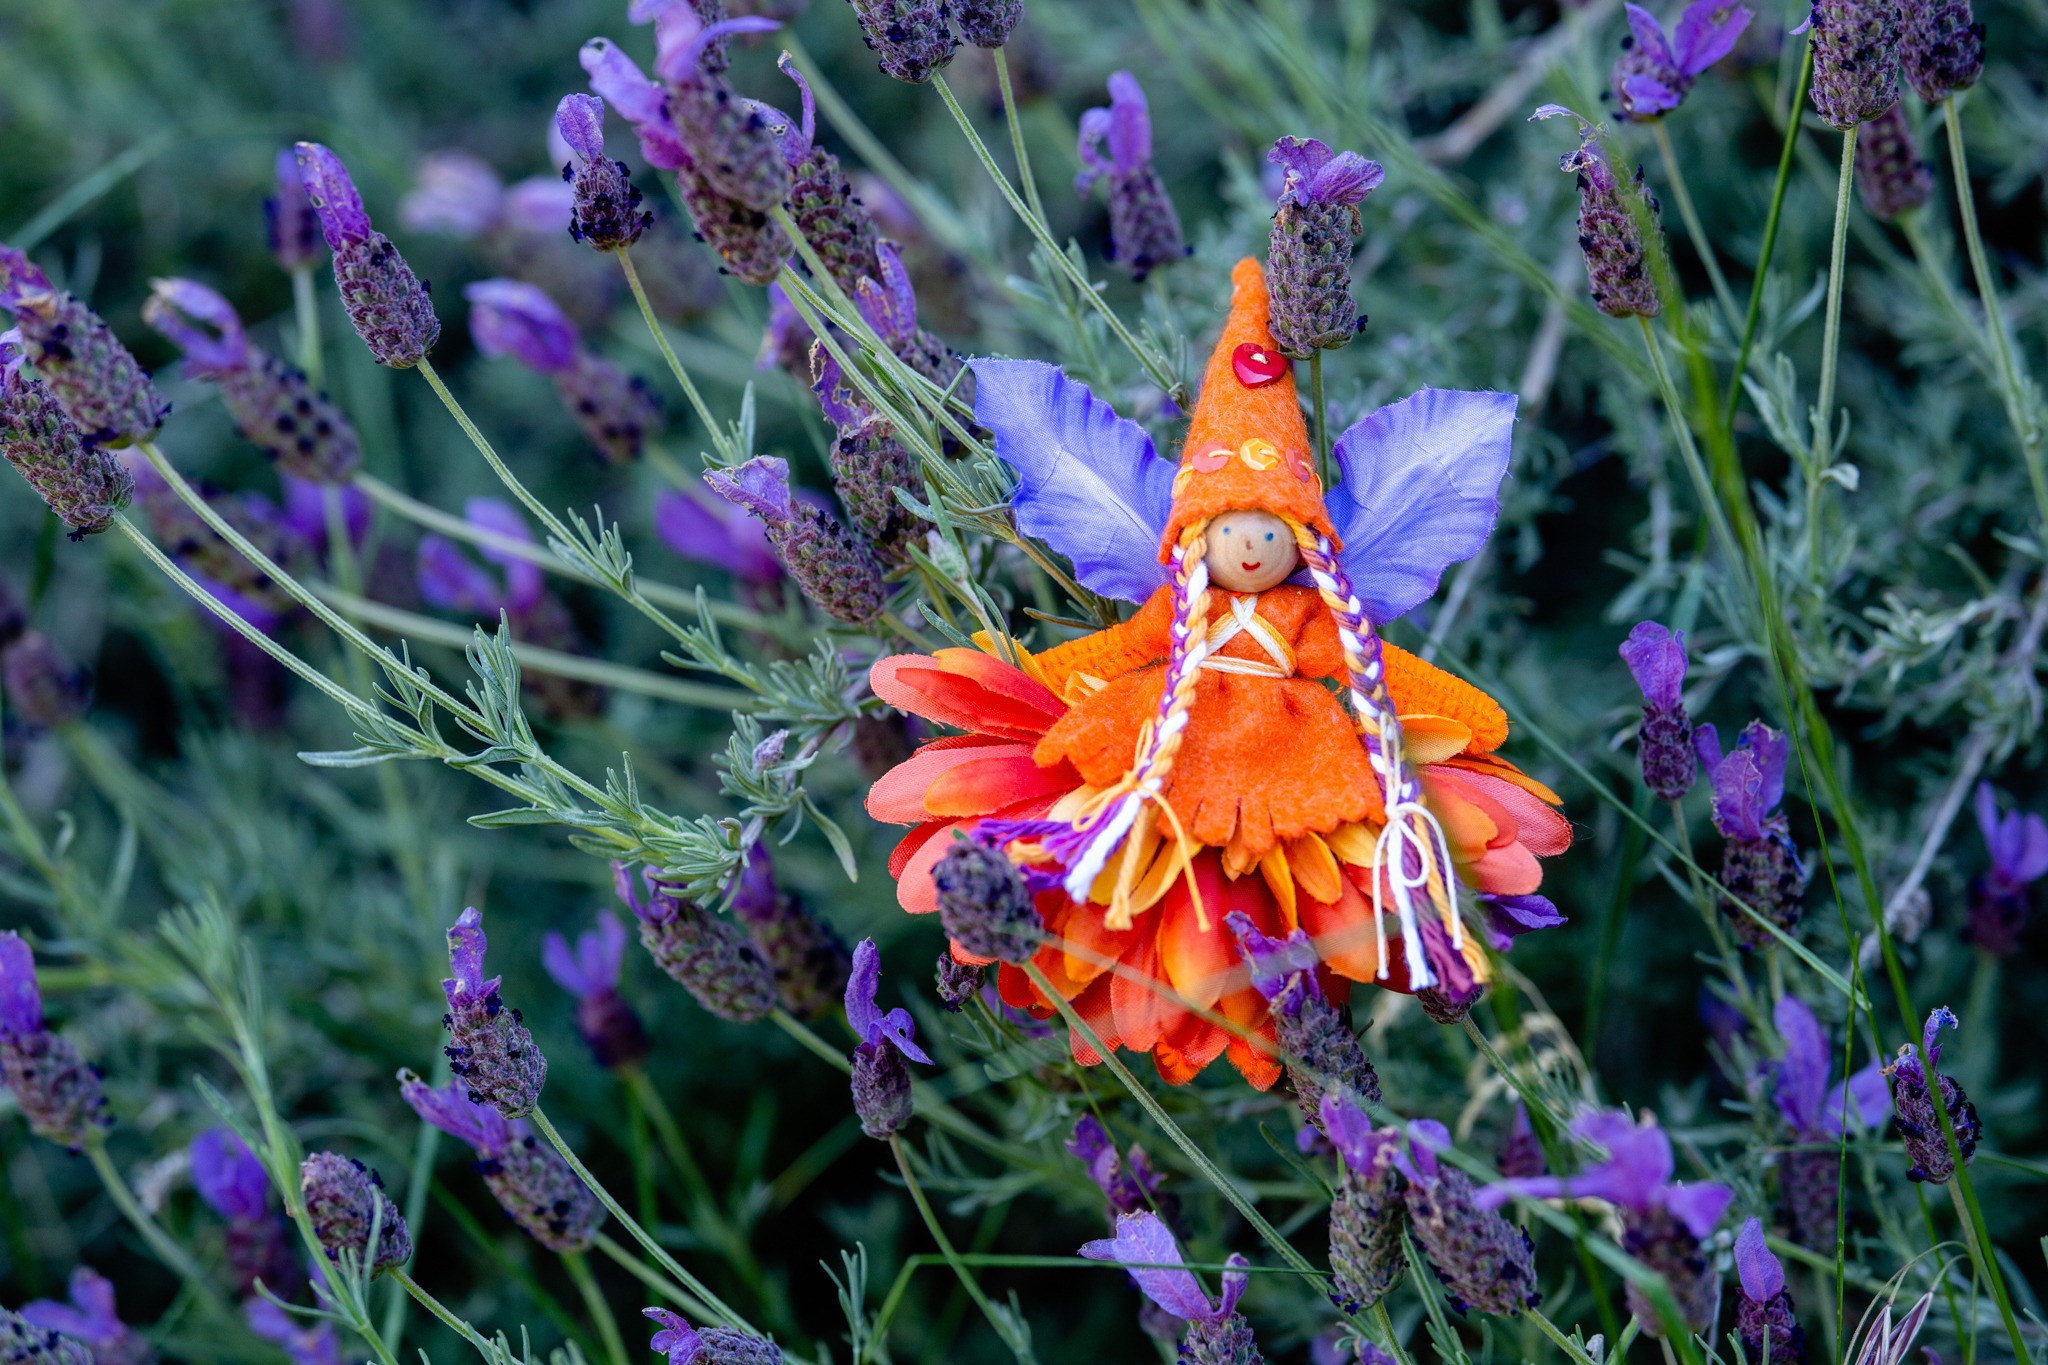
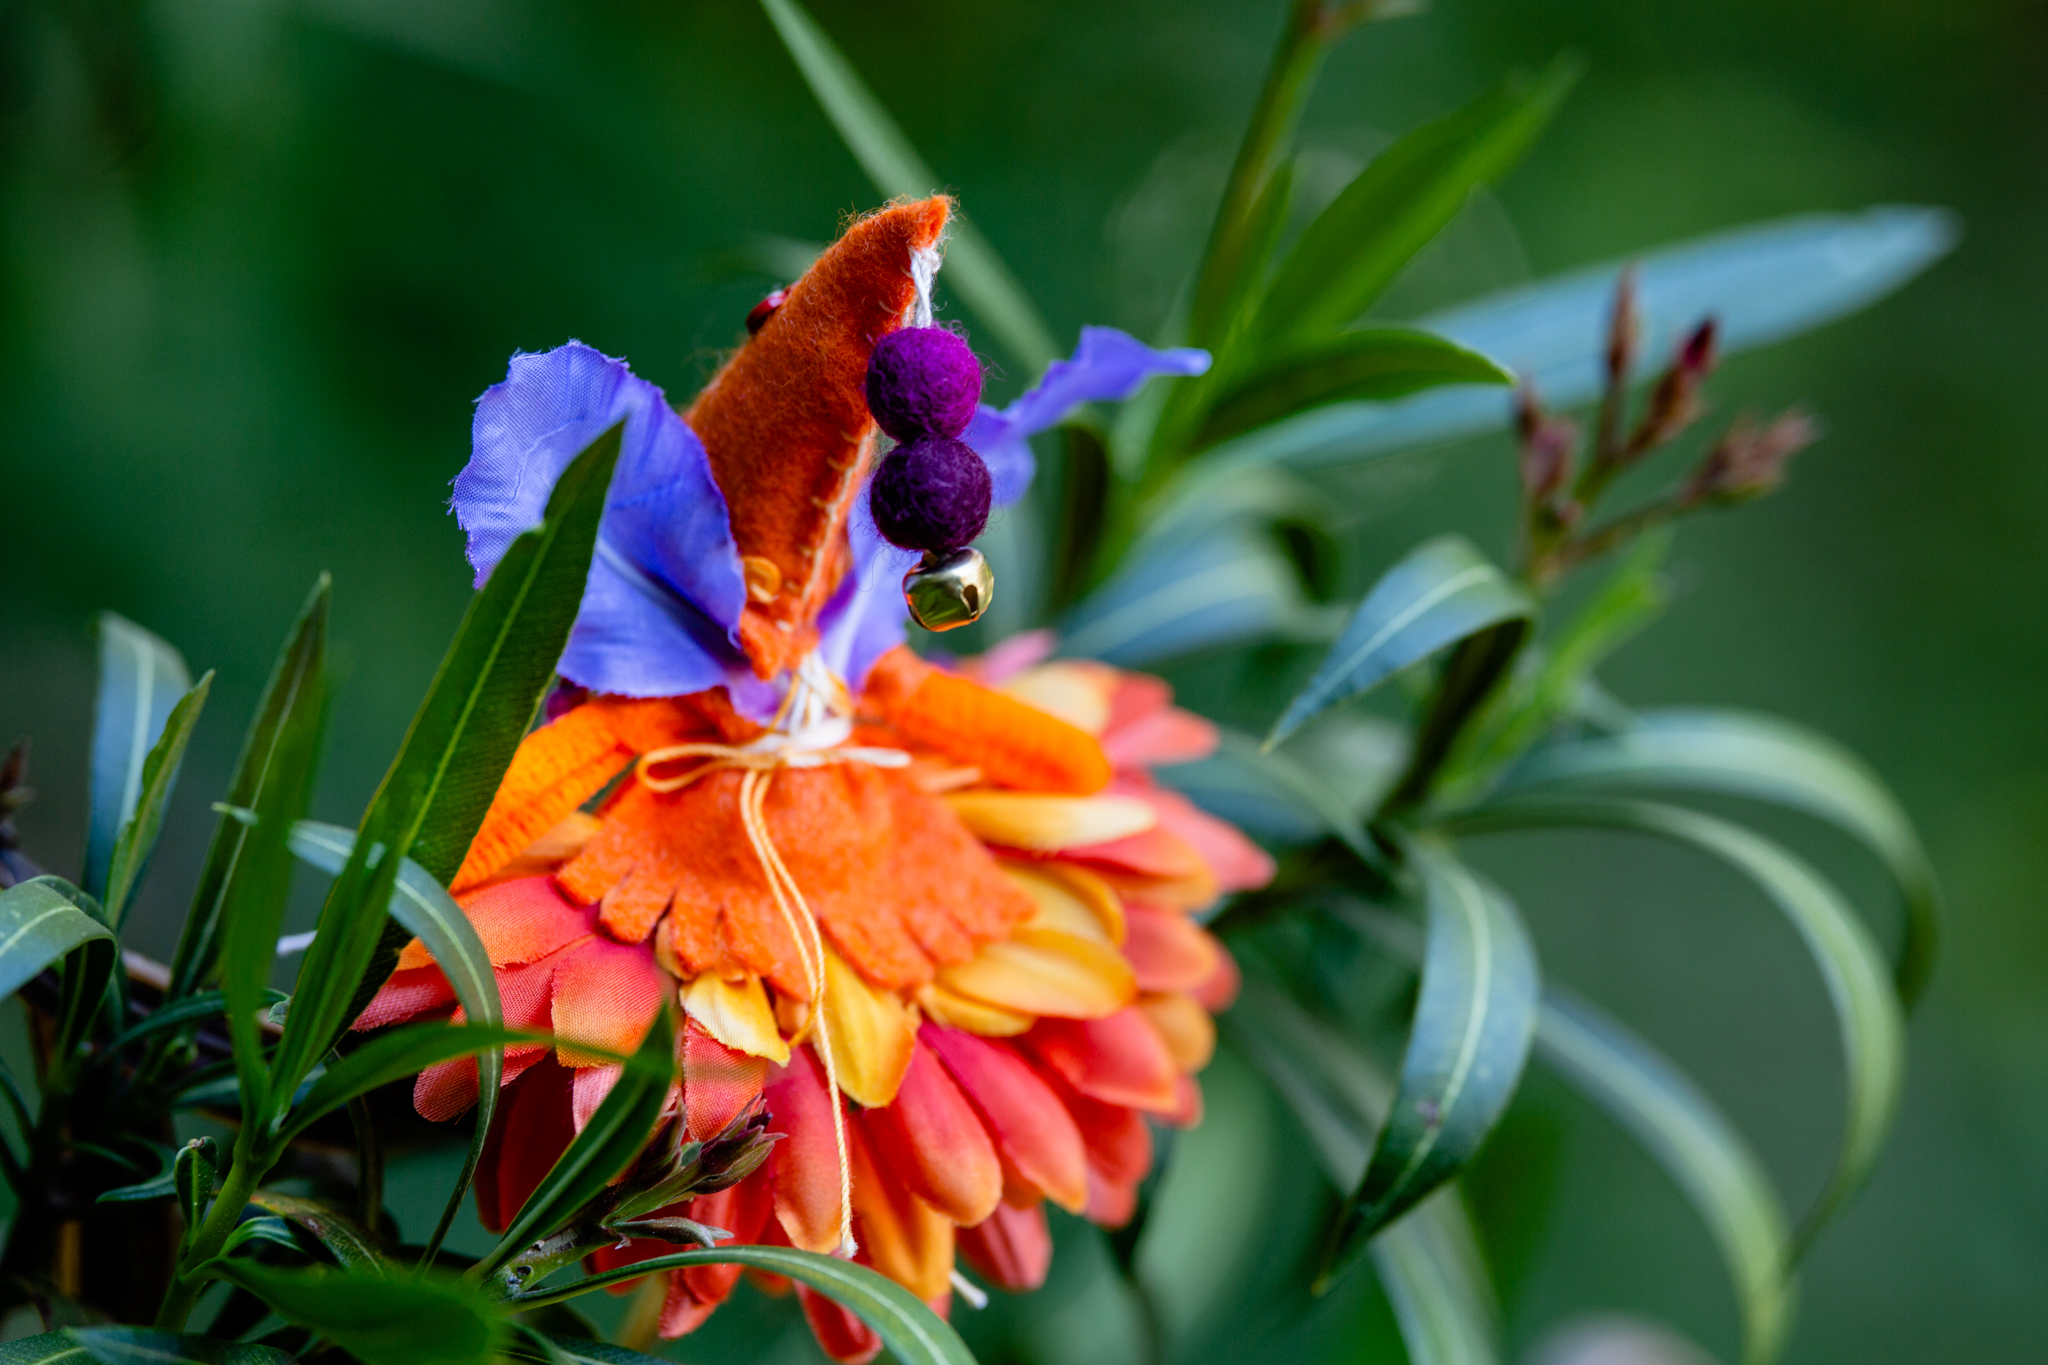
I did try a new technique with the hat, using felt balls instead of beads on her hat, which turned out cute.
I put a heart button on her hat to show that we can be guided with love. That love matters most.

The world needs love. Always love. :)

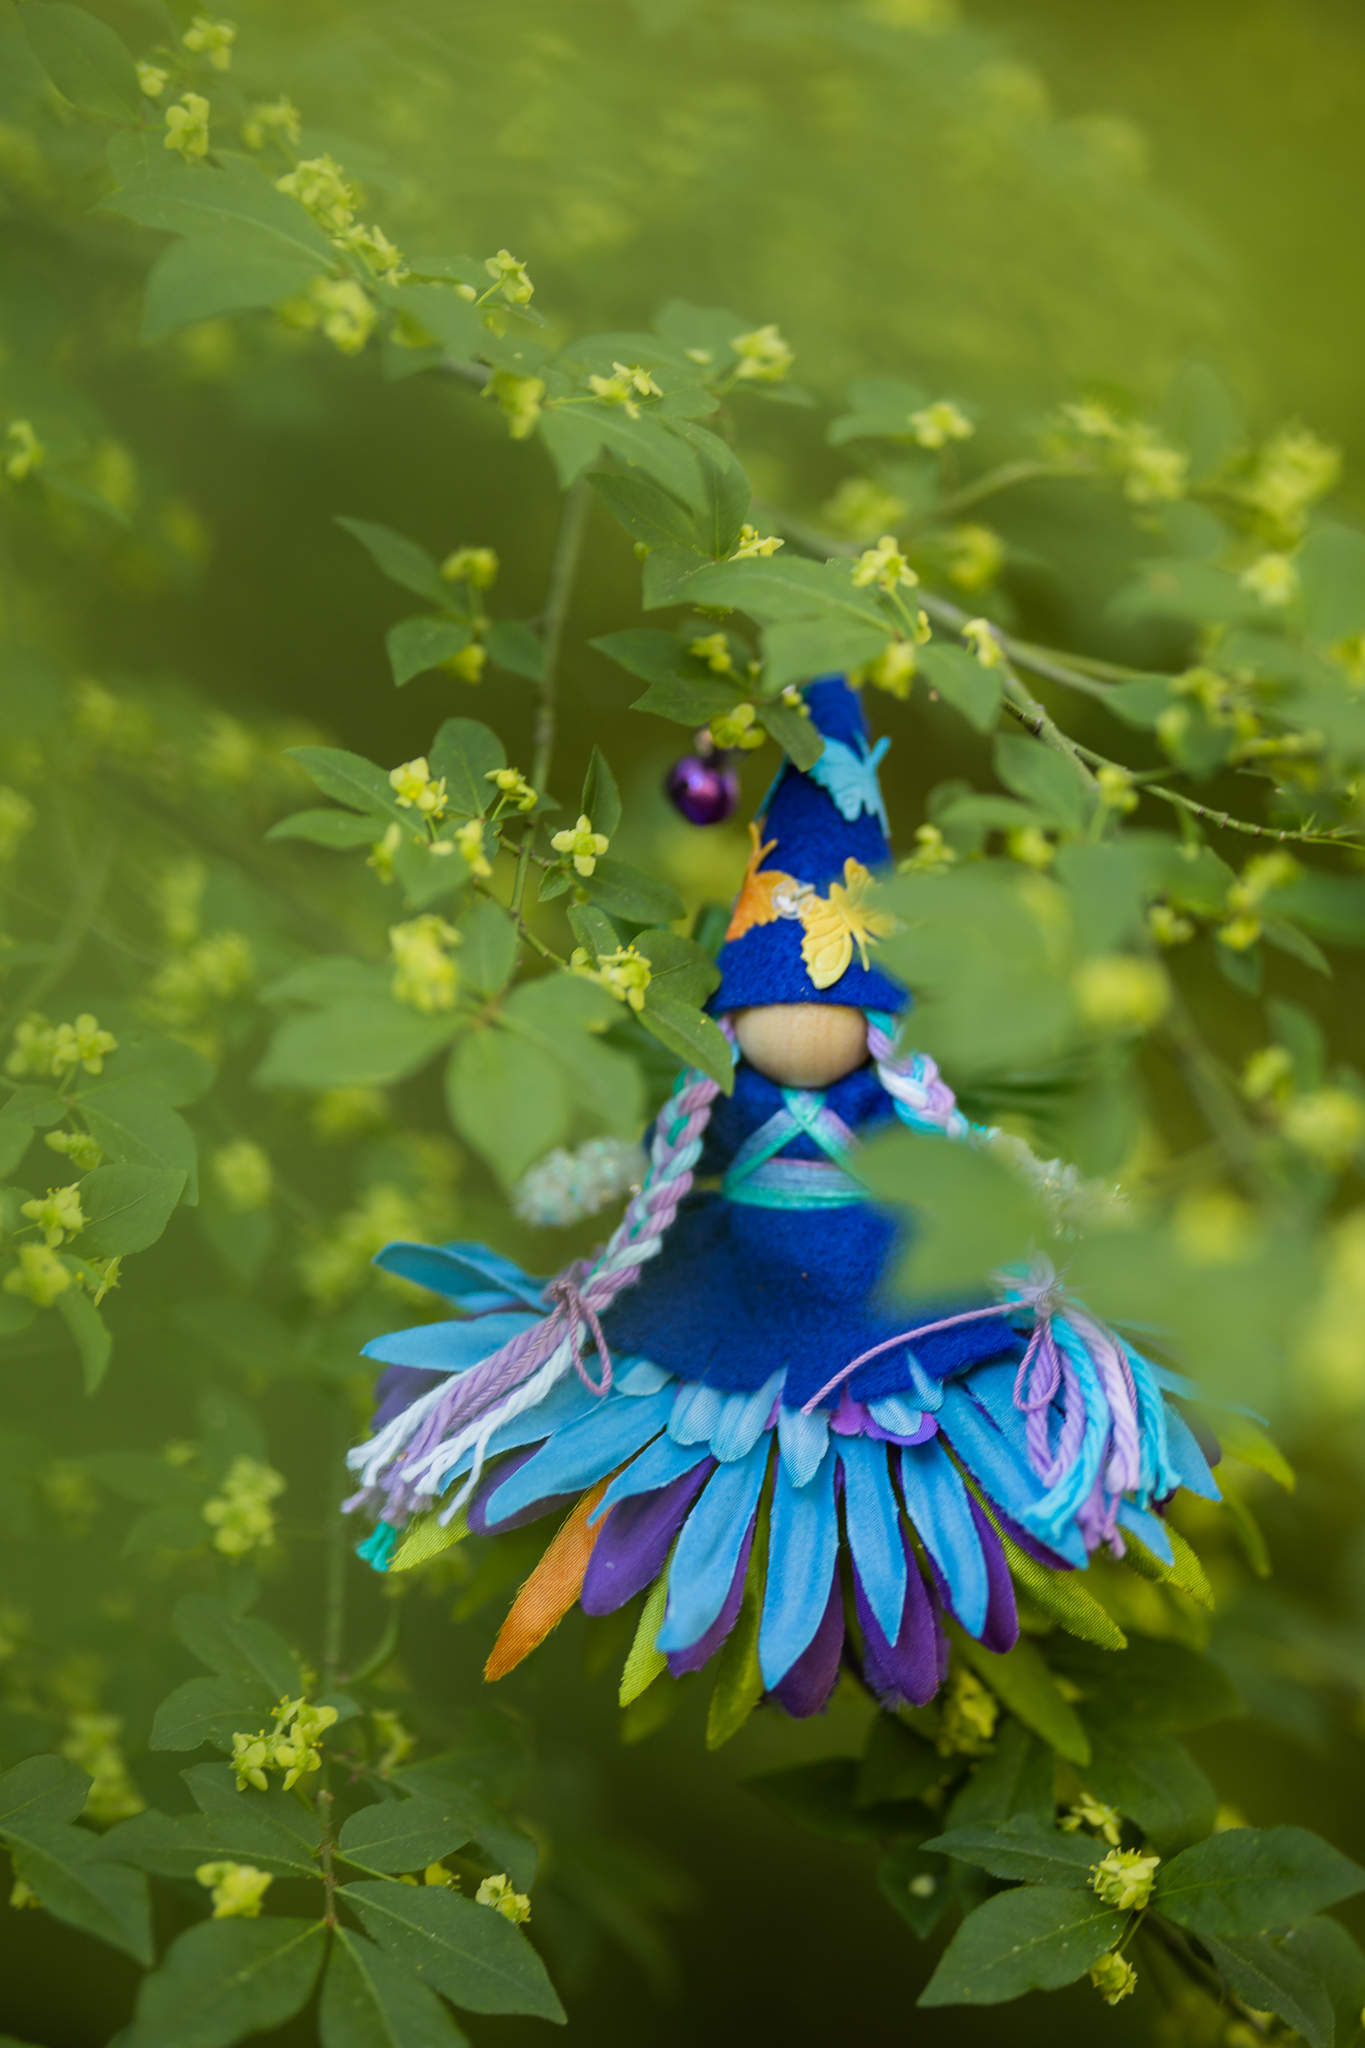
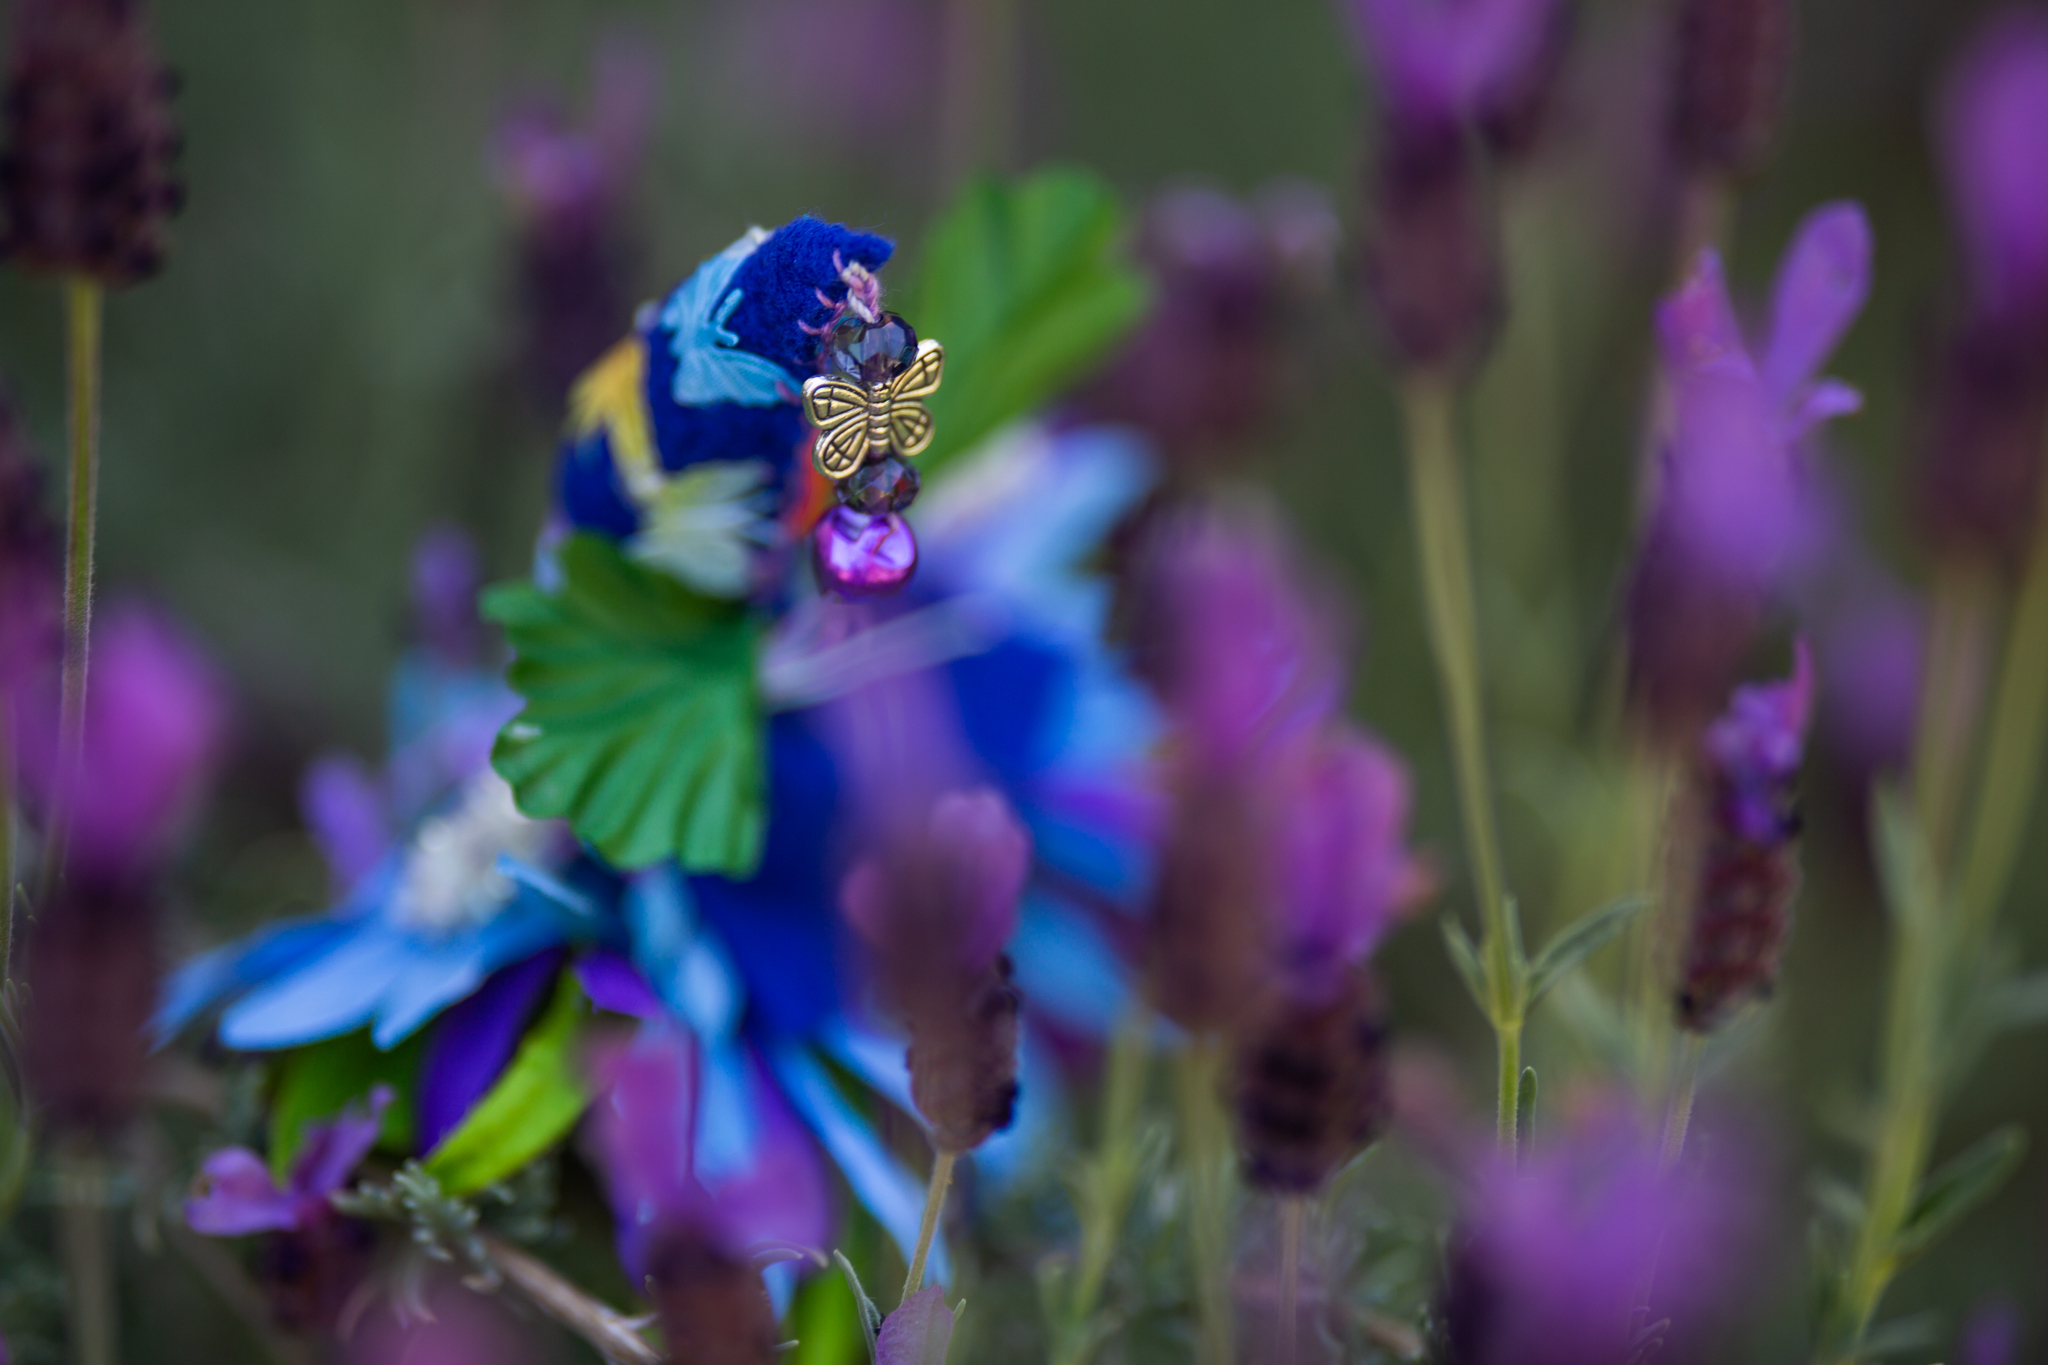
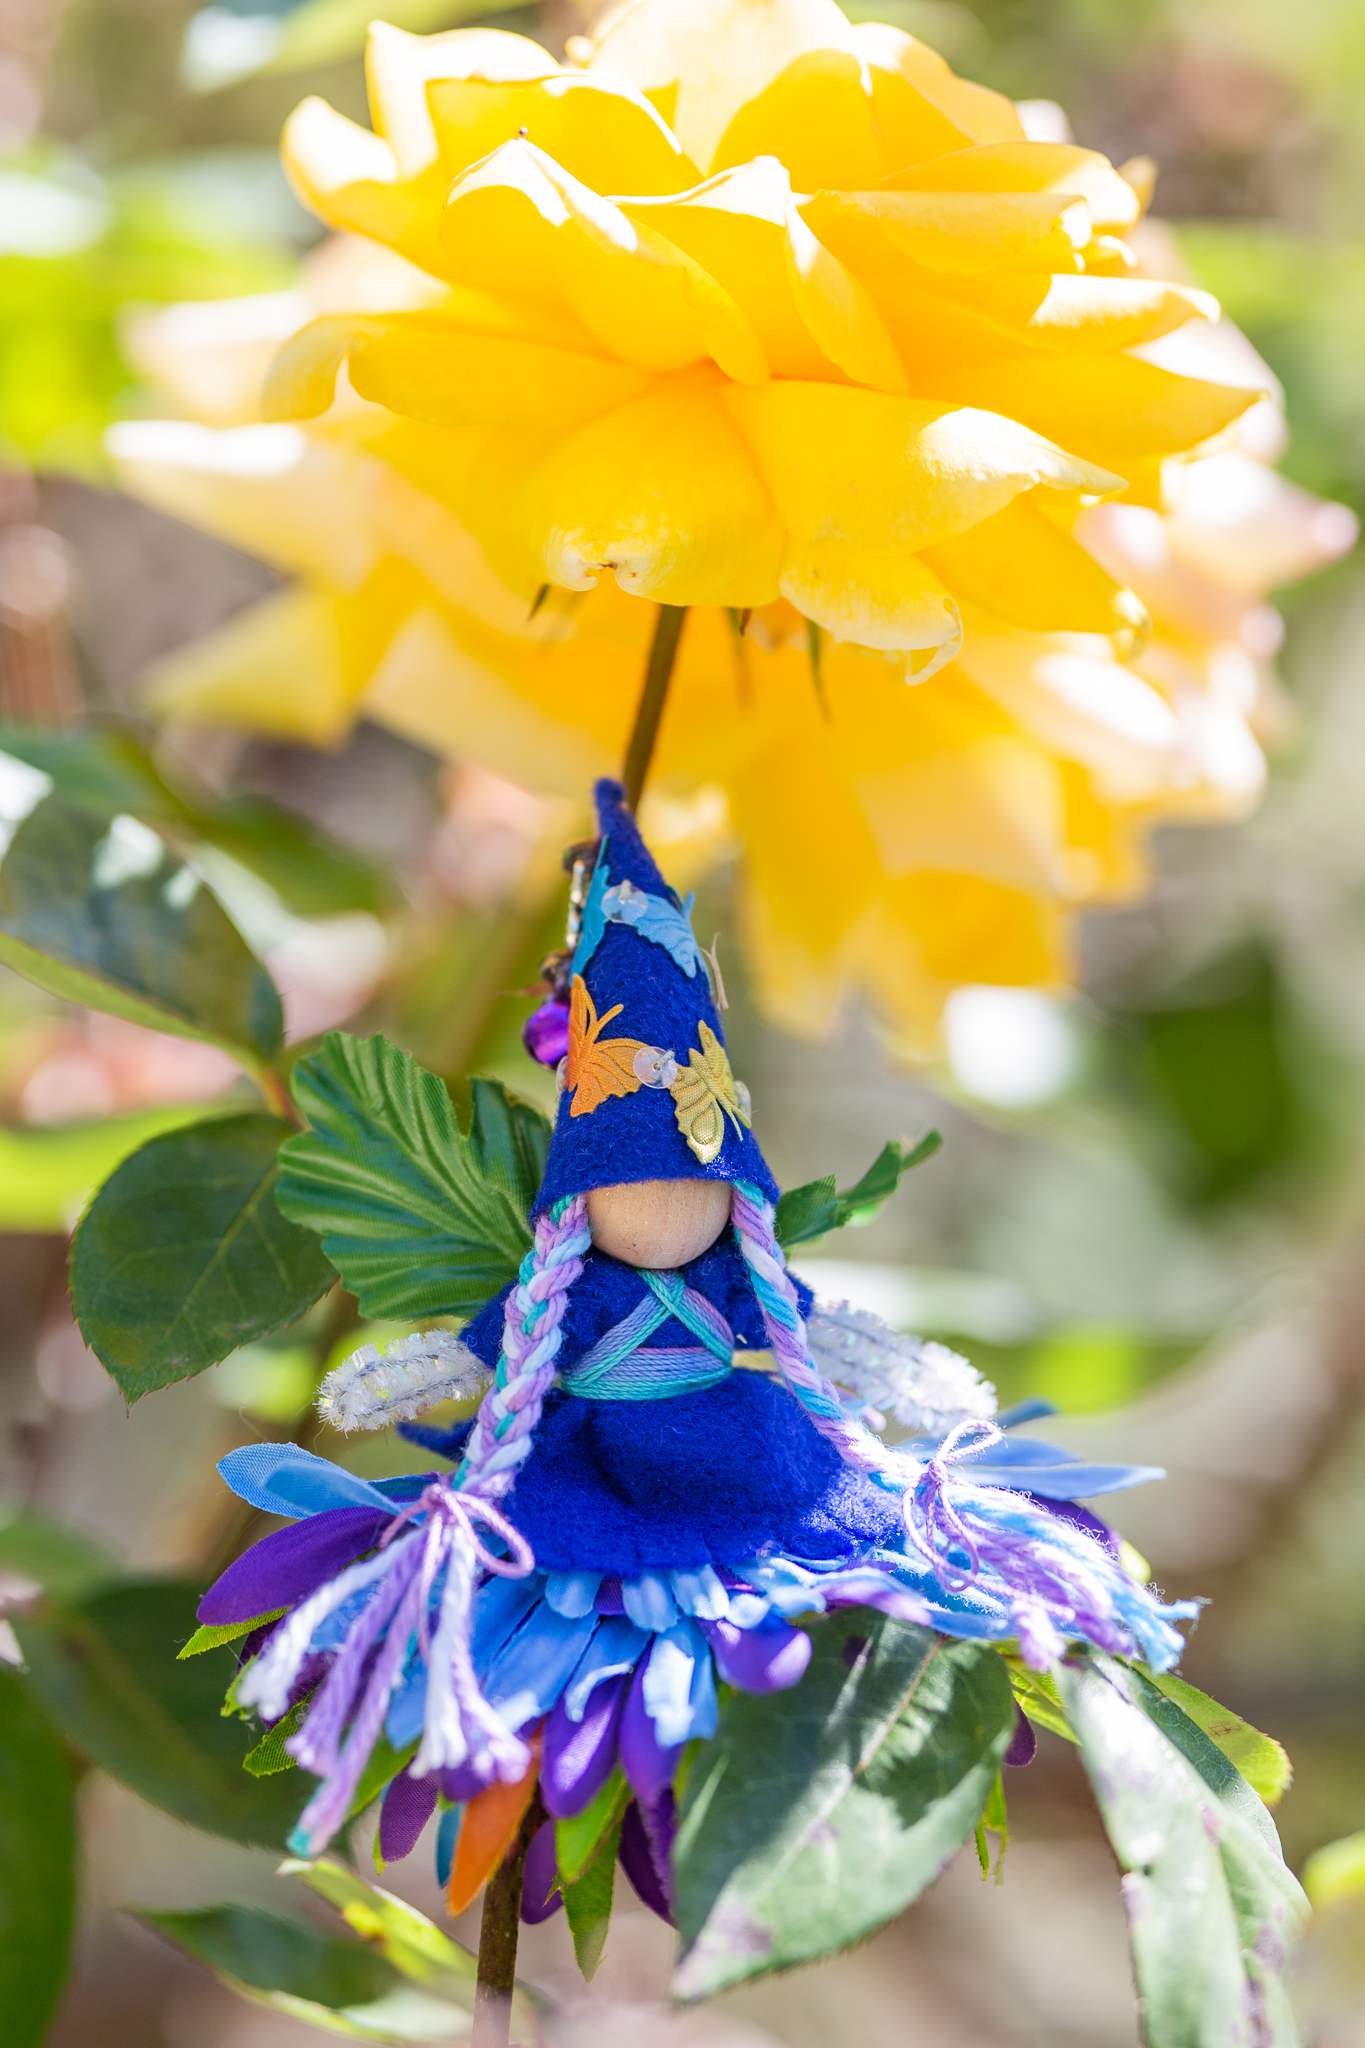
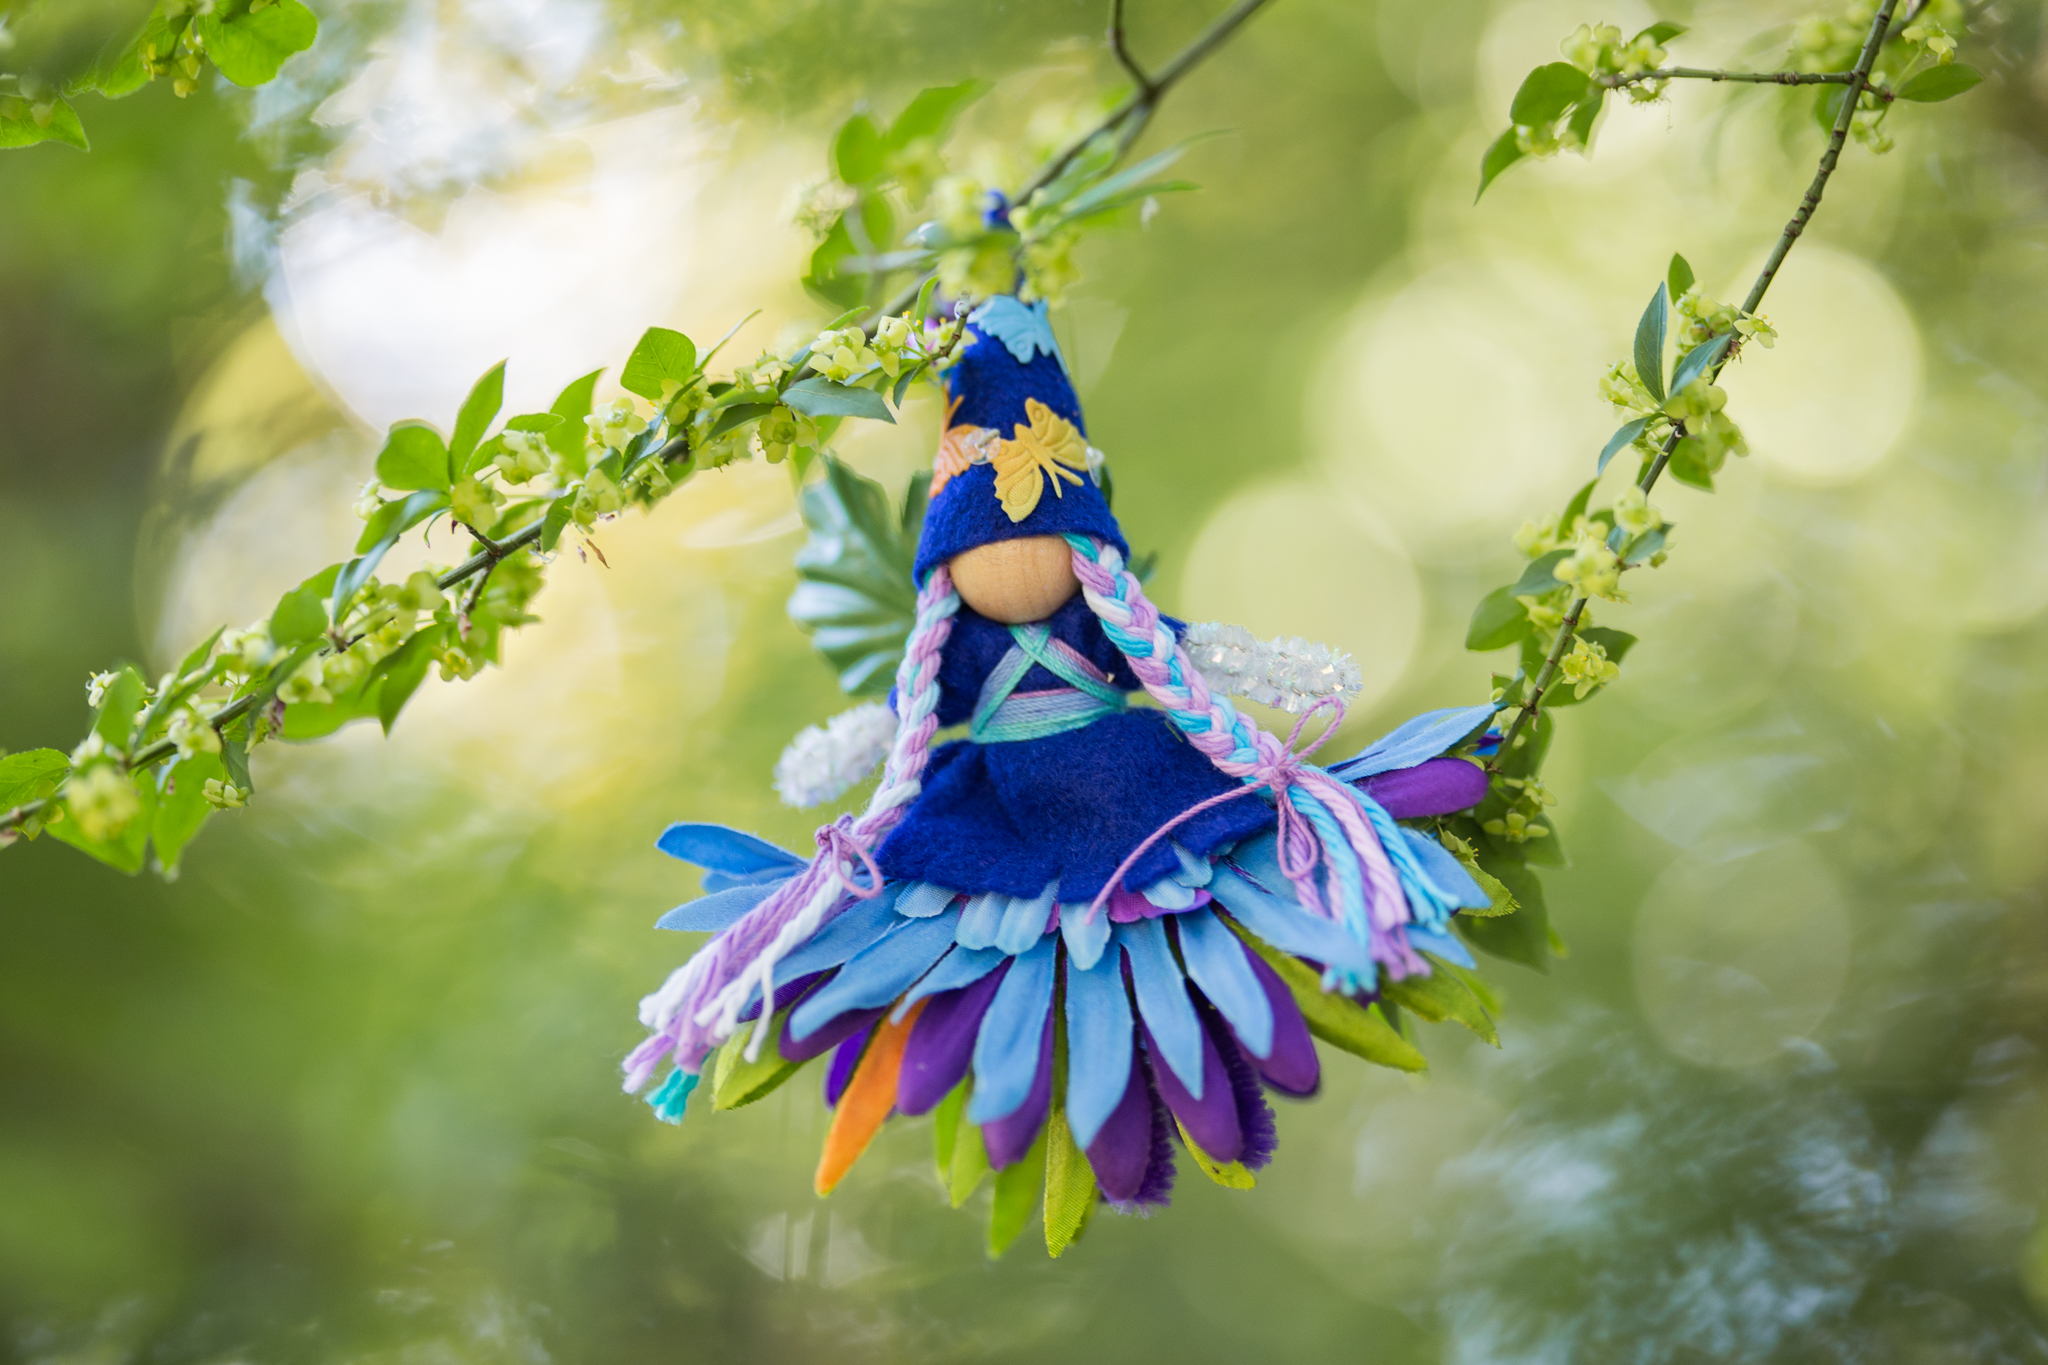
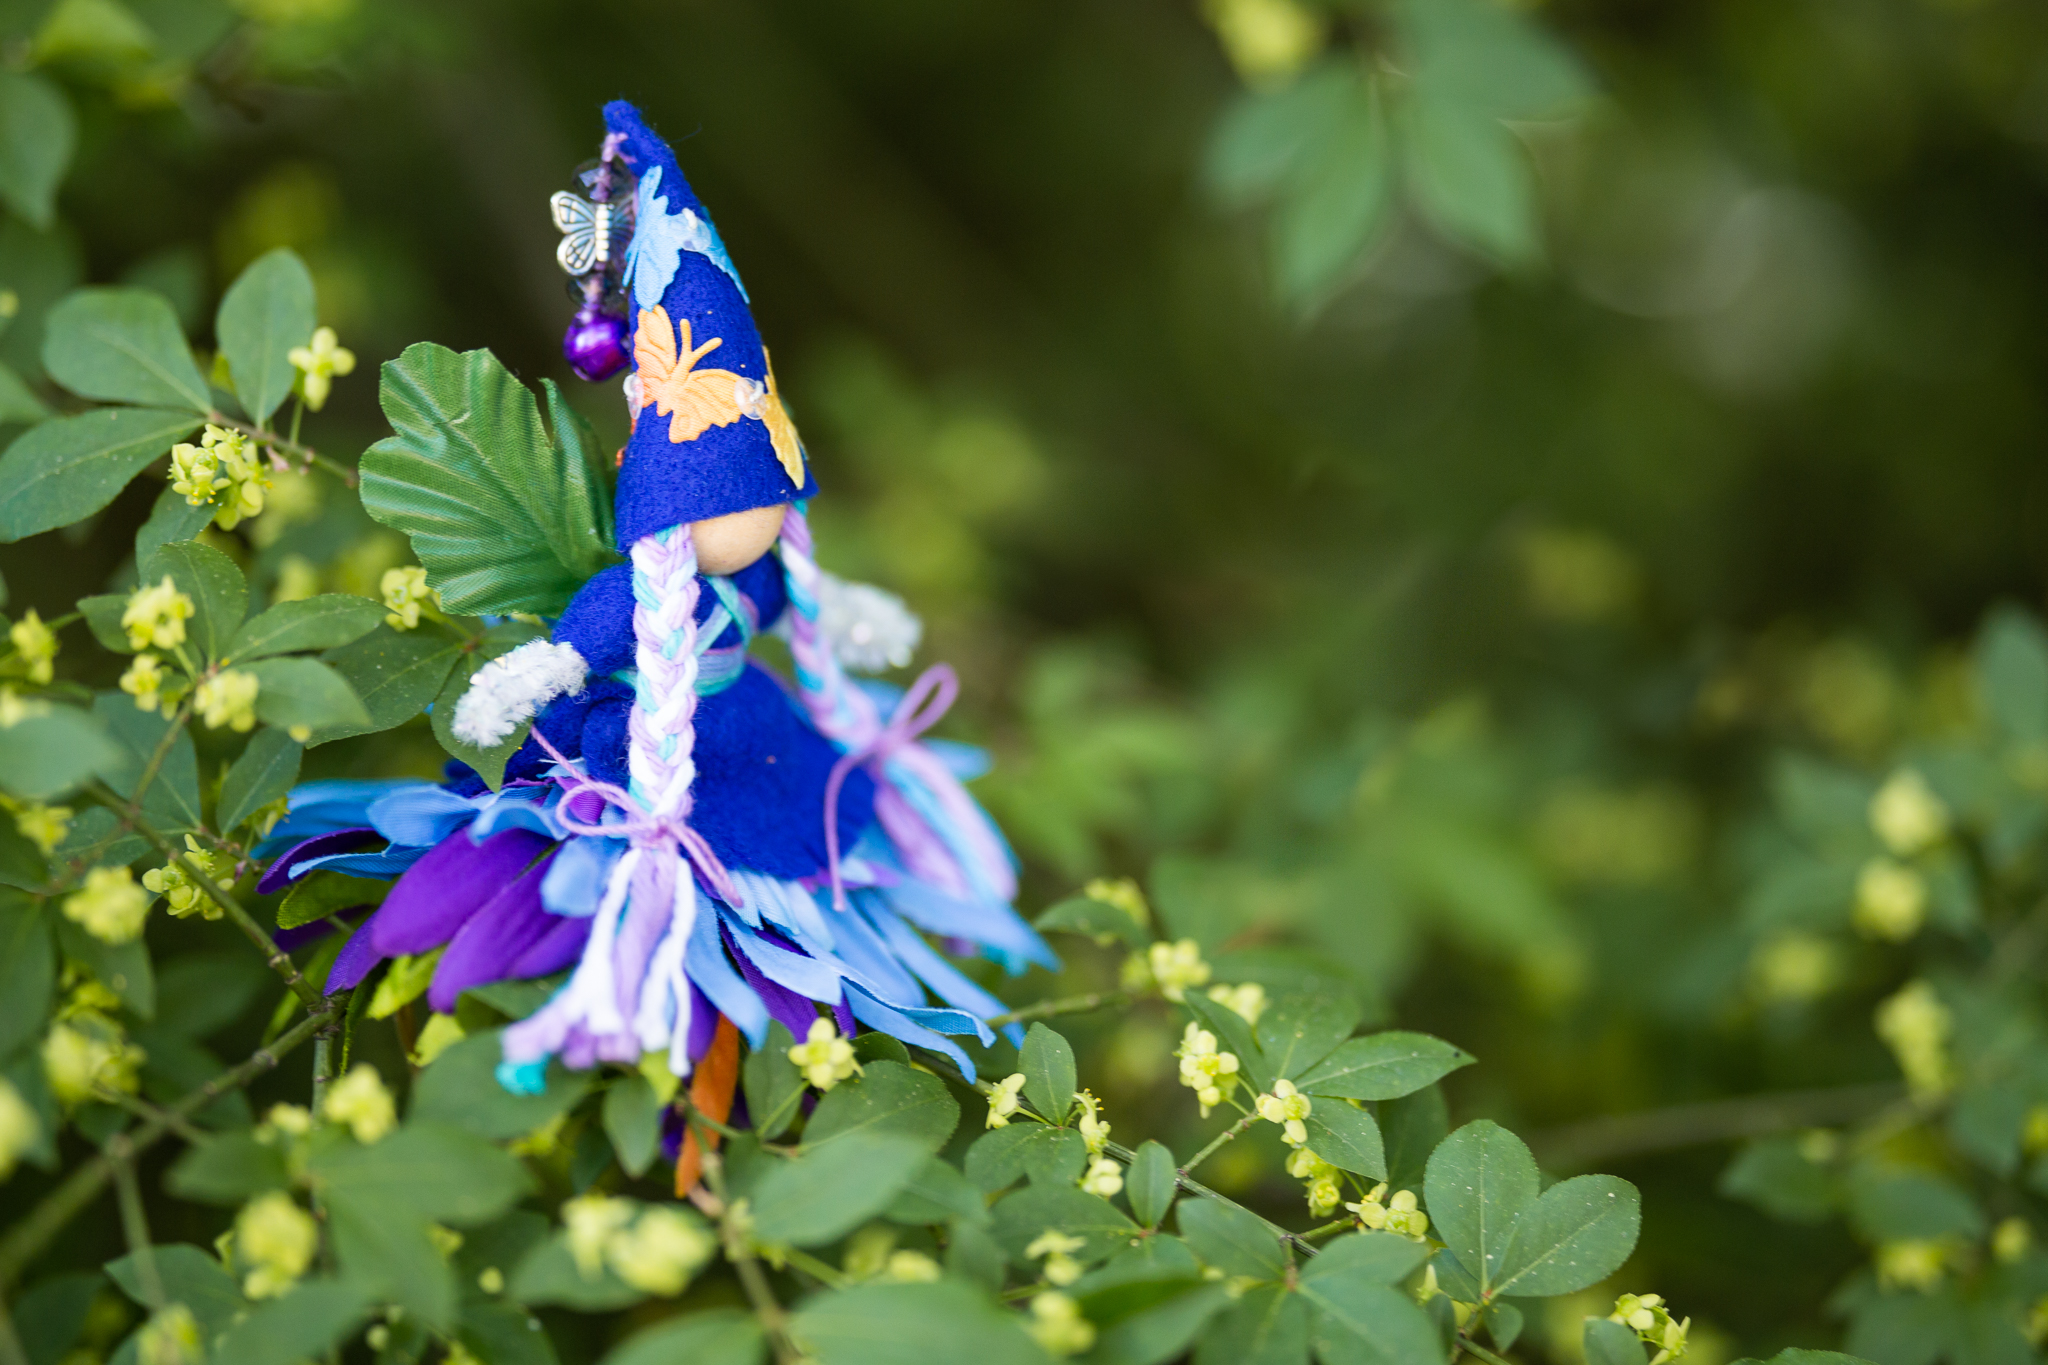
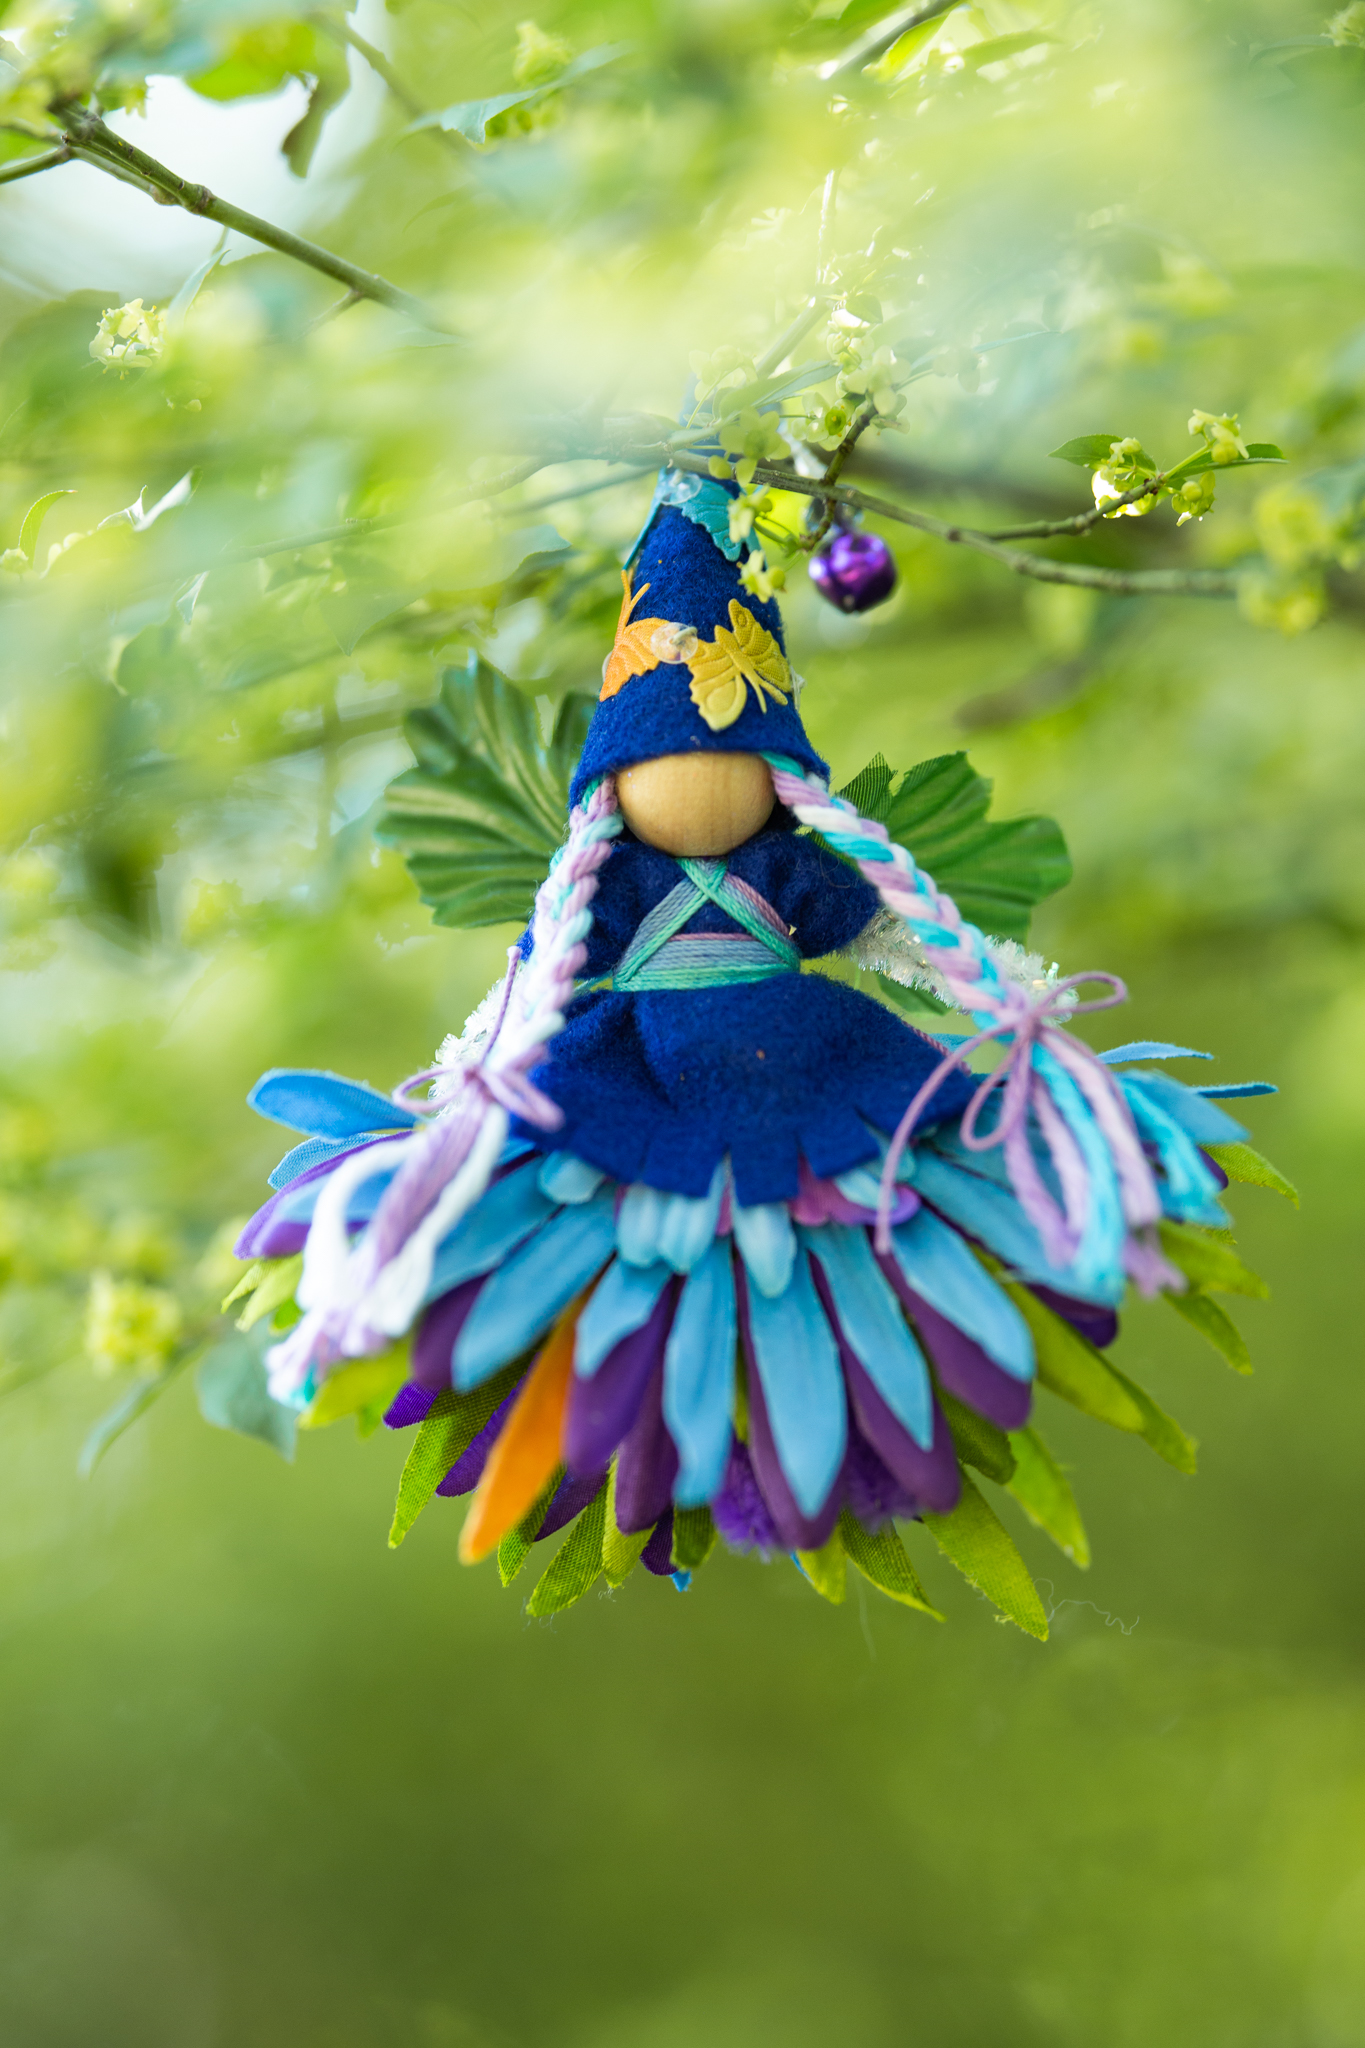
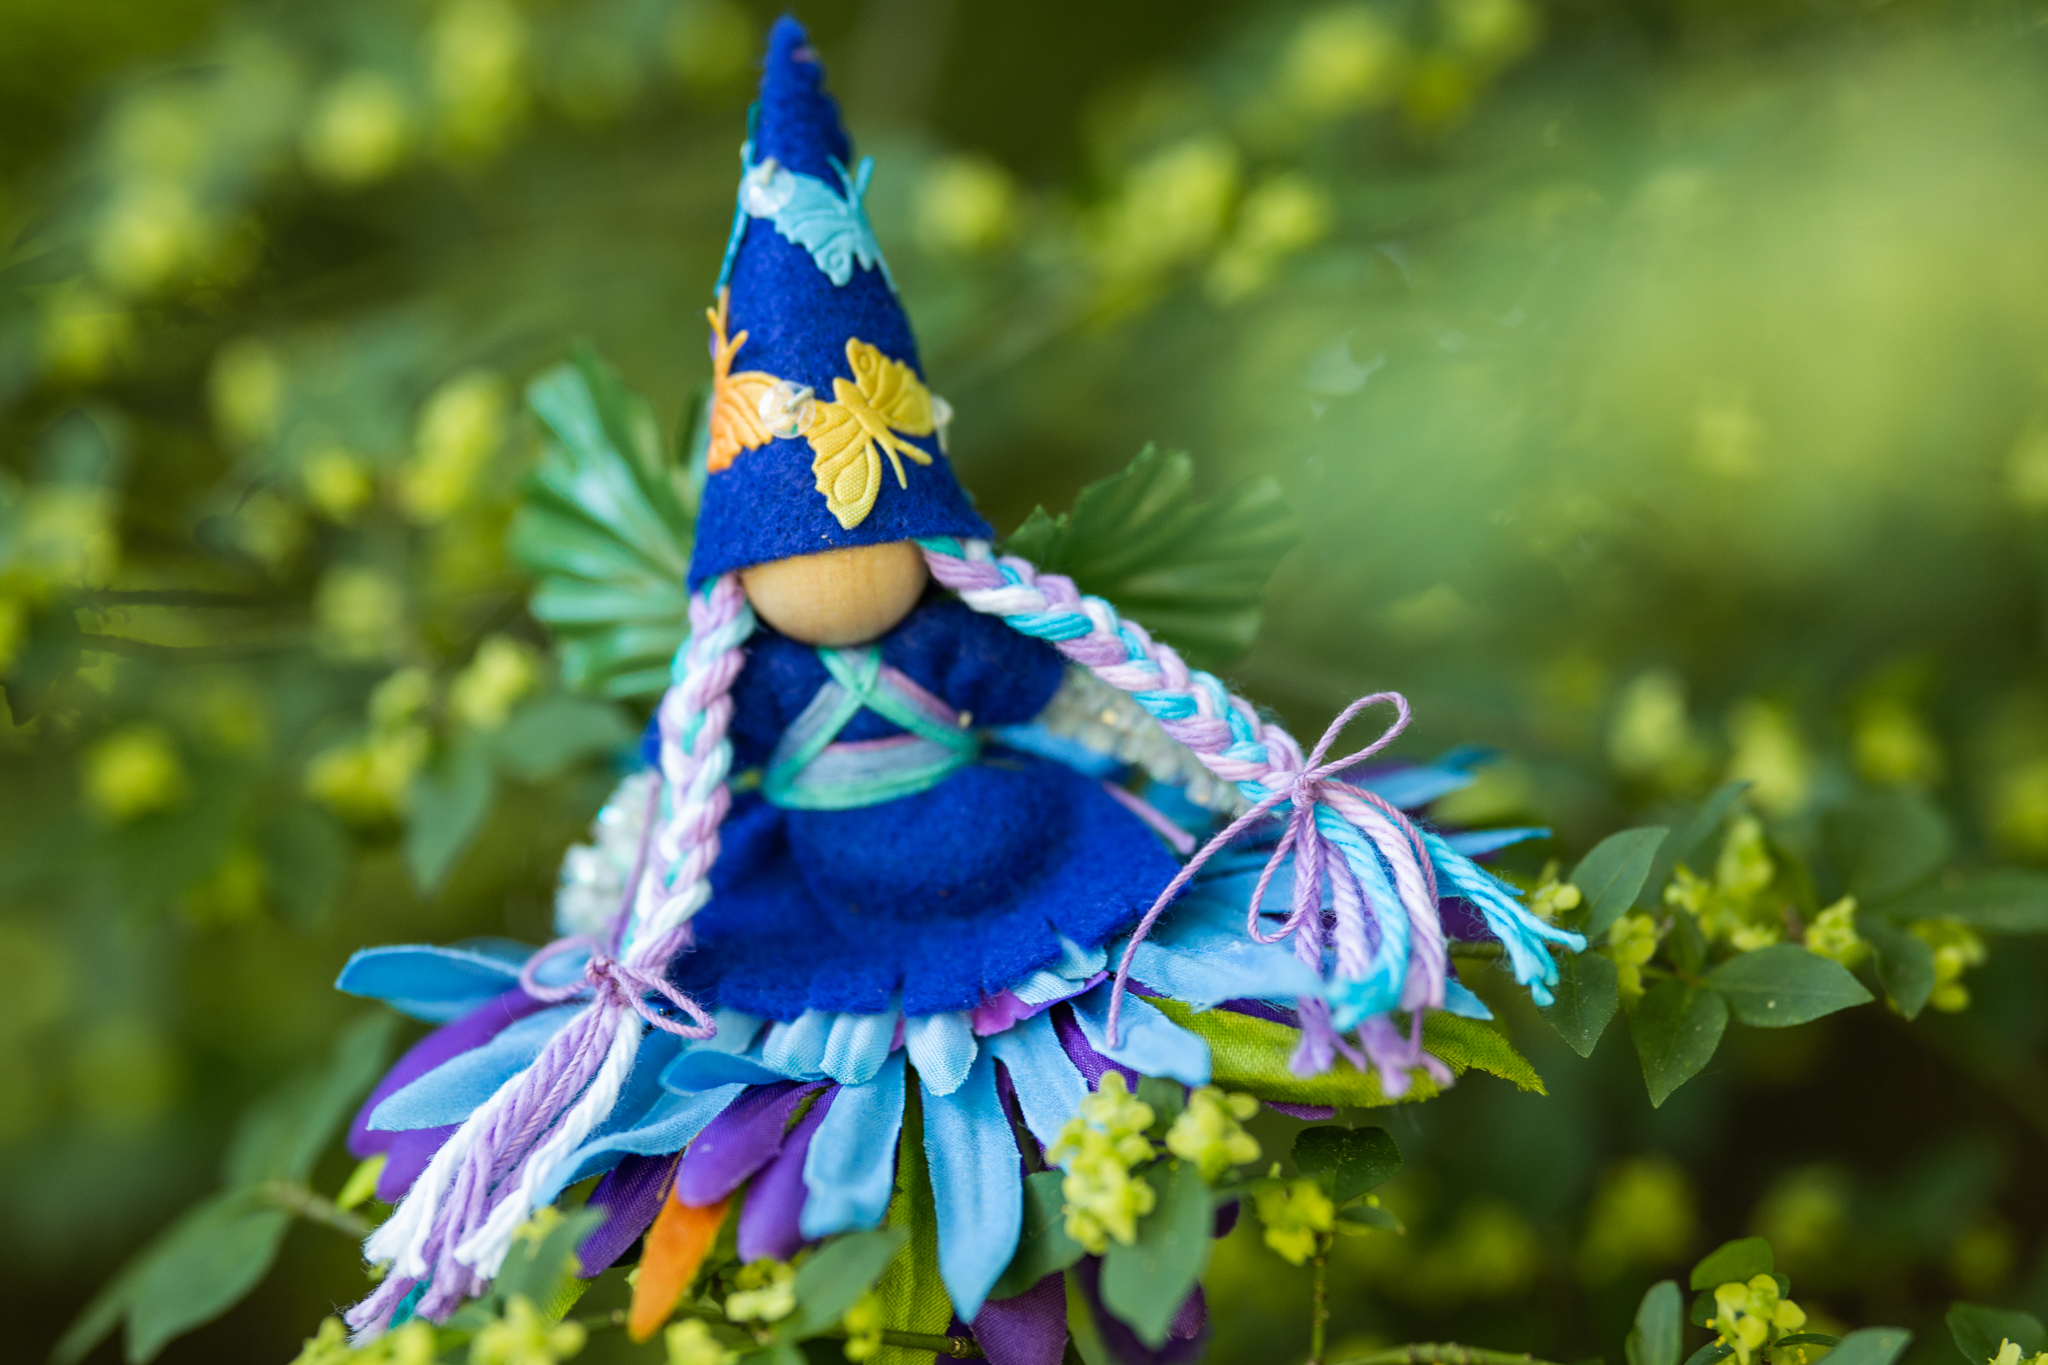
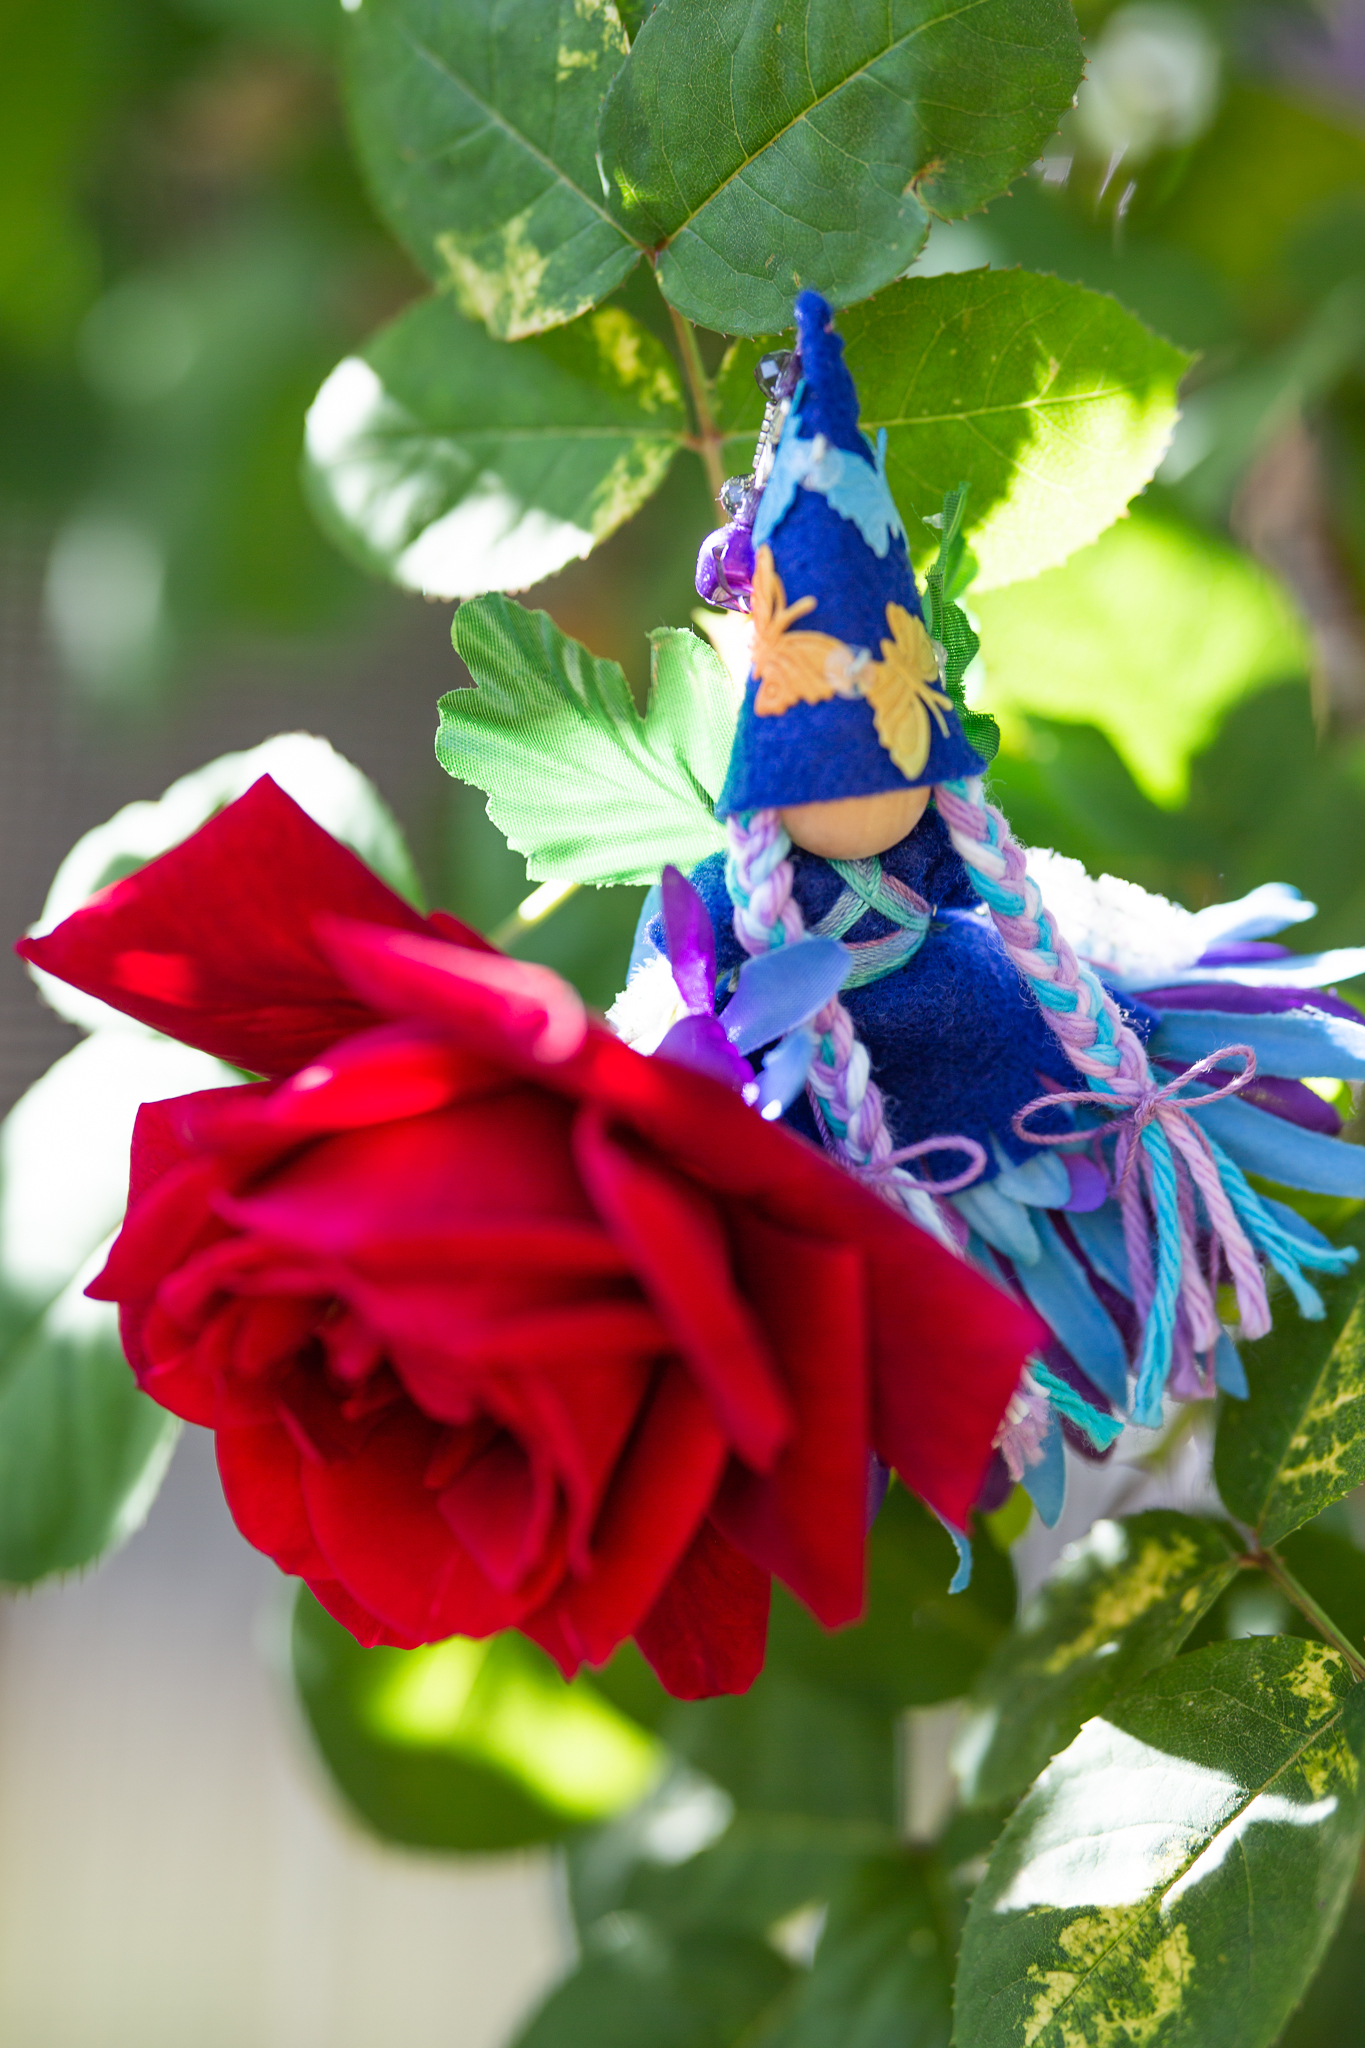
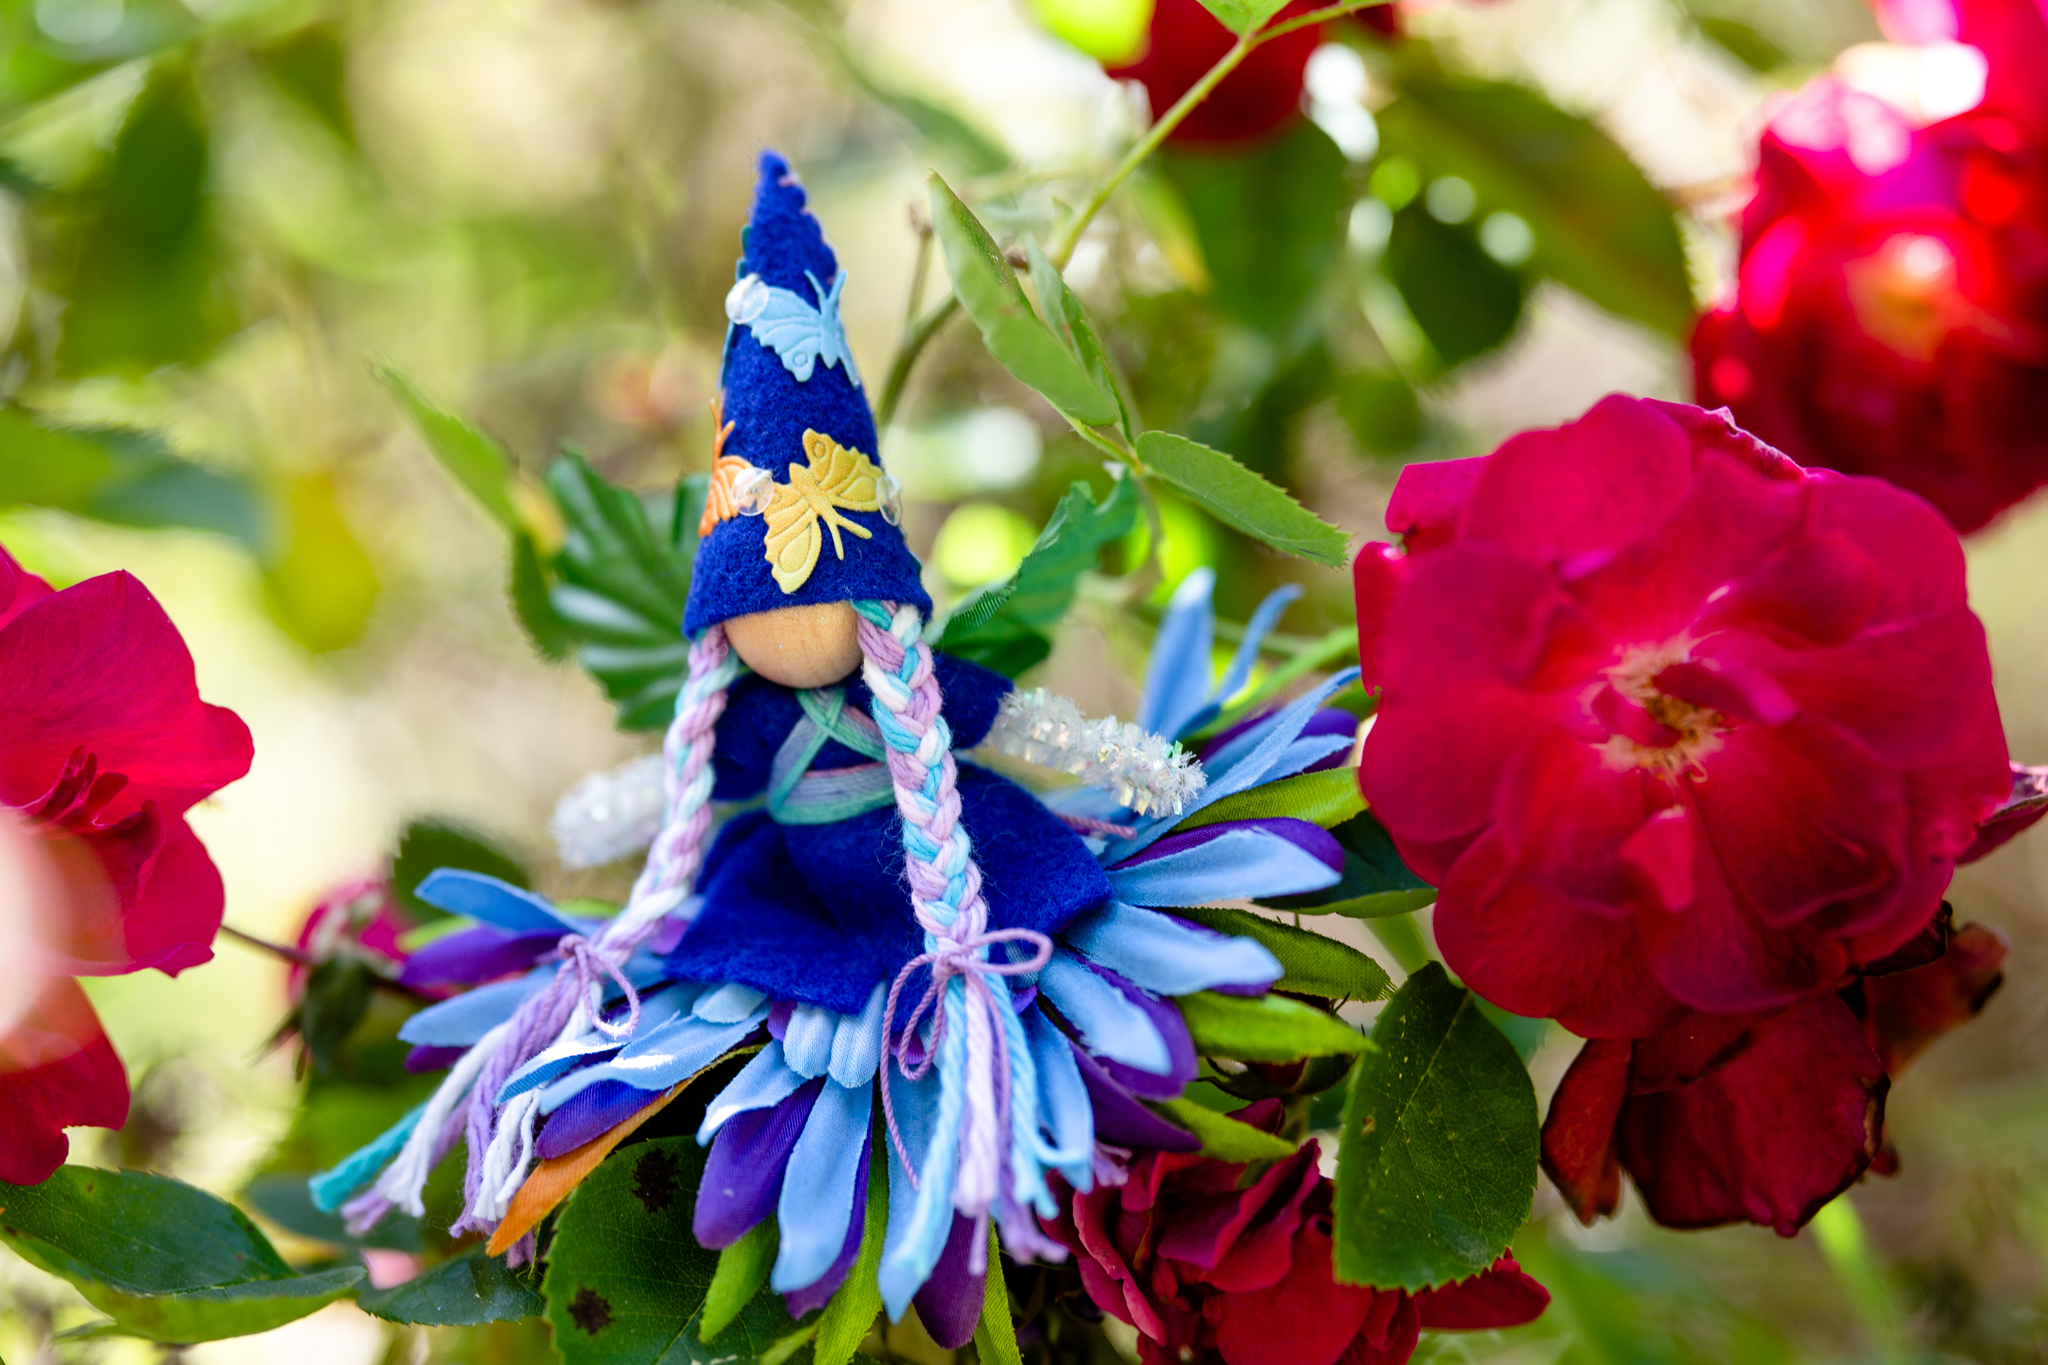
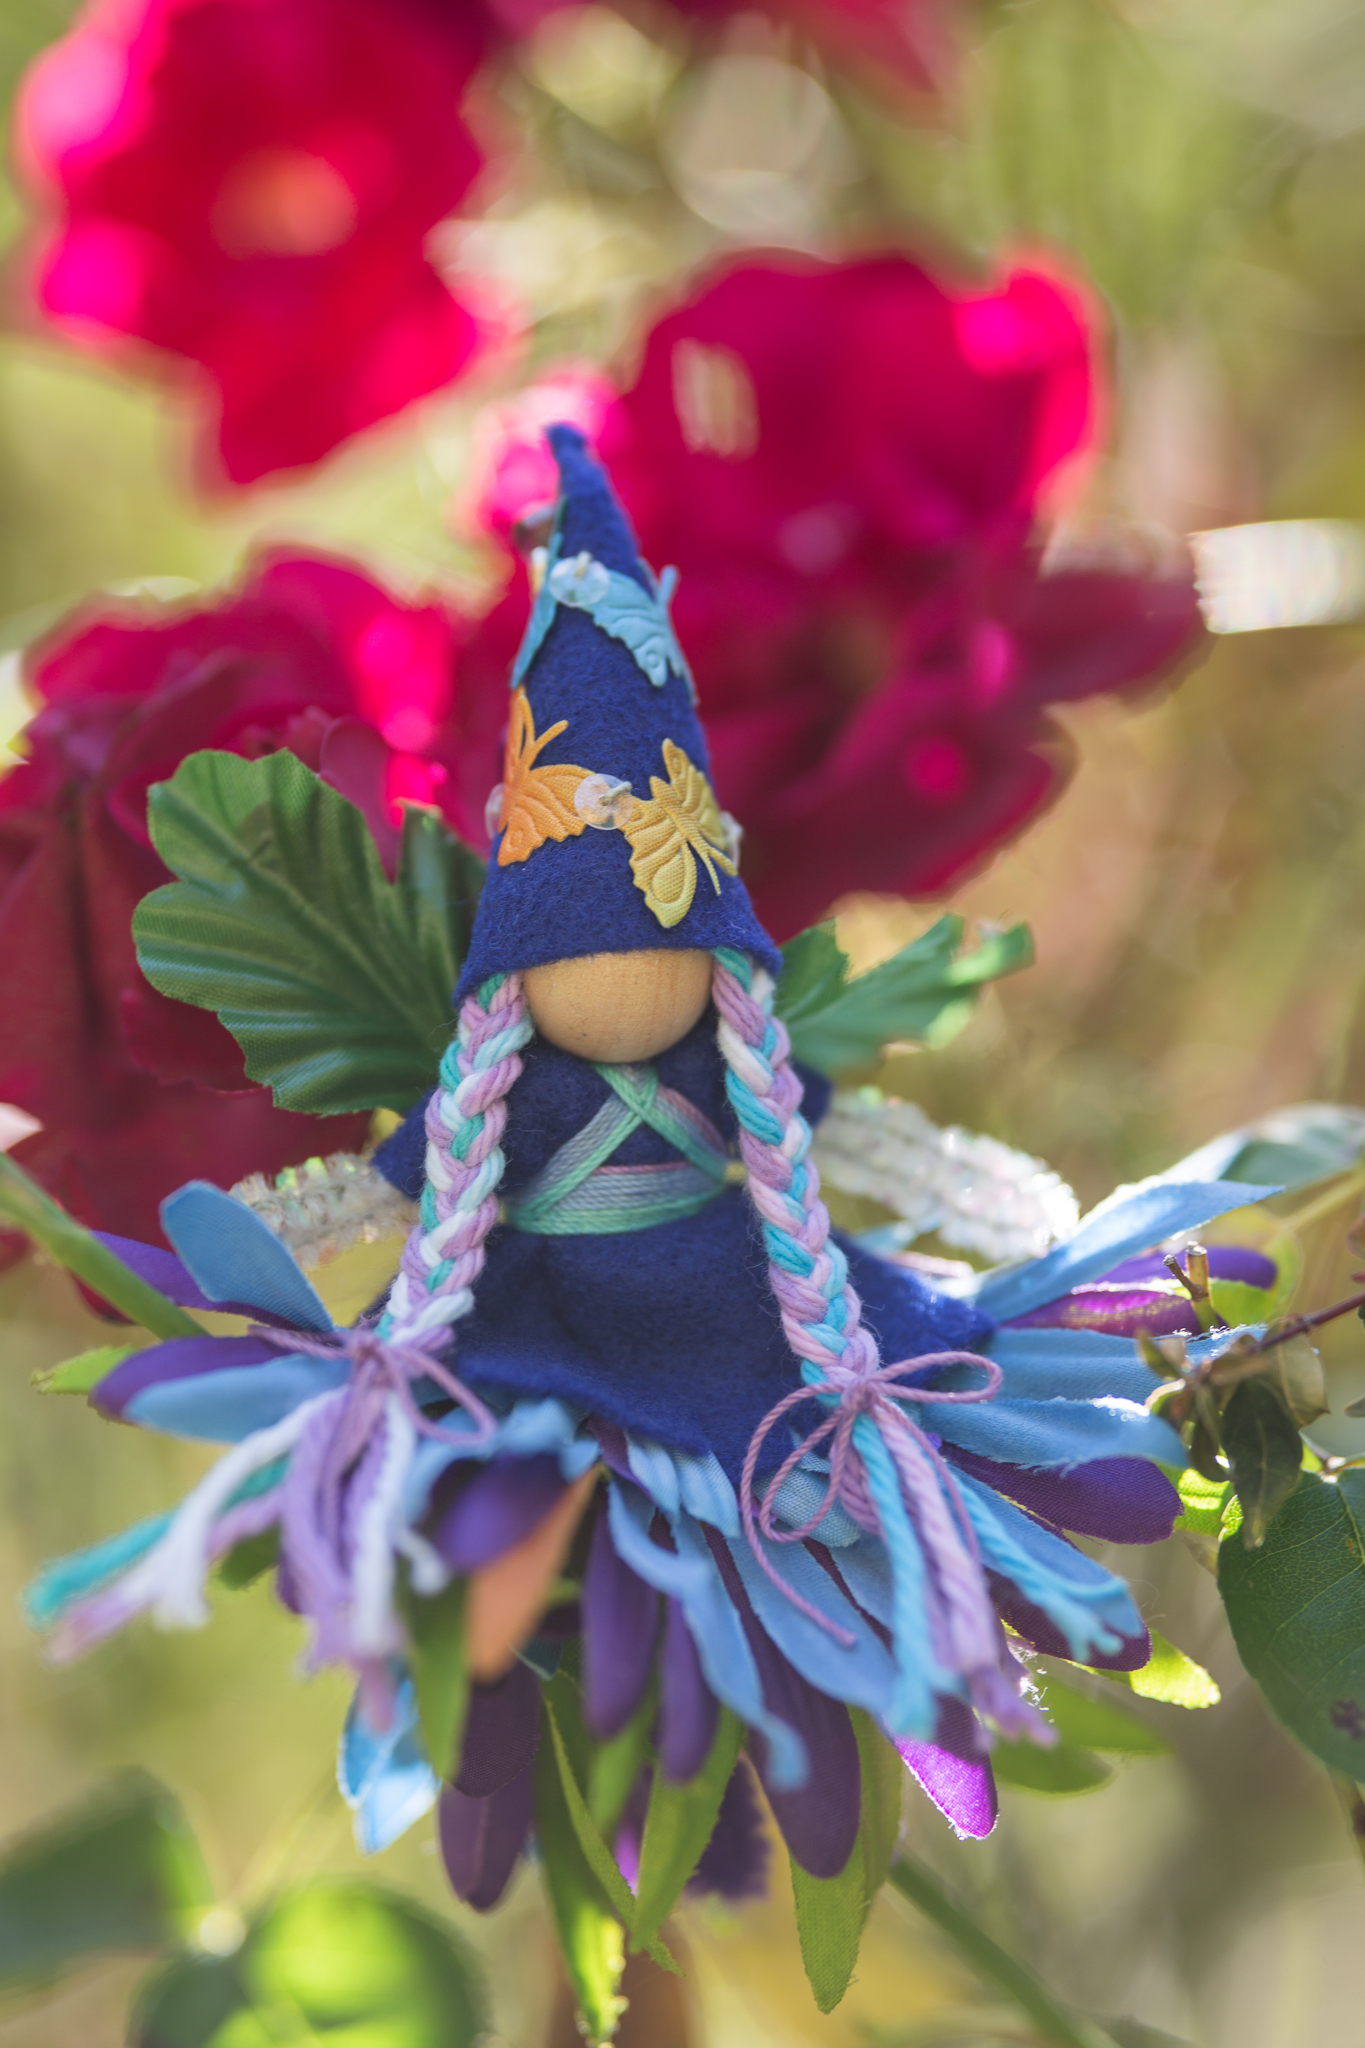
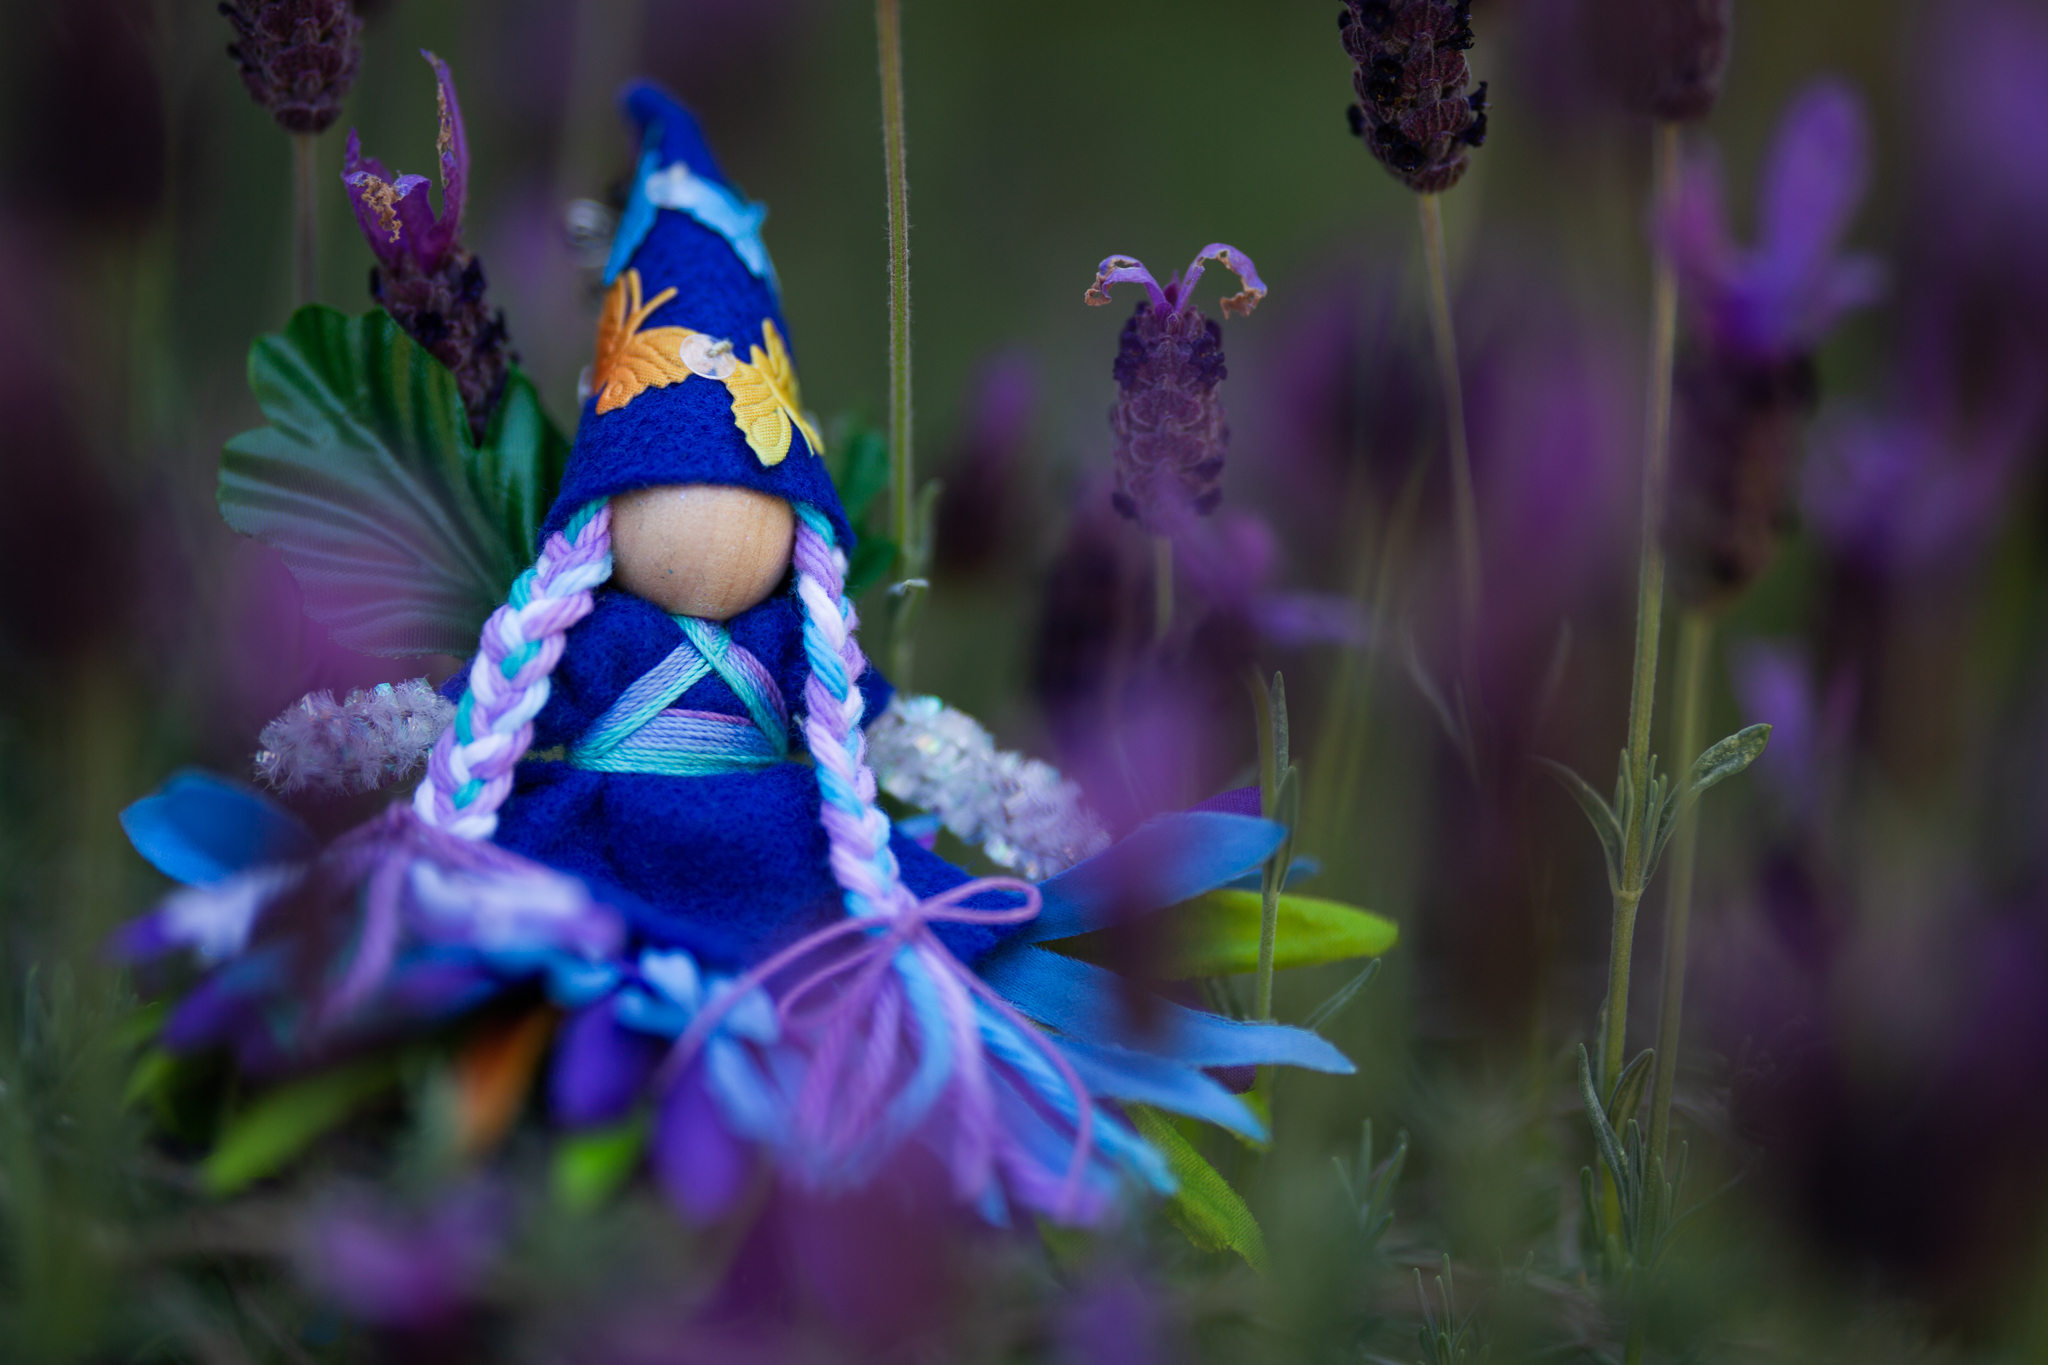
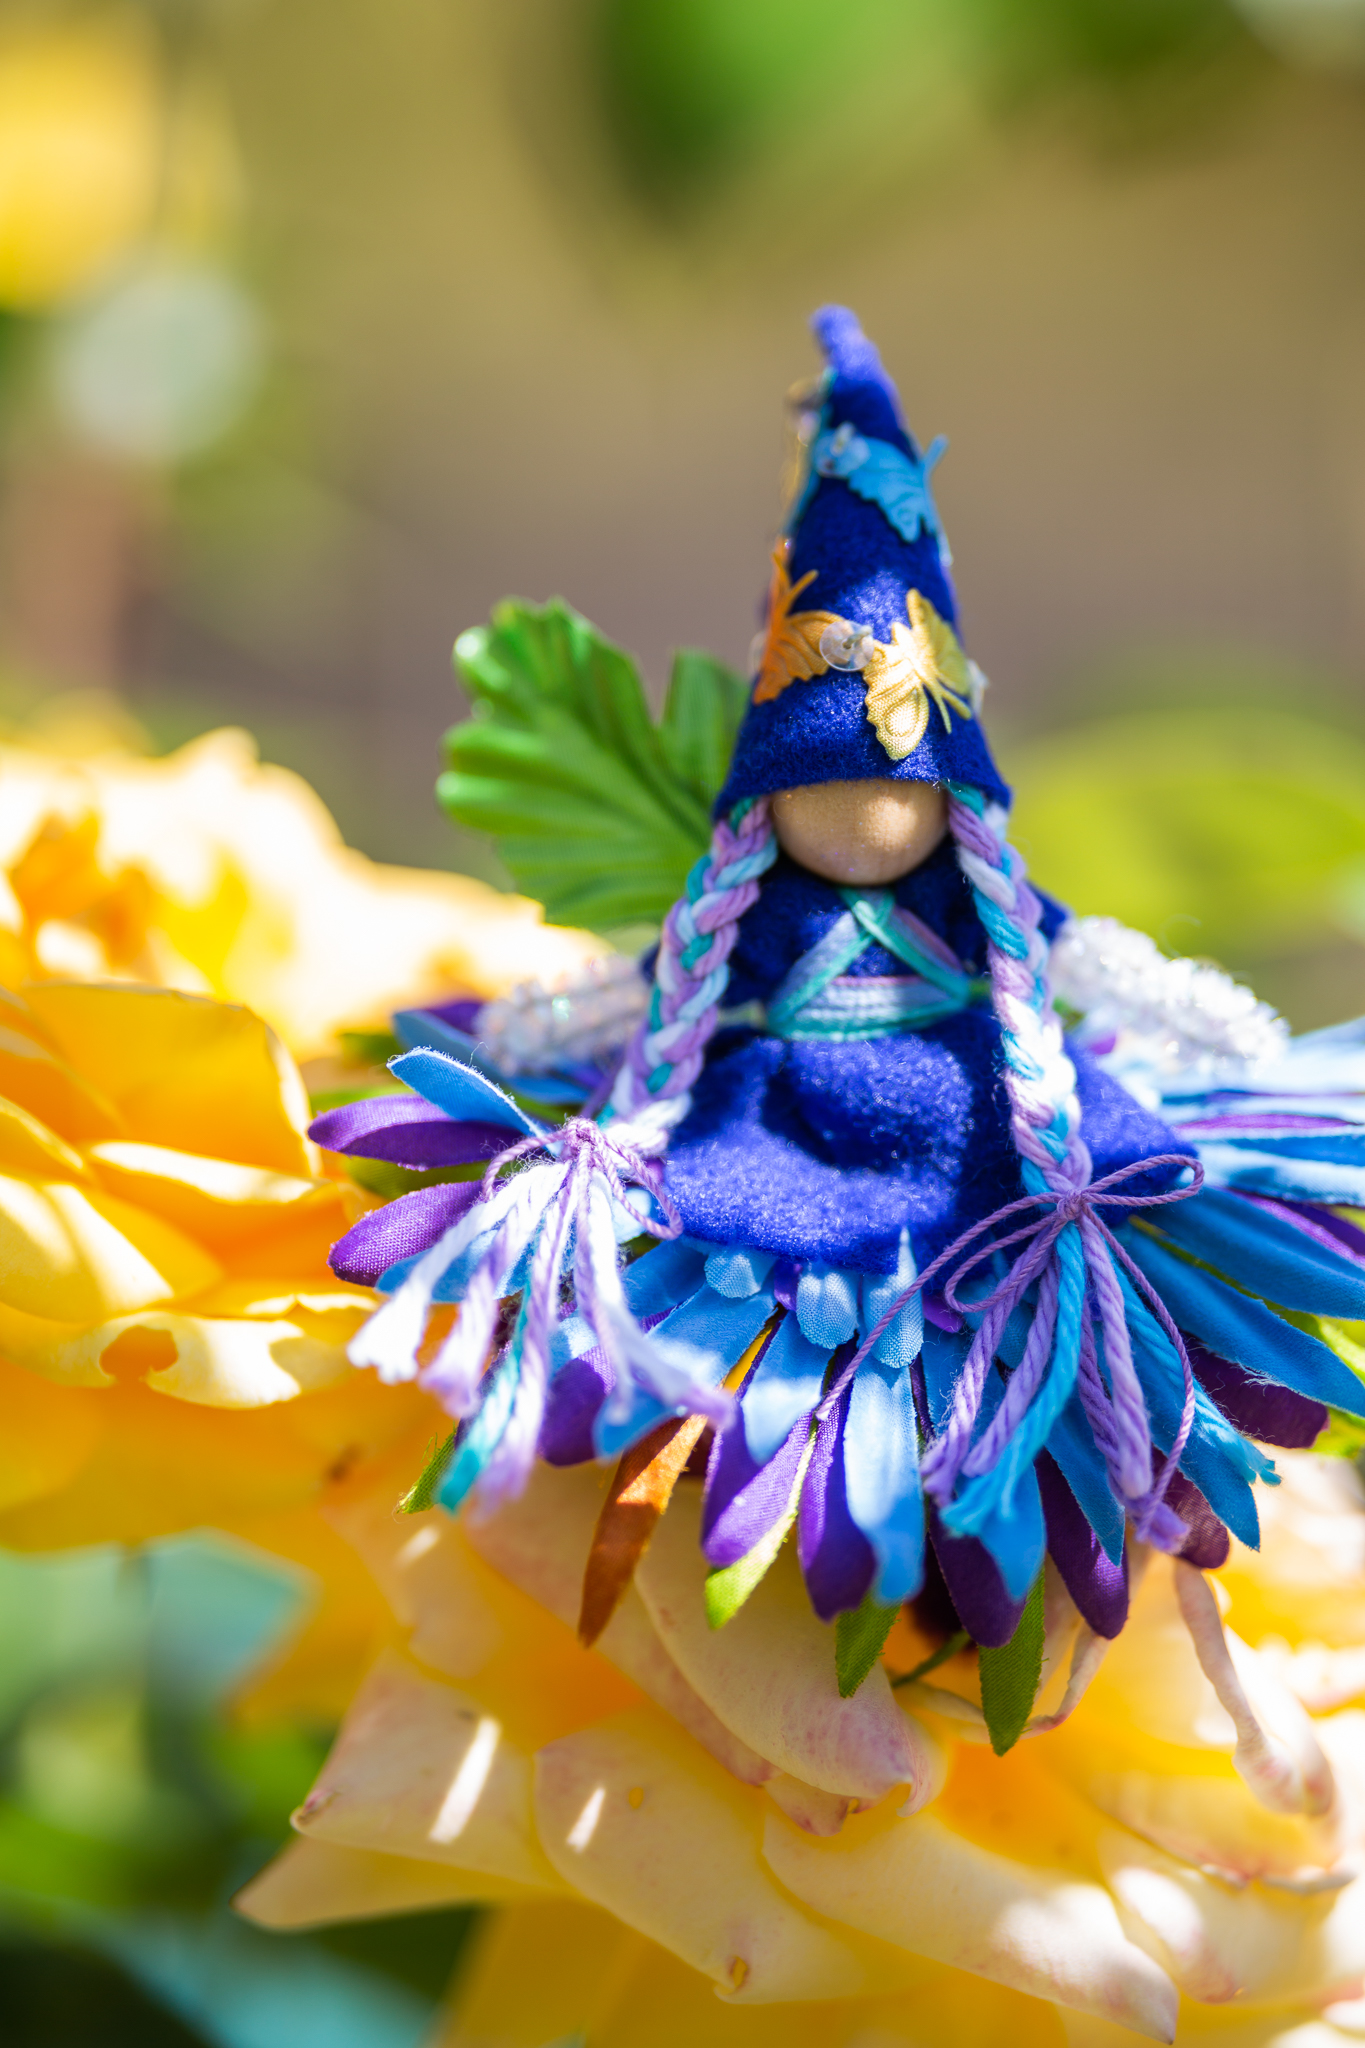
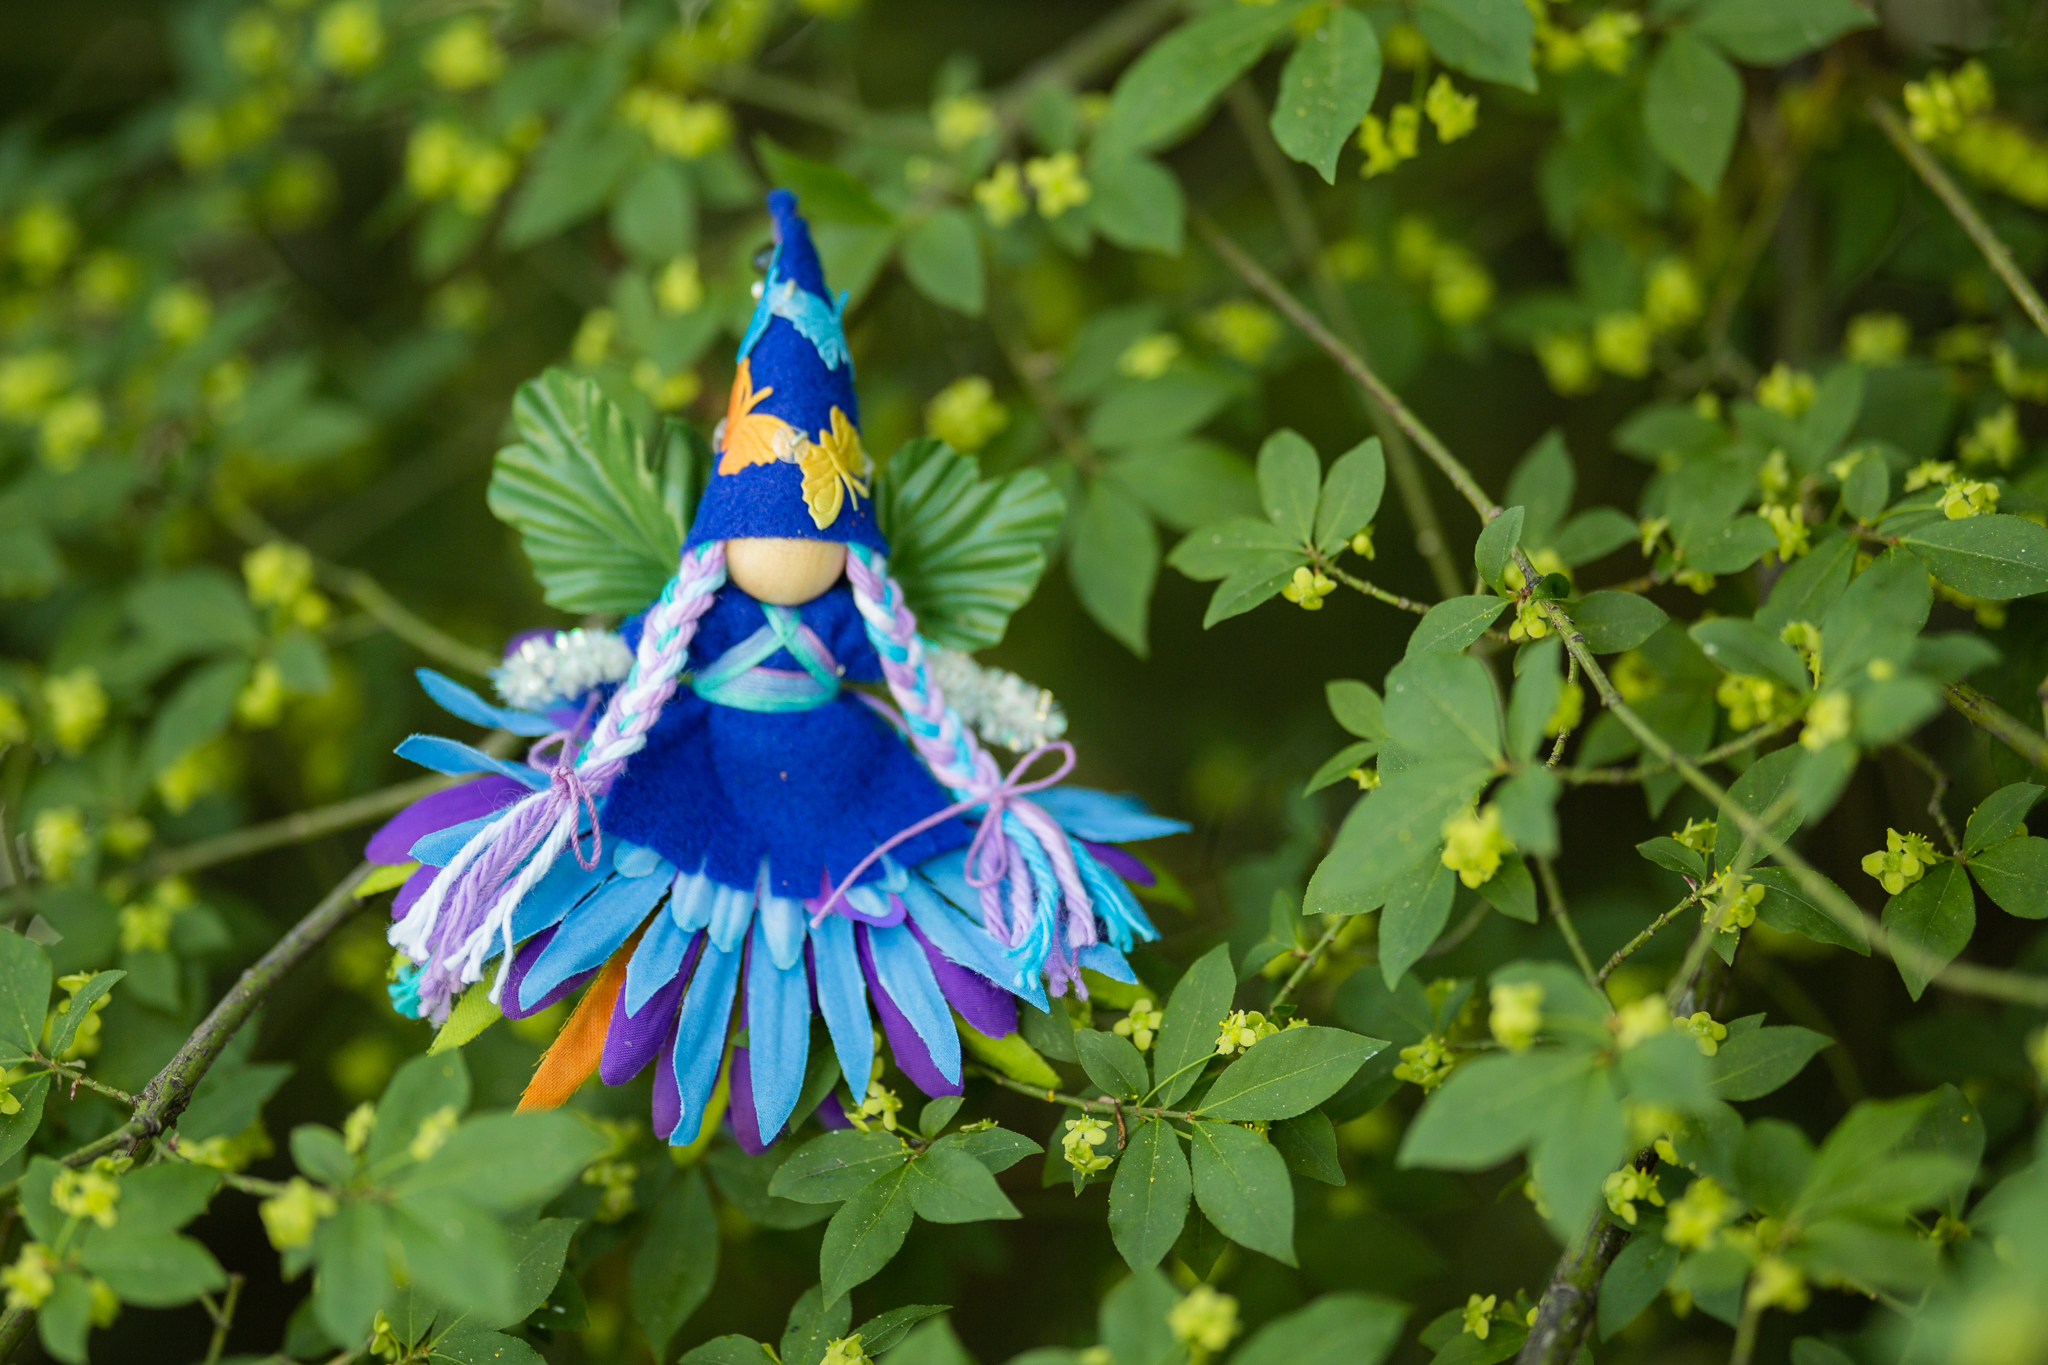
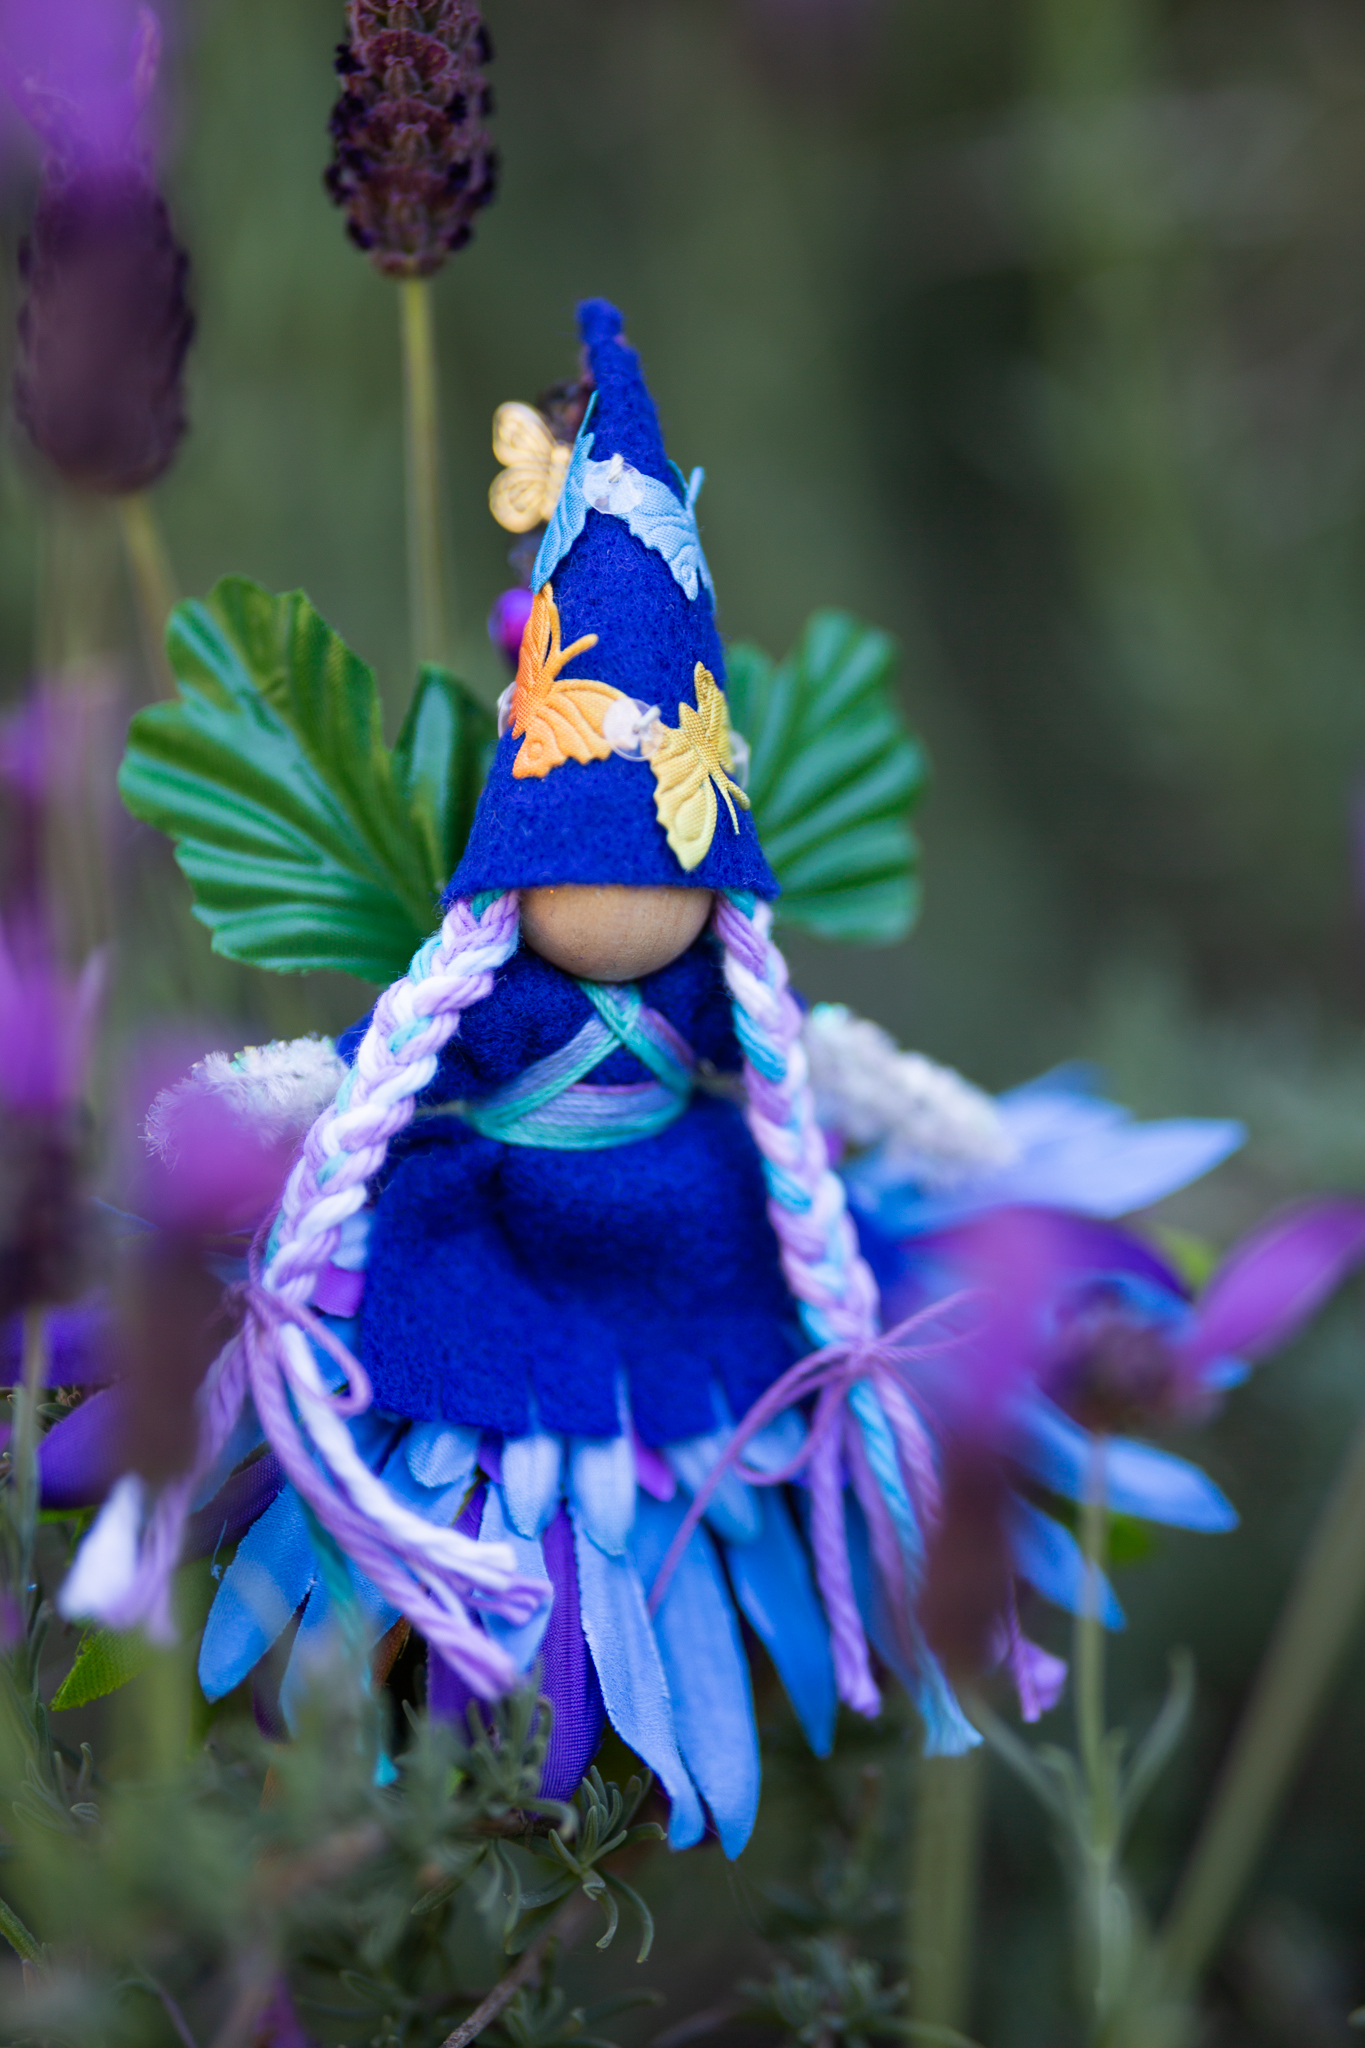
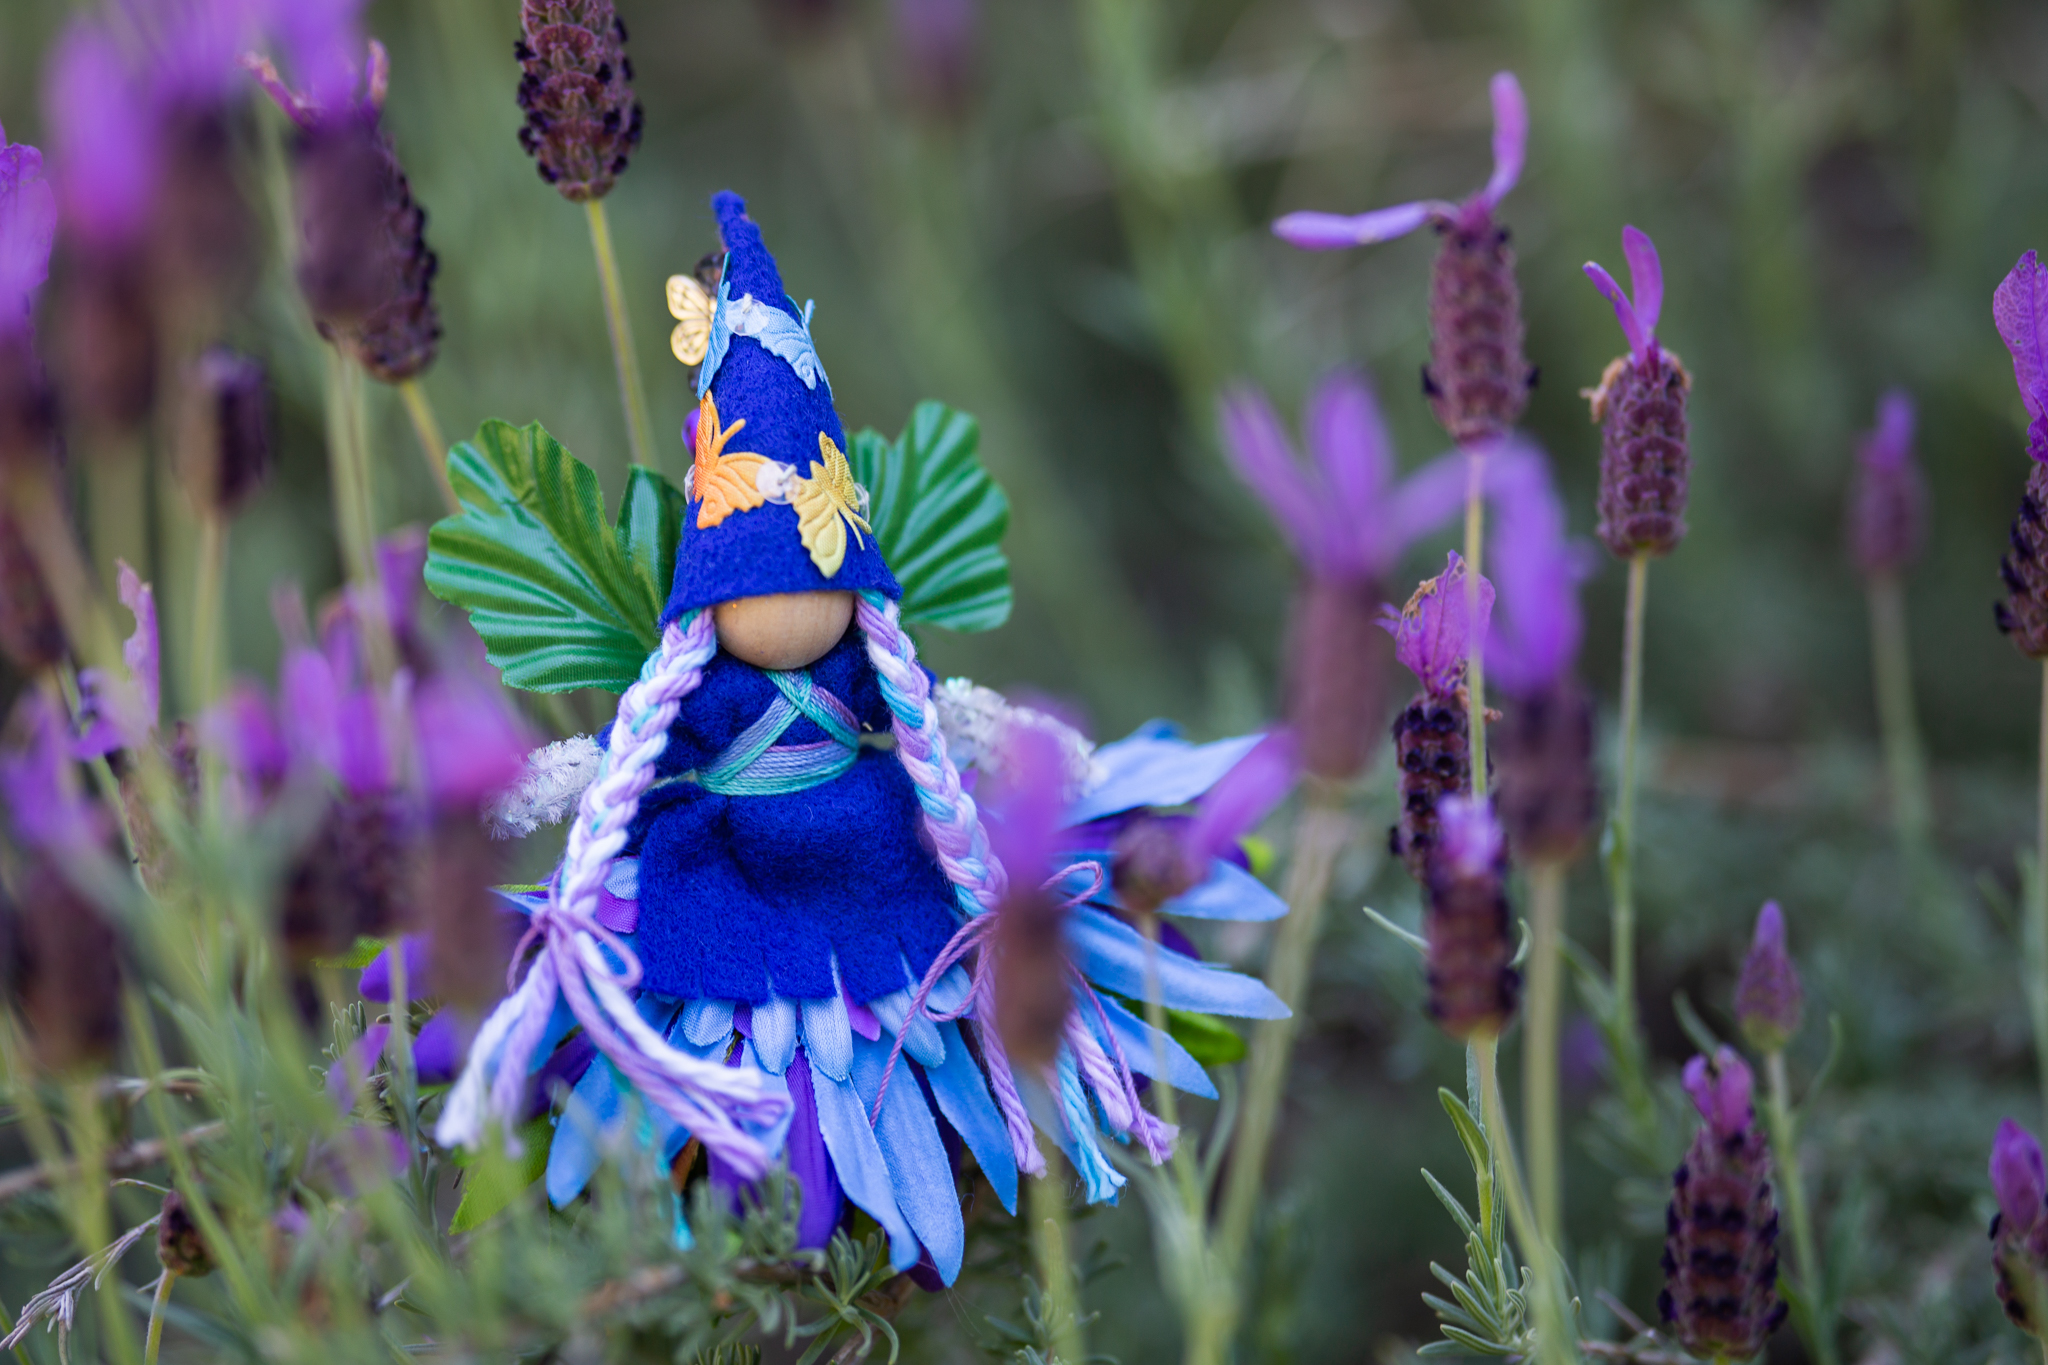
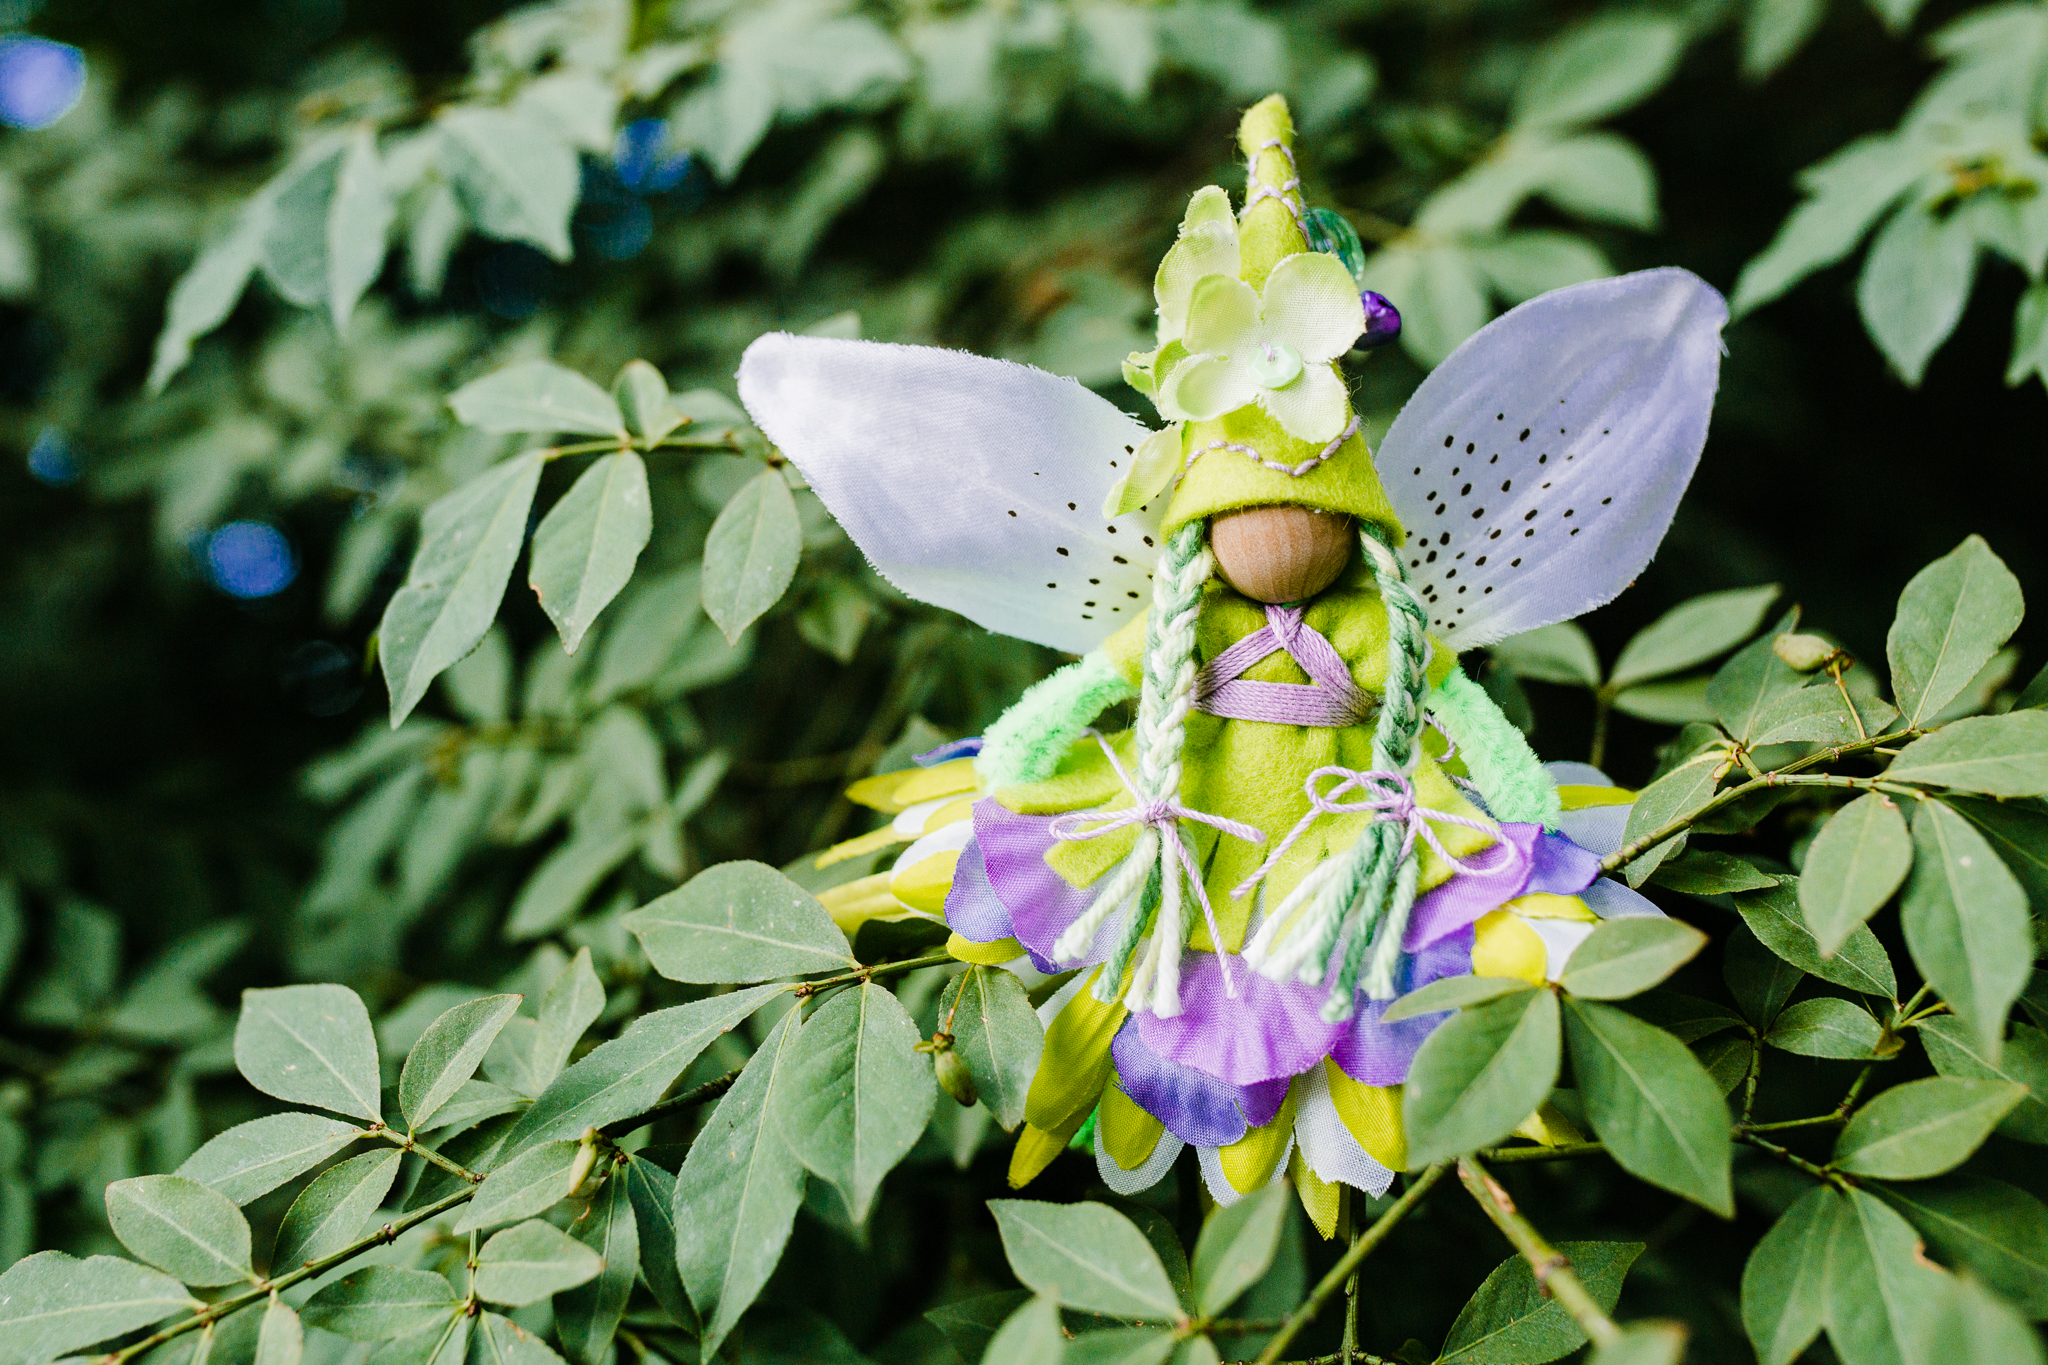
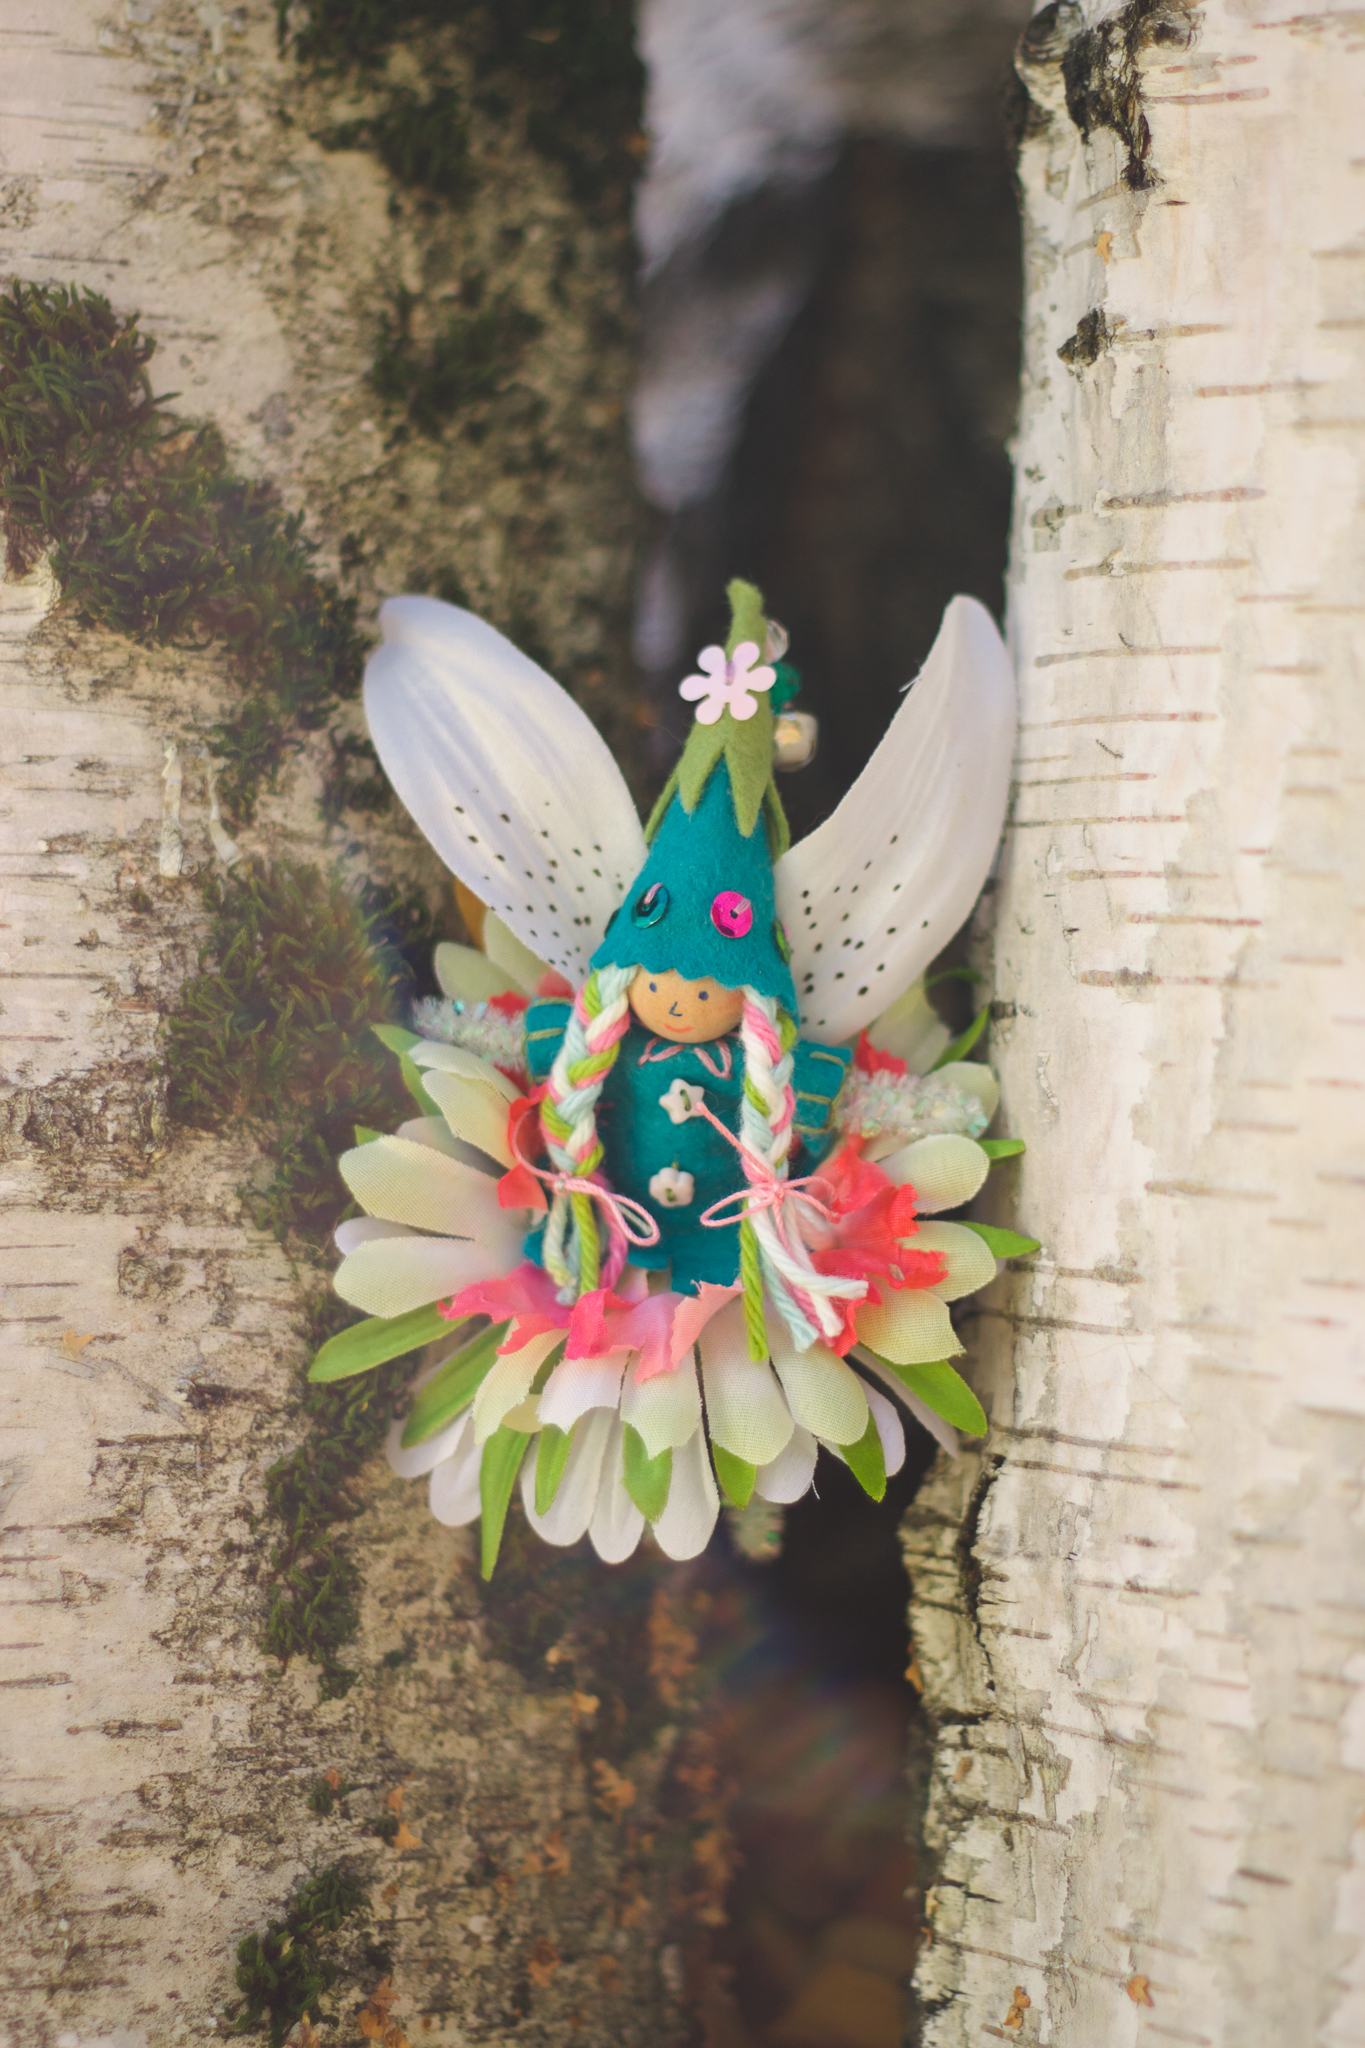
The Night Garden Fairy
The Night Garden Fairy is inspired by evening in the garden, when light softens to dark blue and daytime critters settle down for a nap. Colors look different come evening, and for a few moments, during the Blue Hour before real dark settles over the forest, all the garden colors are especially lovely. This is her time. She visits all the butterflies to wish them good dreams as the moths wake up to play in moonlight.
She started with dark blue felt. Then I found the bright butterfly ribbon and I knew I had to decorate a fairy with it. I puzzled, because each wing was thinly connected. And the butterflies were too small for sequins. So I used iridescent sequins and sewed one between each butterfly. It wasn't the most stable arrangement, so added a droplet of glue under one or two of the butterflies.
She was a fun inspiration. And now I may need a Moonlight Fairy and a First Star Fairy and a Moth Fairy and a Dreamer Fairy. Oh, this could be a whole Nighttime Village :)
I hope she inspires you too!


Spring Delights and Ideas
The sunshine is changing, can you feel it? There's a warmth that speaks to longer, lighter days. It's easy to stand in those little pockets of sunshine and soak it up. Of course, parts of the world are deep in winter. Here, though, spring is coming! And we couldn't be happier to see it arrive. Fairyland loves the springtime. We collect our favorite inspirations on our Pinterest board, Spring Delights.
We curated a few of the projects that look especially charming this year. The Easter bunnies are hard at work getting everything ready for Easter. Perhaps one of these projects may find its way into a basket in your home. Or you may want to make one with a child as spring days inspire you.


Egg Pockets perfect for hiding little gnomes inside by Rachel Wolf
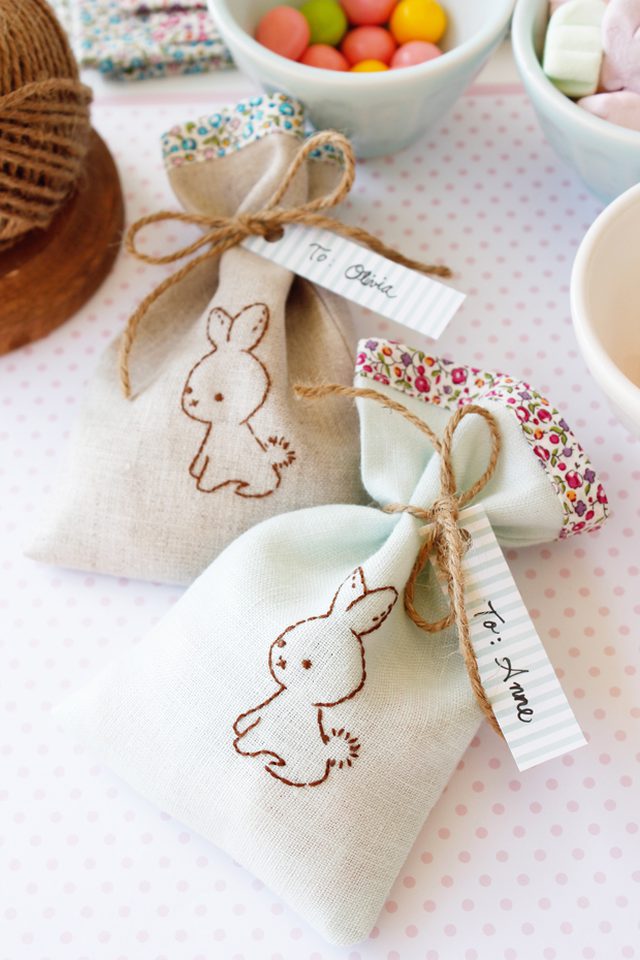
Wee Brown Bunny Gift Bags are the cutest! Learn how to make them with

This Stuffie Bunny and Artful Egg is a charming alternative to plastic eggs. Learn how to make the bunny and the egg with The Adventures of Bluegirlxo

Aw, a Butterfly Finger Puppet makes exploring a spring garden enchanting. Margaret Bloom shares how to make one on We Bloom Here.

These Bunny Fingerpuppets enjoy romping in the garden as well. Their little tails! Learn how to make them with Molly's Sketchbook.
Of course the fairies love springtime! They change into all the colors of blossoms and green growing sprouts and blue skies. Have fun mixing the colors of spring! All the details for making them are in our Forest Fairy Craft book*. The little leaf babies are another favorite springtime craft from the book.

So many wonderful ways to celebrate springtime! We look forward to seeing all of your amazing crafts. Enjoy spring magic :)
*affiliate link means that your price remains the same and a small percentage returns to us for referring you. Thank you! The forest appreciates your support.

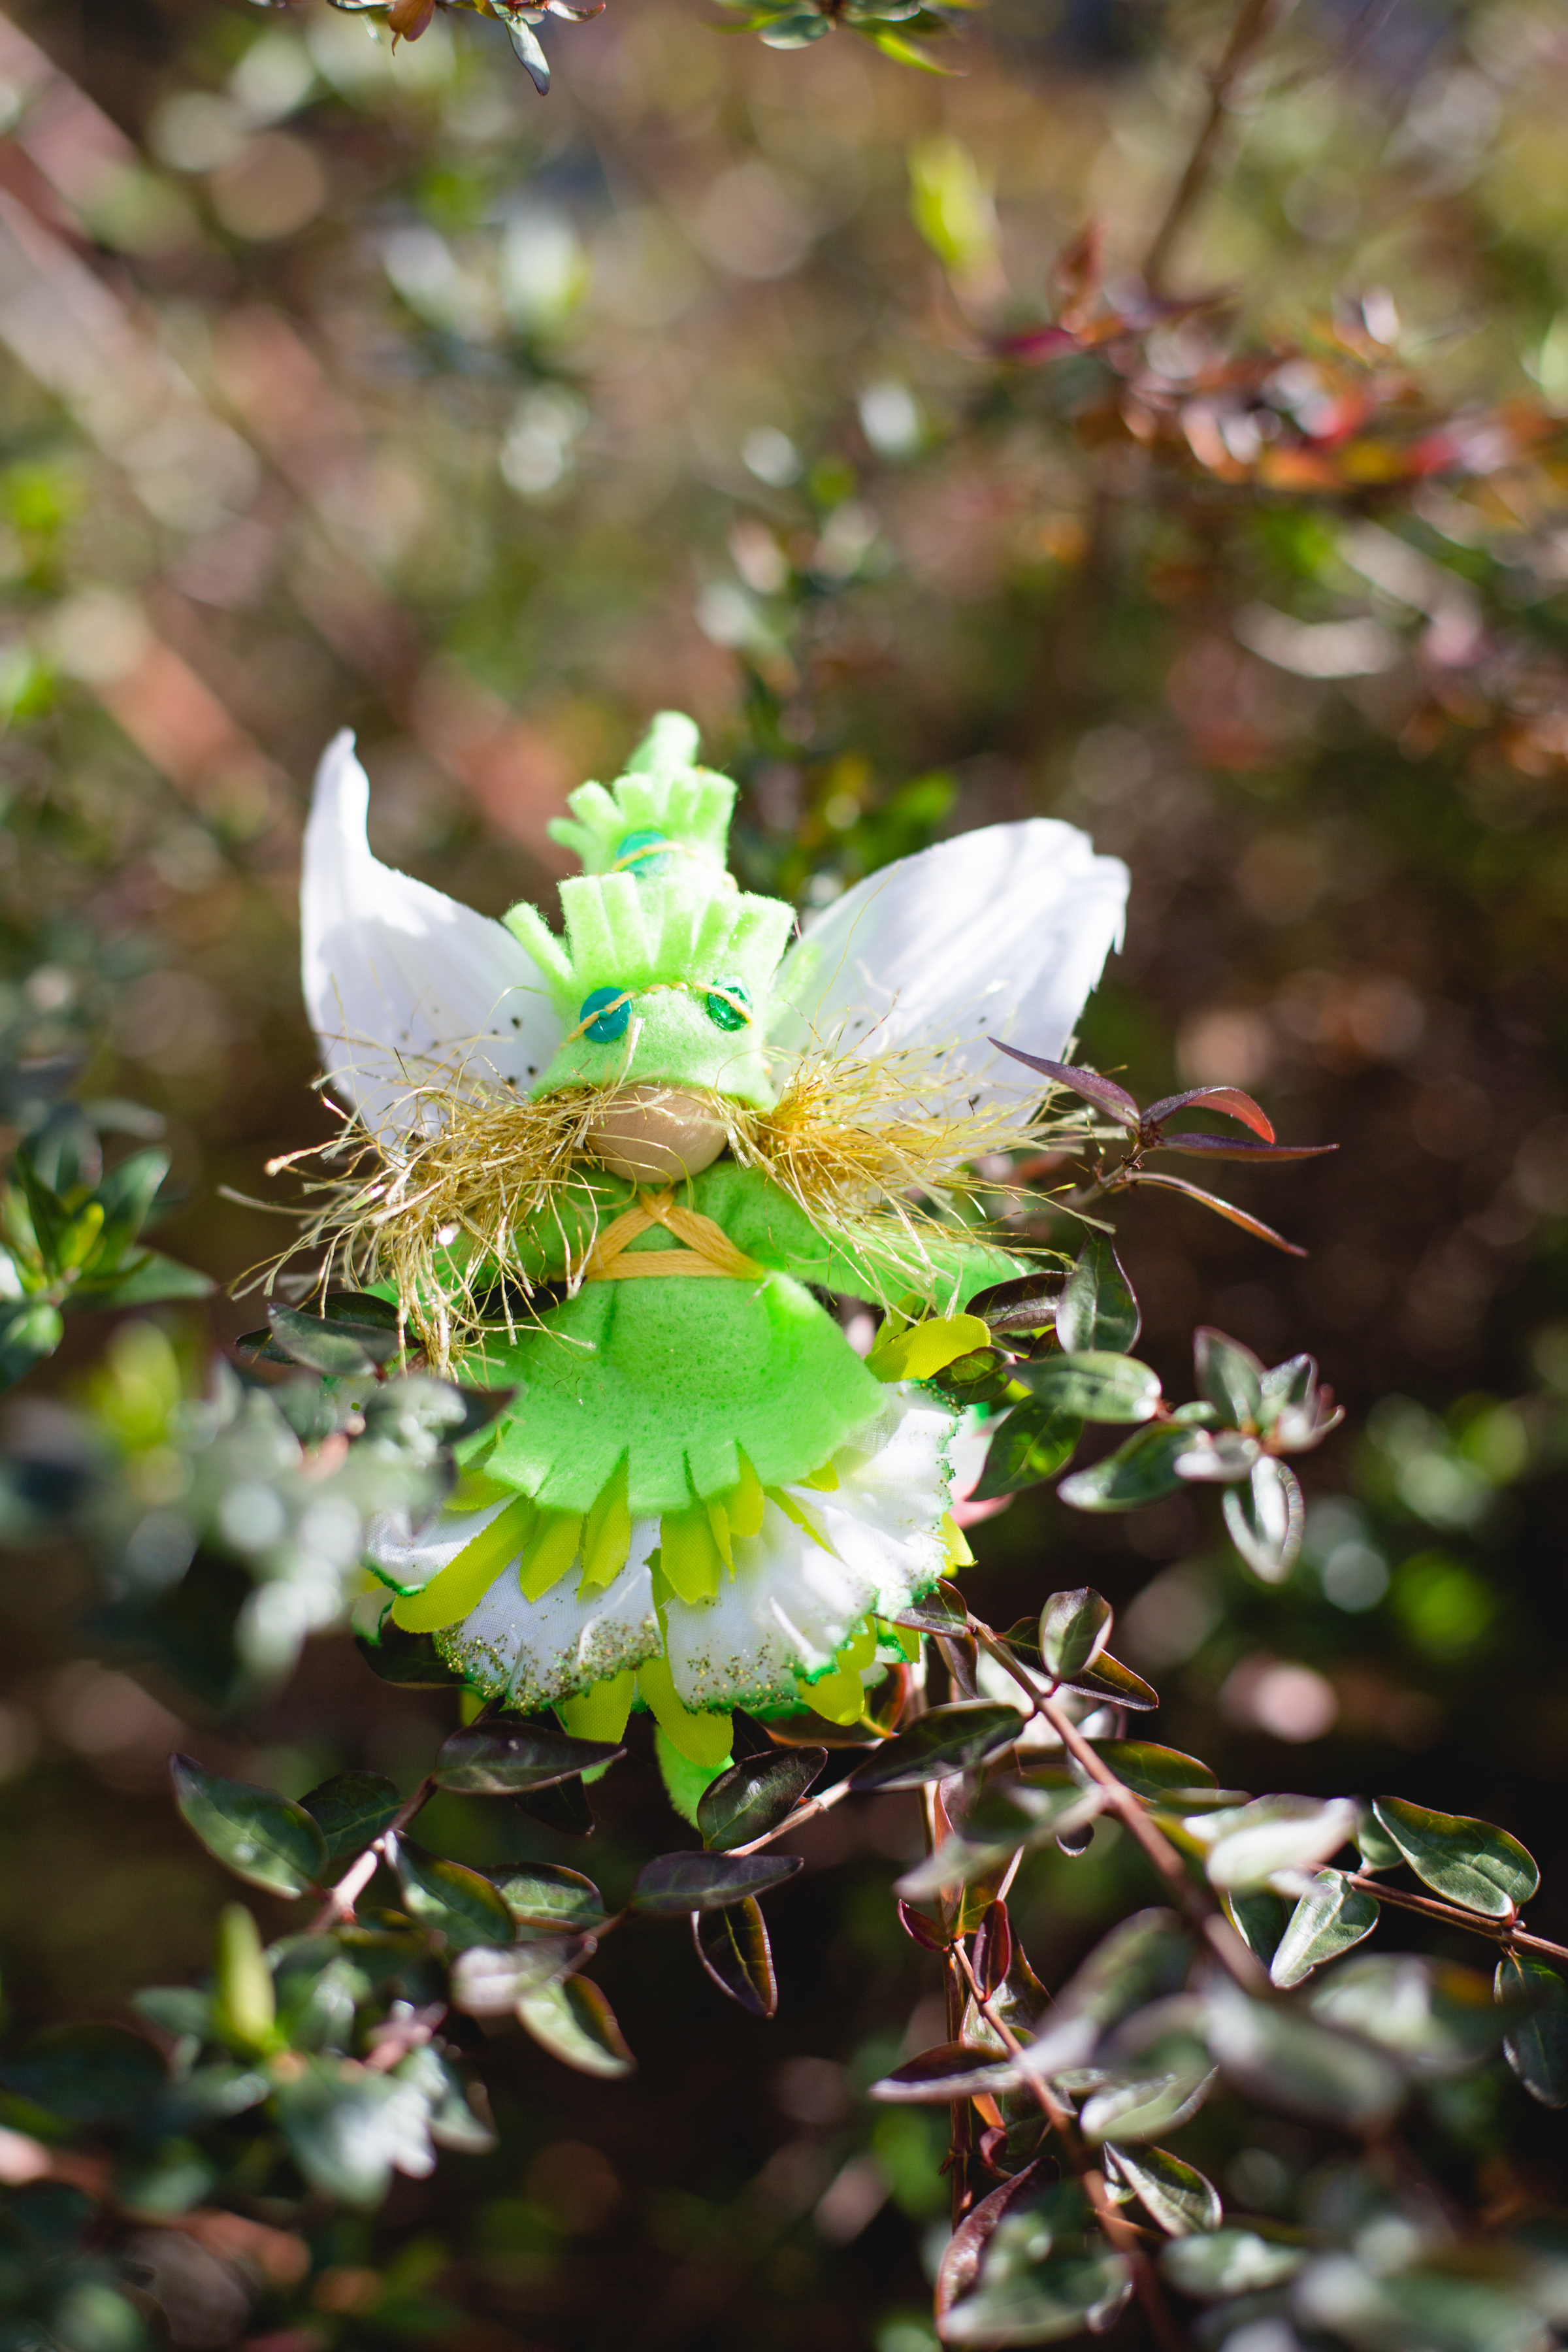
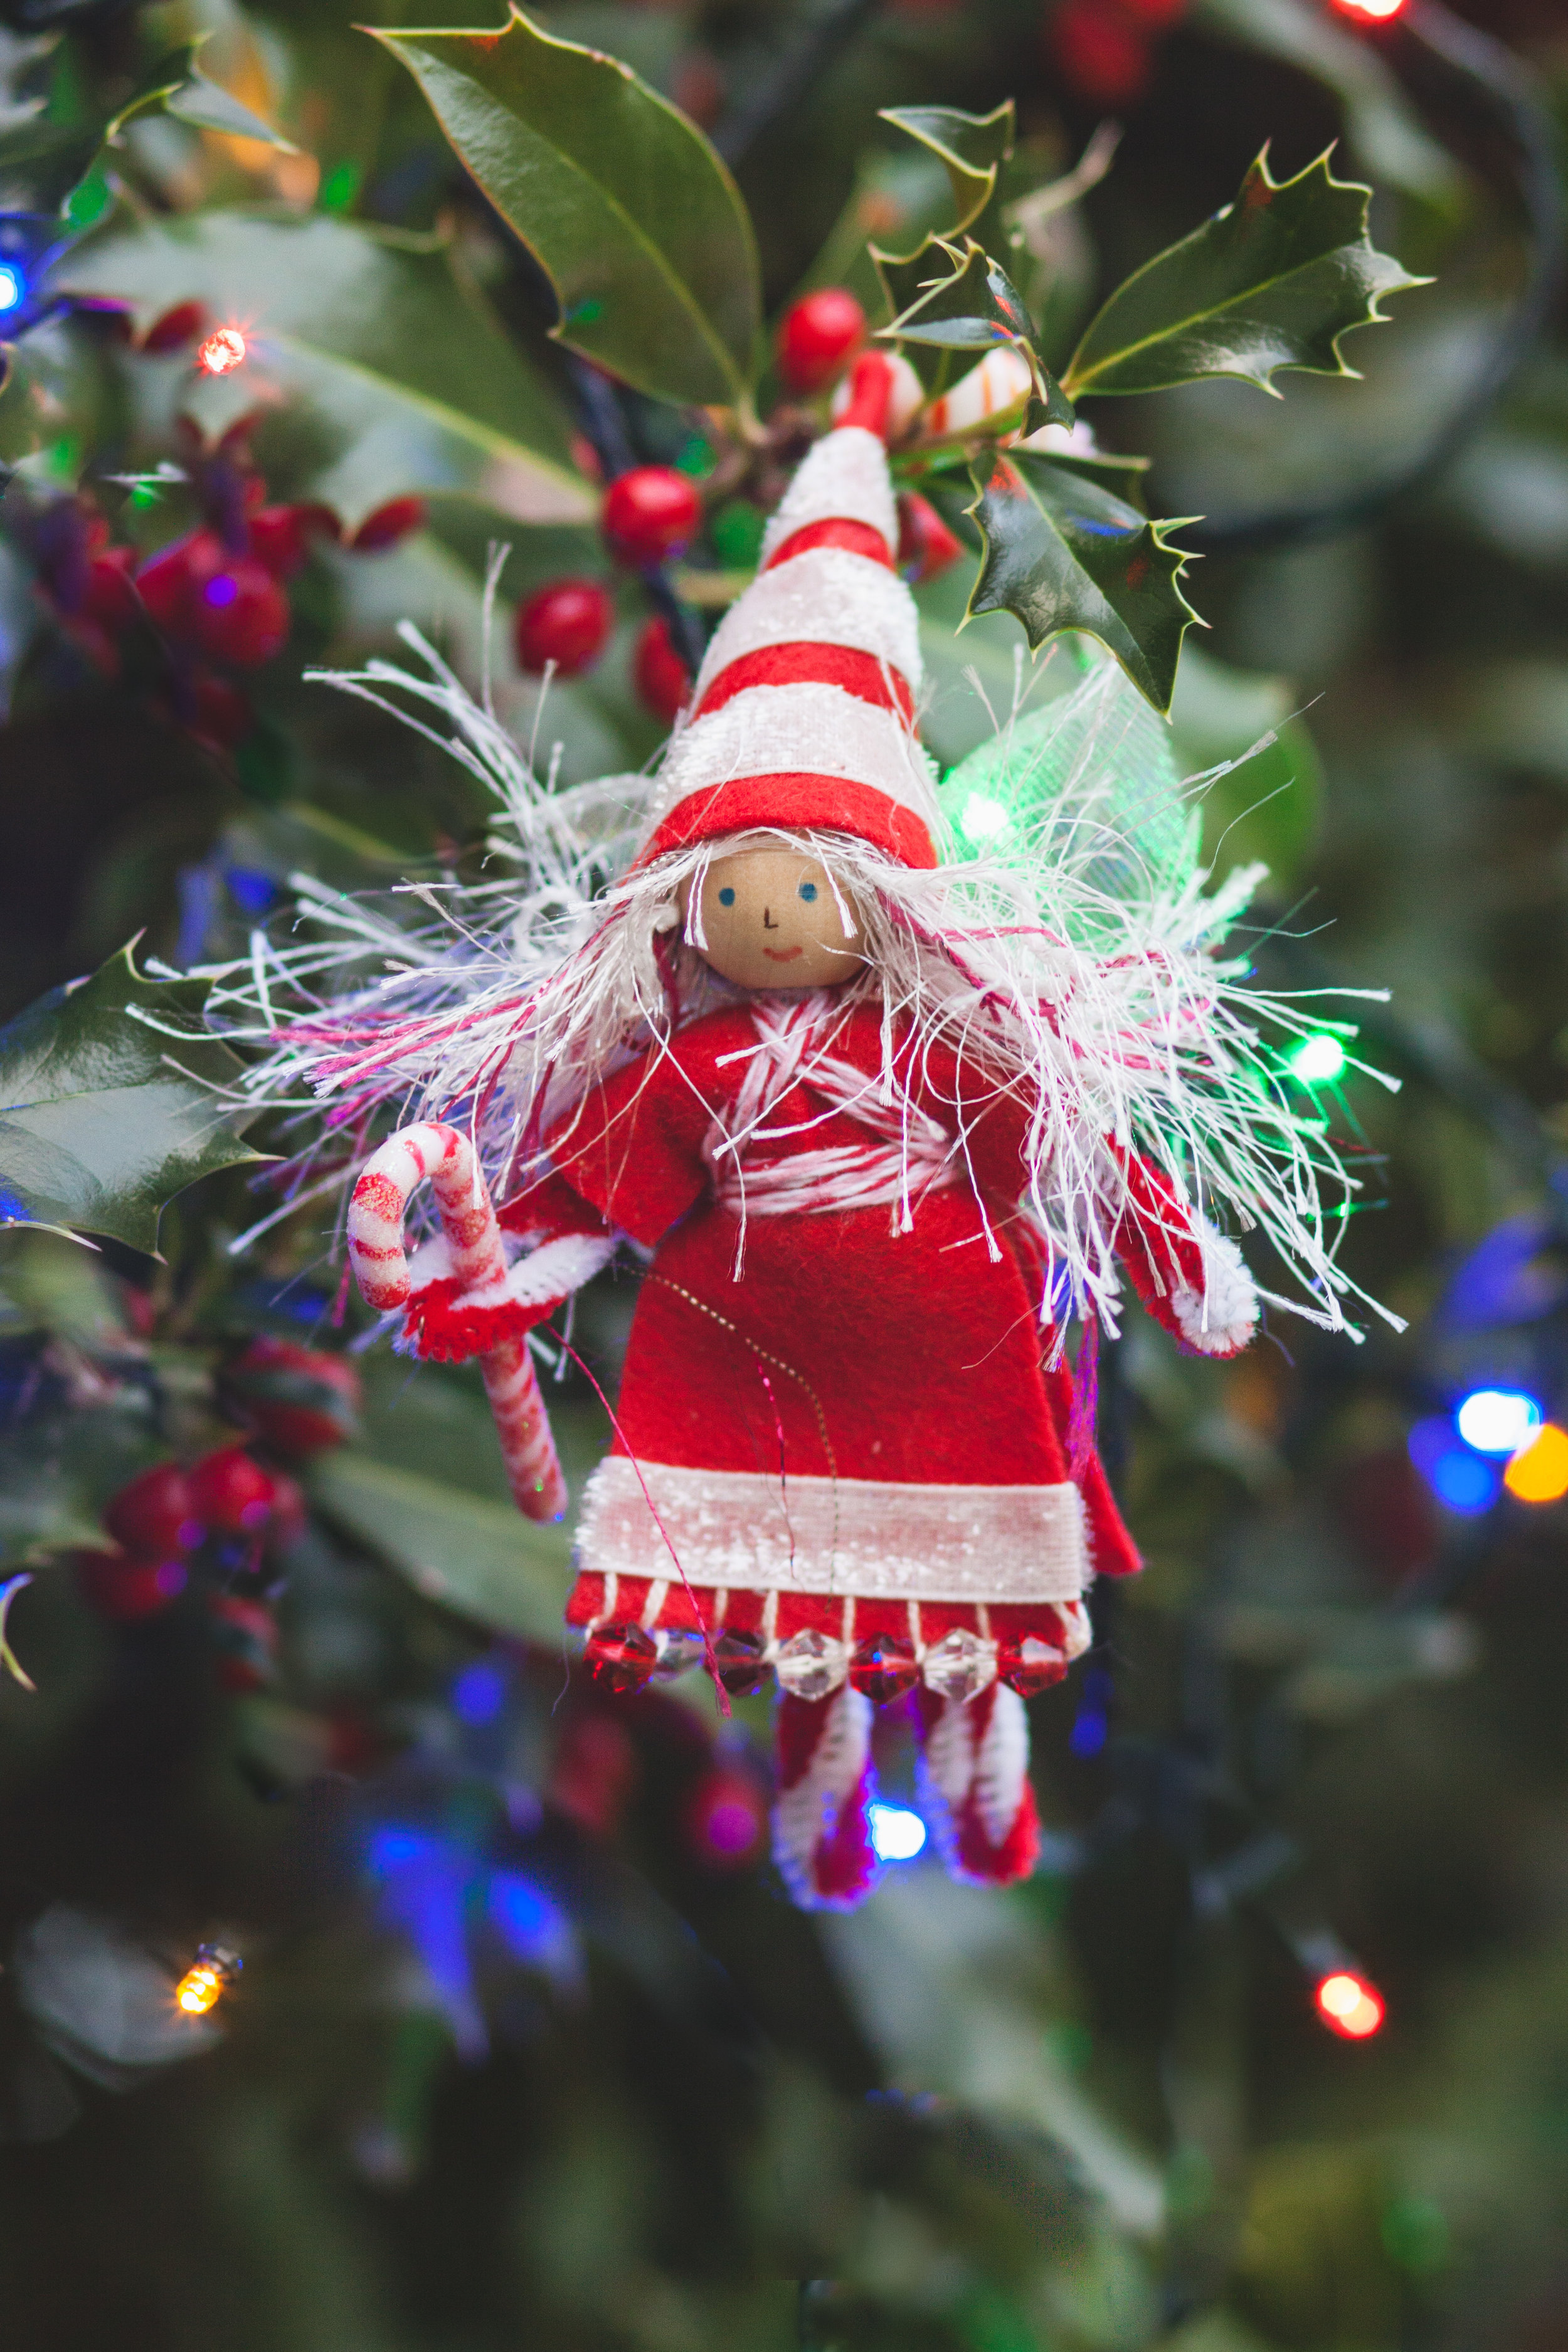
Happy Leprechaun Season
It's the season of little people. They're in the leaves and under newly blooming flowers. They're finding beams of warming sunshine to warm their wings. Creating leprechauns is yearly magic. Of course, they may appear thanks to an adult inviting them into a home (making one to leave in a special place). Instead of building a "trap" which was popular for awhile, we build leprechaun homes, places where they want to stay and enjoy a cup of tea while they sort their gold trinkets.
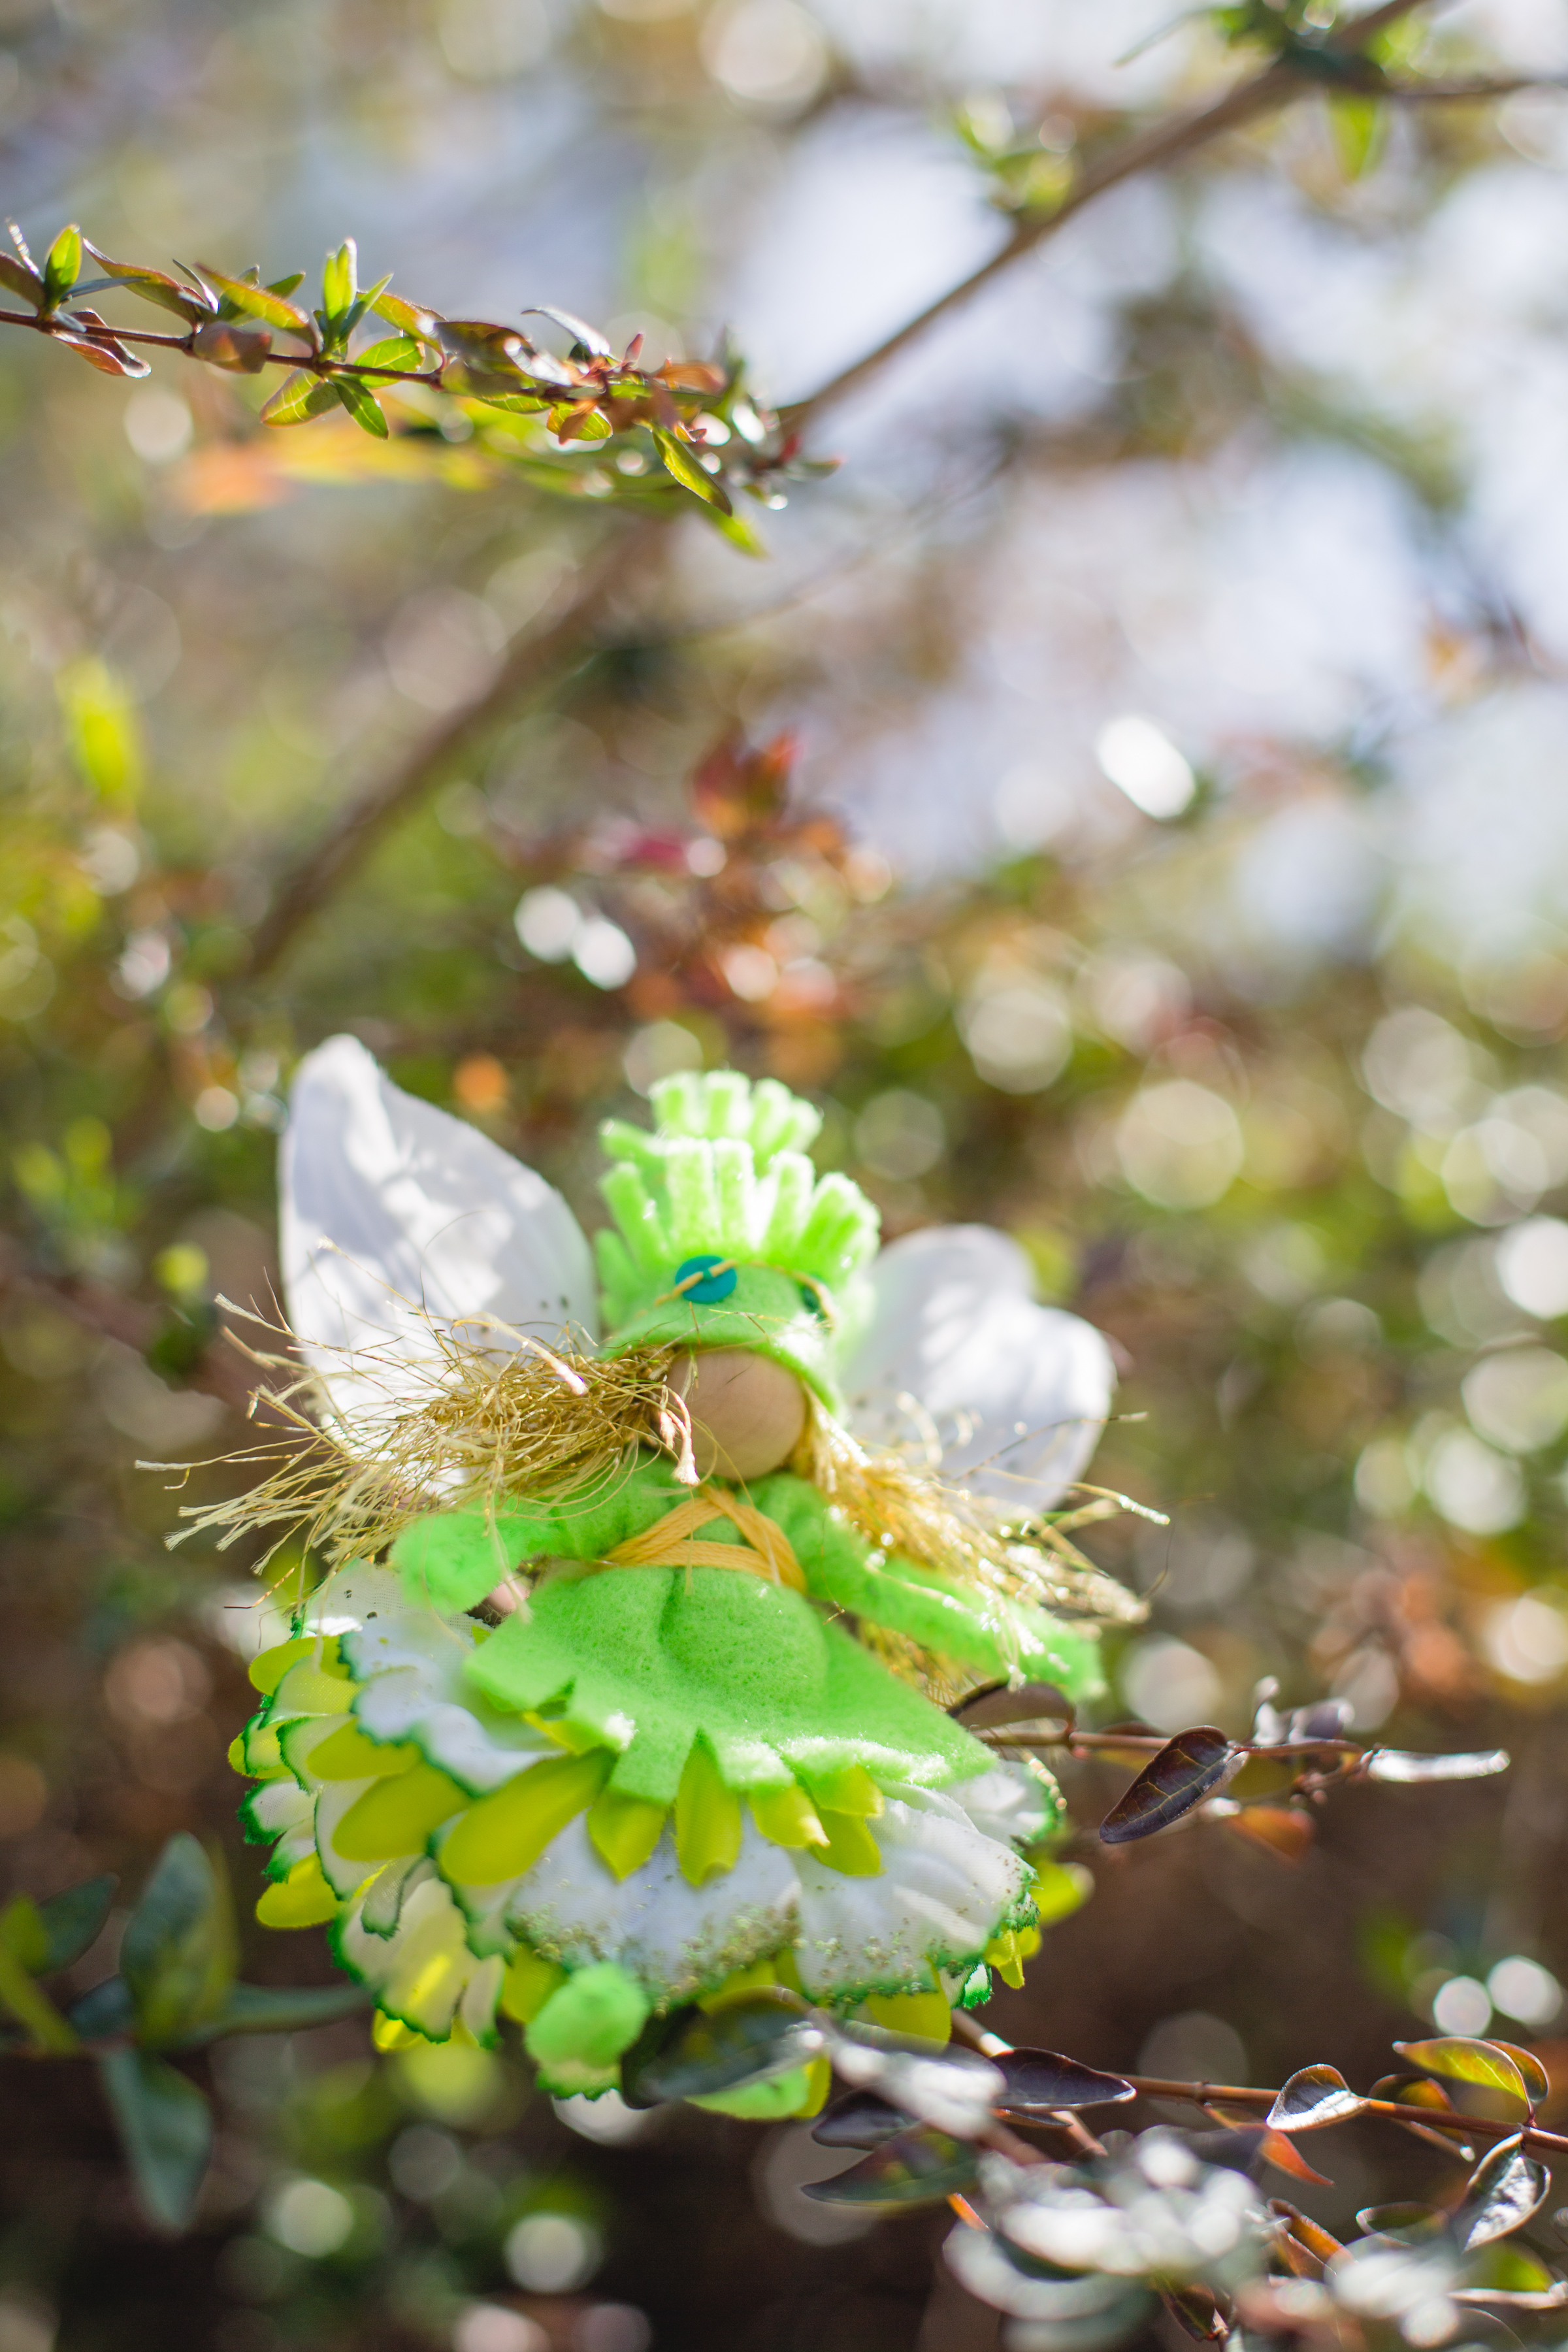
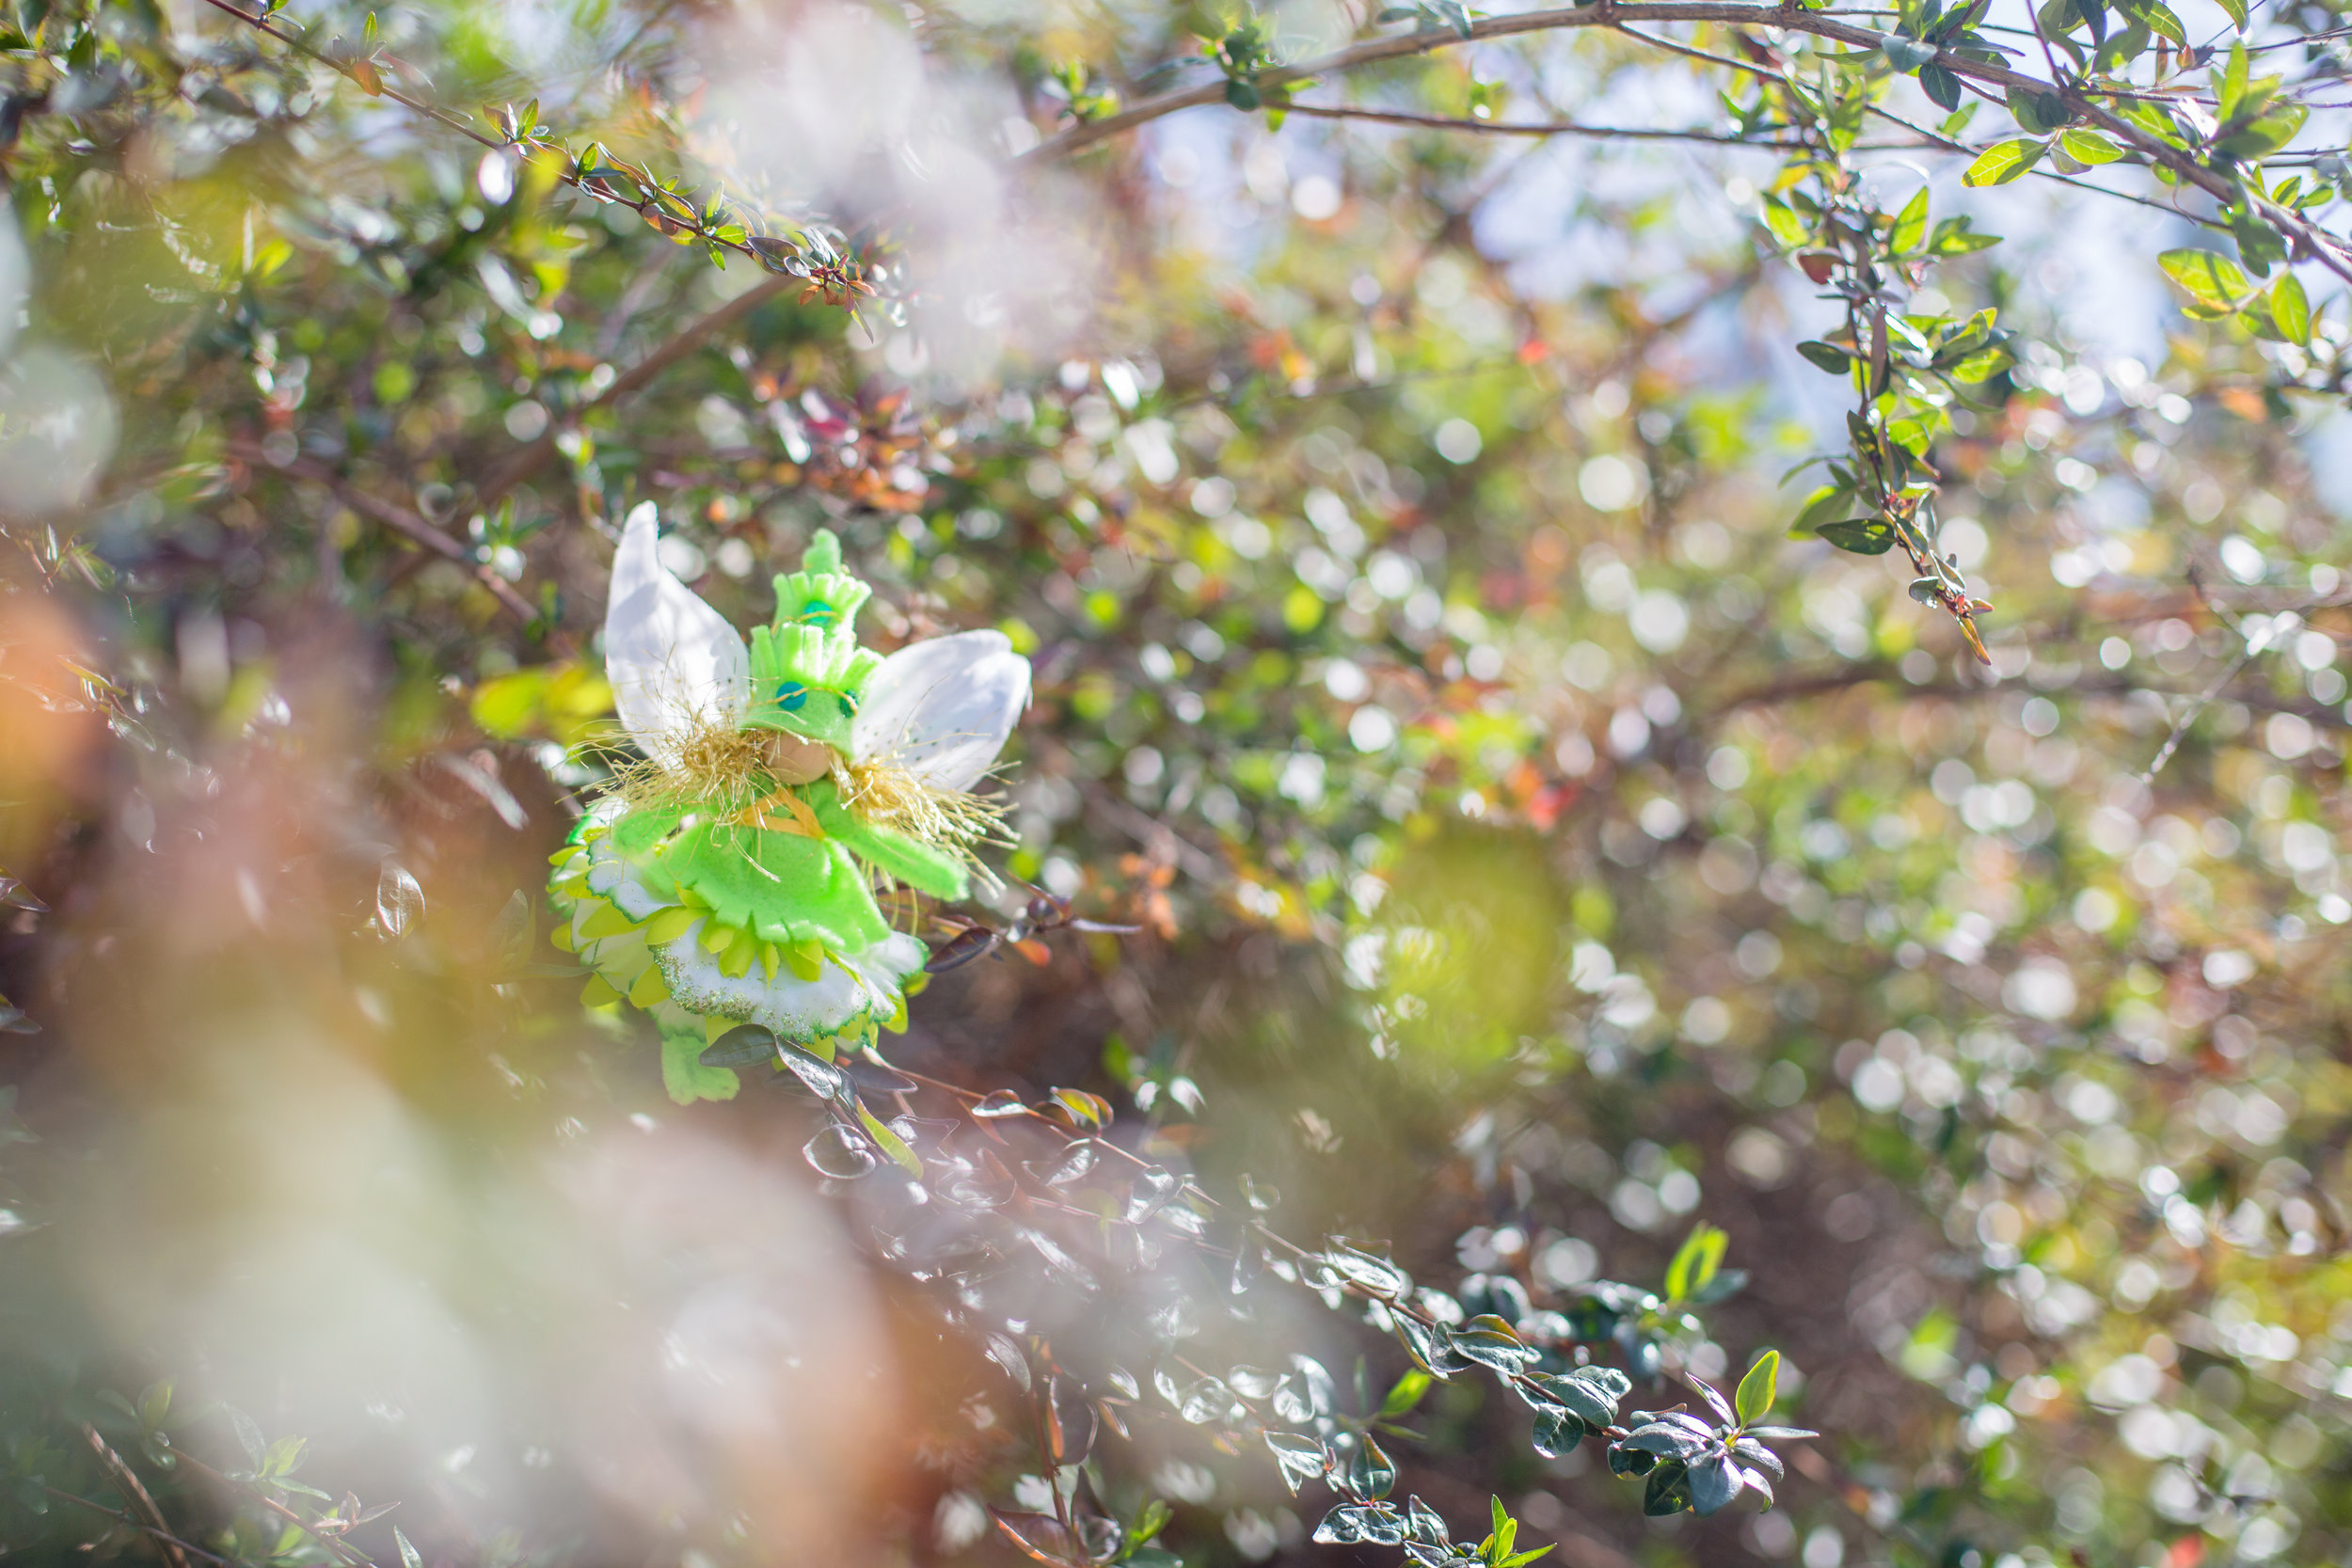
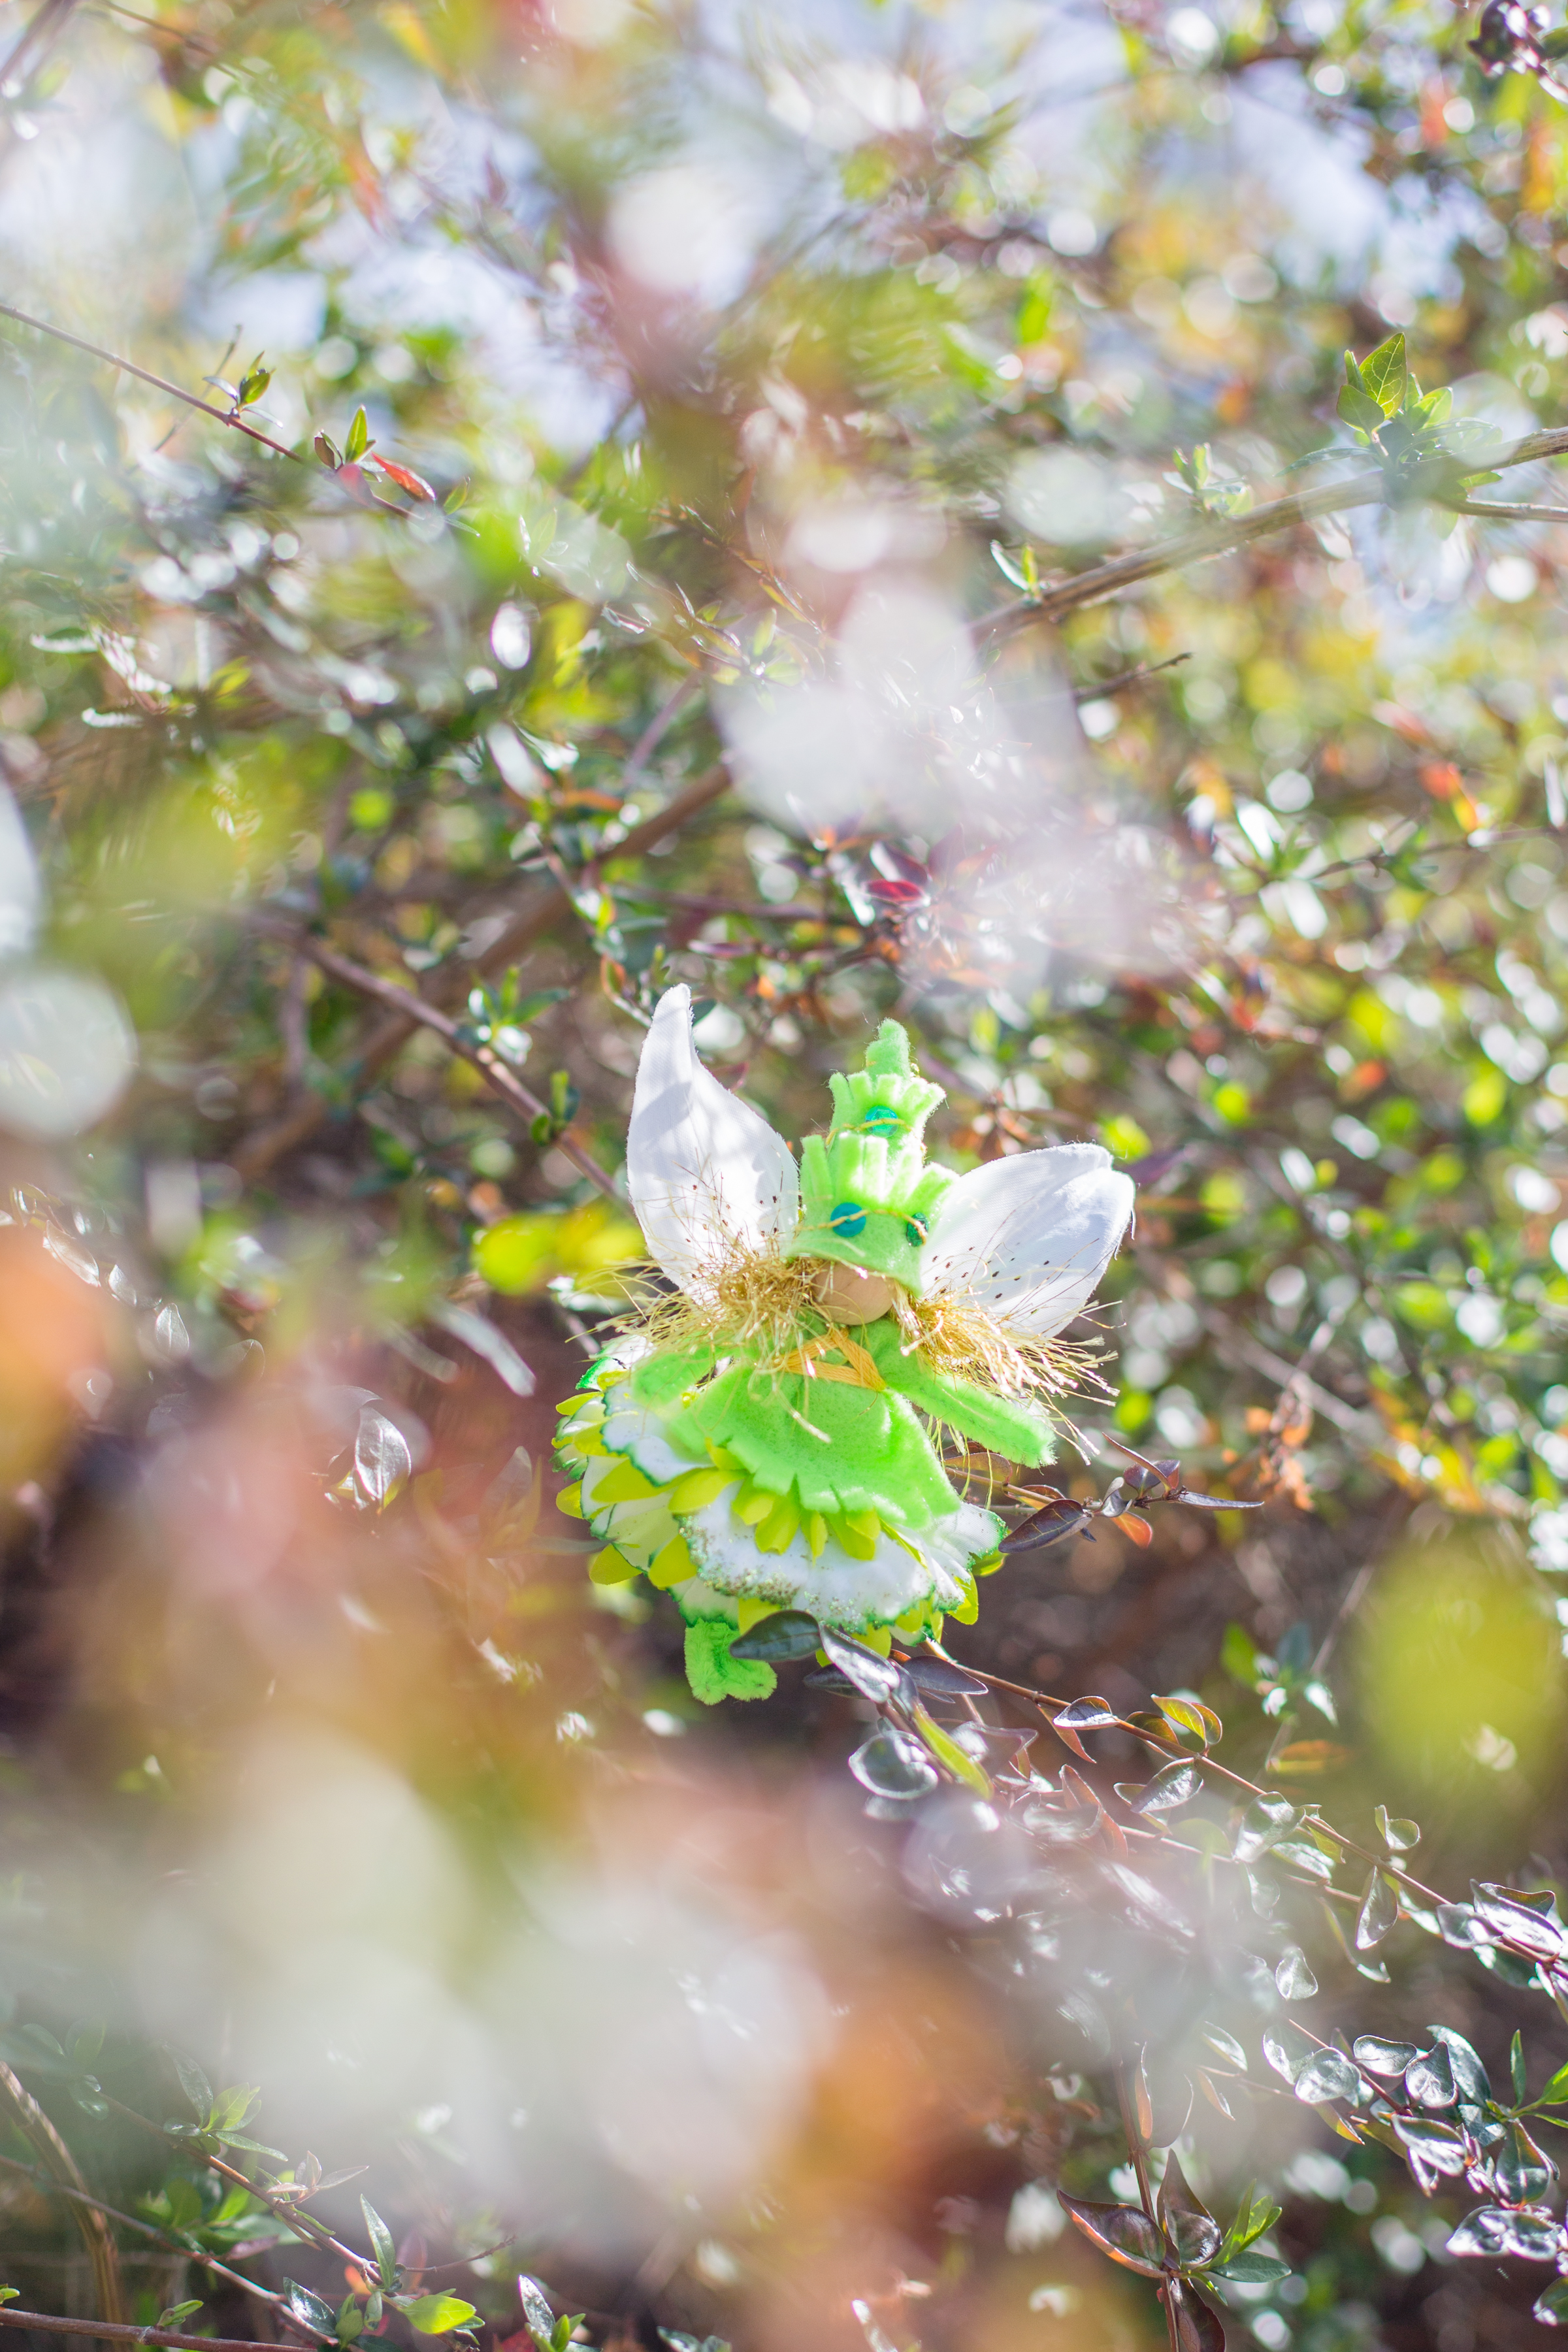
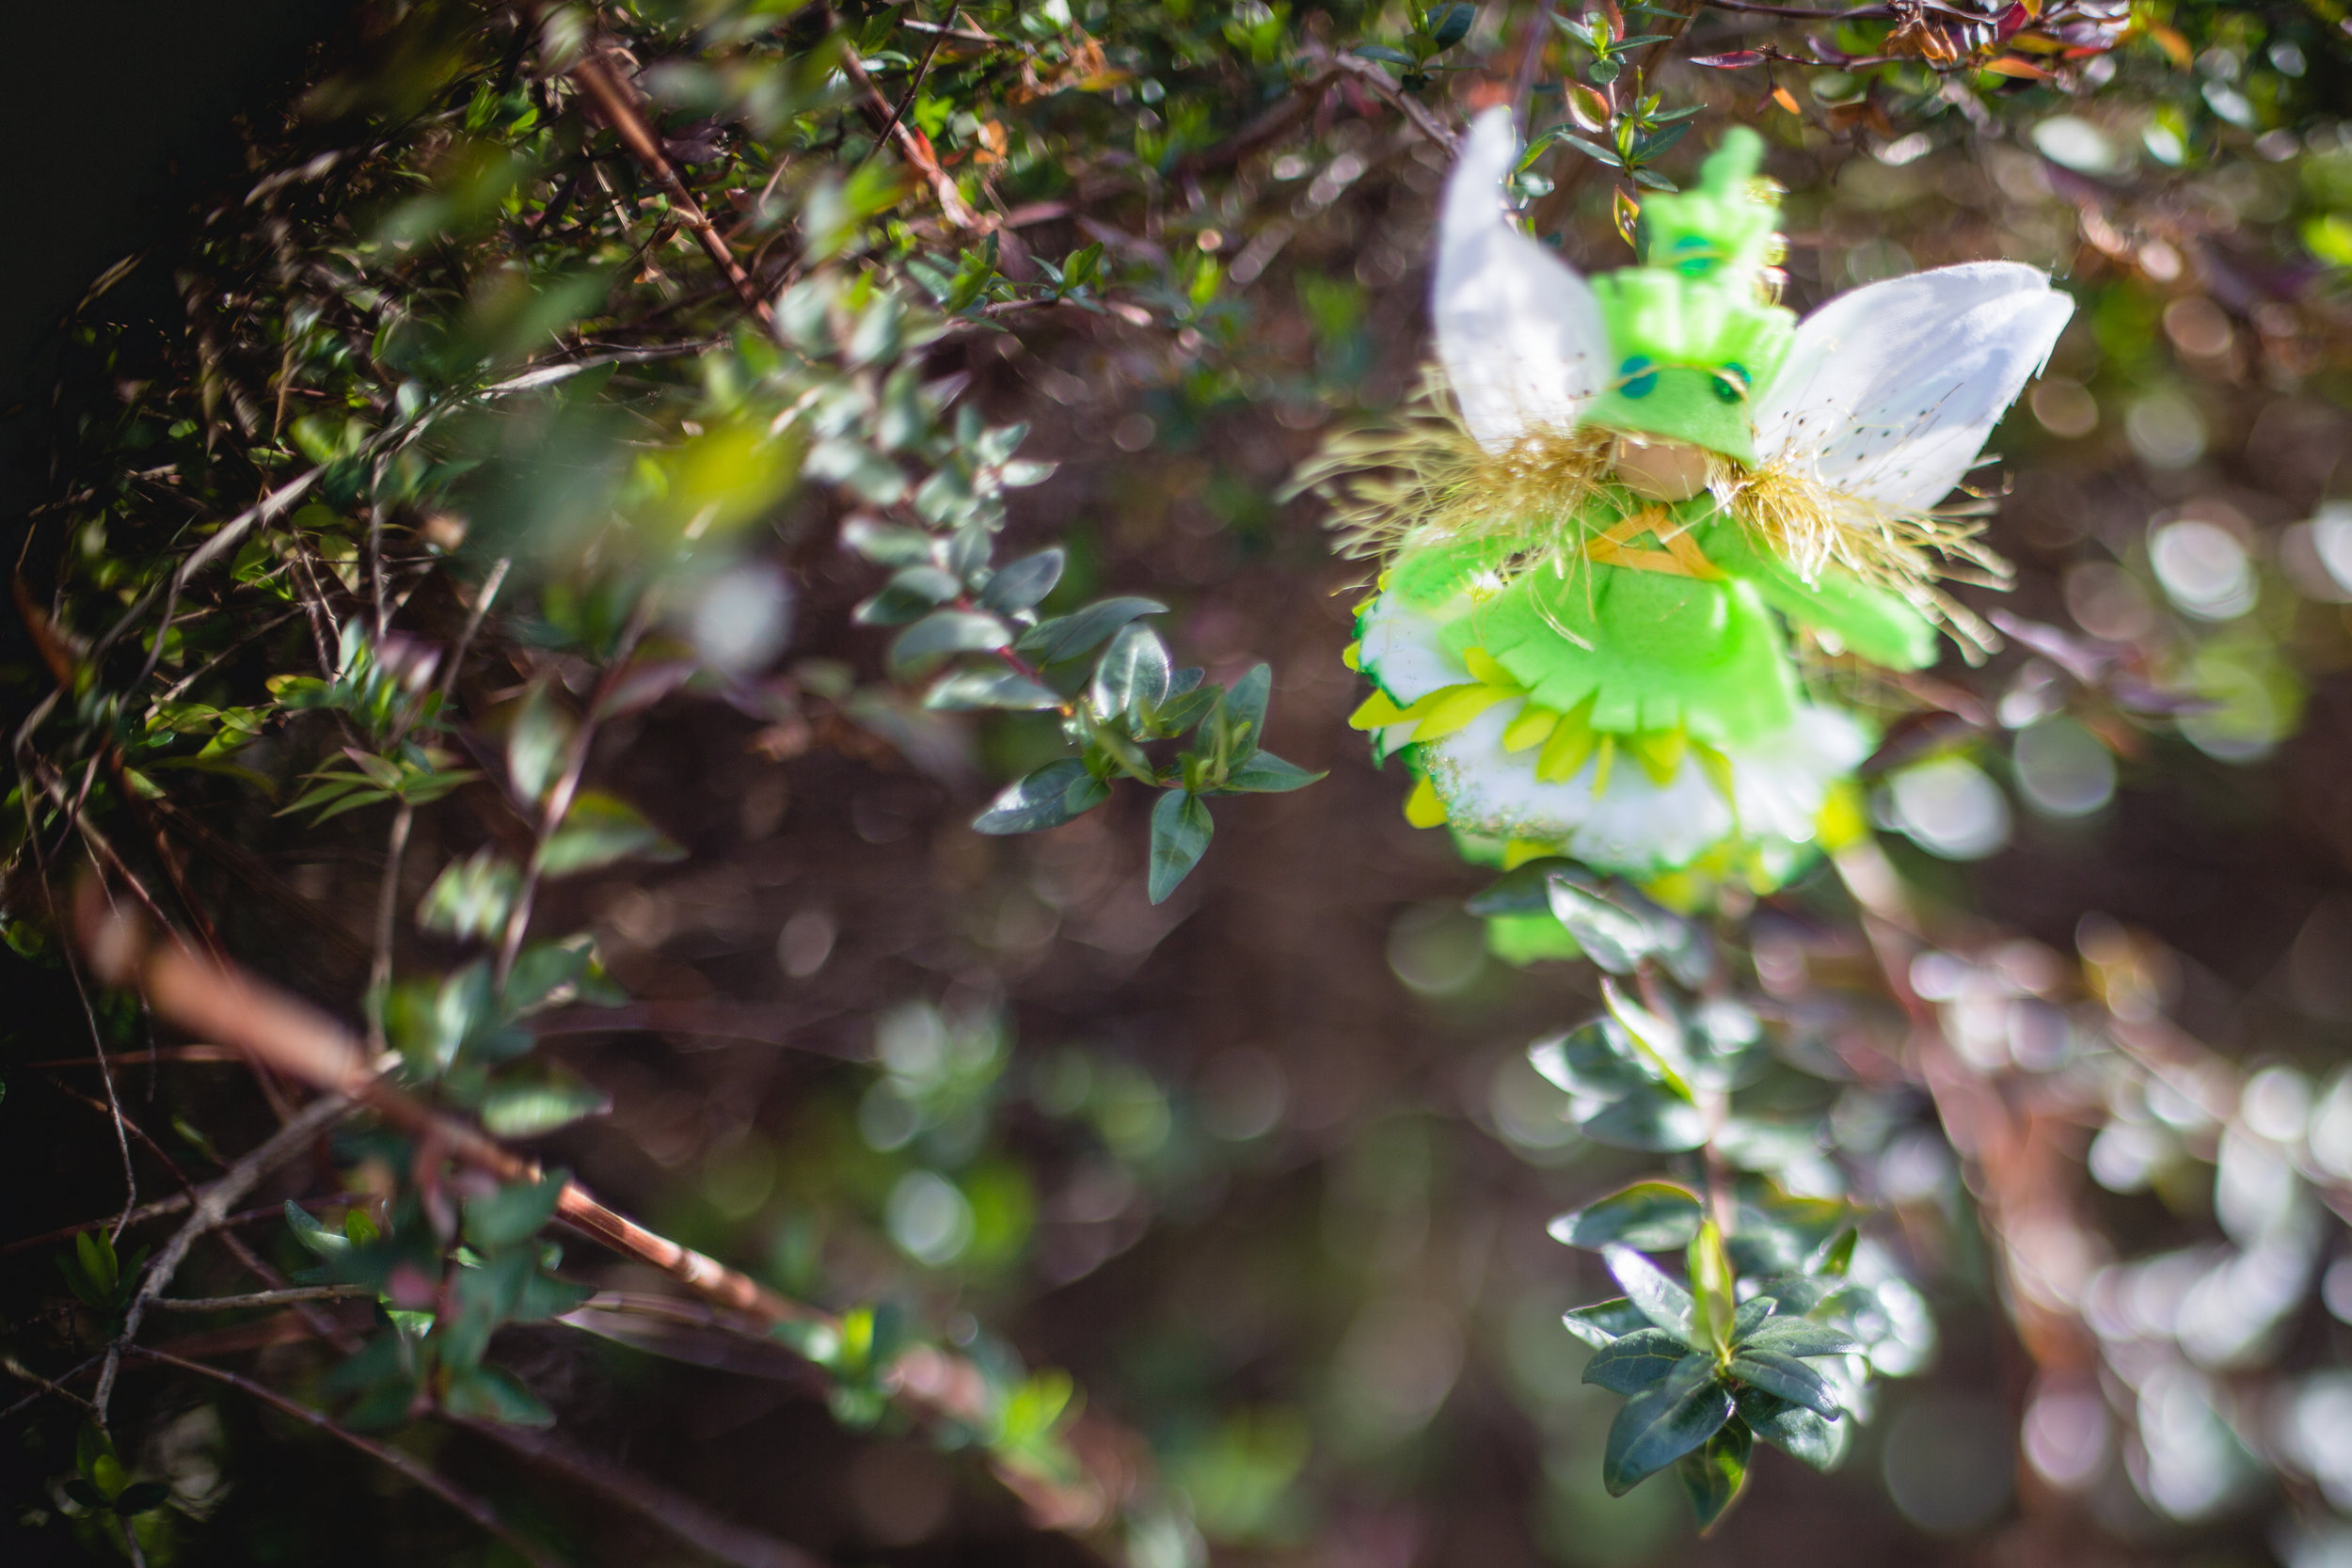
This year, I created a new leprechaun with sparkly gold hair and green felt. She wears skirts of green and white speckled with glitter (I was lucky enough to find the glitter-strewn carnations at a craft store).
Along the way, leprechauns bring stories of magic and luck. Whatever your family story, enjoy creating these magical friends. Make the luck of the little people be with you!

Other leprechaun crafts include :
Play with Your Crafts: Making Houses
Of course Leprechauns are in our first Forest Fairy Crafts Book, which you can use for year-round crafty friends *affiliate link gives a small amount to us should you choose to purchase the book while your price remains the same. We all win :)

Hearts to Sew and Share
Felt hearts have endless opportunities for decorating. Spread happiness throughout the world. We have one hanging in our window year-round. Love is inspiring all year. :)
We added a cute little pocket to the front to shelter a treasure or sweet note. Learn how to make them with our free tutorial, below.
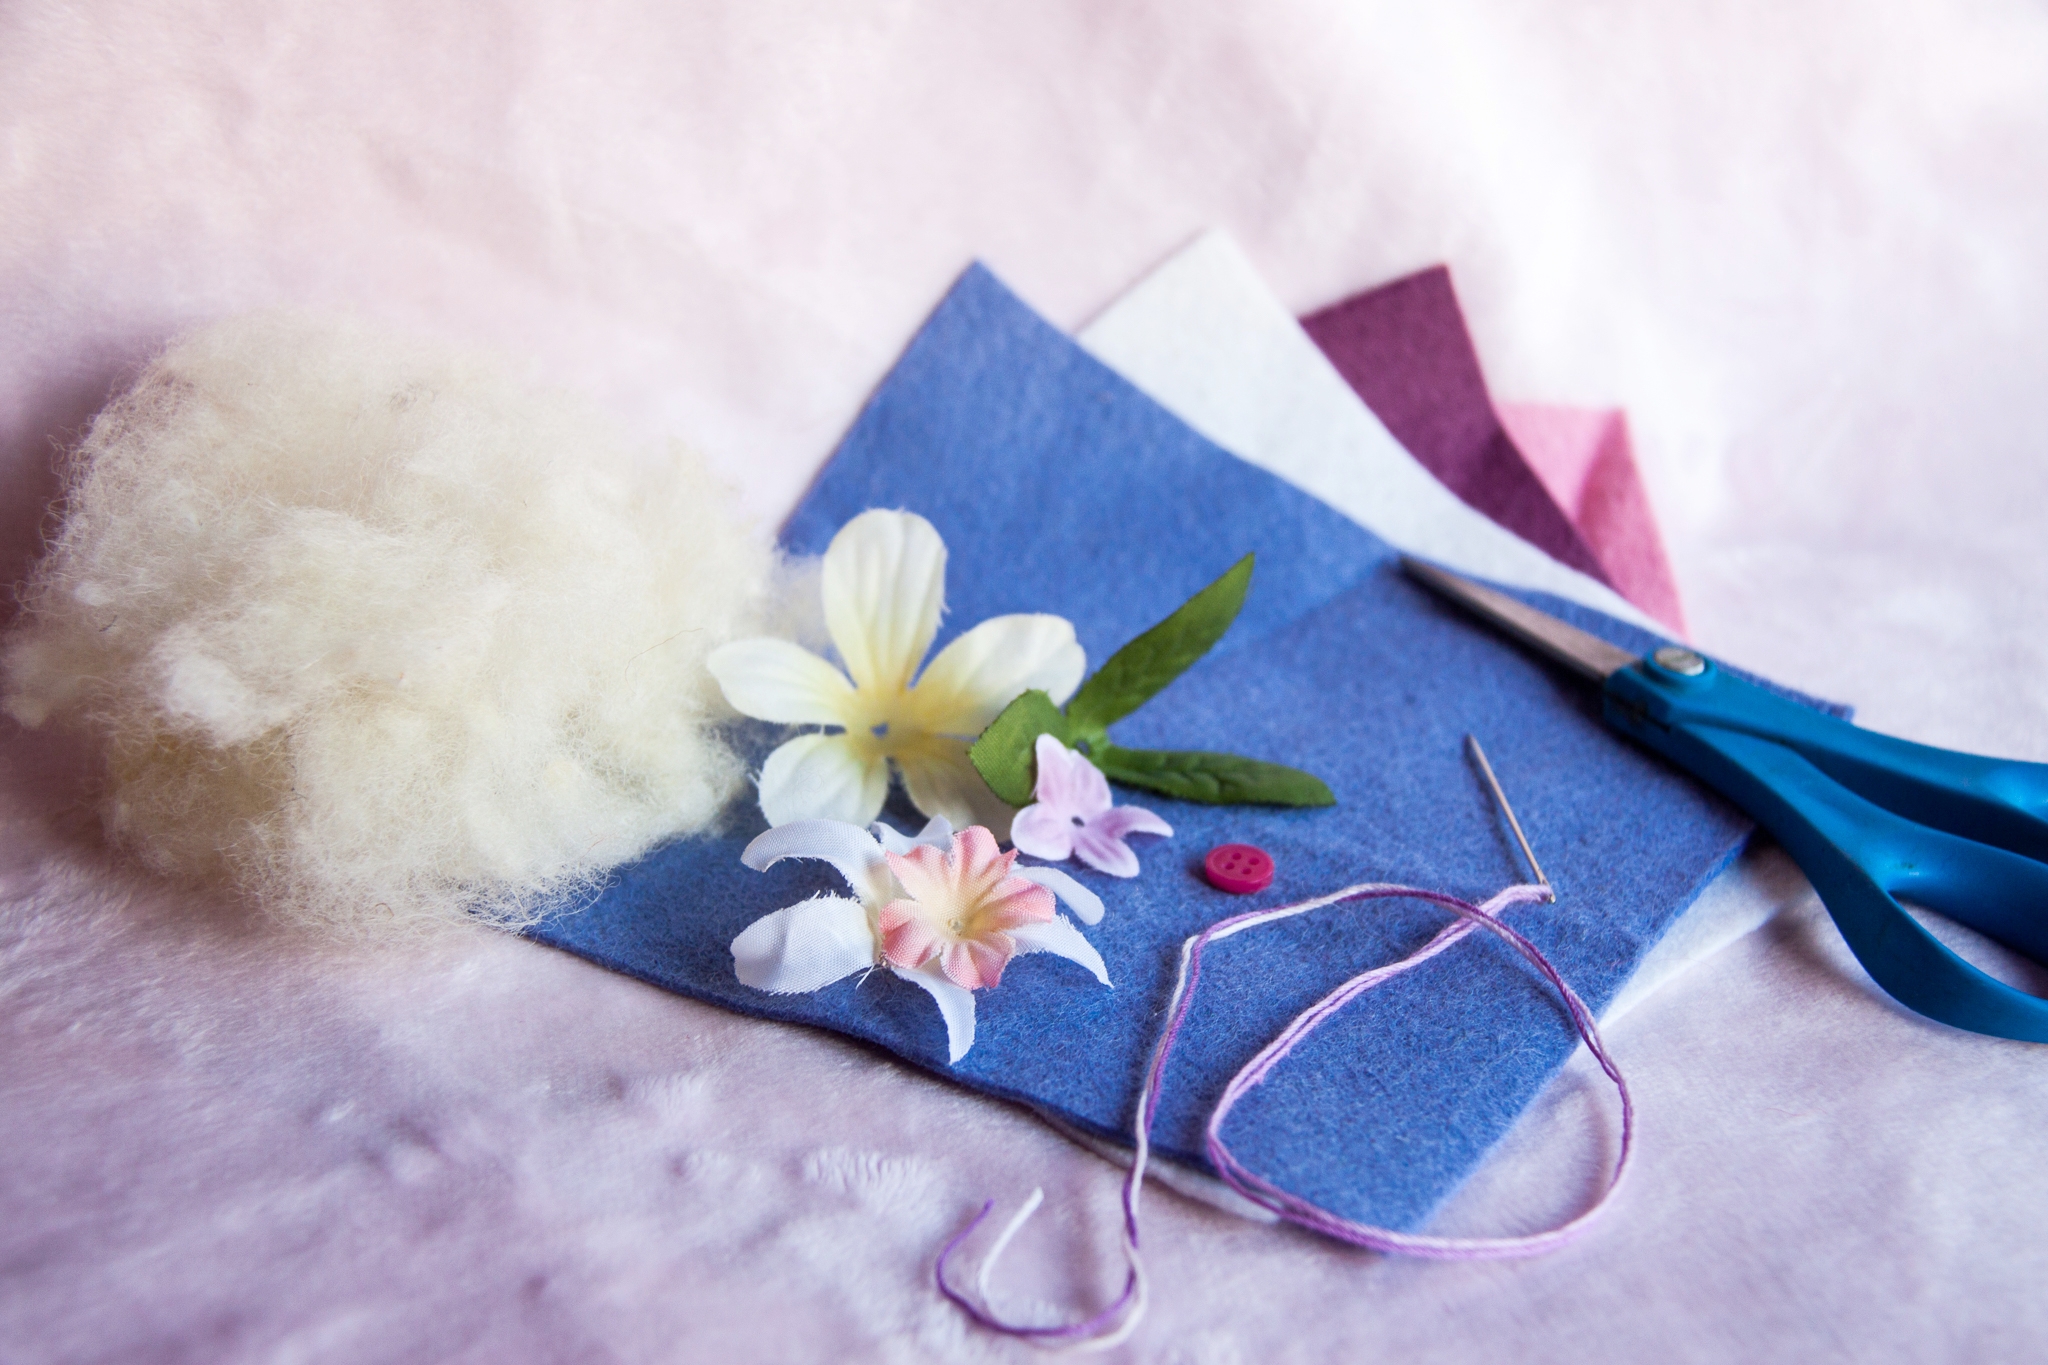
Step One
Collect felt, stuffing, and needle & thread. Choose decorations from smaller felt flowers and leaves to beads and sequins and/or a button. The only limit is your imagination (which is limitless).
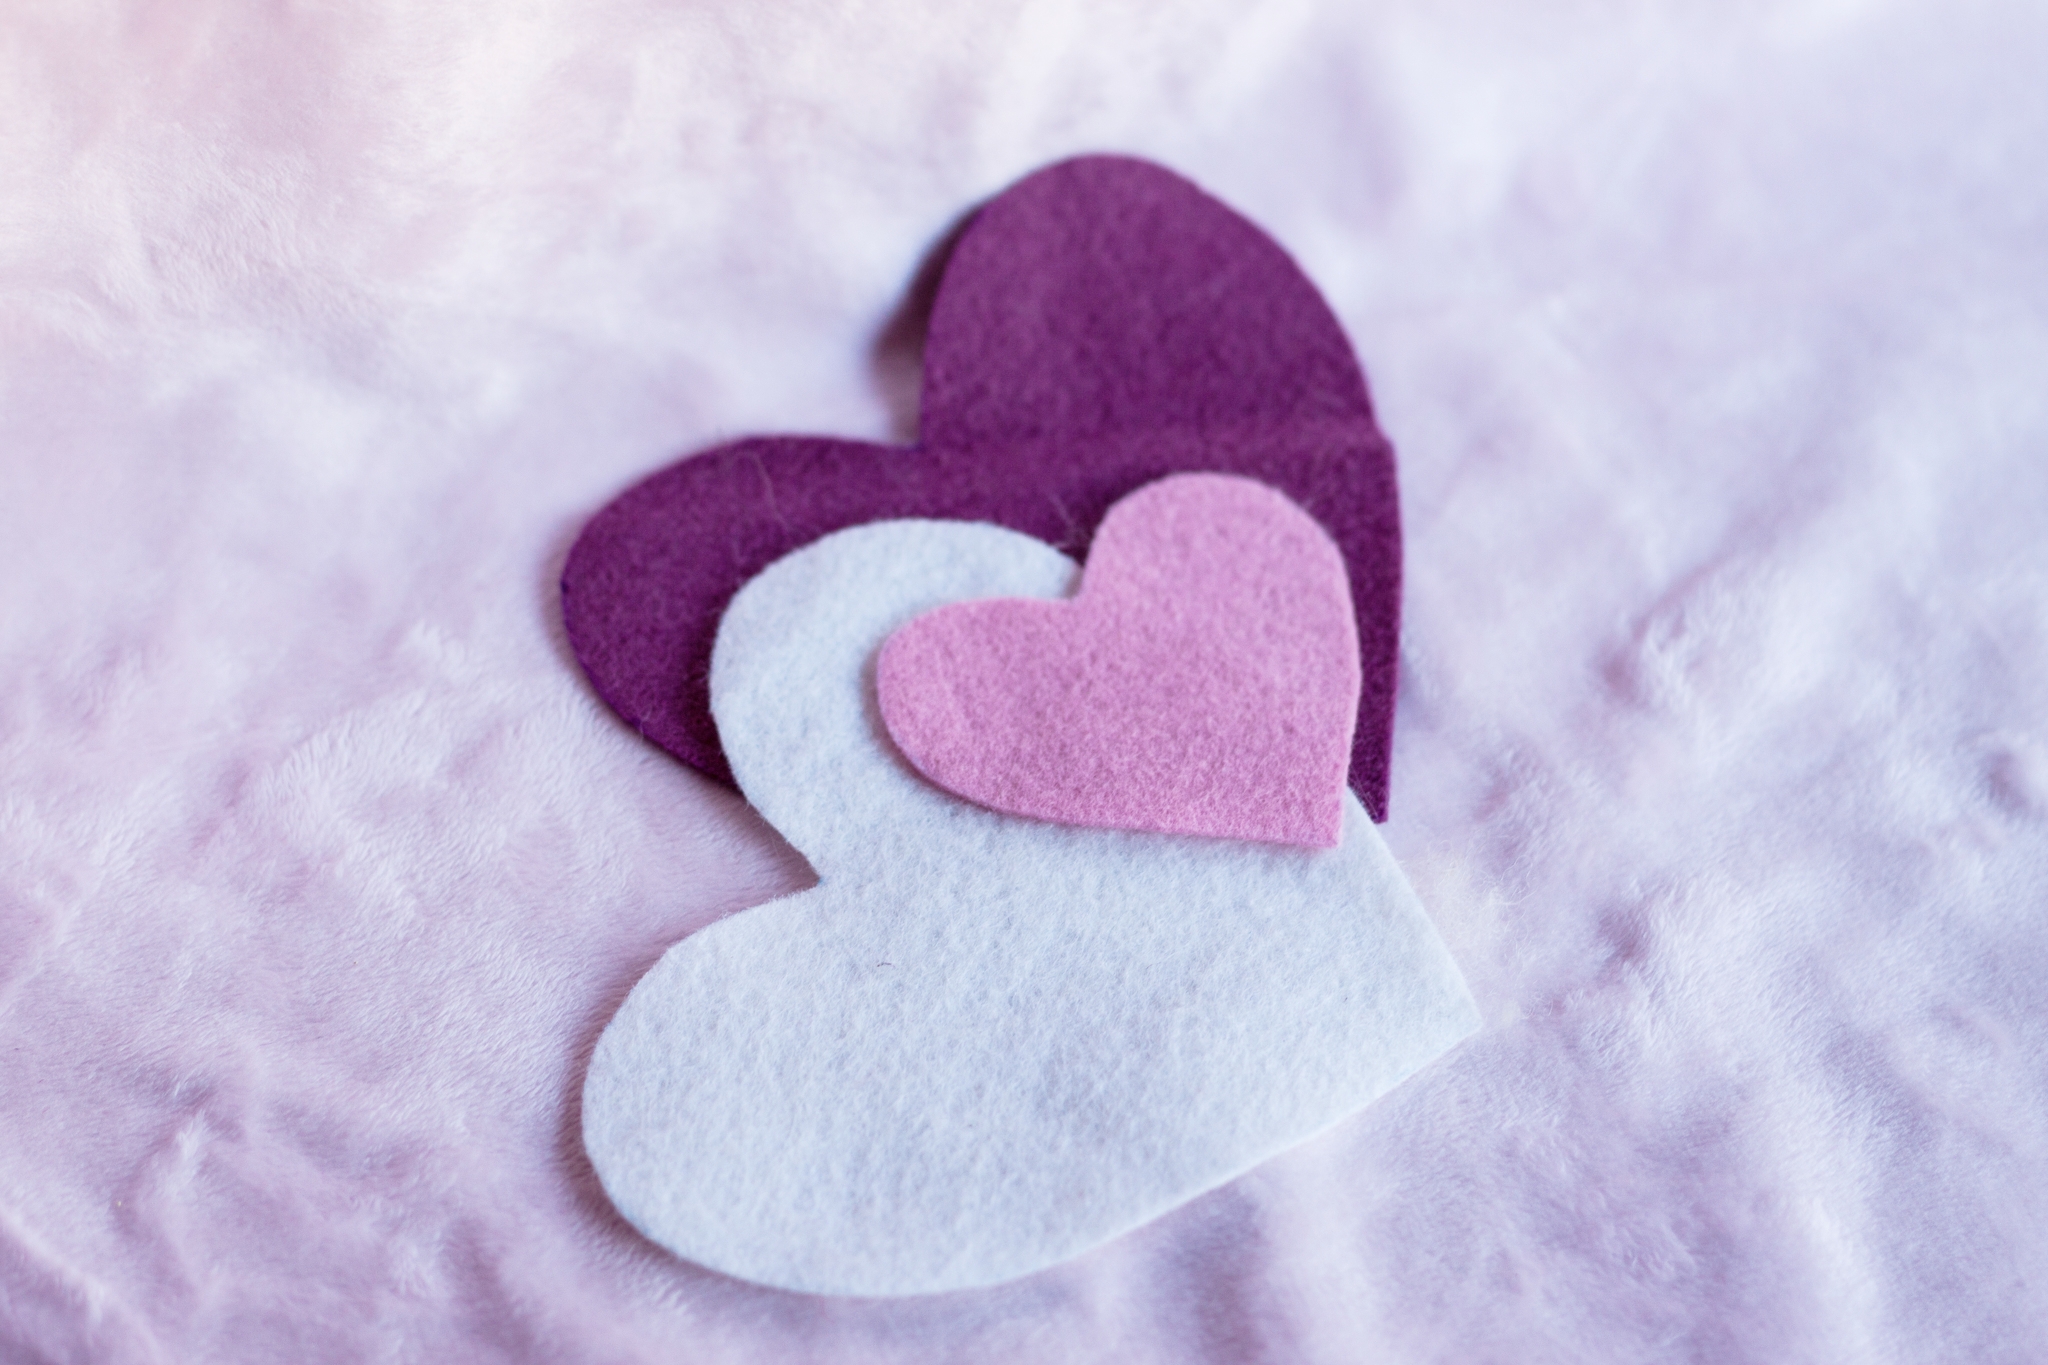
Step Two
For a mini-pocket heart, cut two hearts the same size, and one smaller heart.

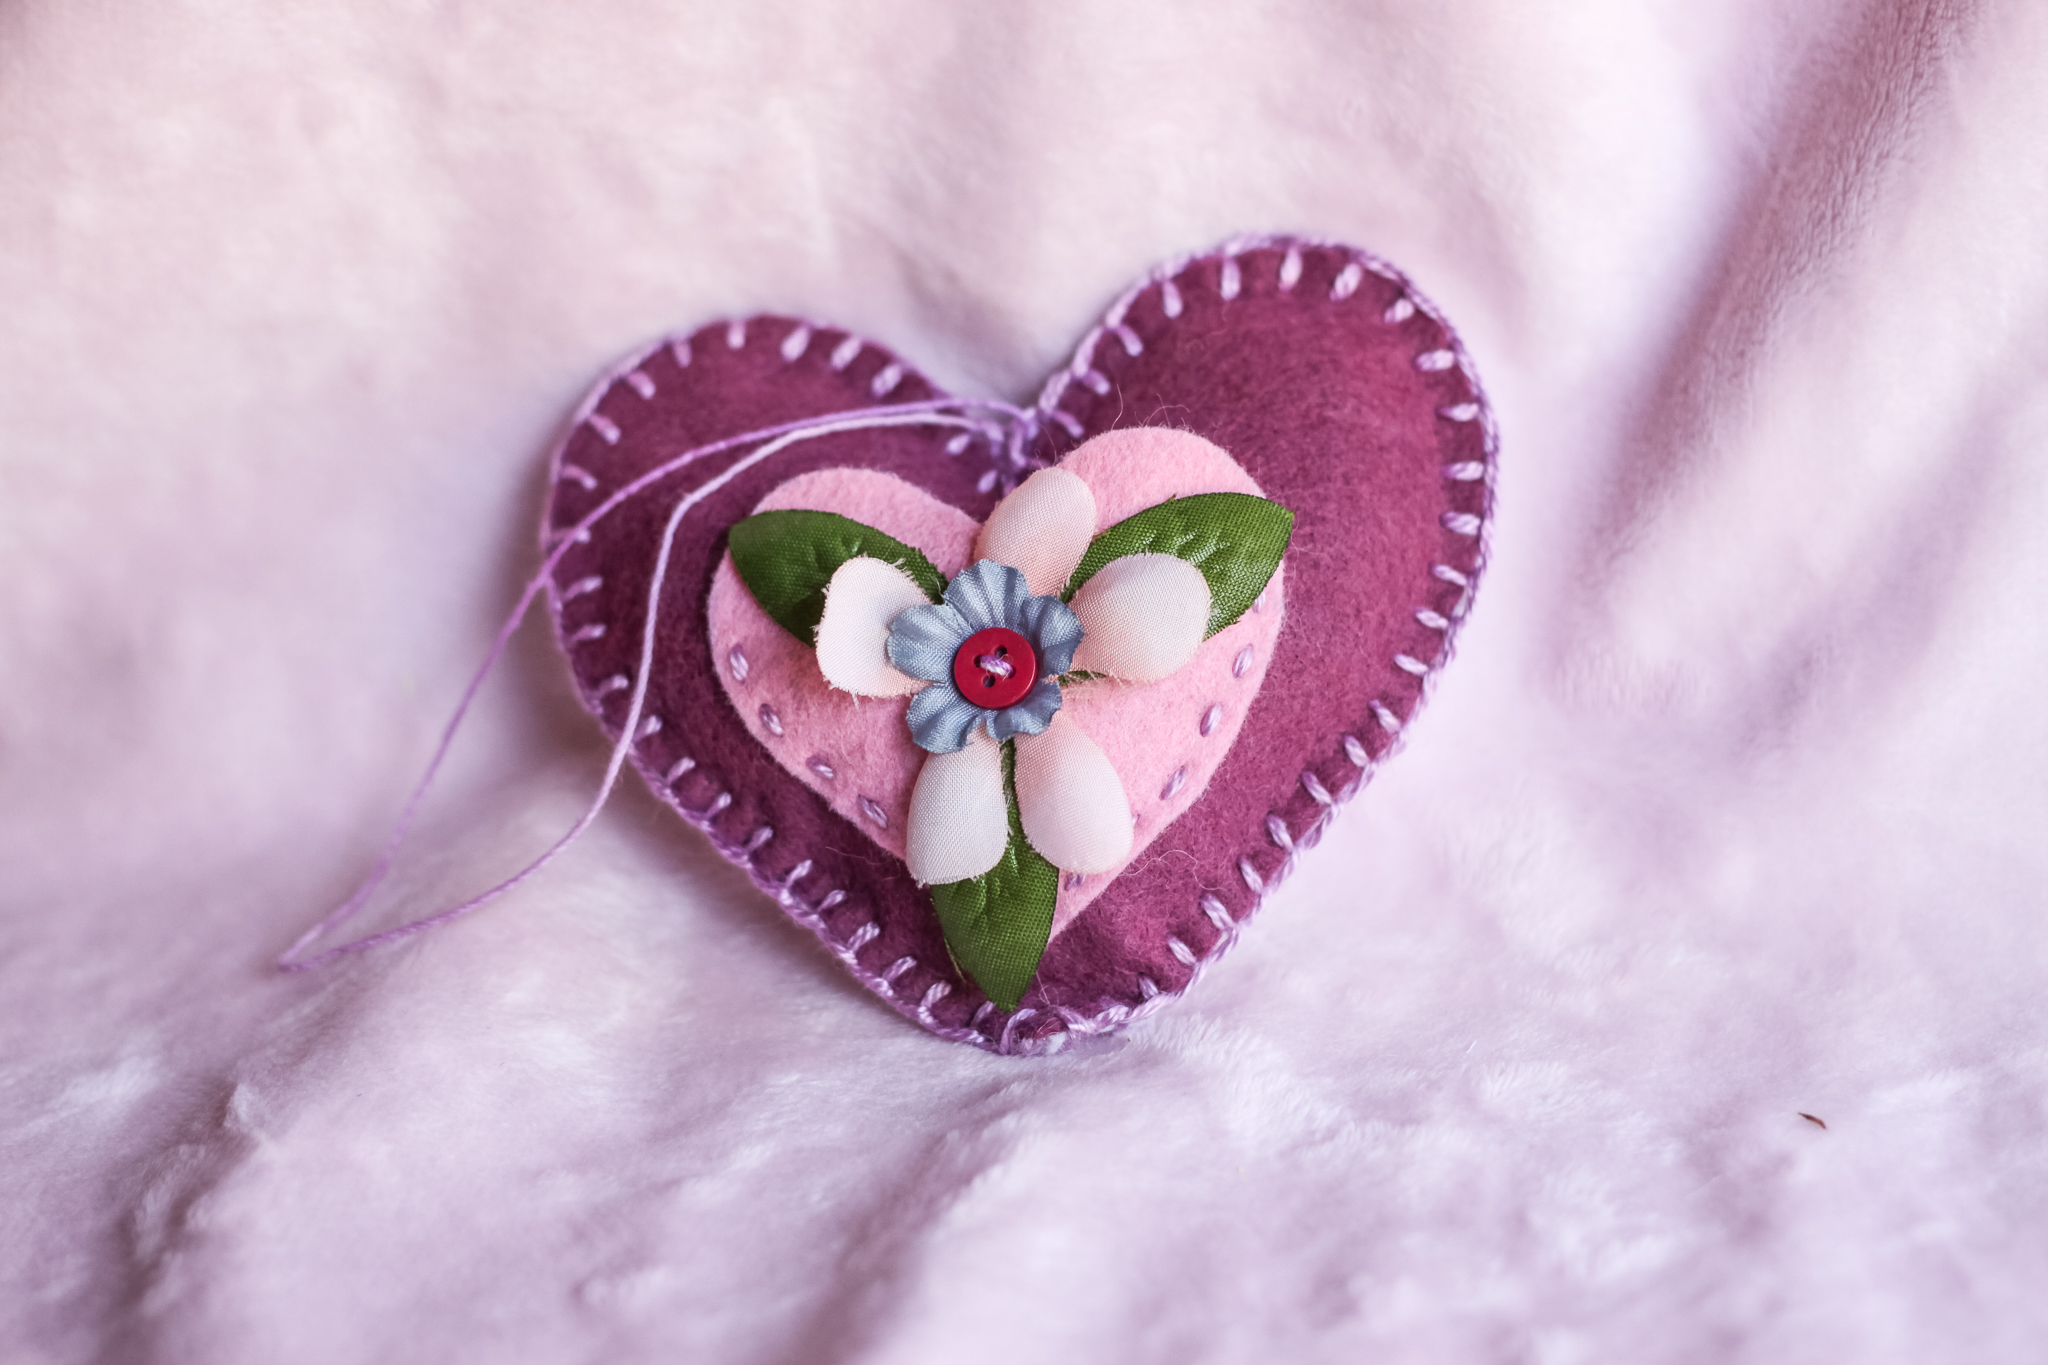
Step Three
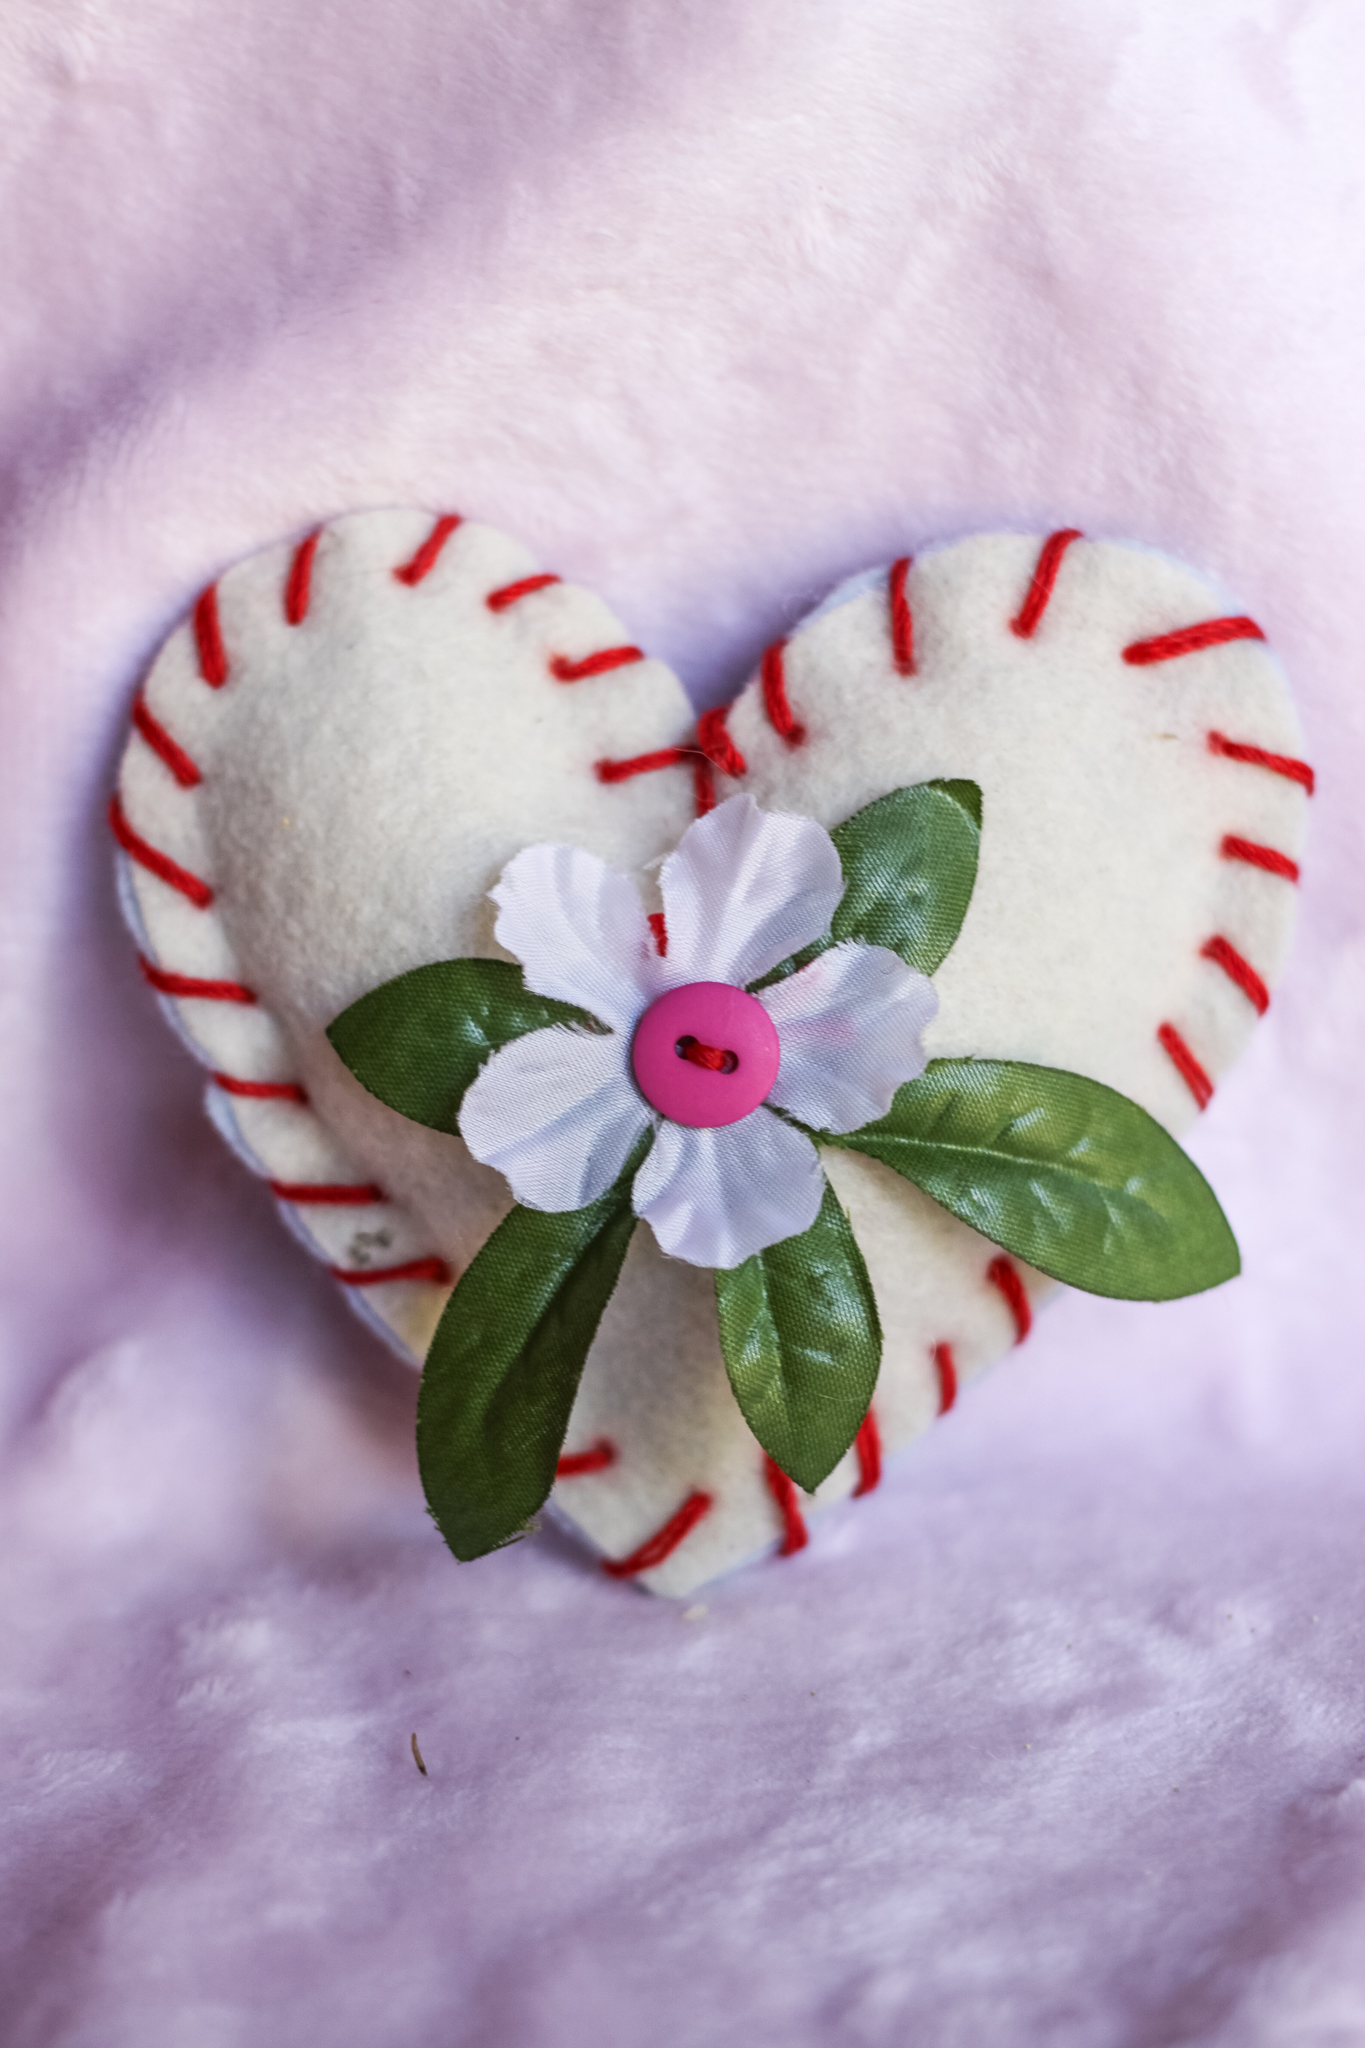
Decorate the little heart. Double your thread and tie a knot. Bring your needle up from the back so the knot is hidden underneath. Thread your needle through leaves, flowers, and a button to hold them all down. Sew back down through the button and silk flowers and leaves. Add more if you like. When you are done, tie a knot on the bottom and clip the threads.

Step Four
Place your smaller heart on a bigger heart. You can hold it in place with a safety pin if you like. Tie a knot at the ends of the thread and start from underneath to hide the knot. Start by one curve of the heart. Sew up and down (the Dolphin Stitch) around the edge to hold the smaller heart on the bigger hear.

Step Five
Stop sewing when you like the size of your pocket. Take out the safety pin if you used one. Tie a knot and clip the threads. Now the little heart can hold a tiny treasure or written wishes and dreams.

Step Six
Place the two big hearts together. You can use a safety pin to hold them together if you want. Sew around the edges of the big hearts. We used a blanket (Rabbit) stitch. You can sew however you like.

Step Seven
Take out the safety pin if you used one. When you get a few inches away from where you started, you get to stuff your heart. Add stuffing so your heart is nice and puffy and full of love.


Step Eight
Sew the hole shut. Tie a knot and clip the threads. You can hide the threads by pushing the needle across the heart and pulling so the heart is kinda wrinkled. Clip the threads near the felt. Then, when you straighten the felt, the threads disappear inside. Fancy!
Step Nine
Clip a thread that you sew once through the top of the heart. Slide the needle off of the thread. Tie the ends together to make a loop. Now your heart can hang in a window or a special place in your home.
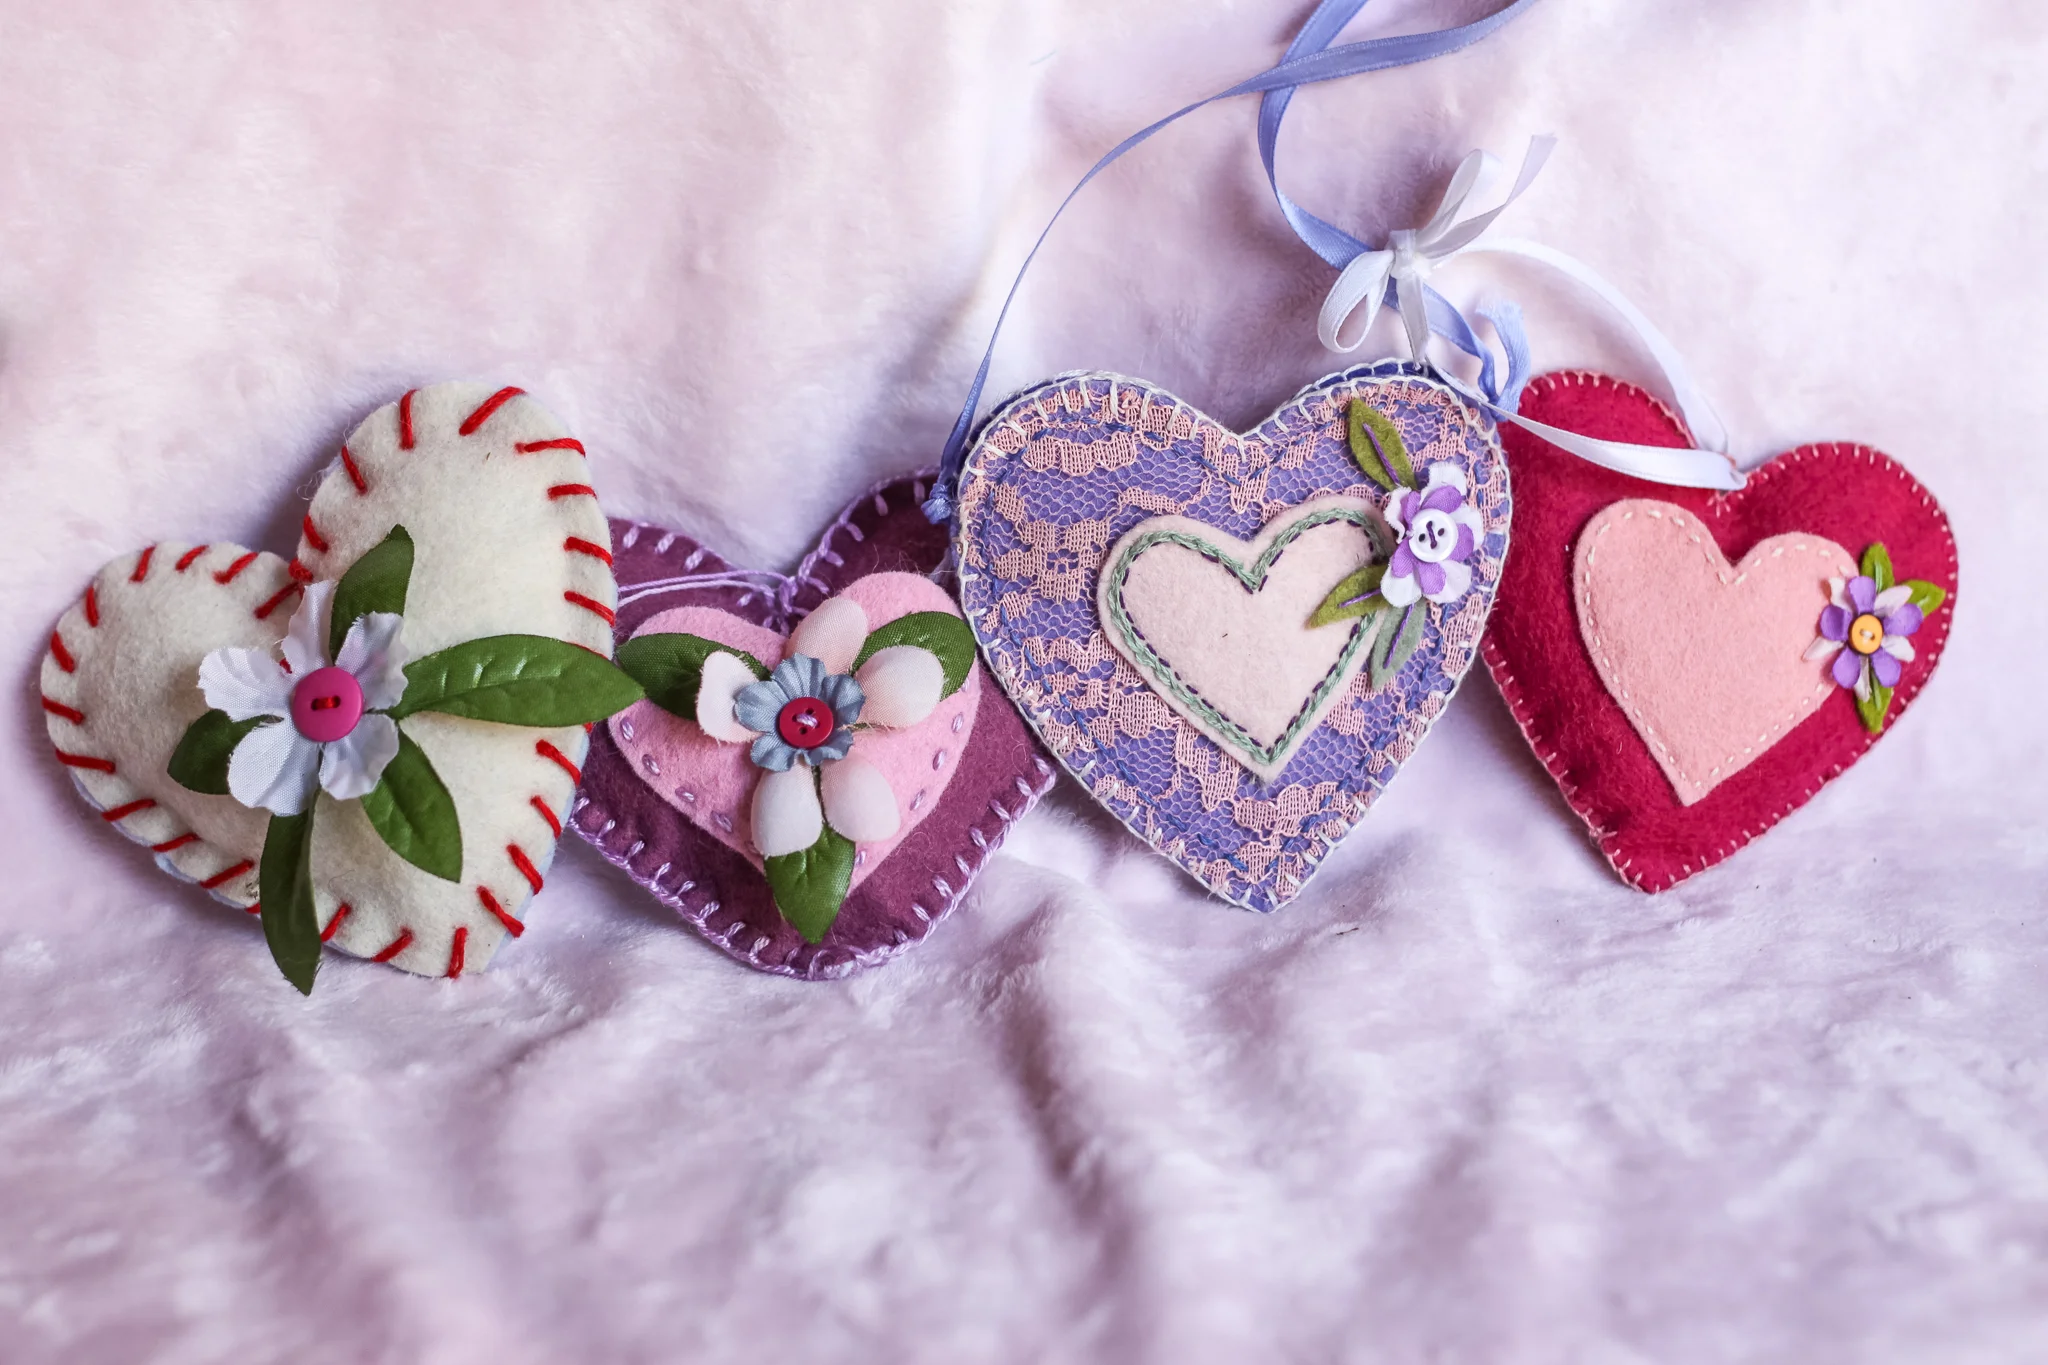
Decorating hearts has so many ways to be special. You can skip the pocket and decorate the front by itself to look wonderful too. Your heart reflects you. How do you want to make it lovely?
PS: For the lace heart, we first sewed around the edges of the lace to hold it on the larger heart (you can see the light purple thread). Then we trimmed it to match the edges of the felt. Then we sewed just like the rest of the project. It's an extra step that may be fiddly for young crafters. However, the effect is gorgeous!
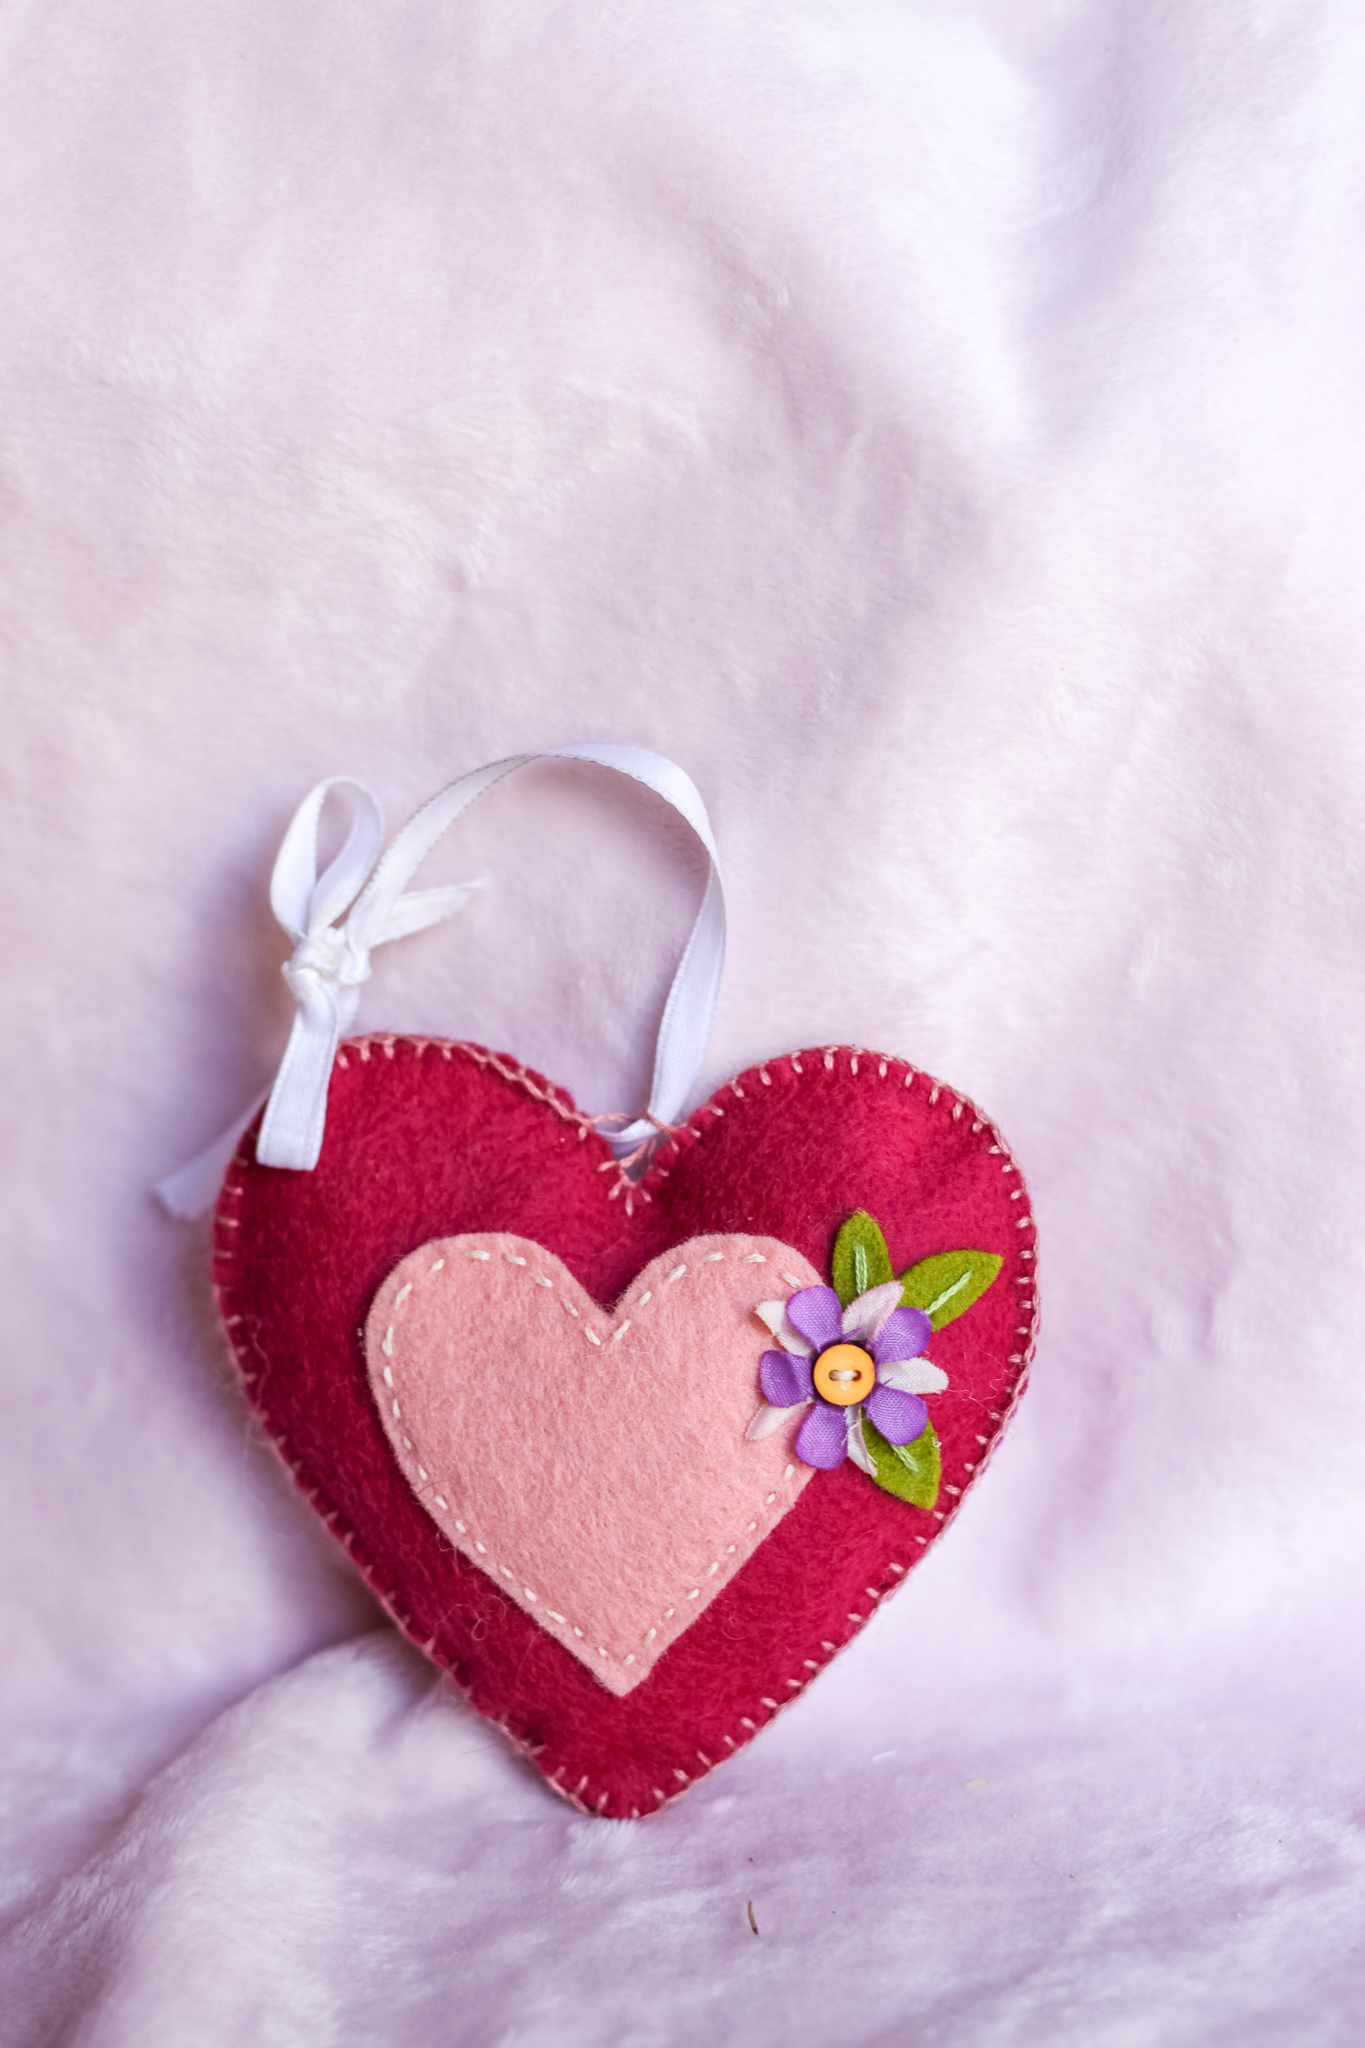
Now you can make another heart to give to someone you love. And another and another! Happy Valentine's Day :)


Inspiration Crafts for Valentine's Day
We love discovering ideas from creatives. Each one is a new way to celebrate the friendship of Valentine's Day. Add to it that this time of year may be chilly outside, so it's a perfect time to sew (granted, I believe that every season is a wonderful season to sew). We collected a few of our favorite inspirations from around the web. Enjoy! How will we choose which project to make first?

Sweetheart Charms by Purl Soho
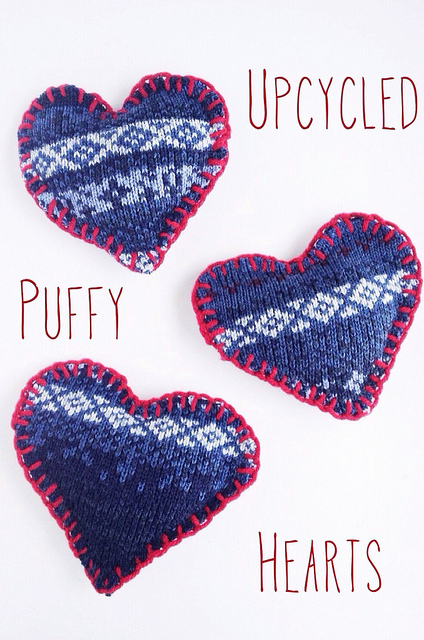
Upcycled Puffy Hearts on Maker Mama
Upcycled Puffy Hearts by Maker Mama
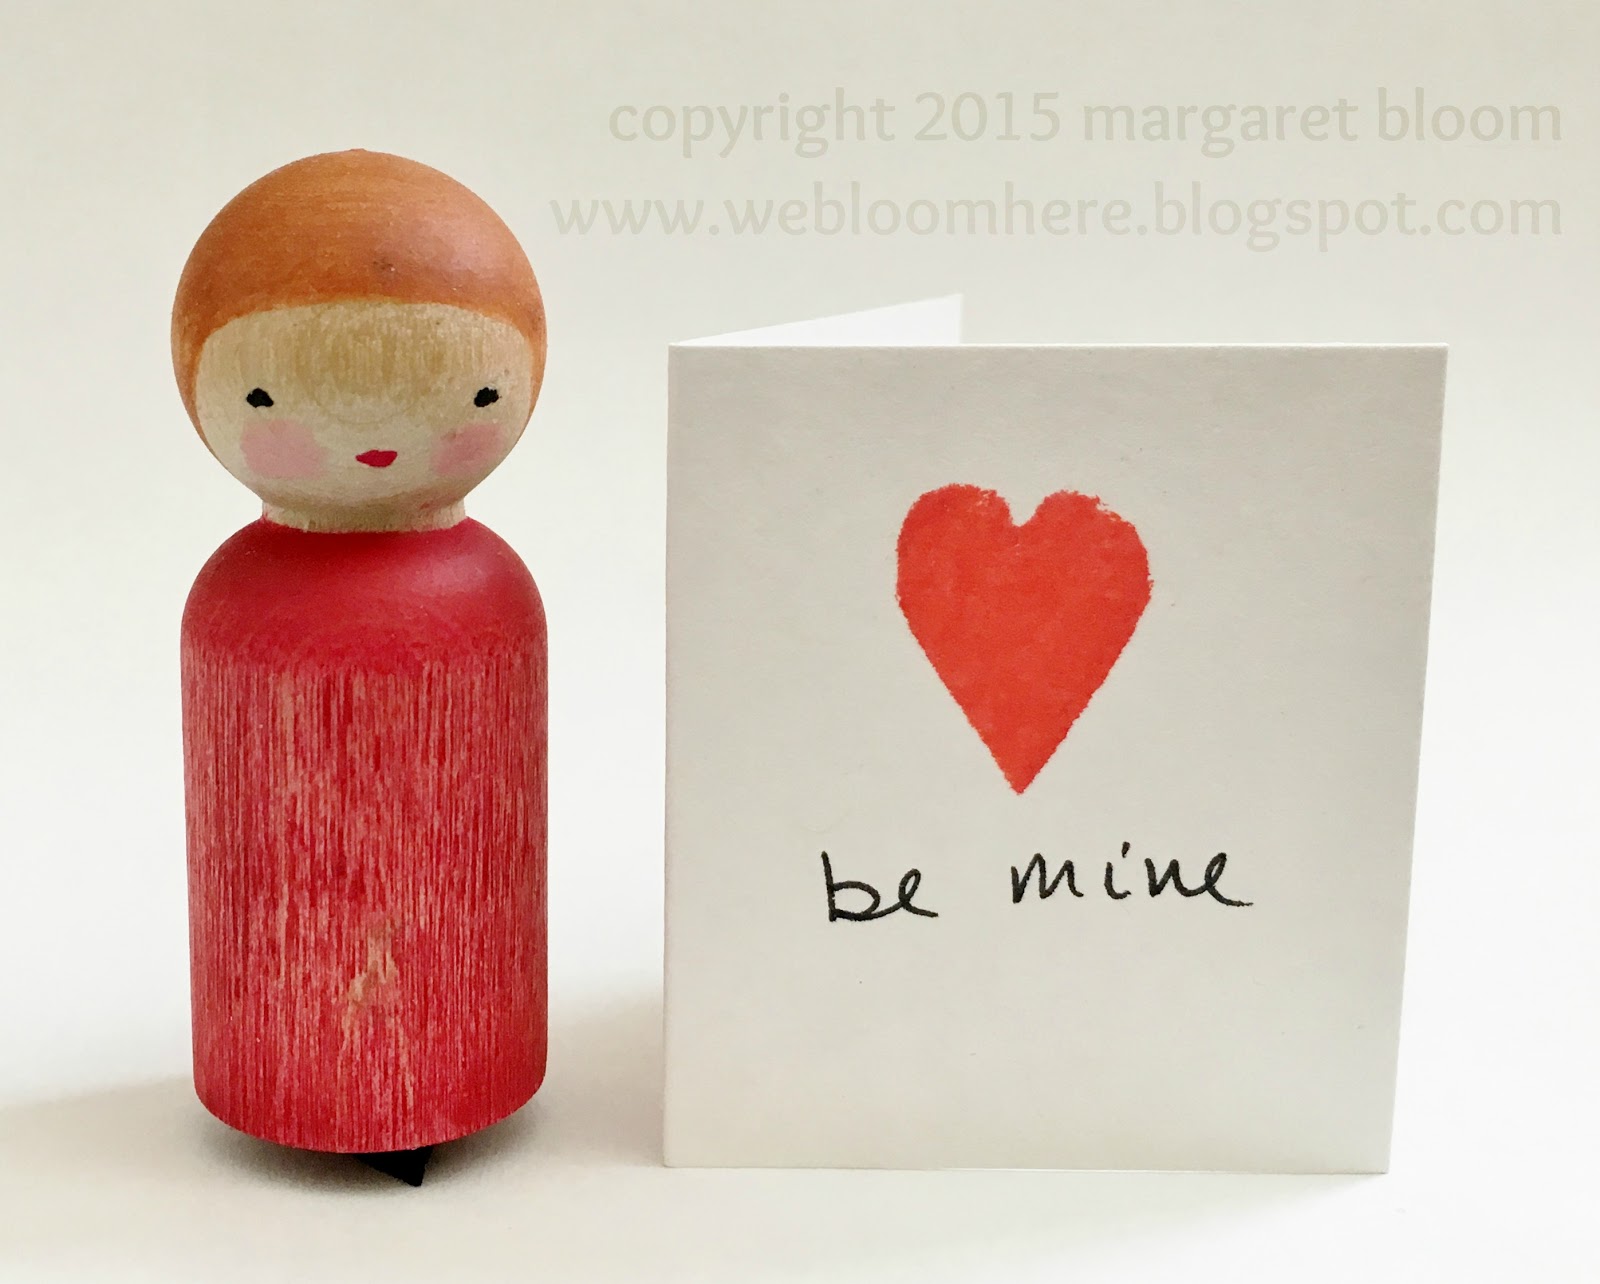
Peg Person Heart Stamp by We Bloom Here


And of course a Love Fairy can join the festivities :). The Forest Fairy Crafts book has all the directions that you need to make her (a few more than will fit in a blog post. We're looking forward to sharing directions for the Sweetheart Fairy Babies in Magical Forest Fairy Crafts Through the Seasons releasing in late summer, 2018.
Wishing you a lovely time creating Valentines! :)
PS- the links to our books are affiliate links, so a small amount is paid to us in compensation while your price remains the same. Thank you for supporting the forest. Cheers, friend :)
Big News in the Forest
Perhaps a quiet forest is not so quiet after all. Squirrels may be harvesting acorns, critters digging dens, birds building nests. This forest has been just like a real forest. While it has looked a little quiet around here, we've actually been frantically creative for you.
We wrote another book!
Hip hip hurrah!
We've thrown ourselves into the very best projects for a return to the forest. And we're so happy to share the news that more Fairy Crafts are coming your way in August of 2018. We embrace each season of the year with crafts. We find inspiration in colors and activities. We brought together our very favorites to write MAGICAL FOREST FAIRY CRAFTS THROUGH THE SEASONS.
This book was so much work (so much!) and, yet, such a delight. We amuse each other by sending snapshots of the ideas. We hope that you smile as much as we did as you make these crafts. From seasonal families ready for play and decorating nature tables, to stuffed foxes and cats, to new treasure bags, this books has magical toys and decorations for children (or their favorite adults).

We reunited with friends at Funstitch Studio for the return to the forest. Lots of people making these crafts look gorgeous while sharing all the directions. Did you know we made more than 250 little samples for the photographs? I should write a post about how we make each project come together. It's a big effort that is also rewarding when we see the book come together.
Happy new year to you! This year will be filled with magic! The book will be available in August of 2018. Until then, keep enjoying Forest Fairy Crafts with our first book!
*affiliate link will give us a small portion of the amount while your price remains the same. Thank you!

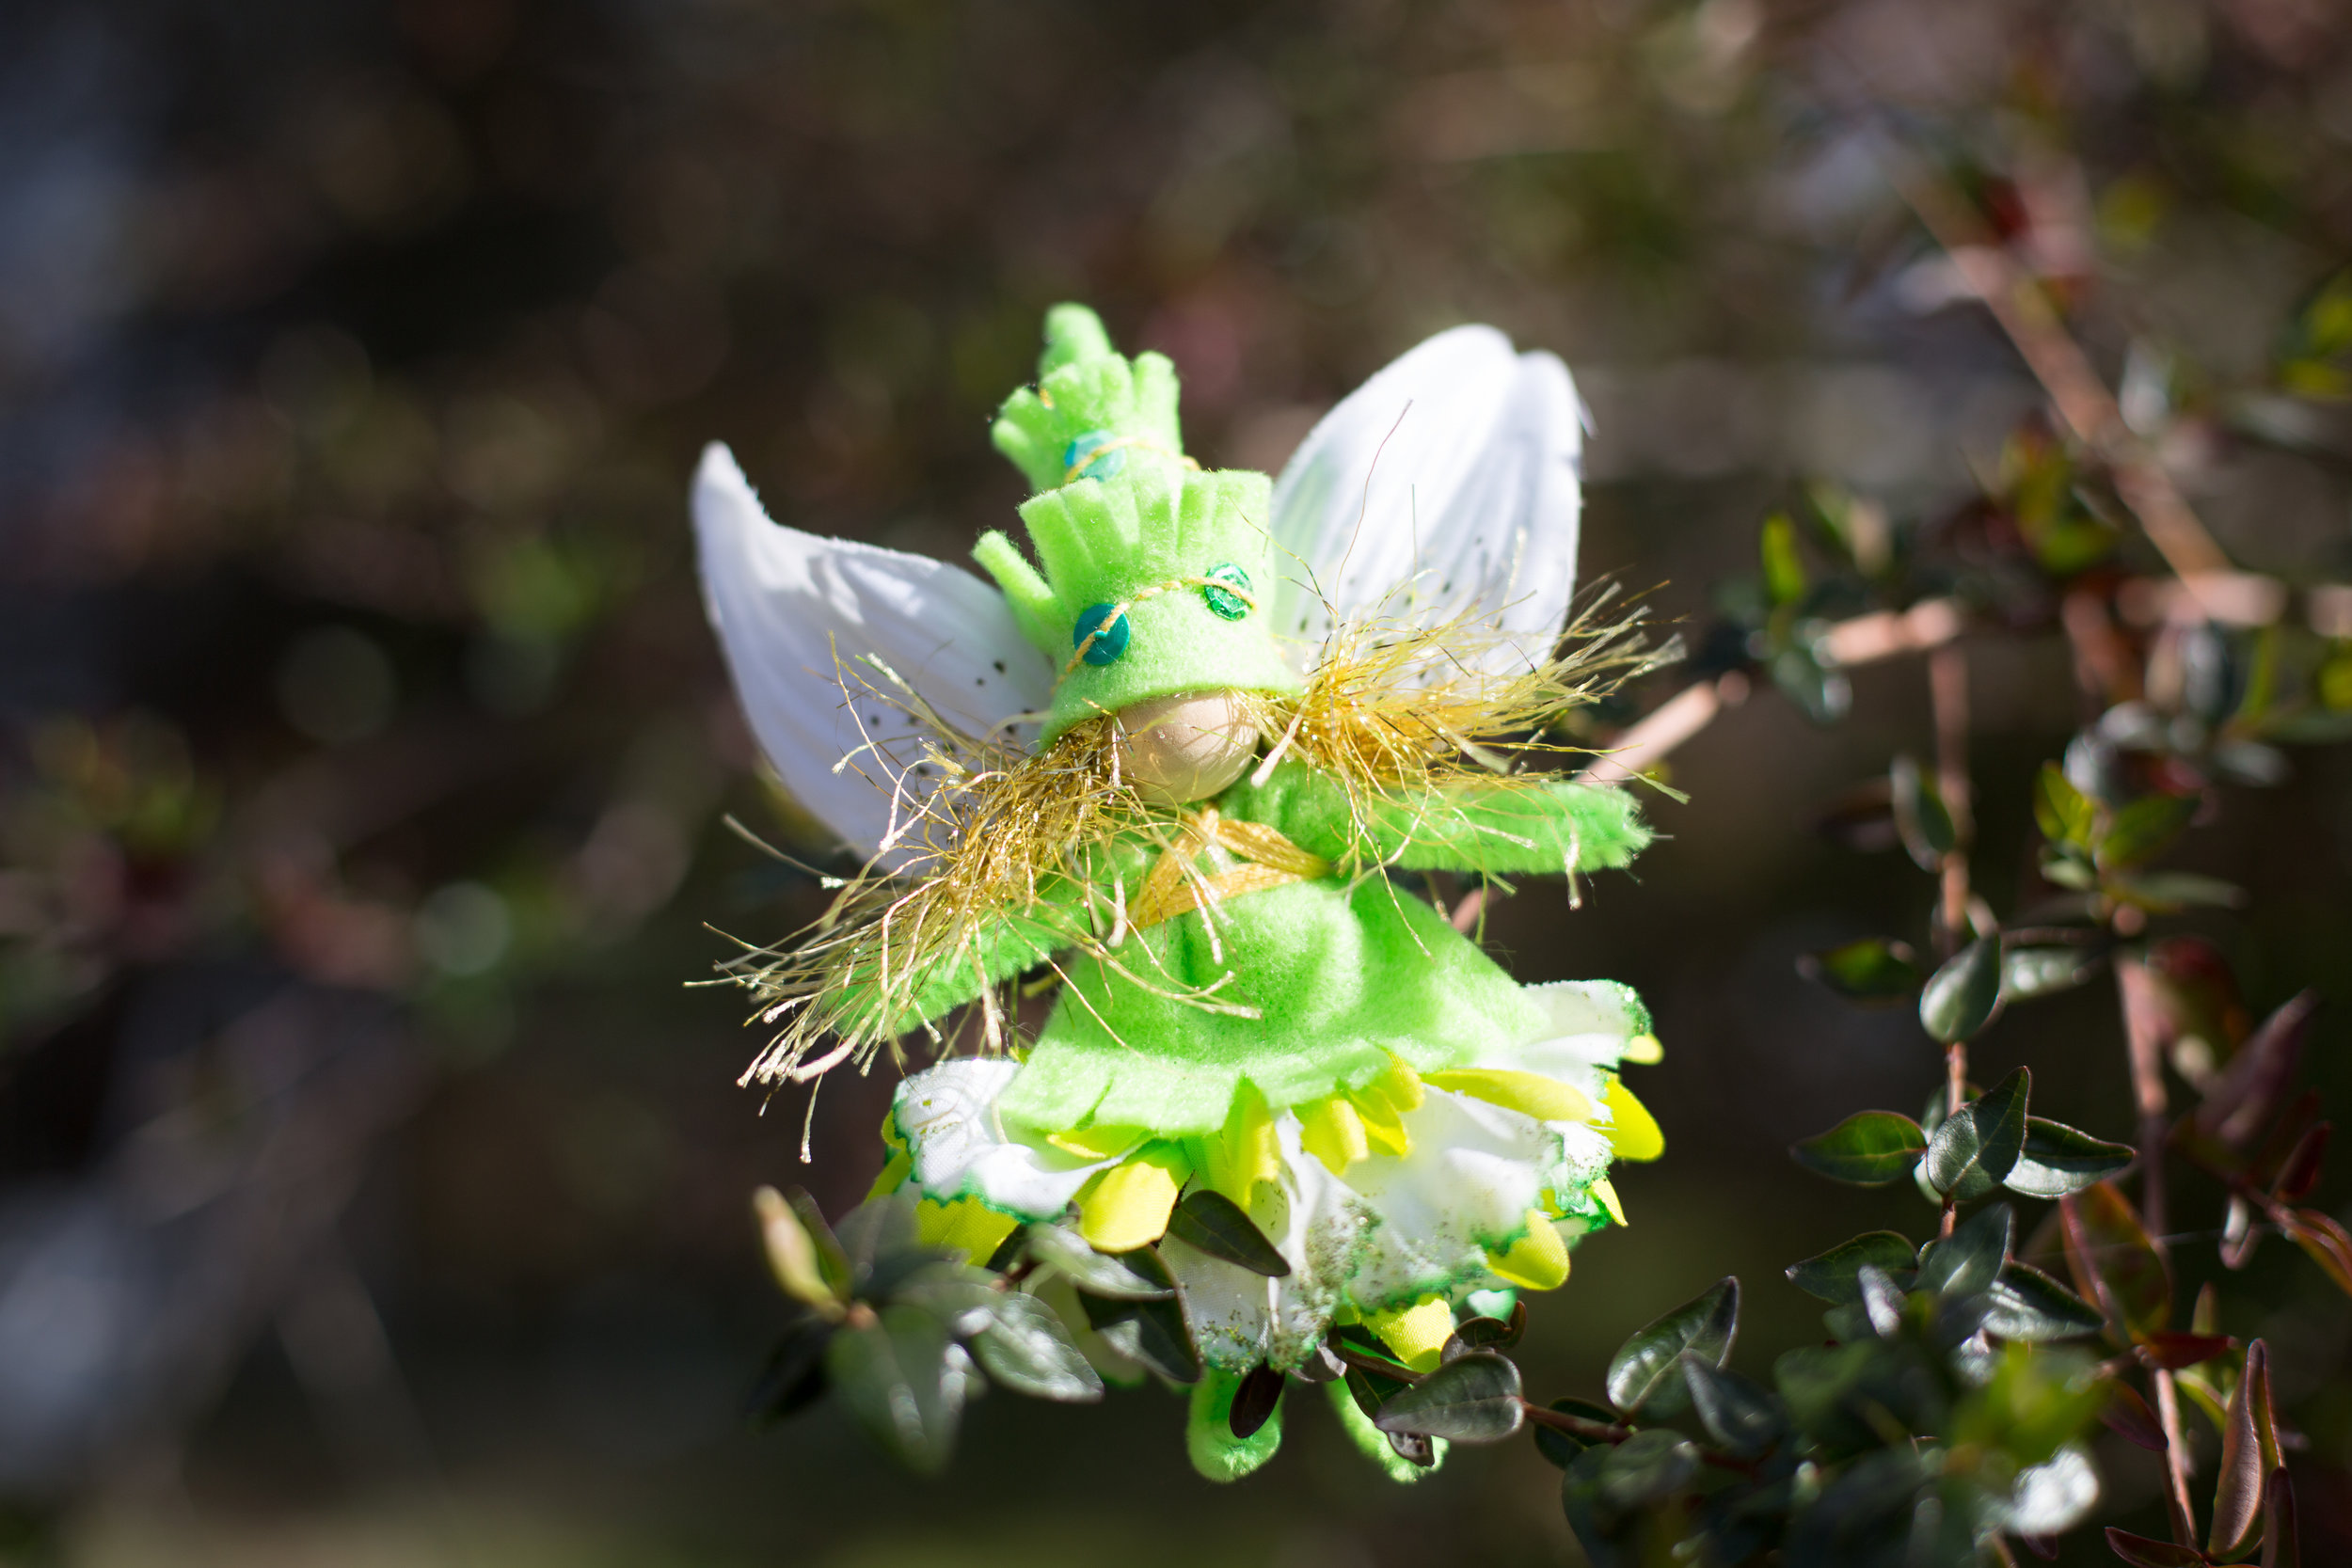
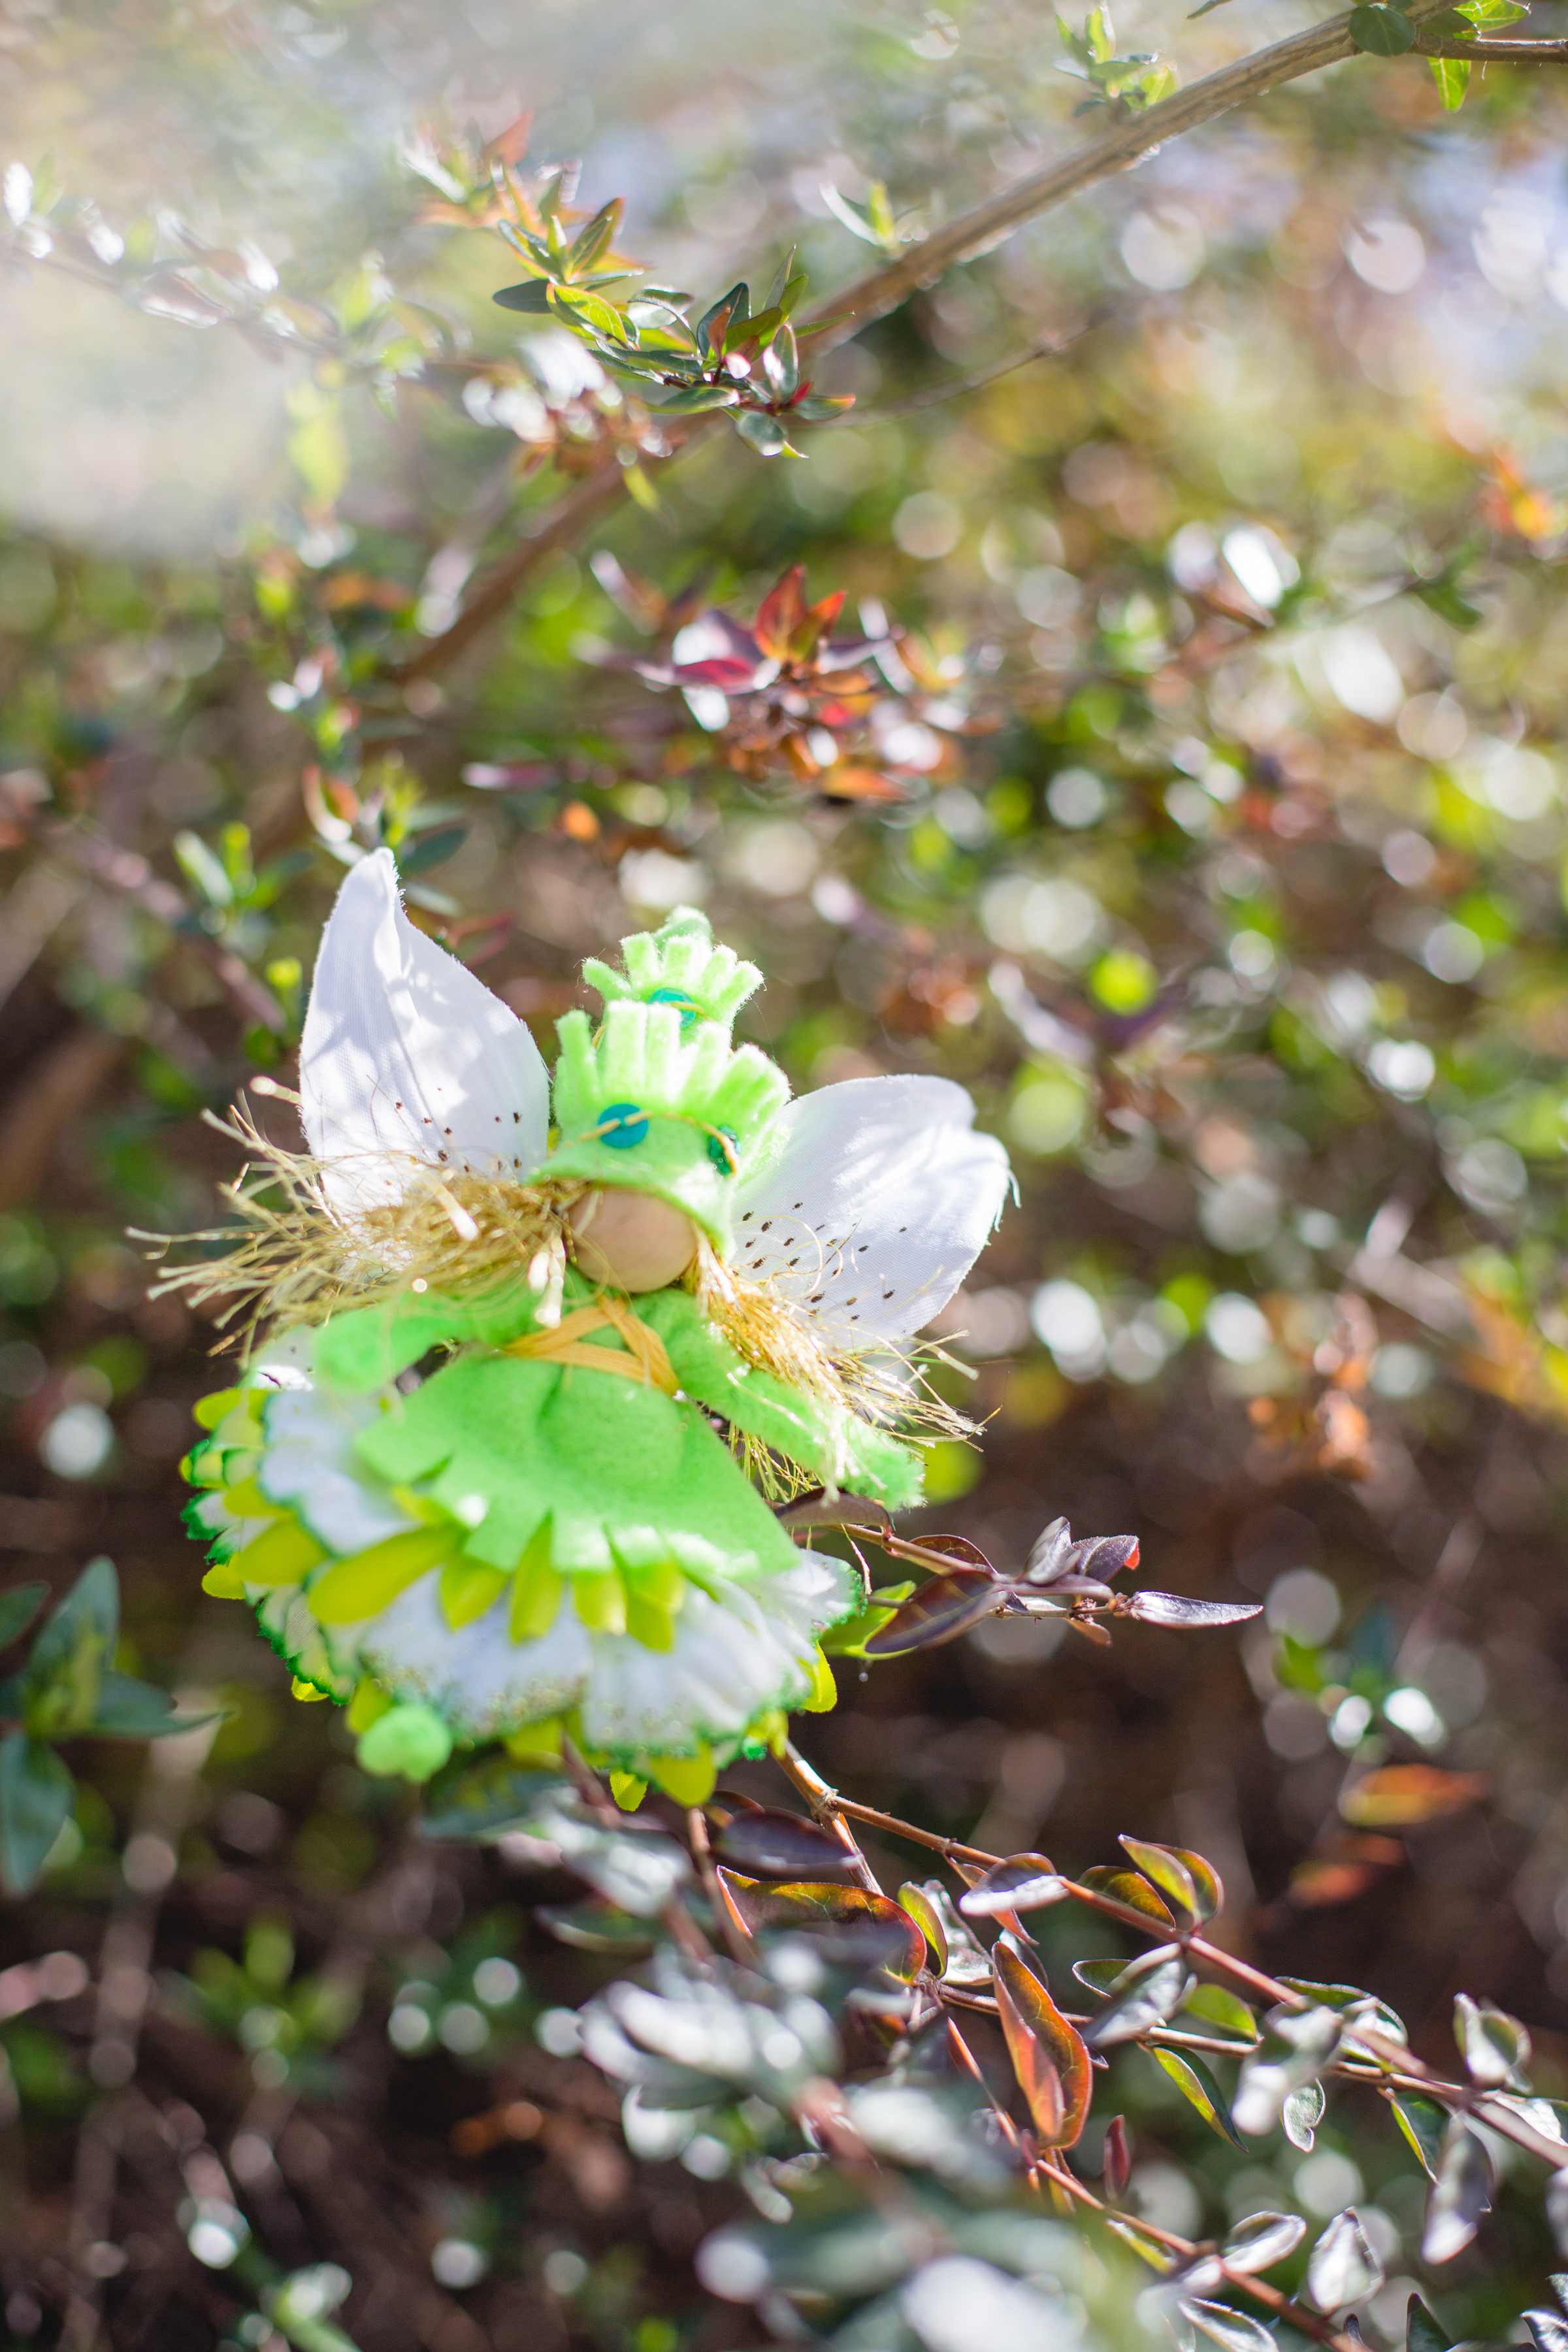
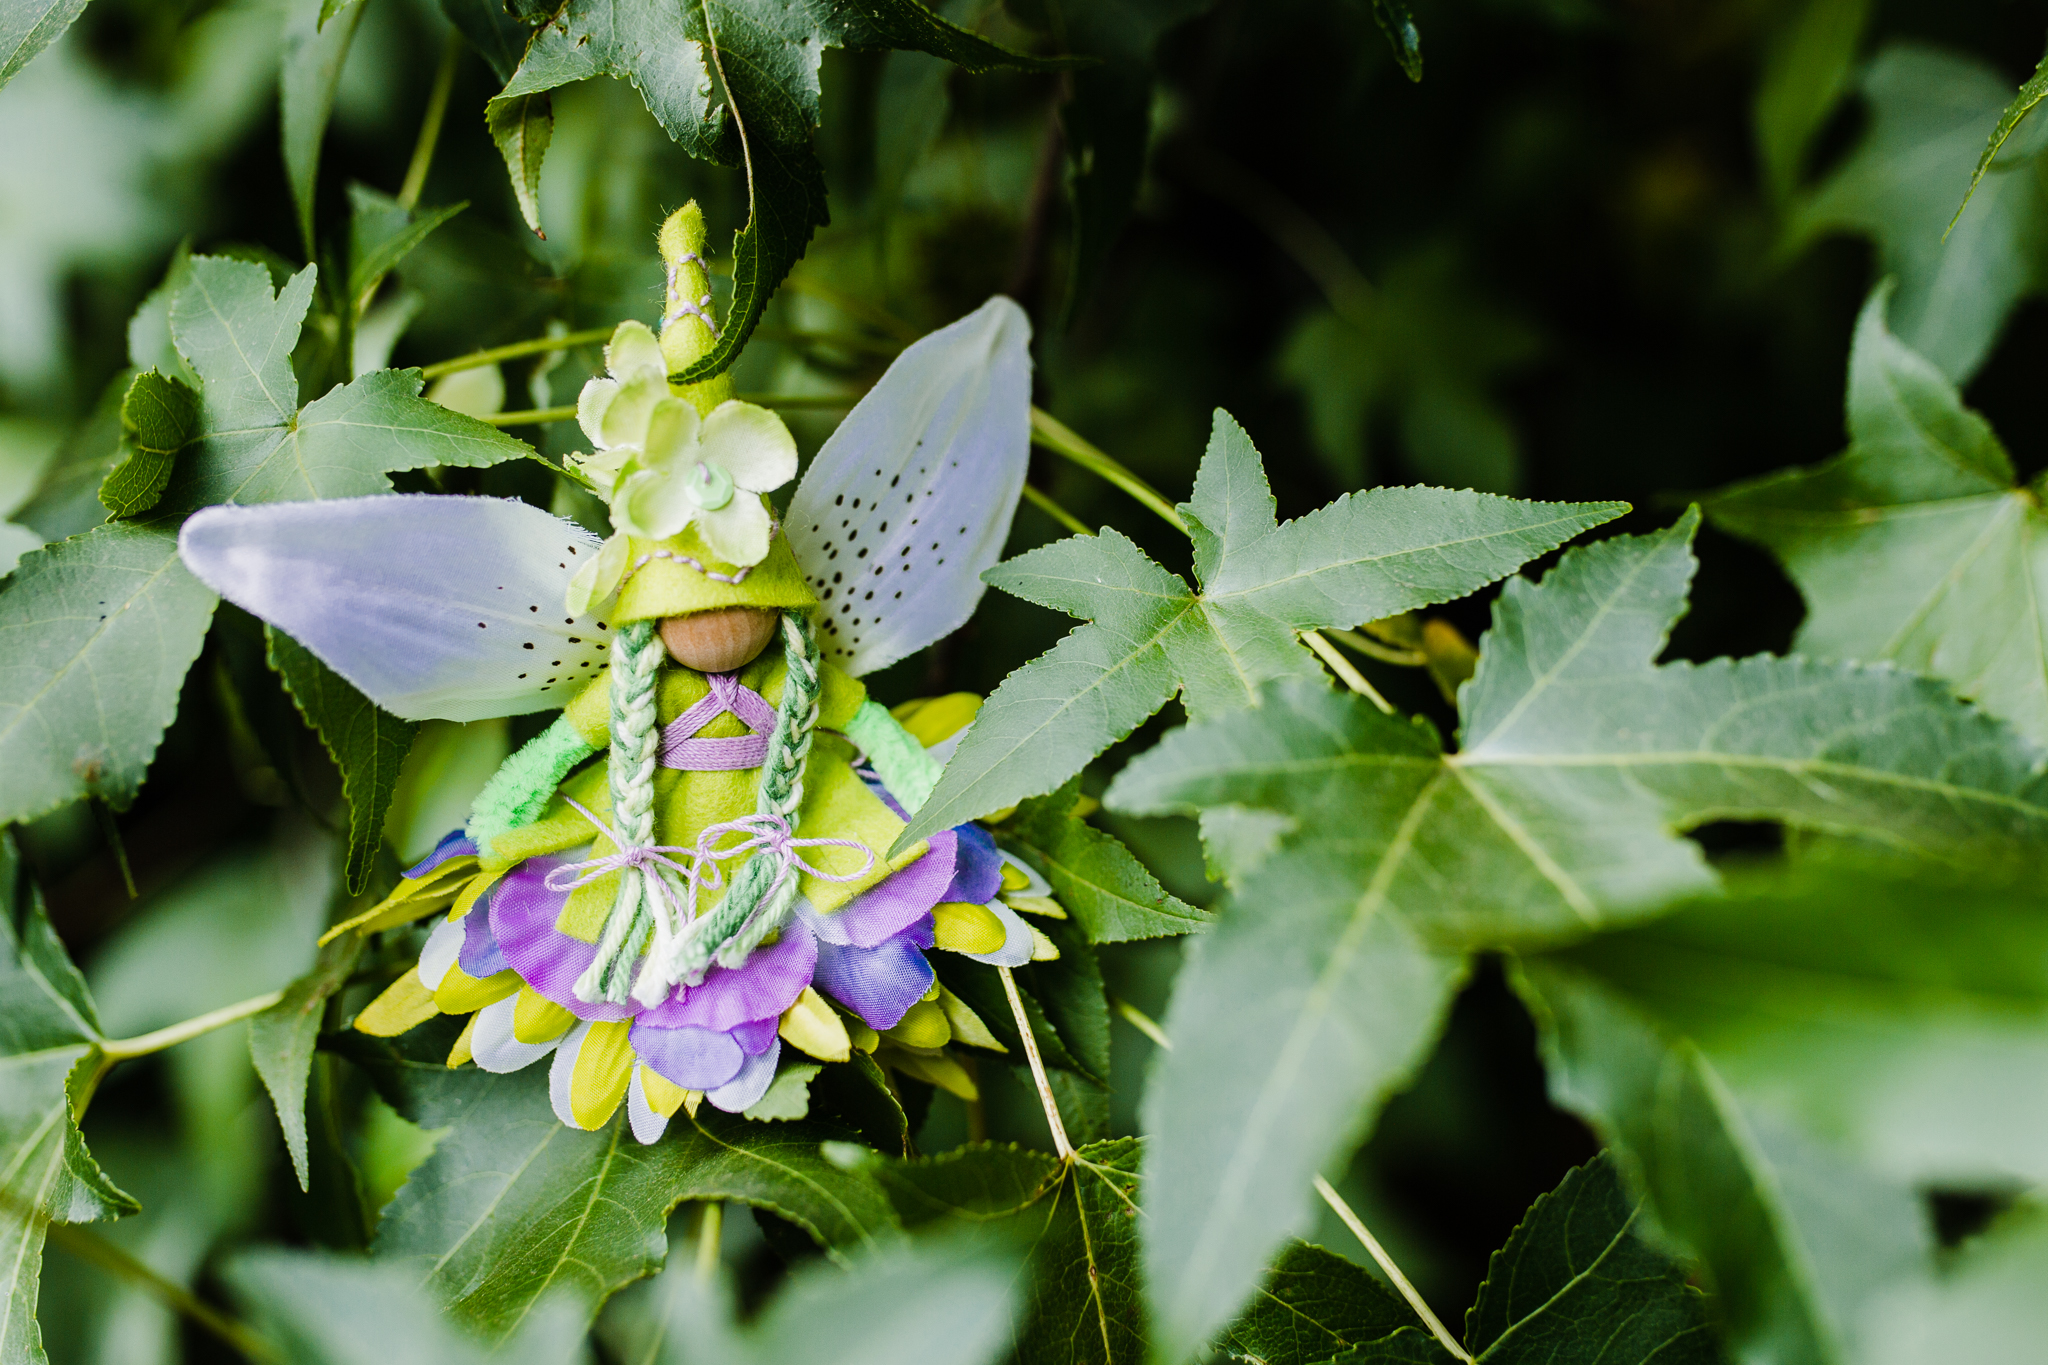
The Green Fairy
What color is Vert Pré?
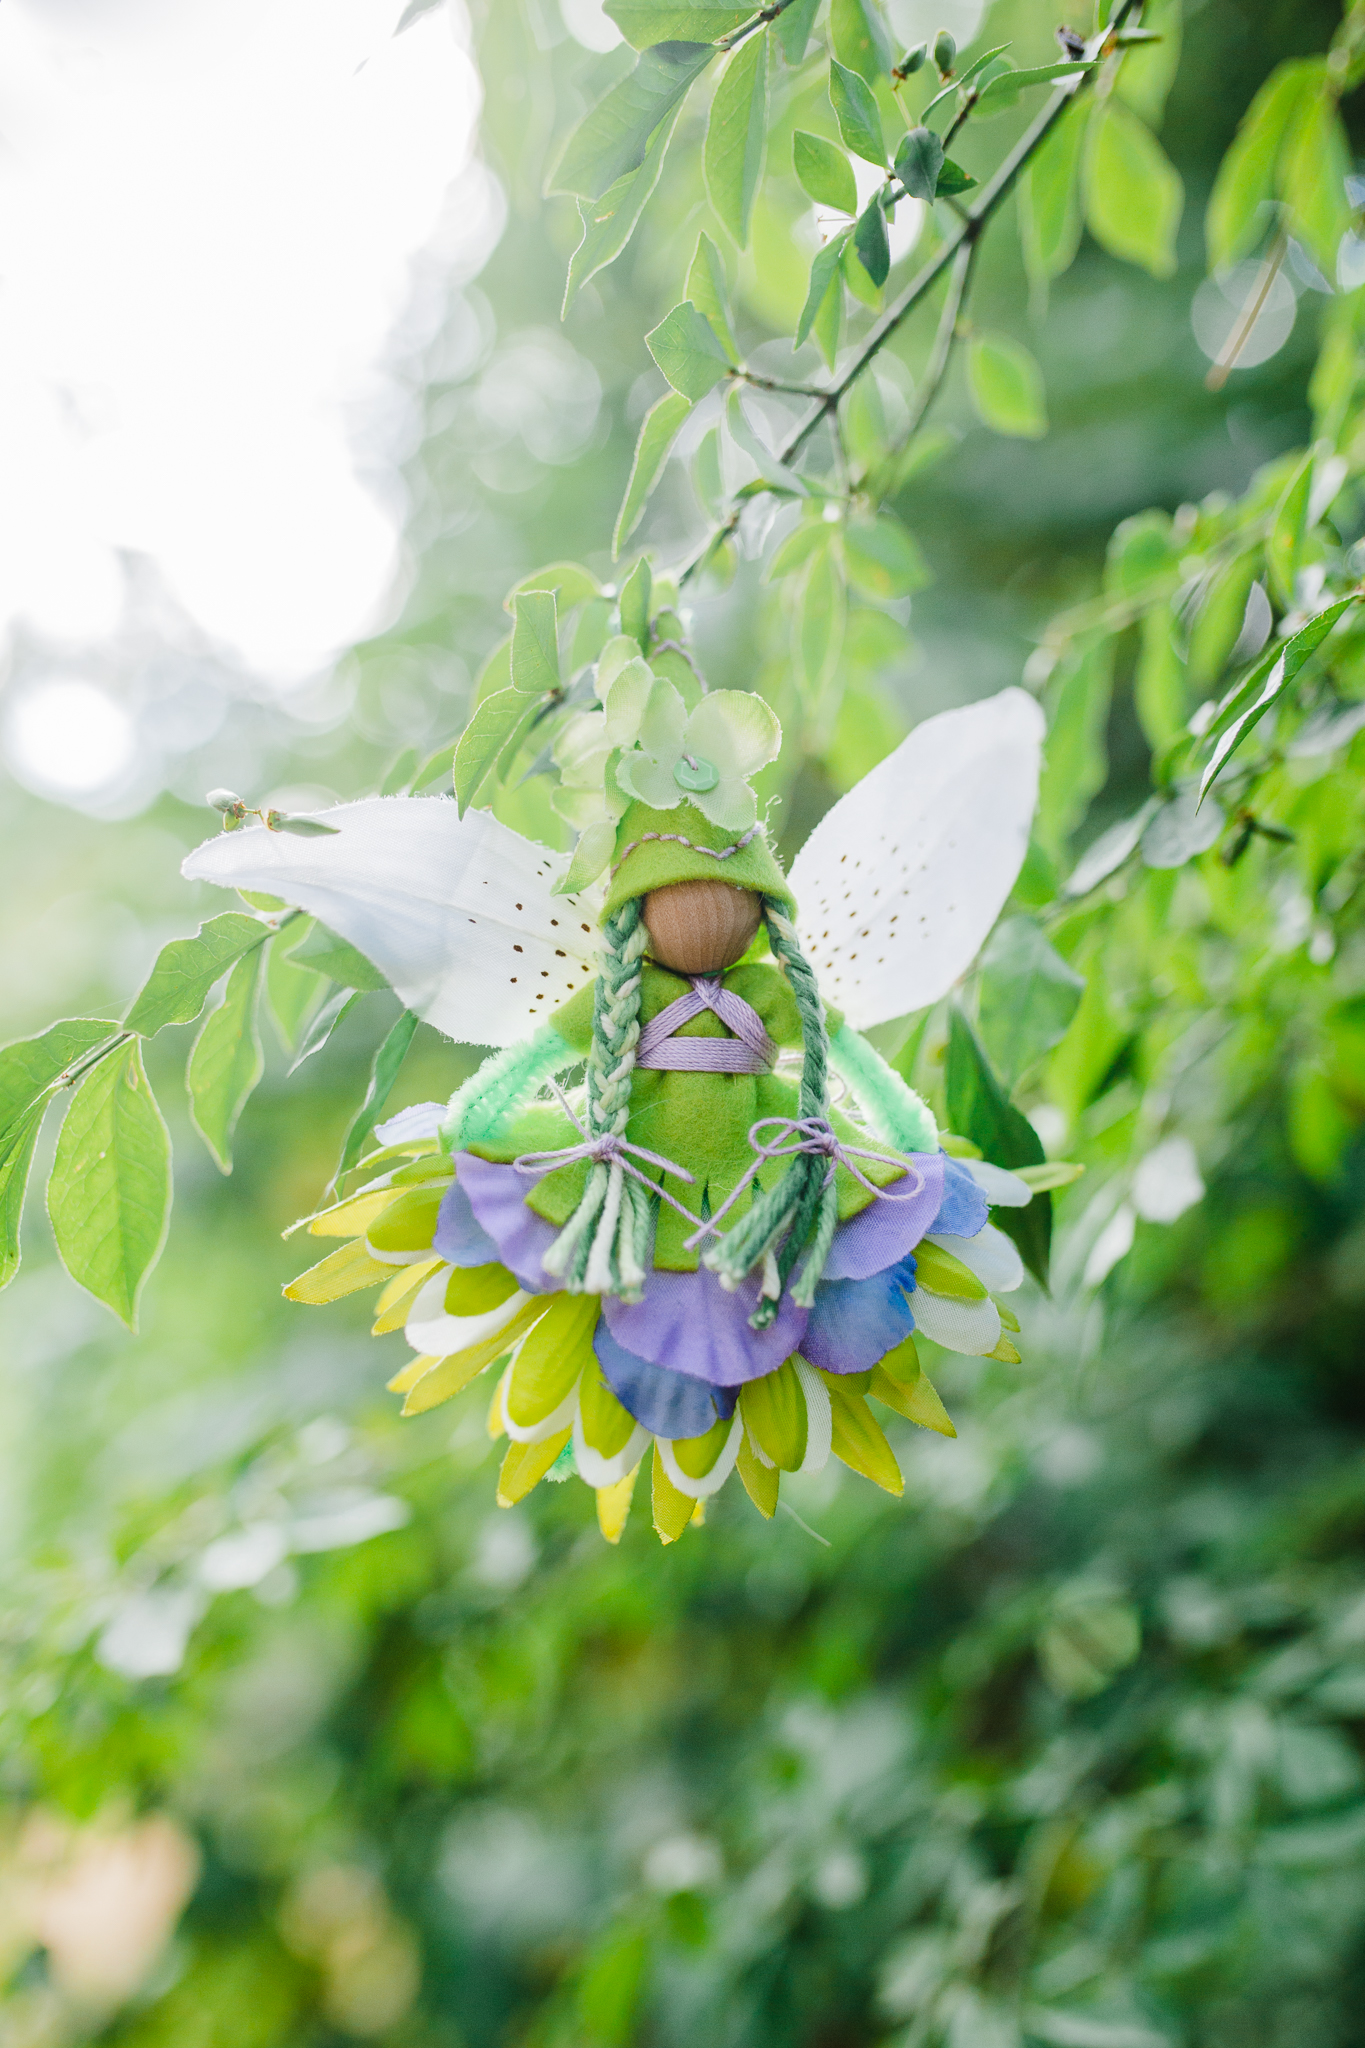
The color of meadows greenly growing. Or tree leaves stretching towards sunshine. A fairy who whips up green tea smoothies for her friends. The Vert Pré Fairy.

She invites friends to her home where green pillows decorate a green couch. Her mantle is woven green branches around a collection of sprouting vines that she would never think to burn. She serves feasts with kiwi and broccoli and guacamole with water faintly tasting of lime. Or cucumber.

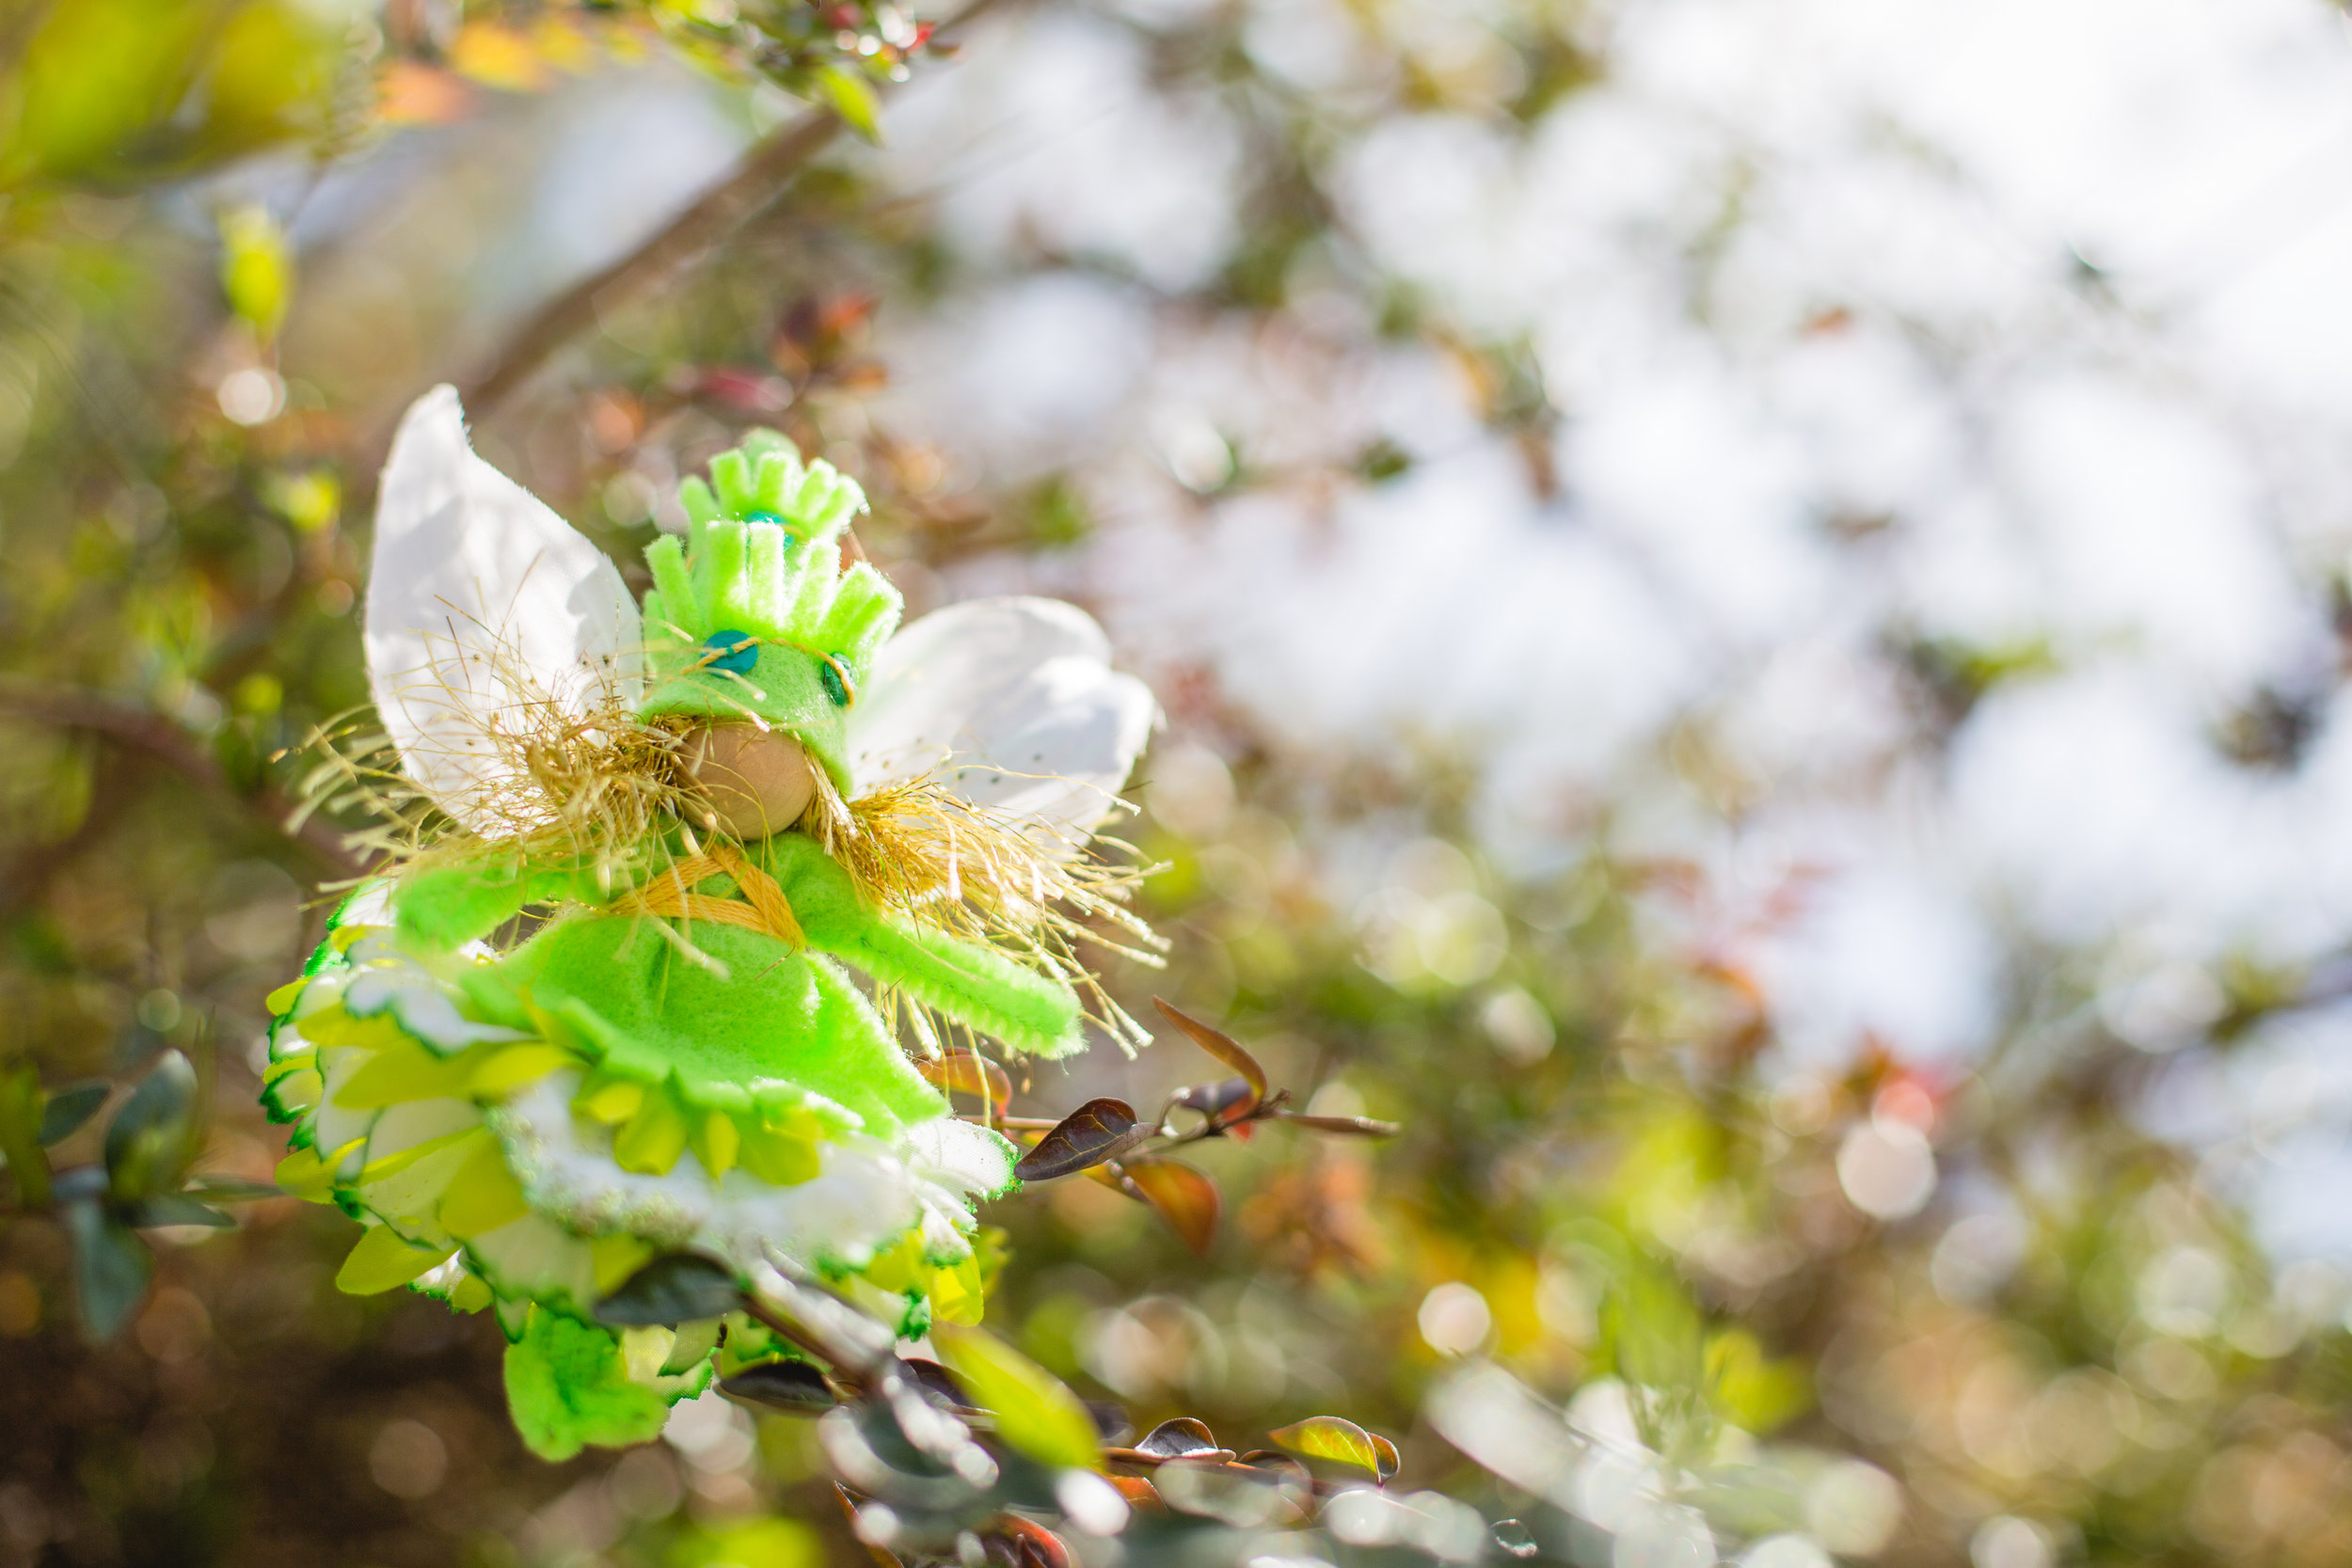
Her favorite pet is a fluffy green caterpillar that matches the pillows when he curls up for a nap. Don't sit on him! She knows he'll become a moth one day, but she loves him just the same. She rests a hand on his head and promises that she loves him just the way he is, and she will love him when he changes.

For desert, she serves green tea ice cream while wondering why no one makes green pea ice cream, or green apple ice cream. After all, so many wonderful flavors are green. So many wonderful things are green.
Magic is green and light and growing stronger.
She enjoyed visiting with you today.
She was inspired by the Colour Collective on Twitter. Join the fun. I look forward to seeing your colorful creations!
Dreaming of Love
Wishing everyone plentiful love today and all days. May we change the world with our dreams of love and kindness.


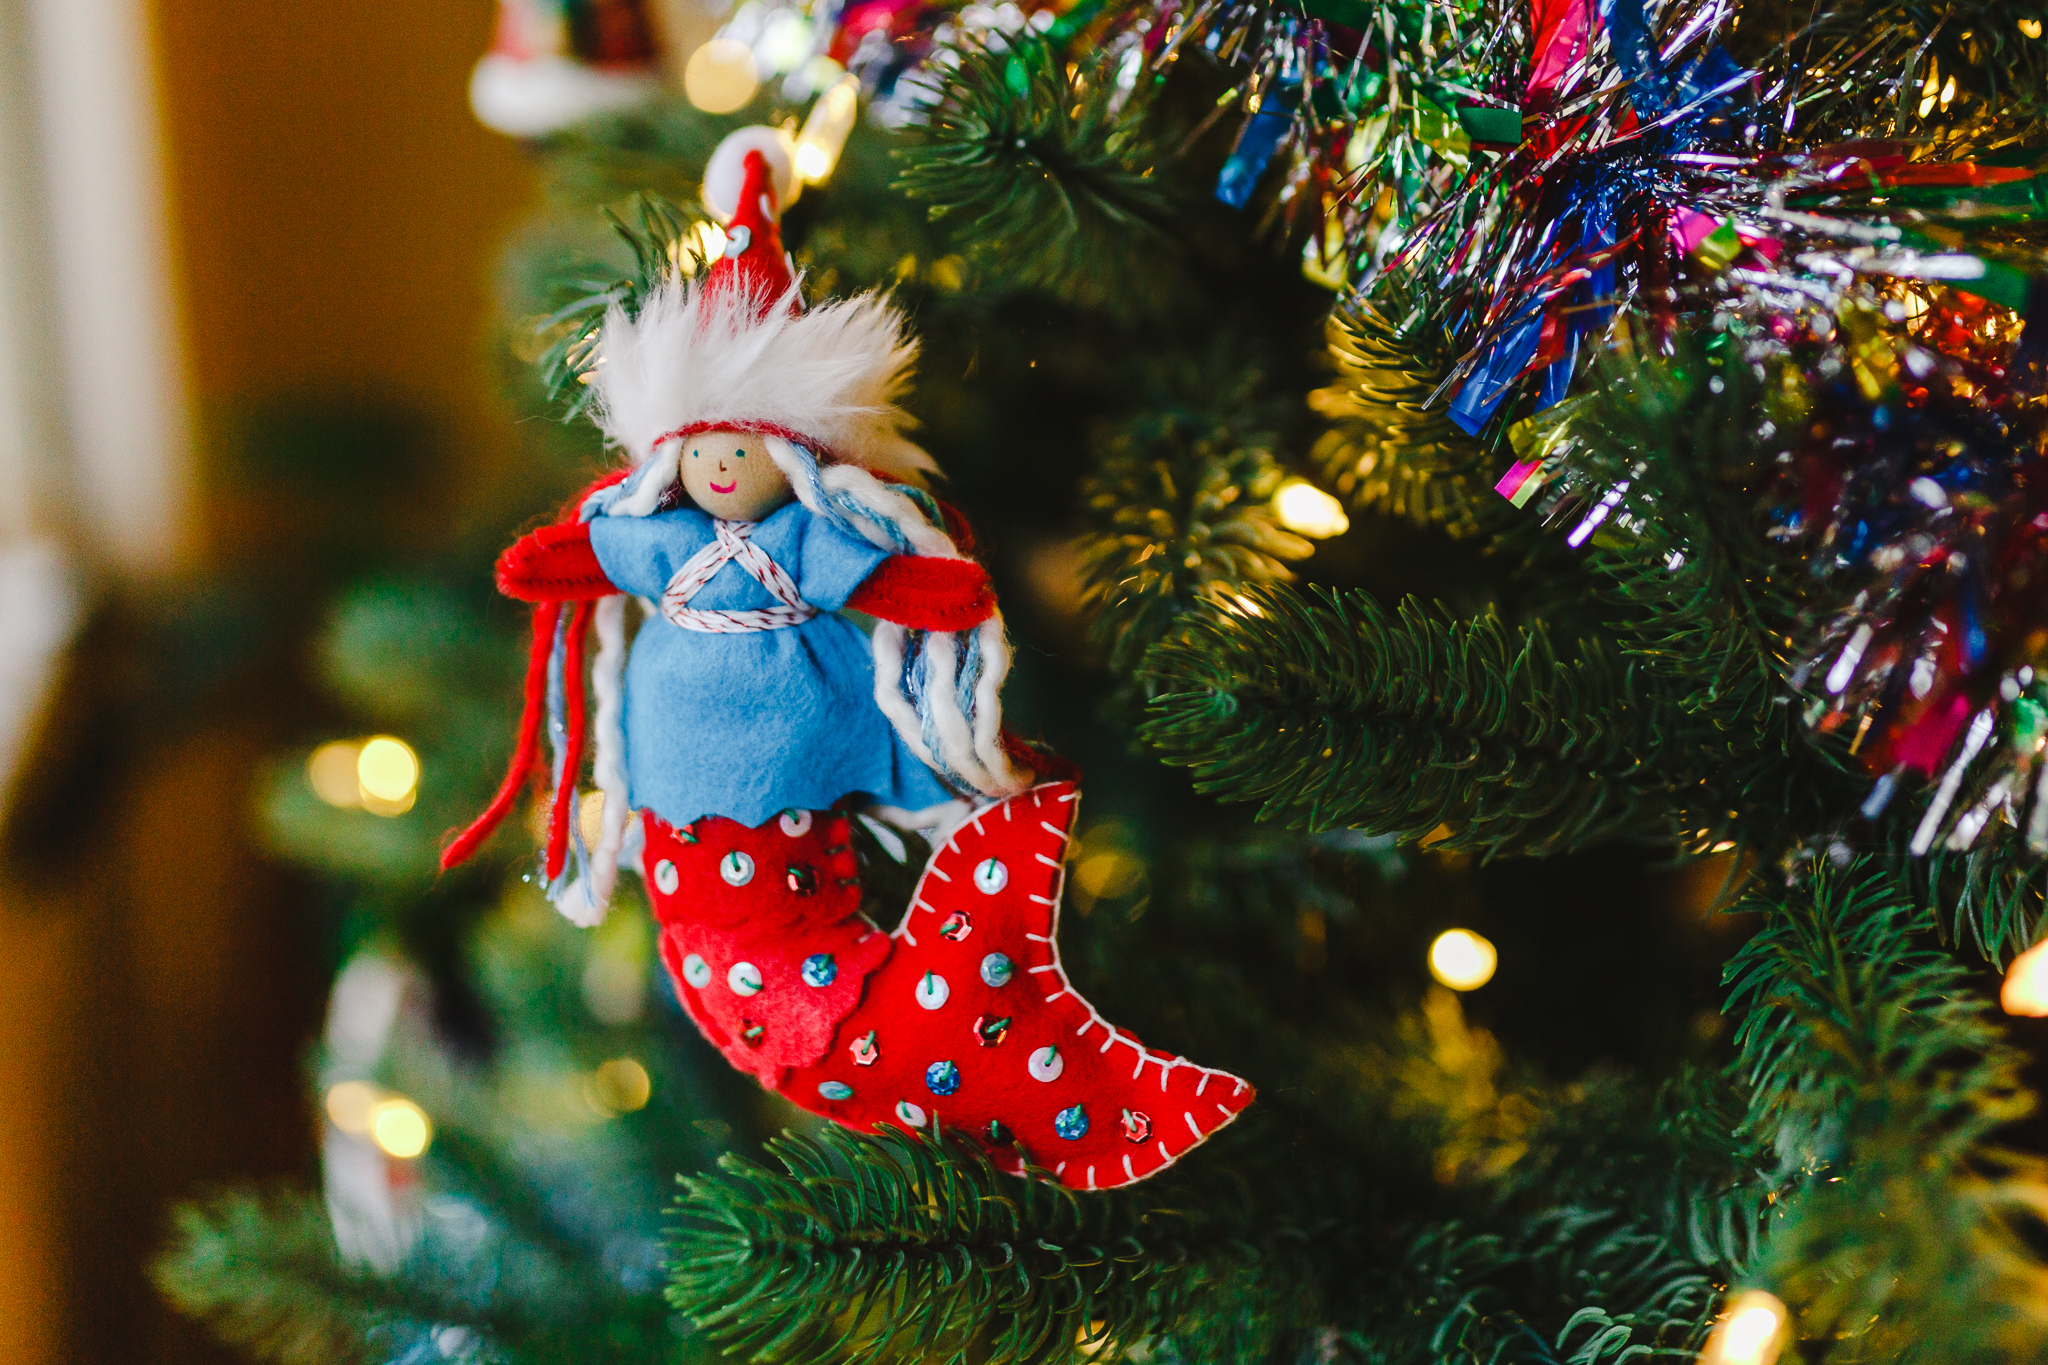
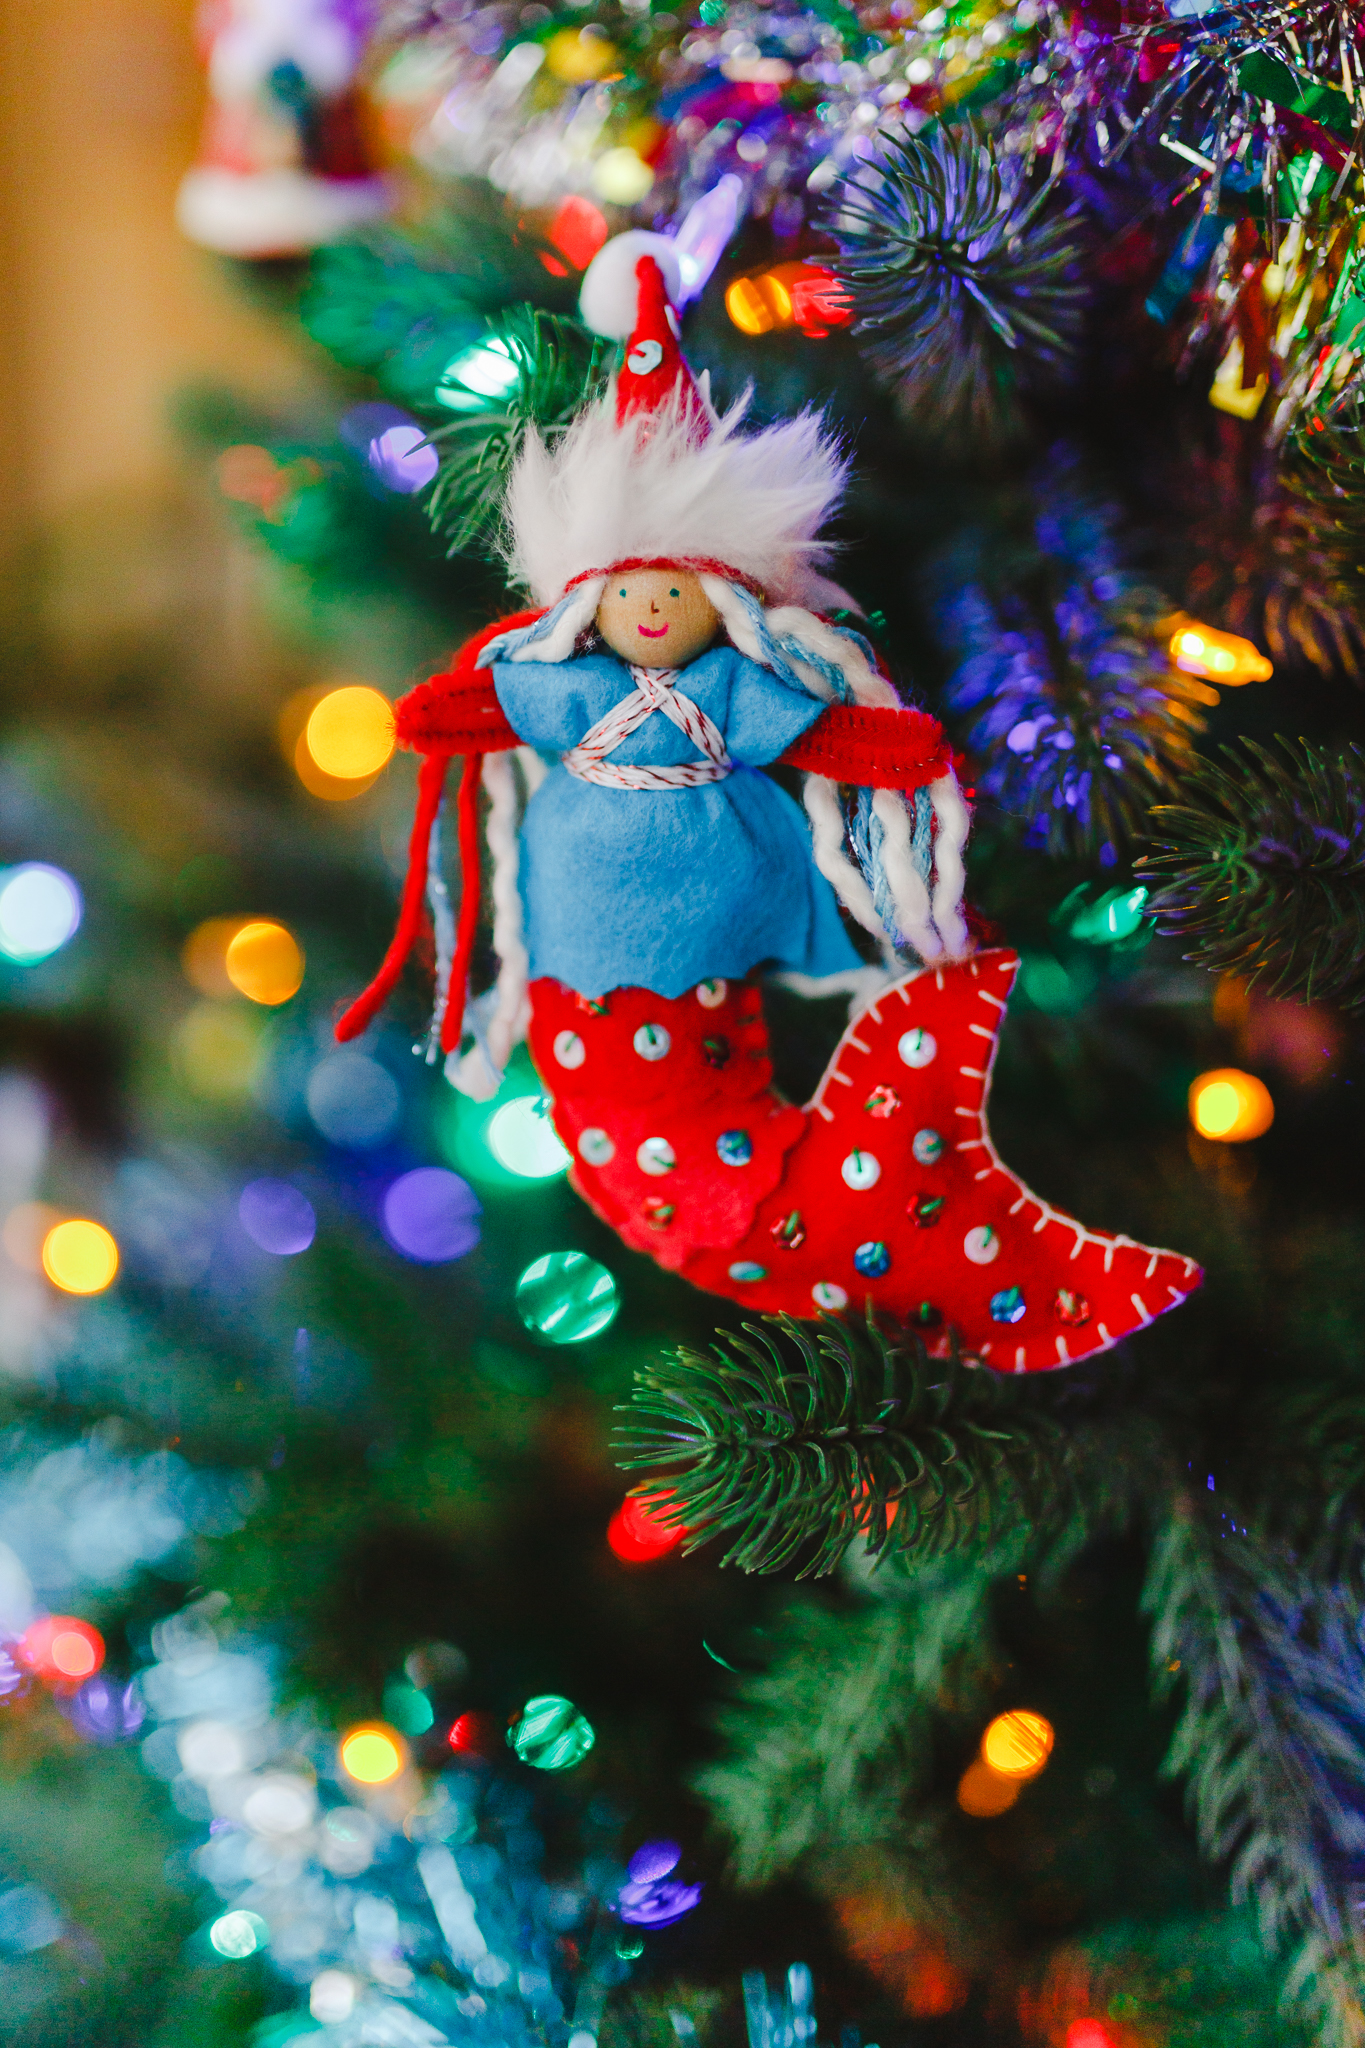
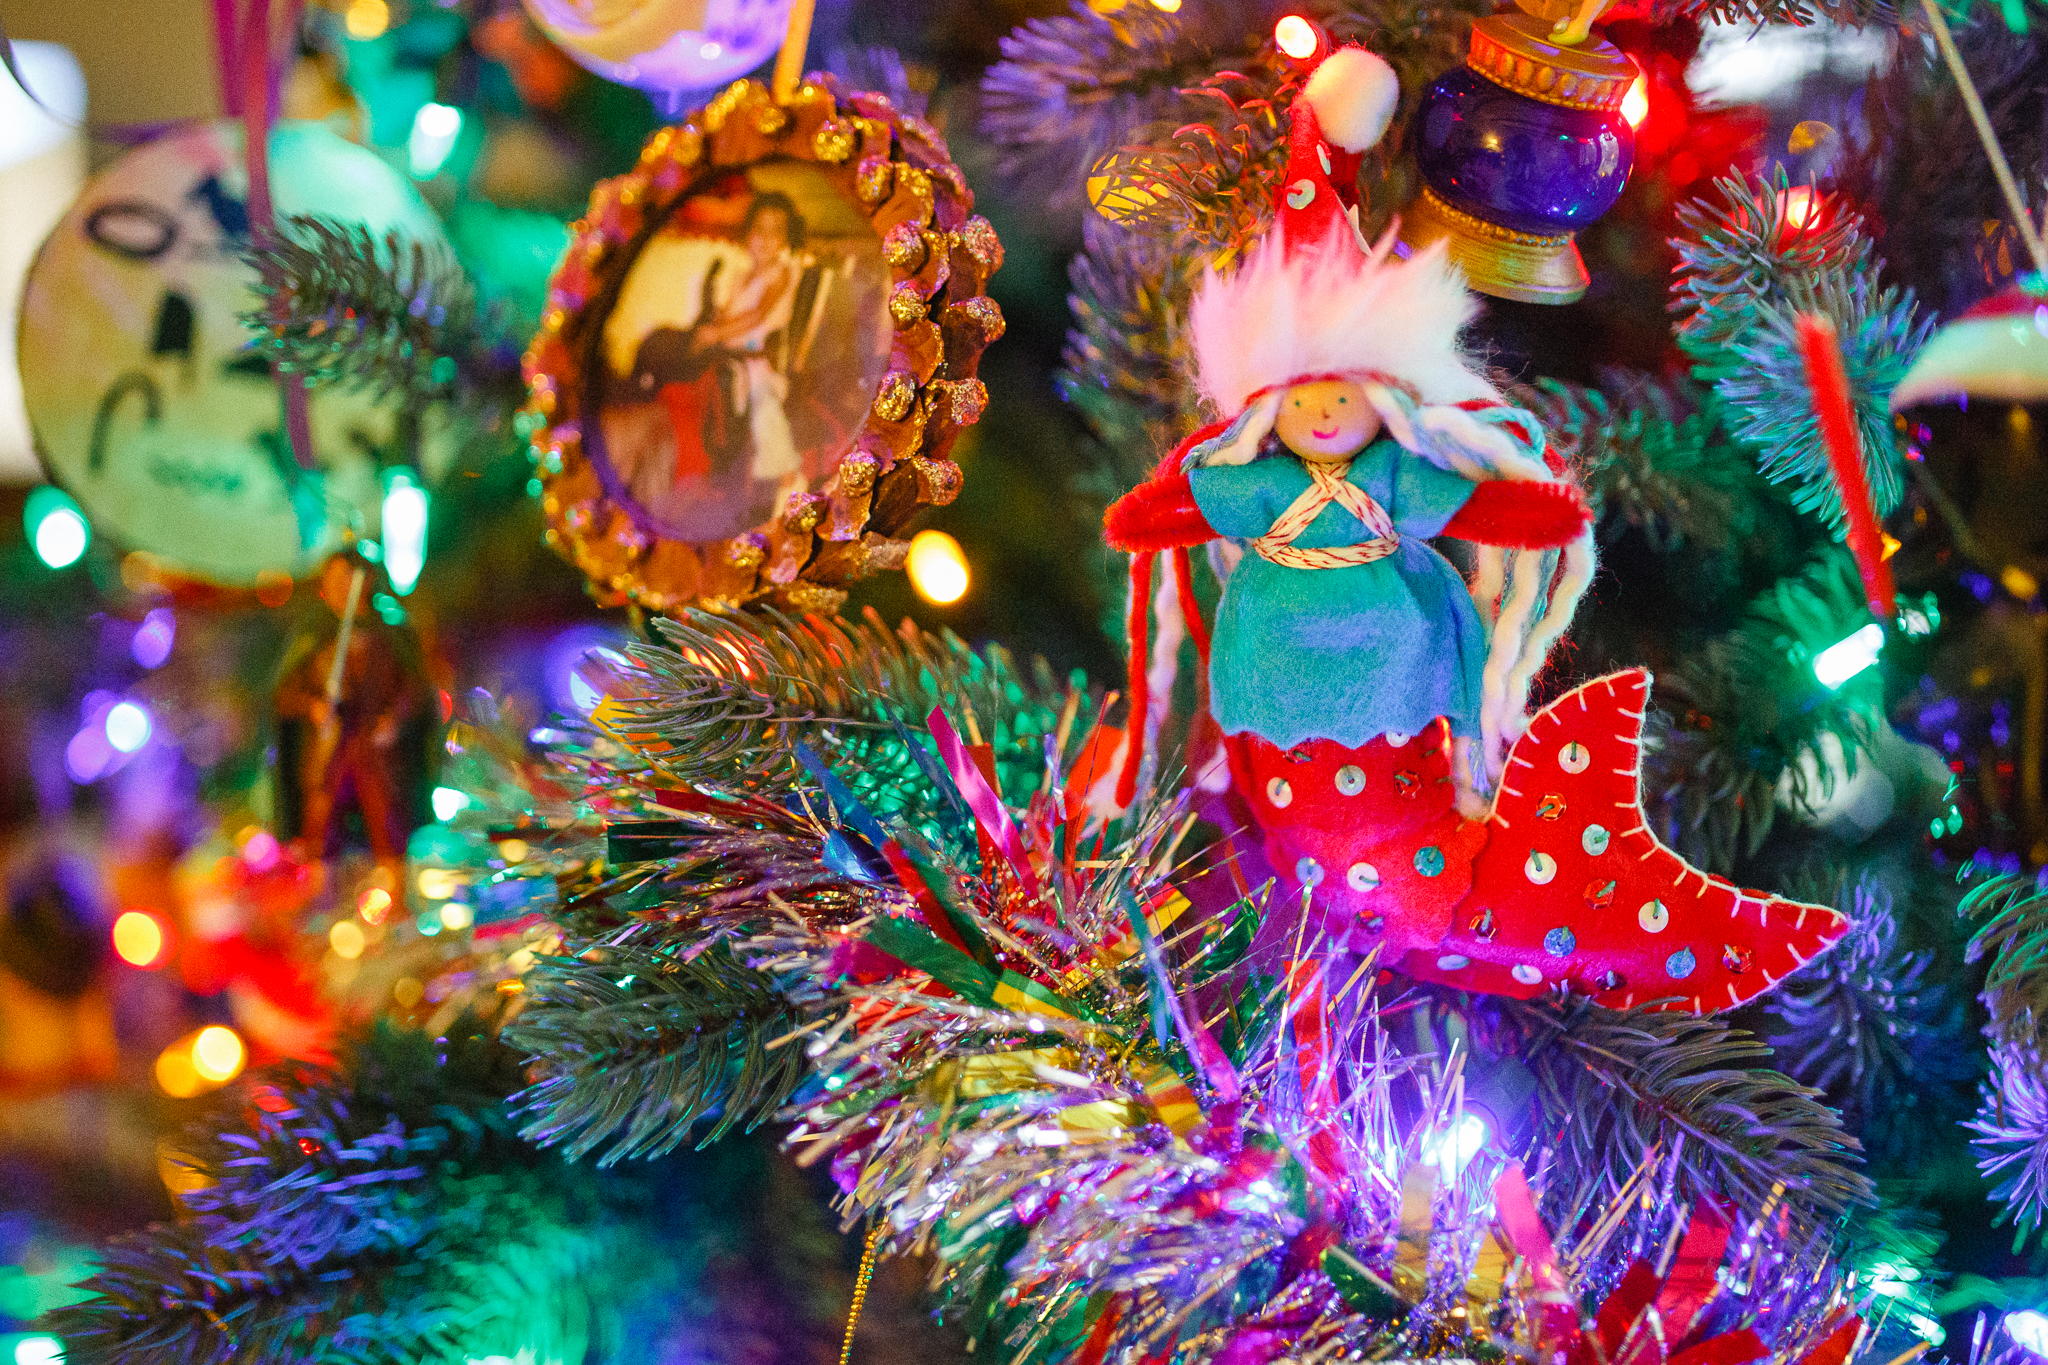
A Very Mermaid Christmas
Few people know that Christmas is popular even under the sea. Mermaids wear festive hats just for the occasion!
Many years, I create an ornament that shows whatever is enchanting my kids that year. From the Orange Fairy when my son was obsessed with all things Orange, to the Peppermint Fairy from the year my daughter danced as a Peppermint in our local Nutcracker ballet, the ornaments are fun to make, and even more fun to remember.
The peppermint fairy was a gift the year my daughter danced as a peppermint in the Nutcracker
Helping kids make fairies is fun. However, anytime I help them, I take the back-seat in order to support their ideas and choices. So giving myself room to create any fairy that I want is tremendous freedom.
My daughter has a (slight) mermaid obsession. We included mermaids in the Forest Fairy Craft book. They were summer mermaids with crowns. How could I modify the mermaid for the holidays?
I wanted a tail that curved, which took finagling. A few trial and error attempts where it looked too bulky or gigantic. I always draw pieces on paper first to cut out and test shapes. Then I use test felt (inexpensive felt in any color) which I can sew together with a few little stitches to see if the scale works. Once it does, time to create!

Both my daughter and nice love turquoise, so I used that as an inspiration color for both mermaids.

Using just a wee strip of faux fur on their hat was a fun carryover from other fairies that I was working on at the time (Saint Nicholaus). The Faux Fur is a little tricky to sew, hard to get the needle through, so it's definitely an adult quest. You could create a similar look with a strip of white felt.
I also use metallic thread similar to this one for that added sparkle. It's tricky to sew with the thread so it winds around their outfit.
The girls loved their mermaids! And it's a joy to see them again year after year.
Happy creating, one and all!
*this post does contain affiliate links. Should you choose to purchase through these links, a small amount returns to the Forest while your price remains the same. Thank you :)
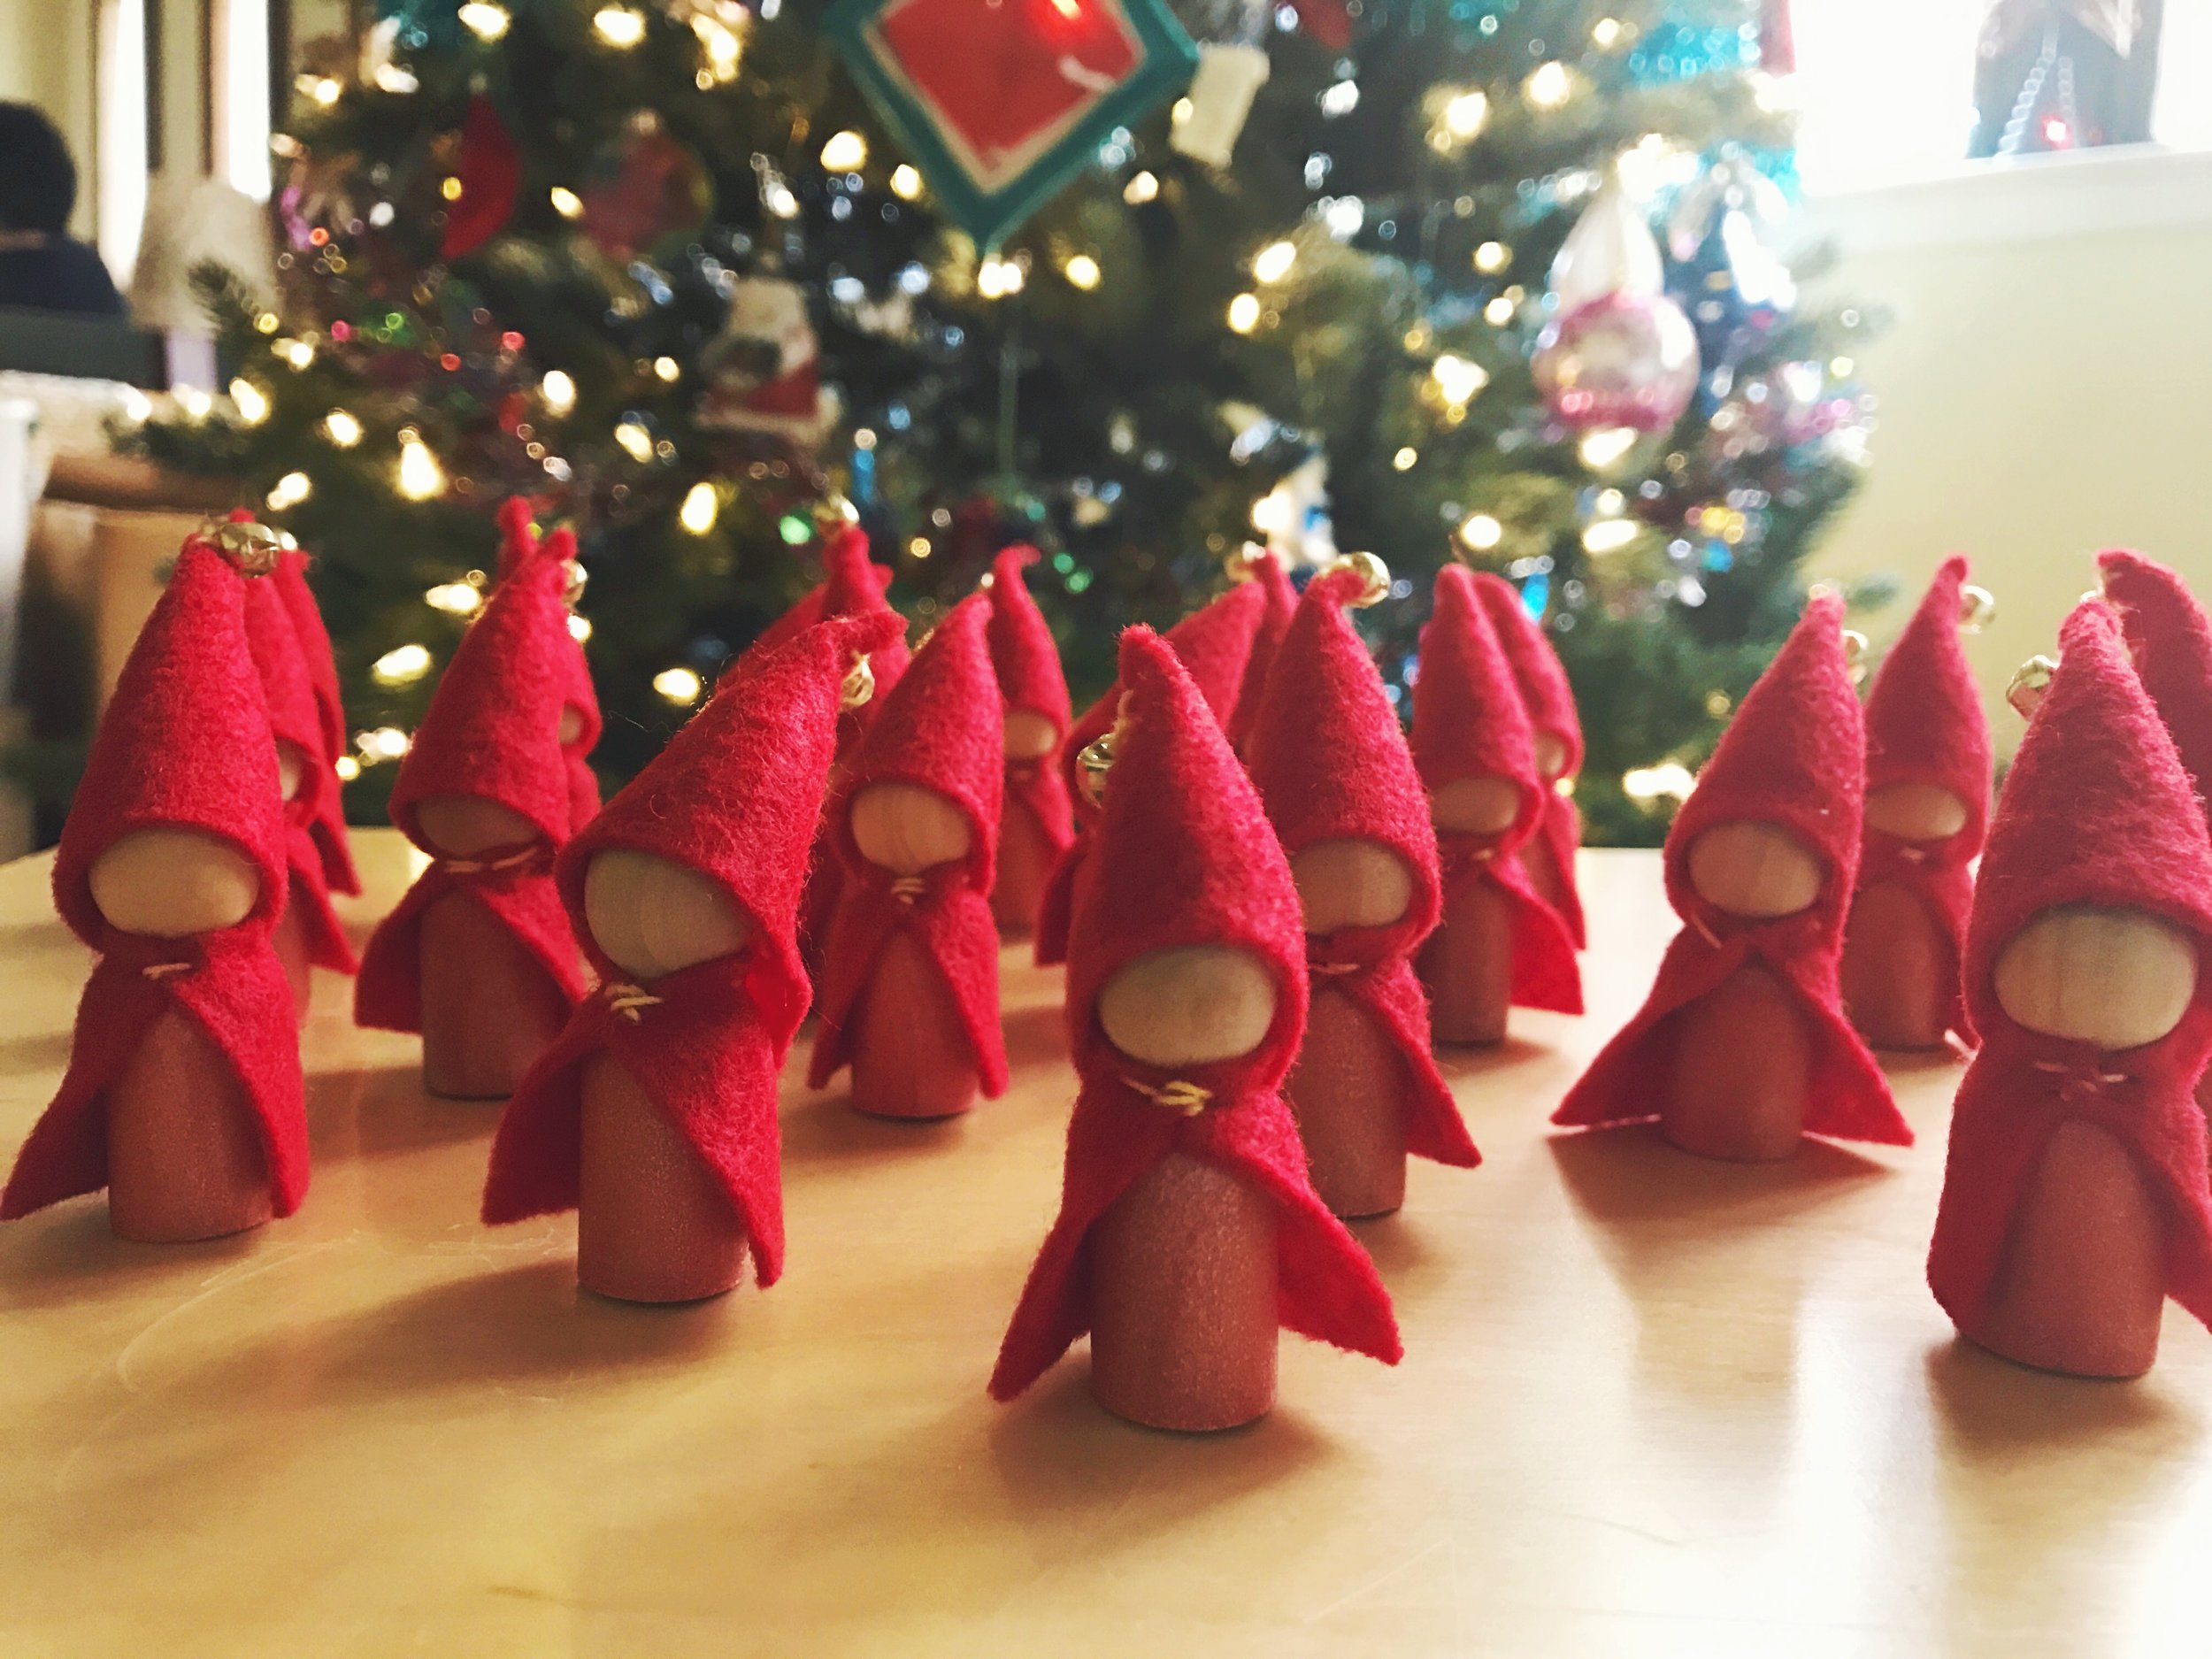
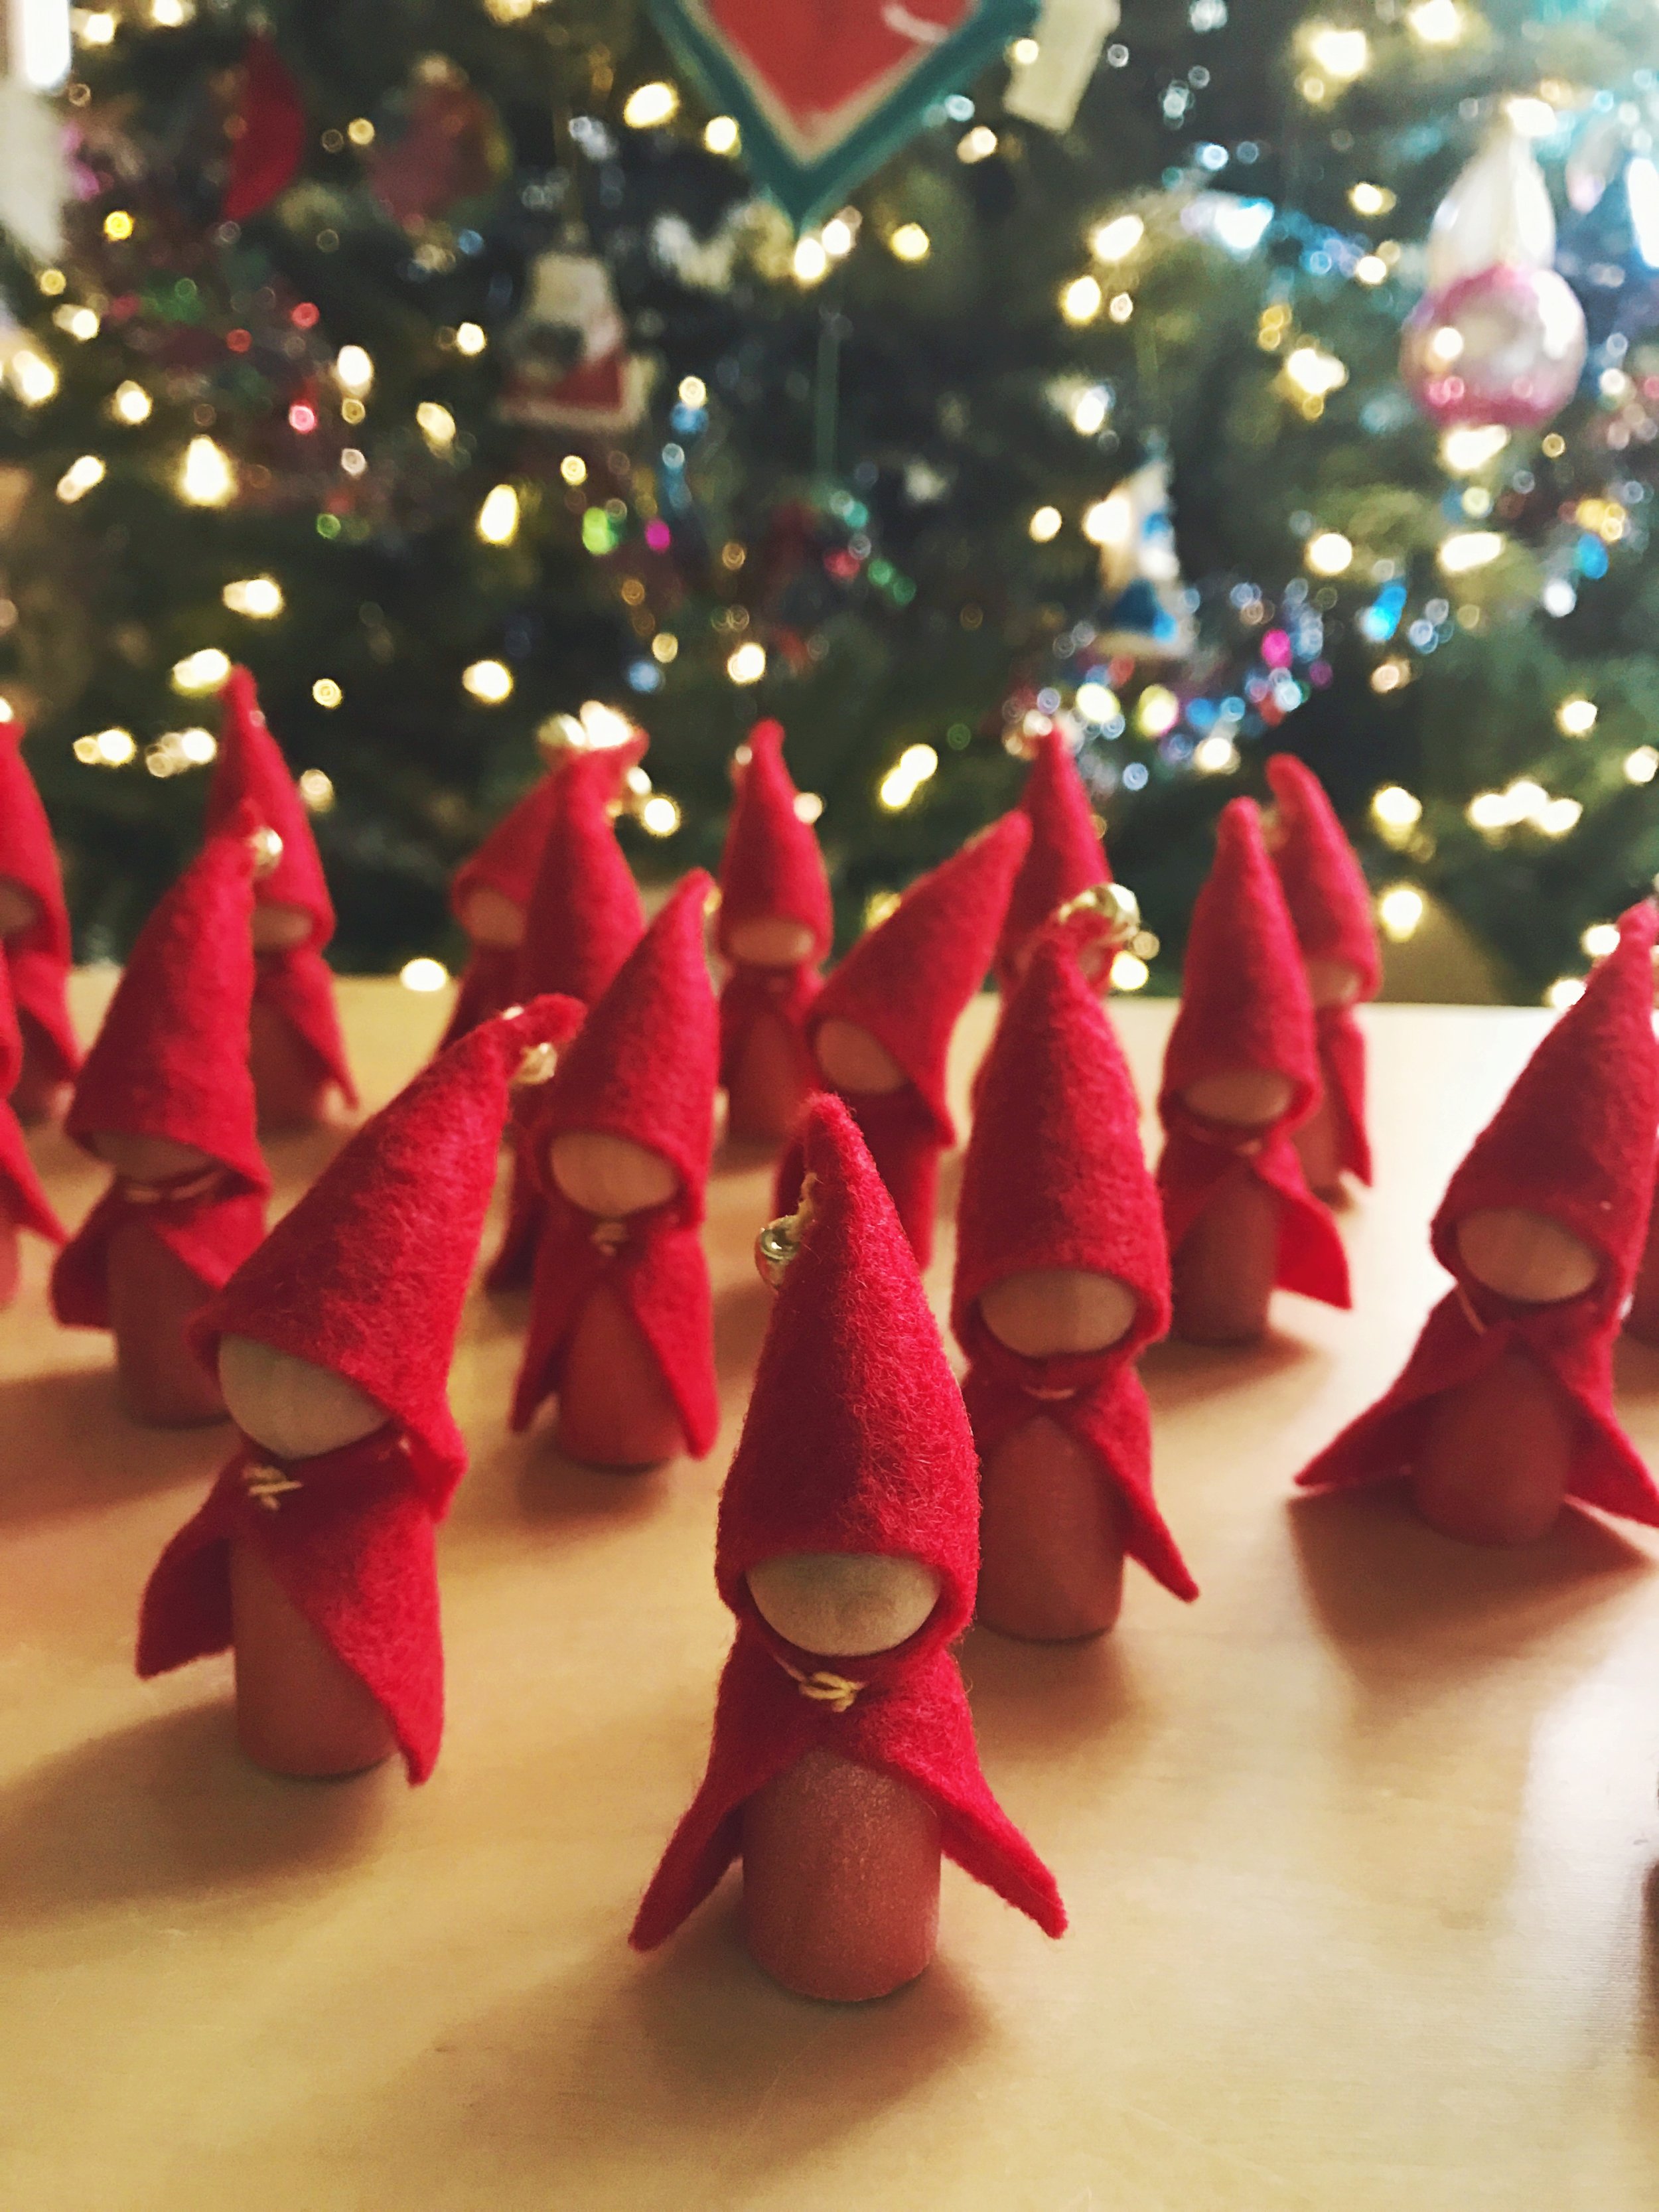
Happy Saint Nicholas Day

Little gnomes are off to help my son's class celebrate Saint Nicholas Day! Many European children leave a sock, stocking, or shoe by the fire in the hopes of a little treat from Saint Nikolas.
My dad is Czech. We celebrated Saint Mikulaš. He visited on a carriage led by a white horse. An angel and a čert (pronounced chert) traveled with him. The cert is a trickster devil who told Saint Mikulaš all the naughty things while the angel told all the kind, good things. You hoped that the angel had more to say than the devil :)
My son is learning about celebrations all around the world. He left slippers that they sewed together out in class today in case Saint Nicholas visited their school (spoiler alert! he did!)
These little gnomes didn't take very long for me to make. I kept things simple while my son was at school one day. In case you need to make many gifts quickly, here's how I made this collection.
- I painted the bases with watercolor paint and just a bit of sparkle with Iridescent Watercolor Medium mixed together.
- While the paint dried, I cut a little triangle and adjusted until I liked the height for the hat. I cut twenty by holding one and cutting felt without tracing. After all, imperfections are part of the fun. I sewed them with a few stitches, starting from the bottom and going up. I added a bell at the top and tied off. Set aside and repeat nineteen times.
- The capes are simple rectangles. I could have curved the corners at the bottom. Saint Nicholas wears a long cloak anyway. I cut a long strip of felt, measured around the peg person to find the right fit, then cut twenty. I tied a knot in the thread, started in the back midway, then ran a stitch towards the front. I secured onto the dry peg dolls with a few stitches at the front (pulling the first stich to help gather the cape a little). I ran a few stitches towards the back and tied a knot. The hat would hide all of the knots. Repeat nineteen times.
- Finally, I tucked a tiny bit of stuffing into the hat and glued onto each little gnome. Magic!
My daughter helped sew a few hats and cloaks. Thank you!
I have found, when creating larger projects, it helps me to complete all of an element at once. Say, sew twenty hats, instead of trying to complete one character at a time. It sure is gratifying to see them all come together at the end!
My son came home bubbling with stories about everything he found in his little stocking. Here's to all the gift-givers and magic-makers :)
*this post does contain an affiliate link. If you choose the iridescent medium, a small portion returns to the forest while your cost remains the same. Thank you!

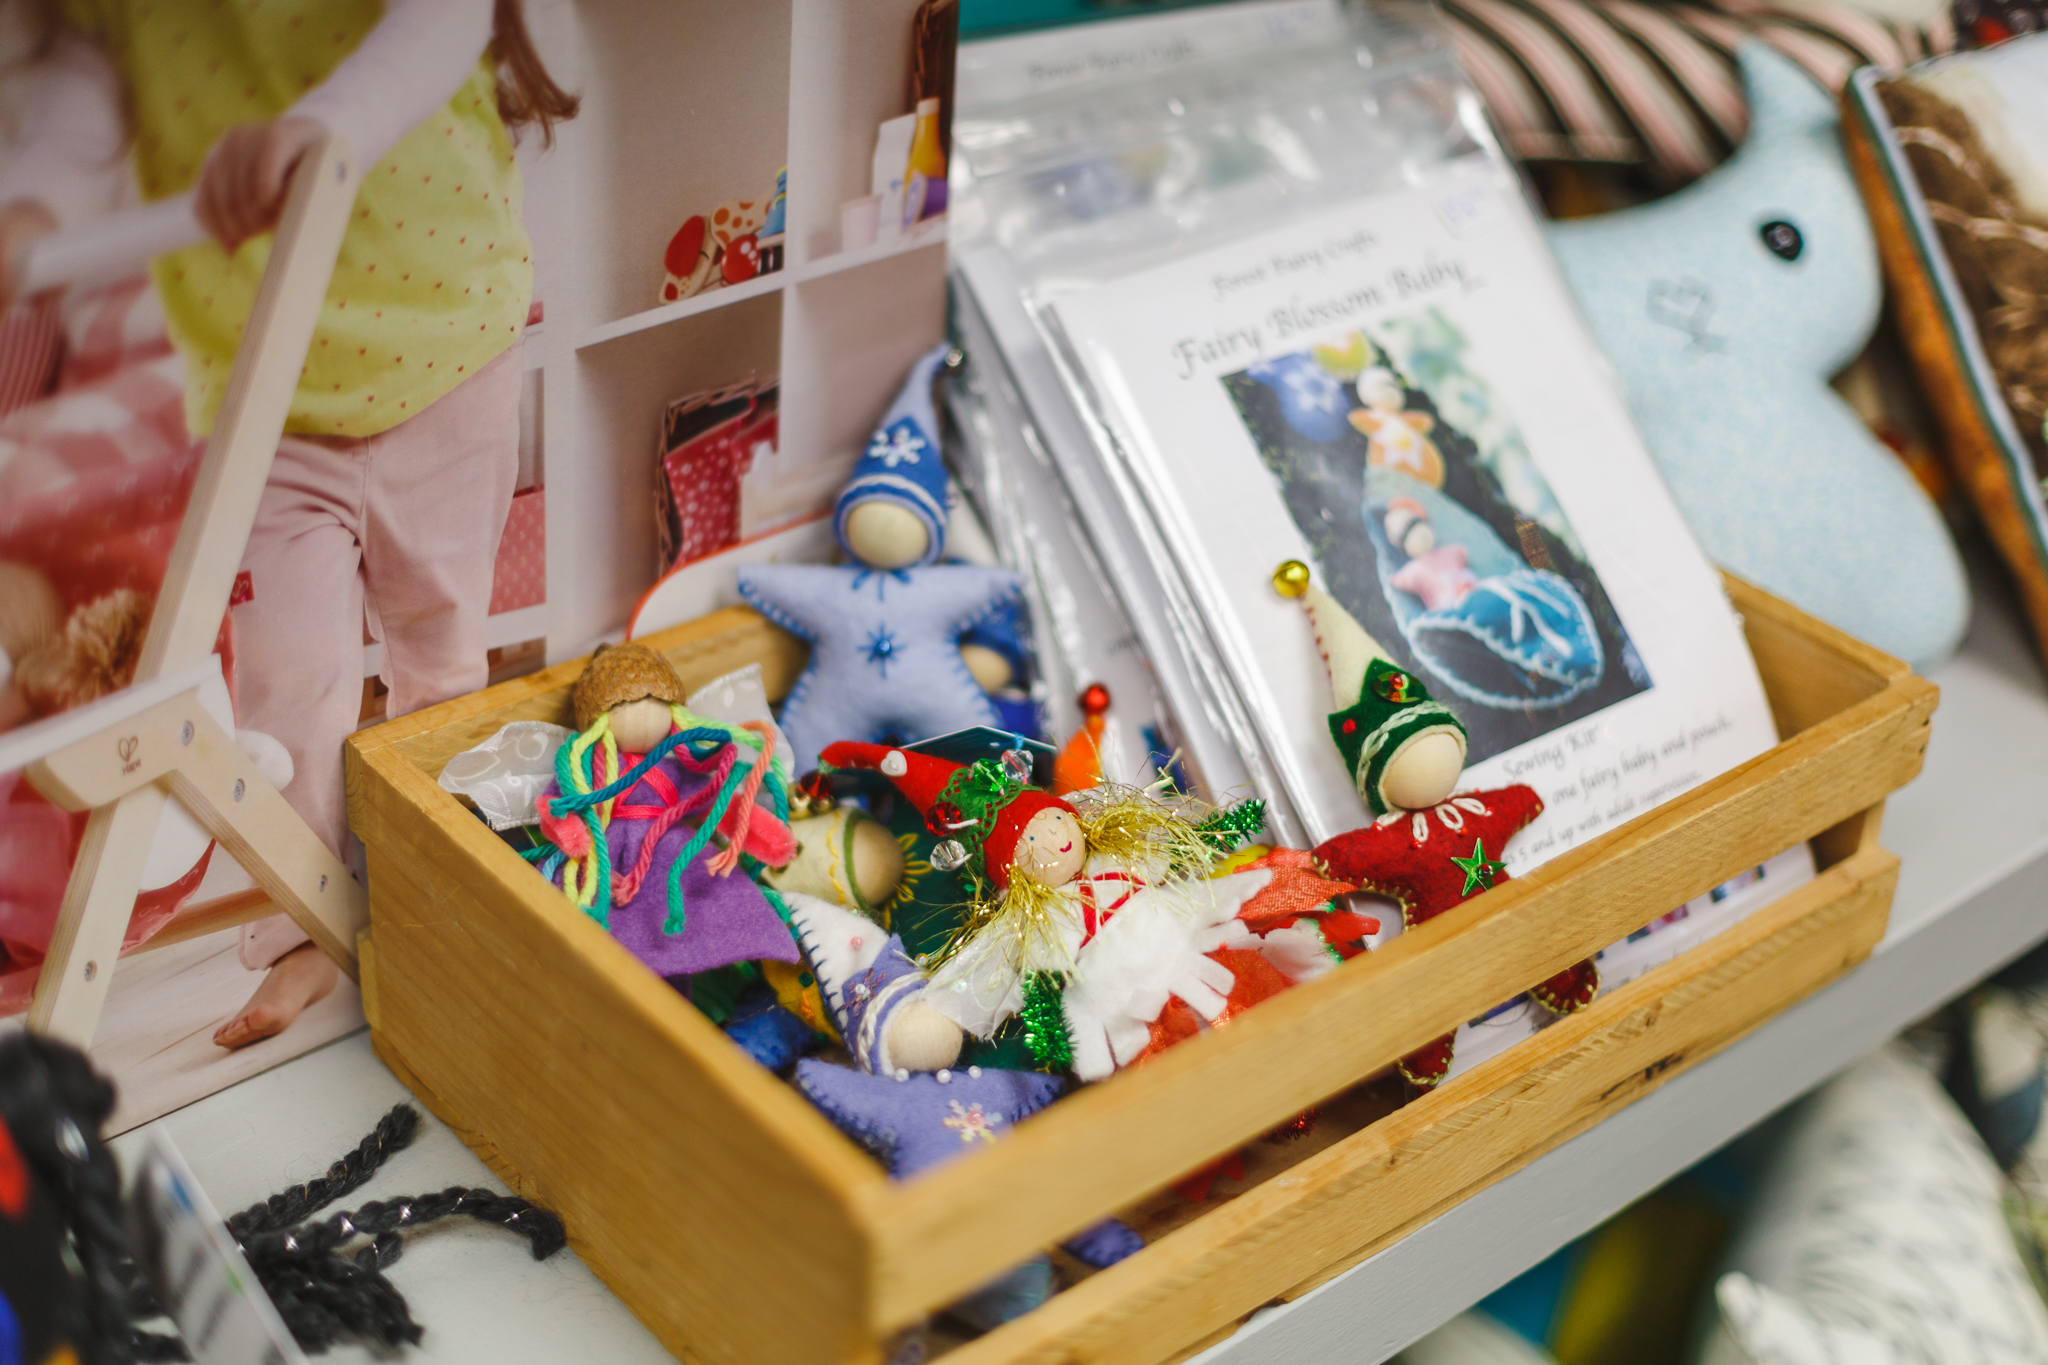
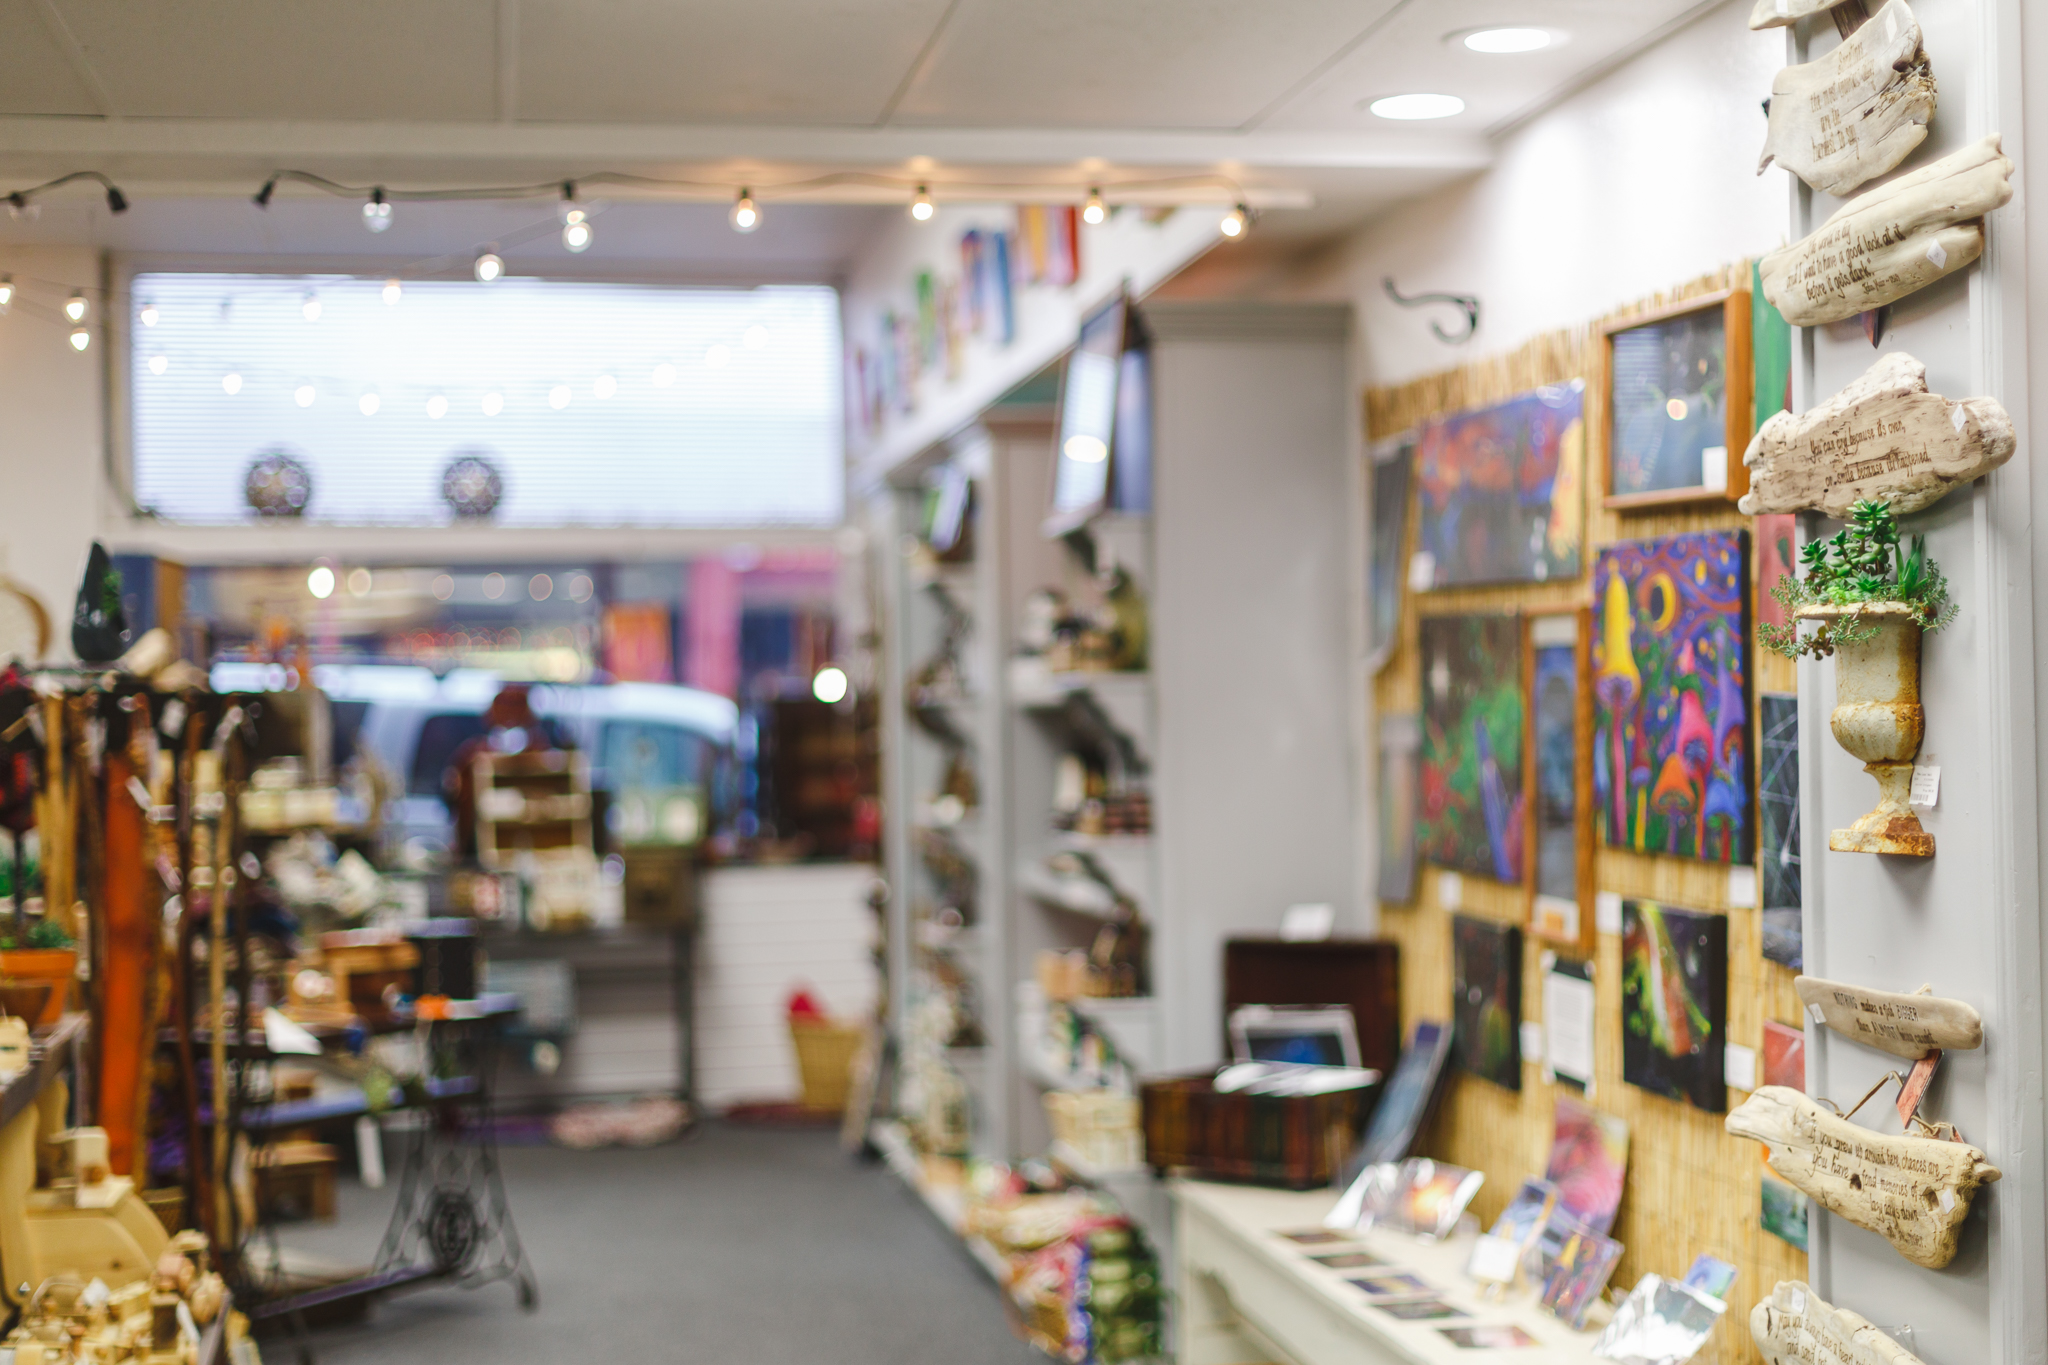
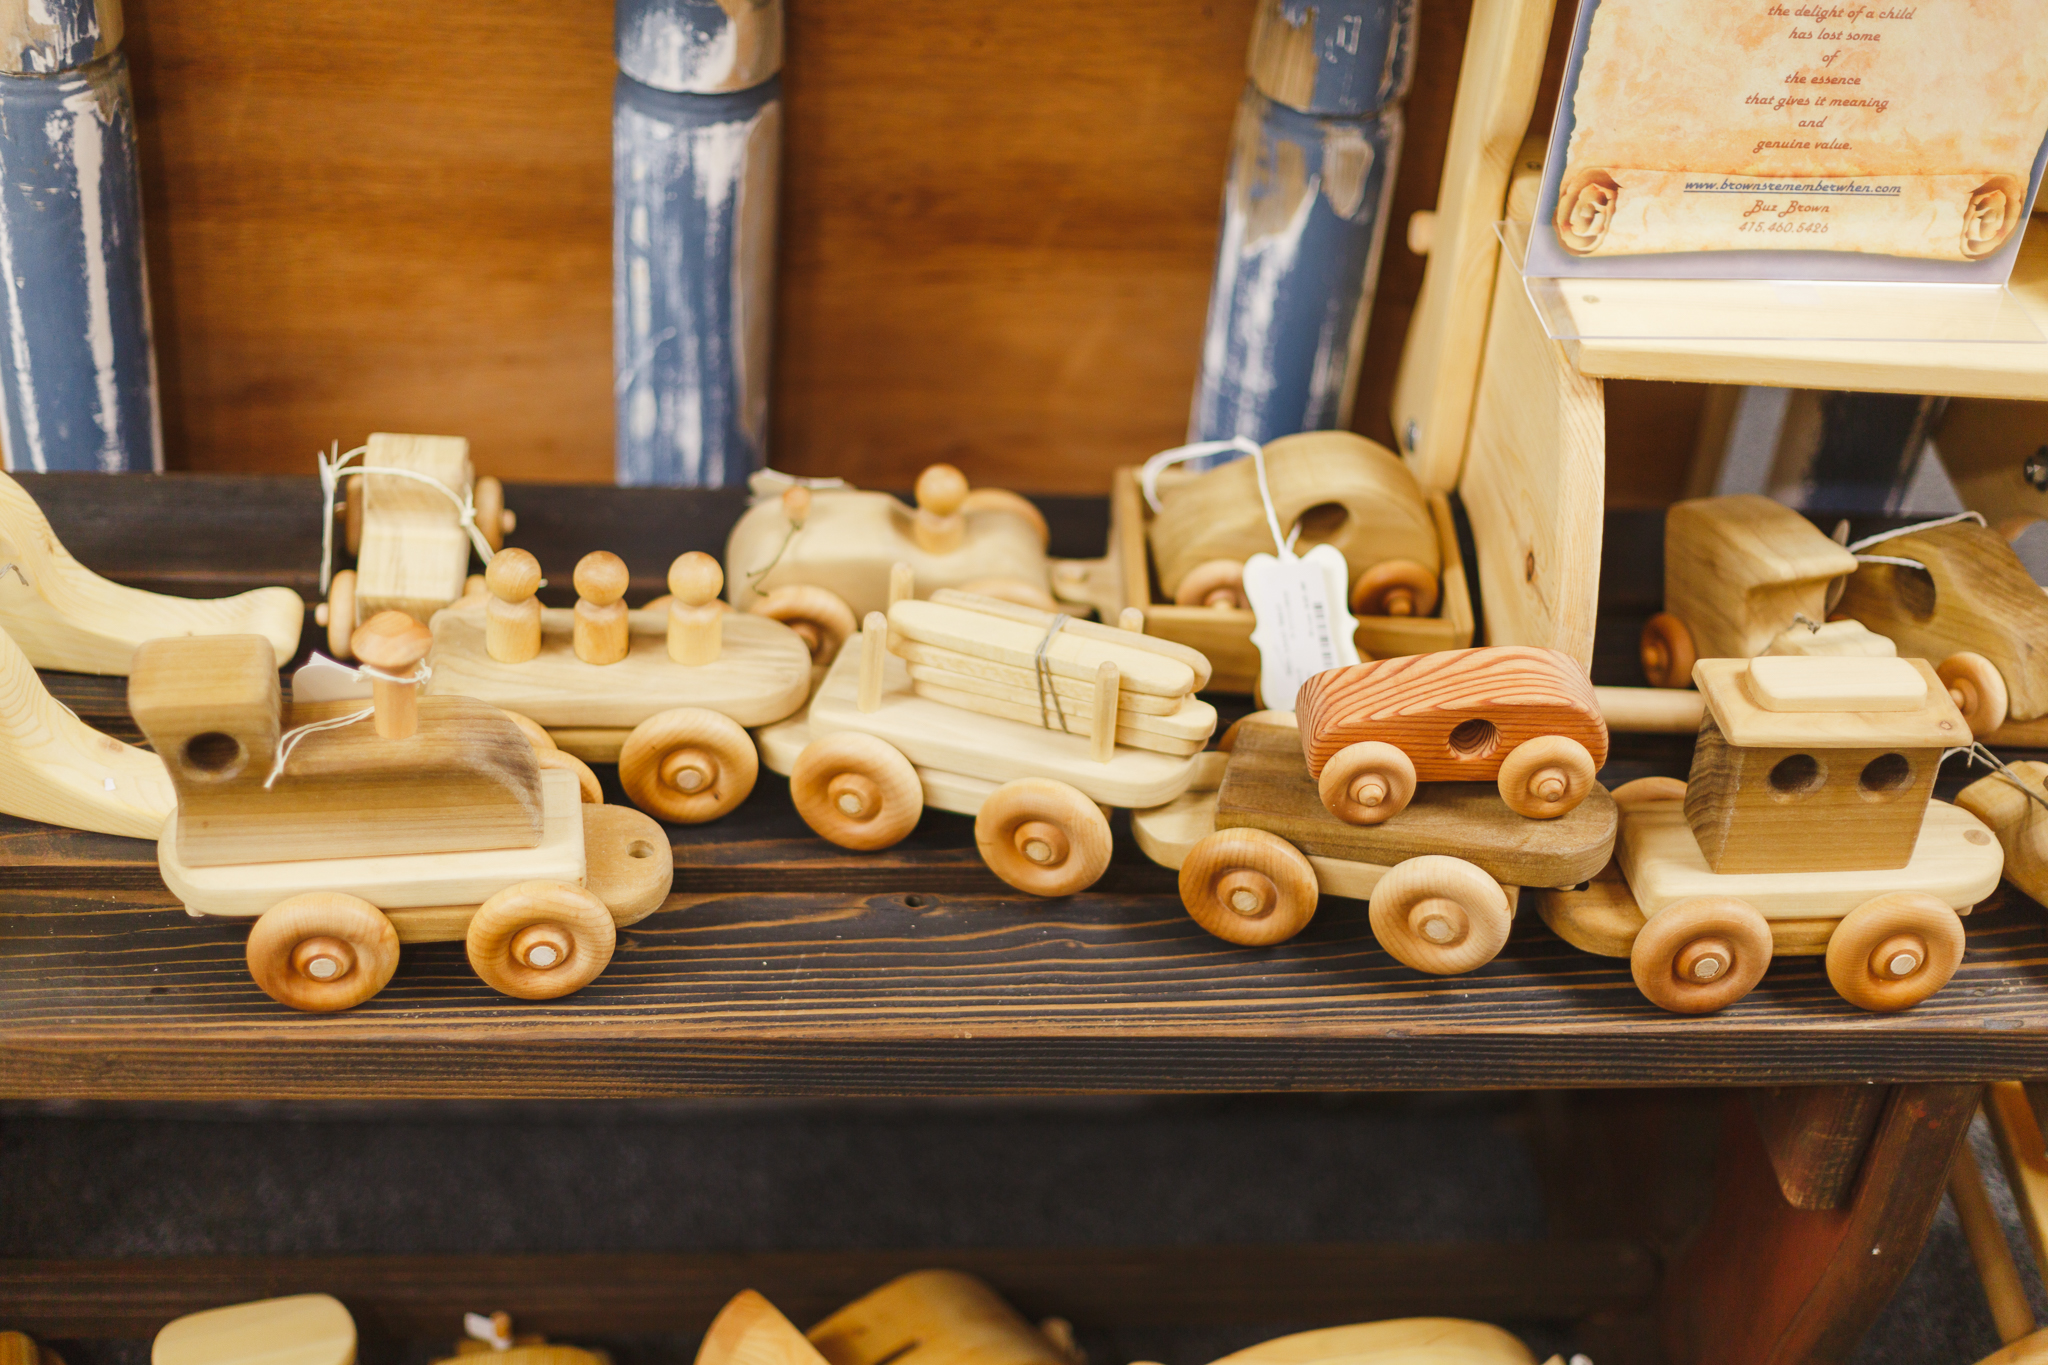
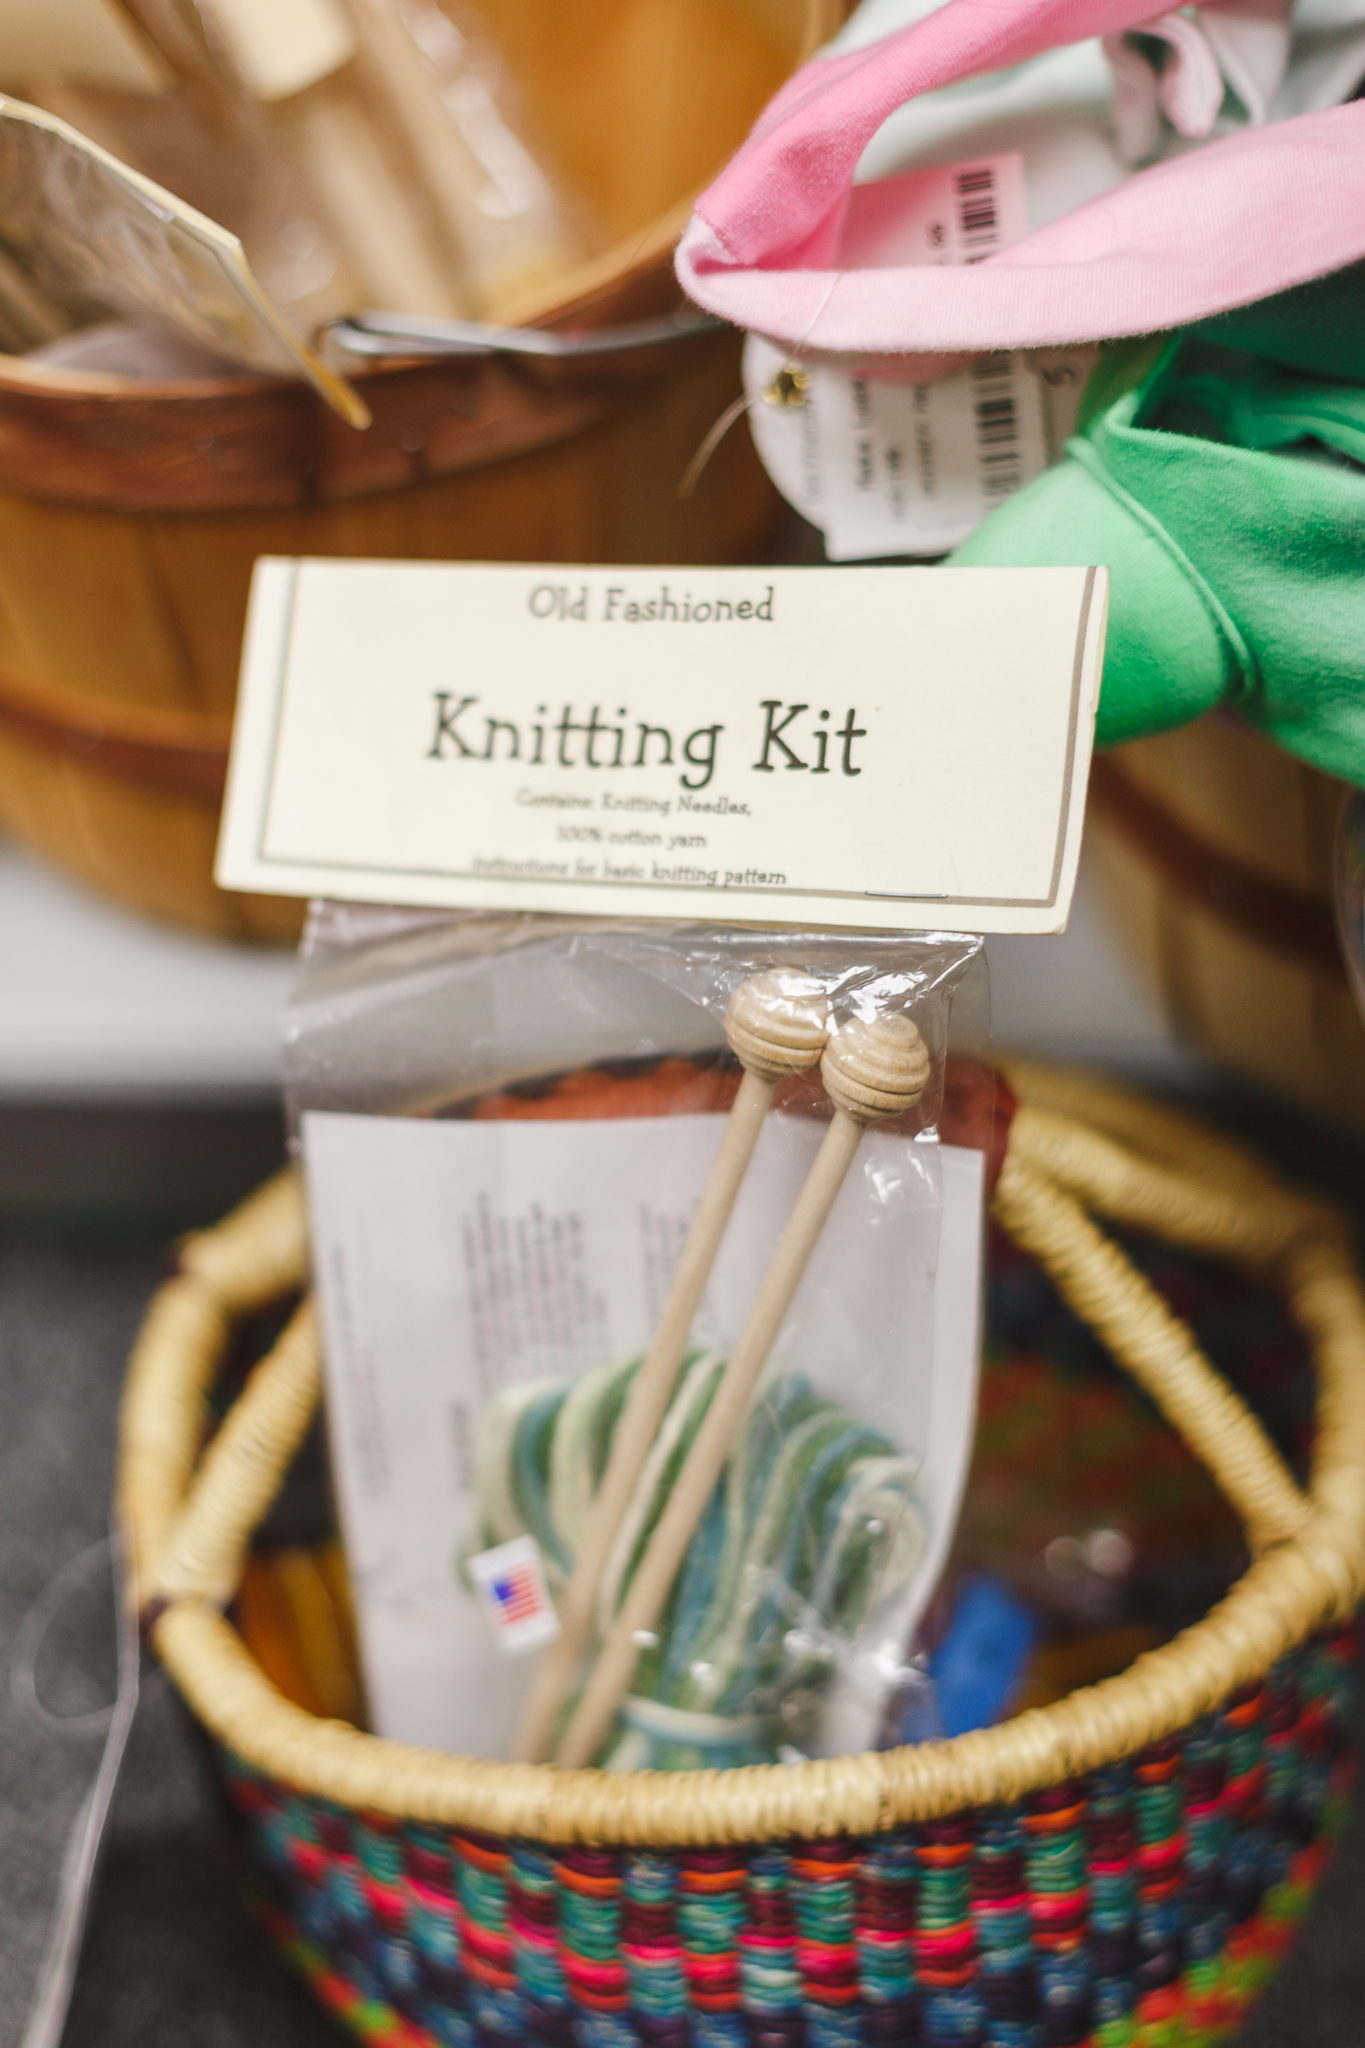
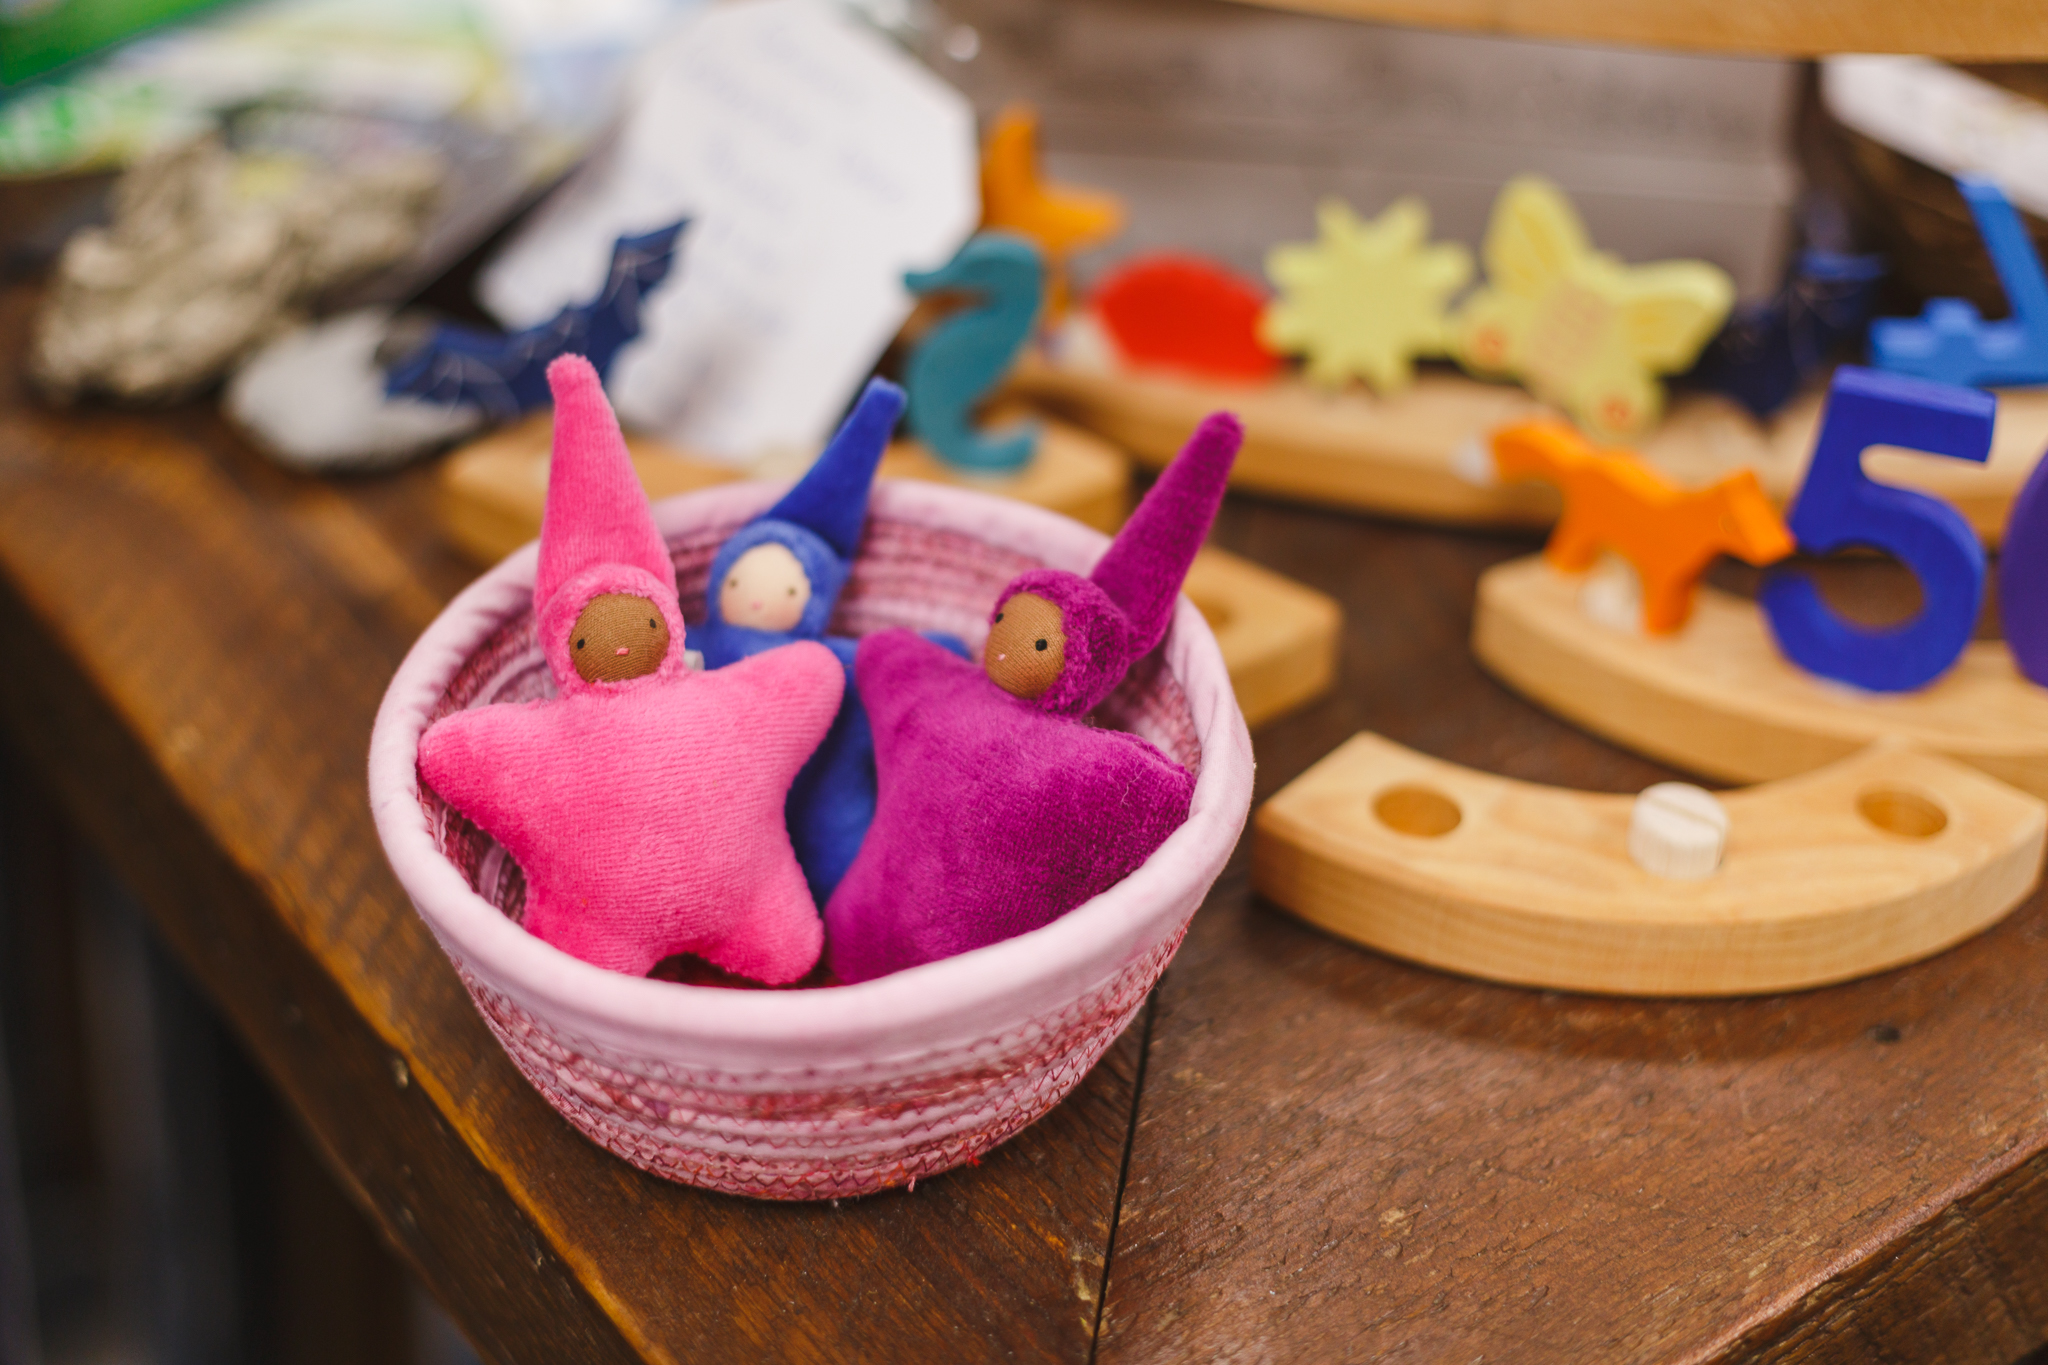
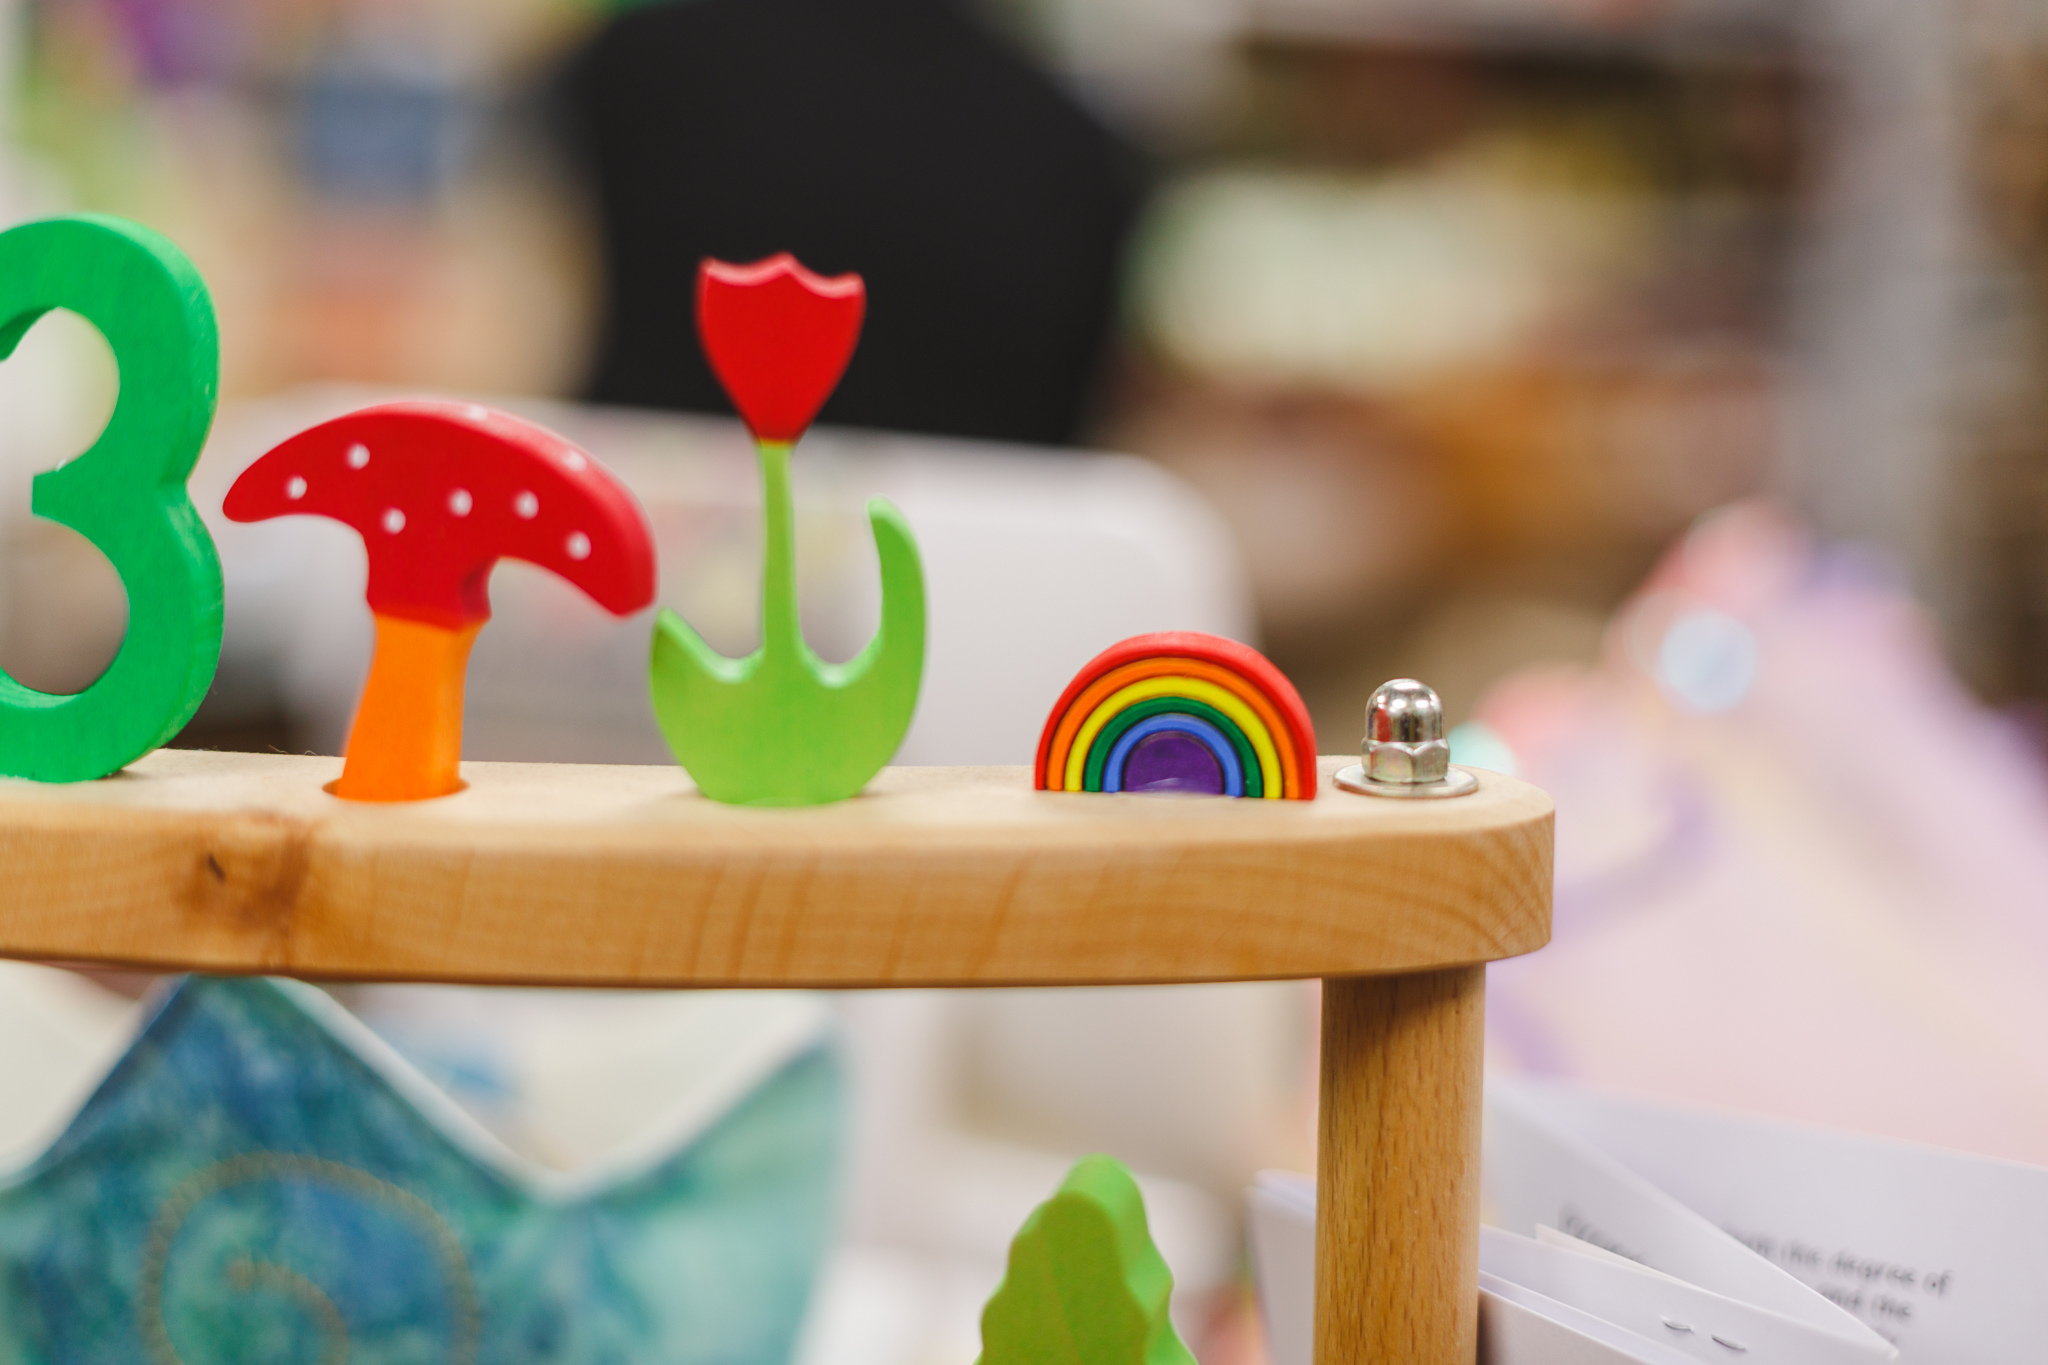
At Make Local Habit
Fairy Crafts are back at Make Local Habit in Grass Valley. We brought kits and finished fairies to the shop this week. Of course, while in the shop, I find dozens of treasures that I my kids and I want as well. Make Local Habit carries local artists along with natural toys, beautiful books, and creative games.
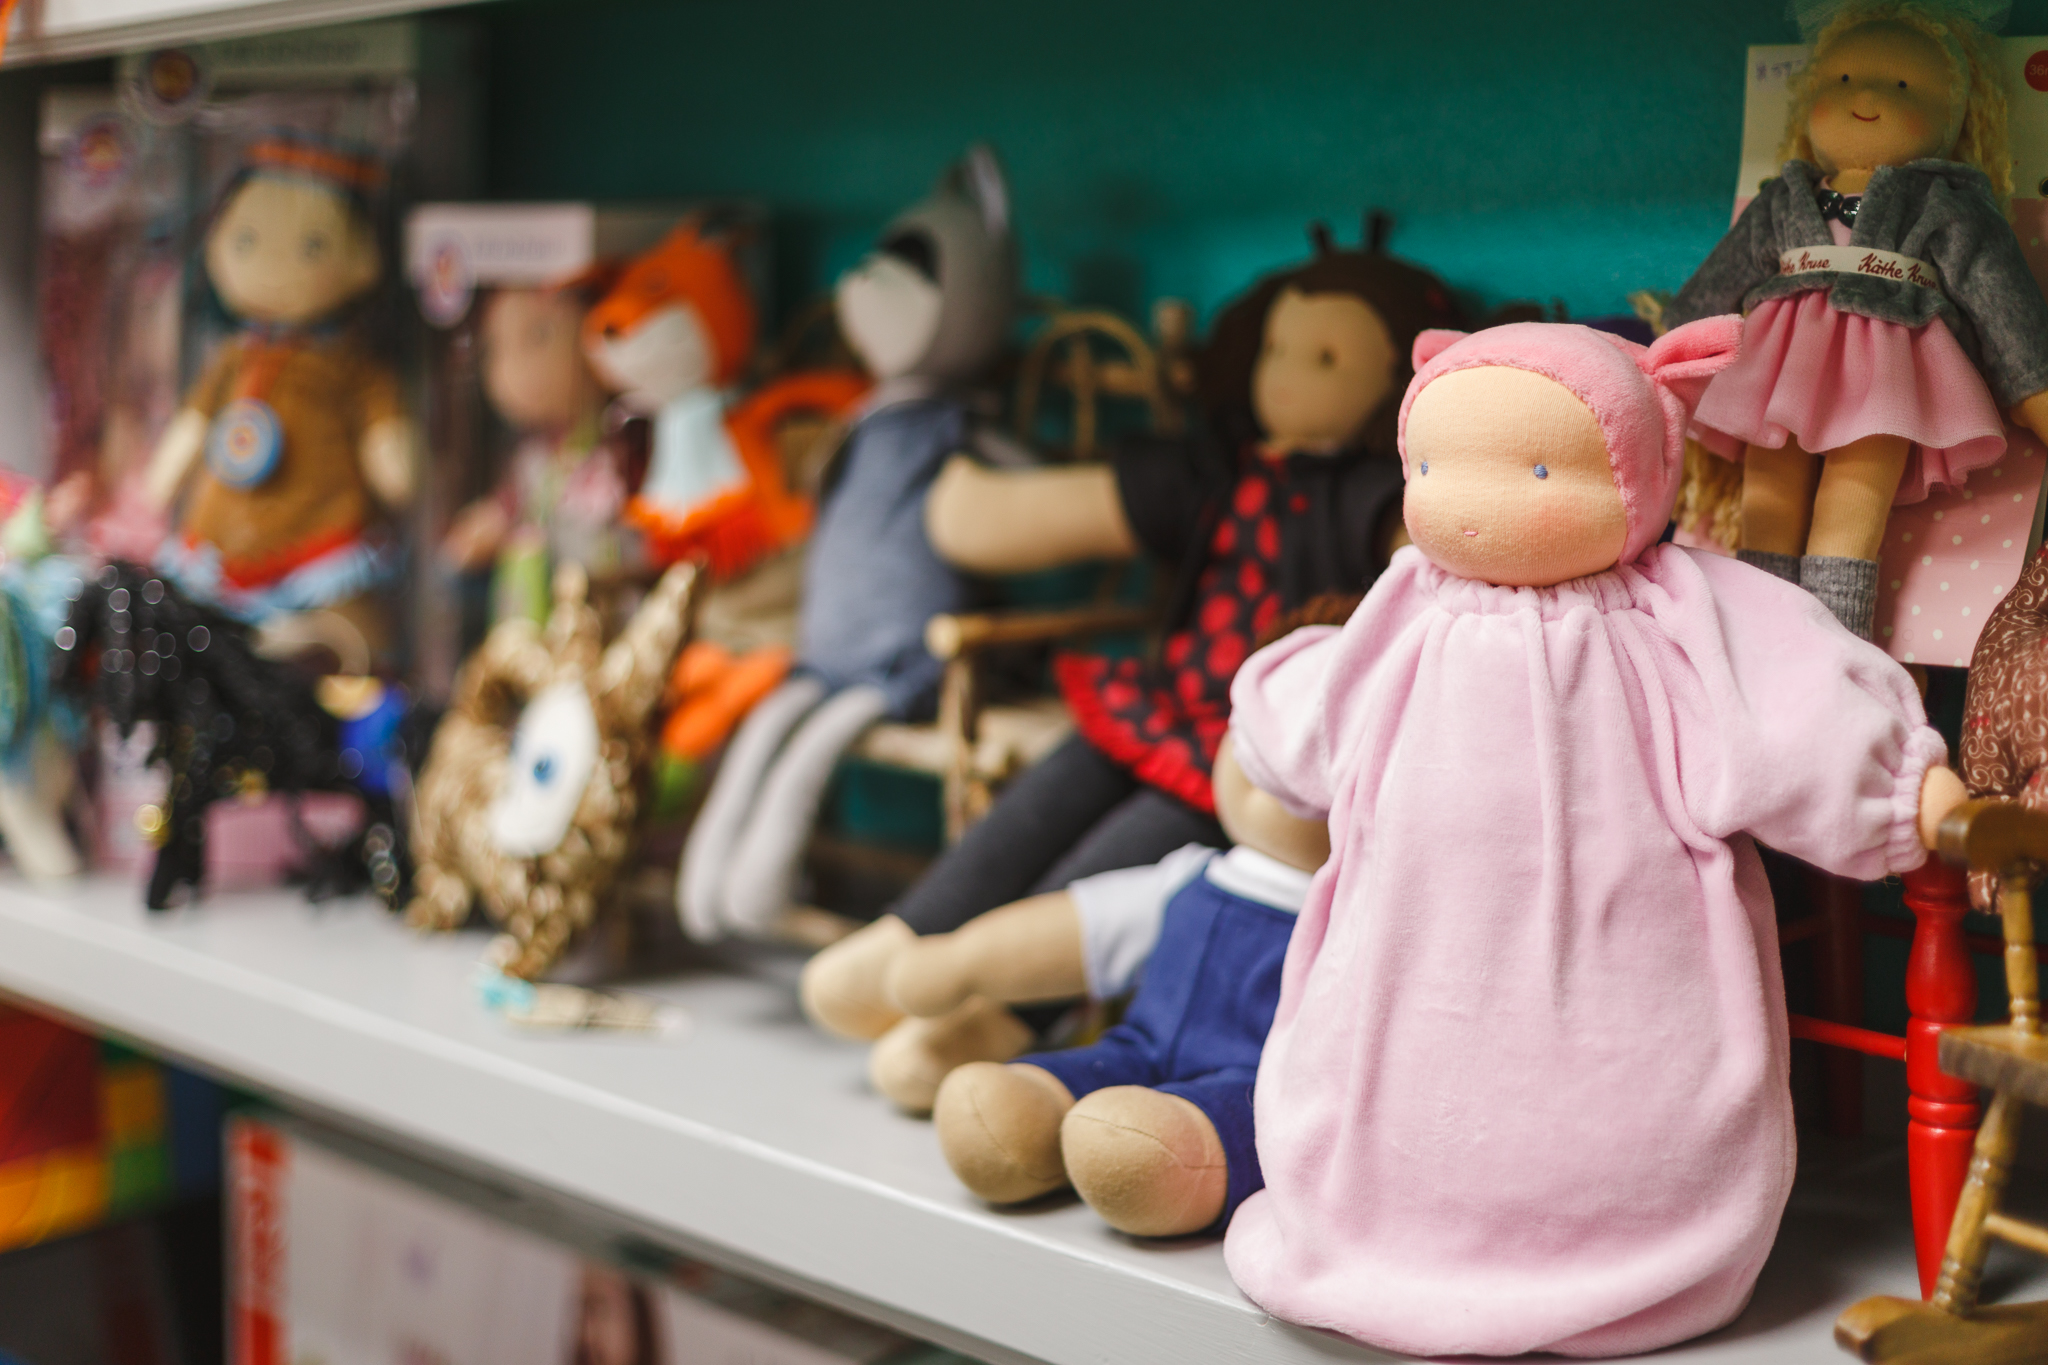
Our fairy is having fun playing with unicorns handmade by Kiya's Naturals Childhood Treasures. At least until he gets to go home with a new friend.
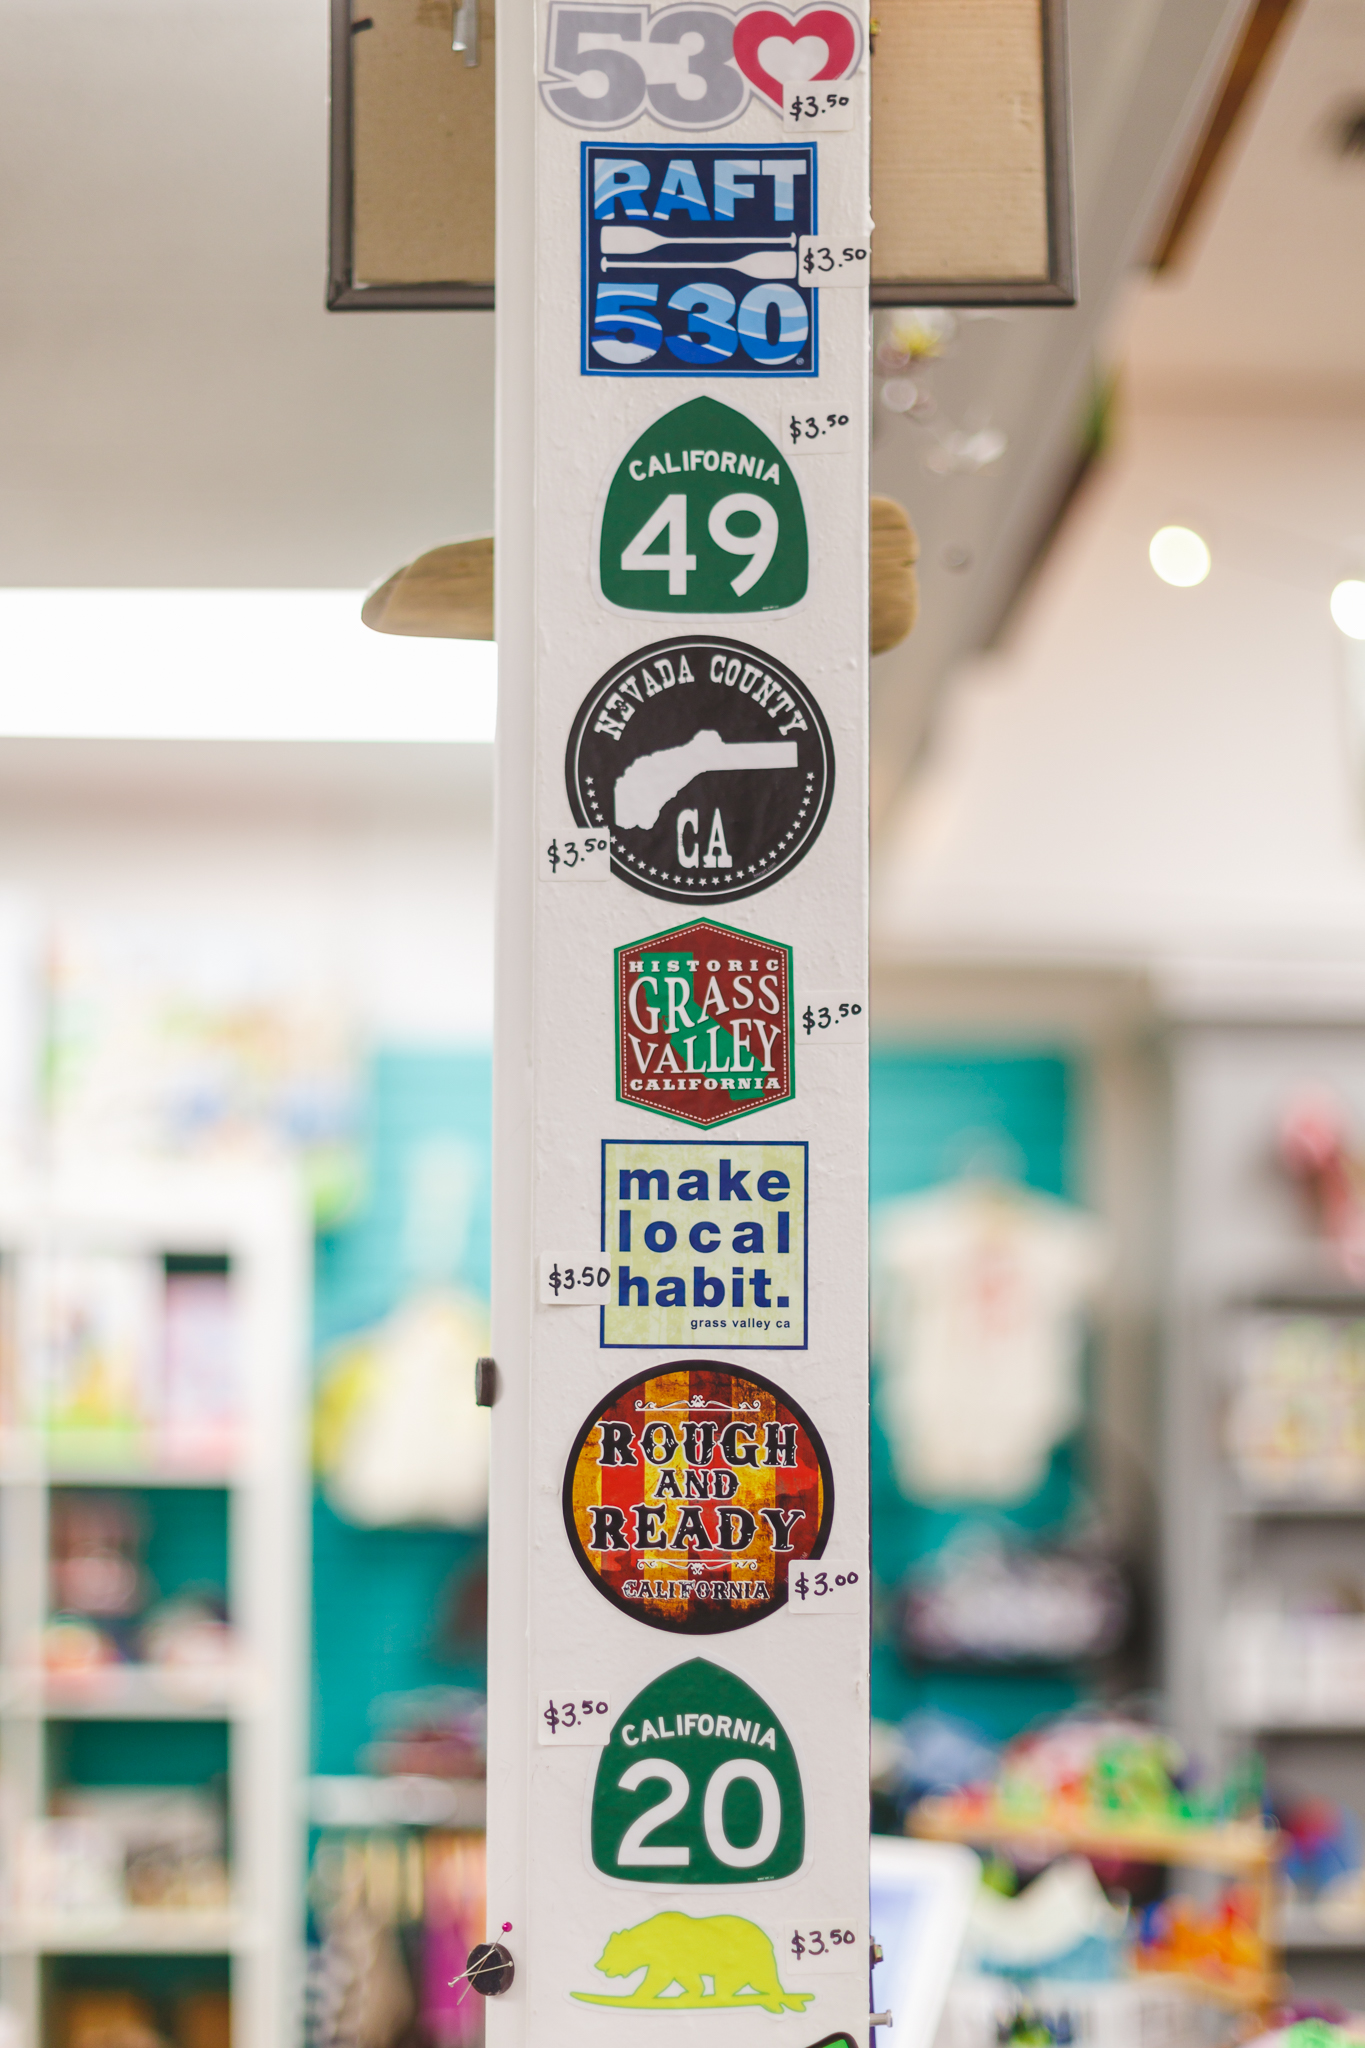
I know that we will be going here for holiday shopping. From the carved wood toys to Nevada County stickers, all sorts of treasures are waiting to be found. Asia and I are bringing new things every couple of weeks. If you have a special order, let us know. We're excited to be back on the shelves at this special store!
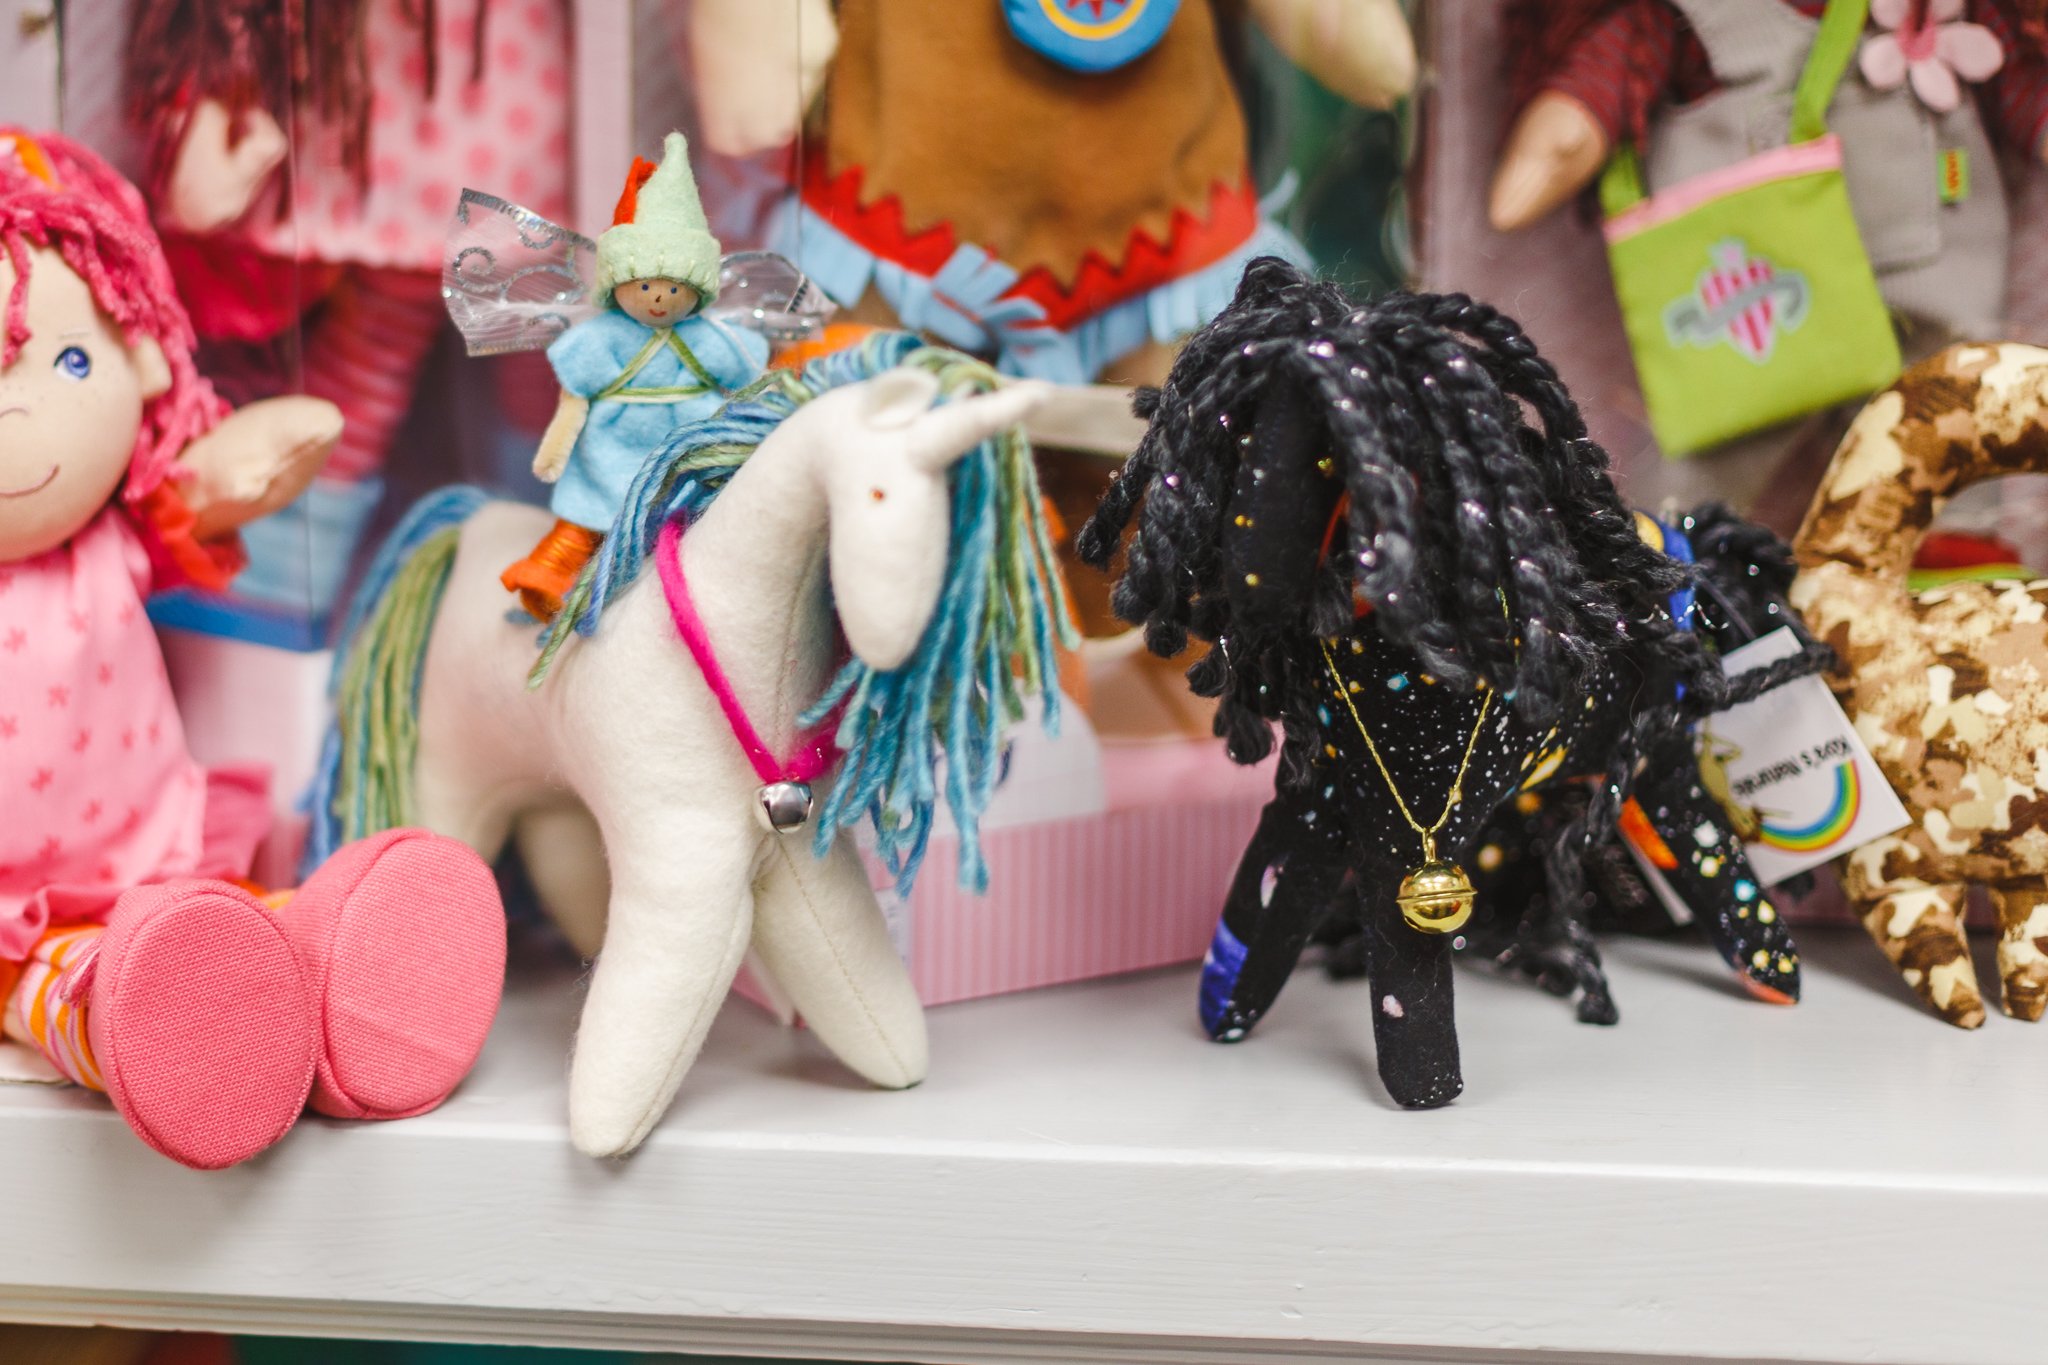
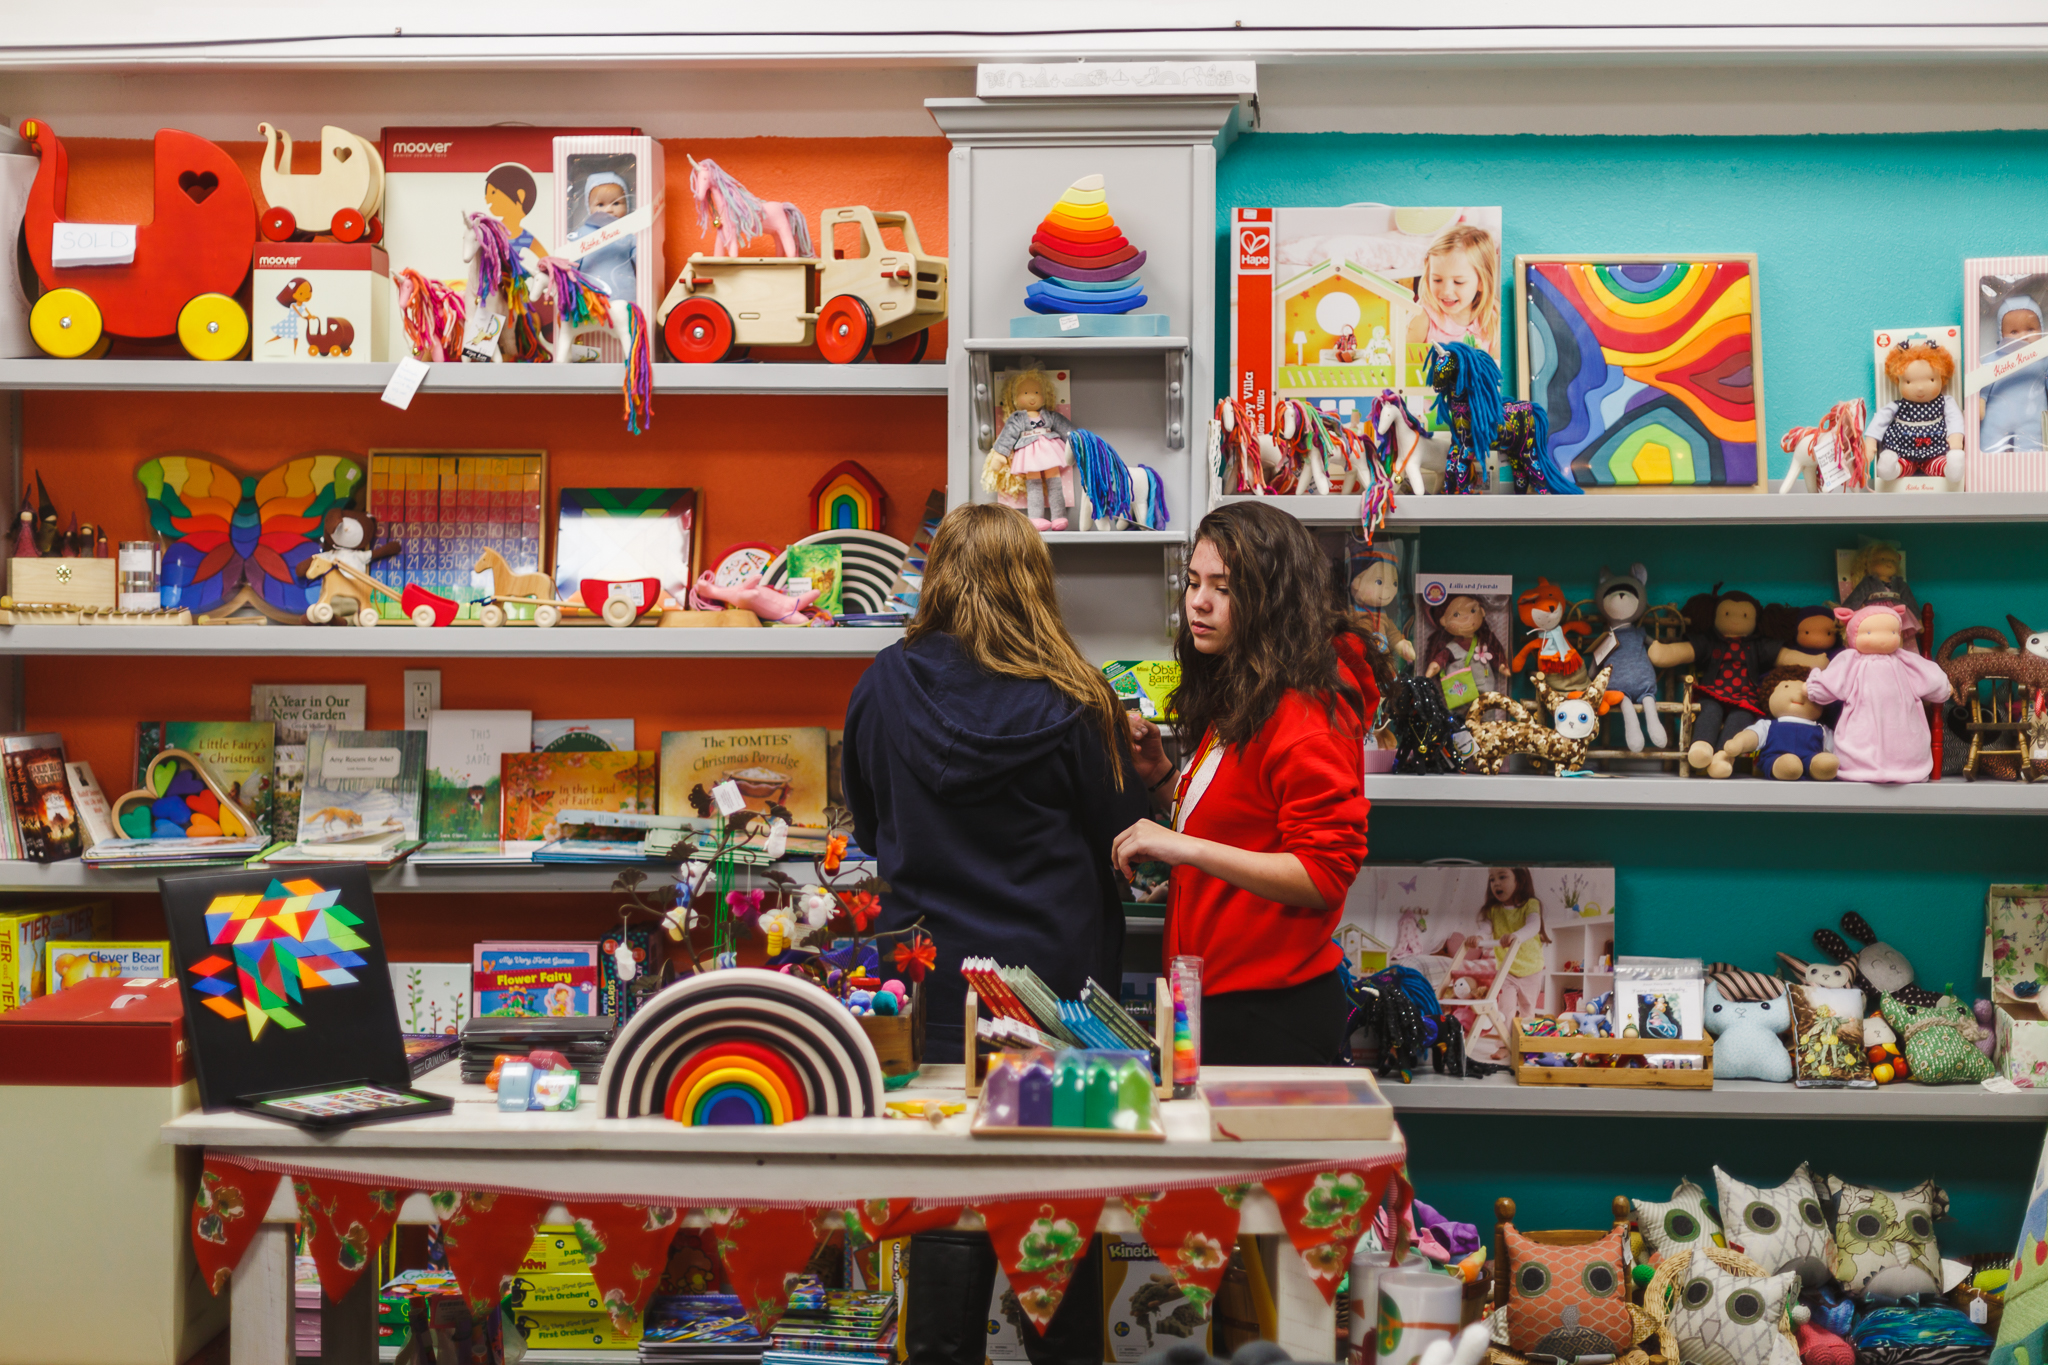
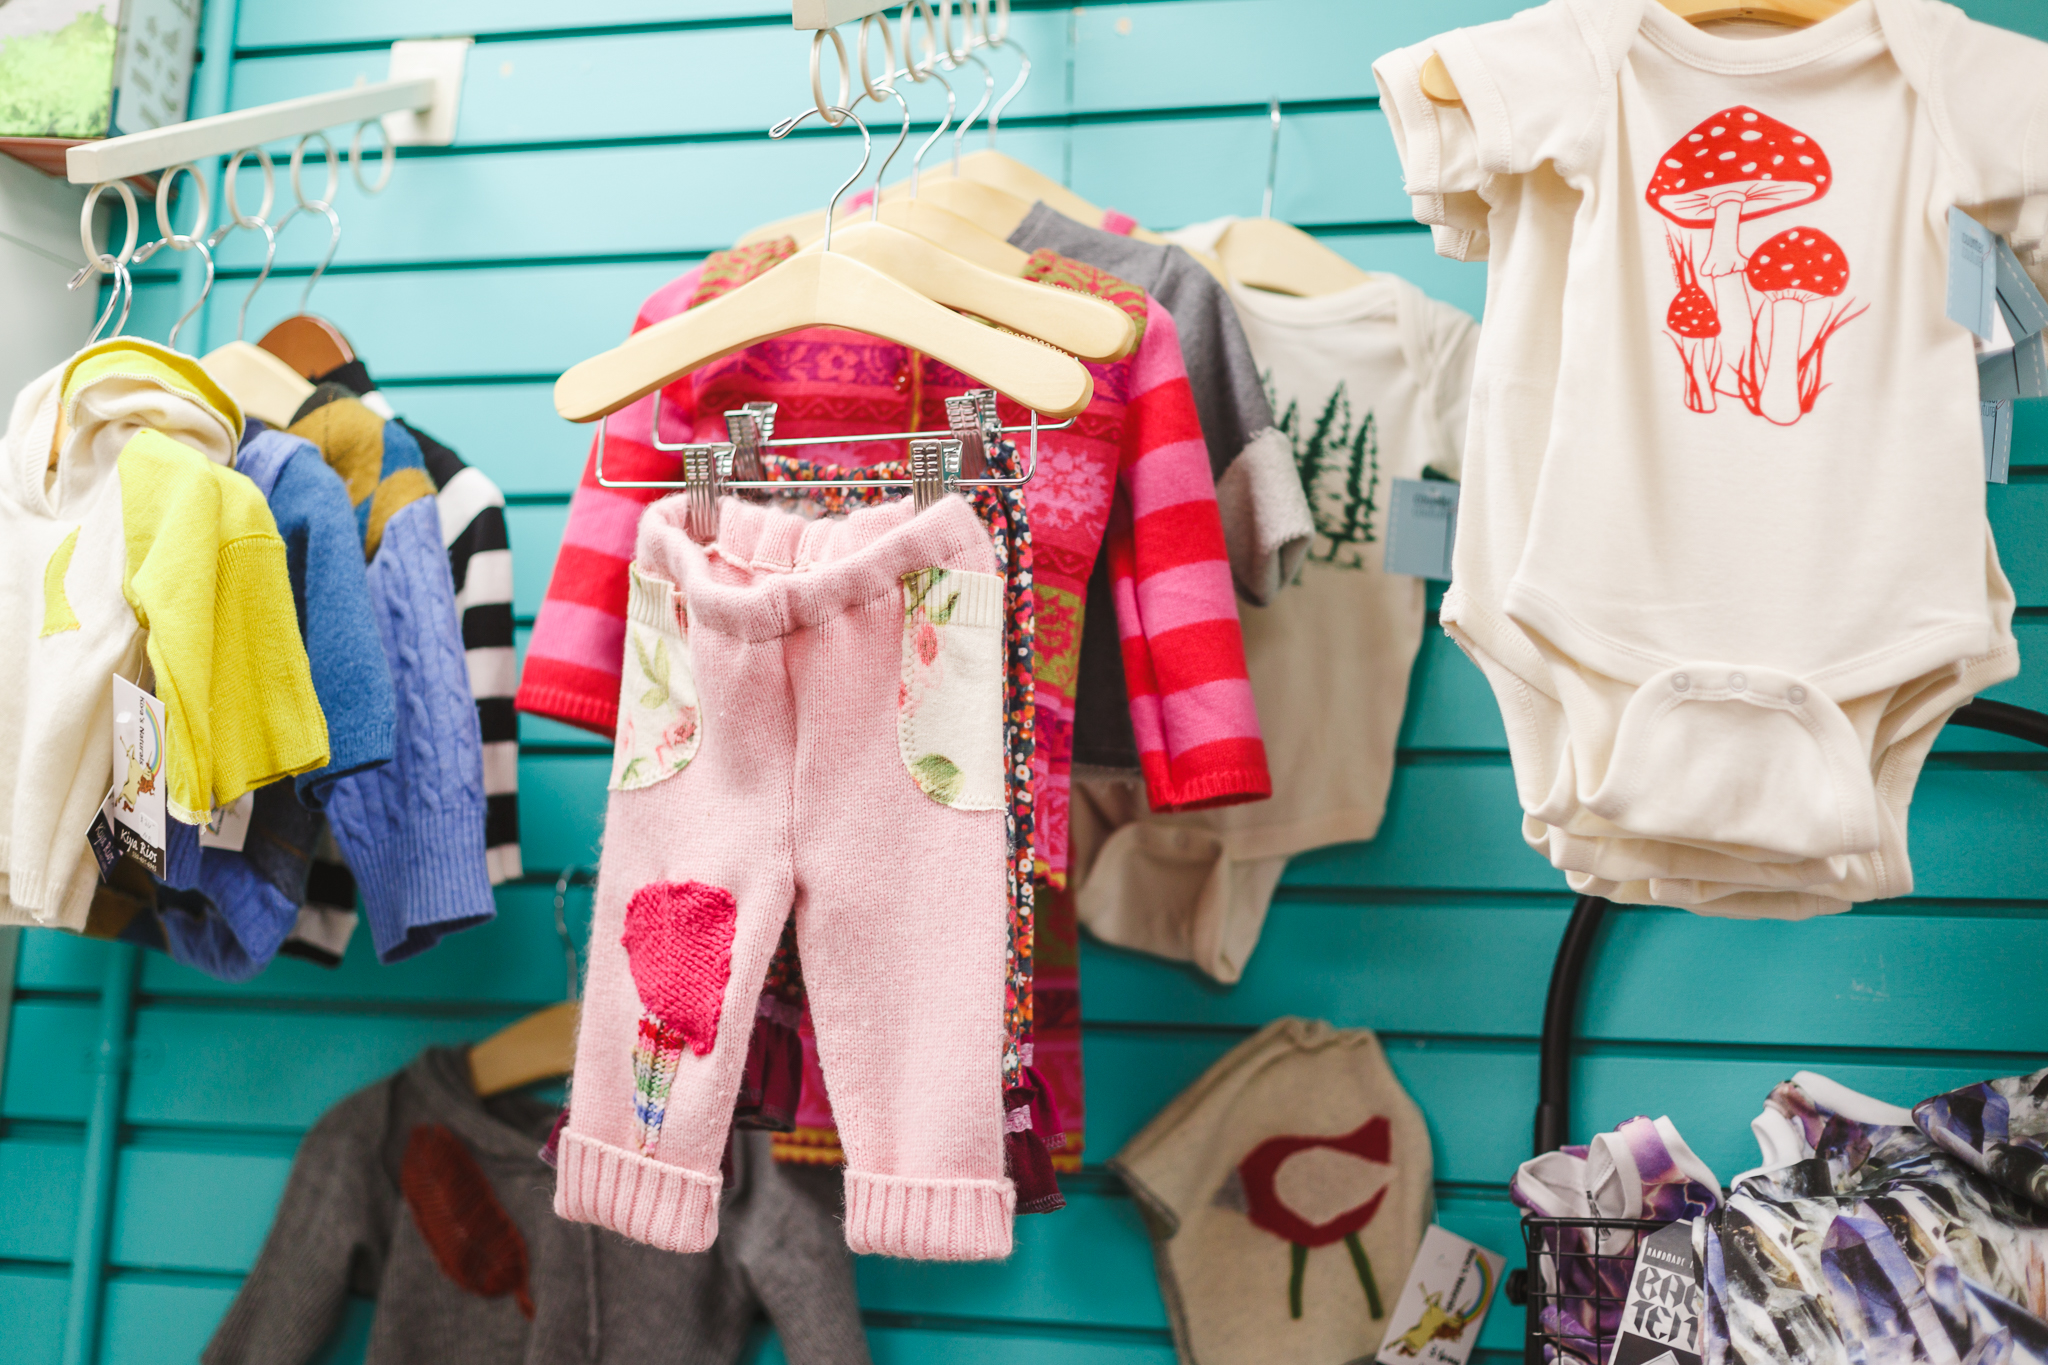
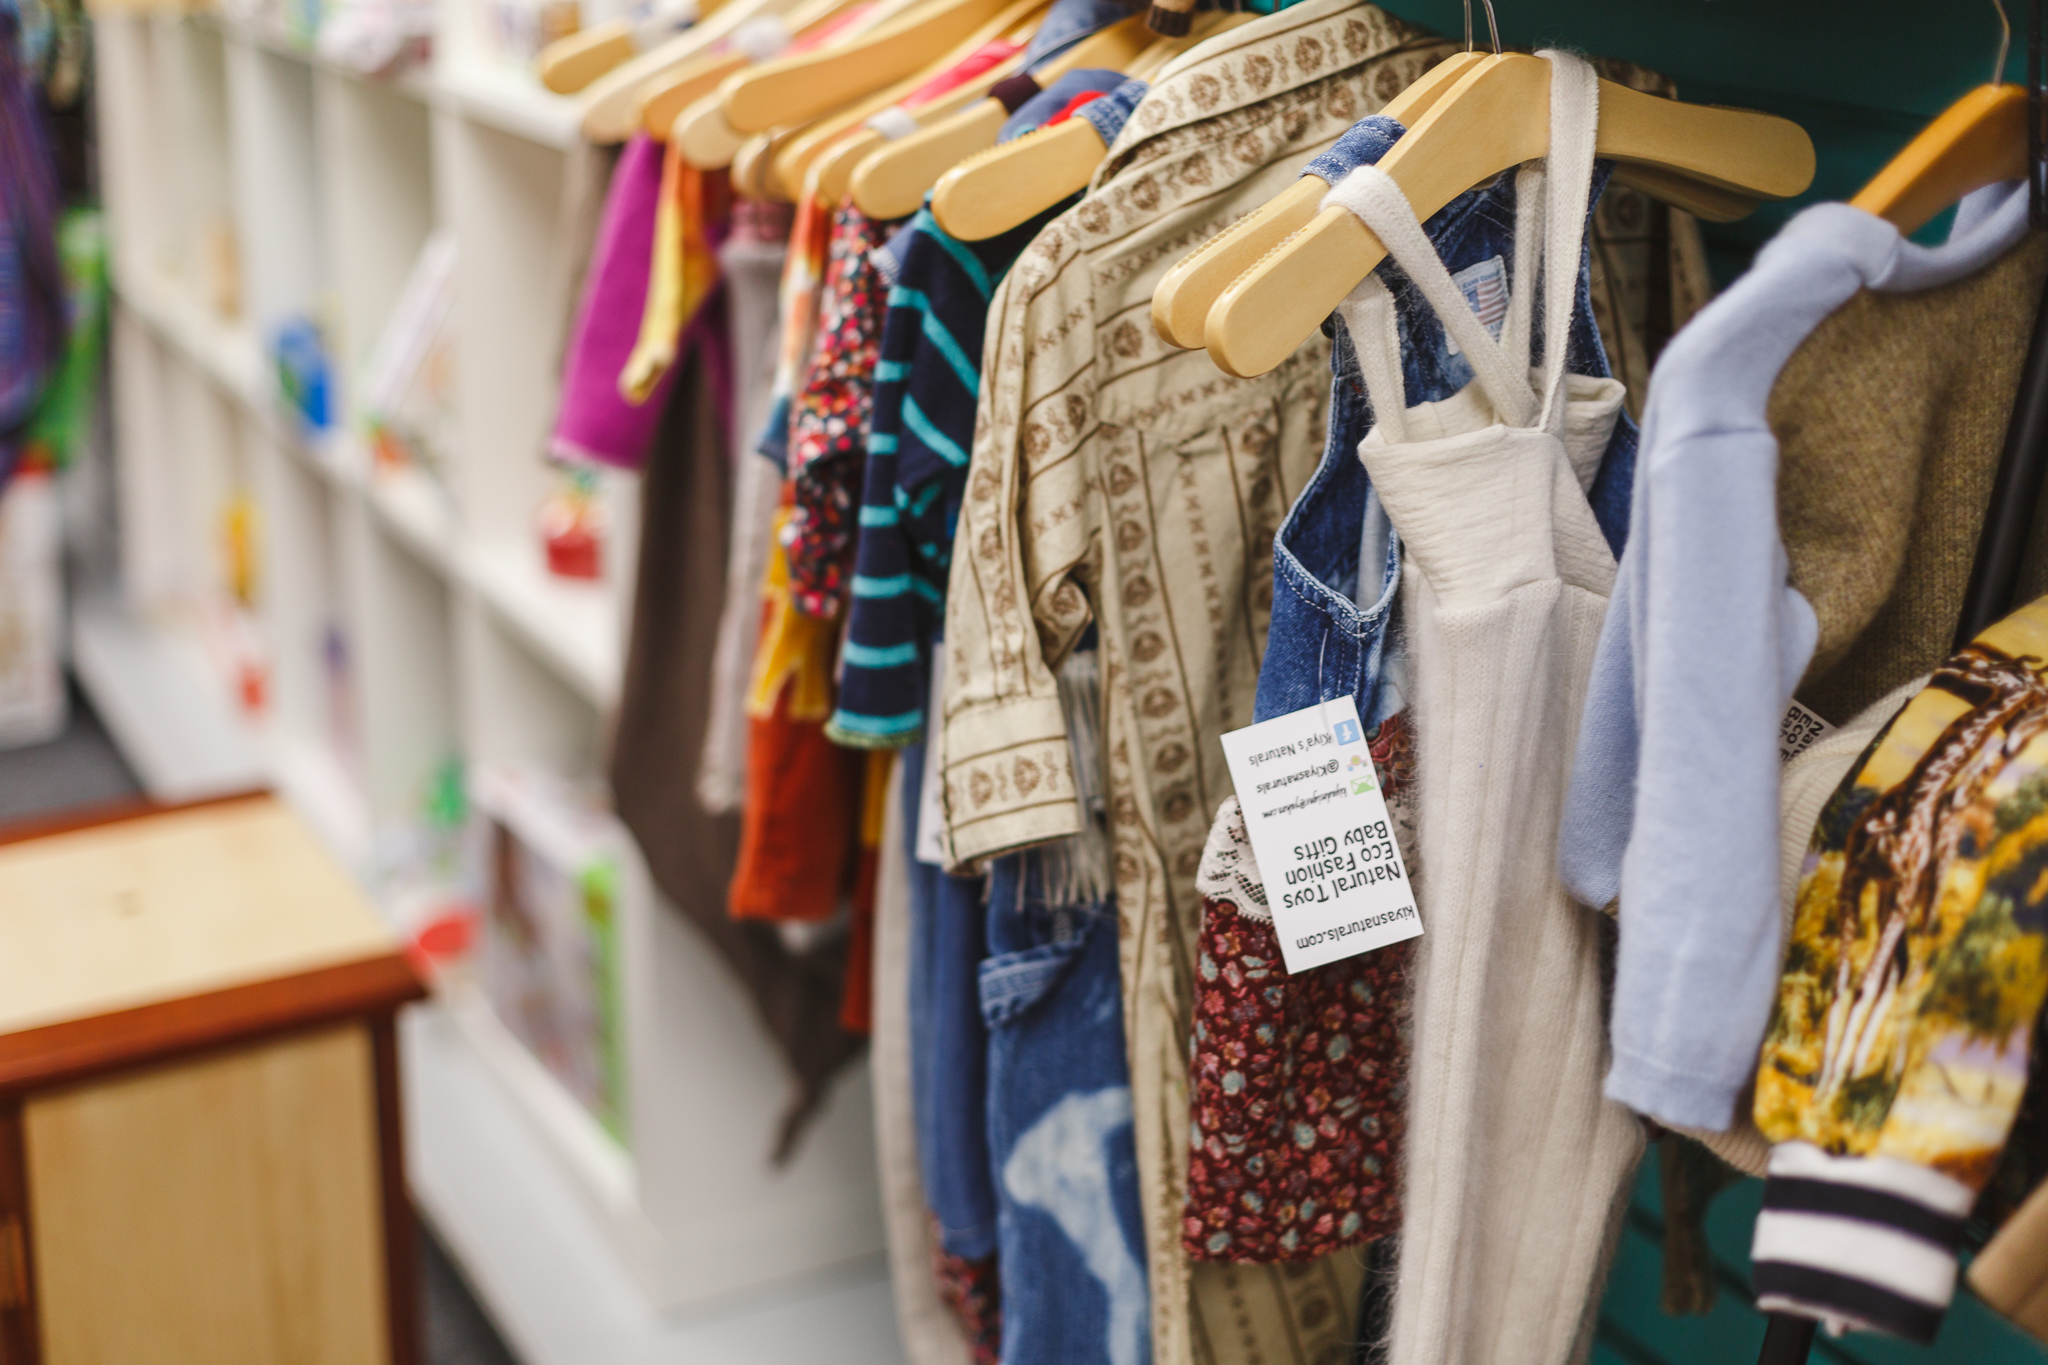
In addition to the other goodies, Kiya sews clothing for children and adults by upcycling quality clothing. Her styes are eclectic and fun.
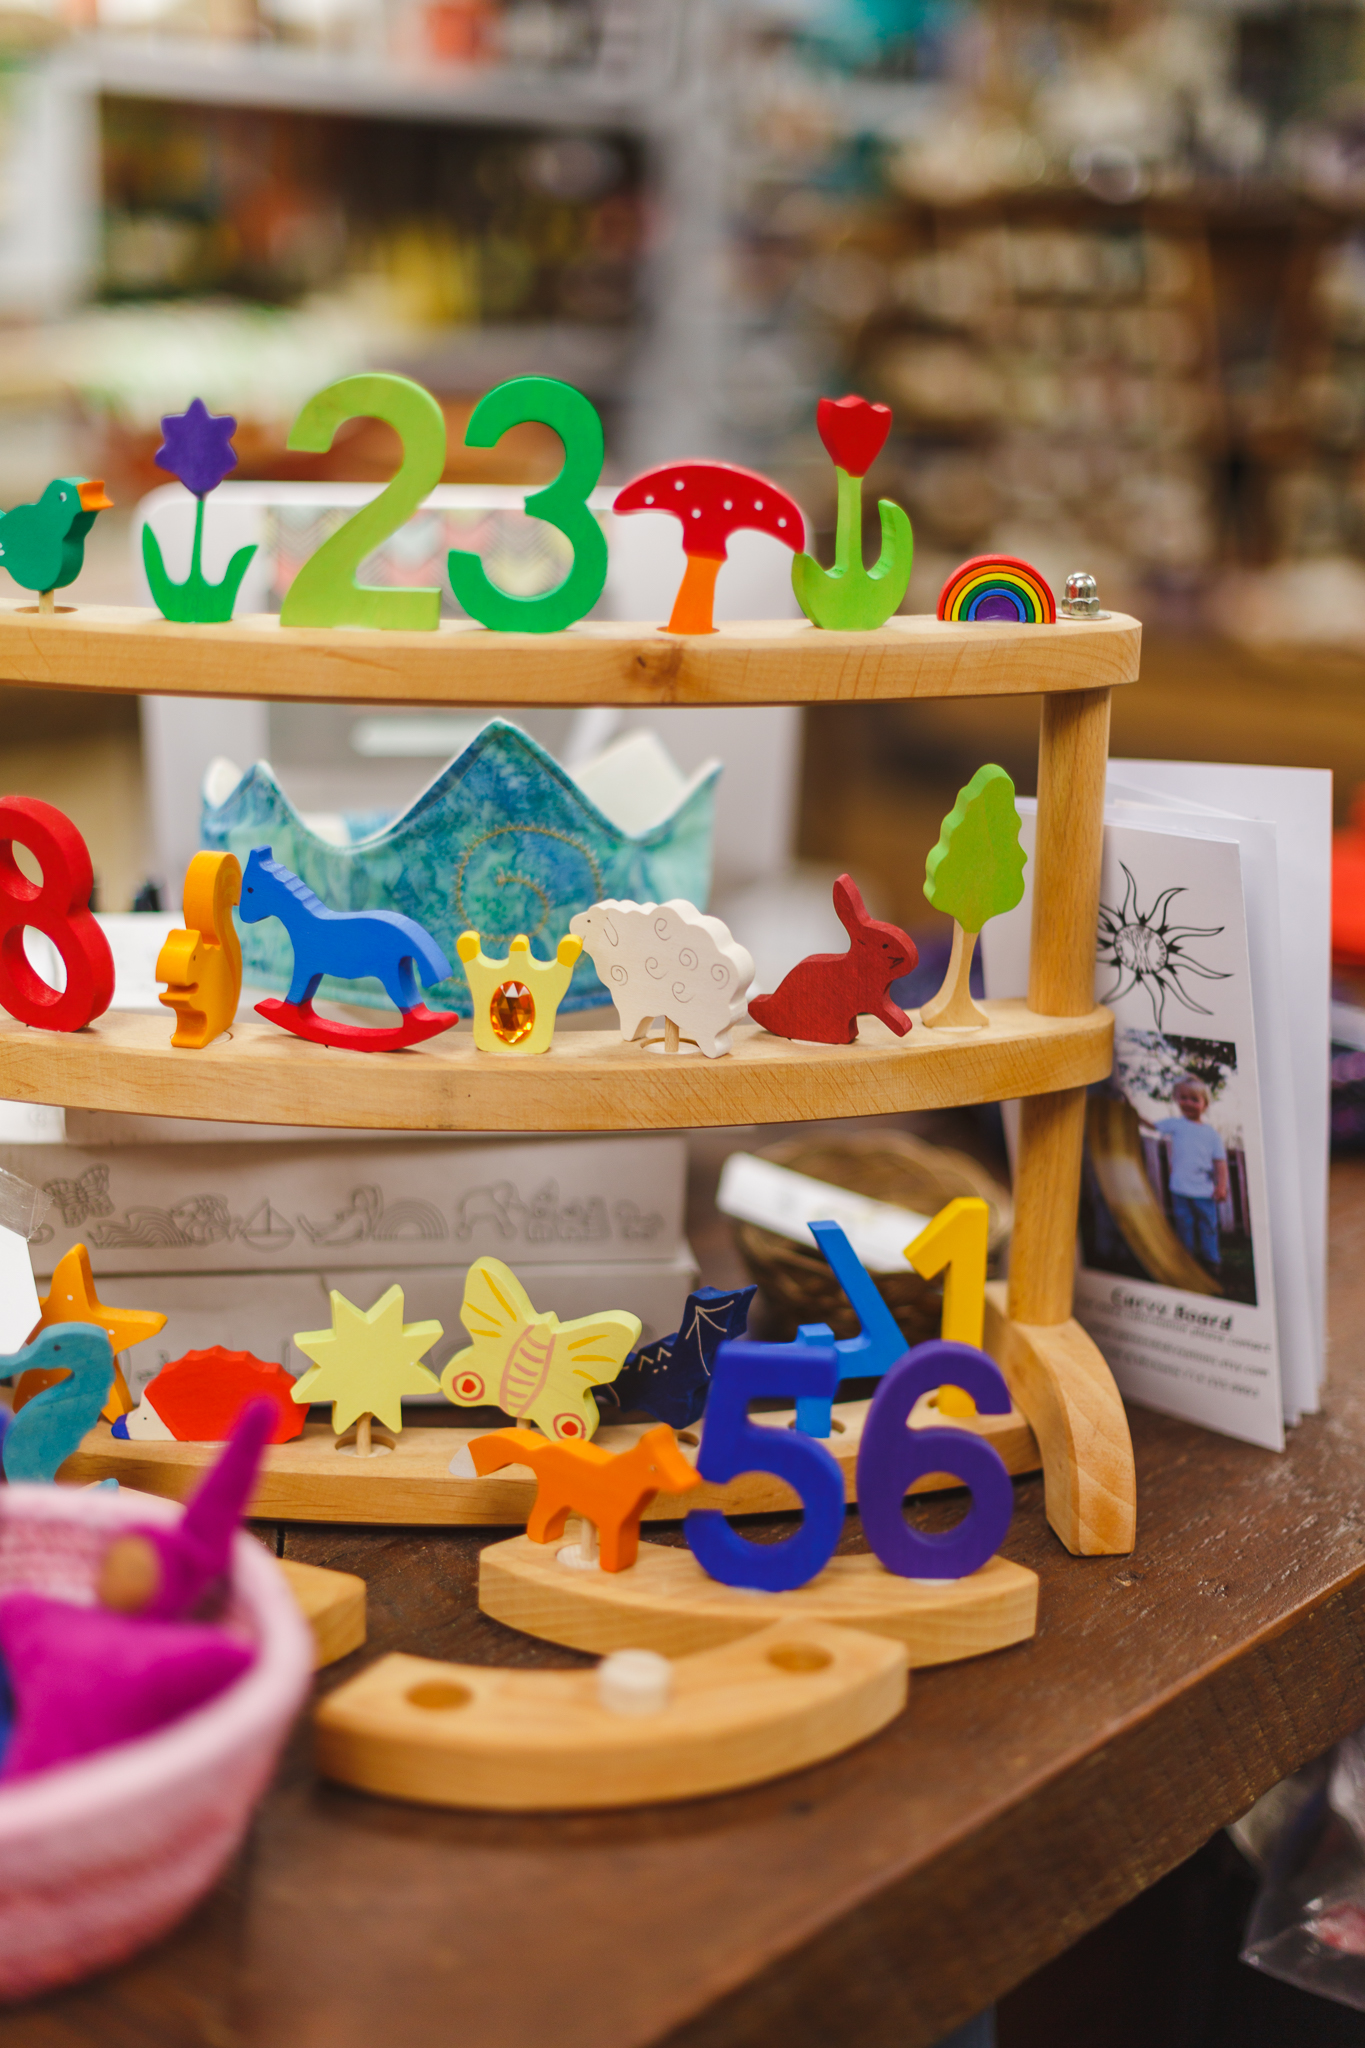
Not all of the toys featured here are Fairy Crafts- I love the little soft star babies, knitting kits, and pegs for birthday rings. We are constantly inspired by new ideas. The little knitting kit is a brilliant way to inspire a young knitter.
We look enjoy being part of this a community of local artisans!

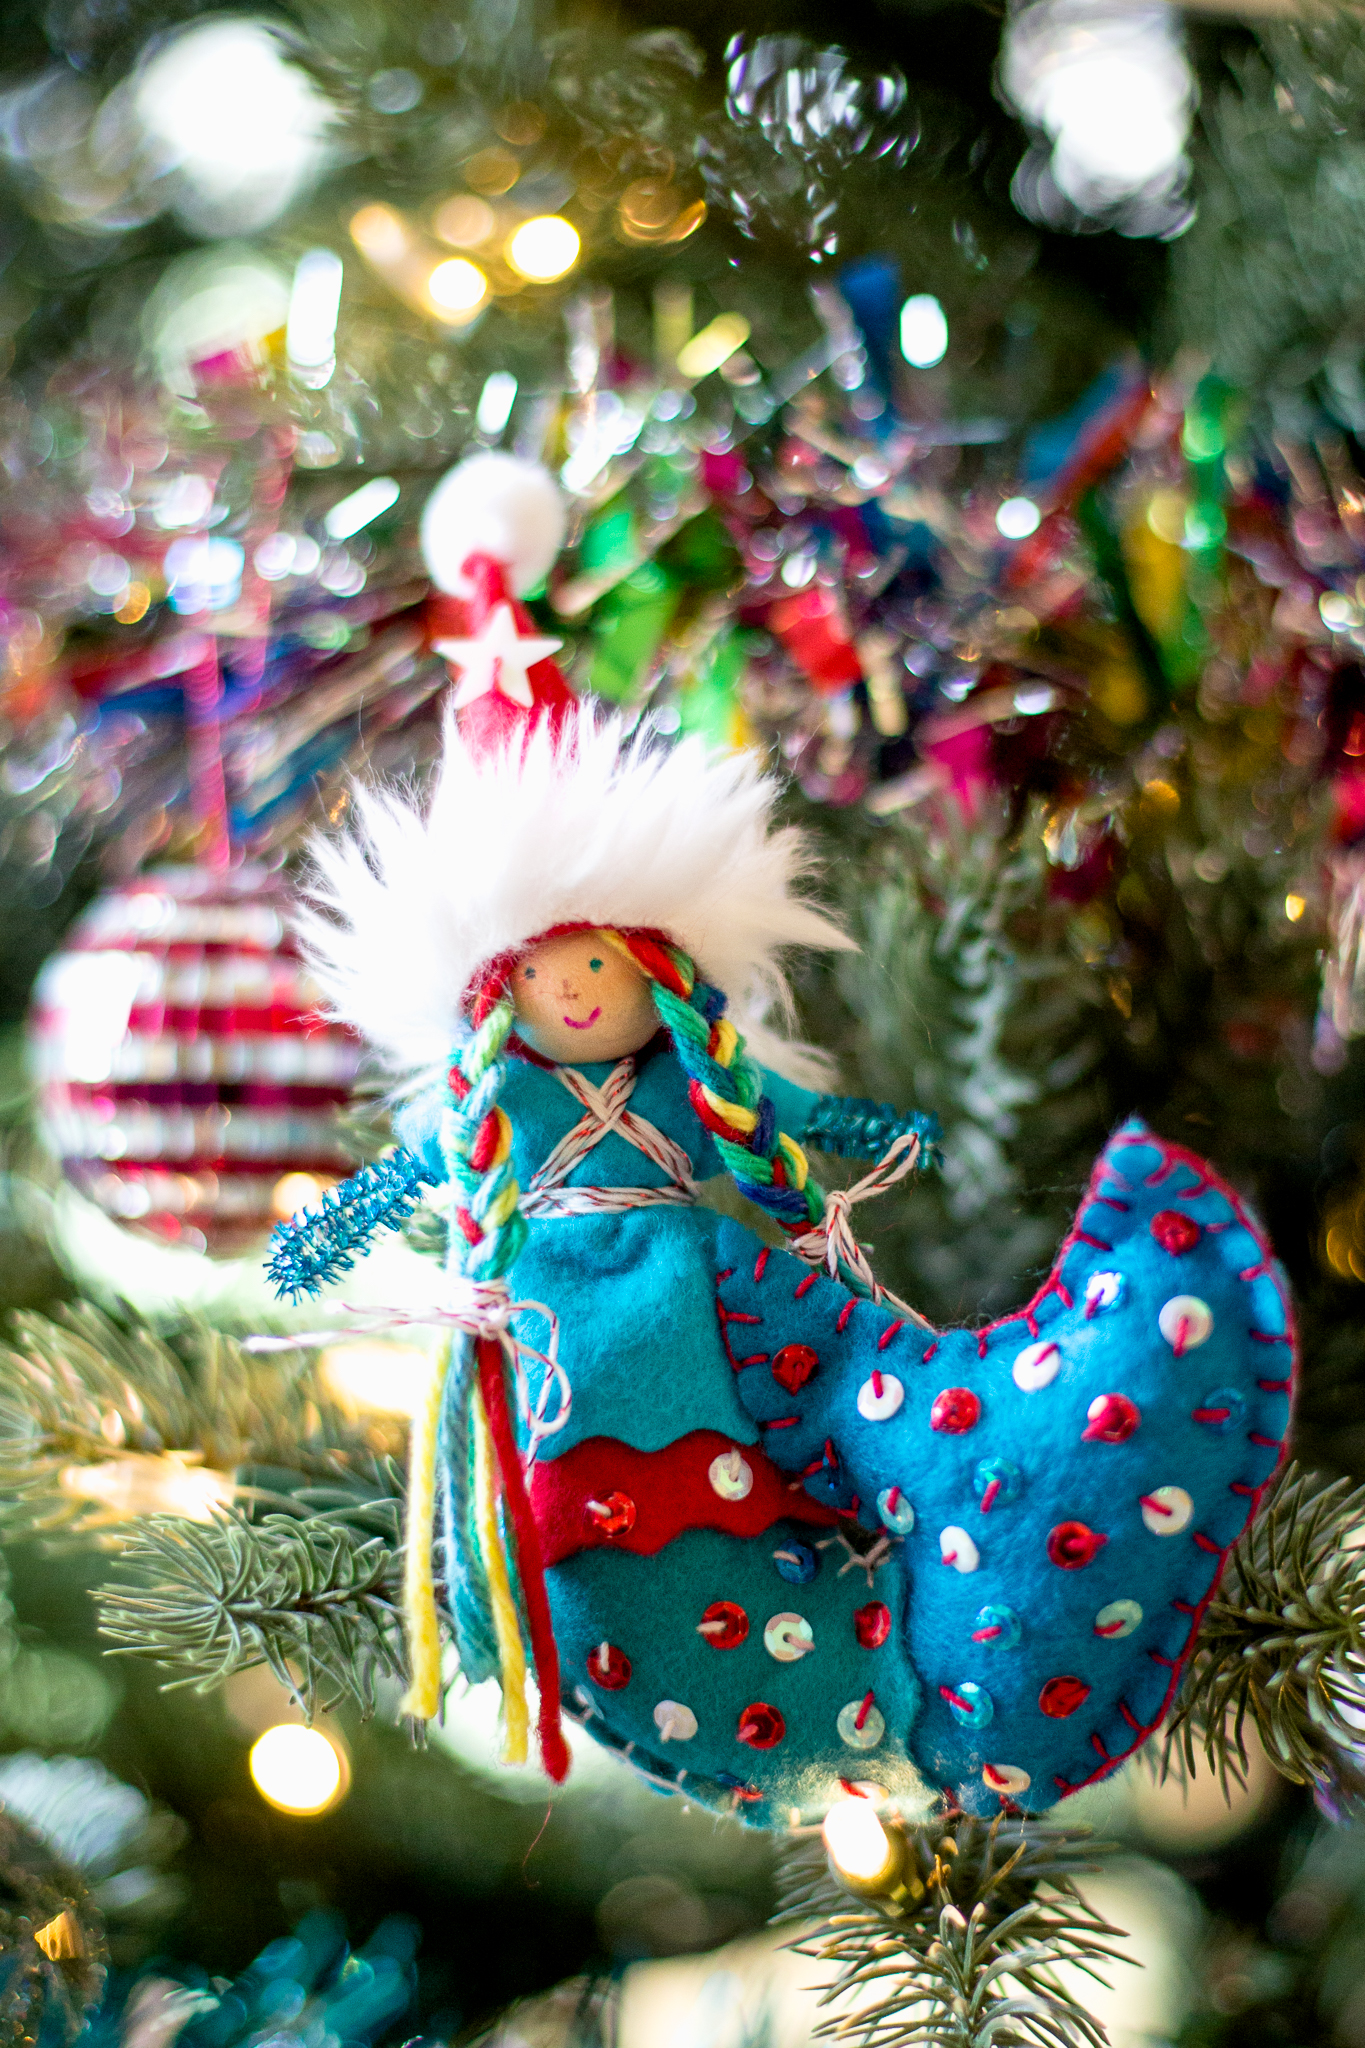
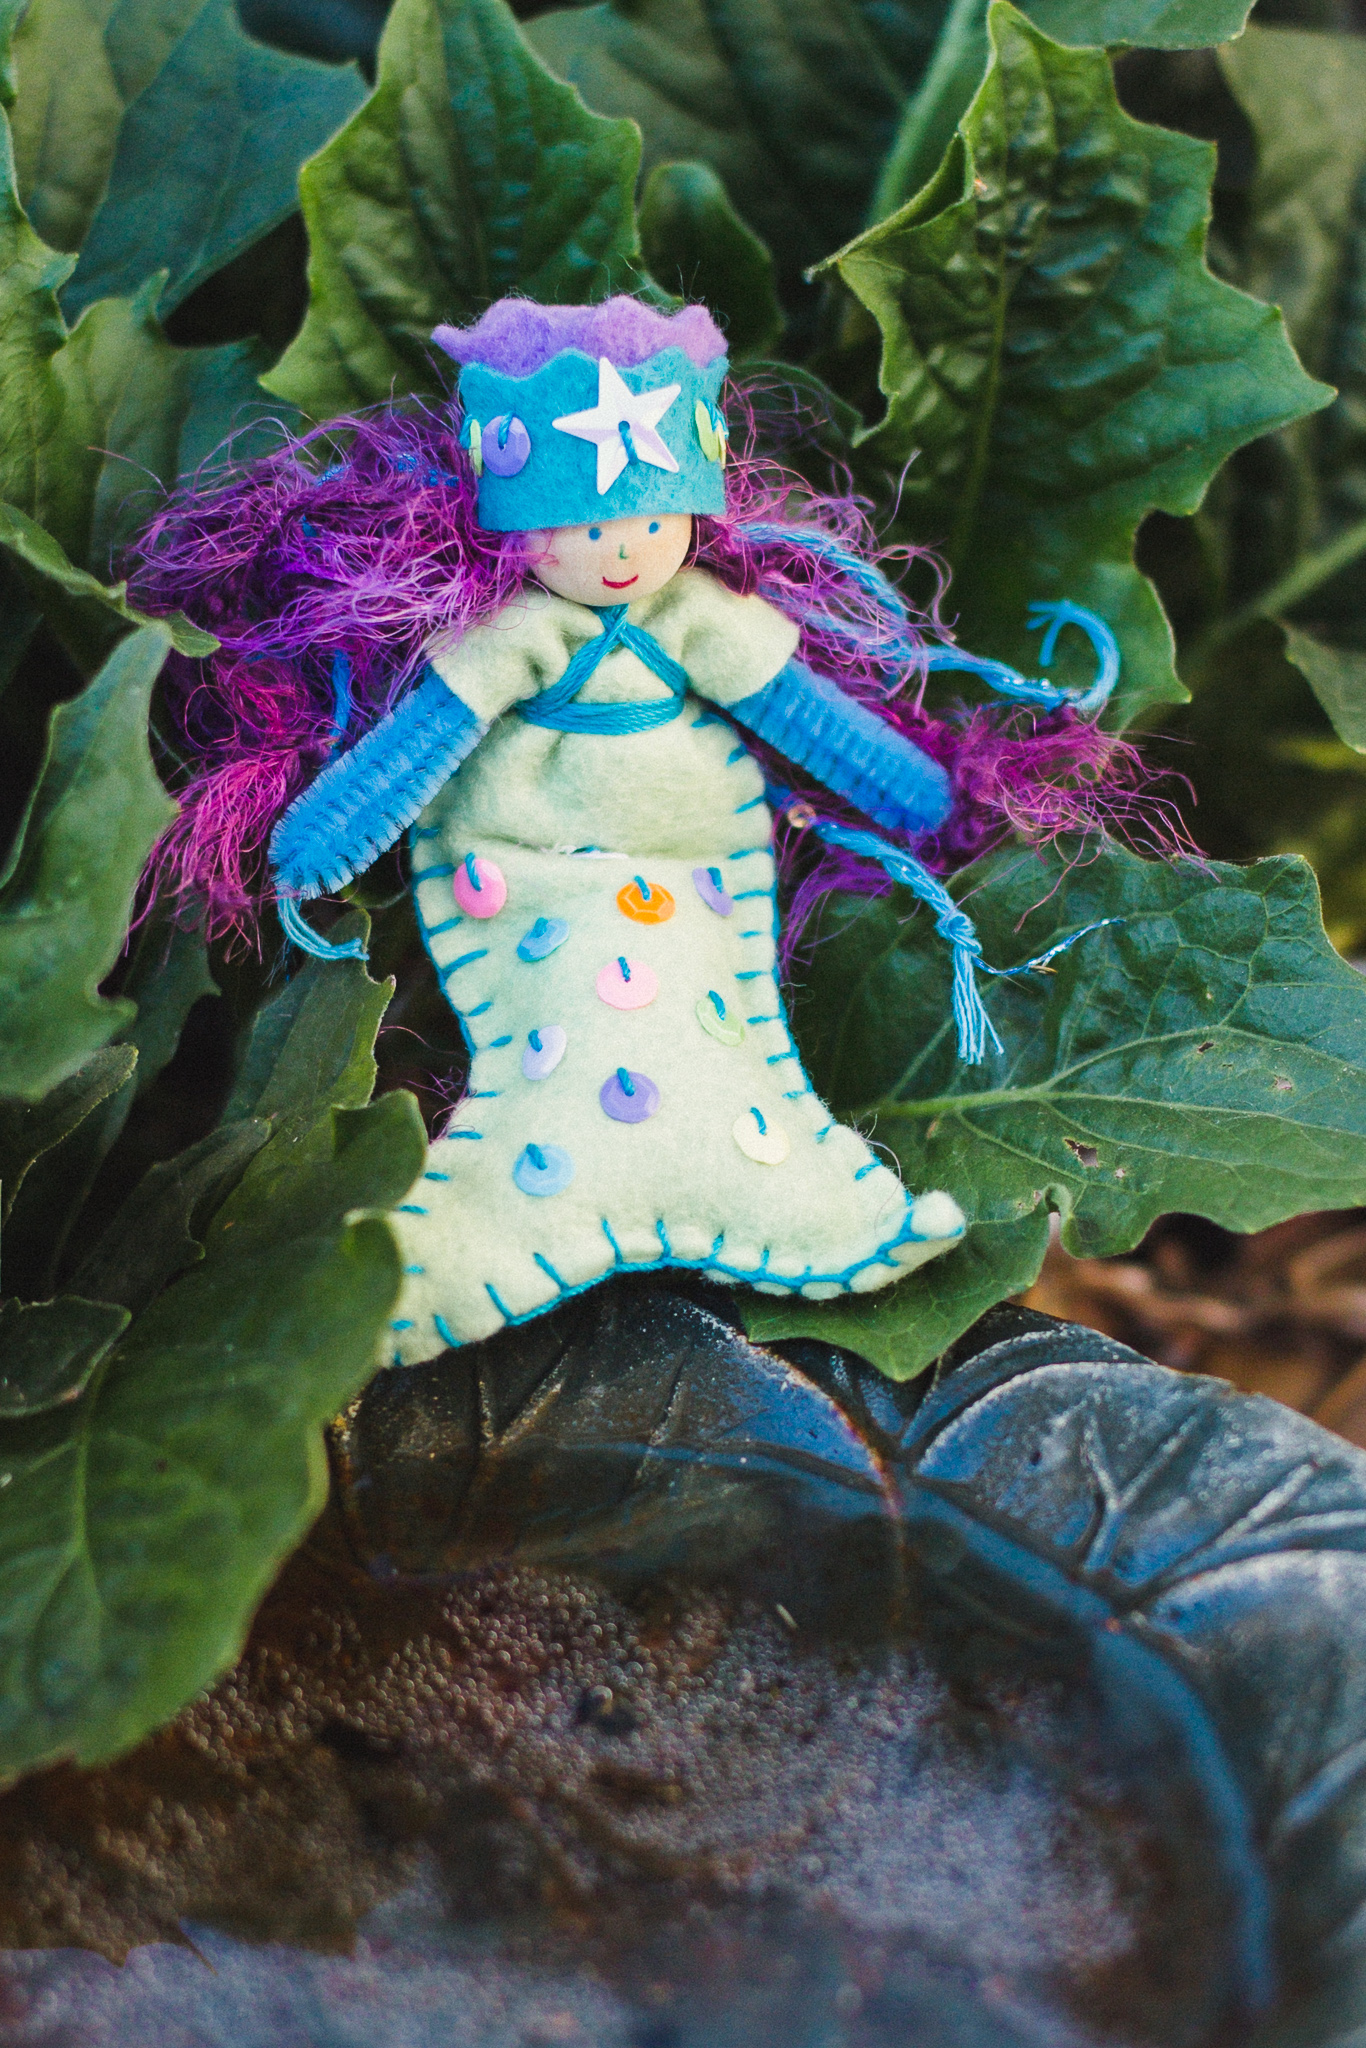
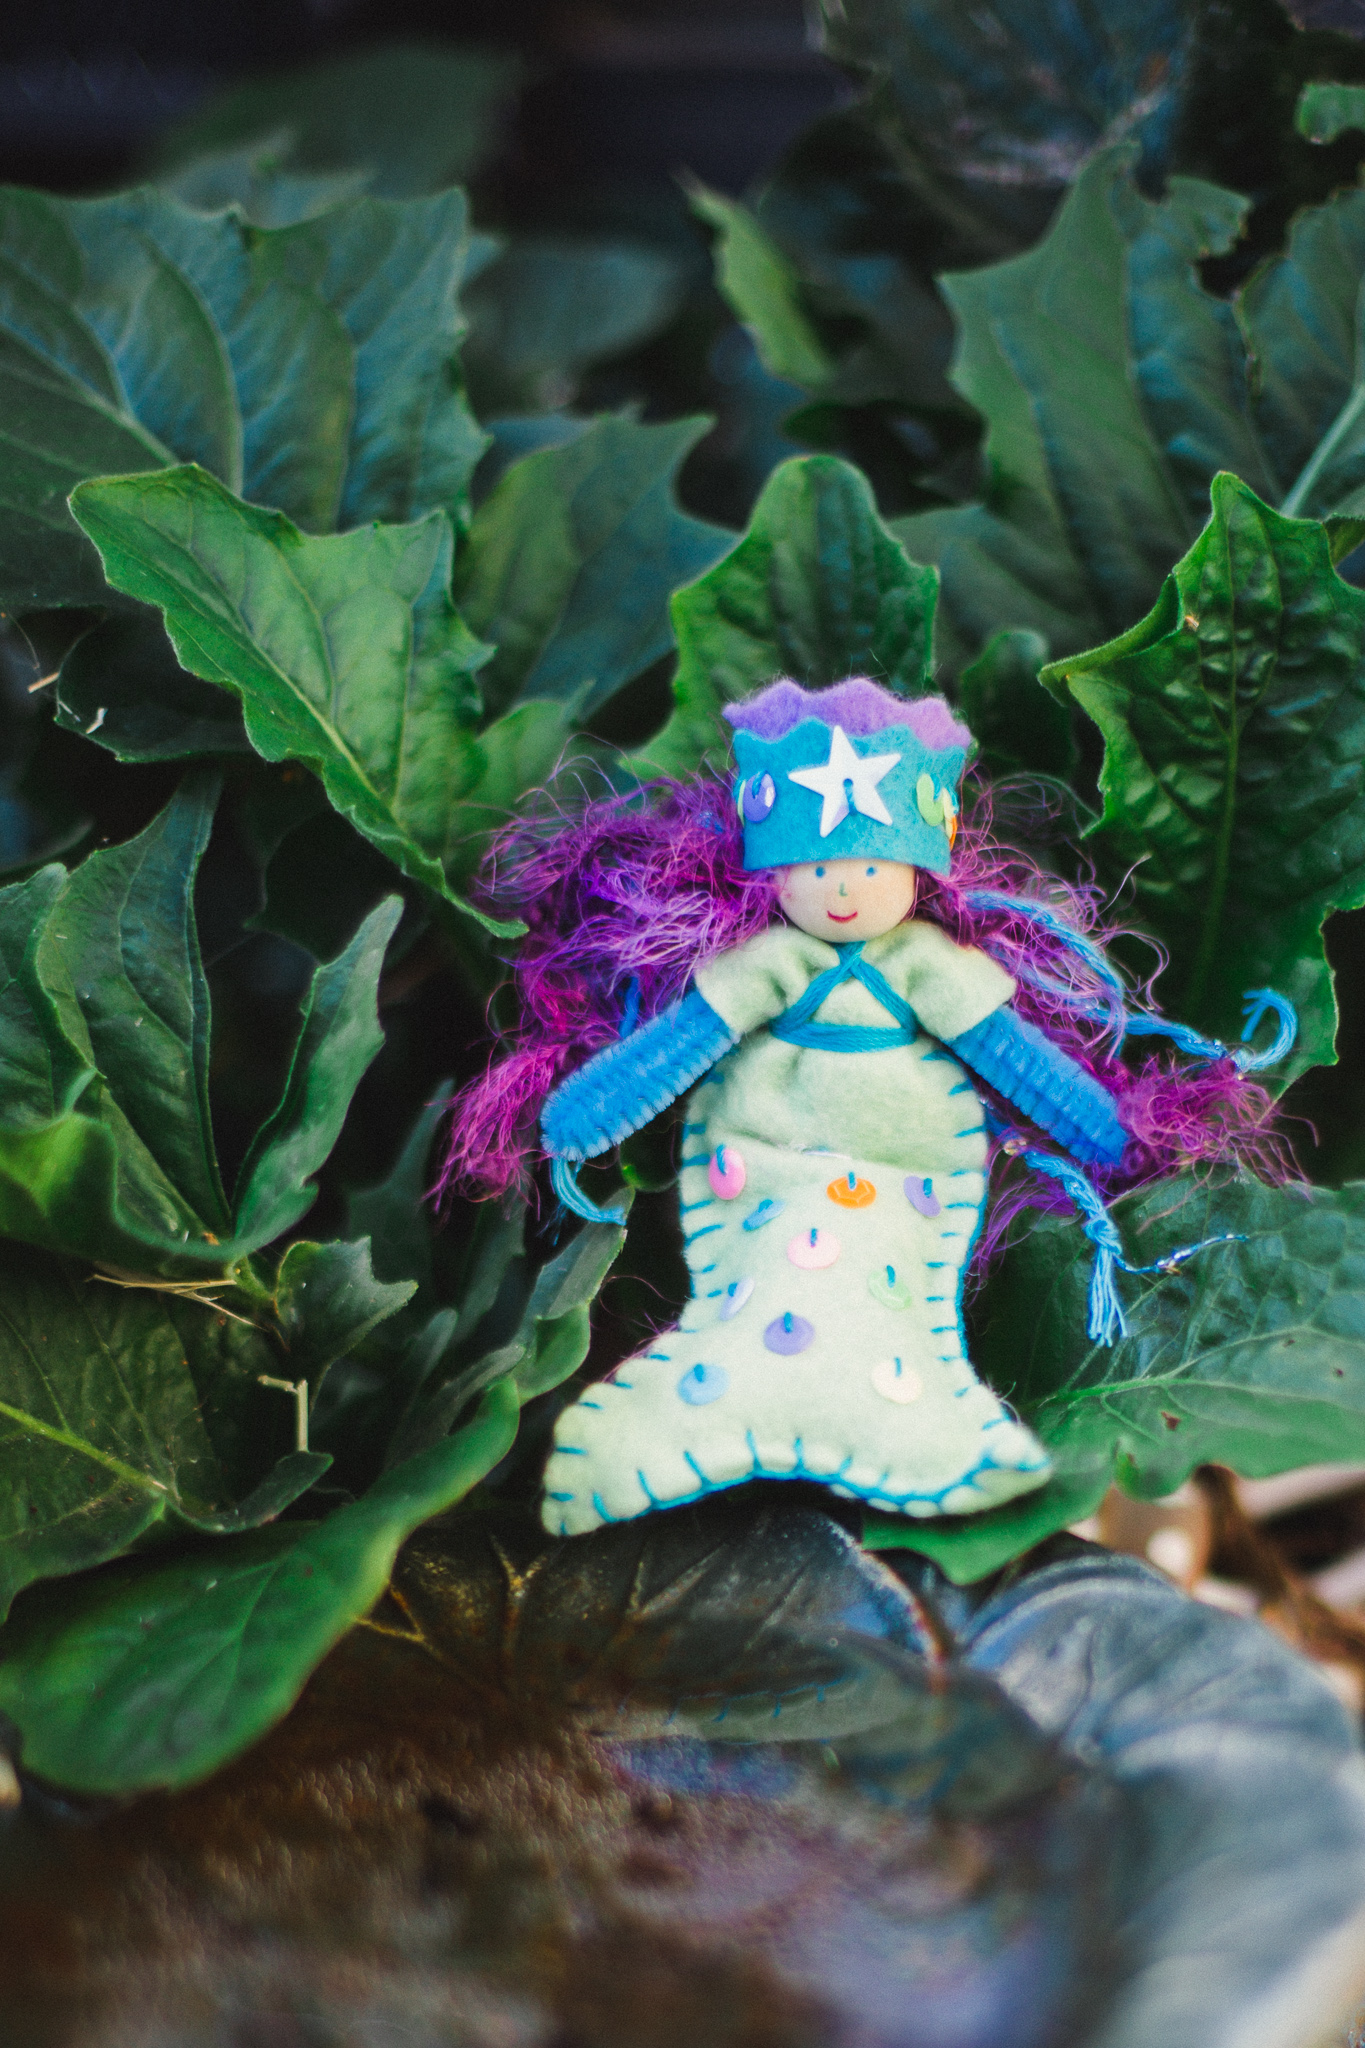
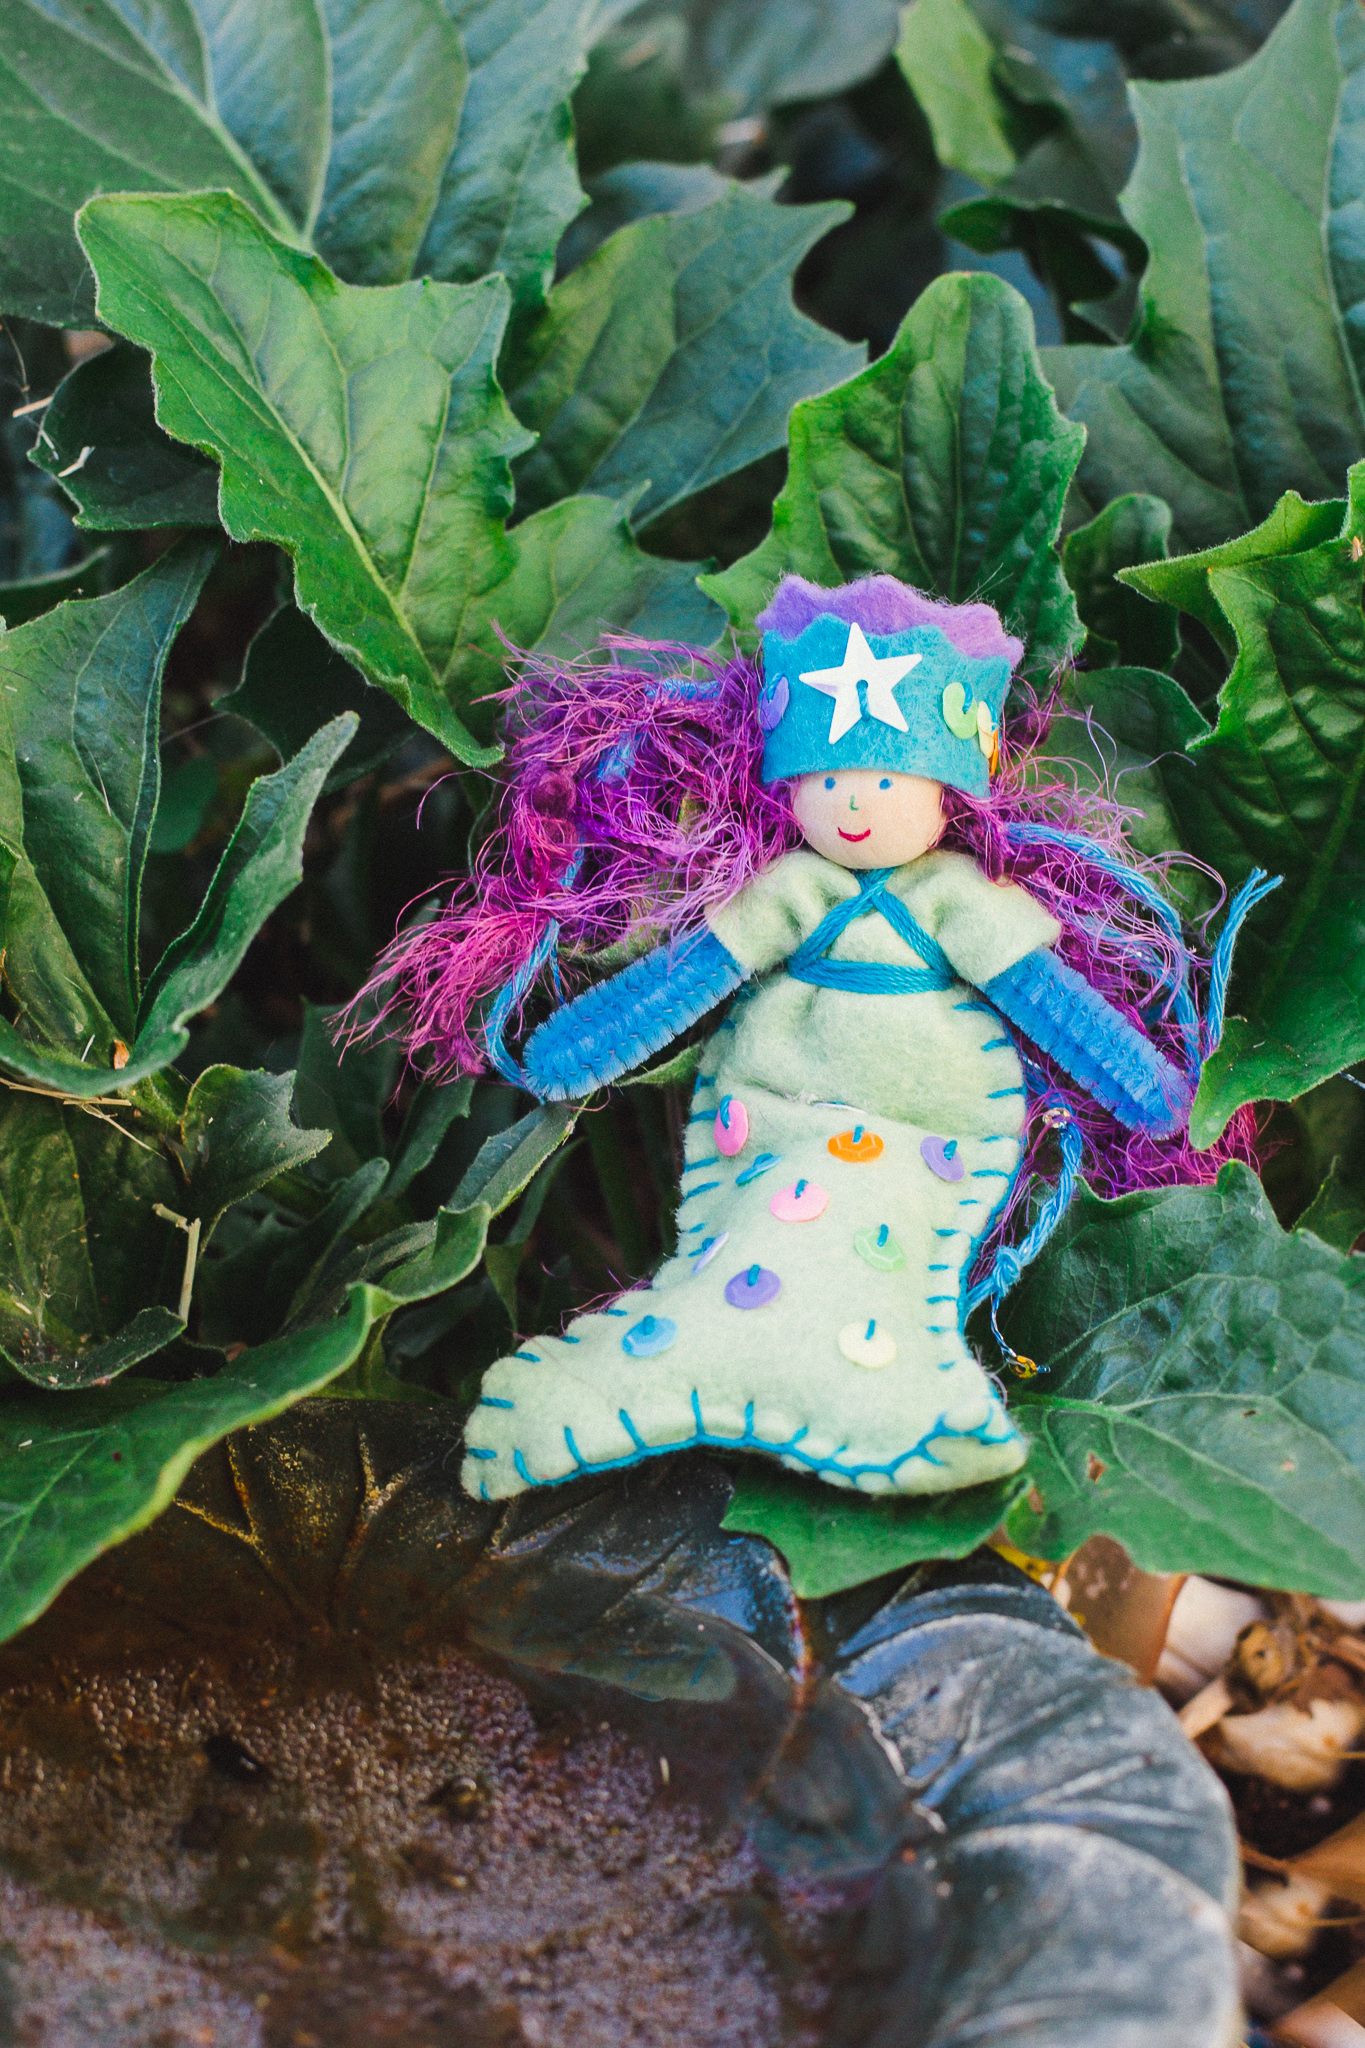
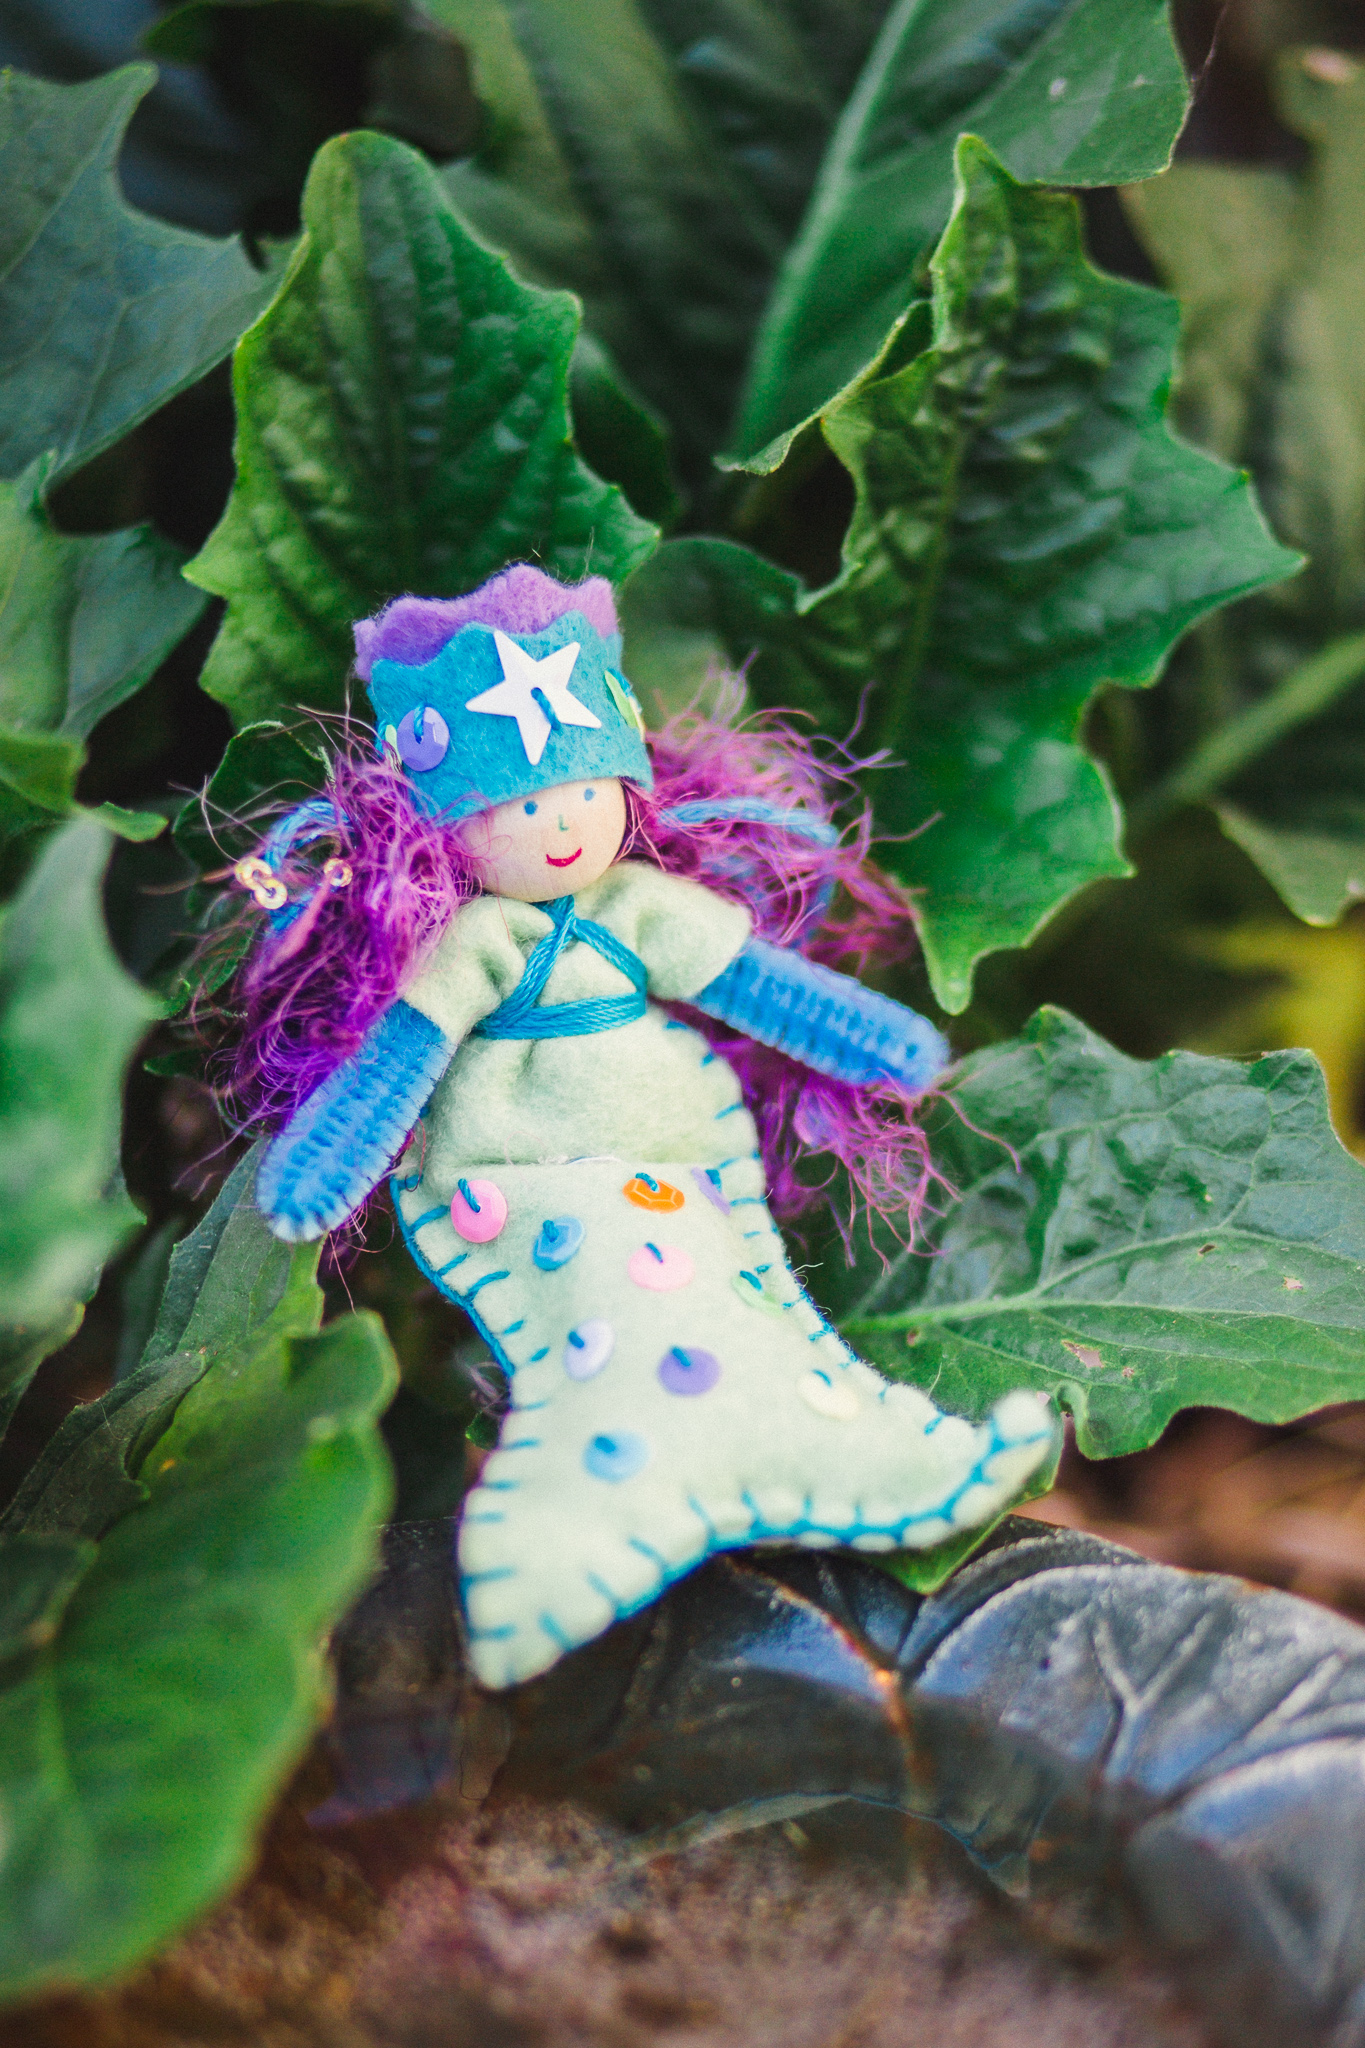
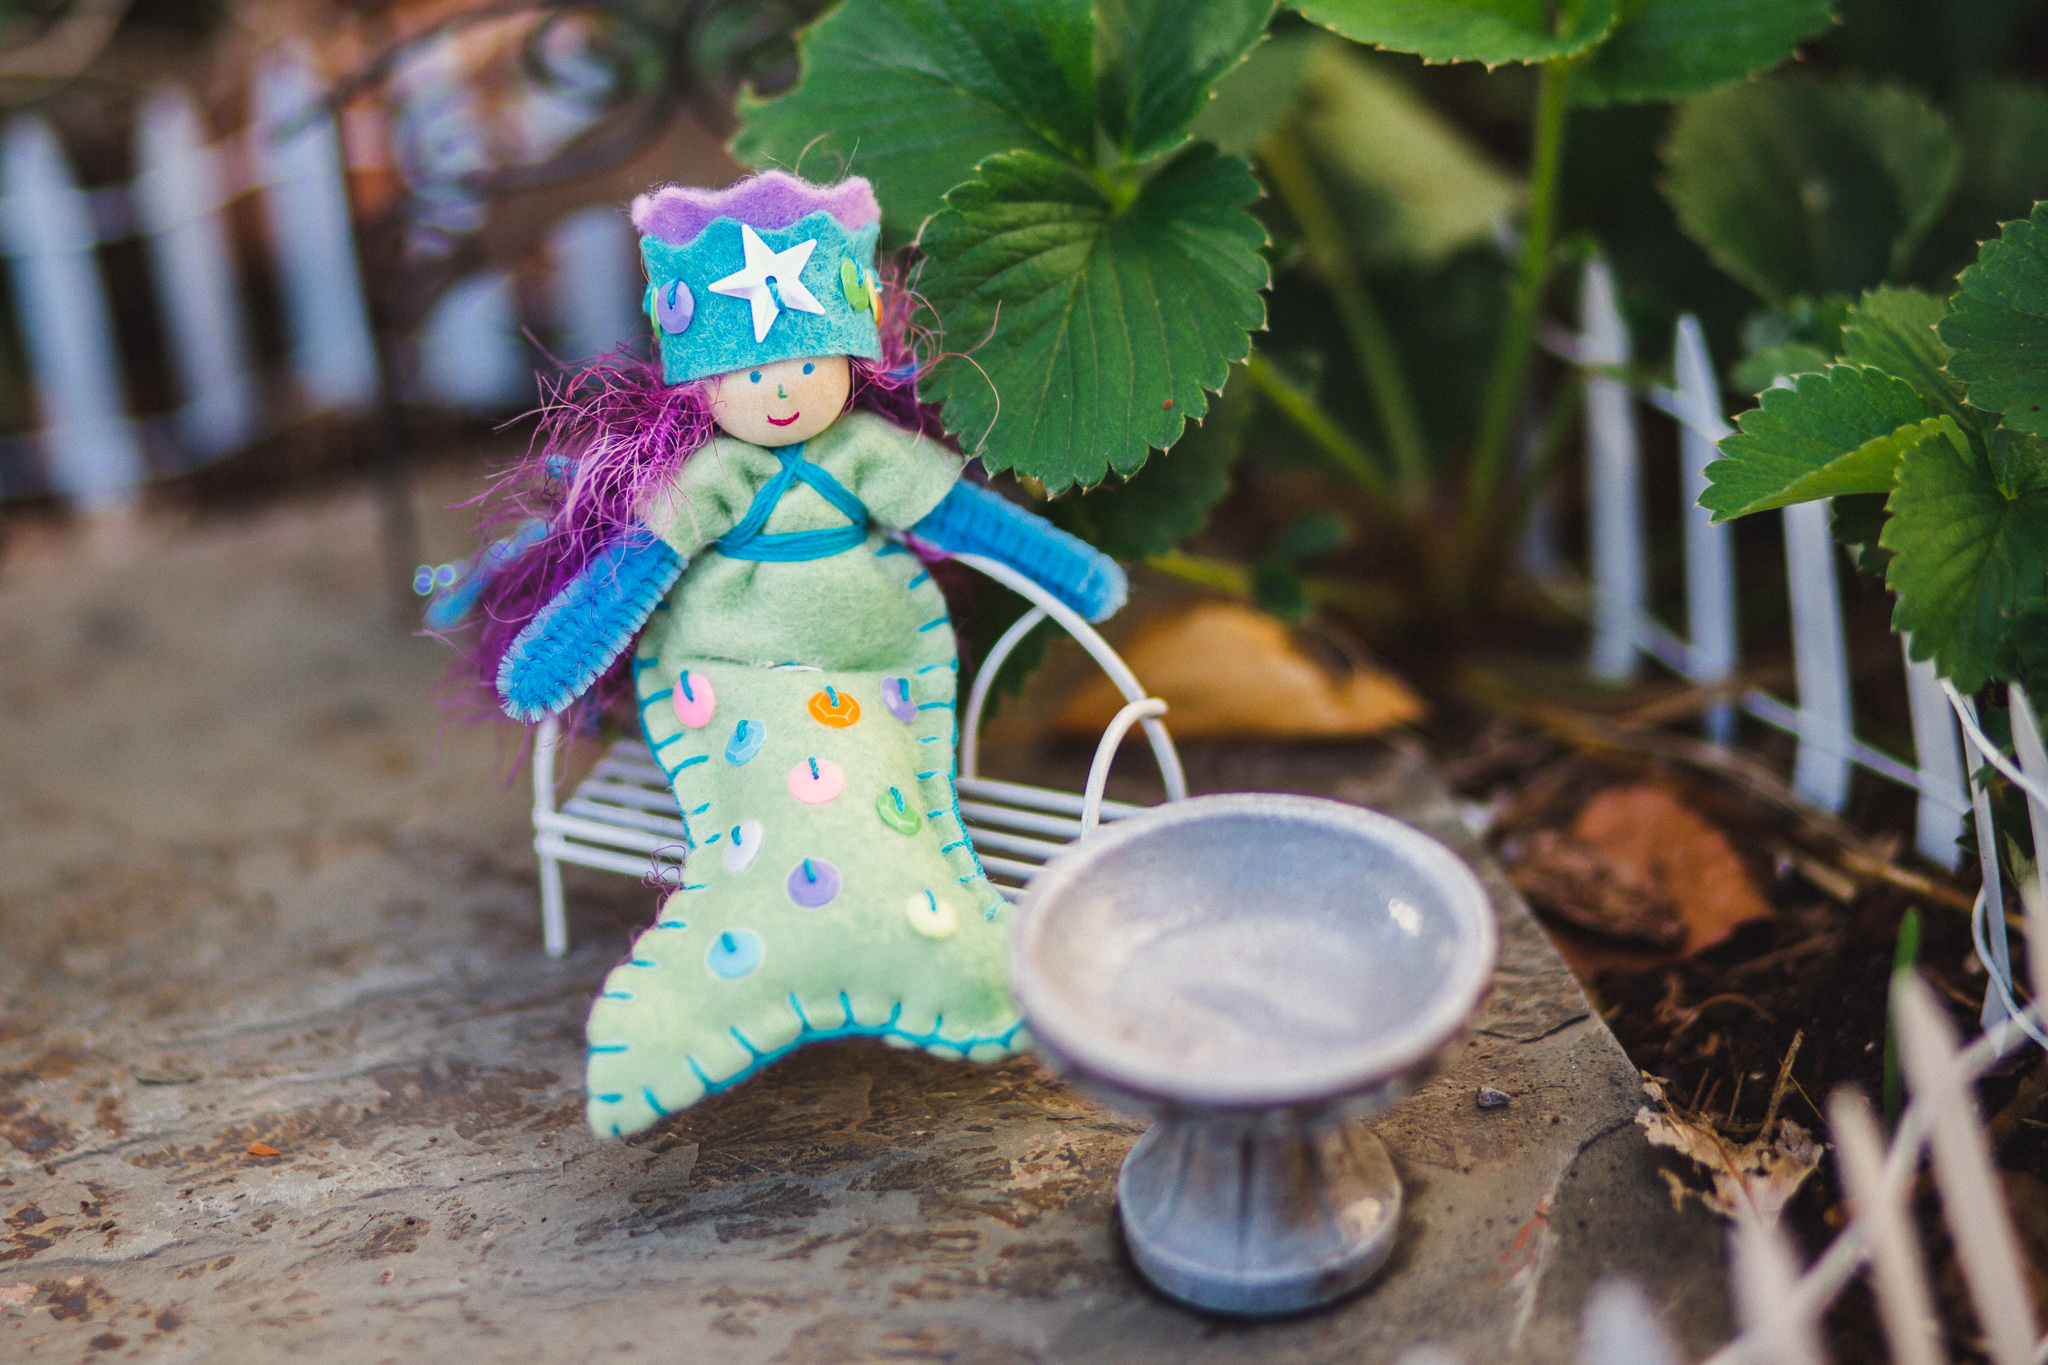
A Mermaid Birthday Gift
Summer isn't done here. The sun is still warm, even though the air gets cool in the evenings. We were recently invited to a birthday celebration for a girl what loved mermaids. The entire party had an amazing attention to under-the-sea details. I decided to bring a little mermaid doll as our gift.

I sprinkled sequins along the tail. For her crown, I wanted to her to remember this birthday. She was turning nine. I sewed the star to the center first. Then I moved to one side and sewed four sequins. I tied the thread and started a new thread on the other side of the crown to sew four more sequins- nine in all. The extra steps tying knots saved me the trouble of measuring out how to make sequins even across the crown. I could have made light dots with a marker to space out sequins as well.

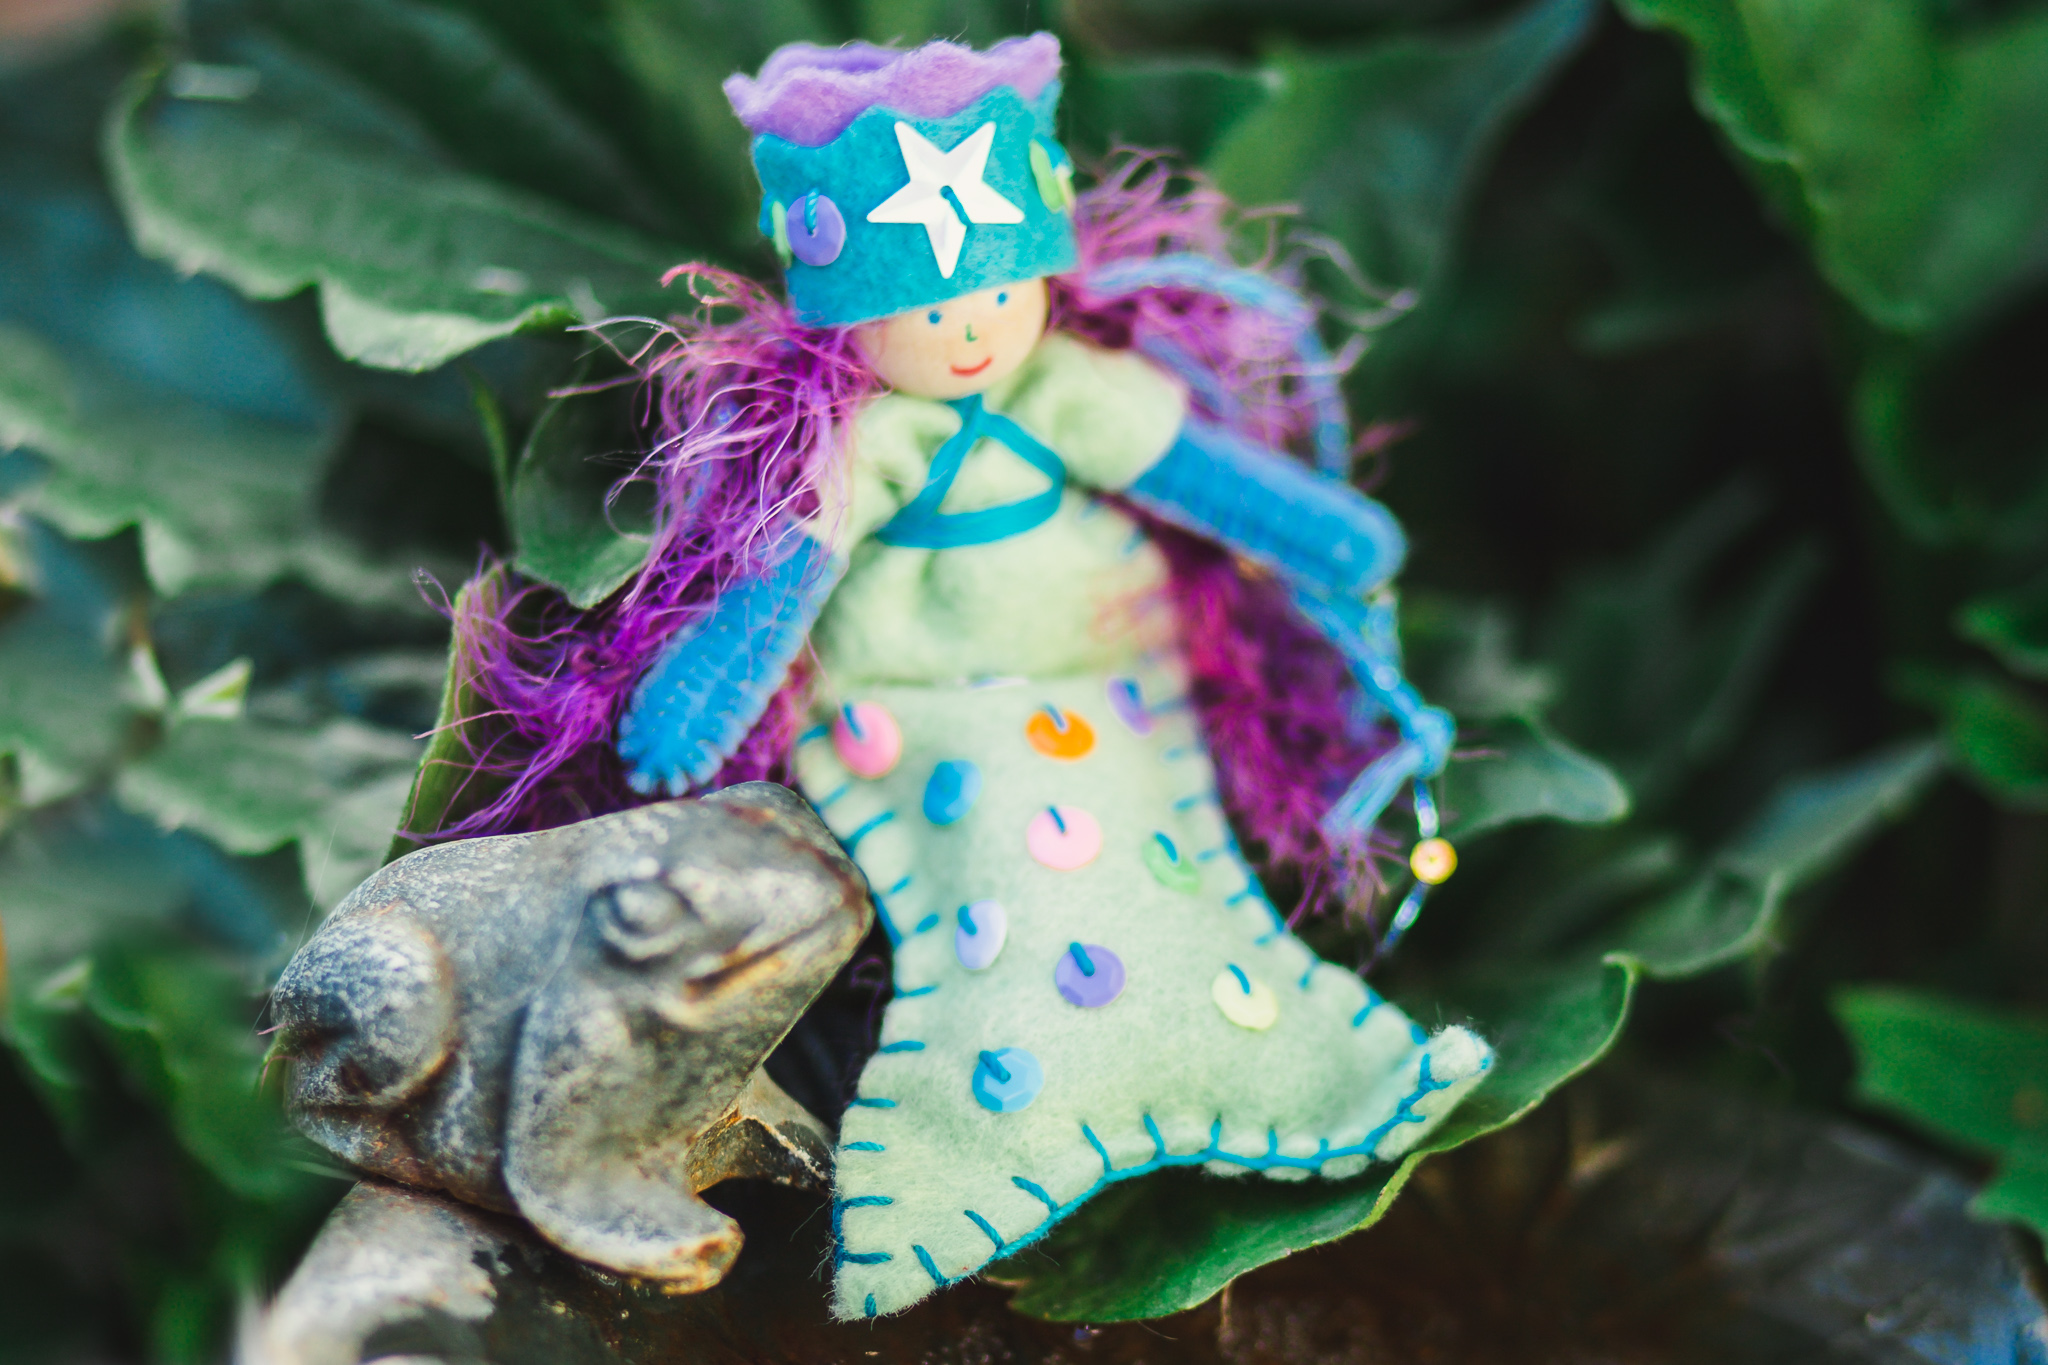
Her hair was a little tricky because these fluffy yarns tend to fall apart at the ends (because they are often a few different threads wound together on the skein). I usually solve this by creating braids, which tie off the ends. This way, if it unravels, the yarn is still held together in the braid.

However, for this mermaid, I wanted long, loose hair. So I tied a knot at the end of each strand. You can see the little knot in the blue strand of yarn in photos above. Tying those knots may sounds like a lot, but I only use about six strands of yarn, which is twelve knots in total. You can see the technique I use to glue hair onto the bead in our book. The fuzzy yarn is nice and forgiving about hiding the little knots. I may show the technique in another tutorial for those crafters who love the long, loose hair.

Best wishes on your next adventures, little mermaid!

You can learn how to make your own mermaids with our book, Forest Fairy Crafts.
The links in the article are affiliate links. If you decide to purchase a book, a small amount returns to the Forest while your price remains the same. Thank you for supporting us! Happy crafting!

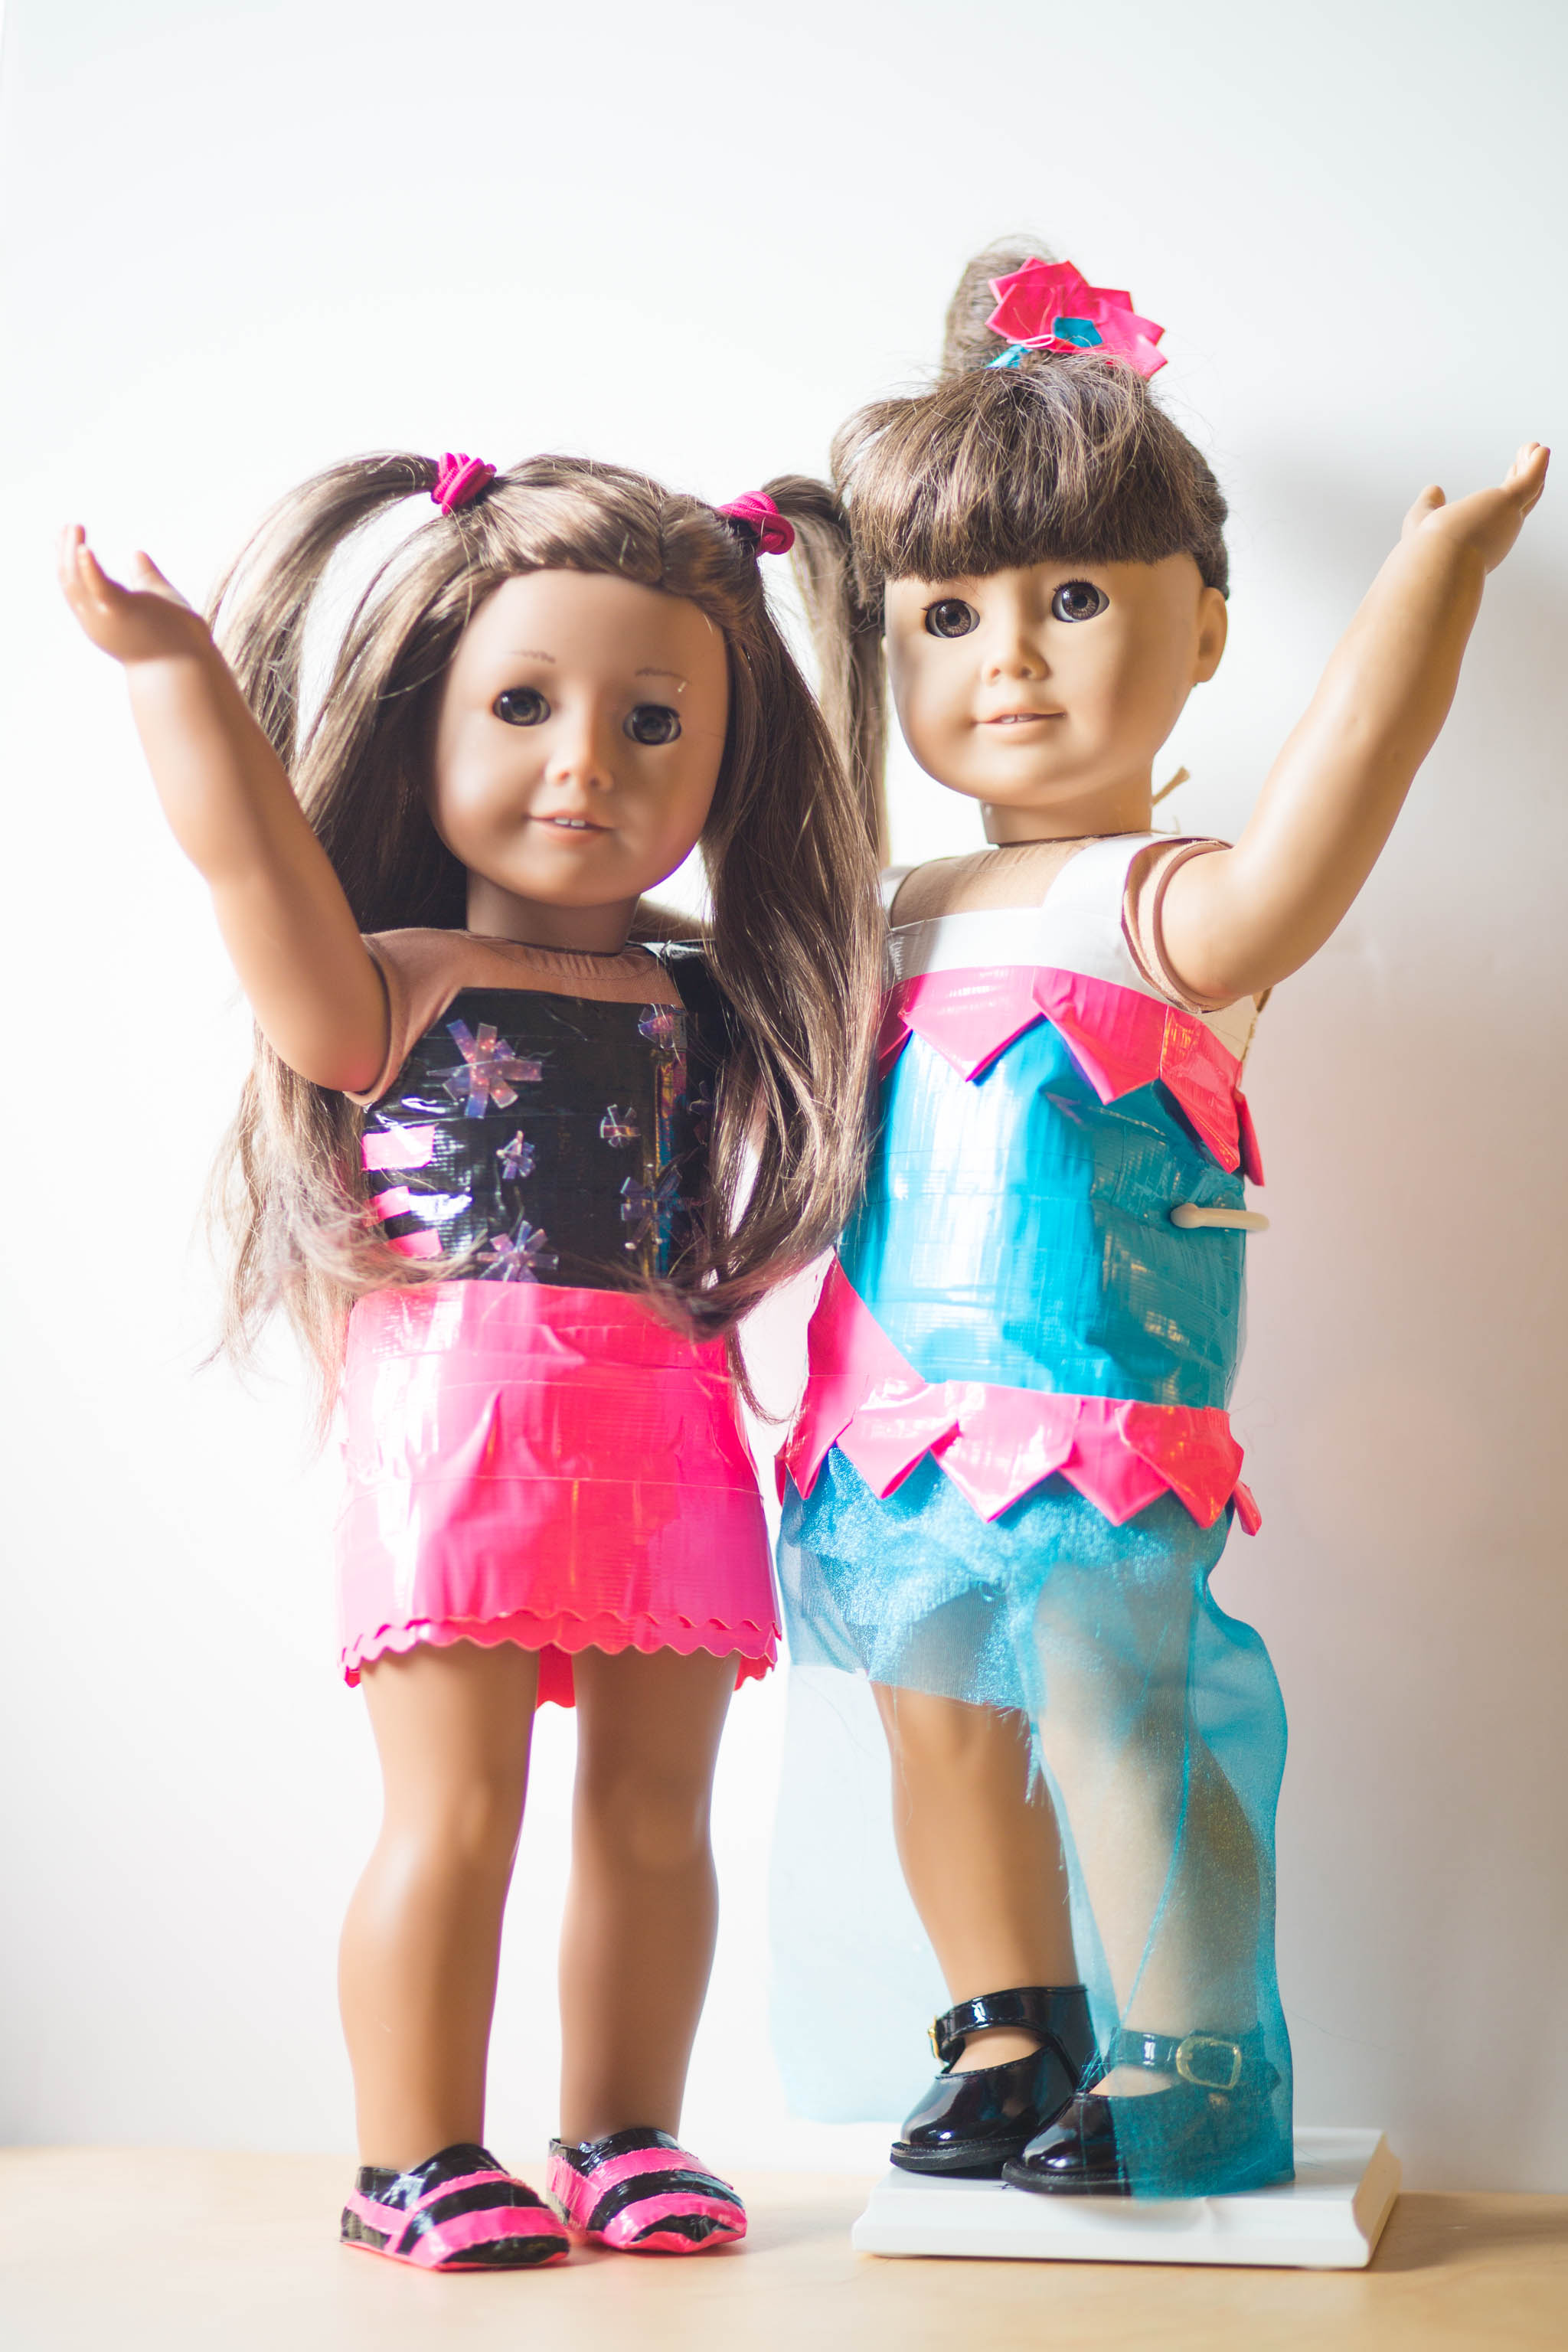
Duct Tape Clothes for American Girl Dolls
My twelve year old daughter challenged herself to create outfits for her dolls using duct tape.
These long rainy days become an opportunity for new creative projects. My daughter found me last week with a Big Idea. “I am going to make clothes for my dolls,” she announced.
“Oh, good,” I said. “You know where to find your fabric?”
She has her a shoebox size collection of her own fabric, which she can use for any project that strikes her fancy. “I don’t need fabric,” she said. “I’m using duct tape.”

“Really?"
It wasn’t such an unusual proclamation. She received new rolls of duct tape for the holidays after she made wallets and complex flowers. Still, I wasn’t quite sure how duct tape doll clothing would happen.
So began her adventure. She loved that she could create without worrying about frayed edges. She used her flower petal technique to make the triangles for her dress. She really enjoyed the duct tape because she didn’t have to worry about fraying fabric.

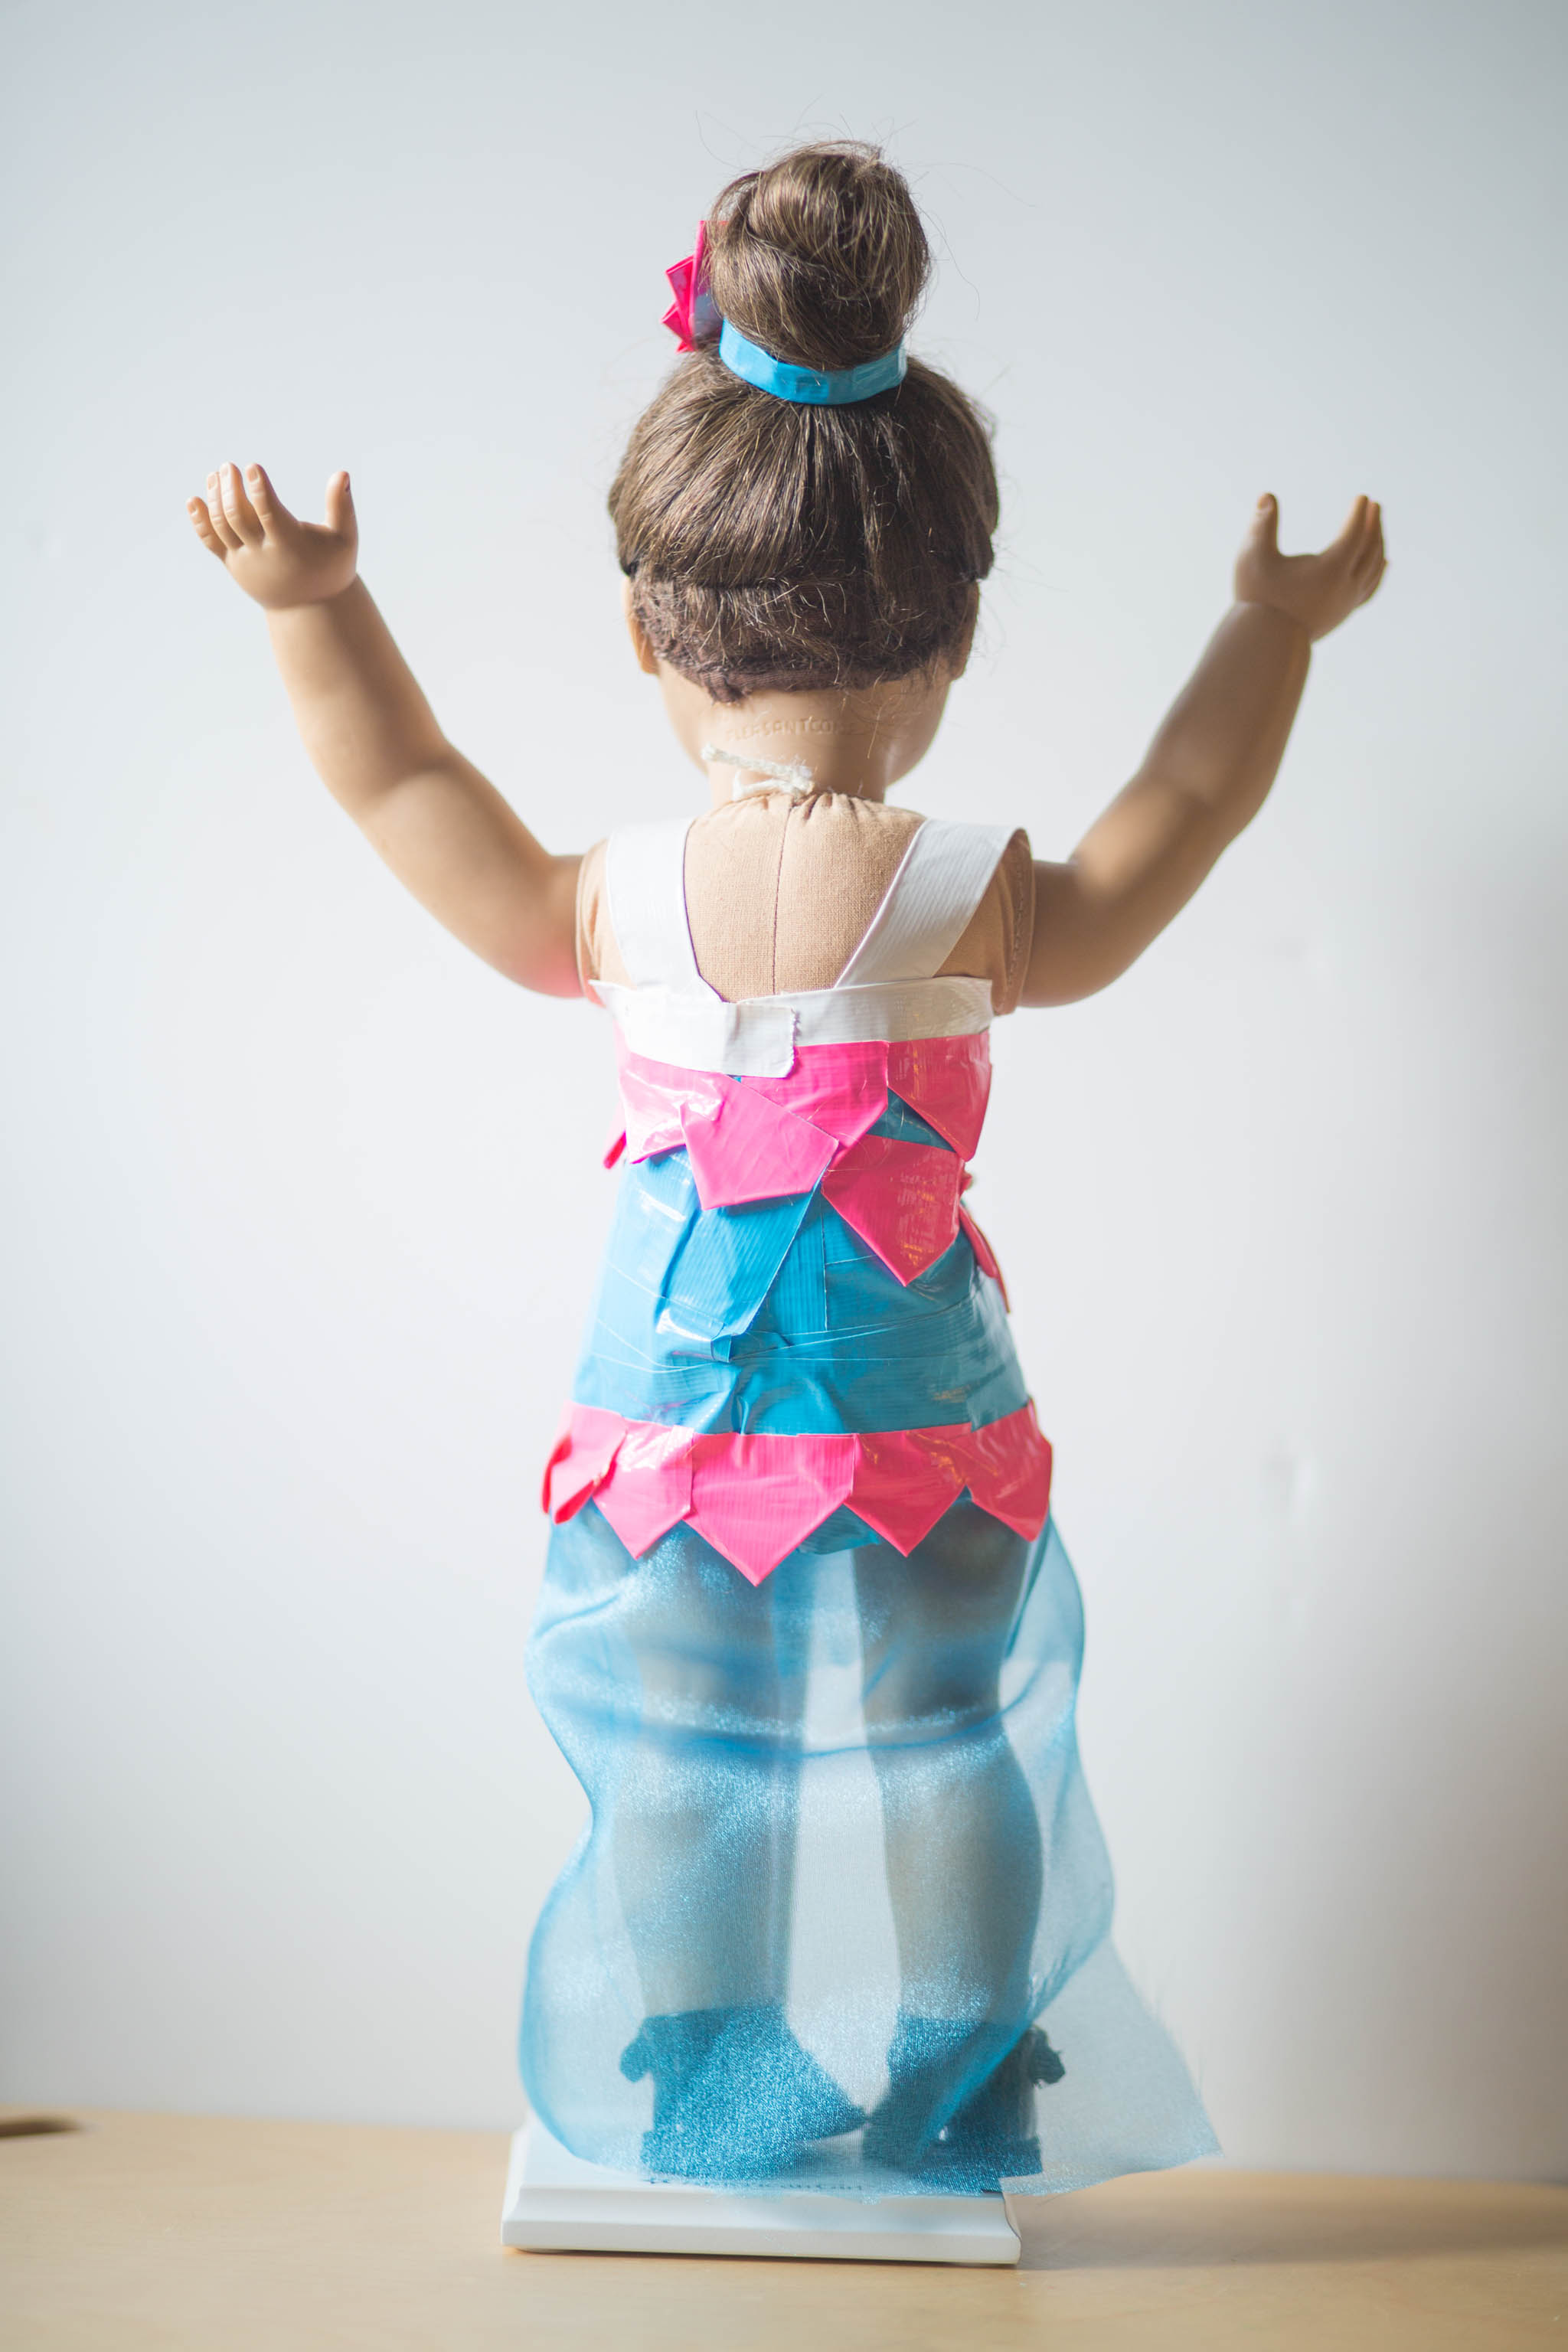
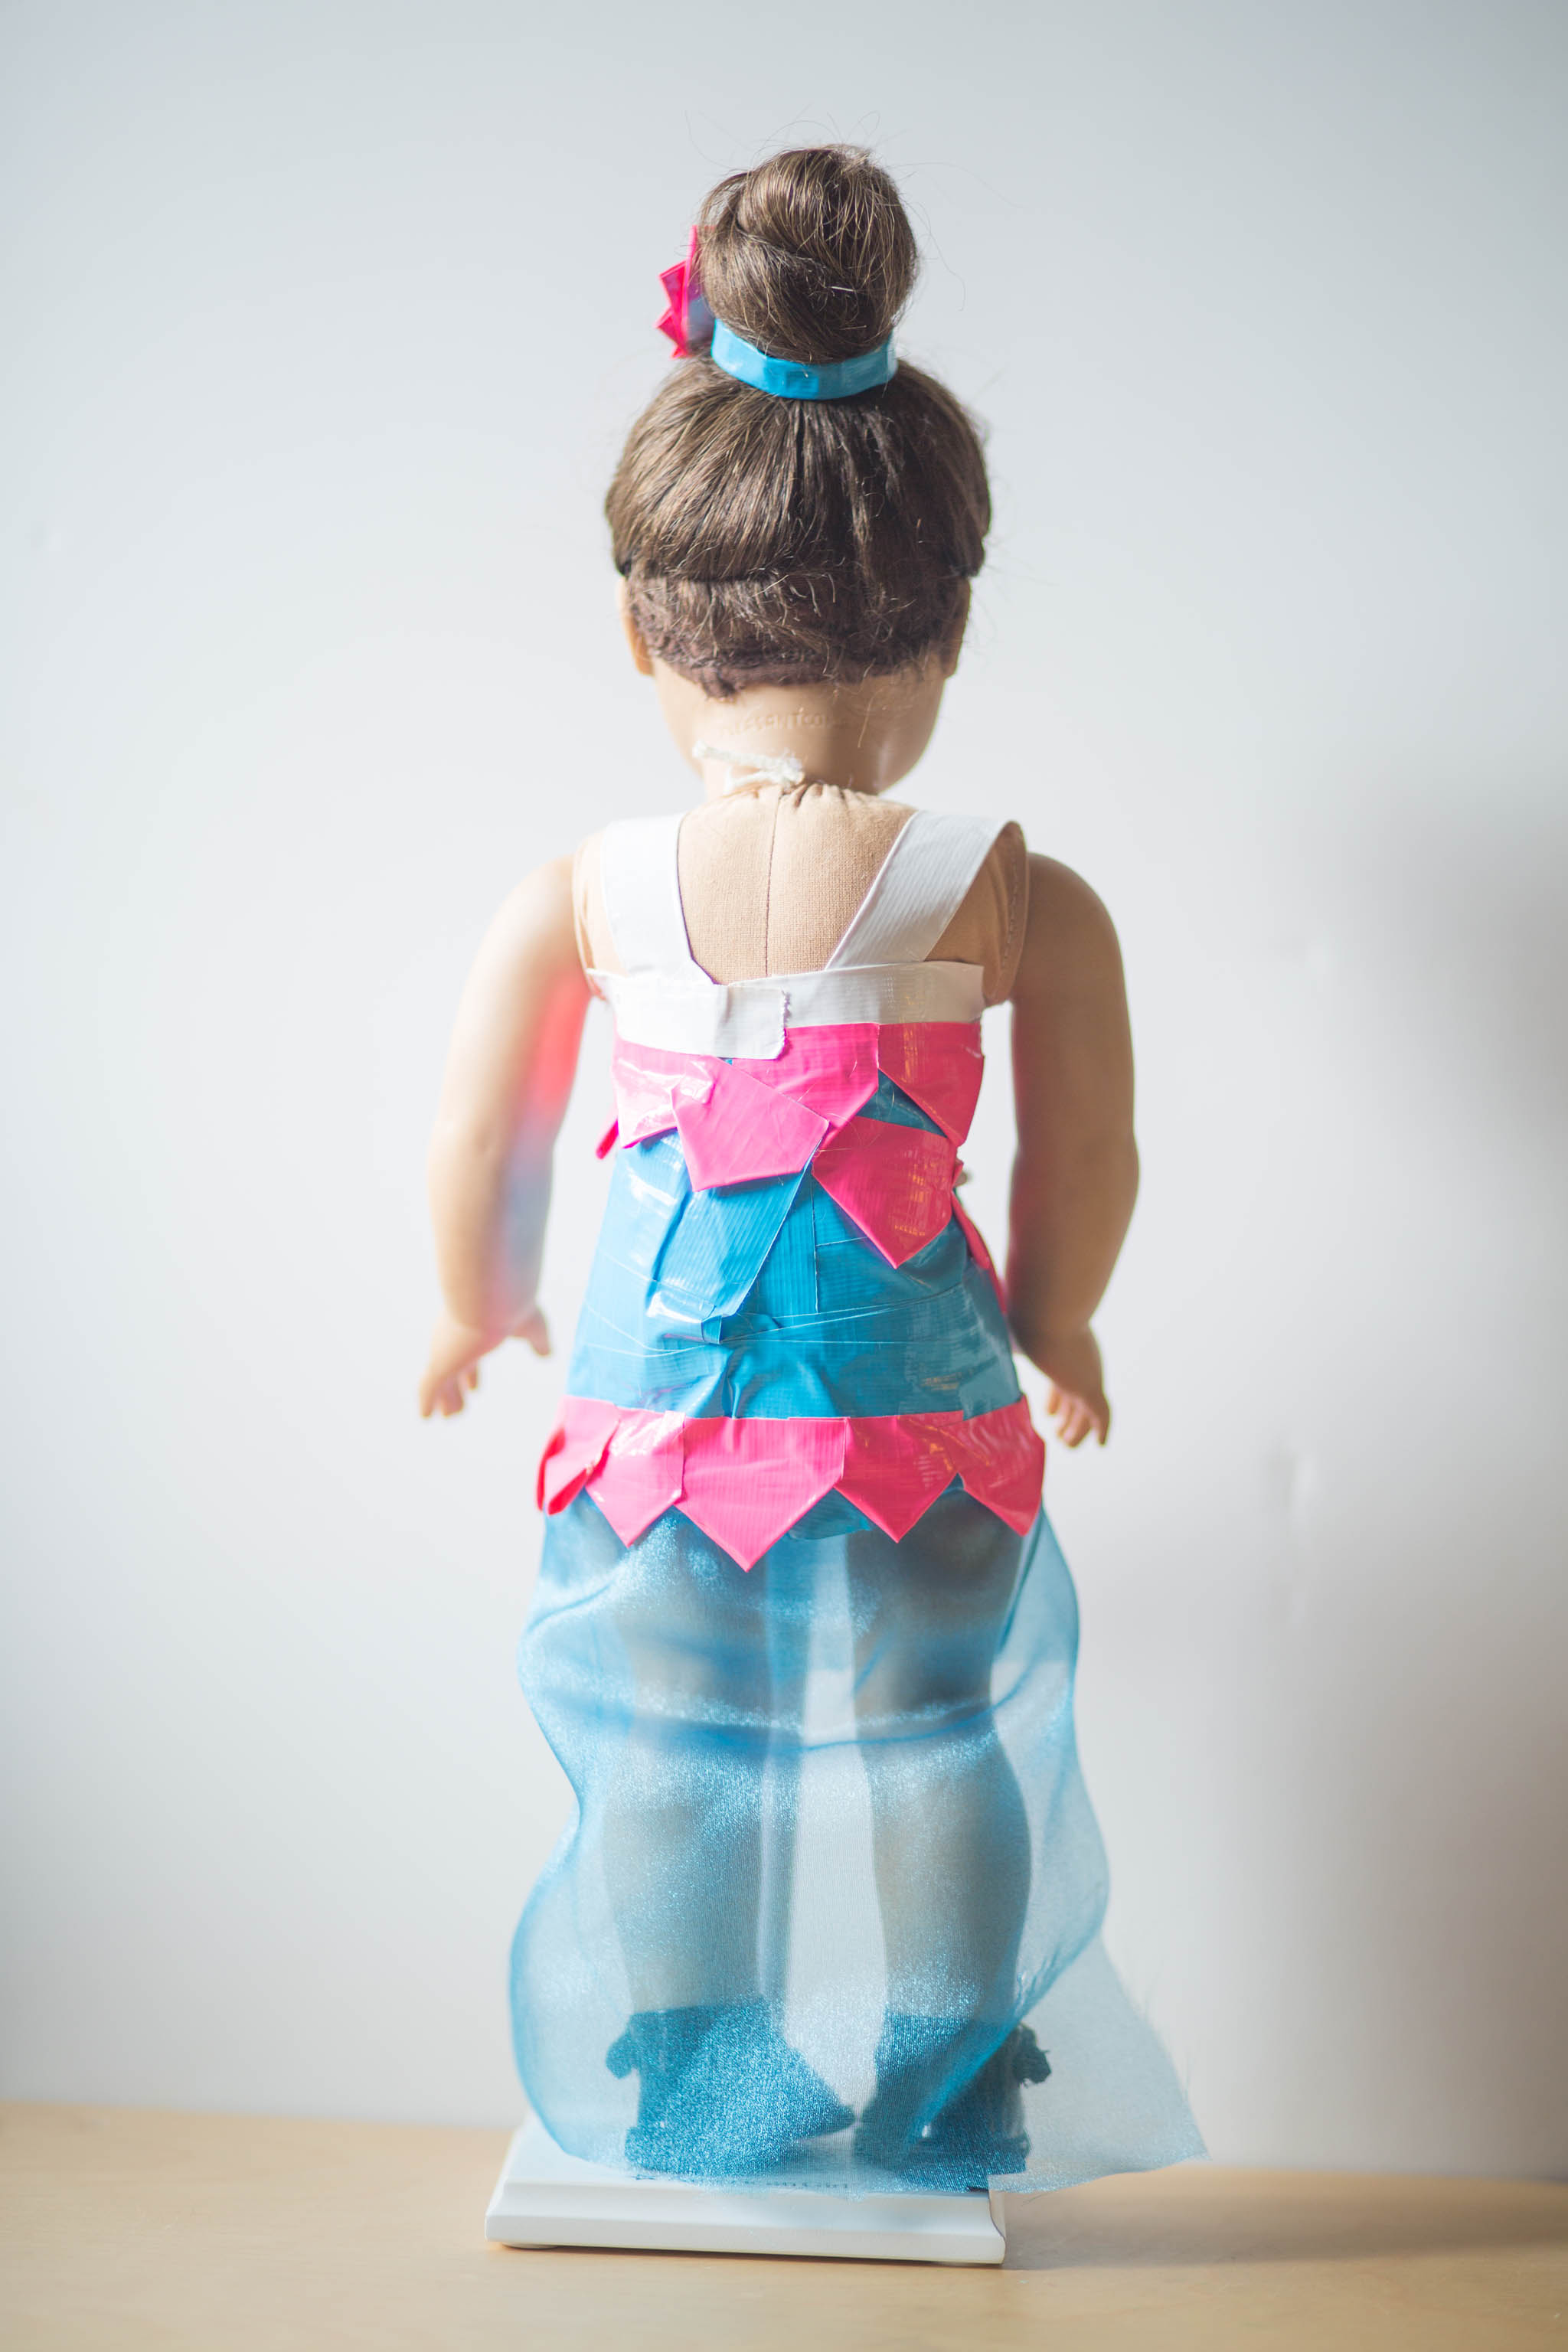
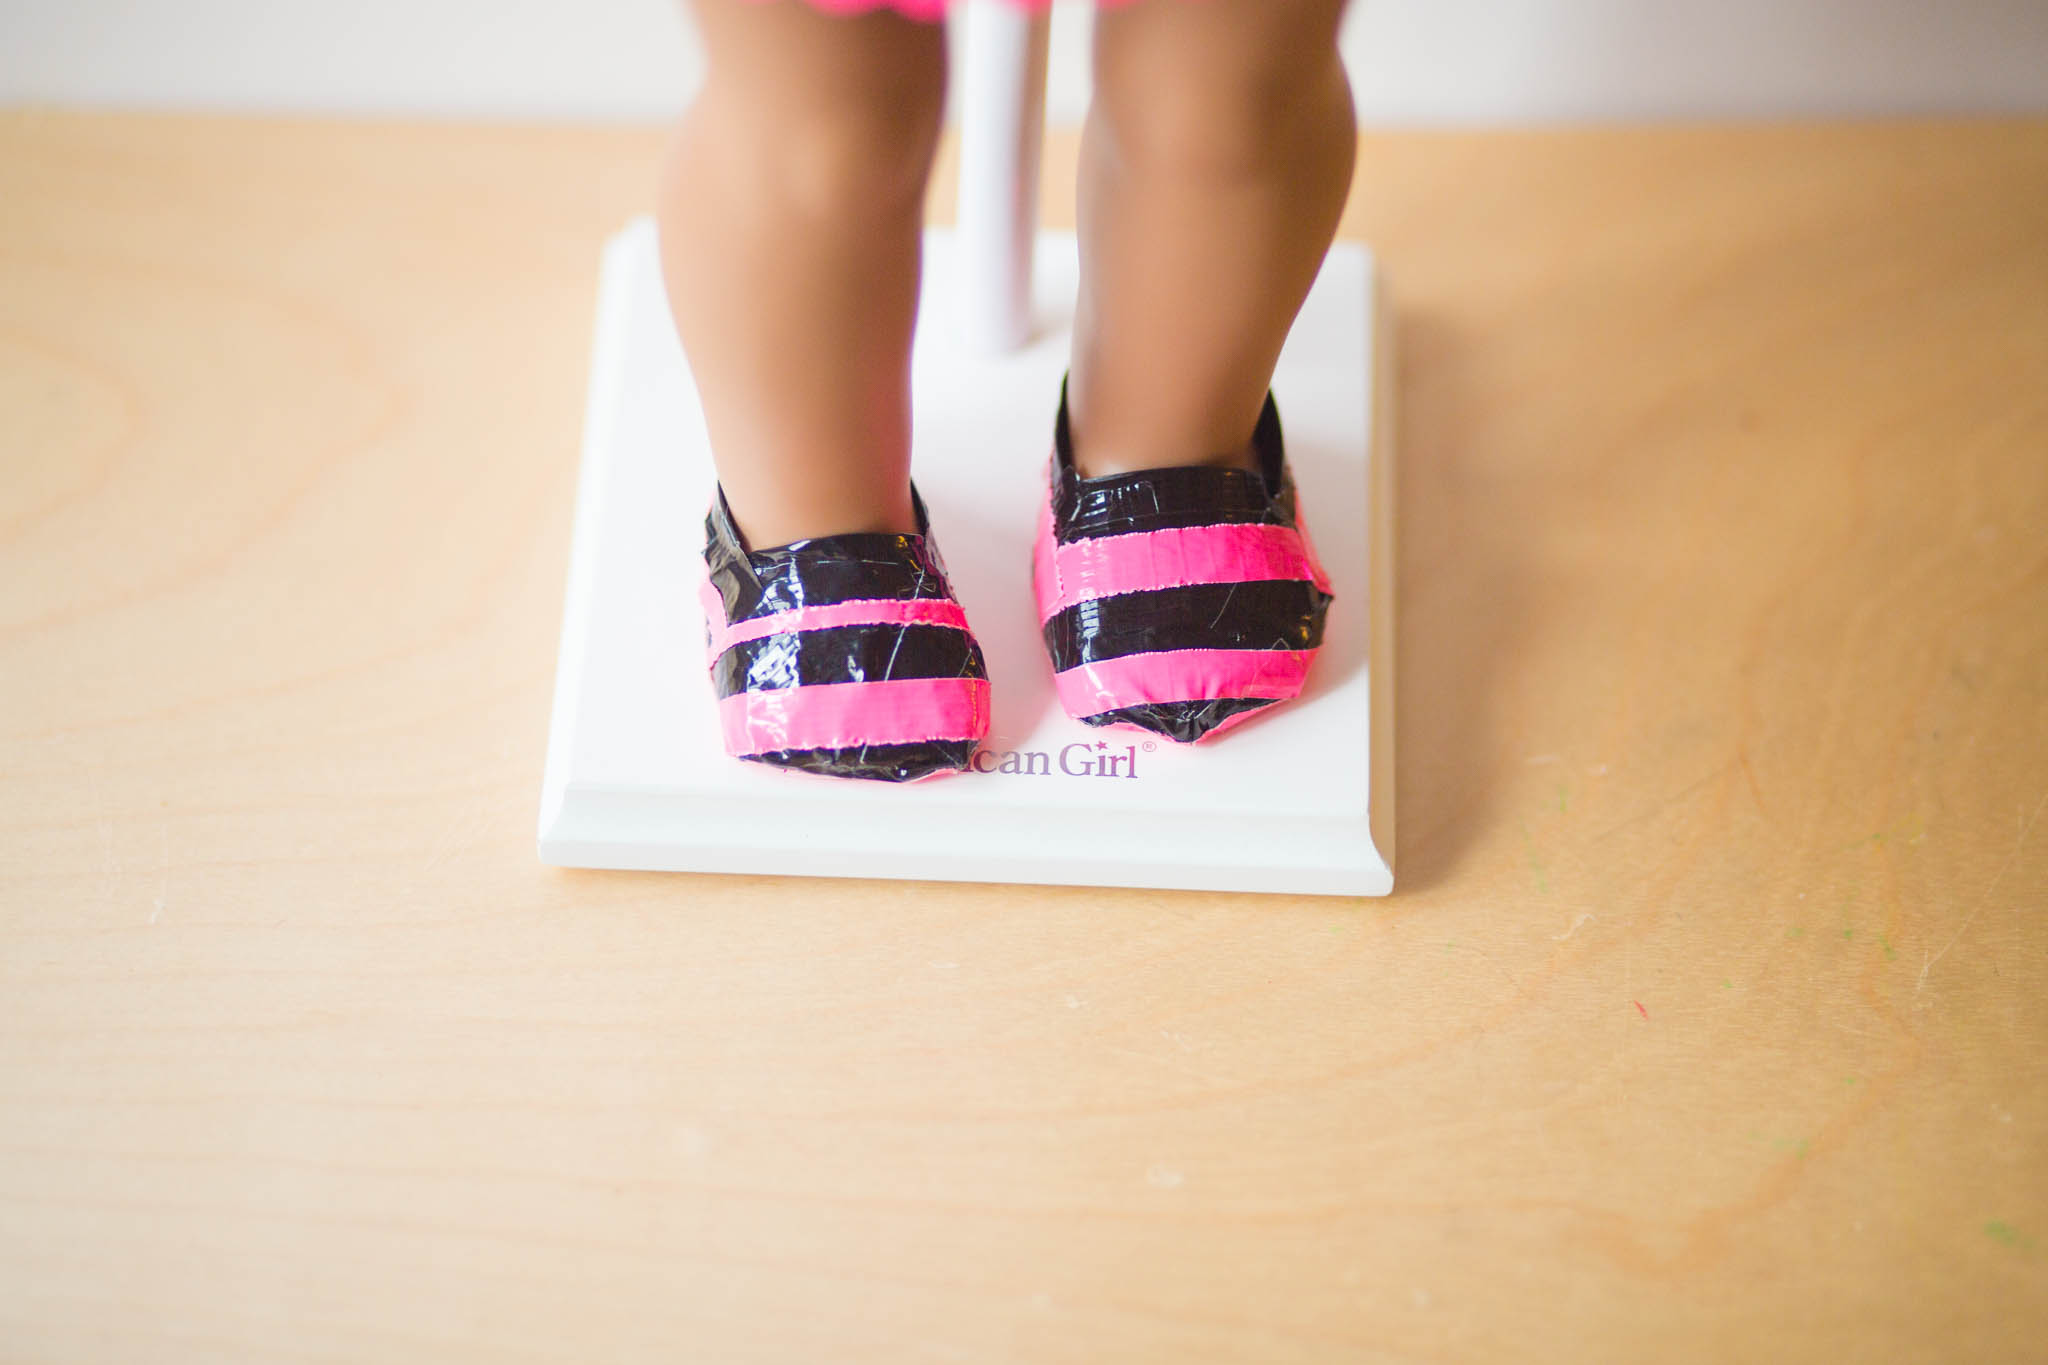
She tried a few different ideas, especially with how to put the clothes on and off the dolls. Even though they look form fitting, they can be changed. She tested ideas. Learned new pointers by browsing Pinterest. And one idea led to another. She could make shoes. And add fabric (tulle). Now she’s working on a backpack.
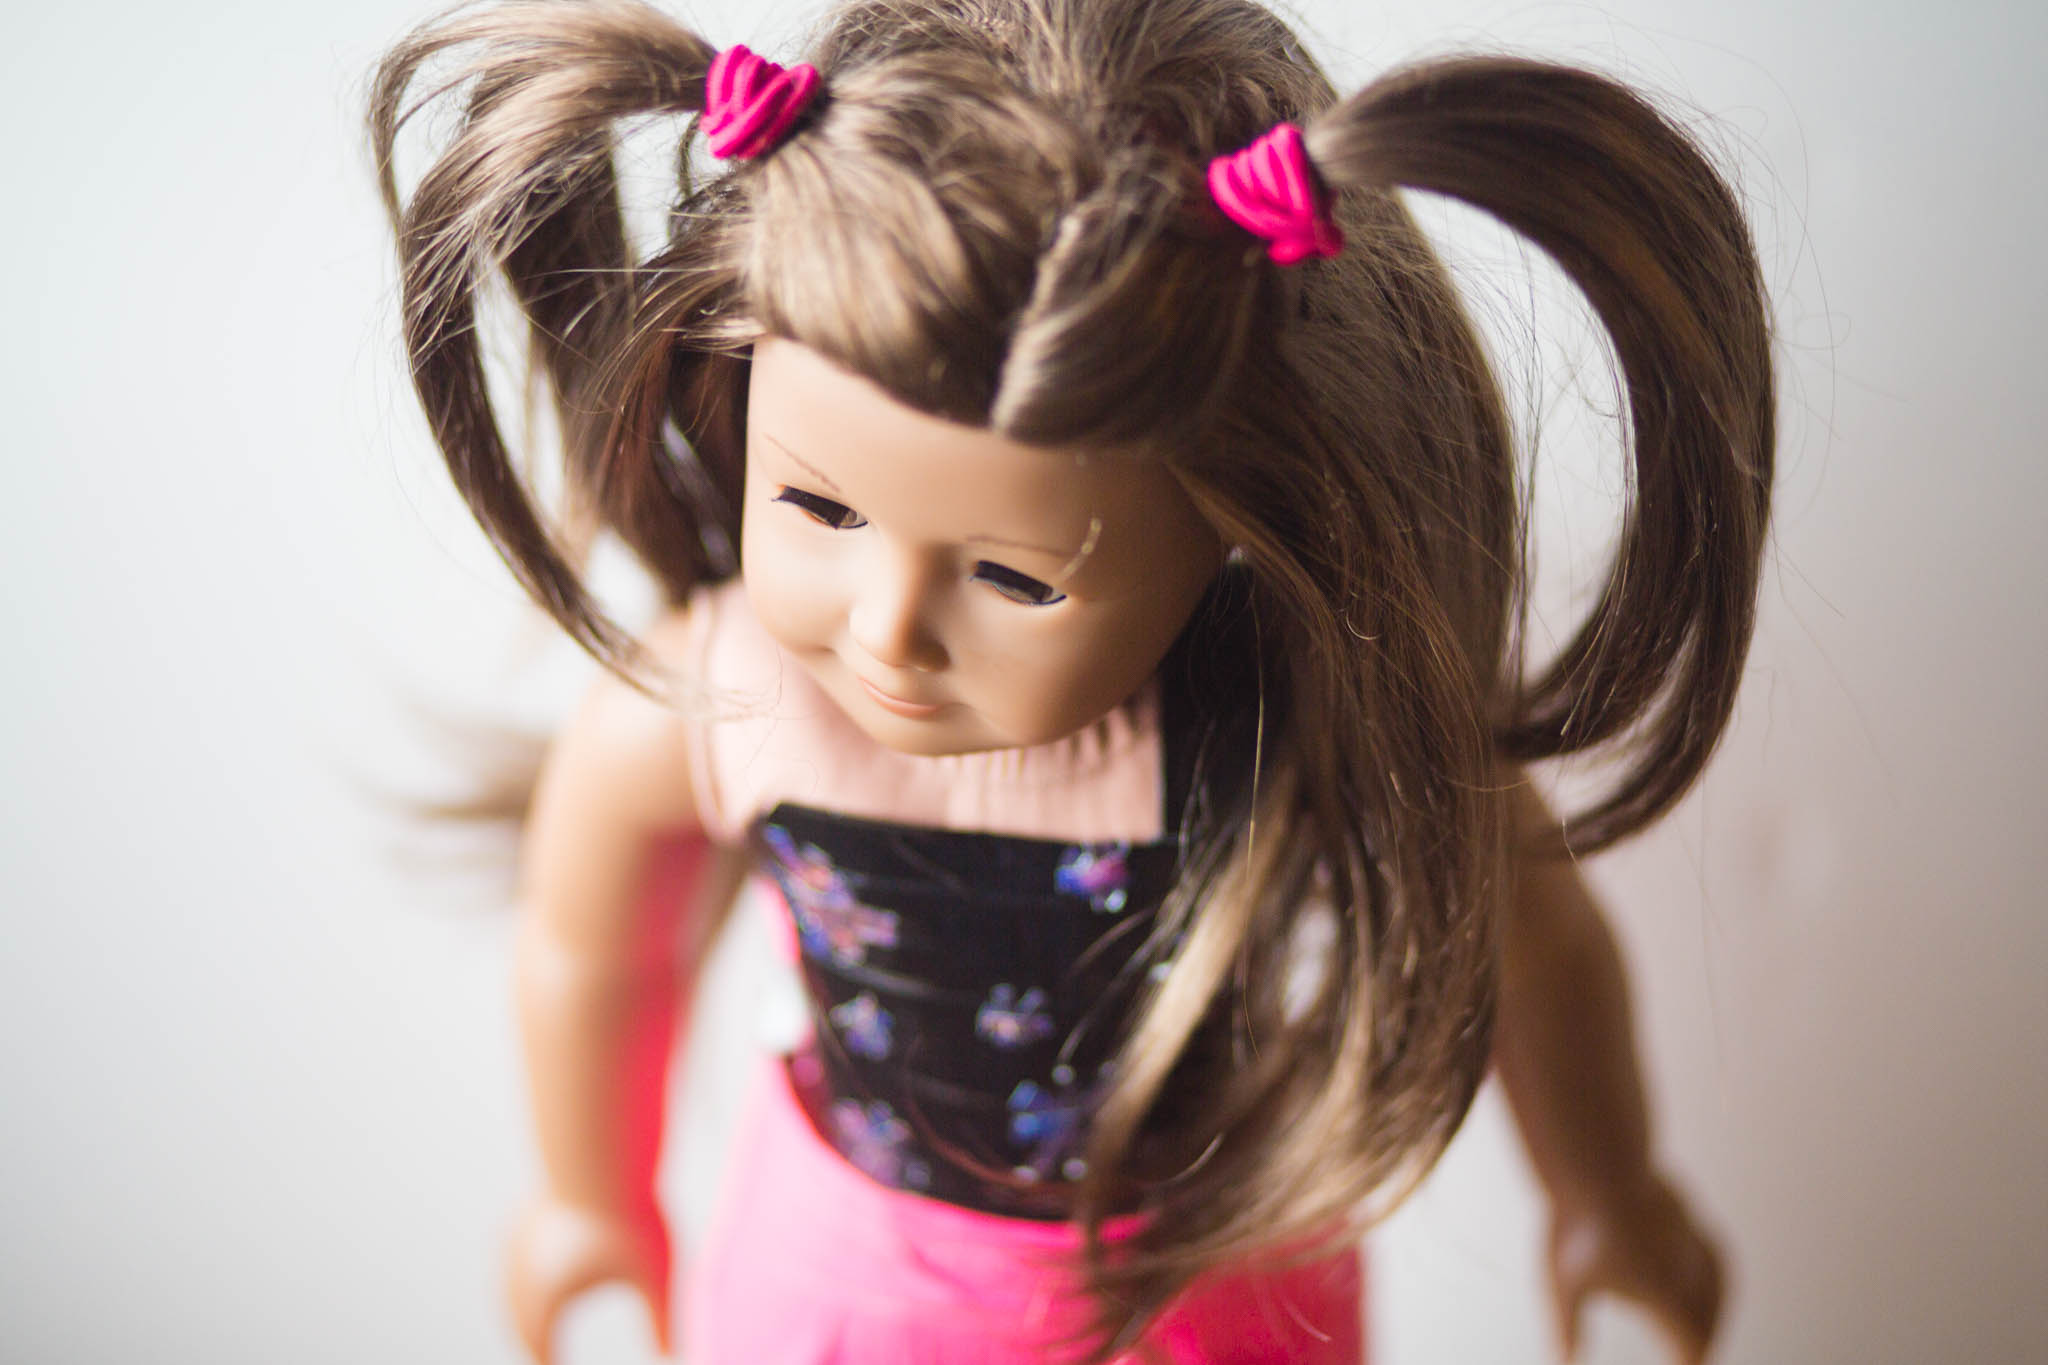
Inspiration!

She made the fireworks pattern on the tank top by cutting thin strips of tape. She needed her own textile. Fancy that.
Her favorite things that she learned were using tinfoil to help shape the shoes, and it’s harder to make skirts than dresses, because the dolls are tougher to fit for skirts. And that clothes designing with duct tape is fun!
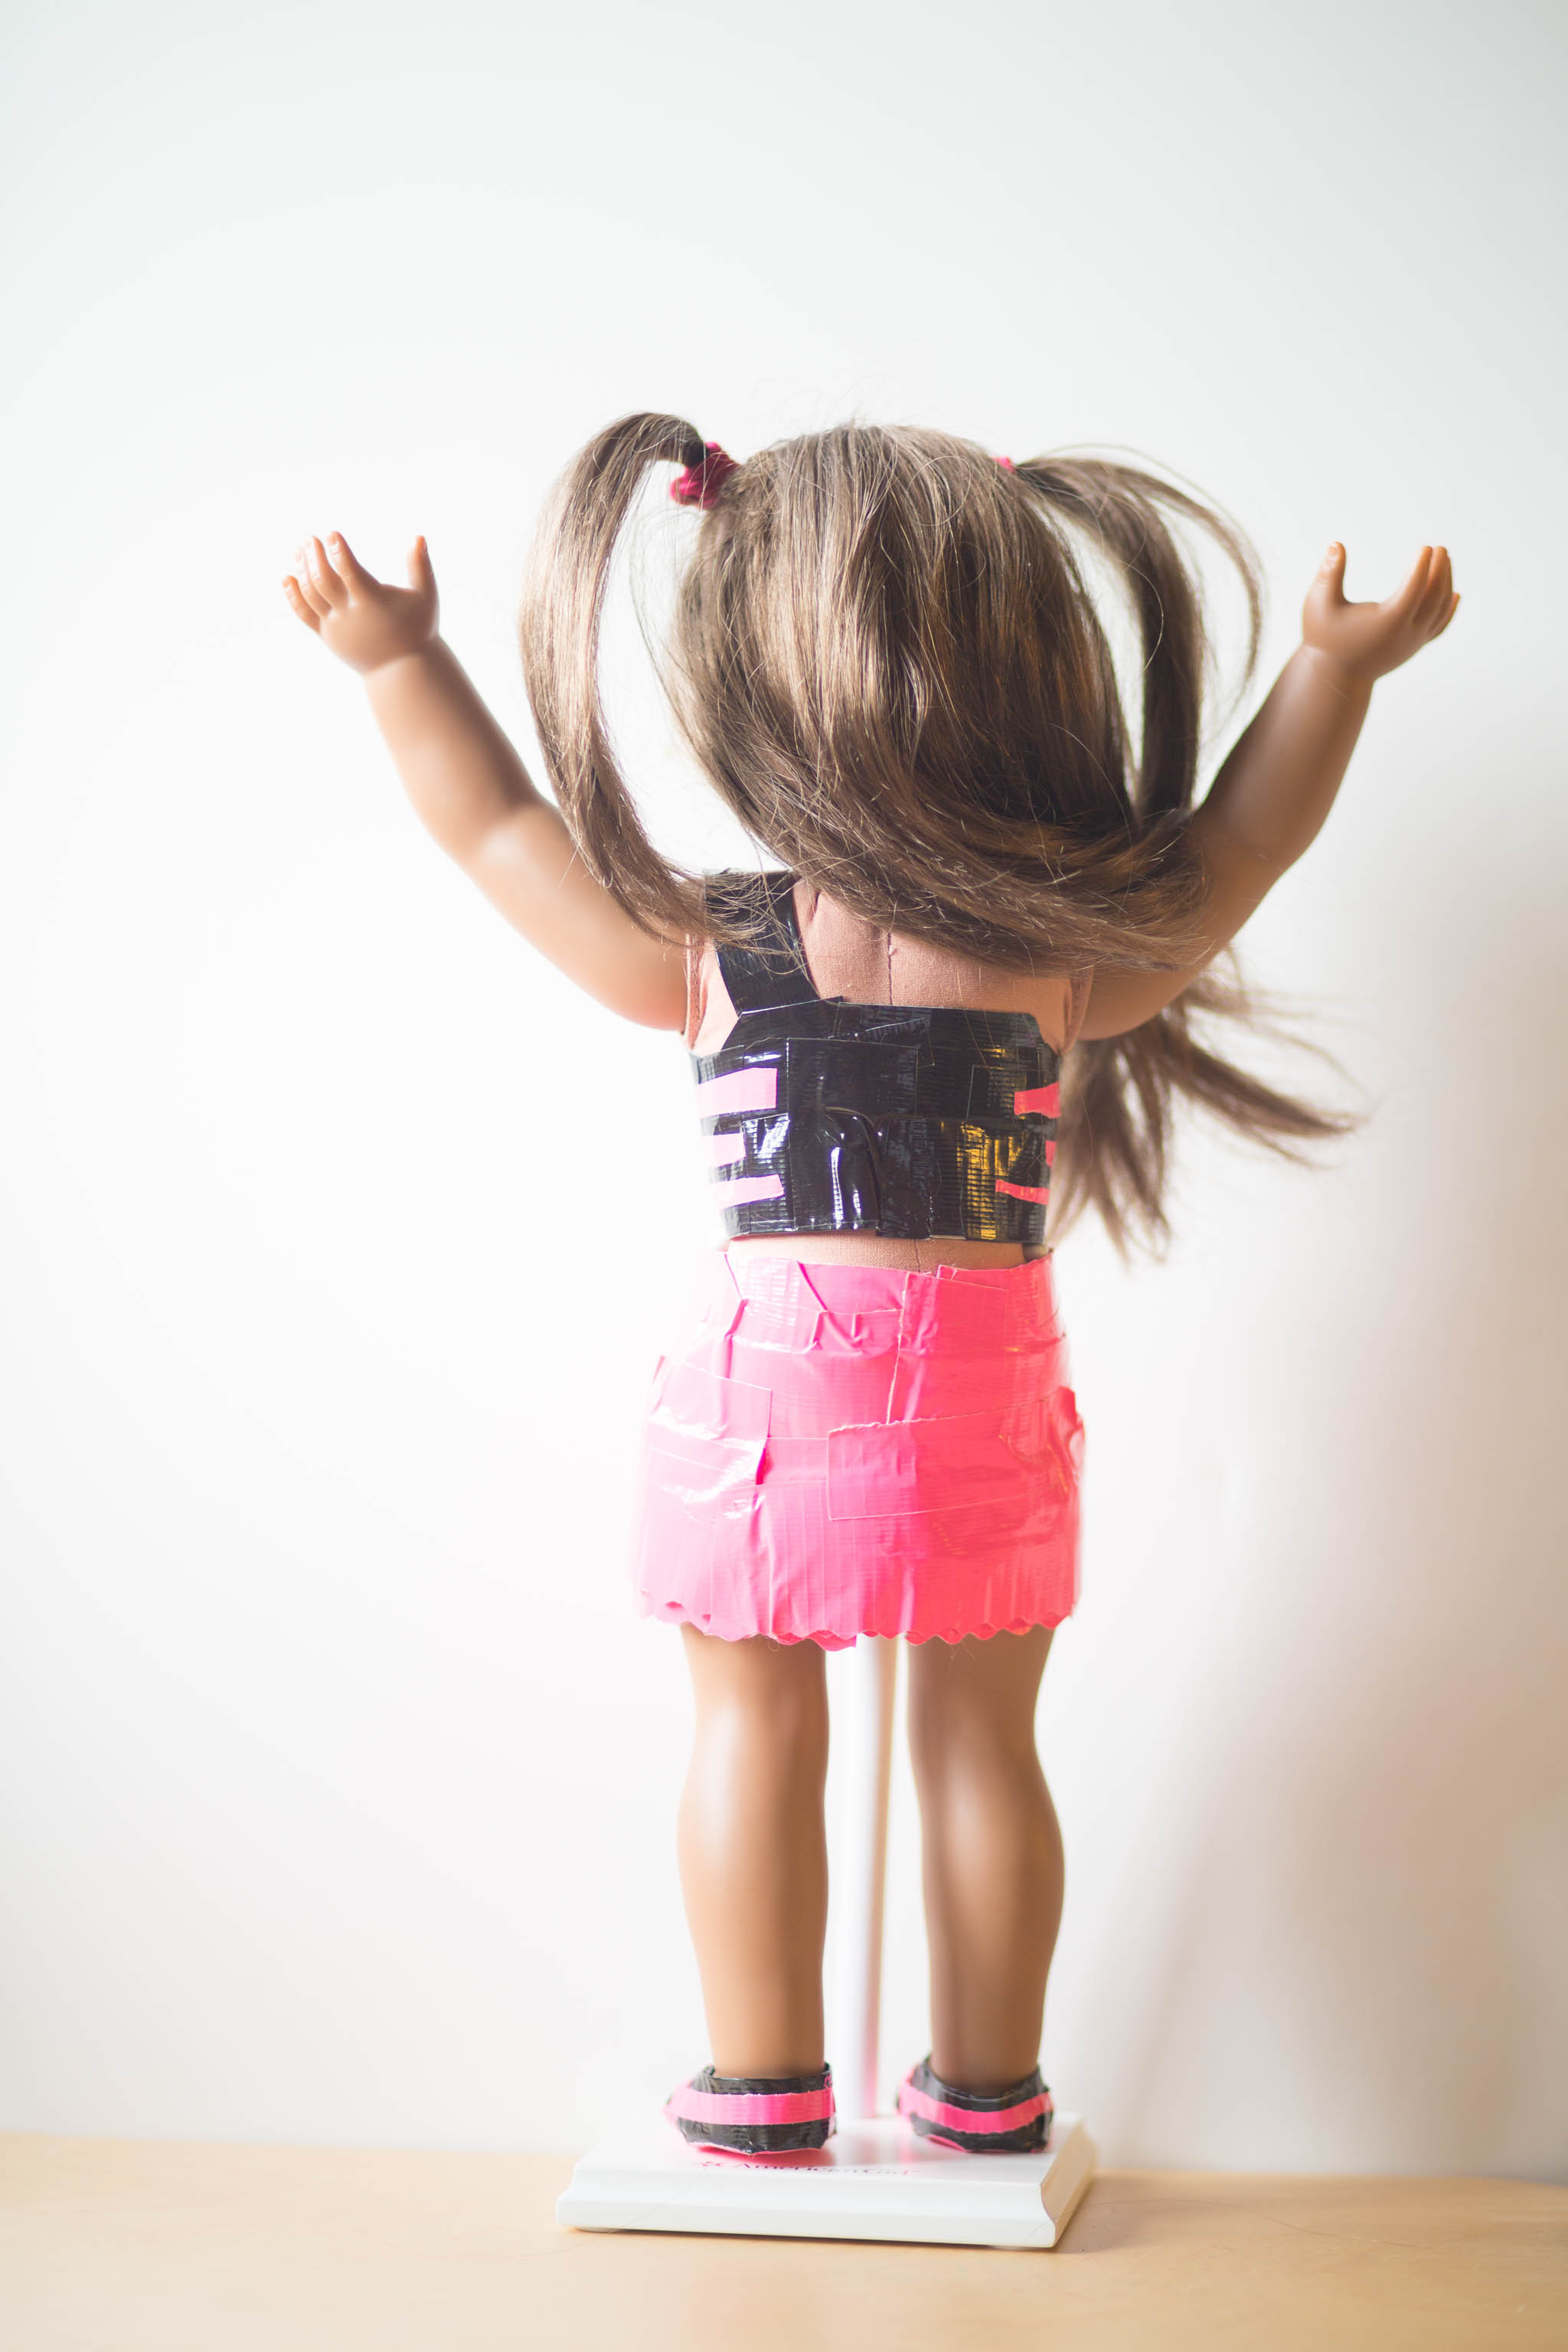
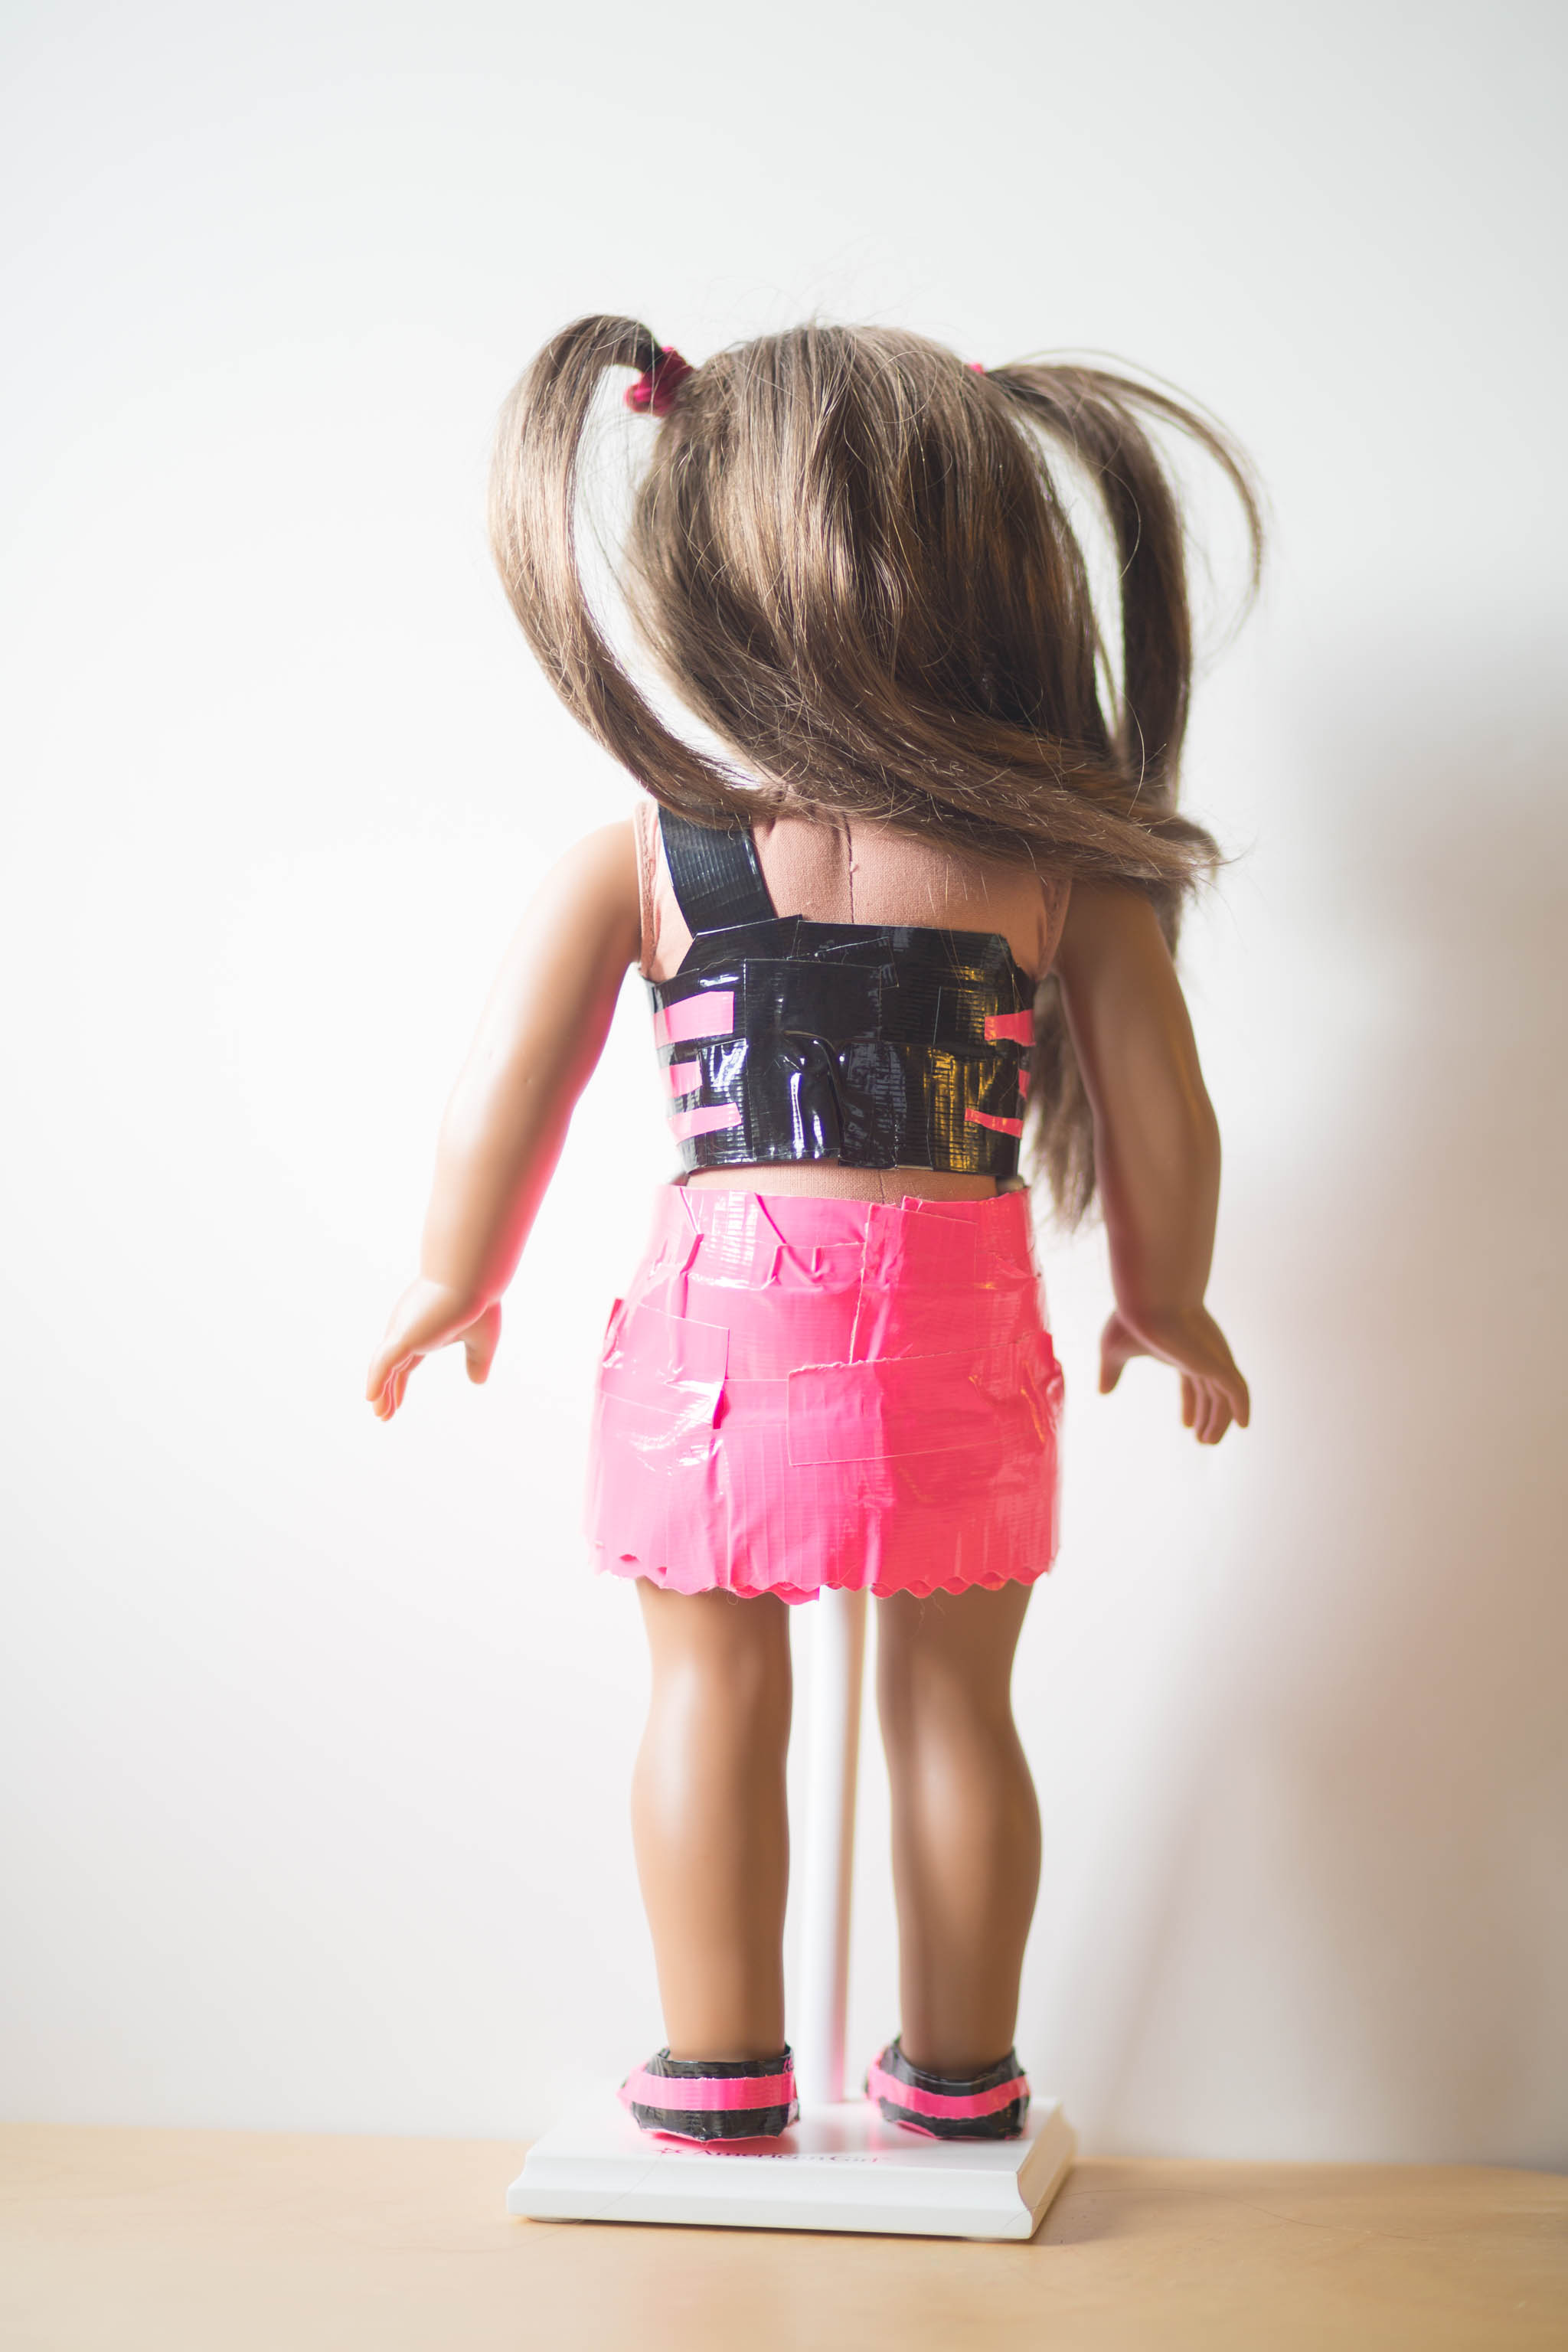
PS- All of her clothes are lined so tape isn’t touching the dolls. She used a rotary cutter with a scallop blade for the wavy effect on the skirt. I hope she inspires you or inspires kids in your world! And, just for the future, Anika is 12 years old. She loves creating!
If you are interested in more detailed instructions for her clothing, let me know. I may be able to inspire Anika to create a tutorial!
So Thankful
We appreciate all the magic. The creativity. The support. The sharing. The love. The wonder. The delight. The laughter. The surprises. The adventure. The ideas. The colors. The surprises. The gifts. The joy.
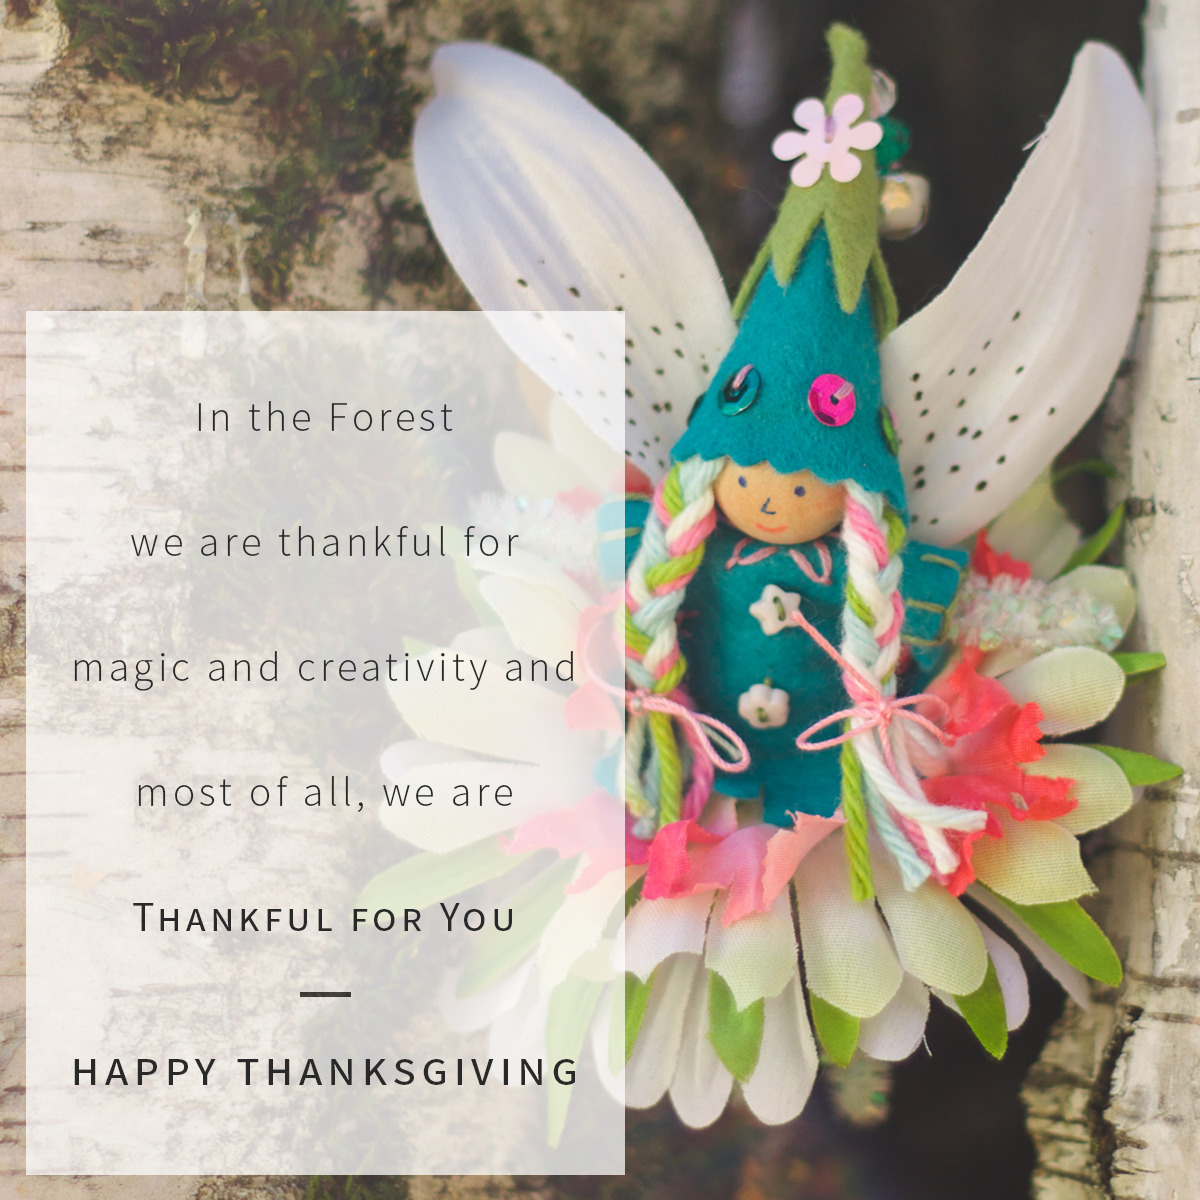
So much gratitude. We hope you get to spend the day with family and friends, enjoying lots of treats and laughter. Happy happy!
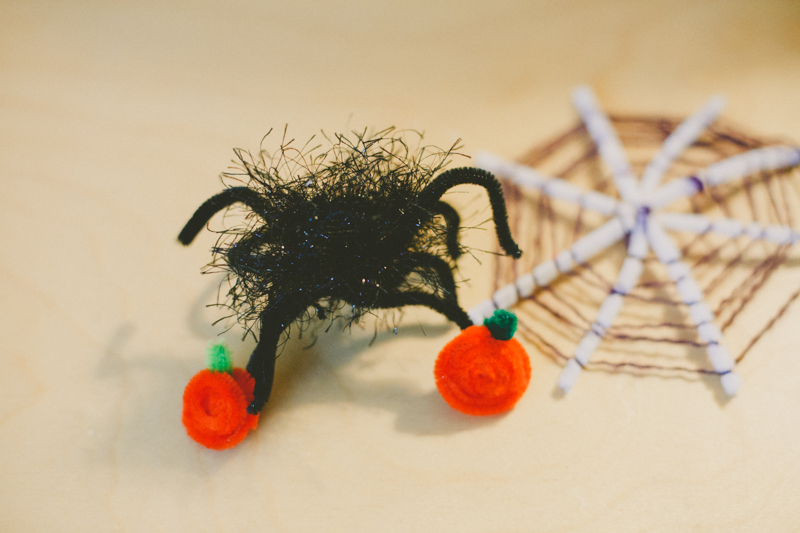
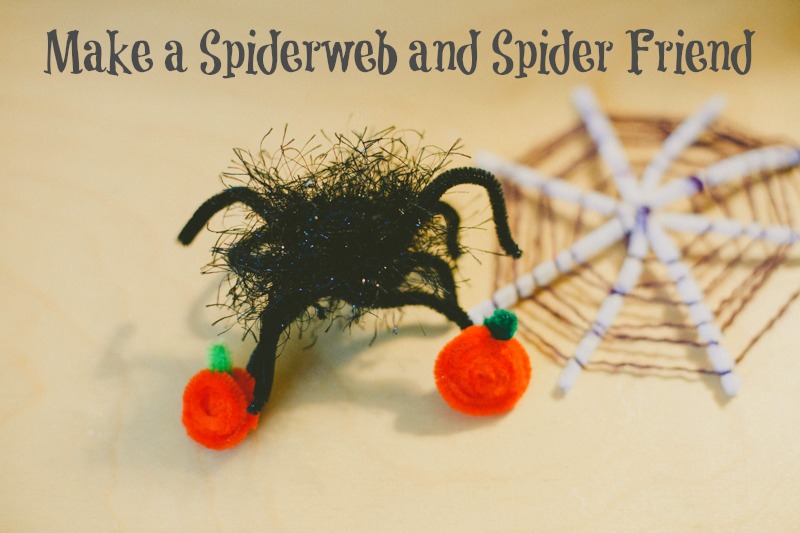
Spiderwebs and Spider Craft
My girl and I love Halloween! As we brought out this year's decorations, she really really wanted to decorate her room. In our family, that means creating new goodies!
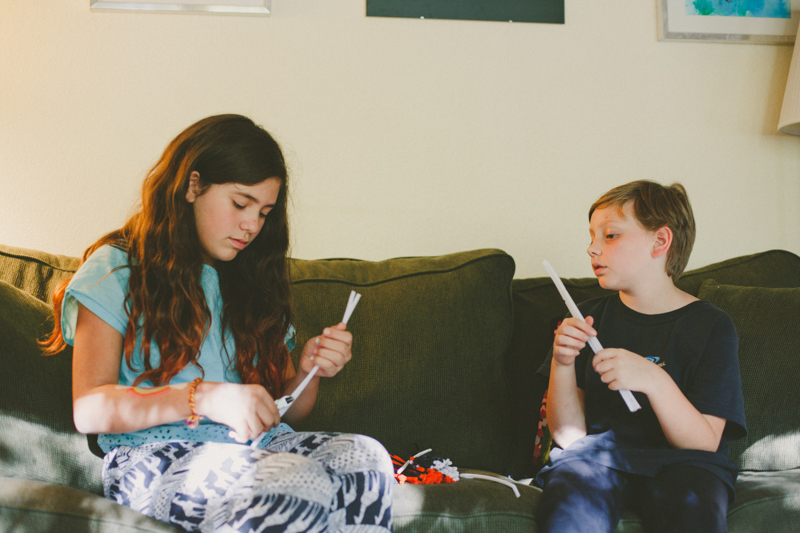
She wanted to create cute spiderwebs and spiders. They're fun, easy, and quick. My niece visited and she had just finished reading Charlotte's Web so this craft especially inspired her. That gave my girl the chance to be Teacher, which is always fun.
Along the way, we learned more techniques for different looks. We hope you enjoy!
Supplies:
- Pipe Cleaners
- Wire Clippers (or scissors if you don't mind possible nicks in the metal when cutting wire)
- Yarn
- Fuzzy Yarn (we used Festive Fur)
The Making:
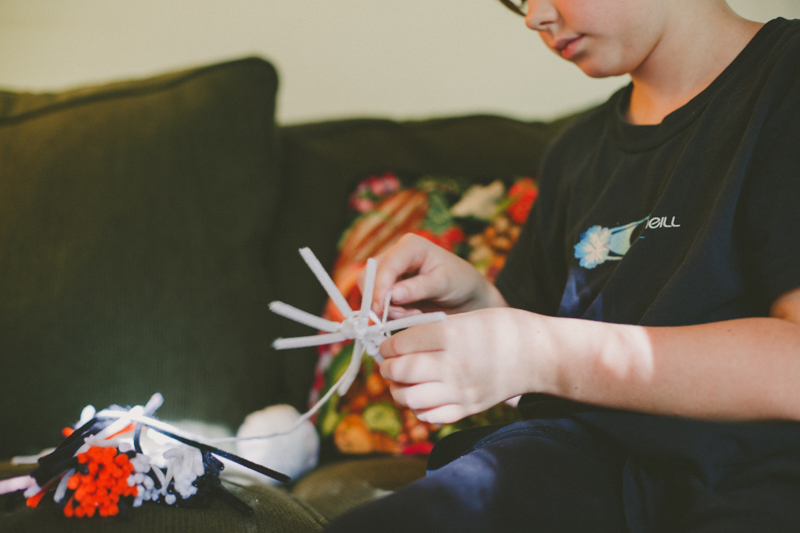
Clip three pipe cleaners in half so you have six in all. If you don't clip the pipe cleaners, they get weak towards the outer edges of the circle. I've also seen this project made with dowels which lets you make larger spiderwebs. The fuzzy pipe cleaners are easier for the yarn to stick in a spread out design.
Lay them them down and tie a piece of yarn around the middle. Spread them out and start winding the yarn around the center to hold them together.

The yarn can be white or black or purple (or any color). You can tie the pipe cleaners together while they are straight and then fan them out. My daughter insisted on tying them while they were all spread apart, which is trickier but still doable.

Start wrapping the yarn around the pipe cleaners, going around one, then the next one and the next one. Give yourself a little space between each layer as you go around and around the spiderweb. It may take a few passes to get the hang of it, but even spiders must practice making their webs (don't they?).

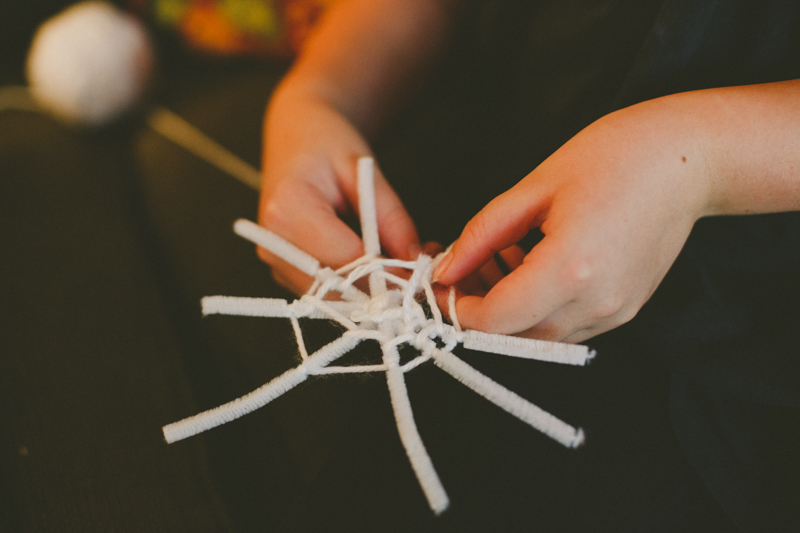
Continue to the outer edge of your spiderweb. Clip the yarn and tie around a pipe cleaner. Leave a little extra that you can use to hang the web.
For the spider, clip three pipe cleaners again to make six. The fuzzy yarn is a little tricky for little hands, so I helped with making the first spiders. We tried two ways that both worked.
First, we wrapped the fuzzy yarn around three fingers a few times. We clipped a length of plain purple yarn and tied around the middle. After our little fuzzy ball was secure, we tied it again around the middle of the three pipe cleaners to give our spider six legs.

Spread out the legs and bend to give your spider personality.
This version of the spider was a little flopsy (which was totally fine) except it inspired us to try again.
This time, we wrapped the fuzzy yarn into a ball. To learn how make a yarn ball, you can visit here. Basically, wrap the yarn around a few fingers, take off your fingers, wrap a few times in another direction, and again, and again. Once you get the hang of it, yarn balls are simple and fun.
Once the ball was about the size of a grape, we laid the three pipe cleaner legs across and wound around them too. Now we had six legs. We could fan them out and wrap the yarn between the legs. This technique made the spider more durable.

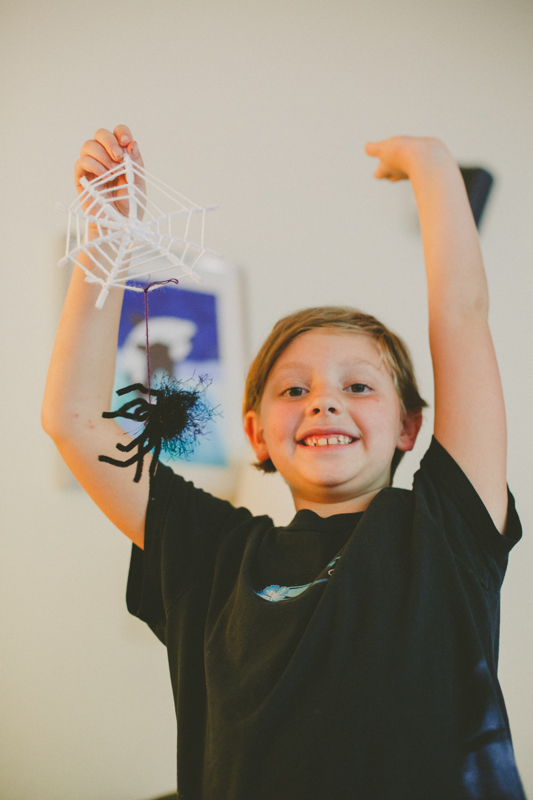
Isn't she cute?
Once our spider was nice size, we tied the yarn around the middle to secure it. The nice thing about fuzzy yarn is that it hides all the knots and loose ends. We tied a strand of plain yarn around it to give a thread/web for hanging.
Hurrah! The excitement kids show when they love their creating gets me every time!
Meanwhile, the girls realized they could spin a piece of orange pipe cleaner in a spiral to make pumpkins! So many pumpkins! A tiny pice of green tucked into the spiral became perfect stems.

What lucky spiders getting decorations of their own!
Then, my favorite part of creating! The kids took off with their own ideas. My niece spiraled a white piece of pipe cleaner into a hat.
And my girl realized white pipe cleaners and white yarn can make an awesome ghost. Little pieces of orange pipe cleaner tucked into the yarn made perfect eyes.

Sometimes, all we need to do is give children the opportunity (and supplies). I am constantly amazed!
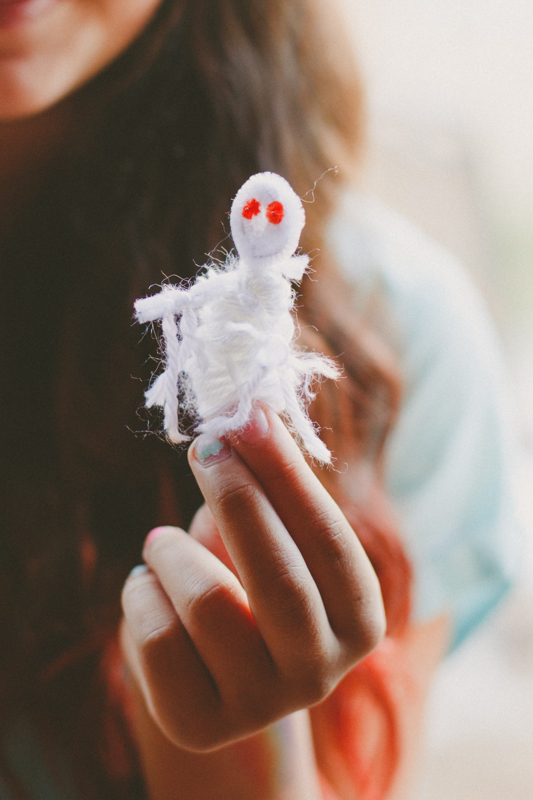
What a darling little ghost!
*I might need to write a tutorial for her ghost because I'm so curious how she made it :)
I hope these inspire your own decorations. A few pipe cleaners and yarn sure gave us a fun afternoon. And now our house is pleasantly spooky!

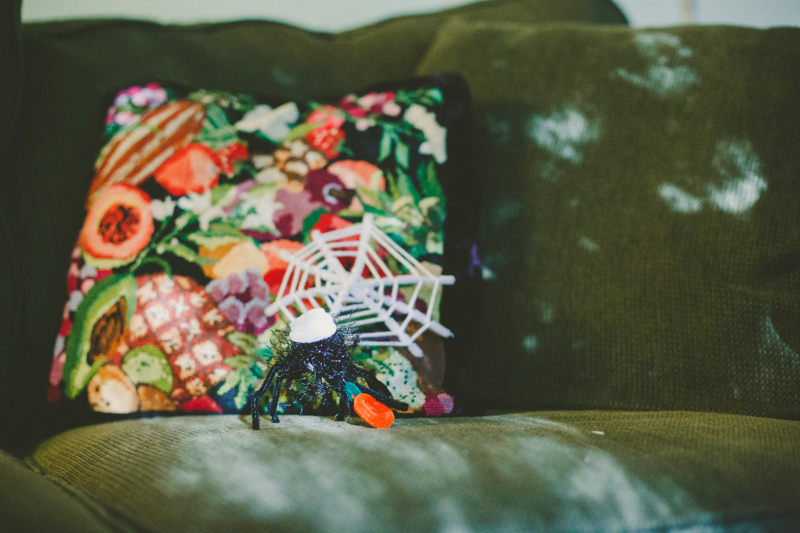
Zombie Bride and Groom
My daughter created this charming couple. We love zombies! In the Fairy Forest, the zombies are the wild children. They embrace mess. Tangles. Layers of rough-cut felt.
These two are cake toppers for a contest she entered featuring Ugly Cakes (yep, it's a real thing) at the Nevada County Fair. She was inspired to make a zombie wedding cake. She could make layers, and drizzle raspberry sauce, and add black icing (yuck)! We knew that a bride and groom cake topper would bring the entire cake together.
We used the zombie patterns from Forest Fairy Crafts. The layer of creepy cloth is easy to find in the Halloween season. I bought a mantle decoration years ago and use it for all of our zombies.
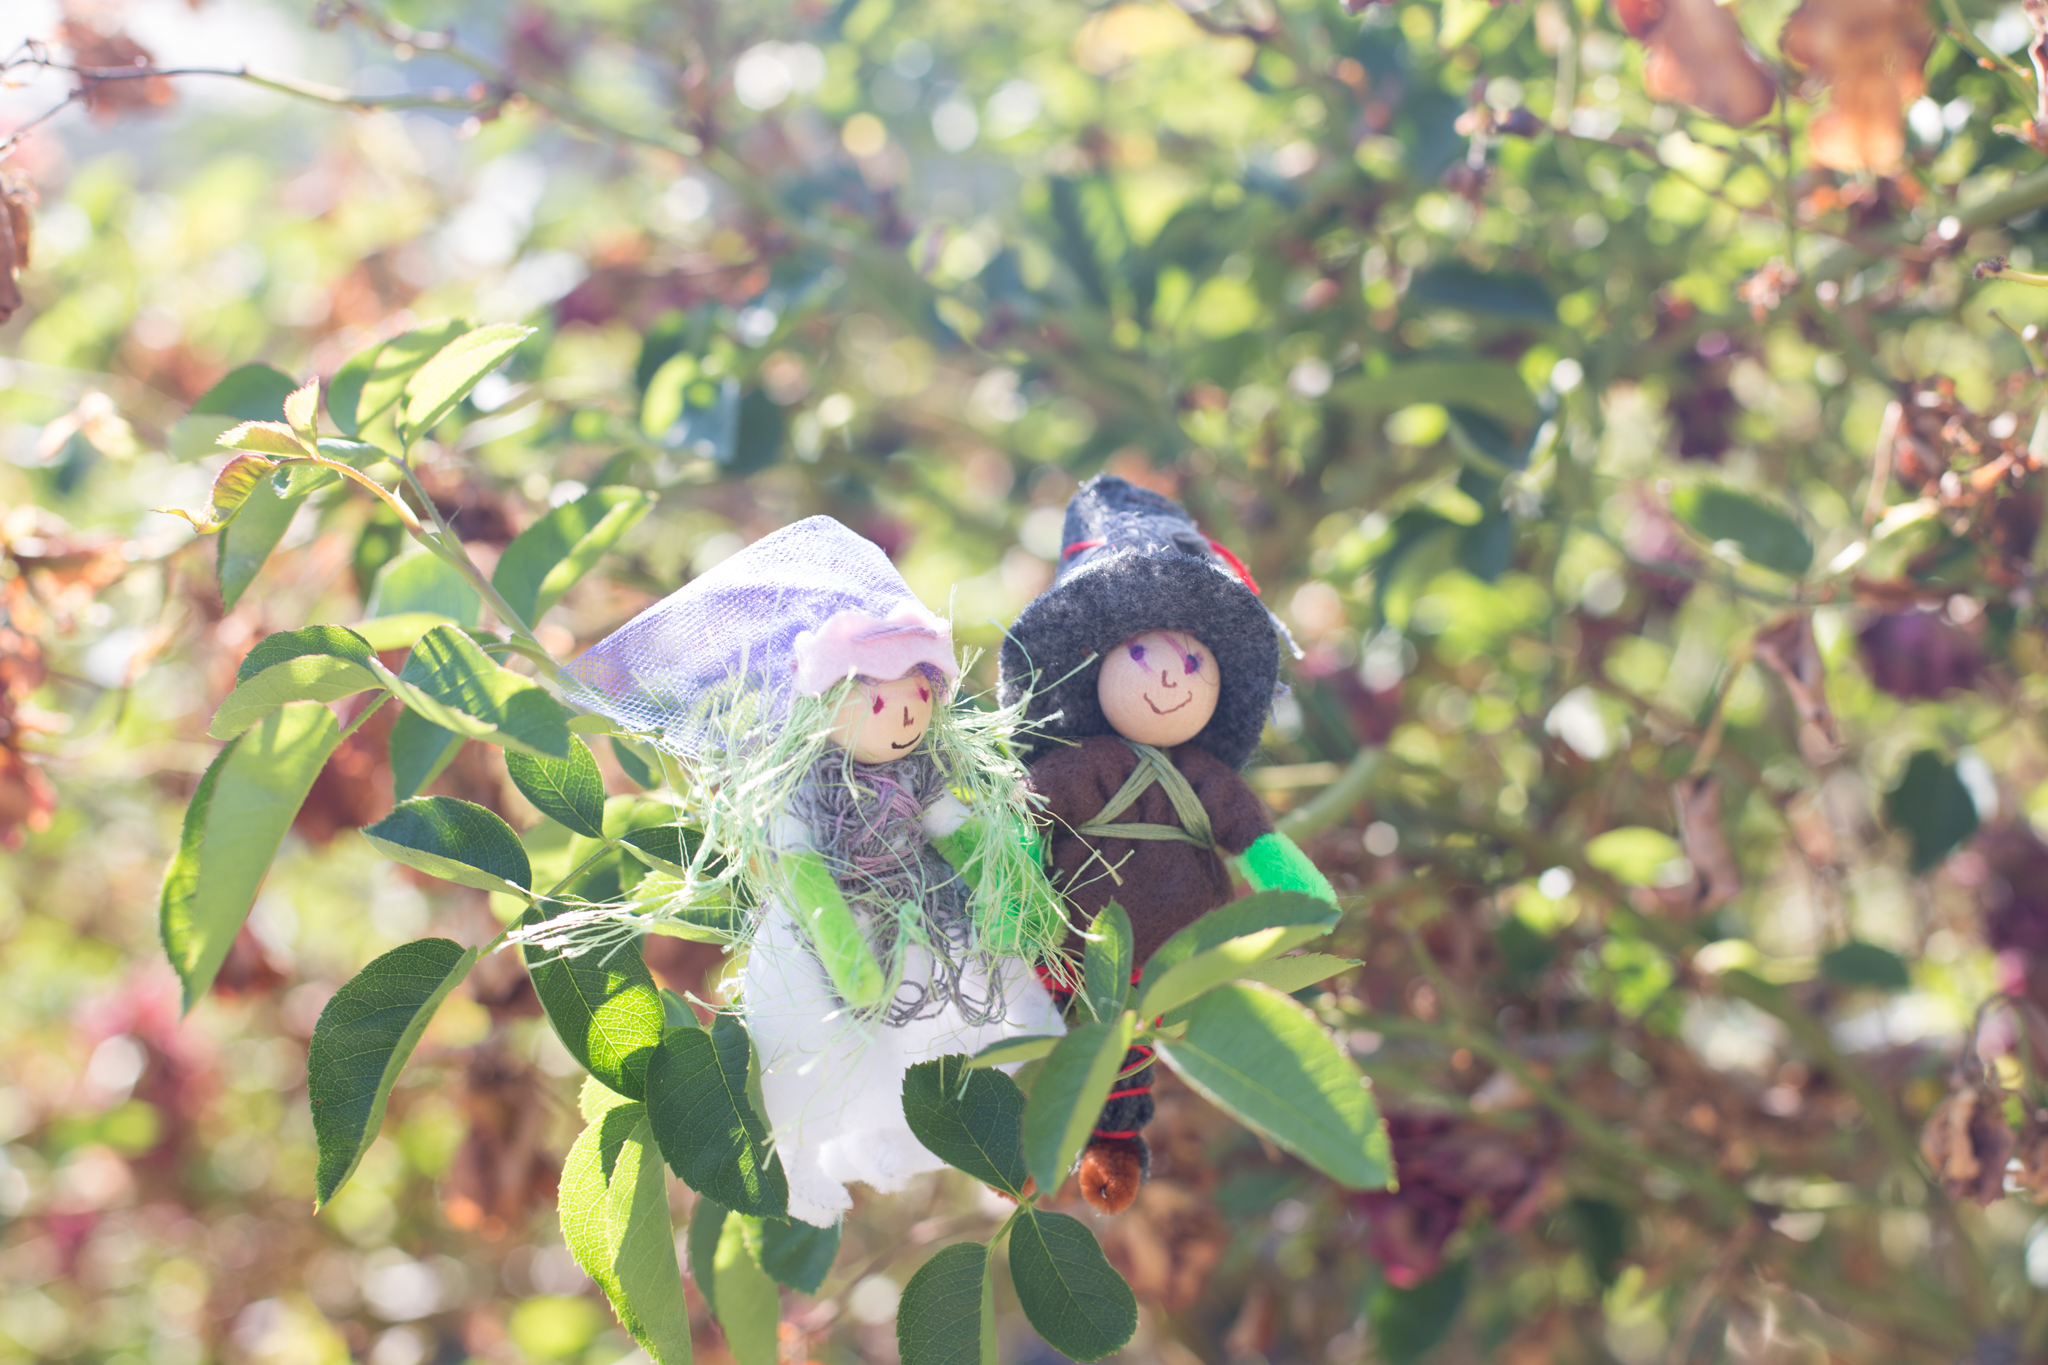
Our biggest challenge was their fancy hats. For the bride, we cut a strip of felt to hold her veil. We sewed the tulle onto felt with a few stitches and ended up securing the back with a stitch as well. Otherwise the tulle stood straight up!
For the groom, we used the same pattern as the witch and pirate hat. Except we created a tube instead of a triangle. I sewed a black rectangle to the top, then clipped around the edges to make it circular. I ended up doing these tricky parts because my daughter was distracted with lots of gooey decorating on the cake.

We wrapped a little creepy cloth around the hat as well. The nice thing is that we didn't have to worry about messy stitching or uneven edges. He is a zombie, after all.
For their faces, we used sharpie and smeared the ink before it dried. Again, we love the freedom of imperfections!
I hope these might inspire you to make happy zombie couples of your own! I ended up going to great lengths to keep them after the cake won a Blue Ribbon. Yes, she won first place!
And here's where they belong. On a zombie wedding cake!

Aren't they wonderful? The little dish at the top protected them from all of that icing.
And, don't worry, no one ate this cake :)
Remember, you have time to come to Circle of Hands Toys and Gifts on Saturday, October 17 to meet me and Margaret Bloom of We Bloom Here. Visit our Events for more information.
*this post does contain an affiliate link to our book. Should you choose to purchase, a small amount returns to the forest while your price remains the same. Thank you!