Make a Yarn Ball
Anyone that has enjoyed yarn projects with children (or as an adult) knows this pile of tangled yarn all too well. An easy way to avoid this headache is to wind the skein of yarn into smaller balls. This can be especially handy if you work with different children, because then one skein of yarn can easily be made into many balls of yarn.
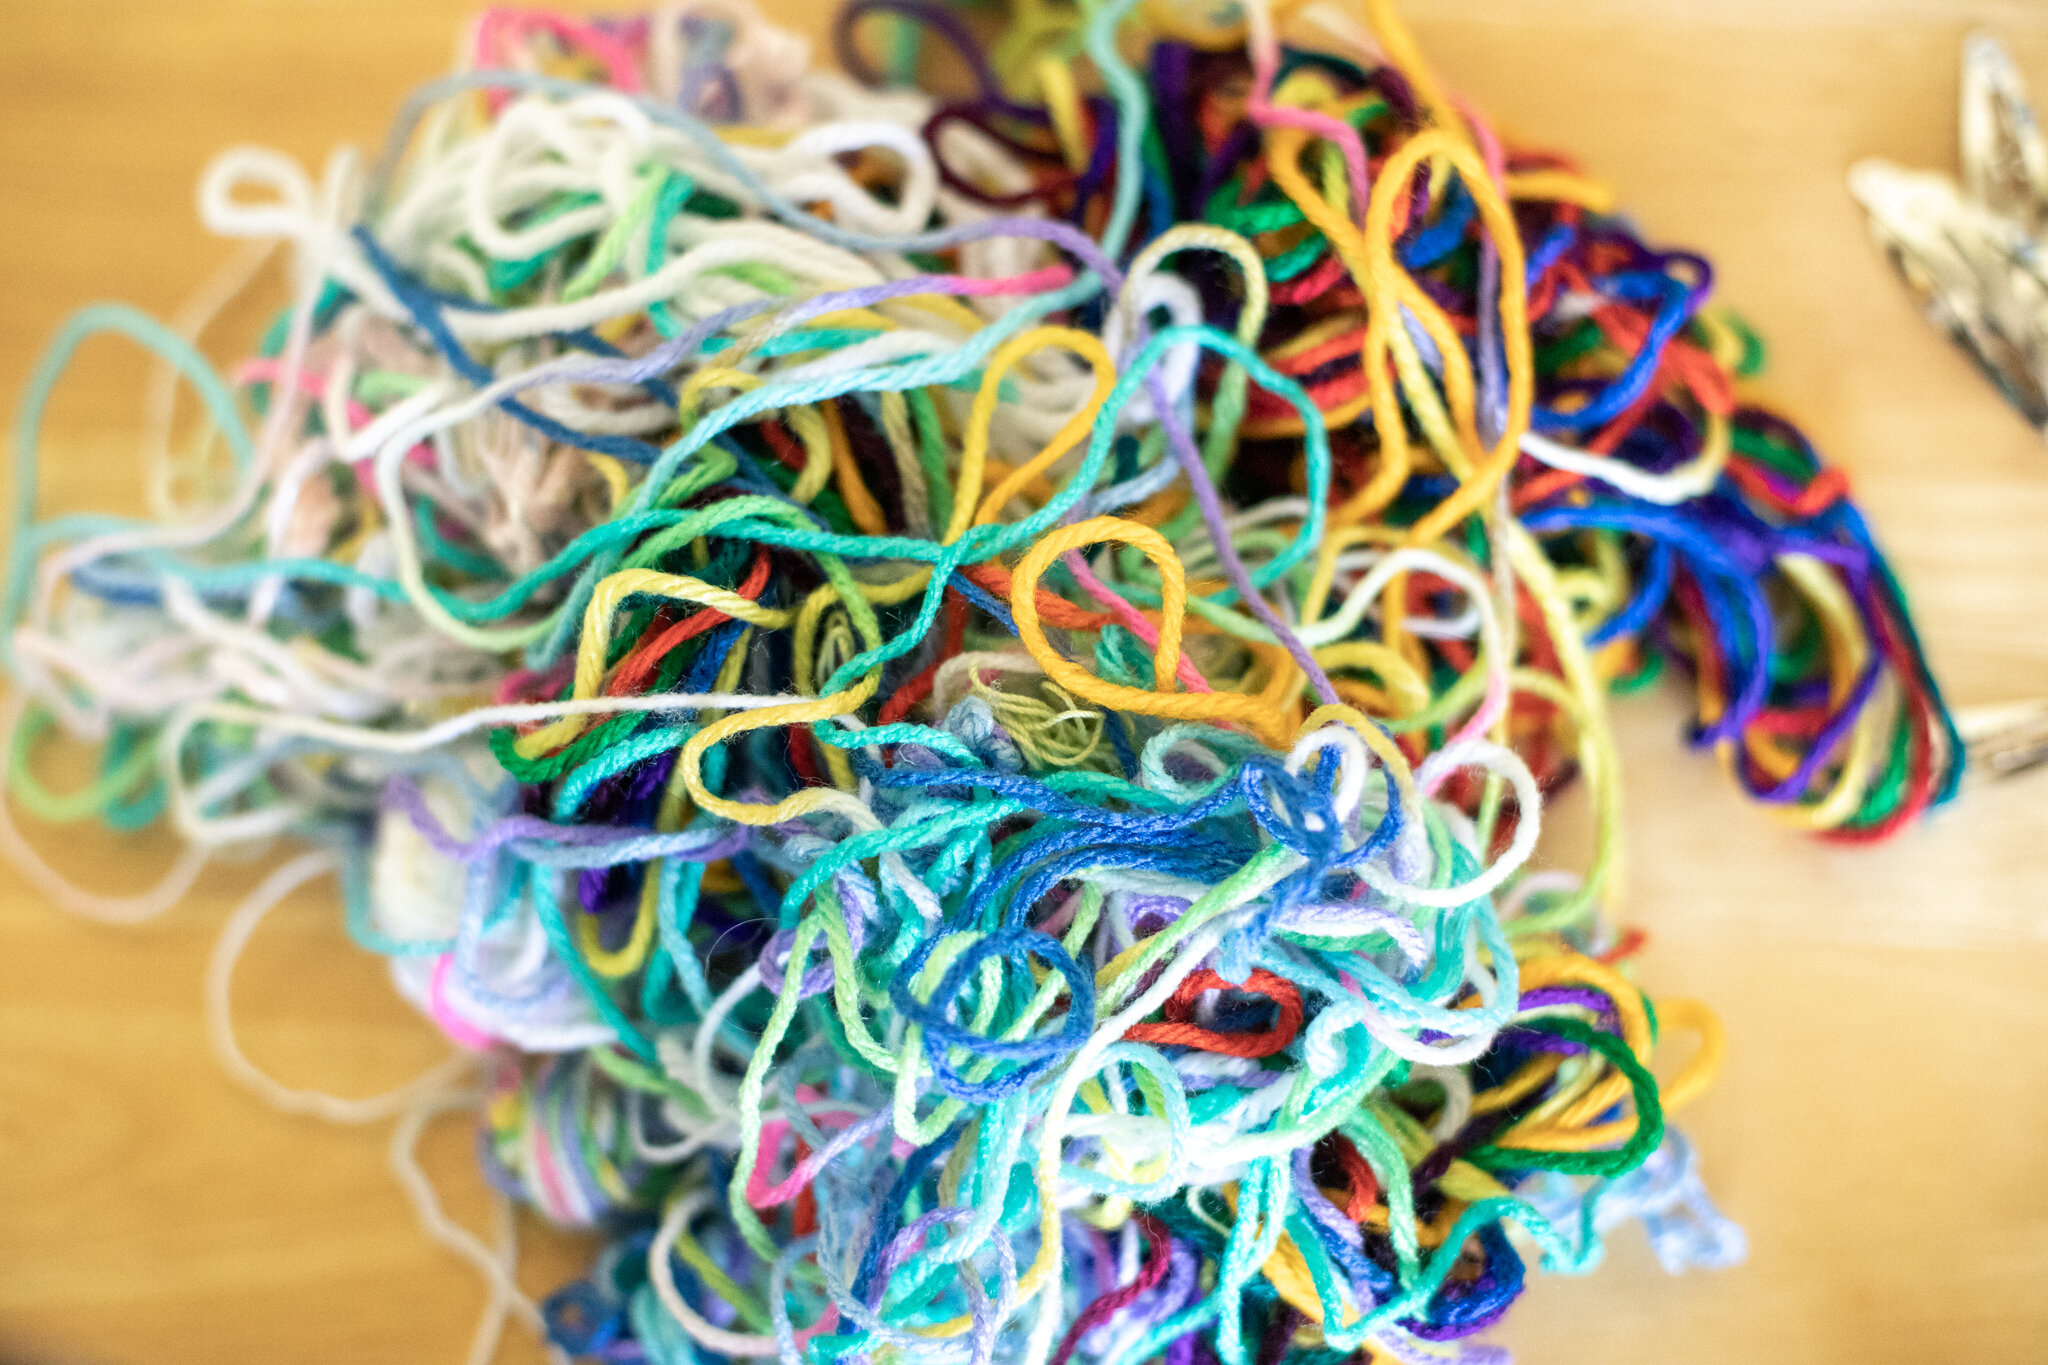
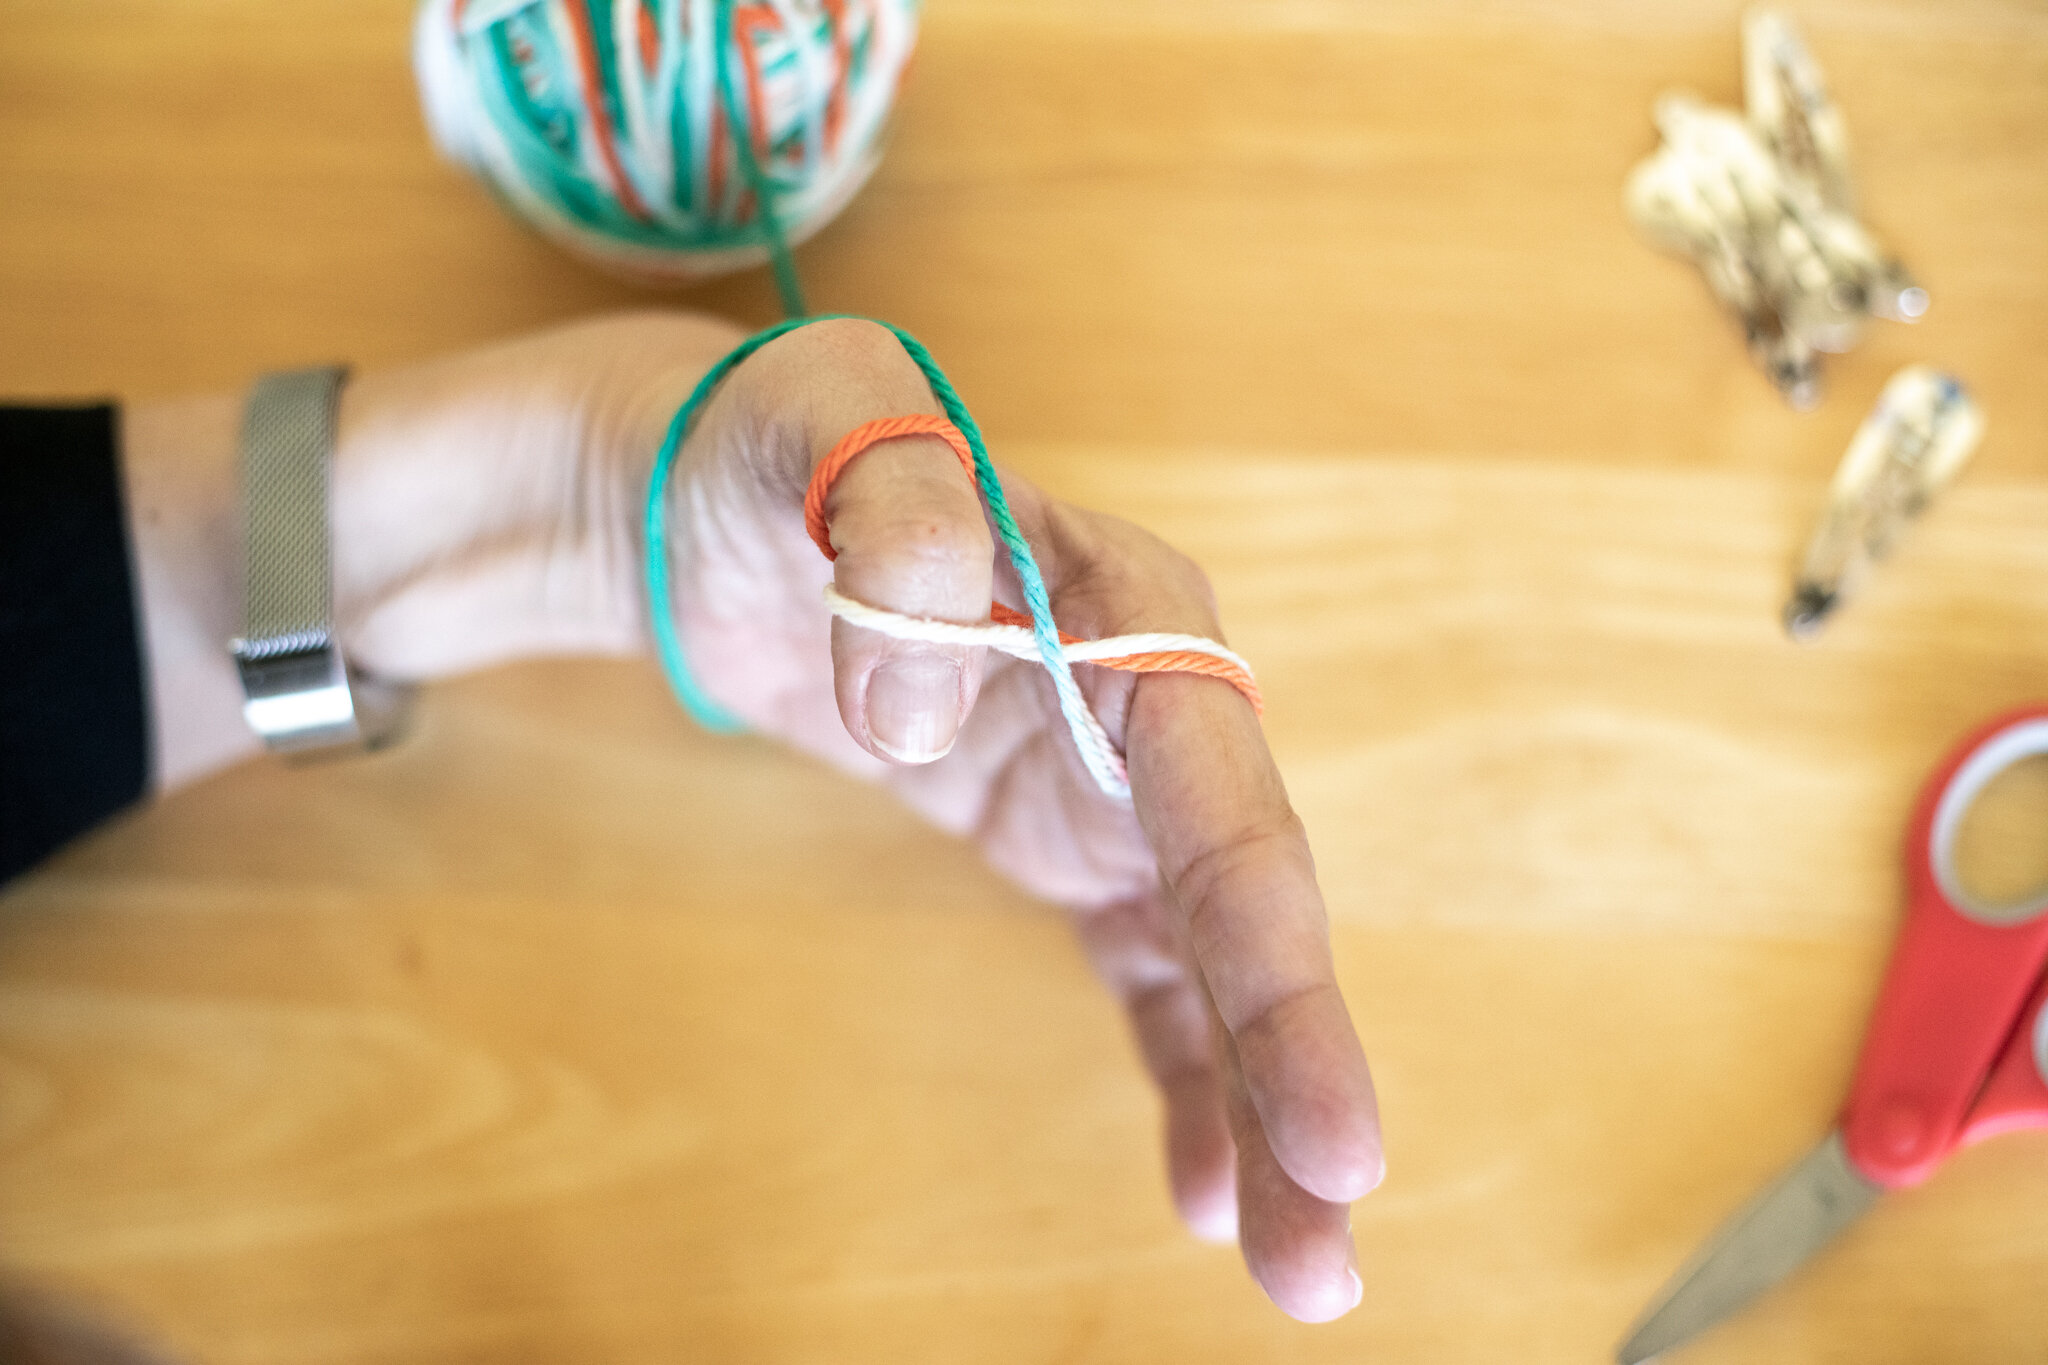
And children love making yarn balls. It’s a soothing and satisfying process. When you make them soon after bringing new yarn home, you can avoid the tangled mess photographed above. I have two different ways to start the yarn ball. You can try each and choose the way that’s easier for you. We would teach “granny’s glasses” (the first way) because it was a little easier for kids to start the ball after they figured out how to get it around their thumb and finger successfully.
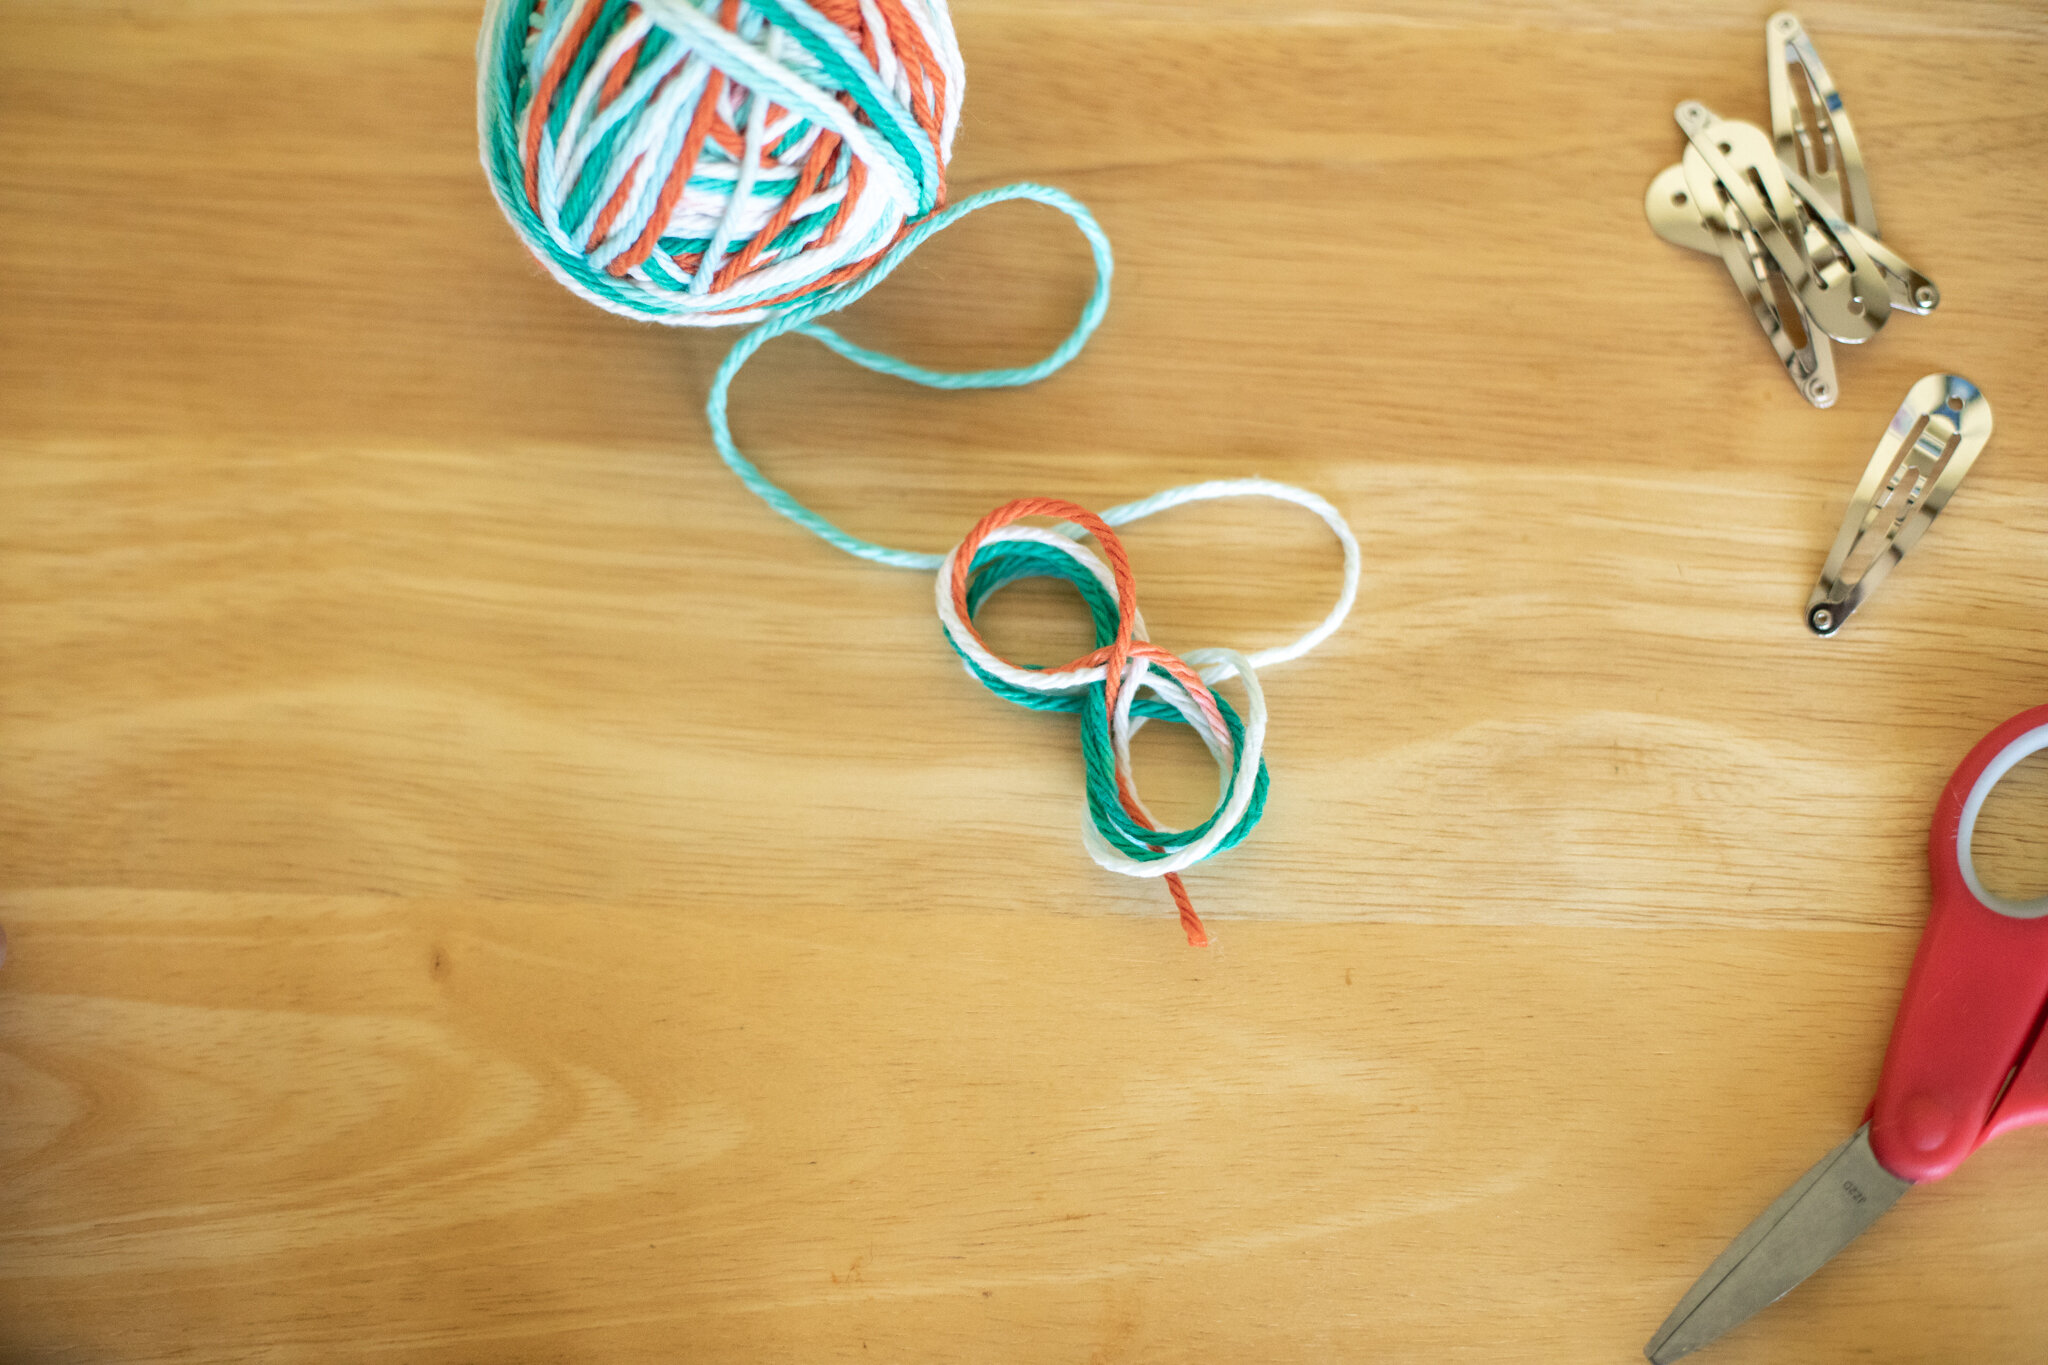
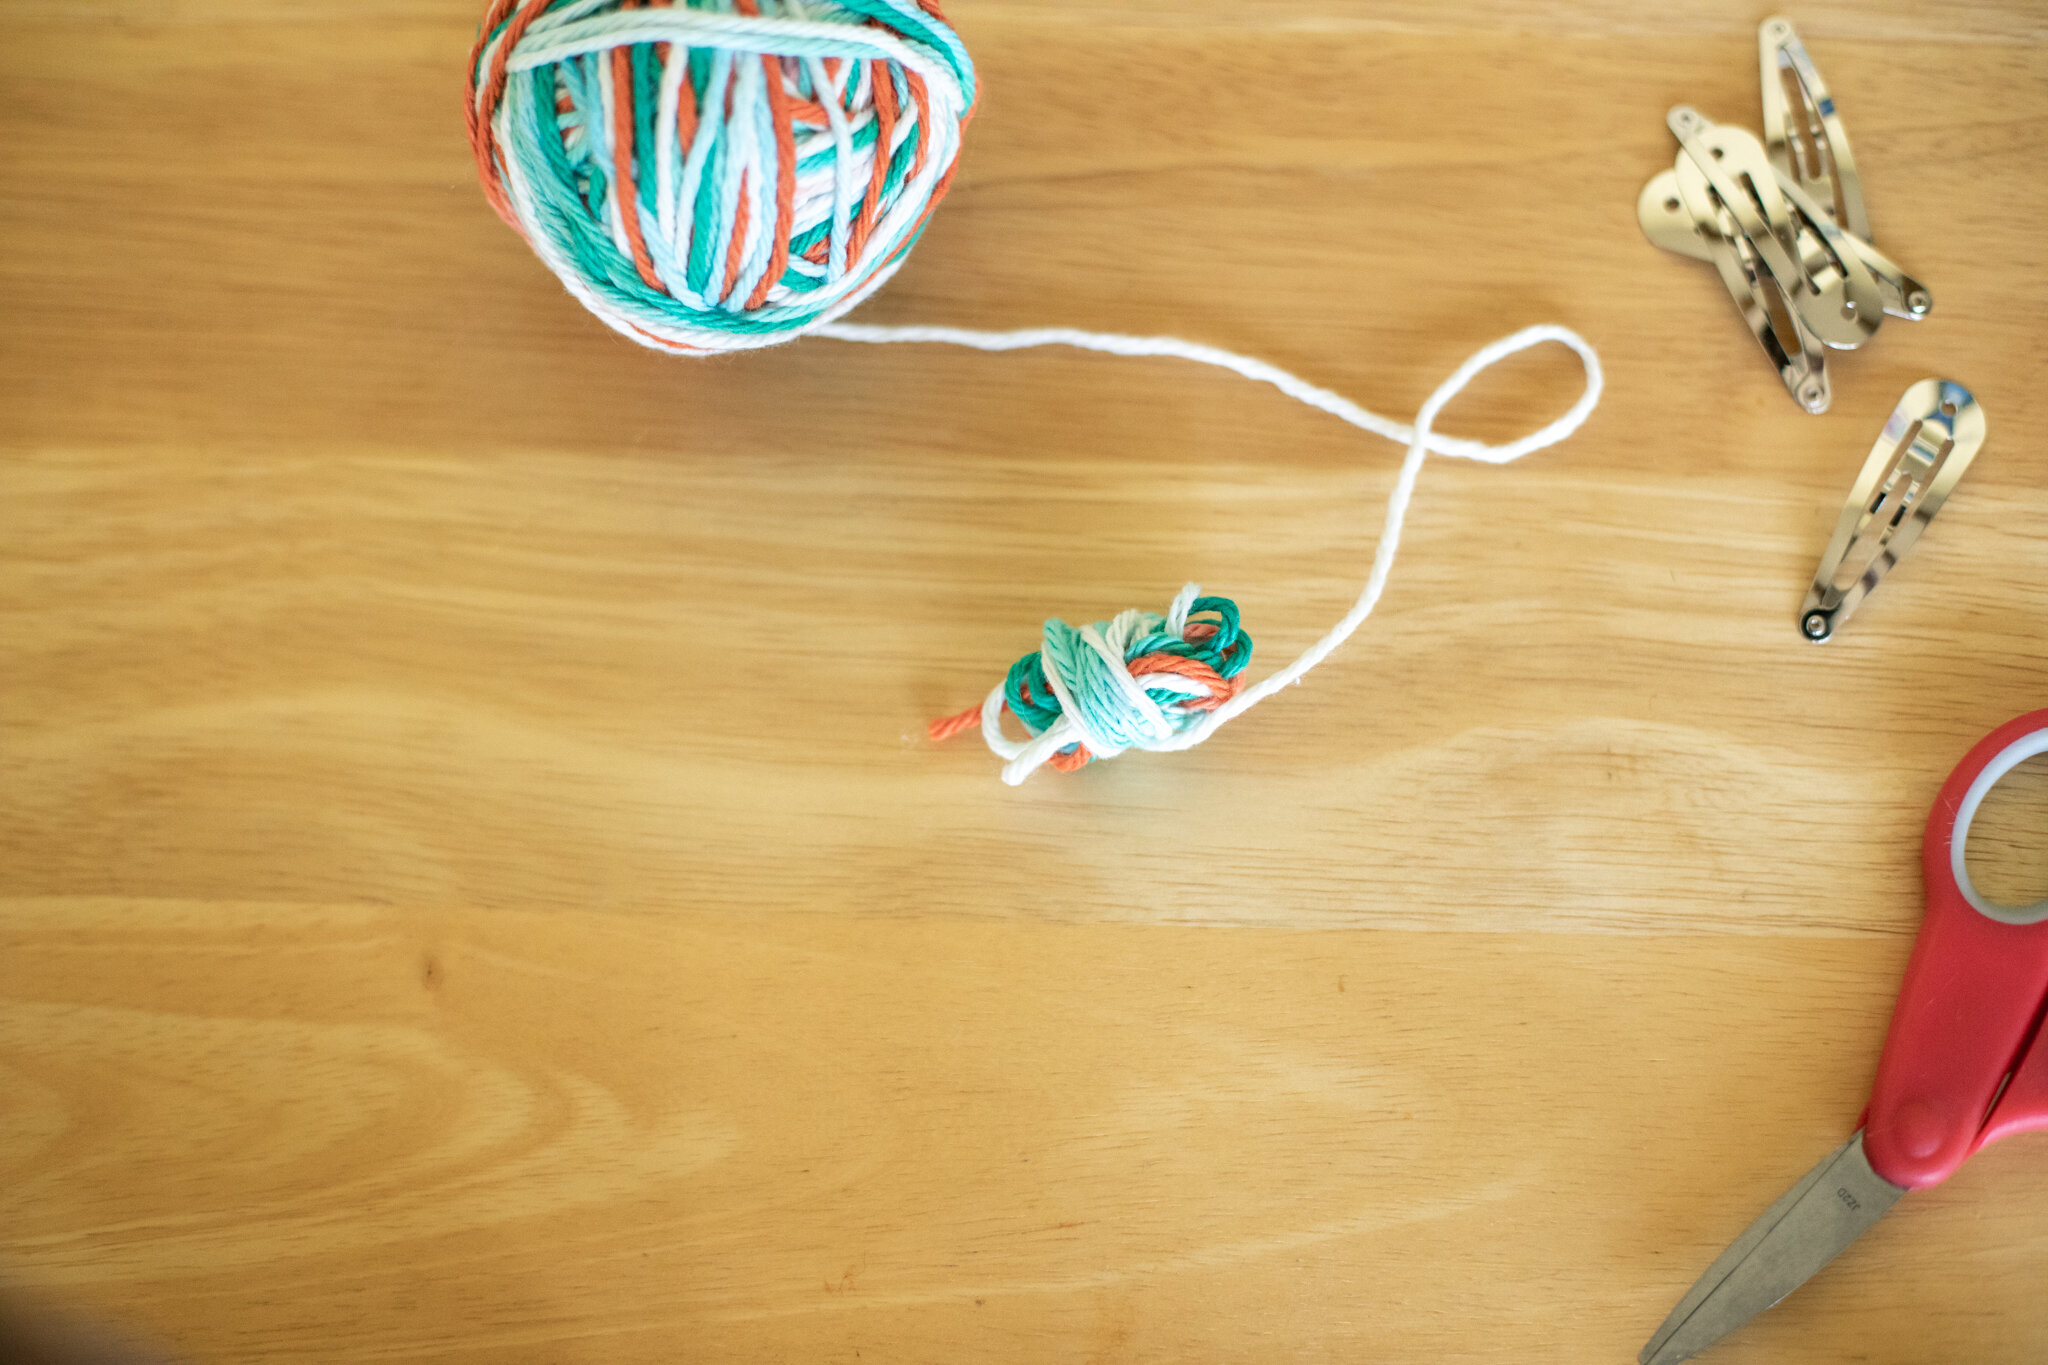
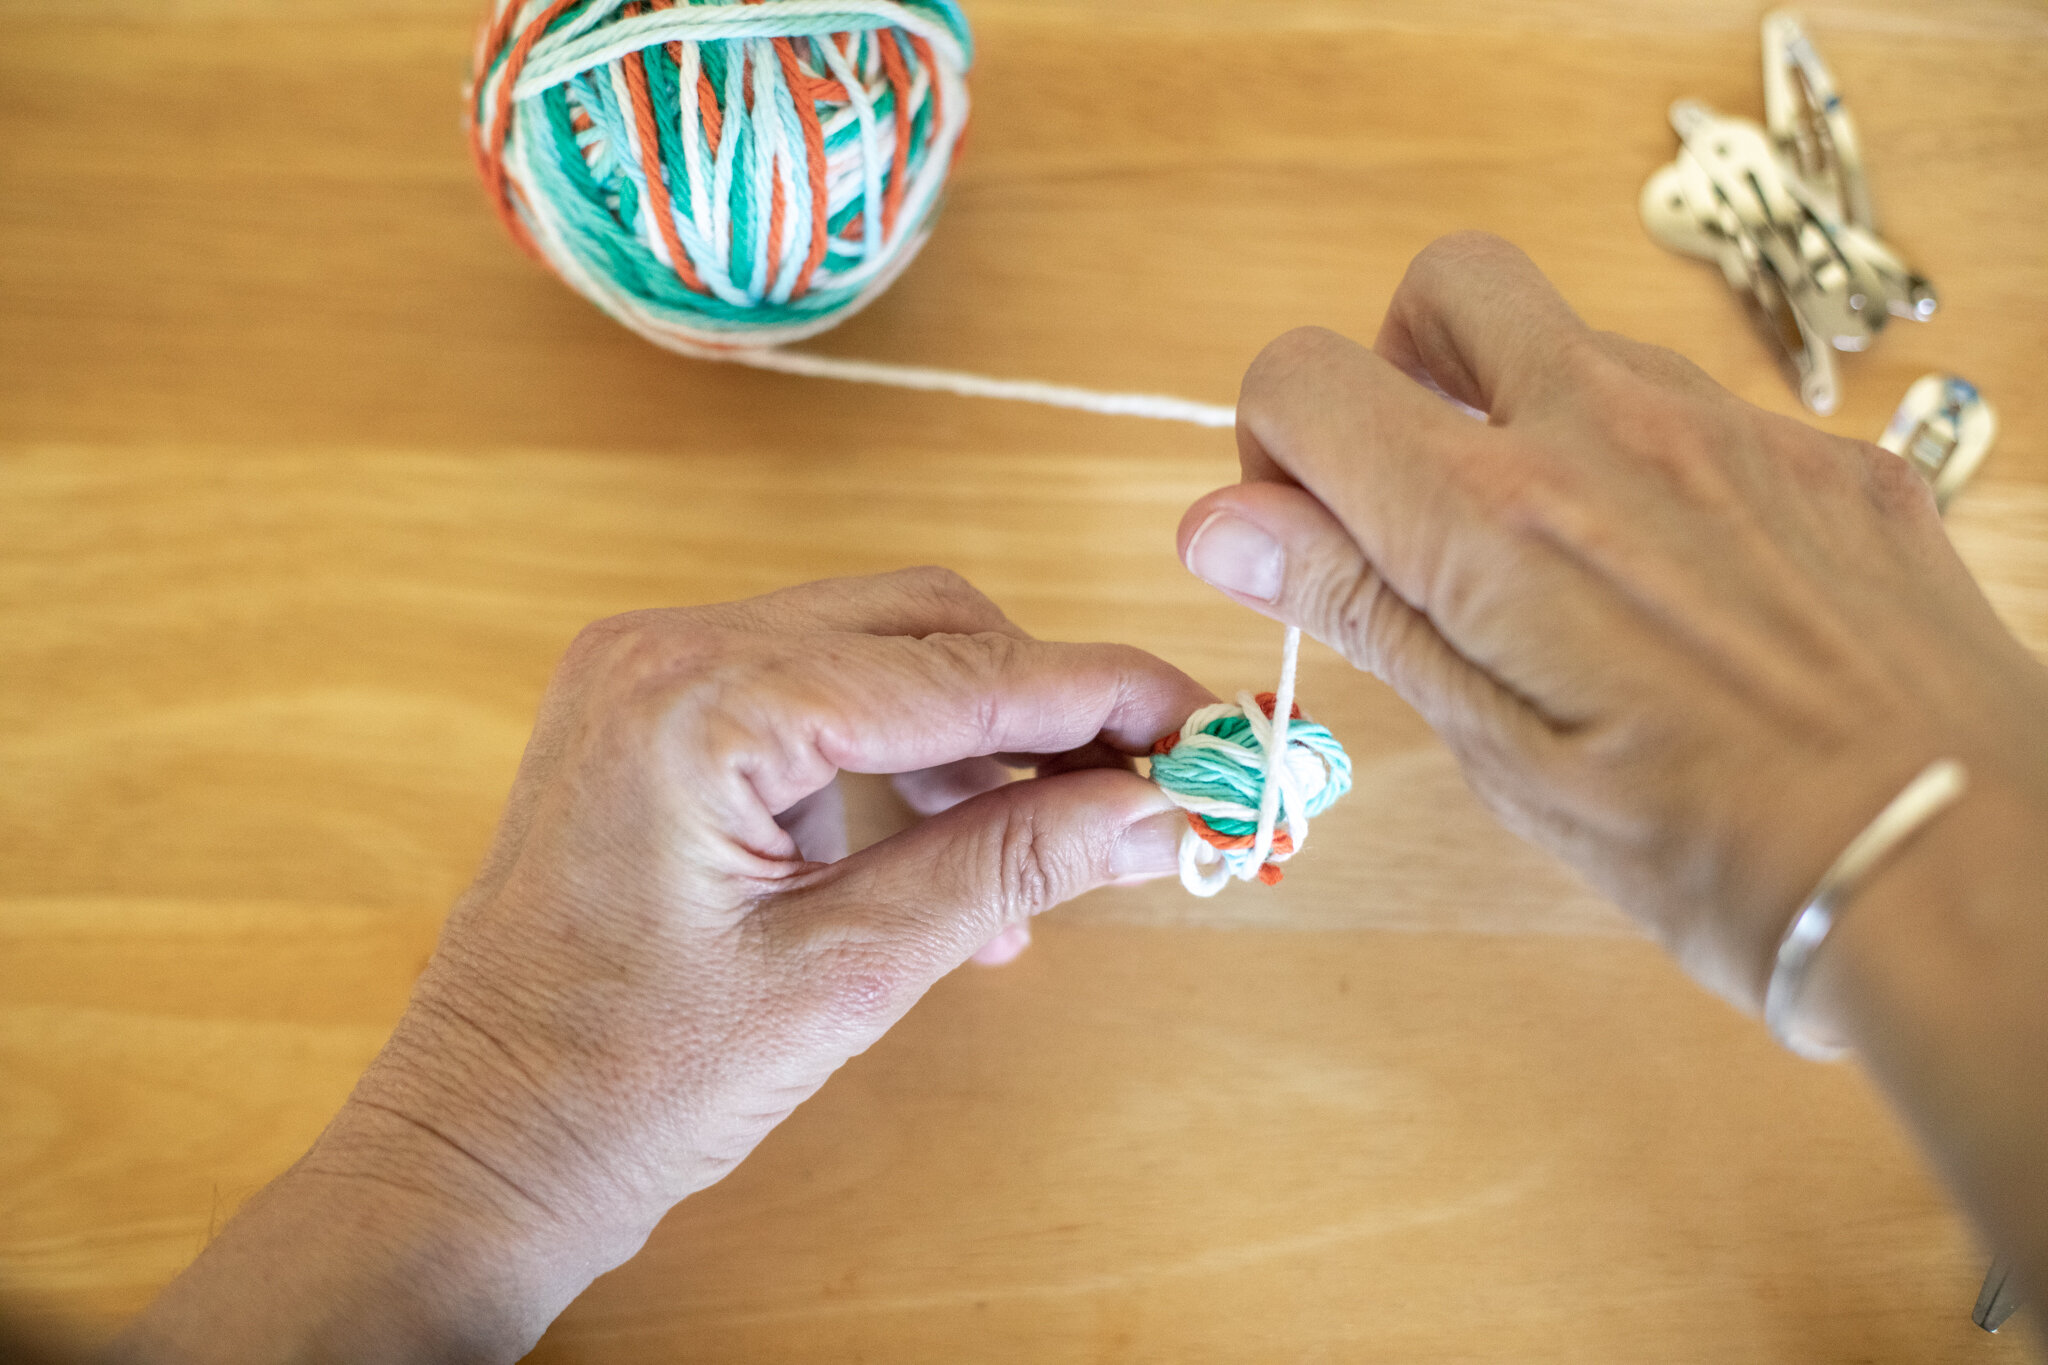
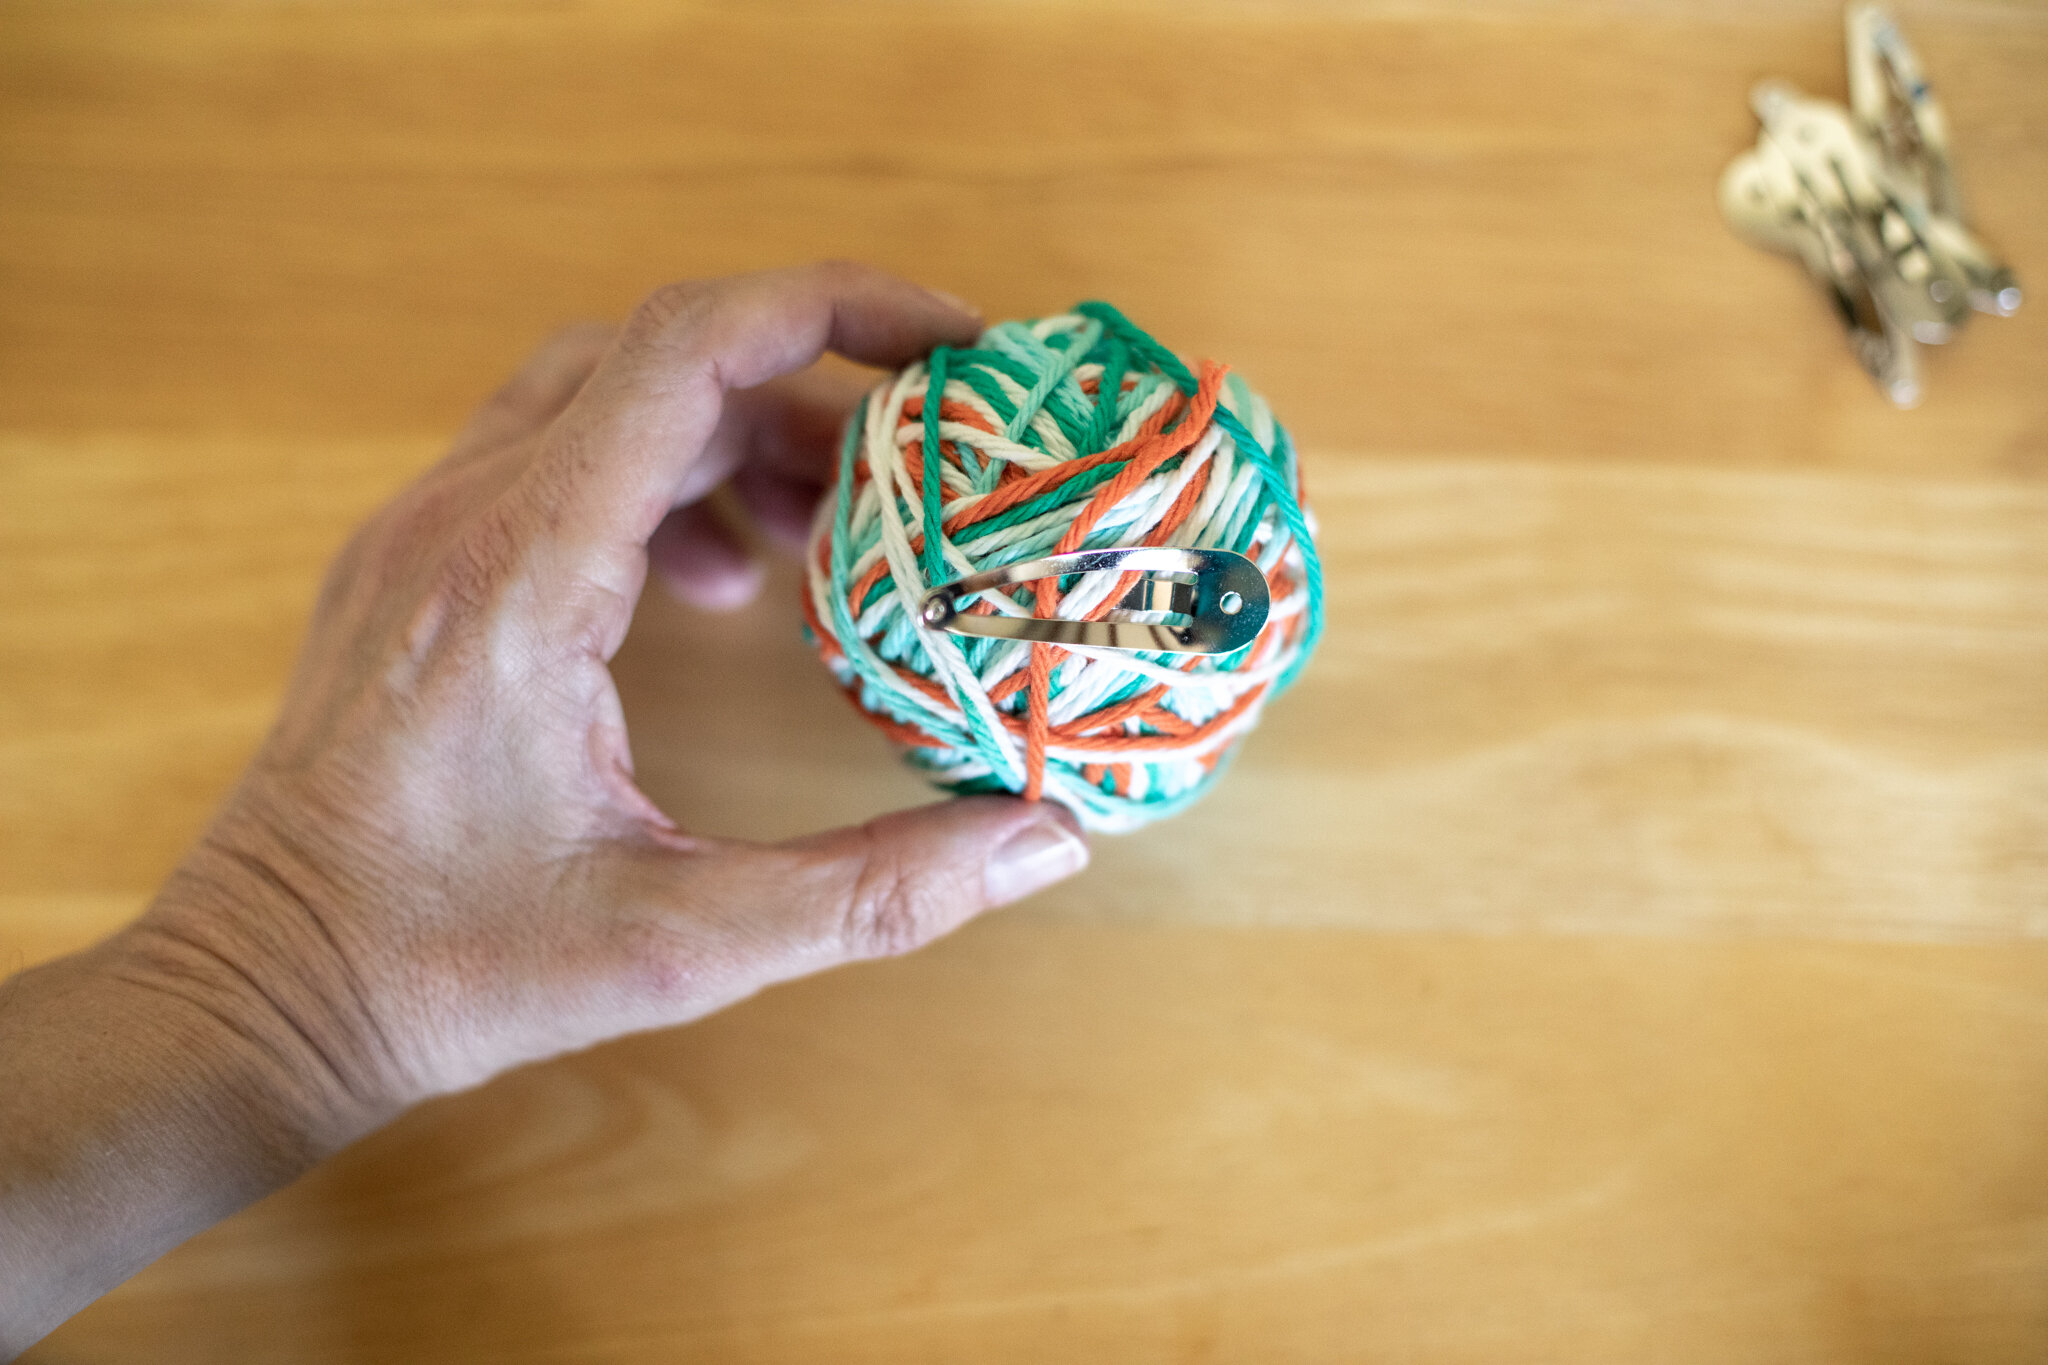
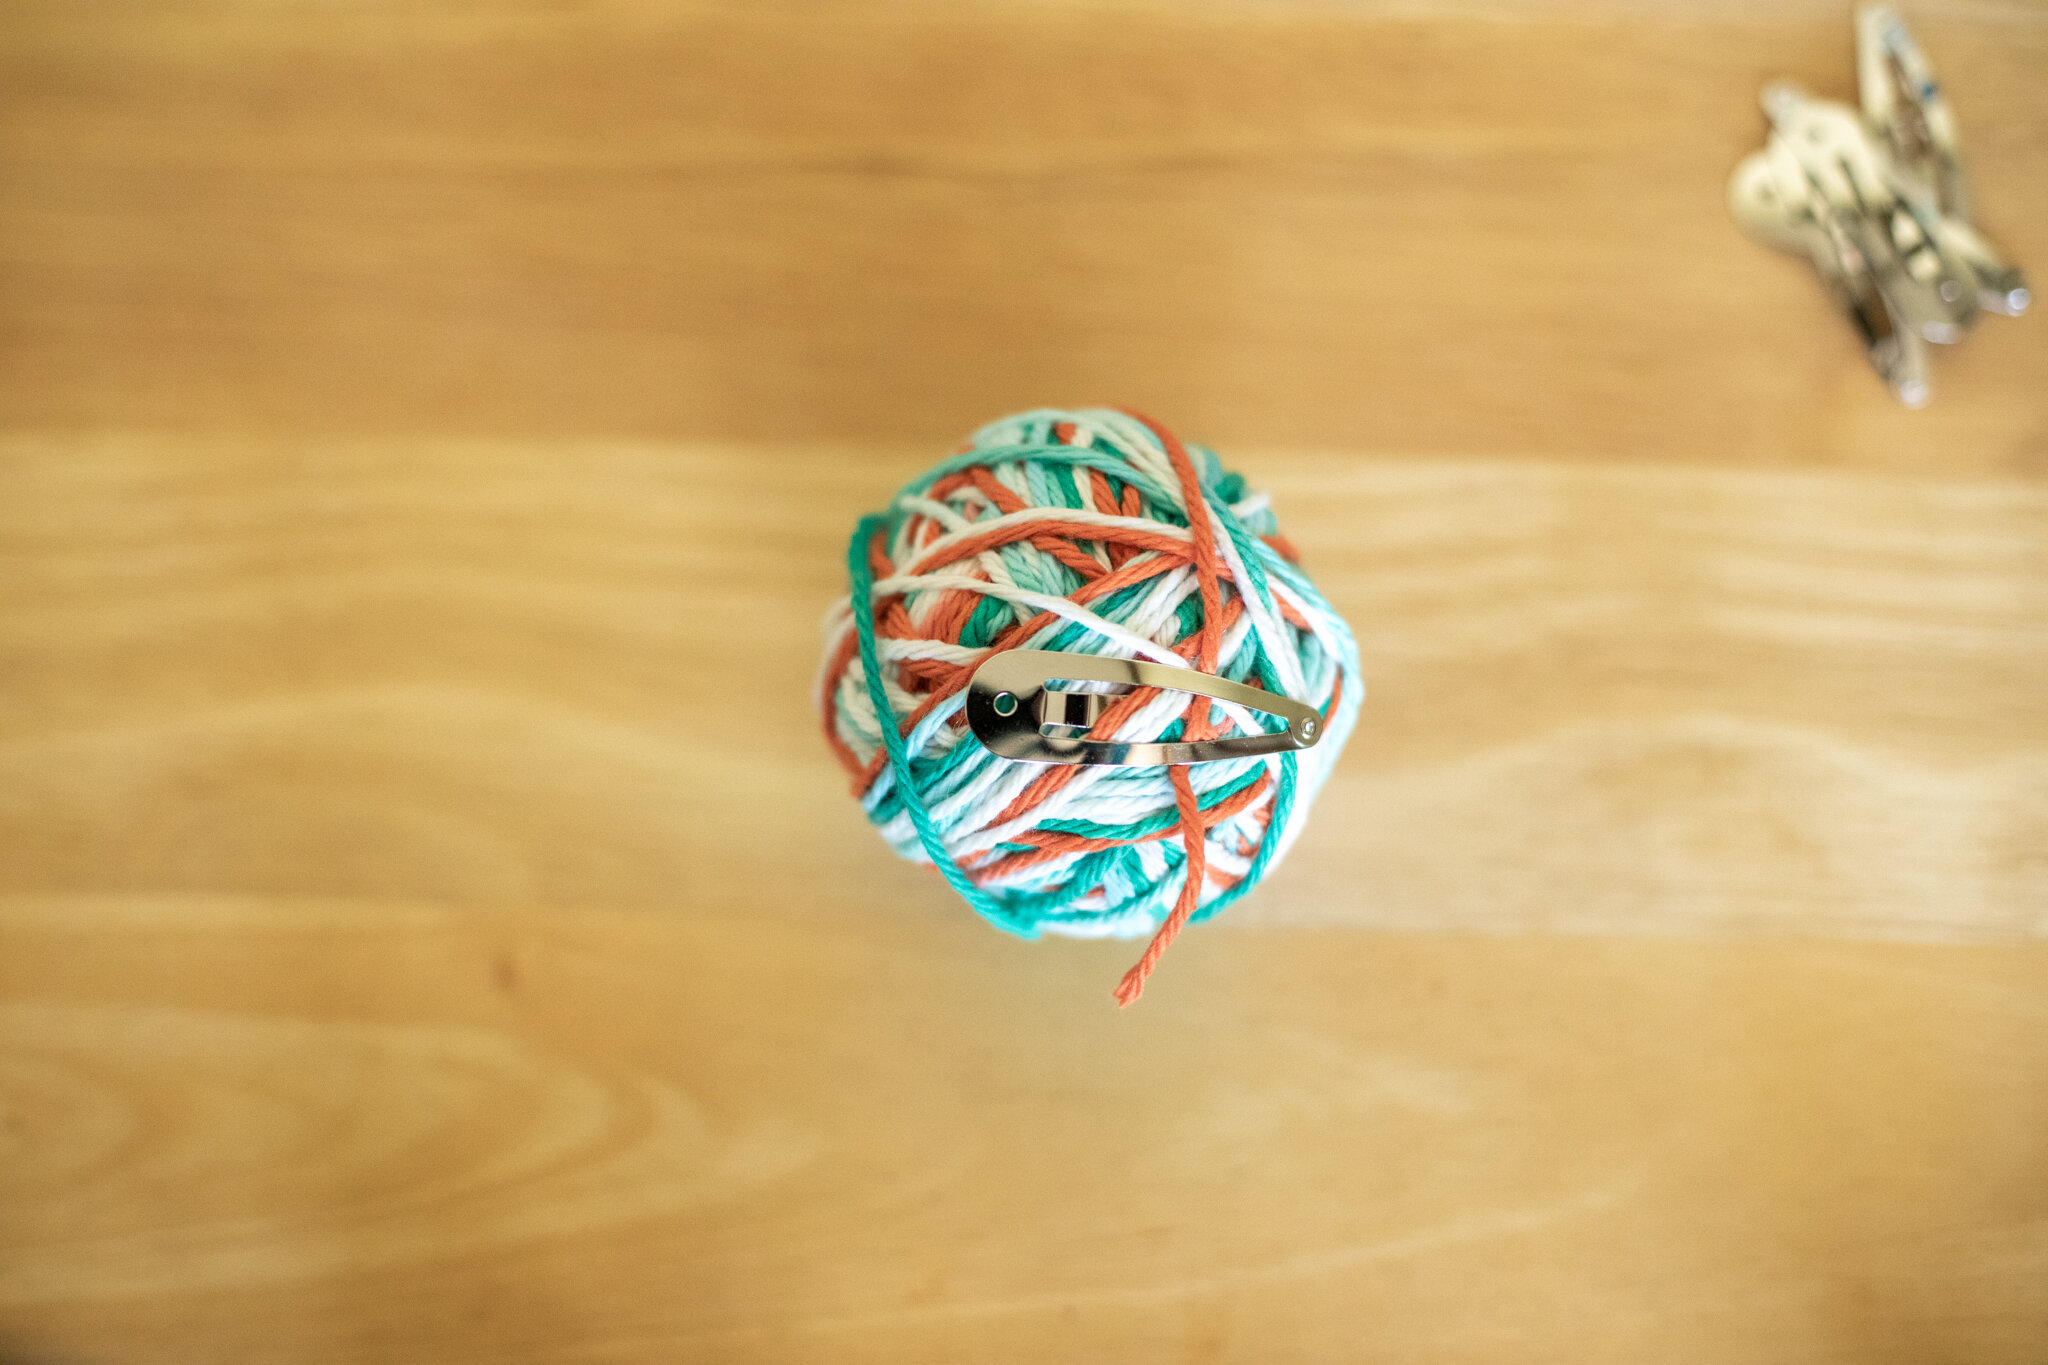
For young-young children, we would start the ball for them (because the first few steps require the most fine motor skills), and then hand it over so they could wind it bigger. For classes, we would make the ball a few inches wide (not very big) because projects didn’t need very much yarn and that way no one monopolized a color for very long (ten smaller balls was easier in a classroom than 1 giant ball). At home, I wind the cotton yarn for fairy hair into one big ball because I don’t need to share (and fairies only need a little). You can stop the ball anytime. Simply clip the yarn and secure it with a bit of tape or a springy hairclip so they won’t unwind and tangle in a basket.
Supplies:
Yarn
Scissors
Optional: springy clips or scrap of tape to hold down the “tail” of yarn when finished
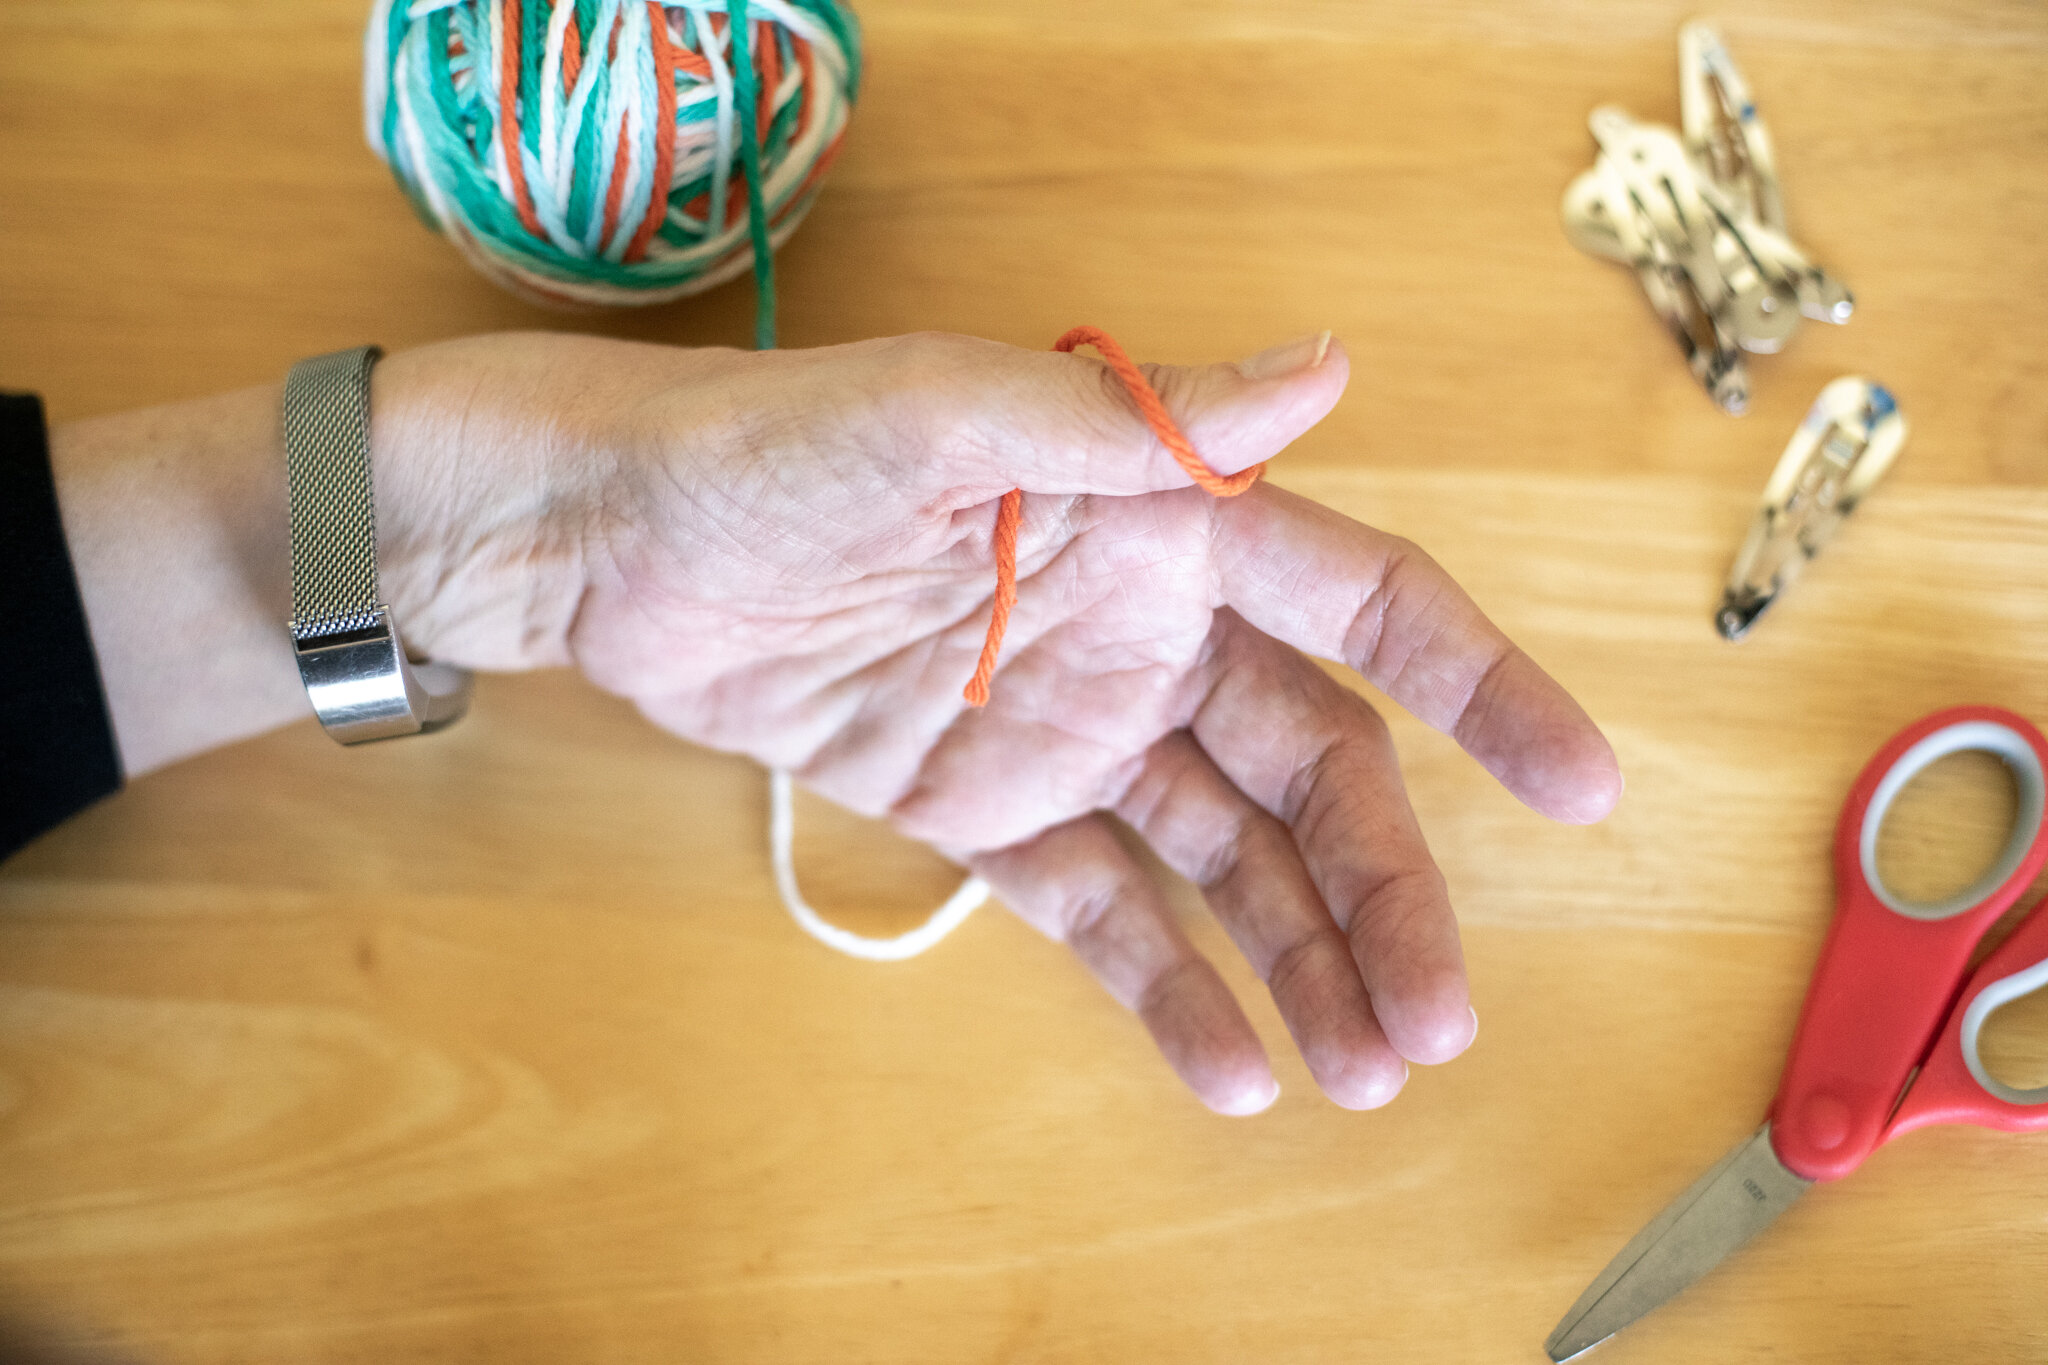
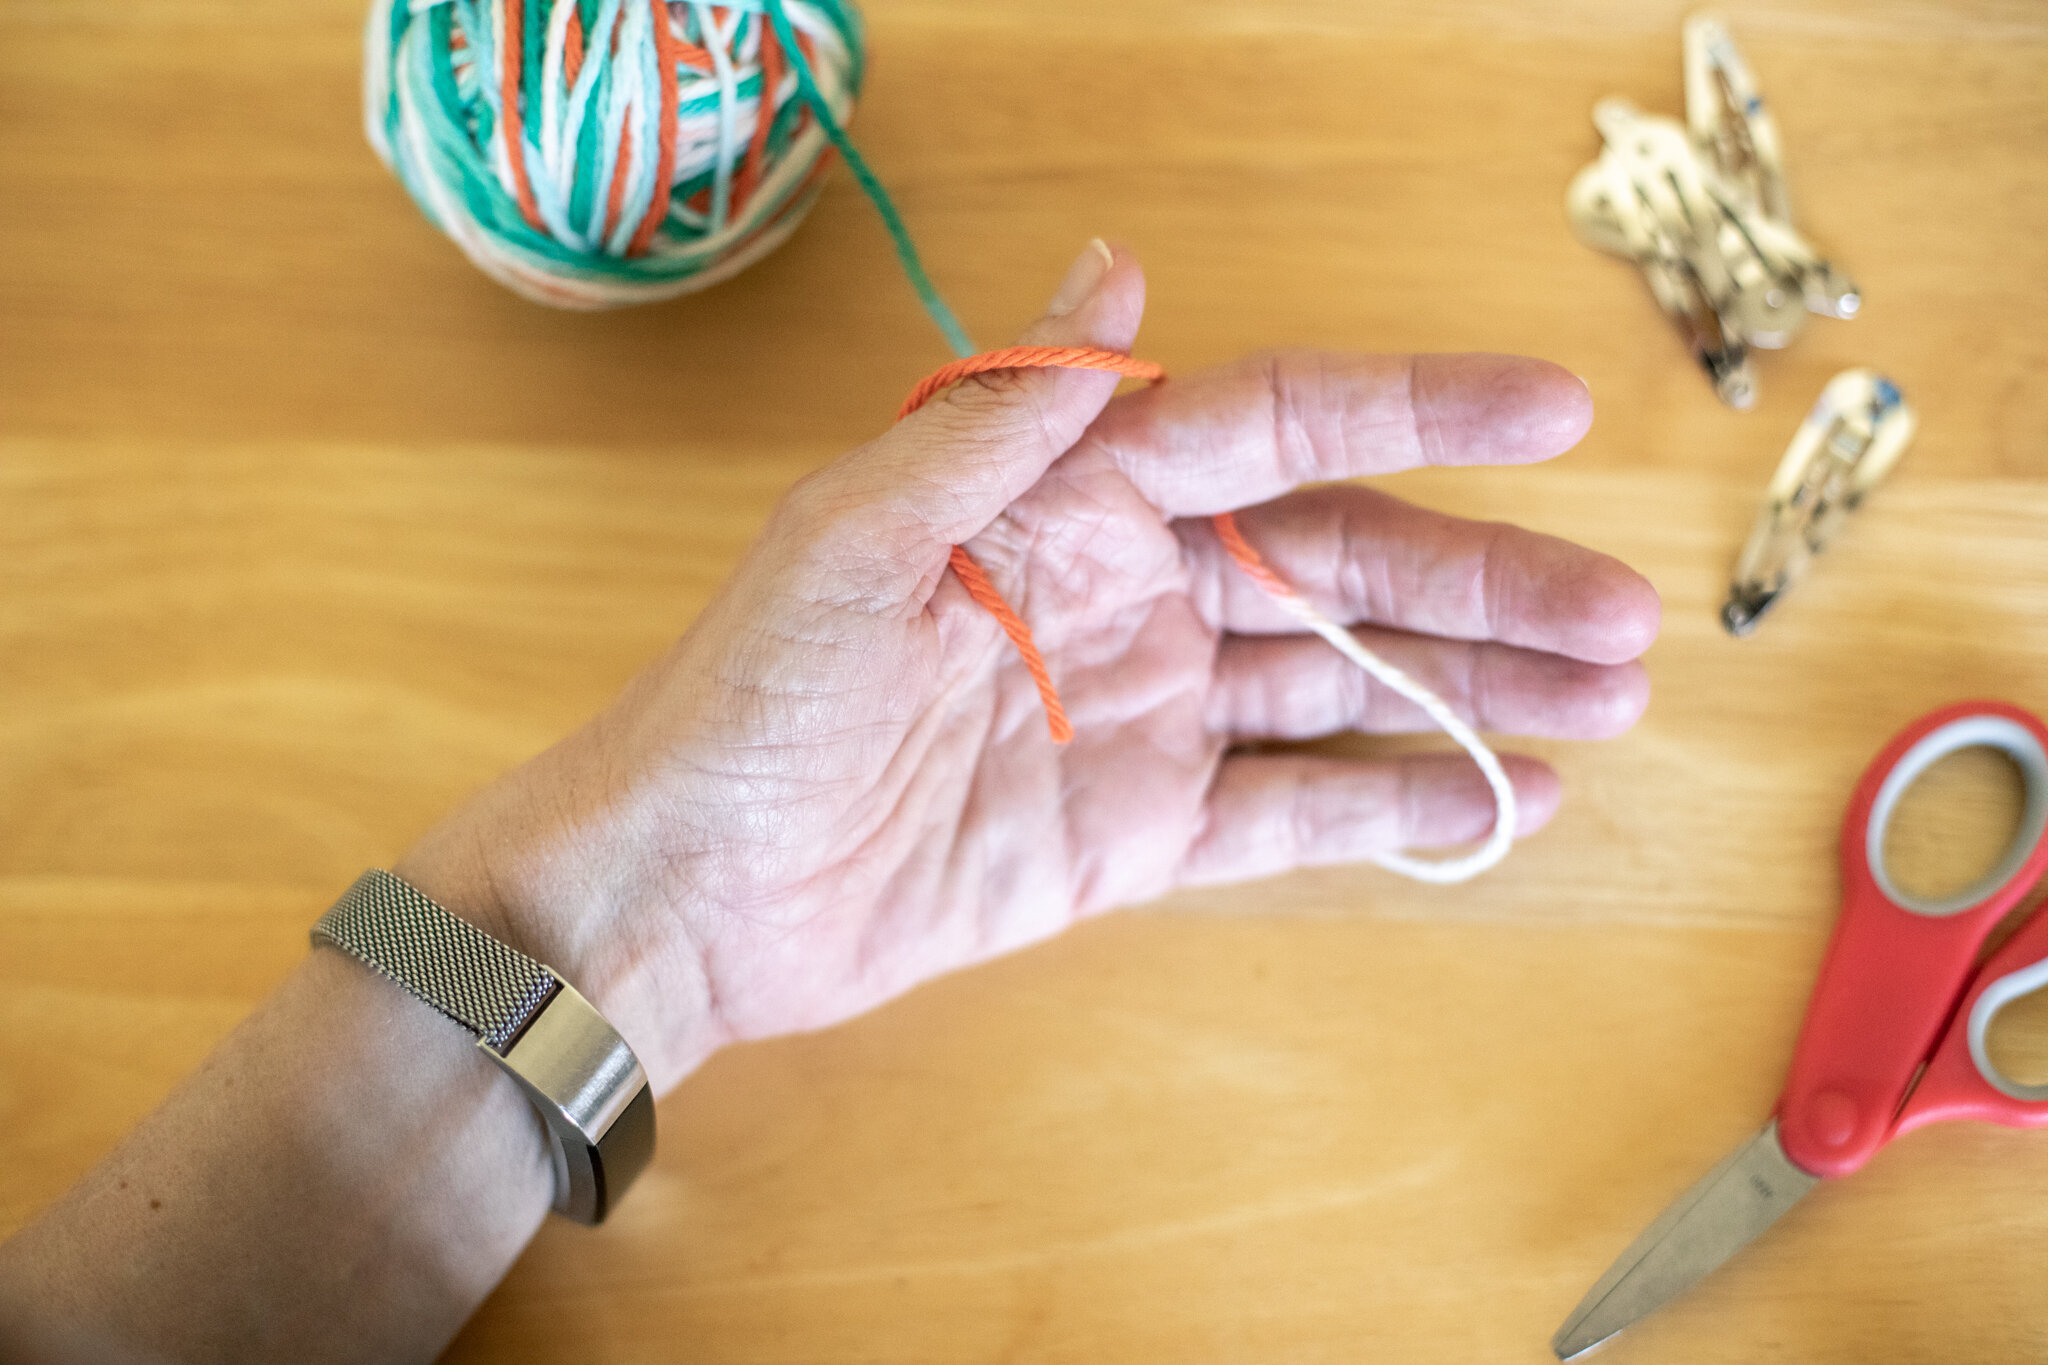
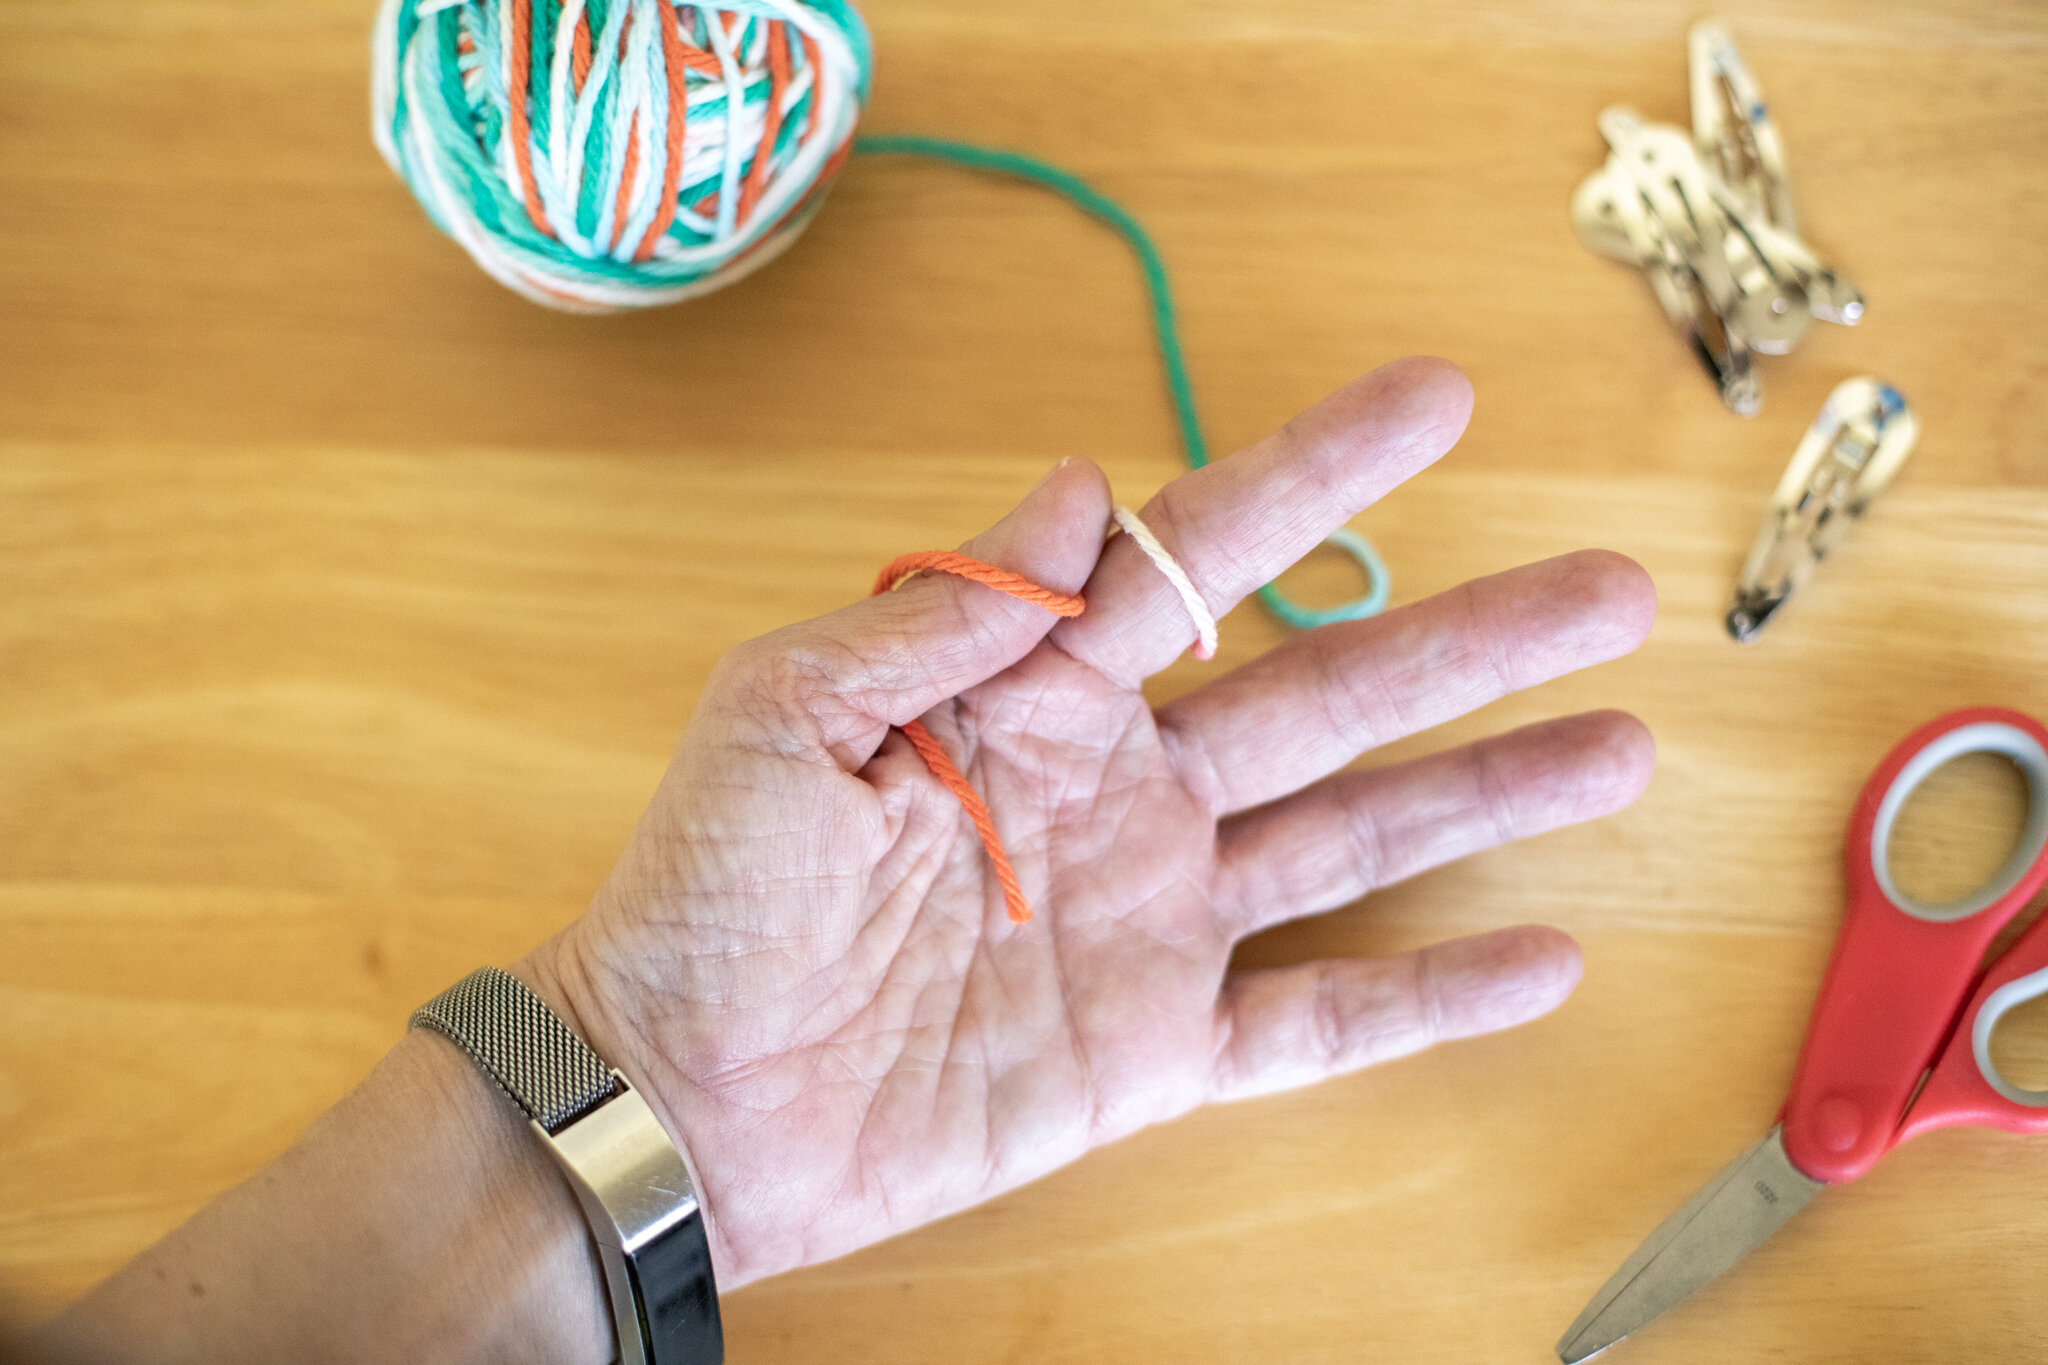
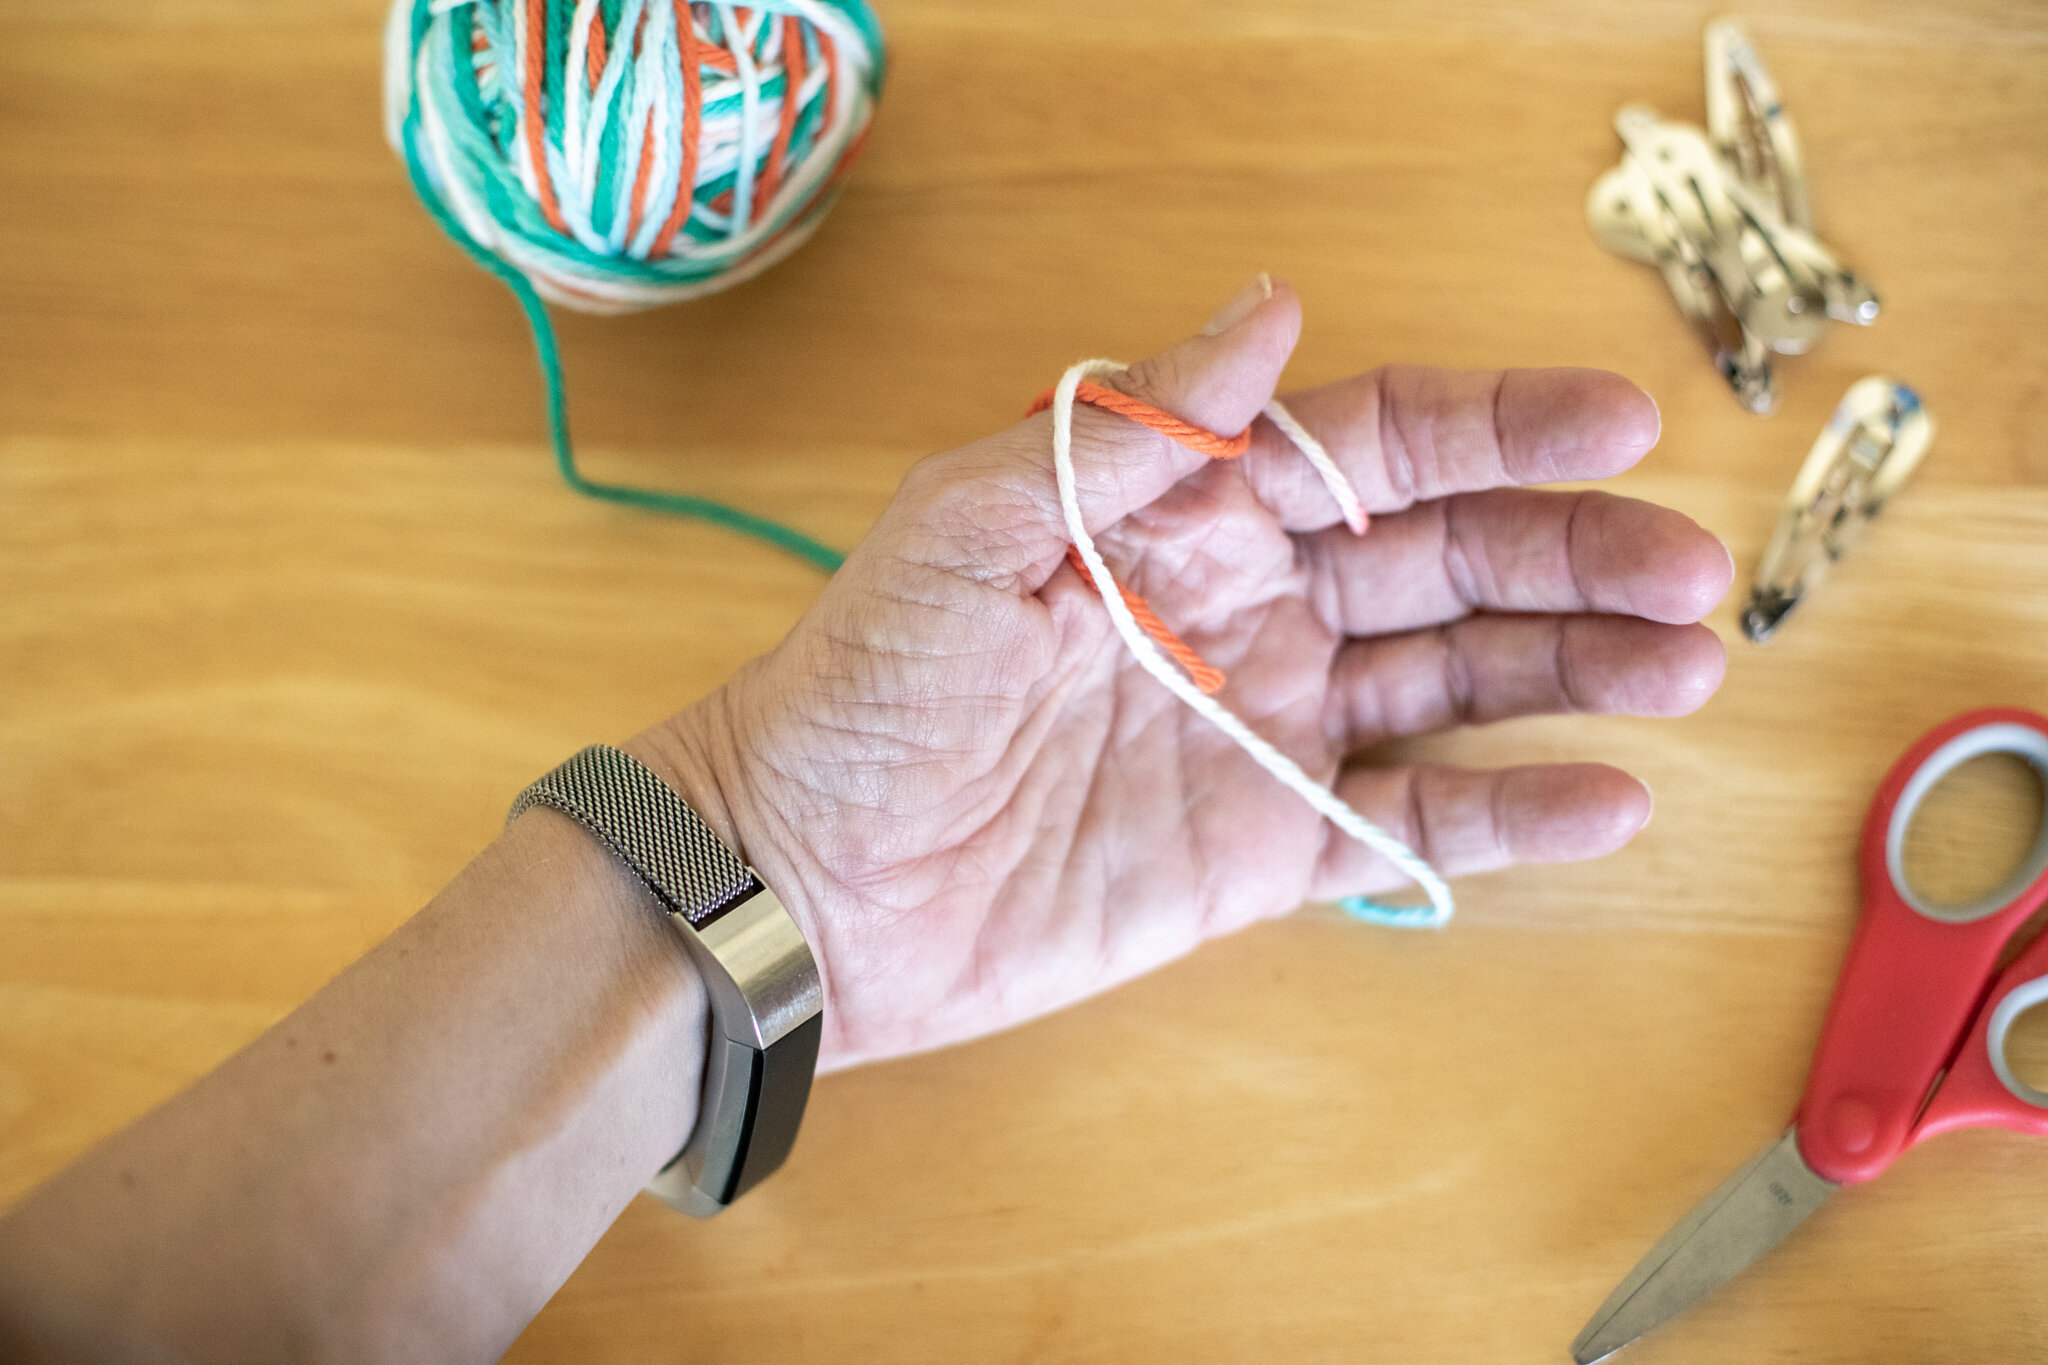
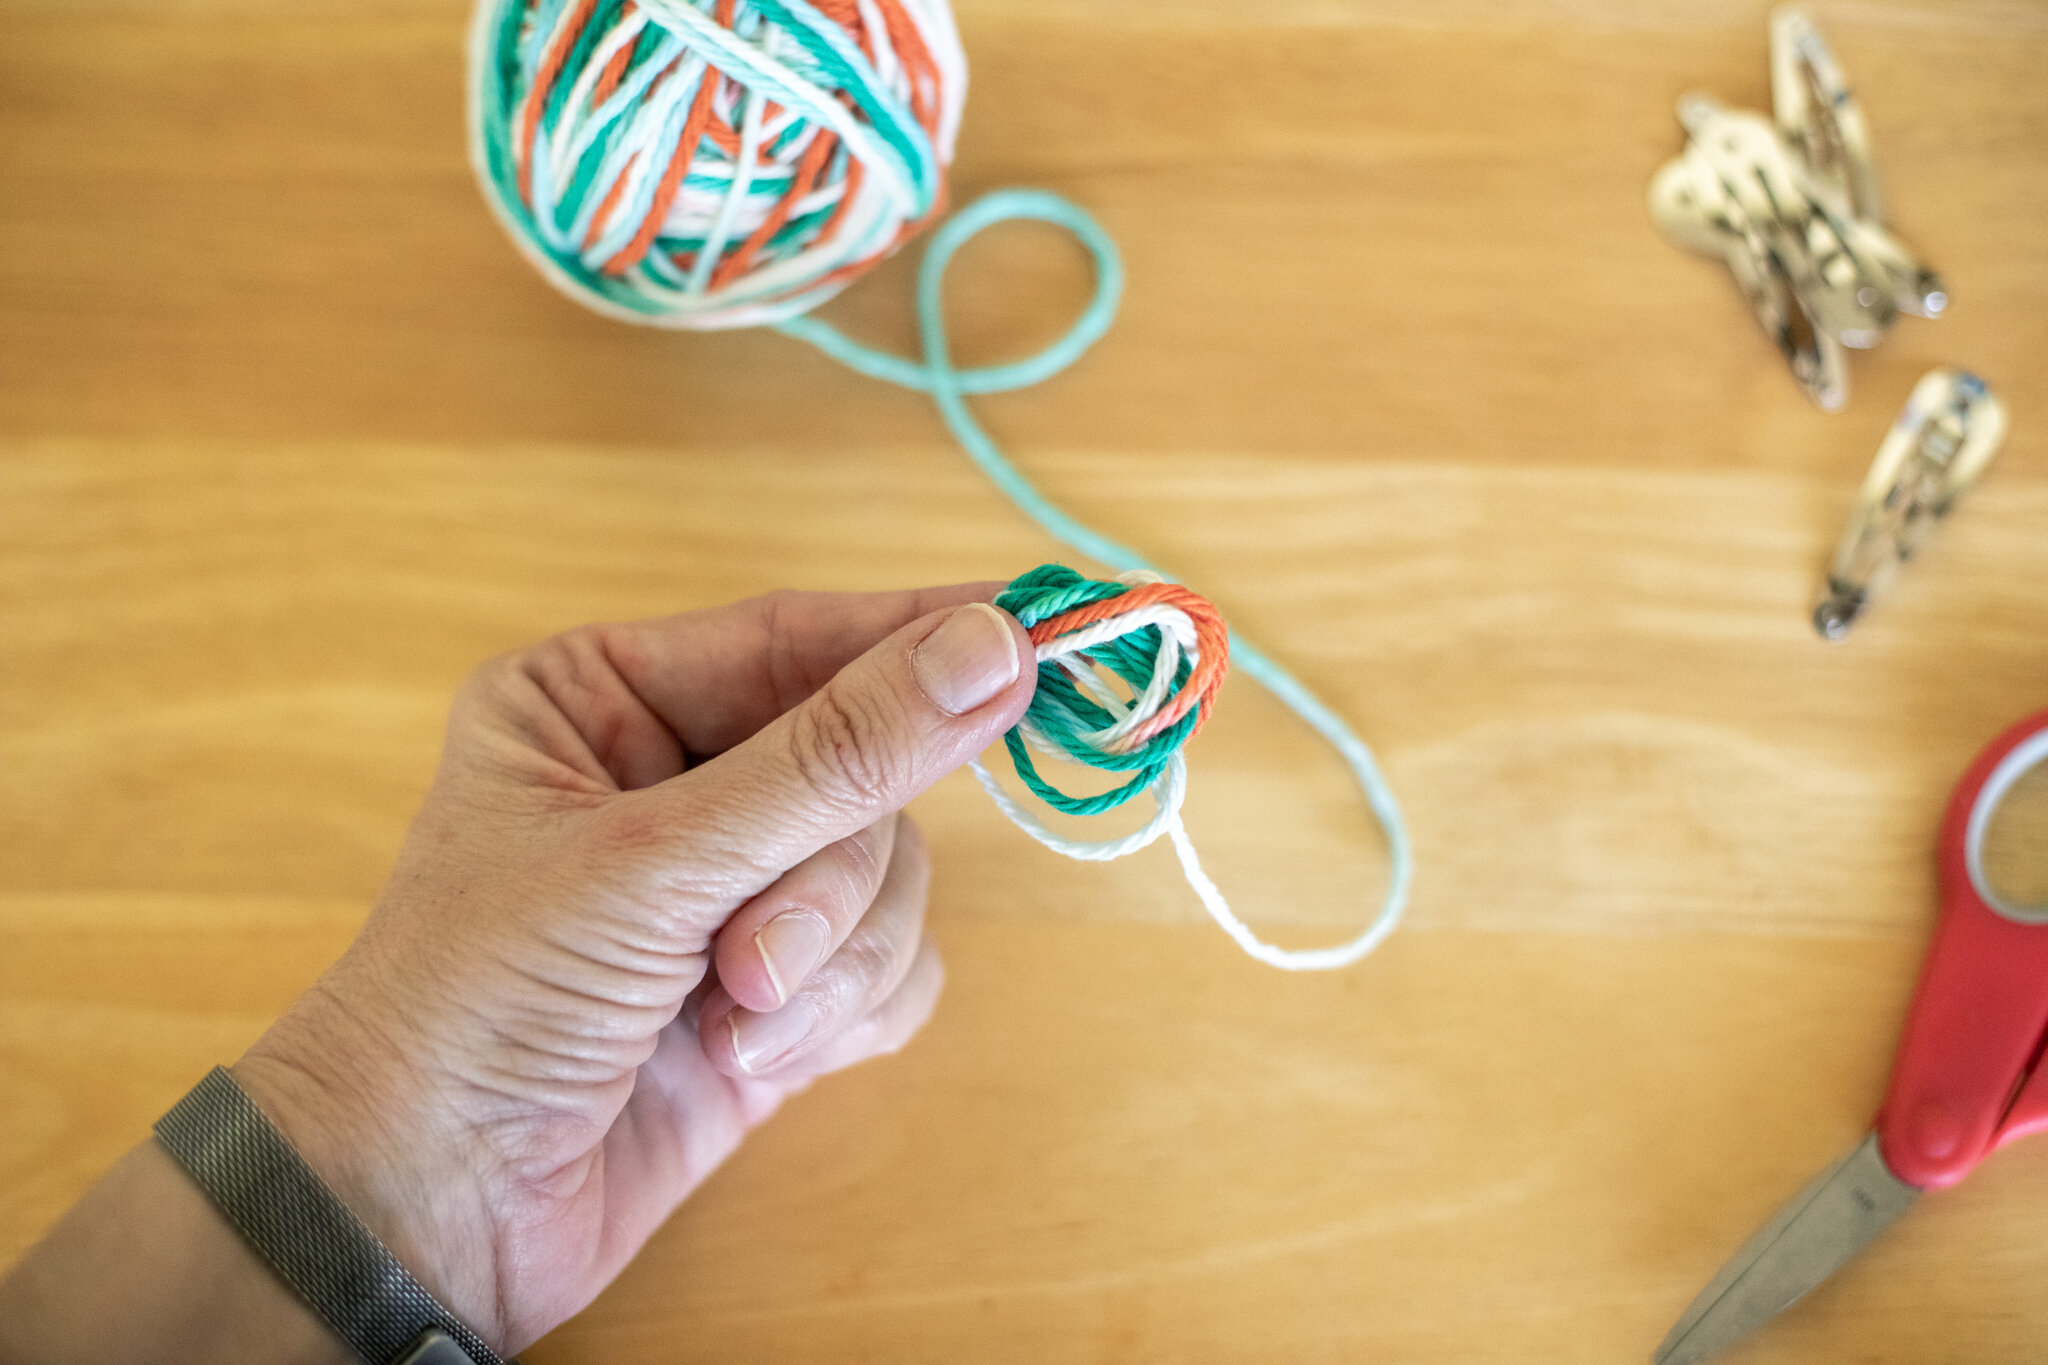
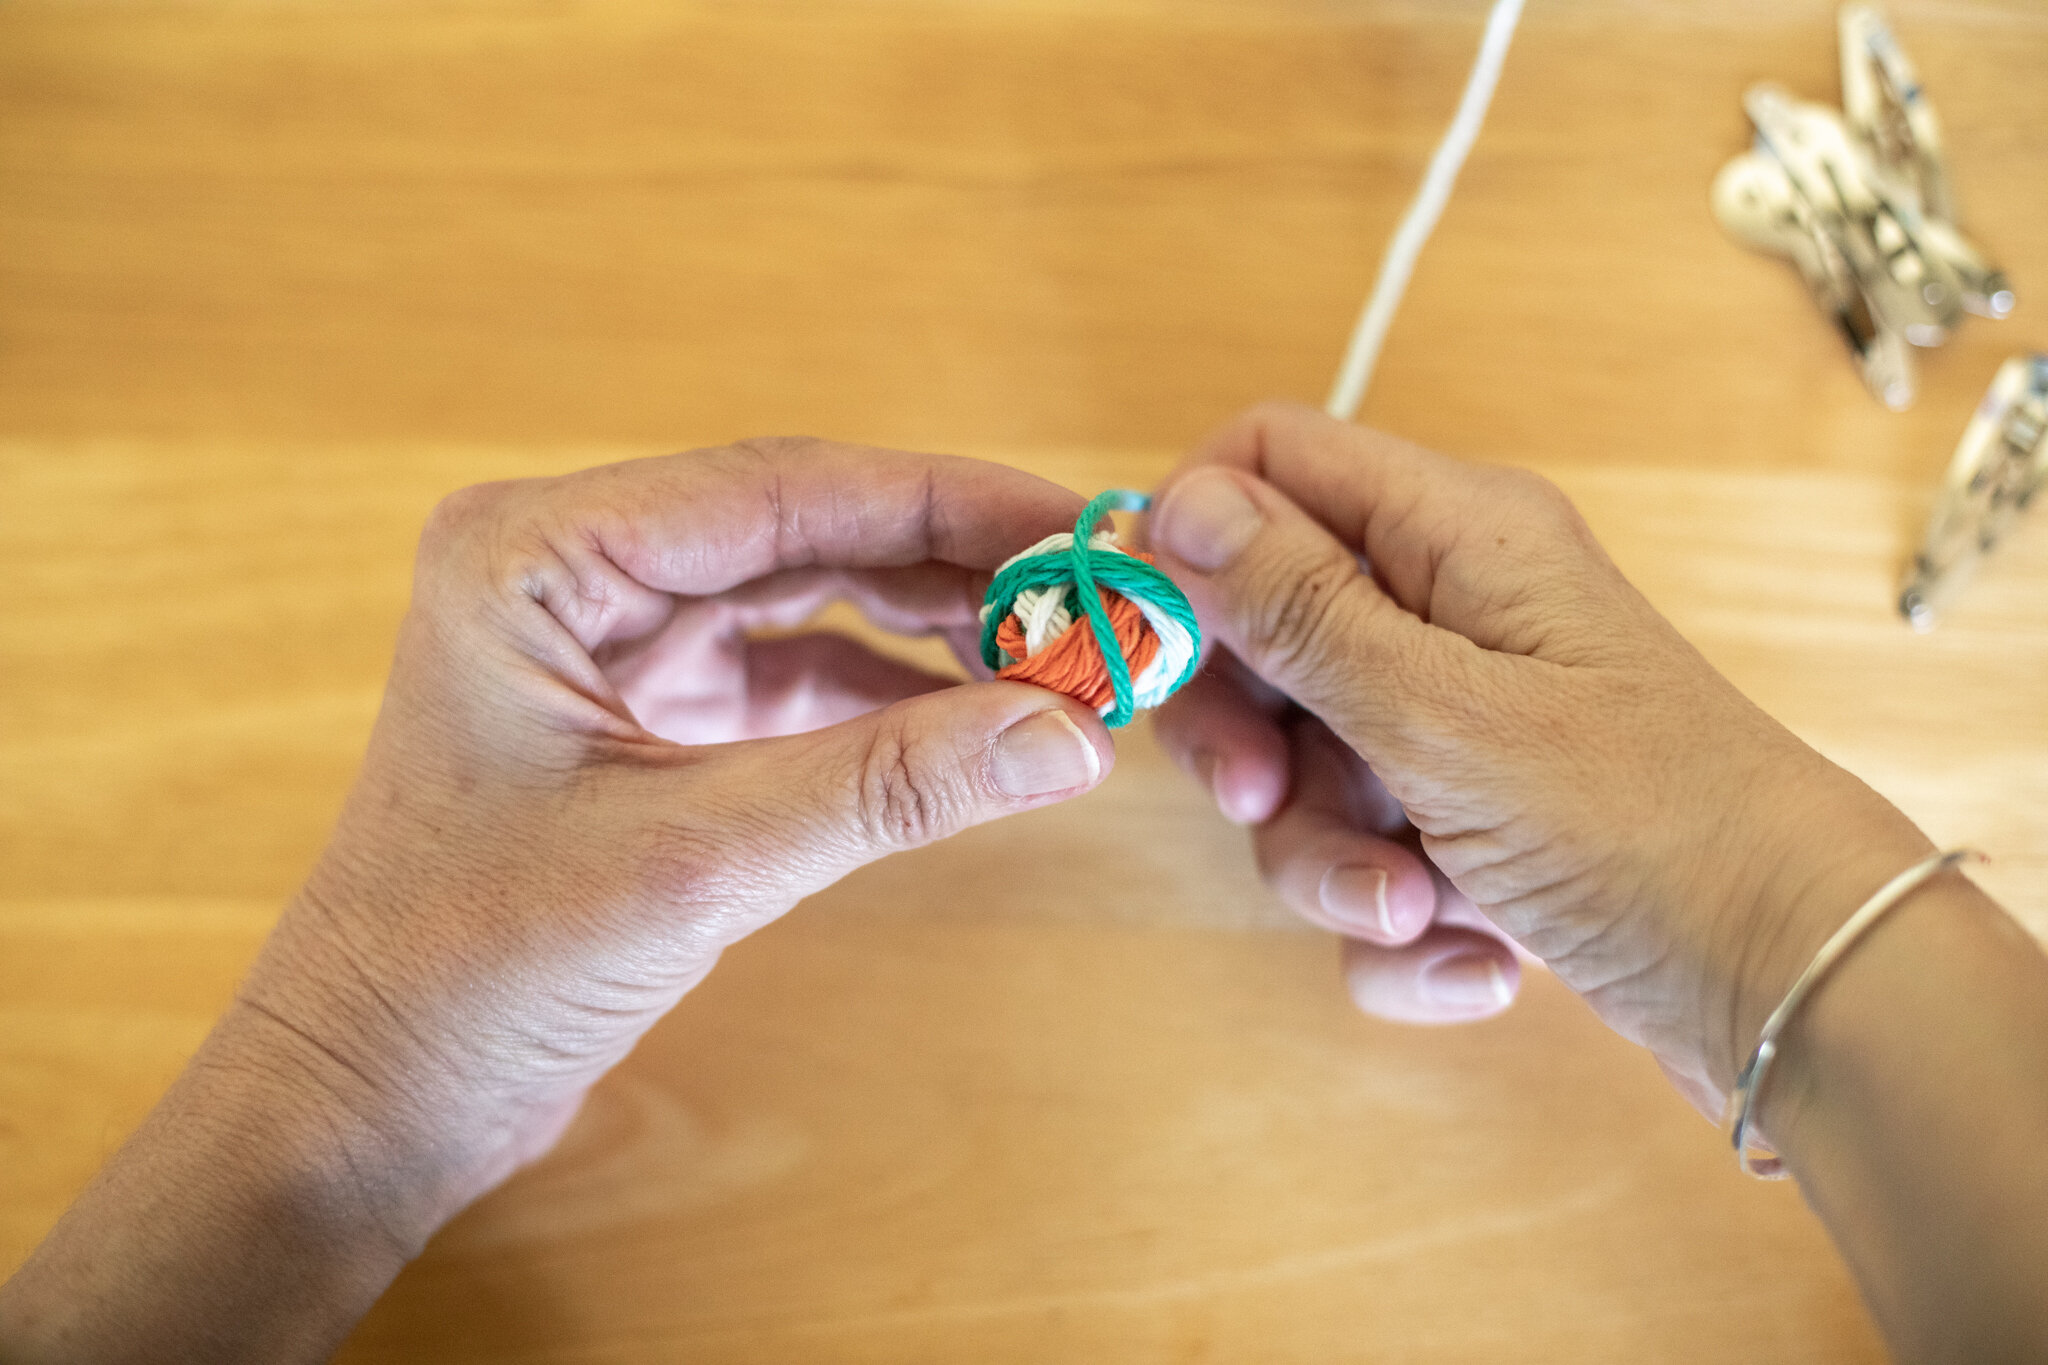
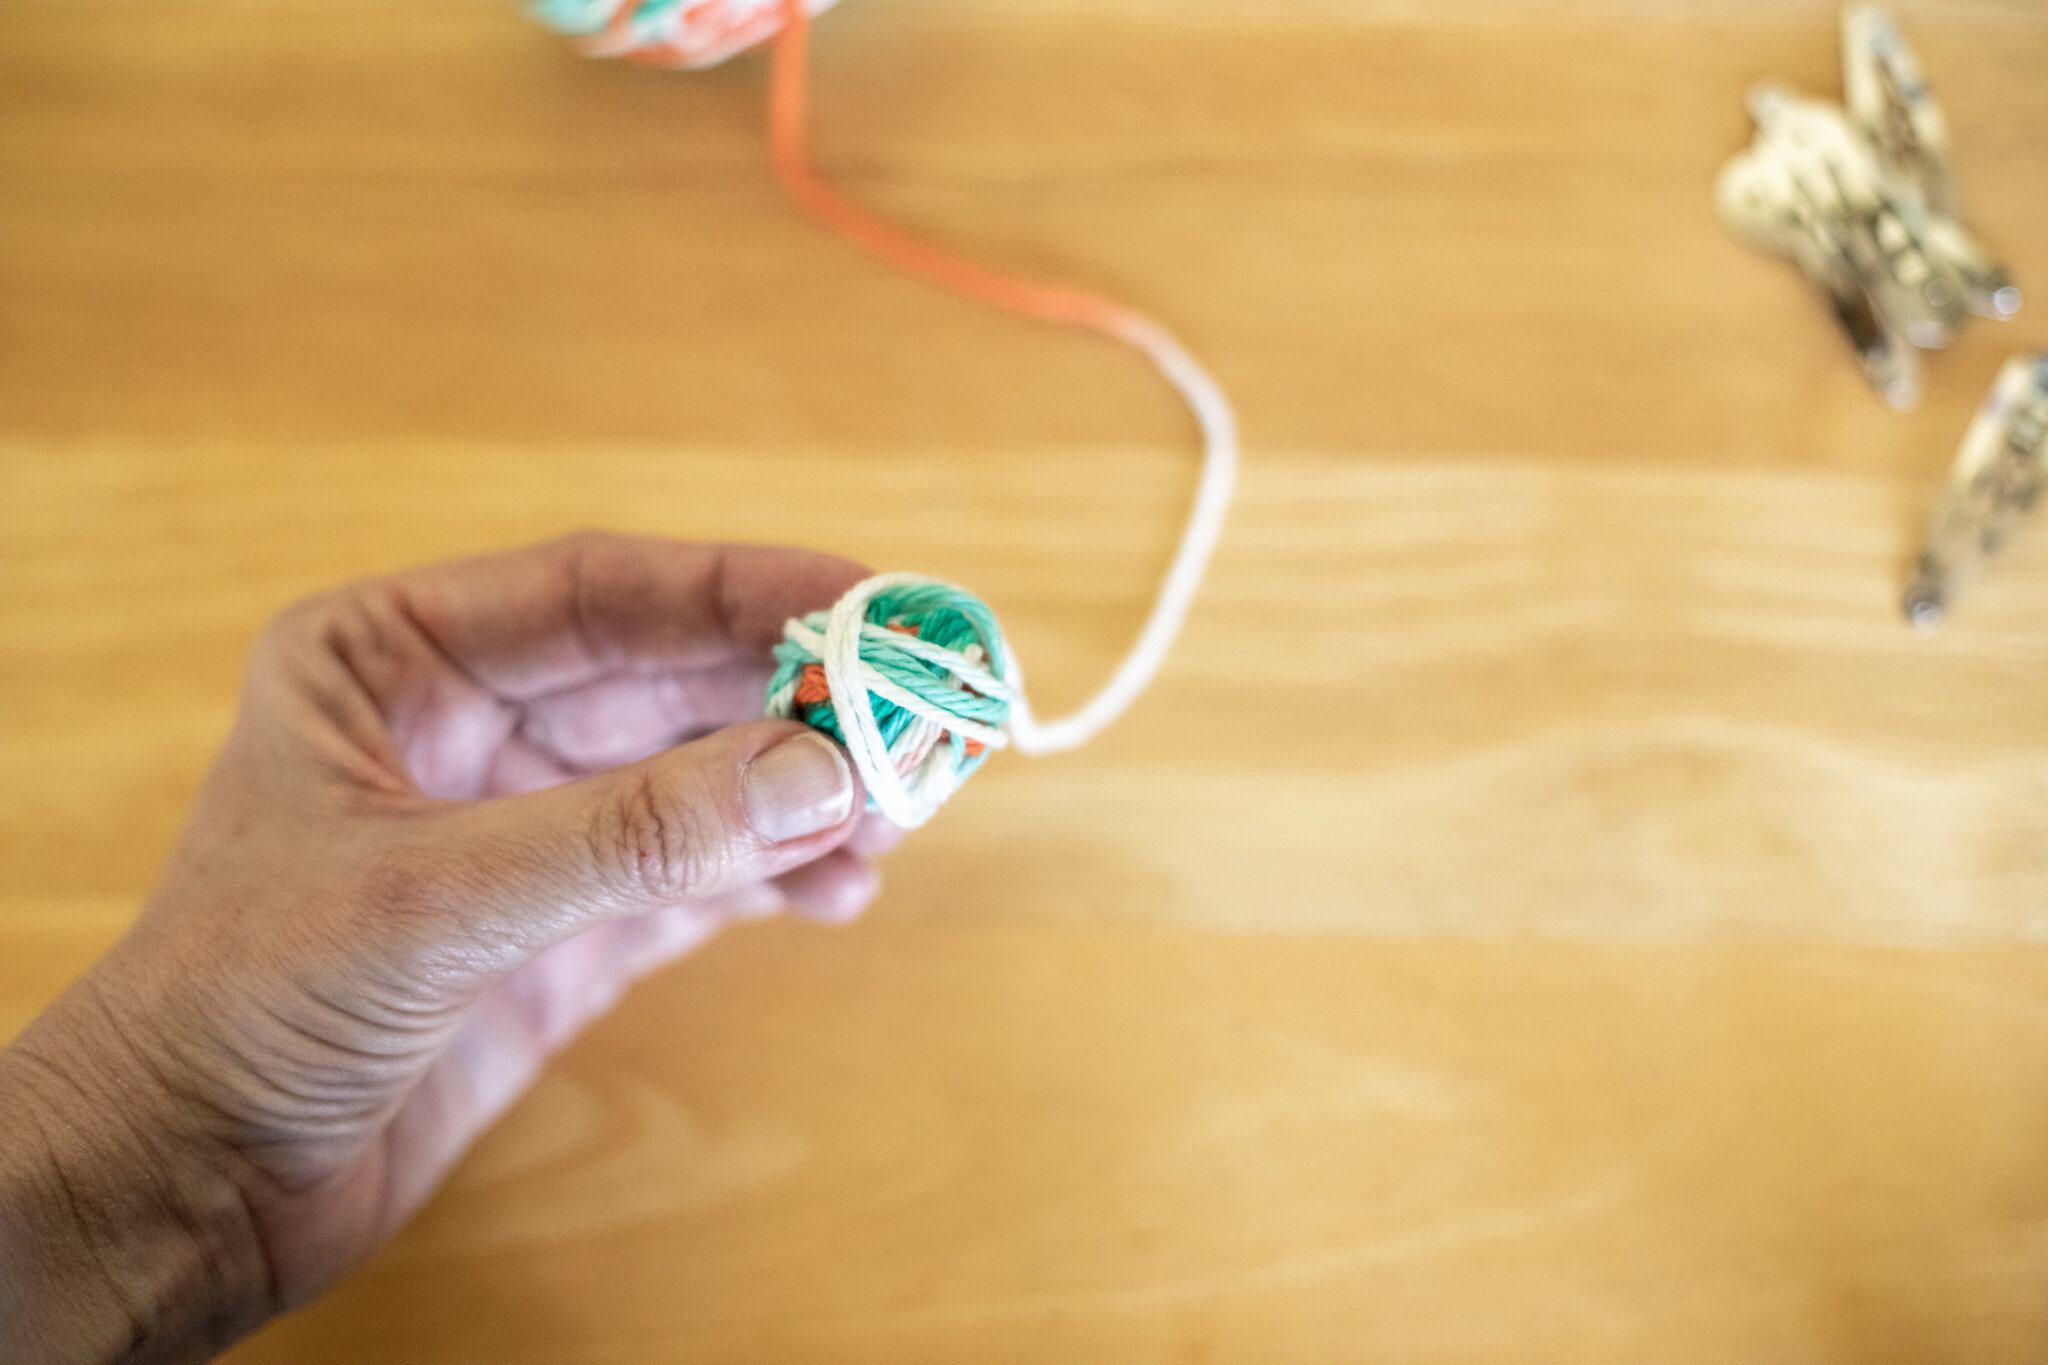
To start, tuck the yarn between you thumb and finger. I am right handed, so I hold the yarn with my left hand. You can try different hands to see which hand works better for you. Hold the yarn so it doesn’t come loose. The second photo shows the end of the yarn between the thumb and finger. The end can be fairly long so it doesn’t come loose too easily.
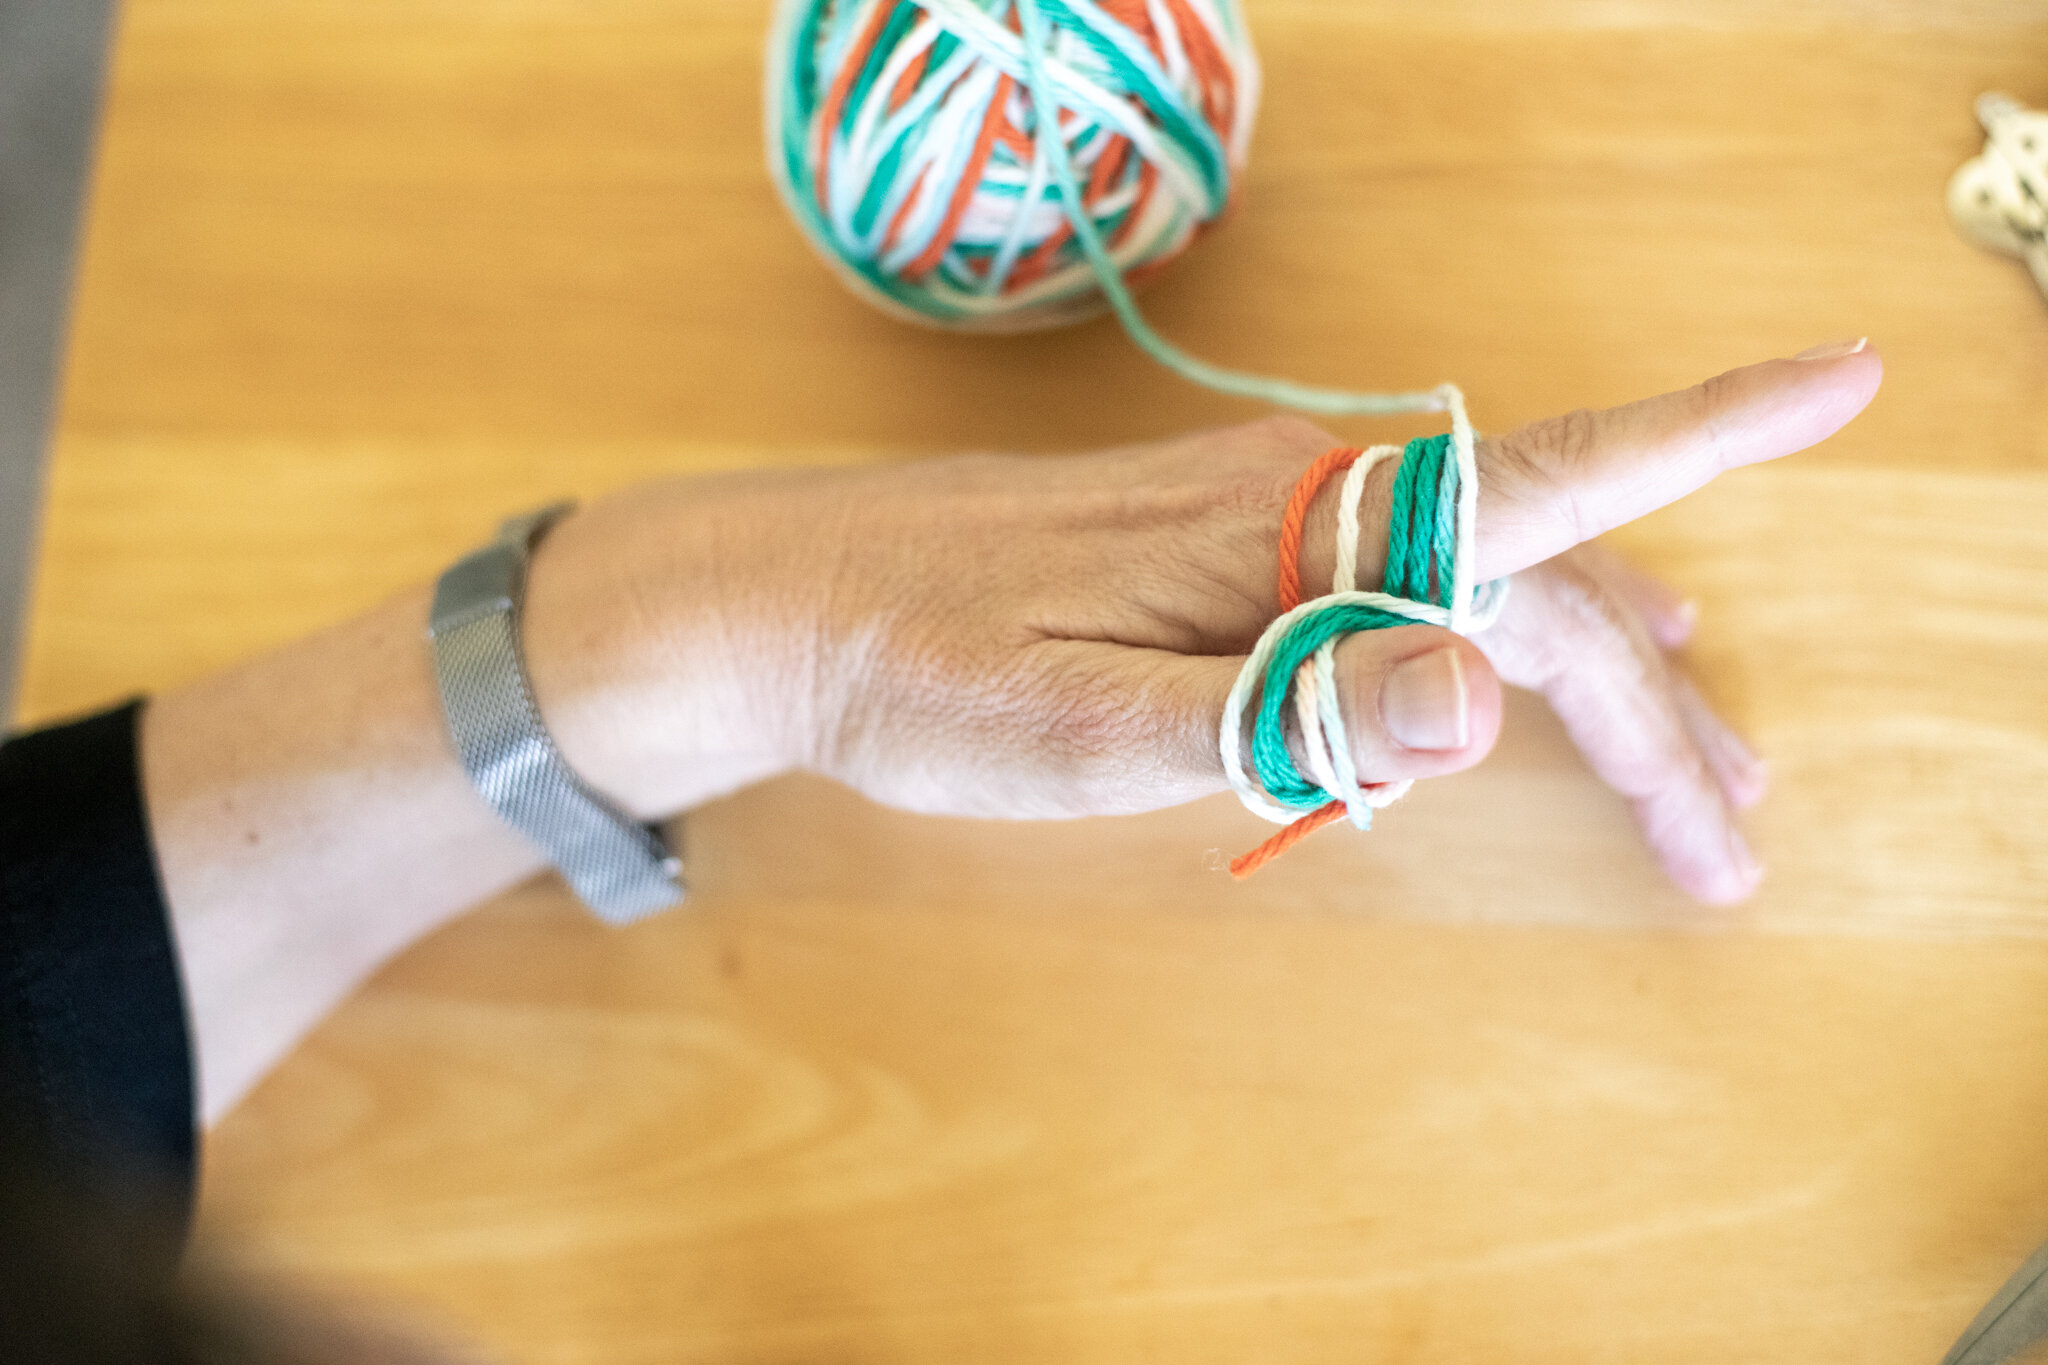
You can choose how big (or small) to make your yarn ball.
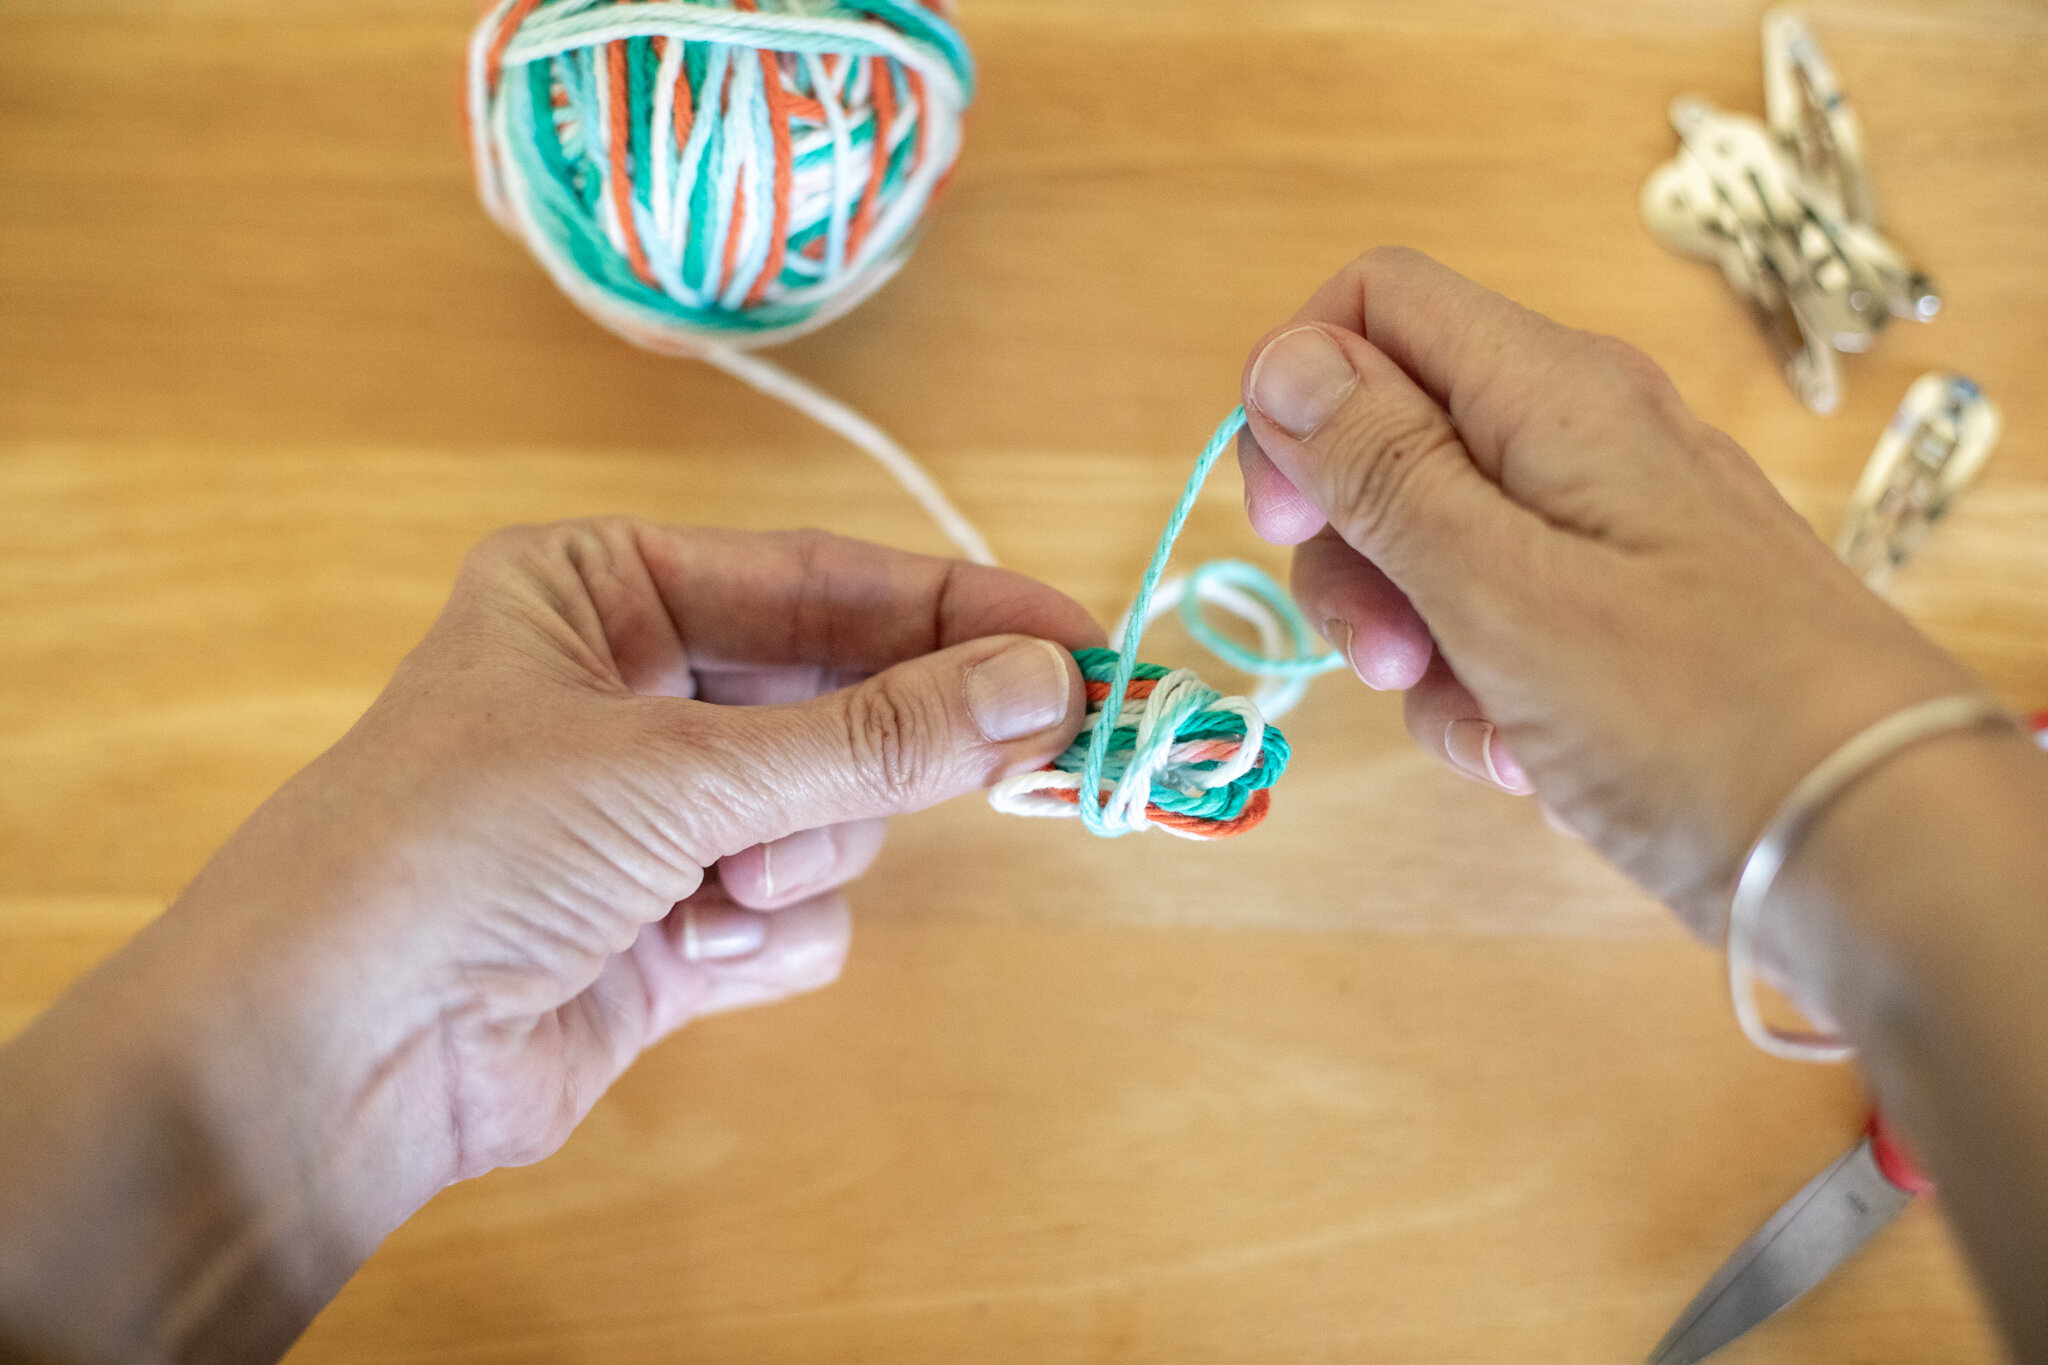
Supporting kids: If your child is frustrated with having to control two things at once- pinching a tail while winding yarn, you can always show them how by using your hand for the “glasses”. So you pinch and hold the tail, then hold their hand to guide them with the yarn into going back and forth, back and forth between your finger and thumb. When they have the hang of it, you can let them continue adding loops on your fingers independently. You may notice that they pass the yarn from their one hand to the other as they wind it around your finger and thumb. This is a developmental stage where they need the hand closest to the “action” to be in charge. So reaching across is harder for them than handing the yarn to the other hand. One day it stops because they made the “leap” developmentally, so don’t worry if you wonder how is passing the yarn back and forth between left and right hands possibly efficient.
You can also reverse this teamwork asking the child to pinch the tail between their finger and thumb, then you wind the first few loops so it’s not so easy to pull loose.
You know the children best so do whatever helps them (and you) feel successful. The more that they make, the easier all the steps become. And it’s ok to start over! Crafting is all about adjusting and learning and trying again. Let them practice resilience :)
You can also start the most fiddly beginning part of the ball and hand it off to them when it’s manageable for them.
I also highly recommend practicing on your own before trying to teach children. It’s so hard to be “hmmm, what is happening here?” while a child is eagerly waiting for progress. If you’re comfortable, it’s easier to coach them through the process.
With this said, it is good to model learning a new skill with children, so feel free to dive in together if you want to learn together.
Phew, photograph turotials are more time-intensive than I remembered :). So I’ll make a post soon with the second way to wind a yarn ball.
I enjoyed sharing this idea for creating a tidy collection of yarn that’s easy to share. This process project is a great way to organize. And then you’re ready for the next epic project using your yarn balls!
PS- many children choose making yarn balls over and over and over. They don’t necessarily need more projects :). You could even make little collections of yarn balls to gift a neighbor or family member or send in a care package. They’re fun to make and share. Enjoy 💕
We hope this week finds you healthy and inspired ✨
Click here for the second way to wind yarn balls. Which way is easier for you?
Creative Leprechauns
Leprechauns have diversified through the years. The jolly little folk hanging around rainbows have sought out adventure in recent years. And children are delighted to imagine all the ways that leprechauns may appear in modern times. Our first Forest Fairy Crafts book is perfectly suited to this creative craft. You can make any style of leprechaun by leaning into green and gold (especially sequins). This means that the ninja leprechaun can move through the world.
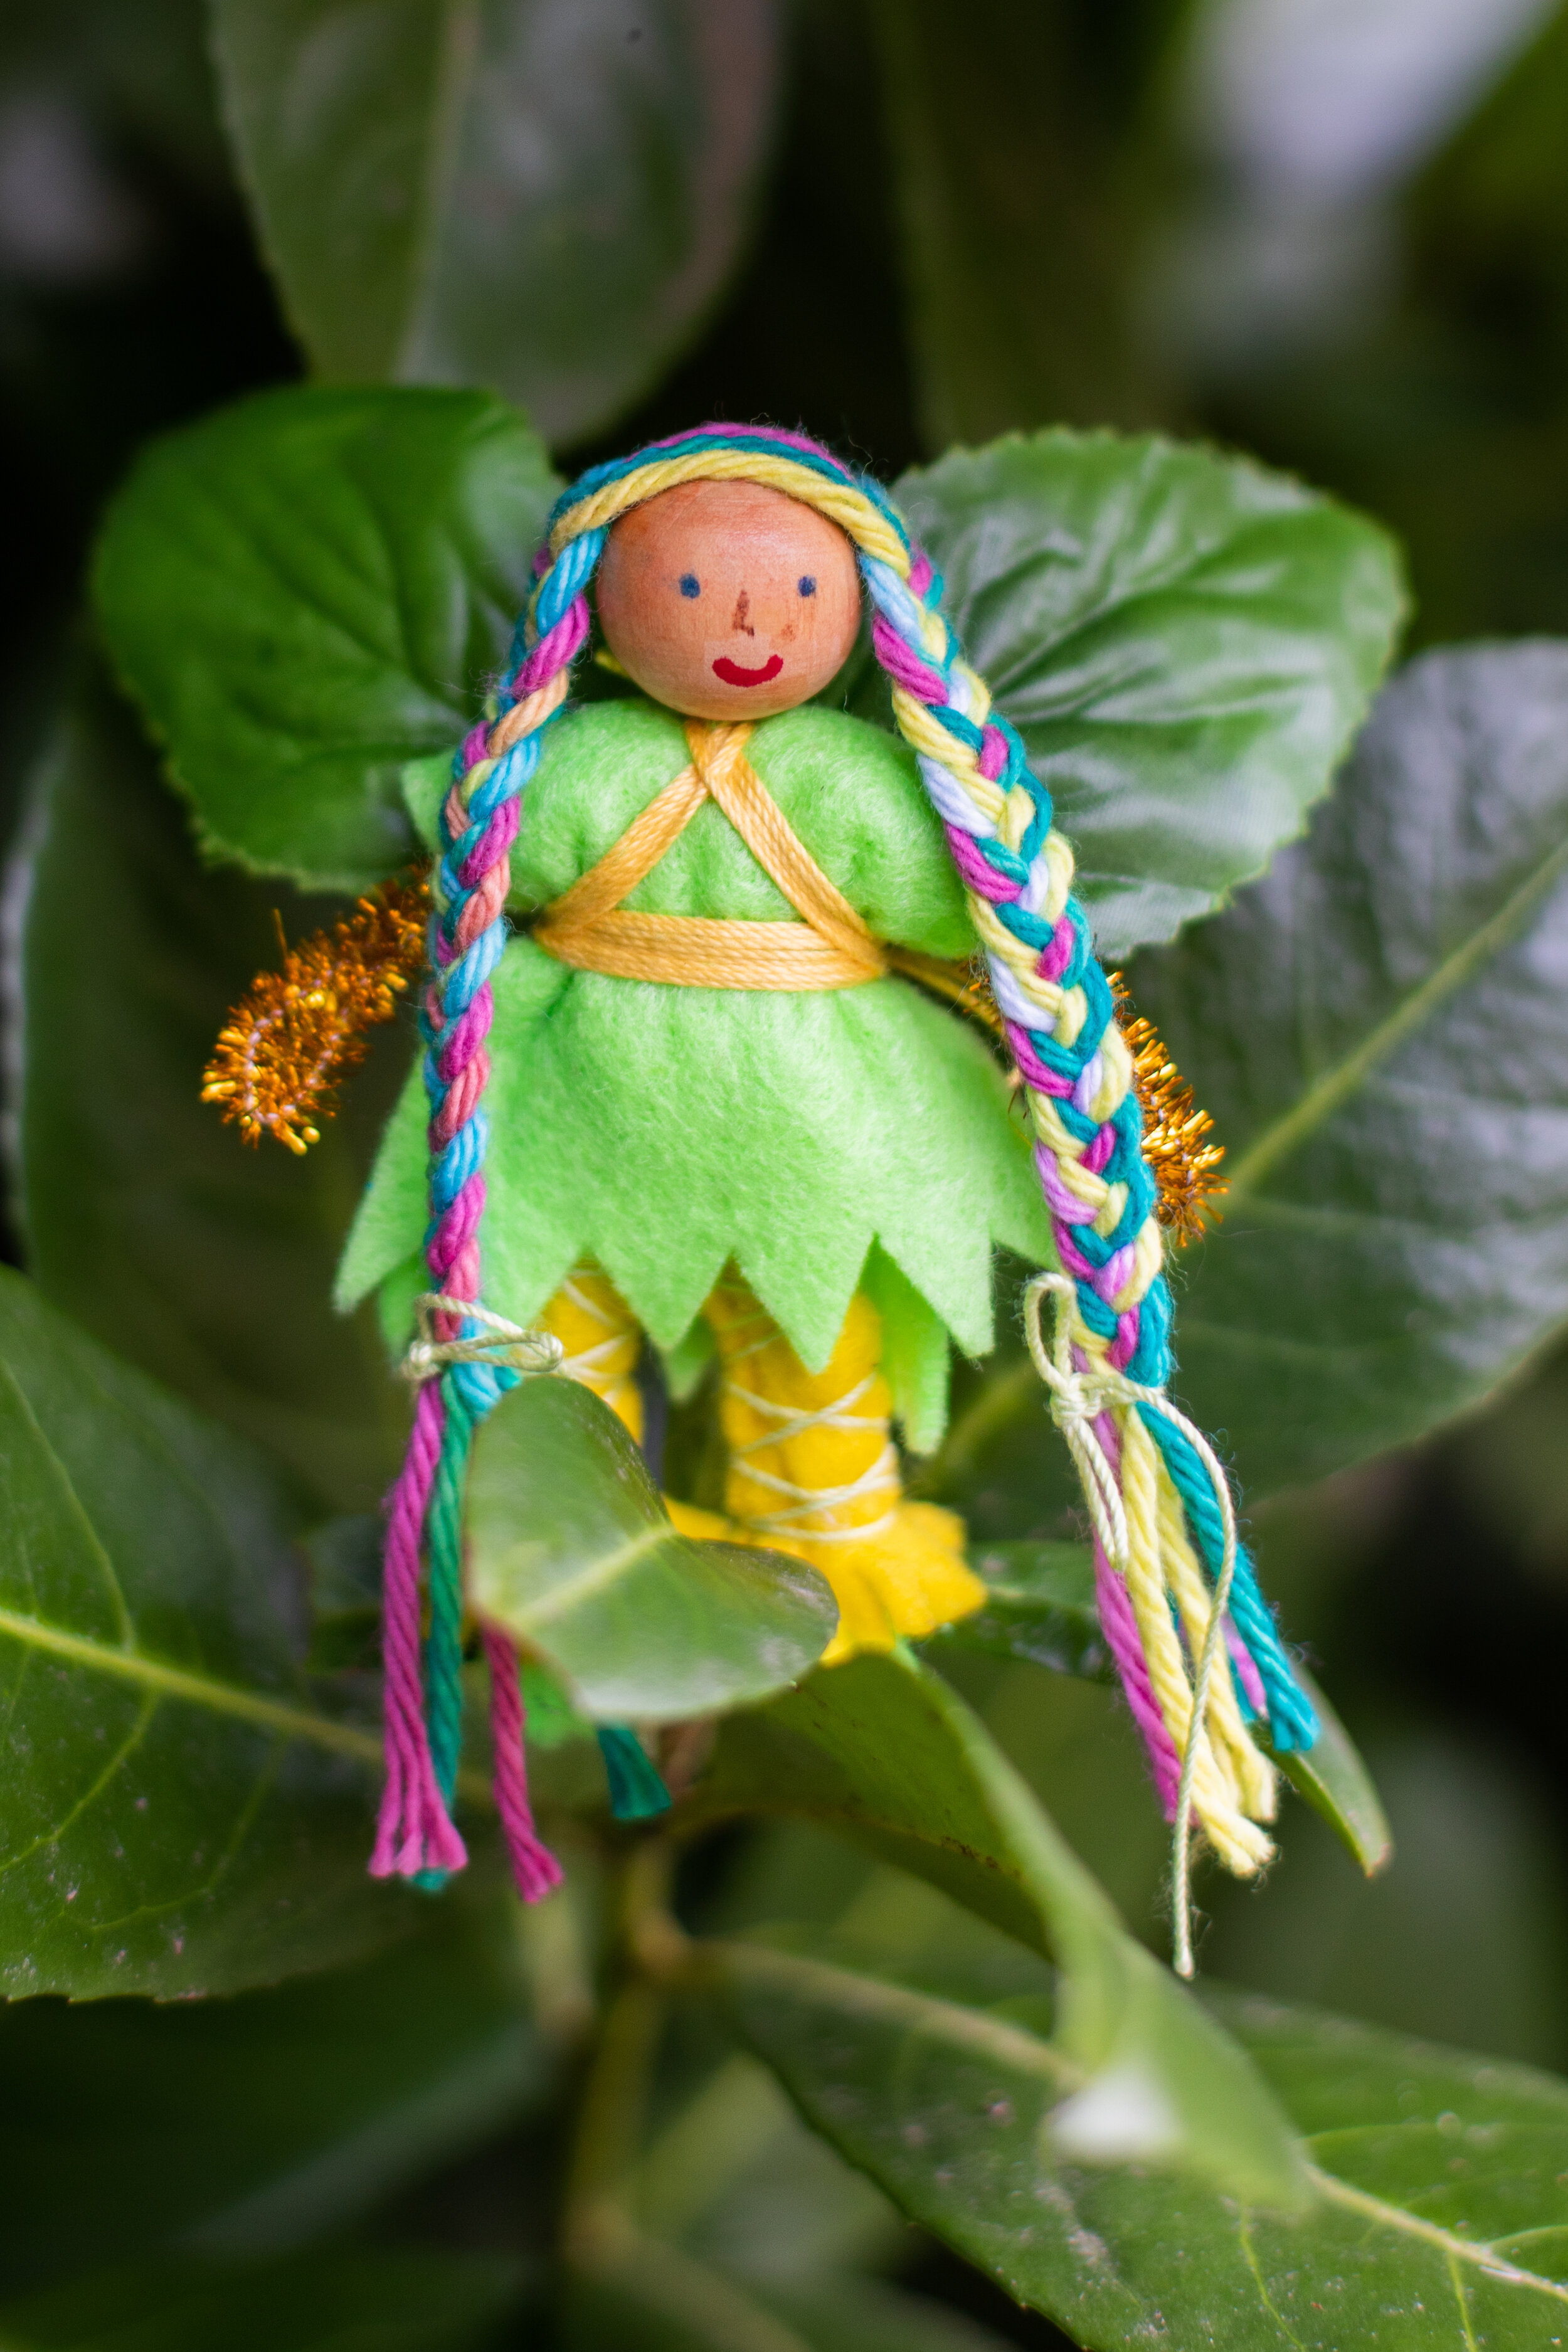
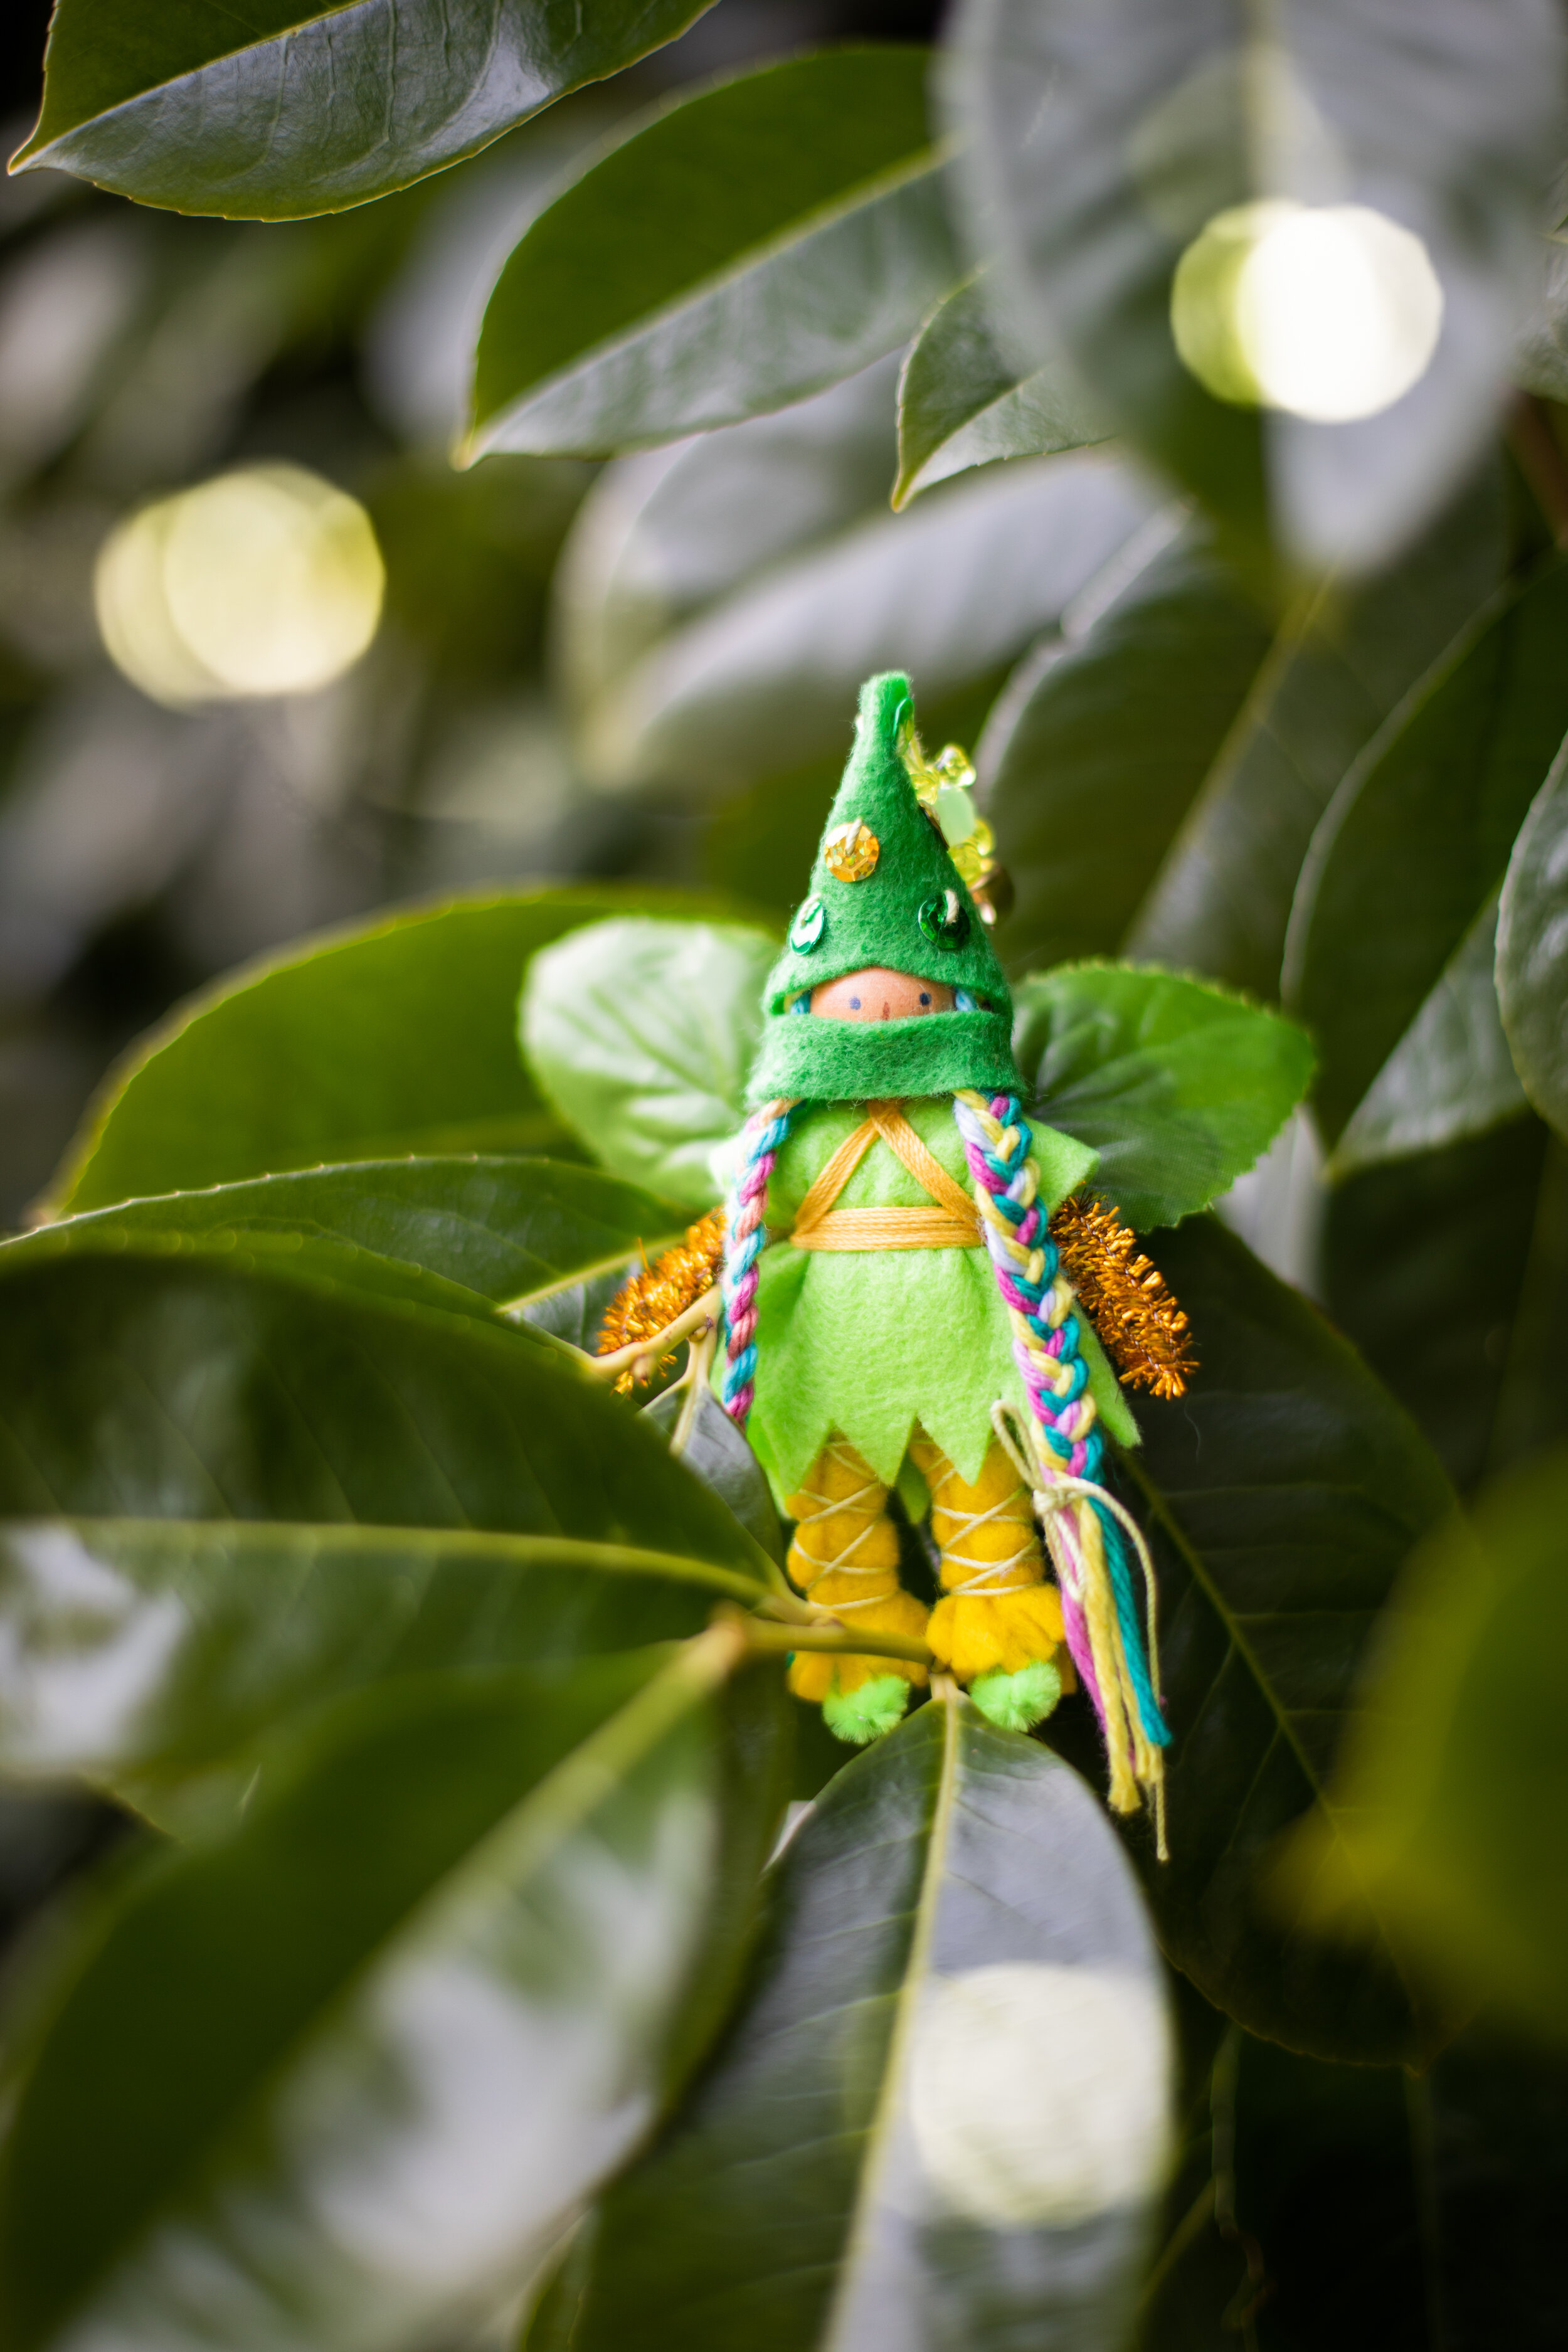
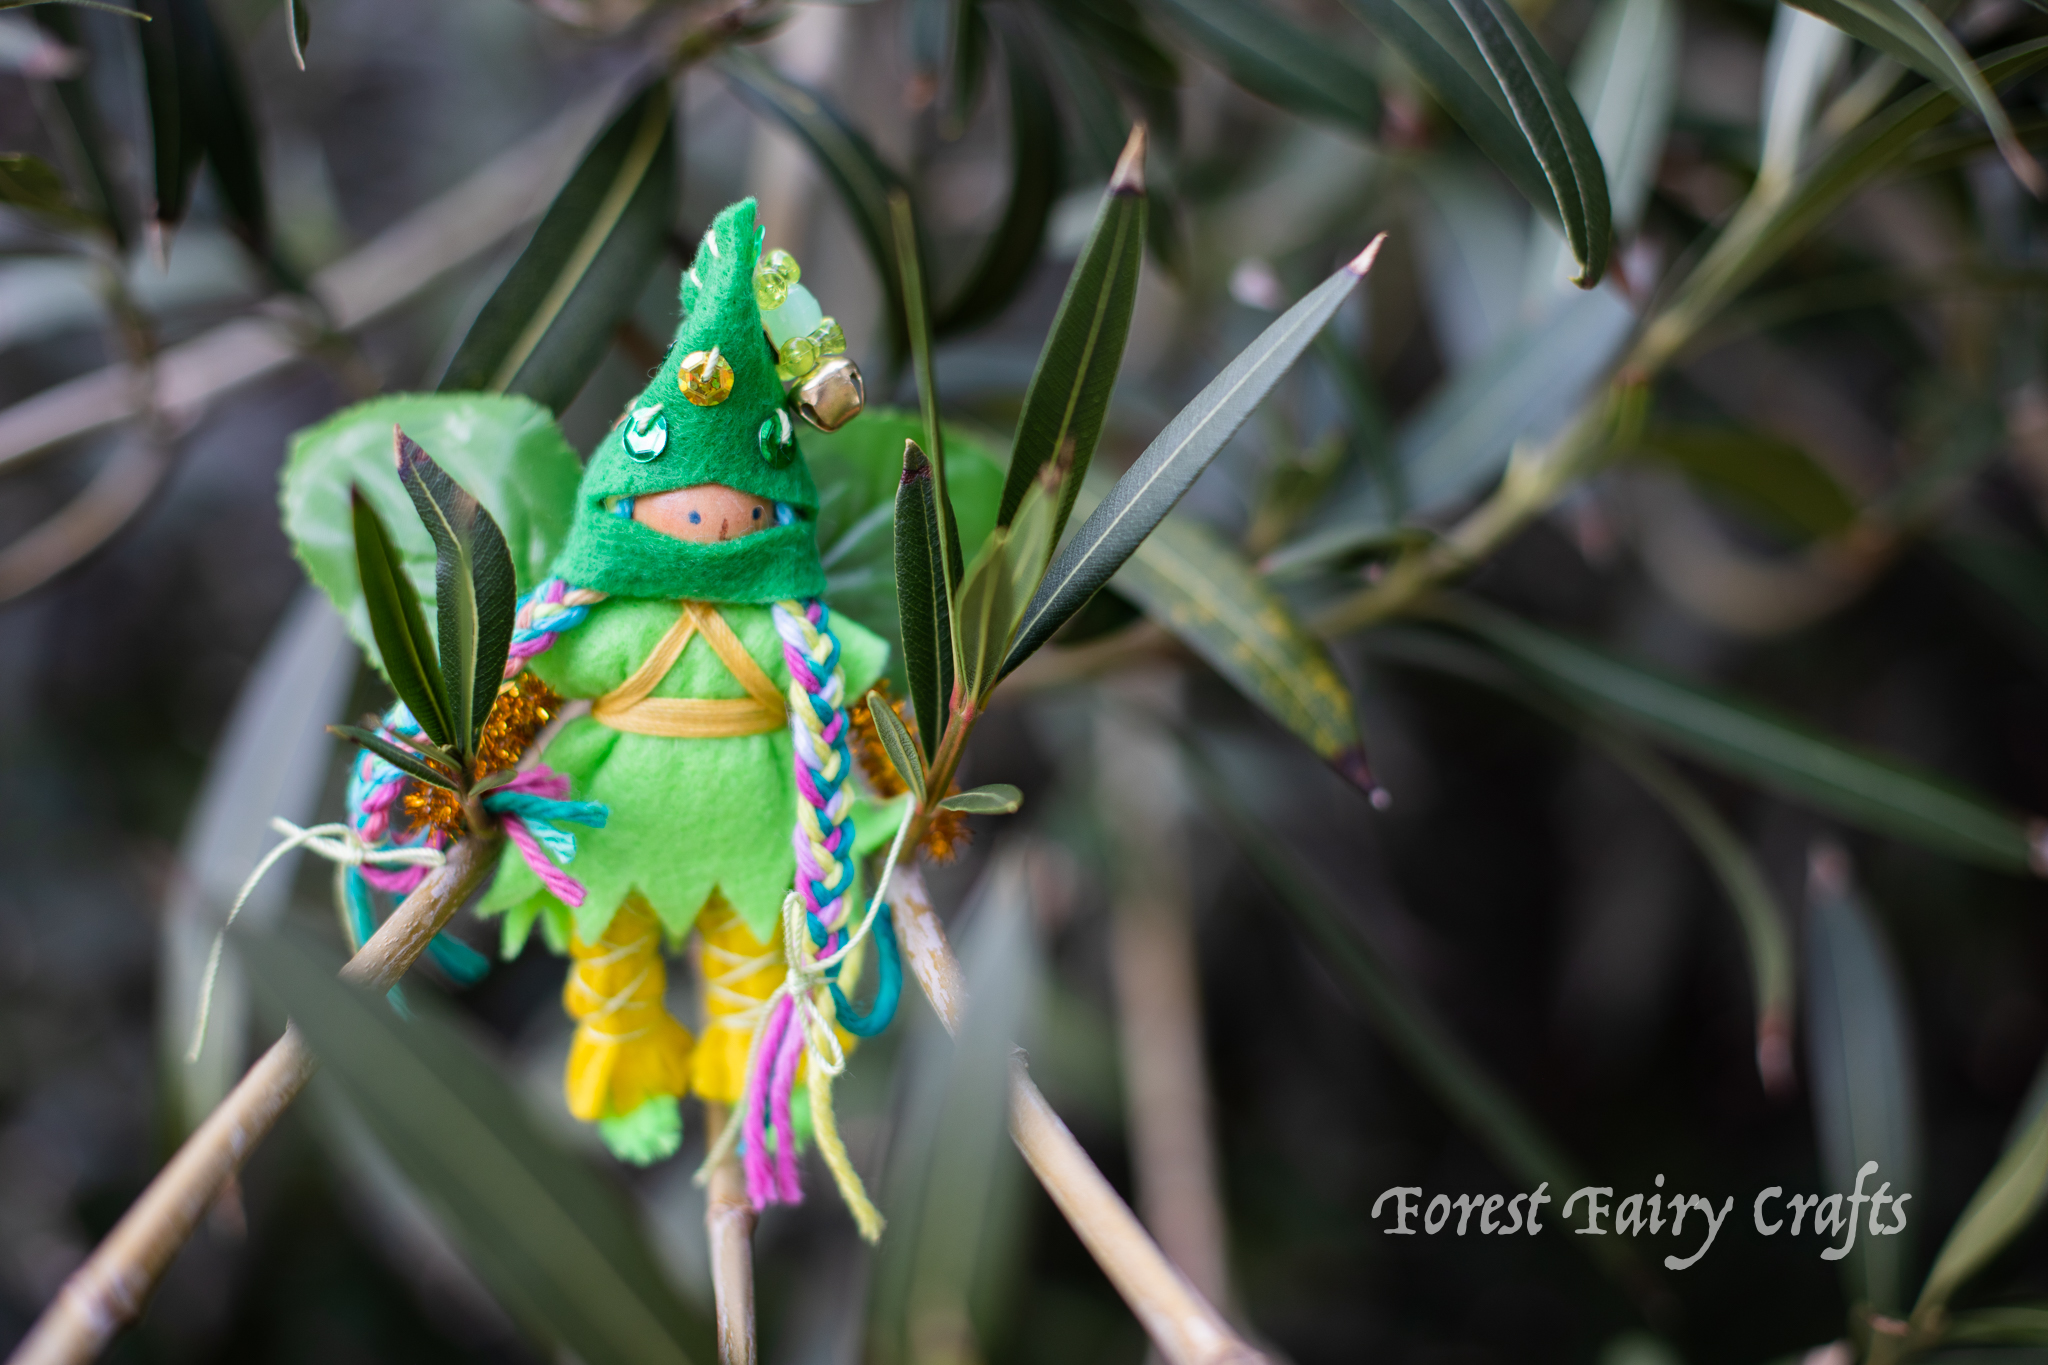
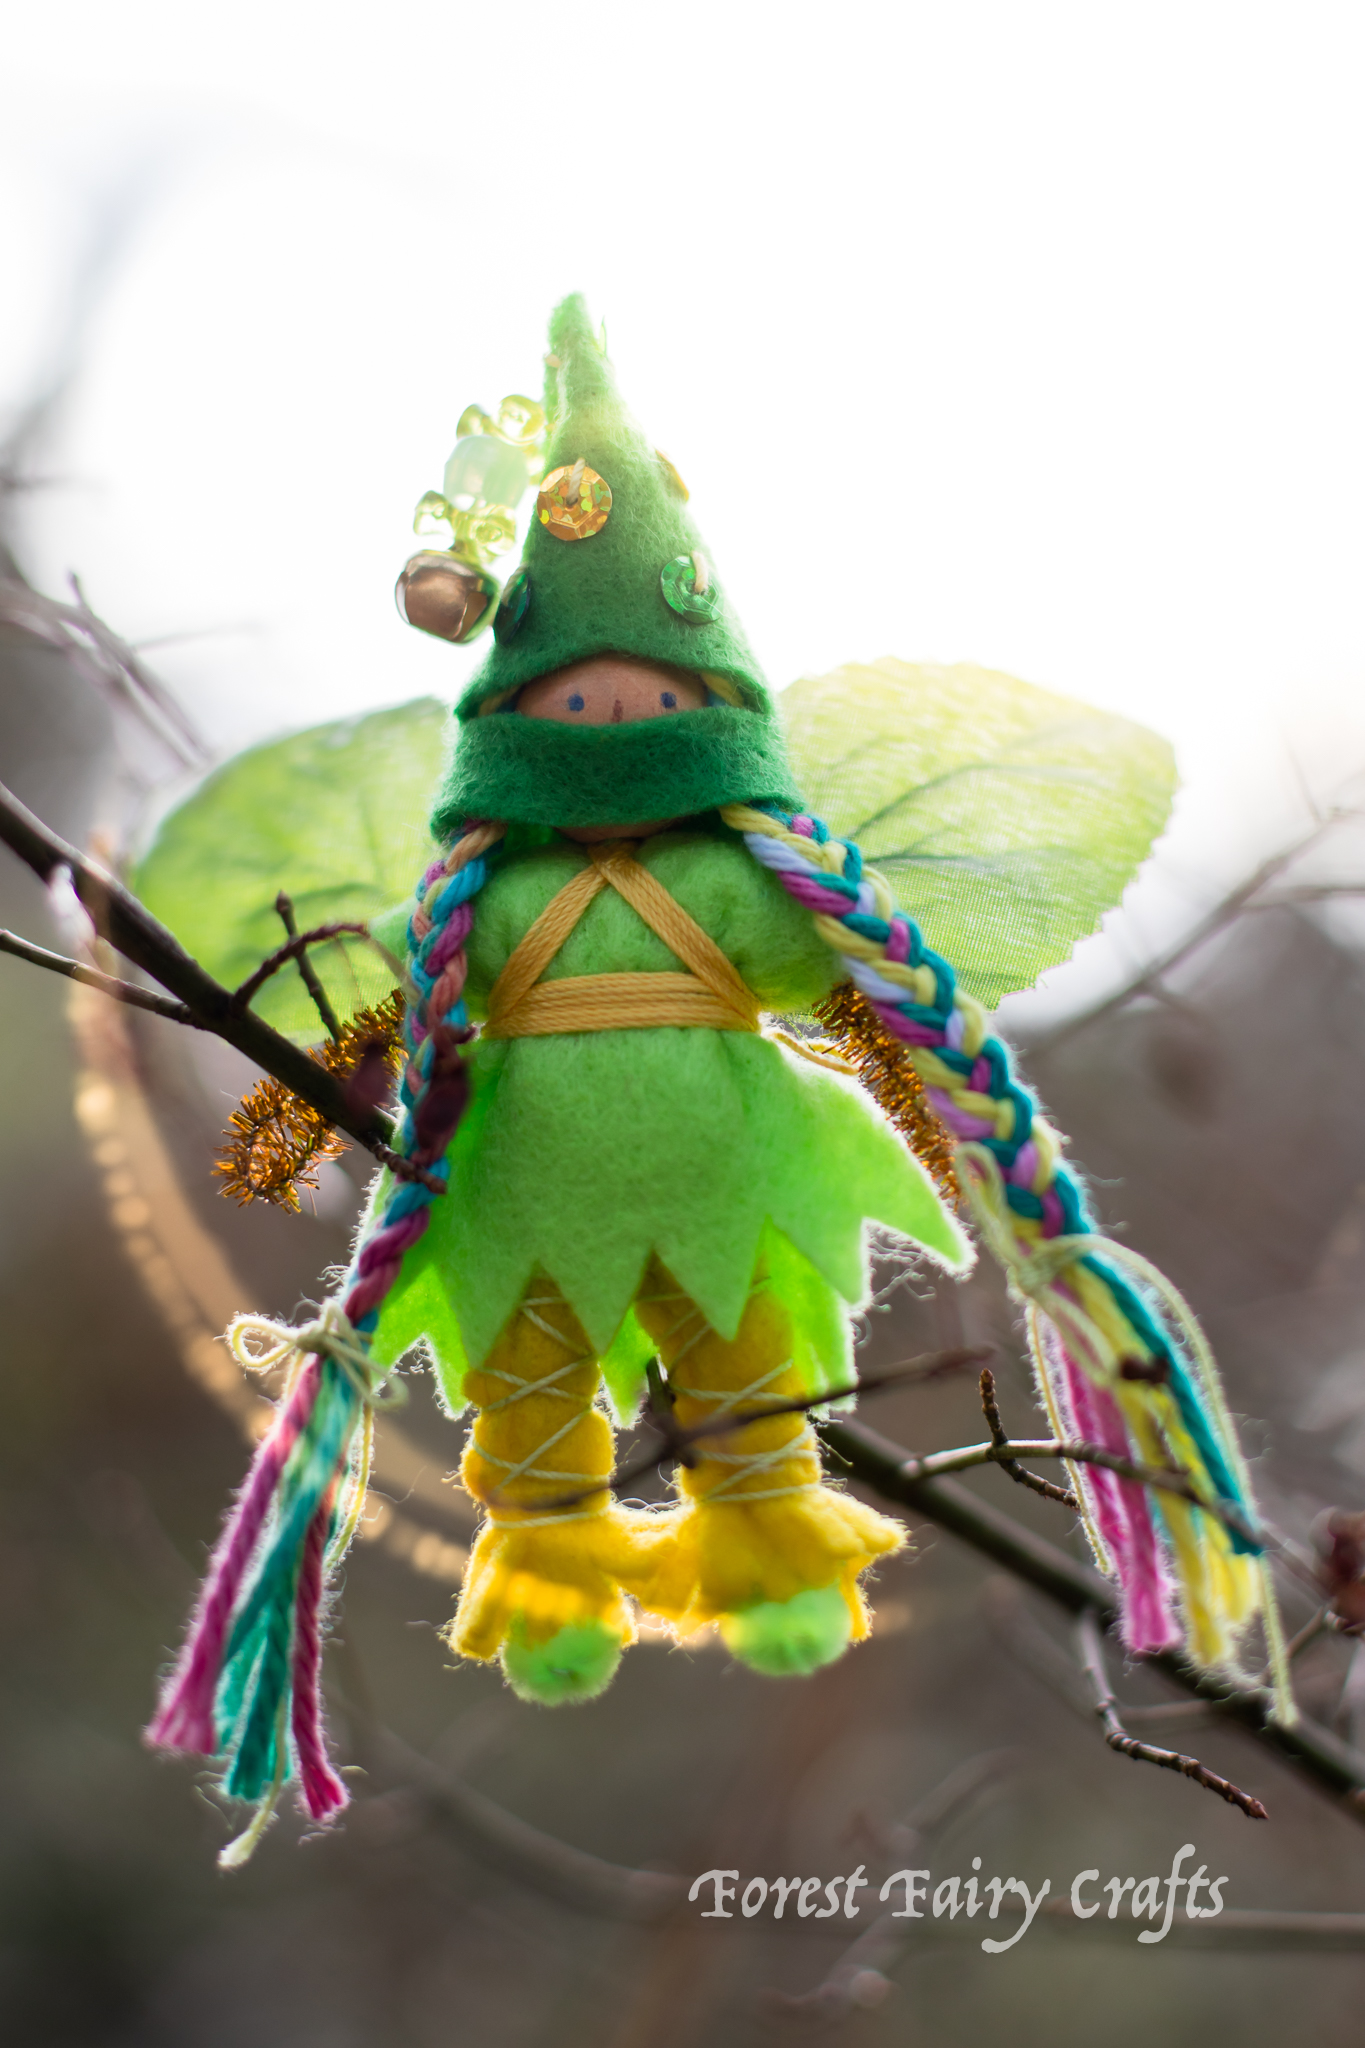
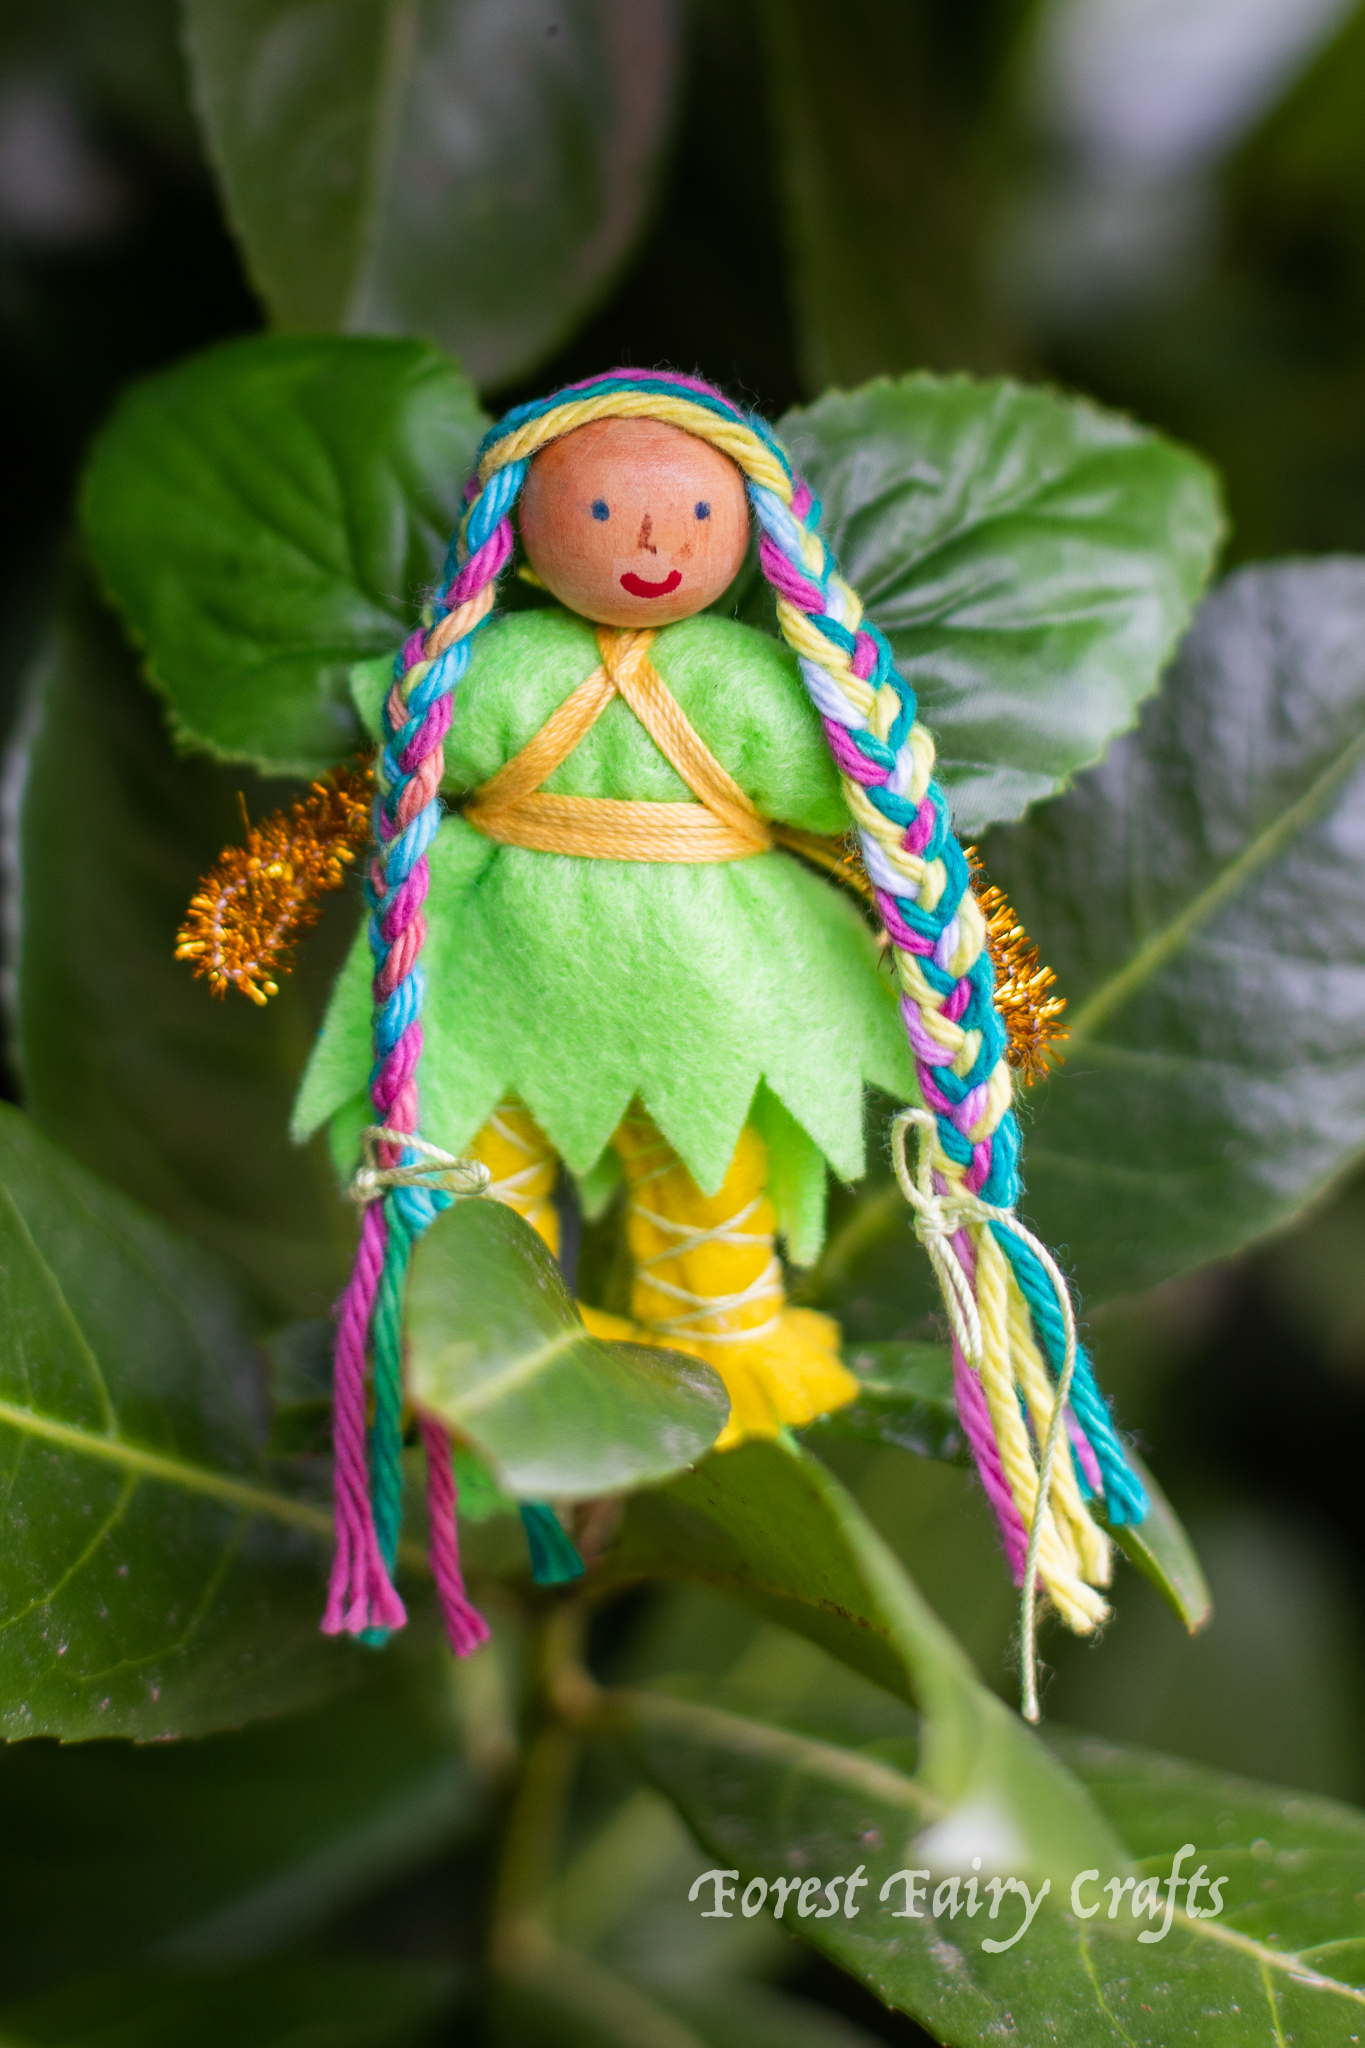
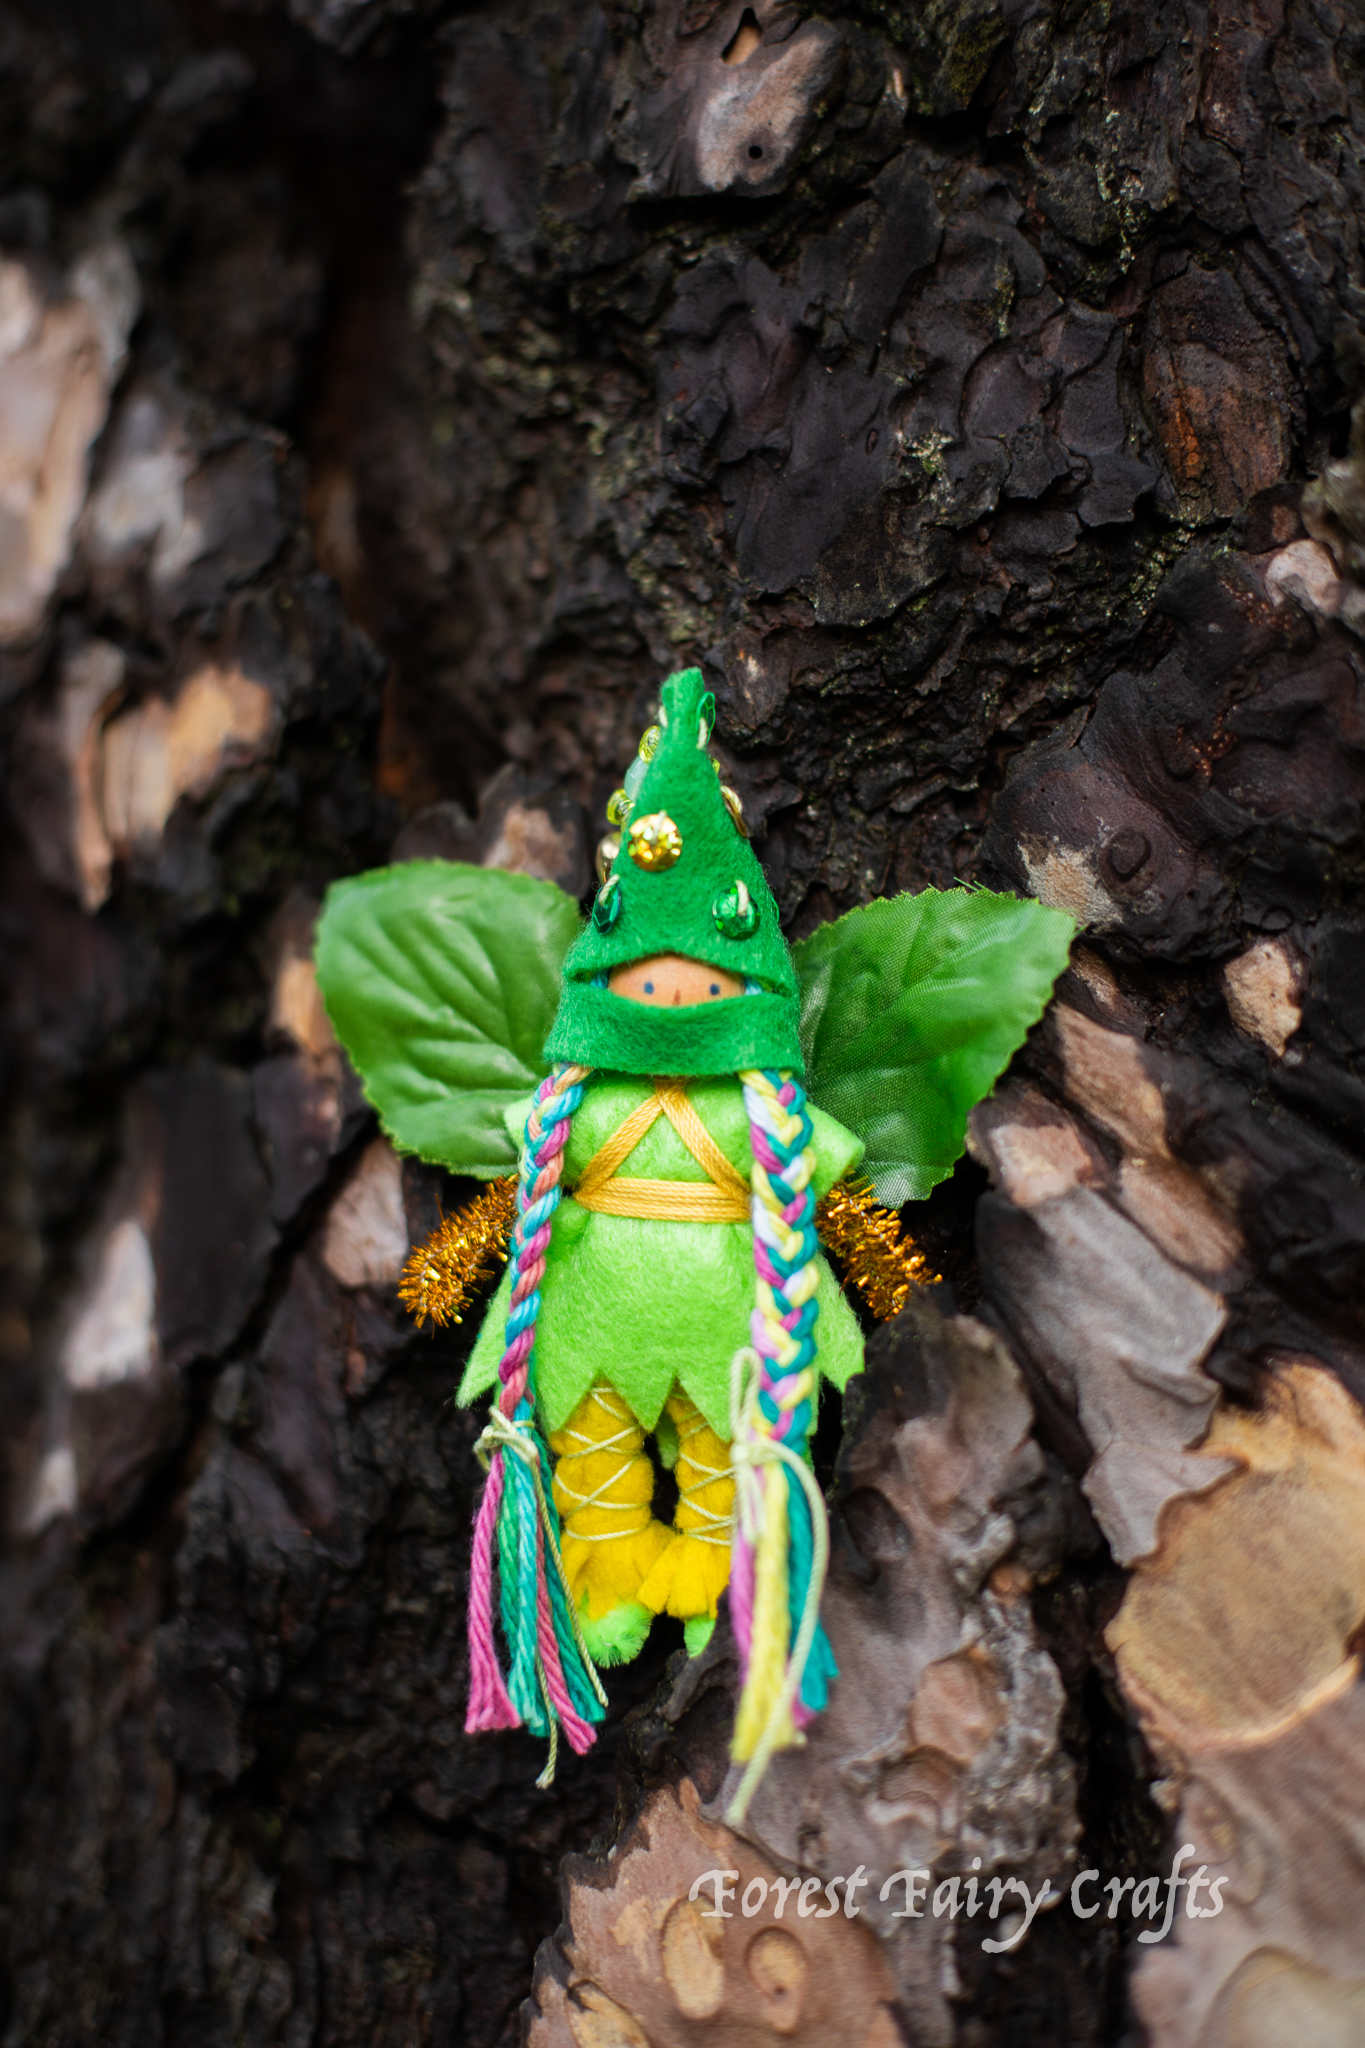
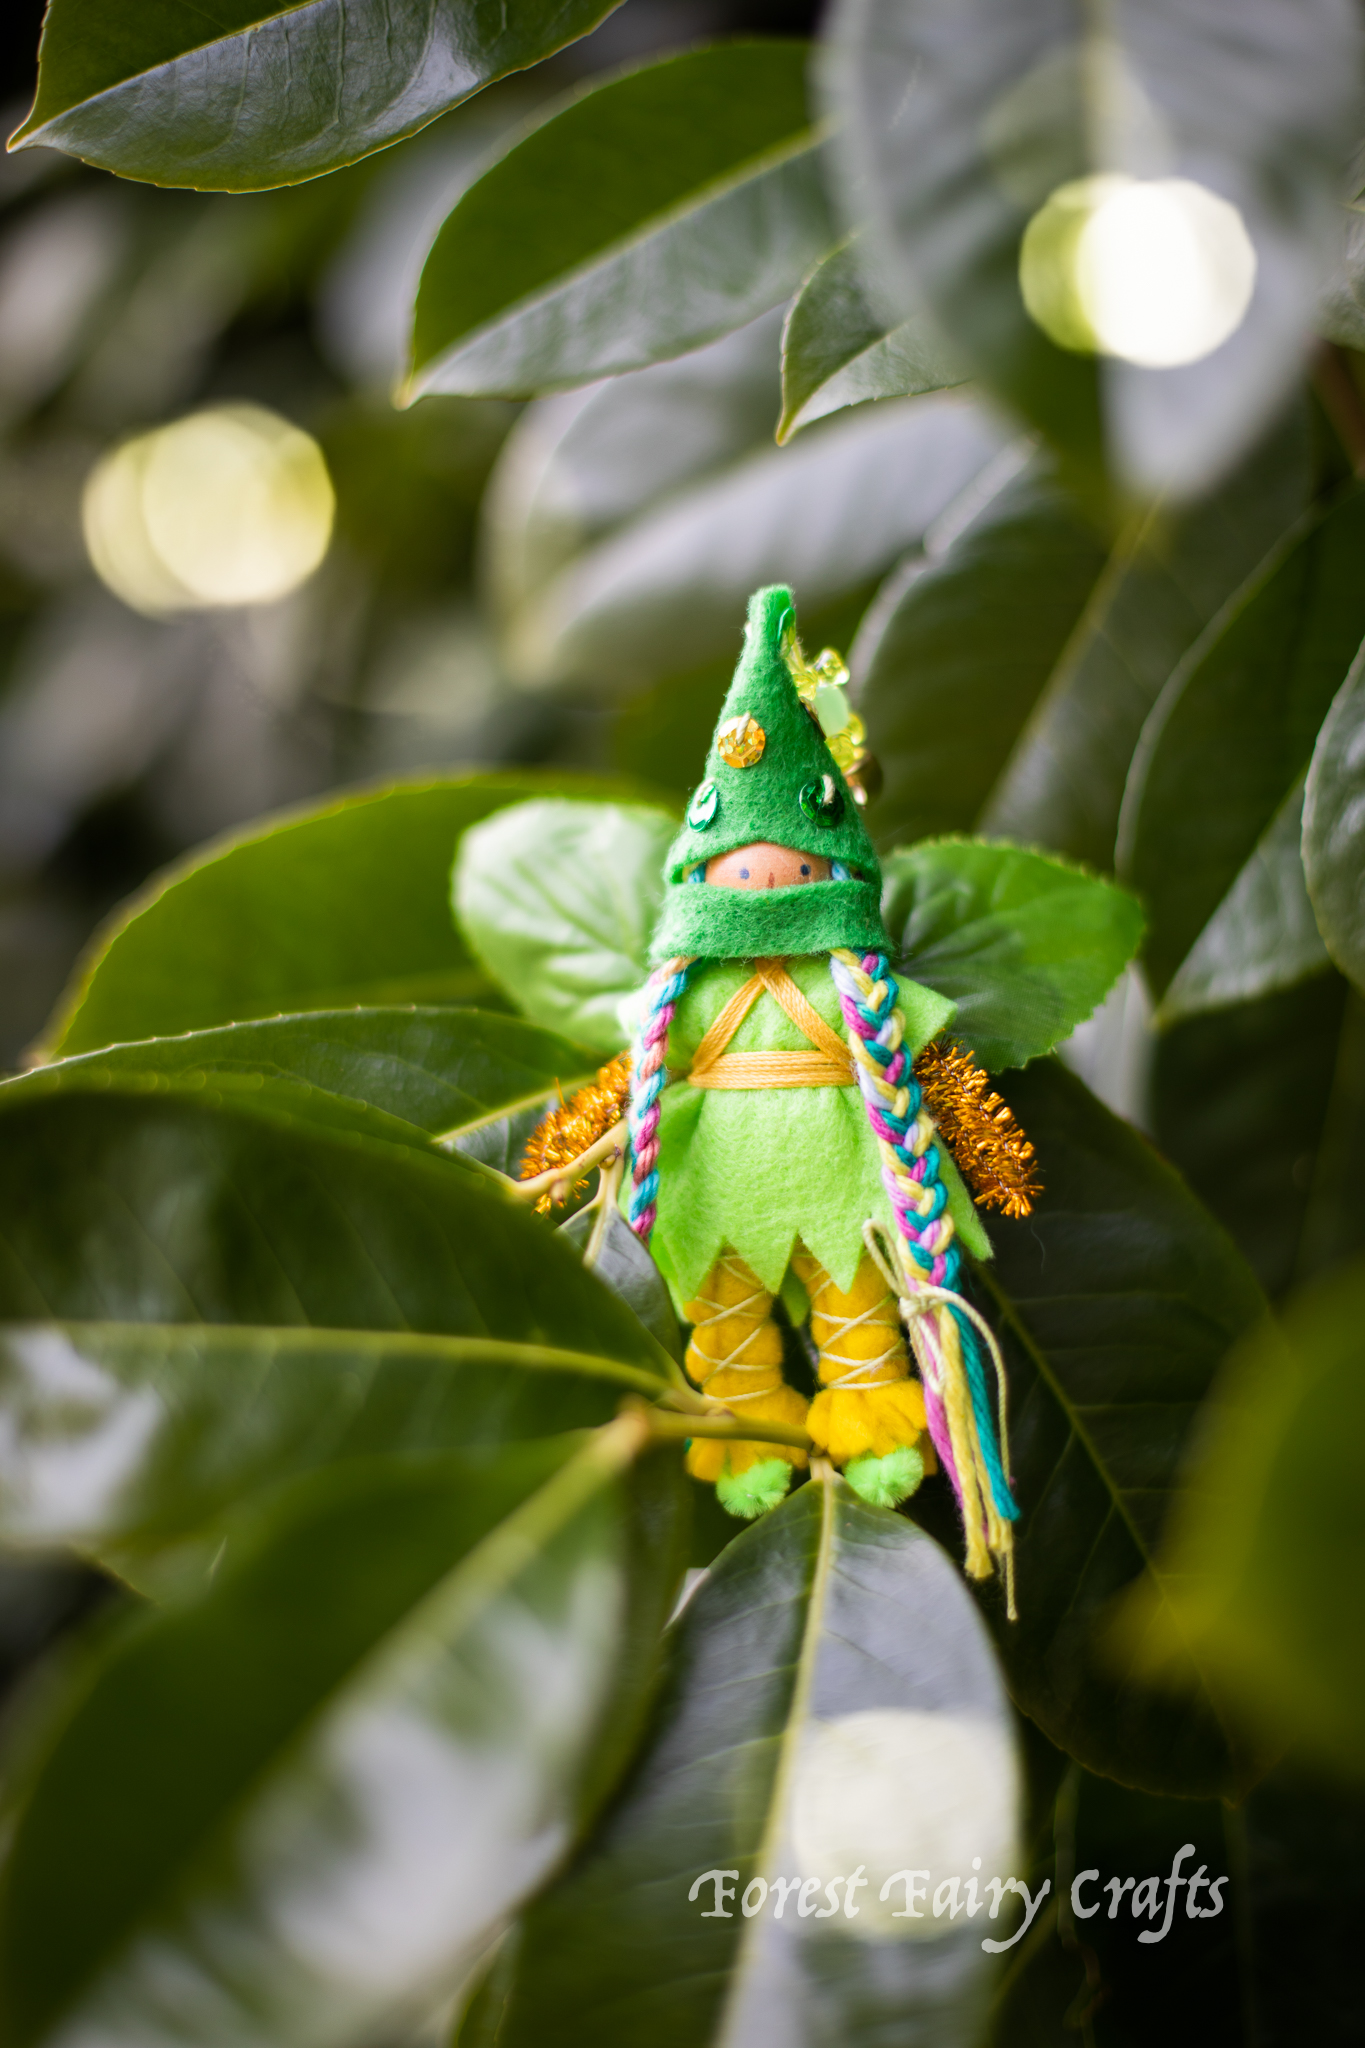
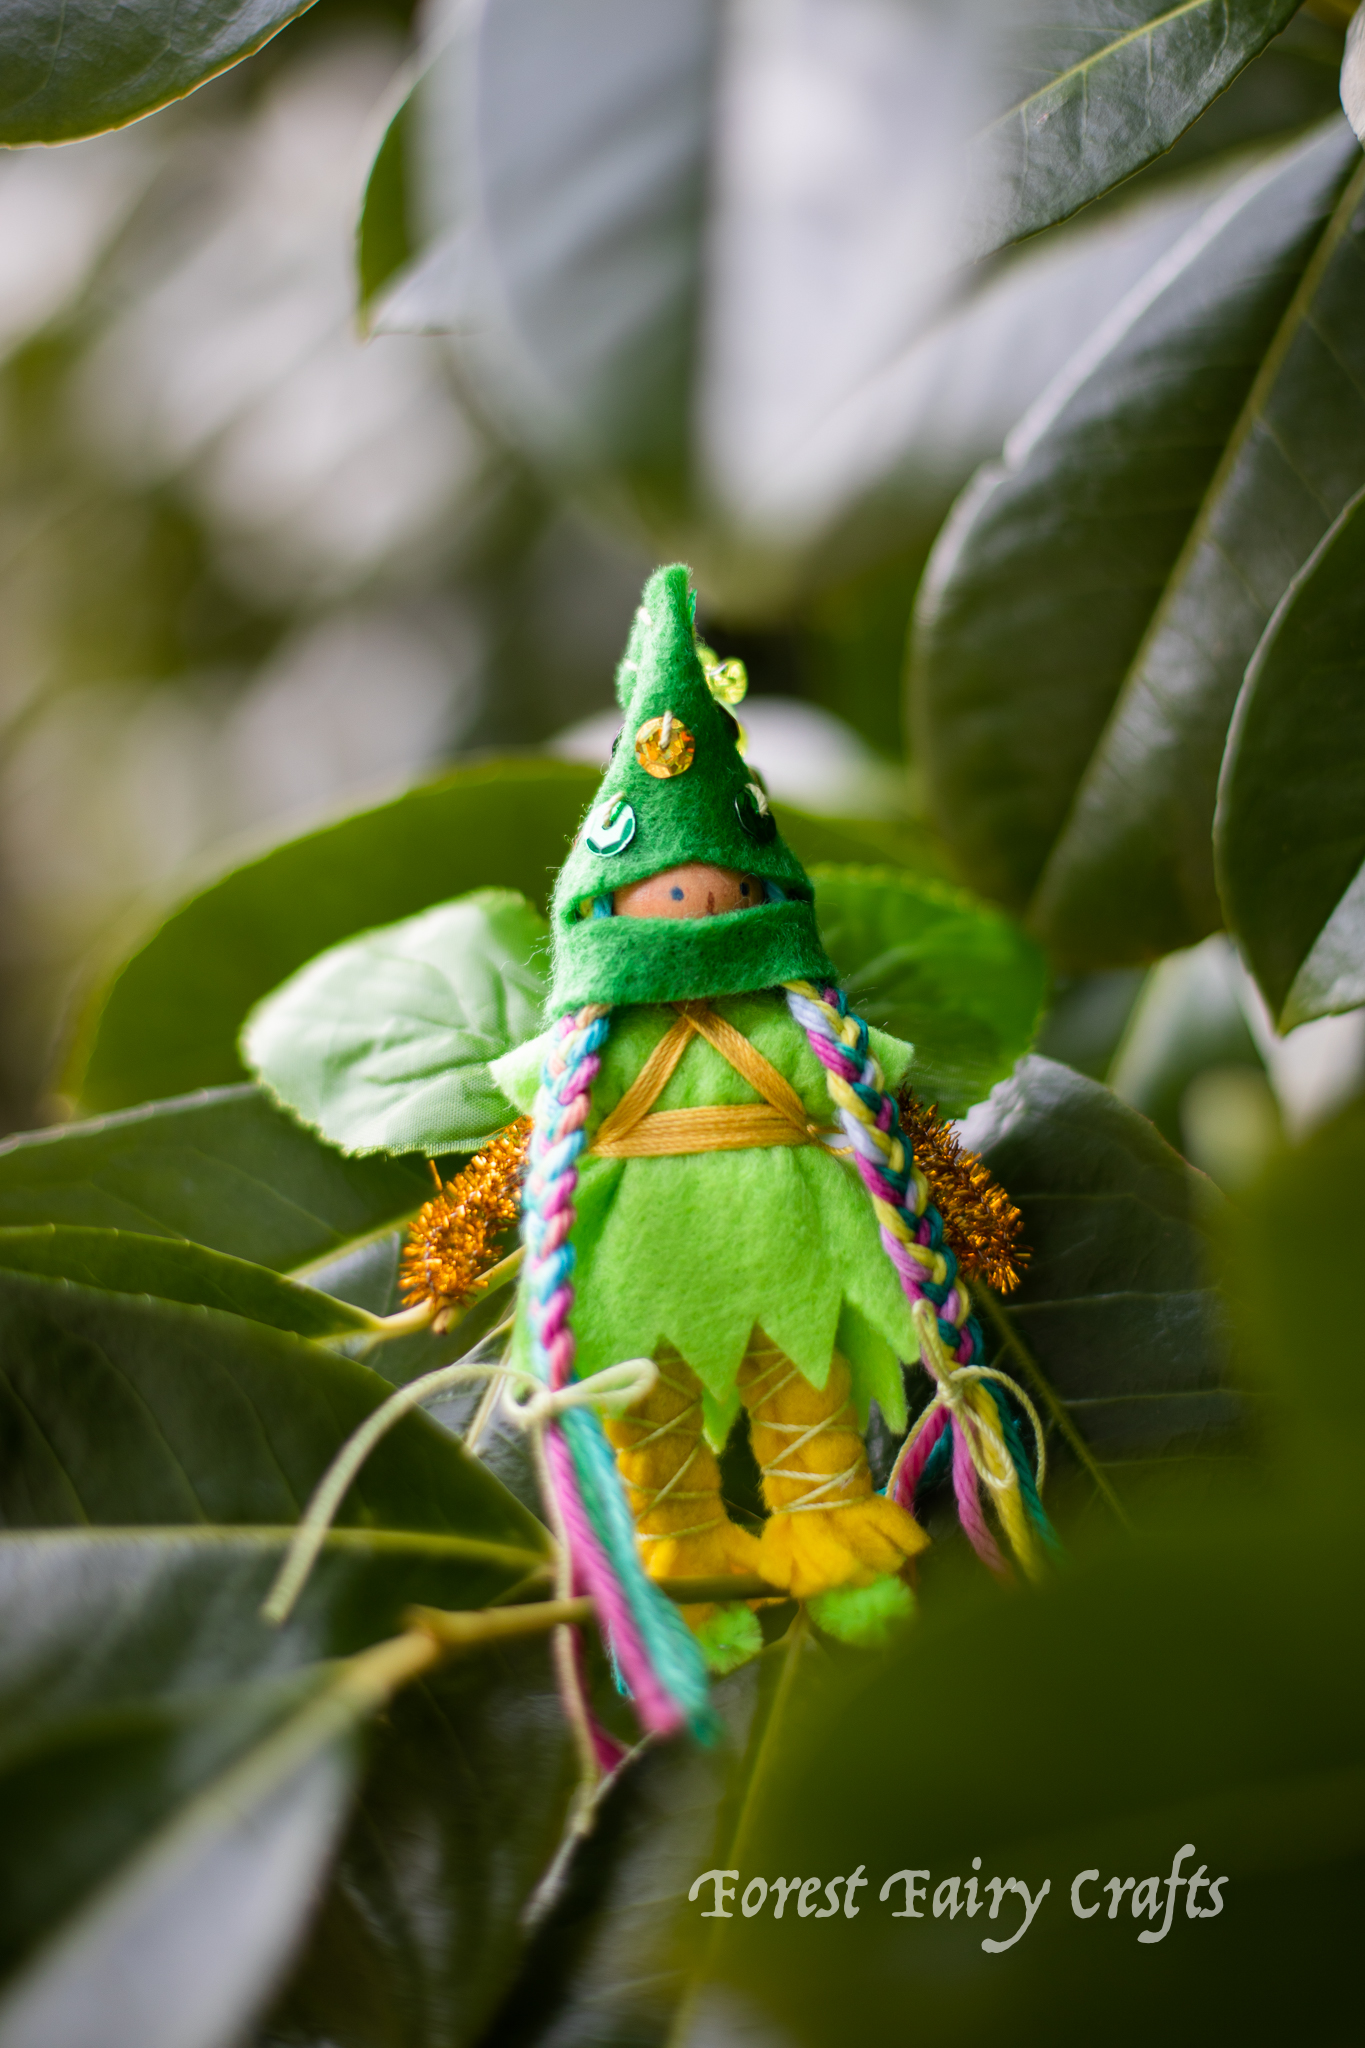
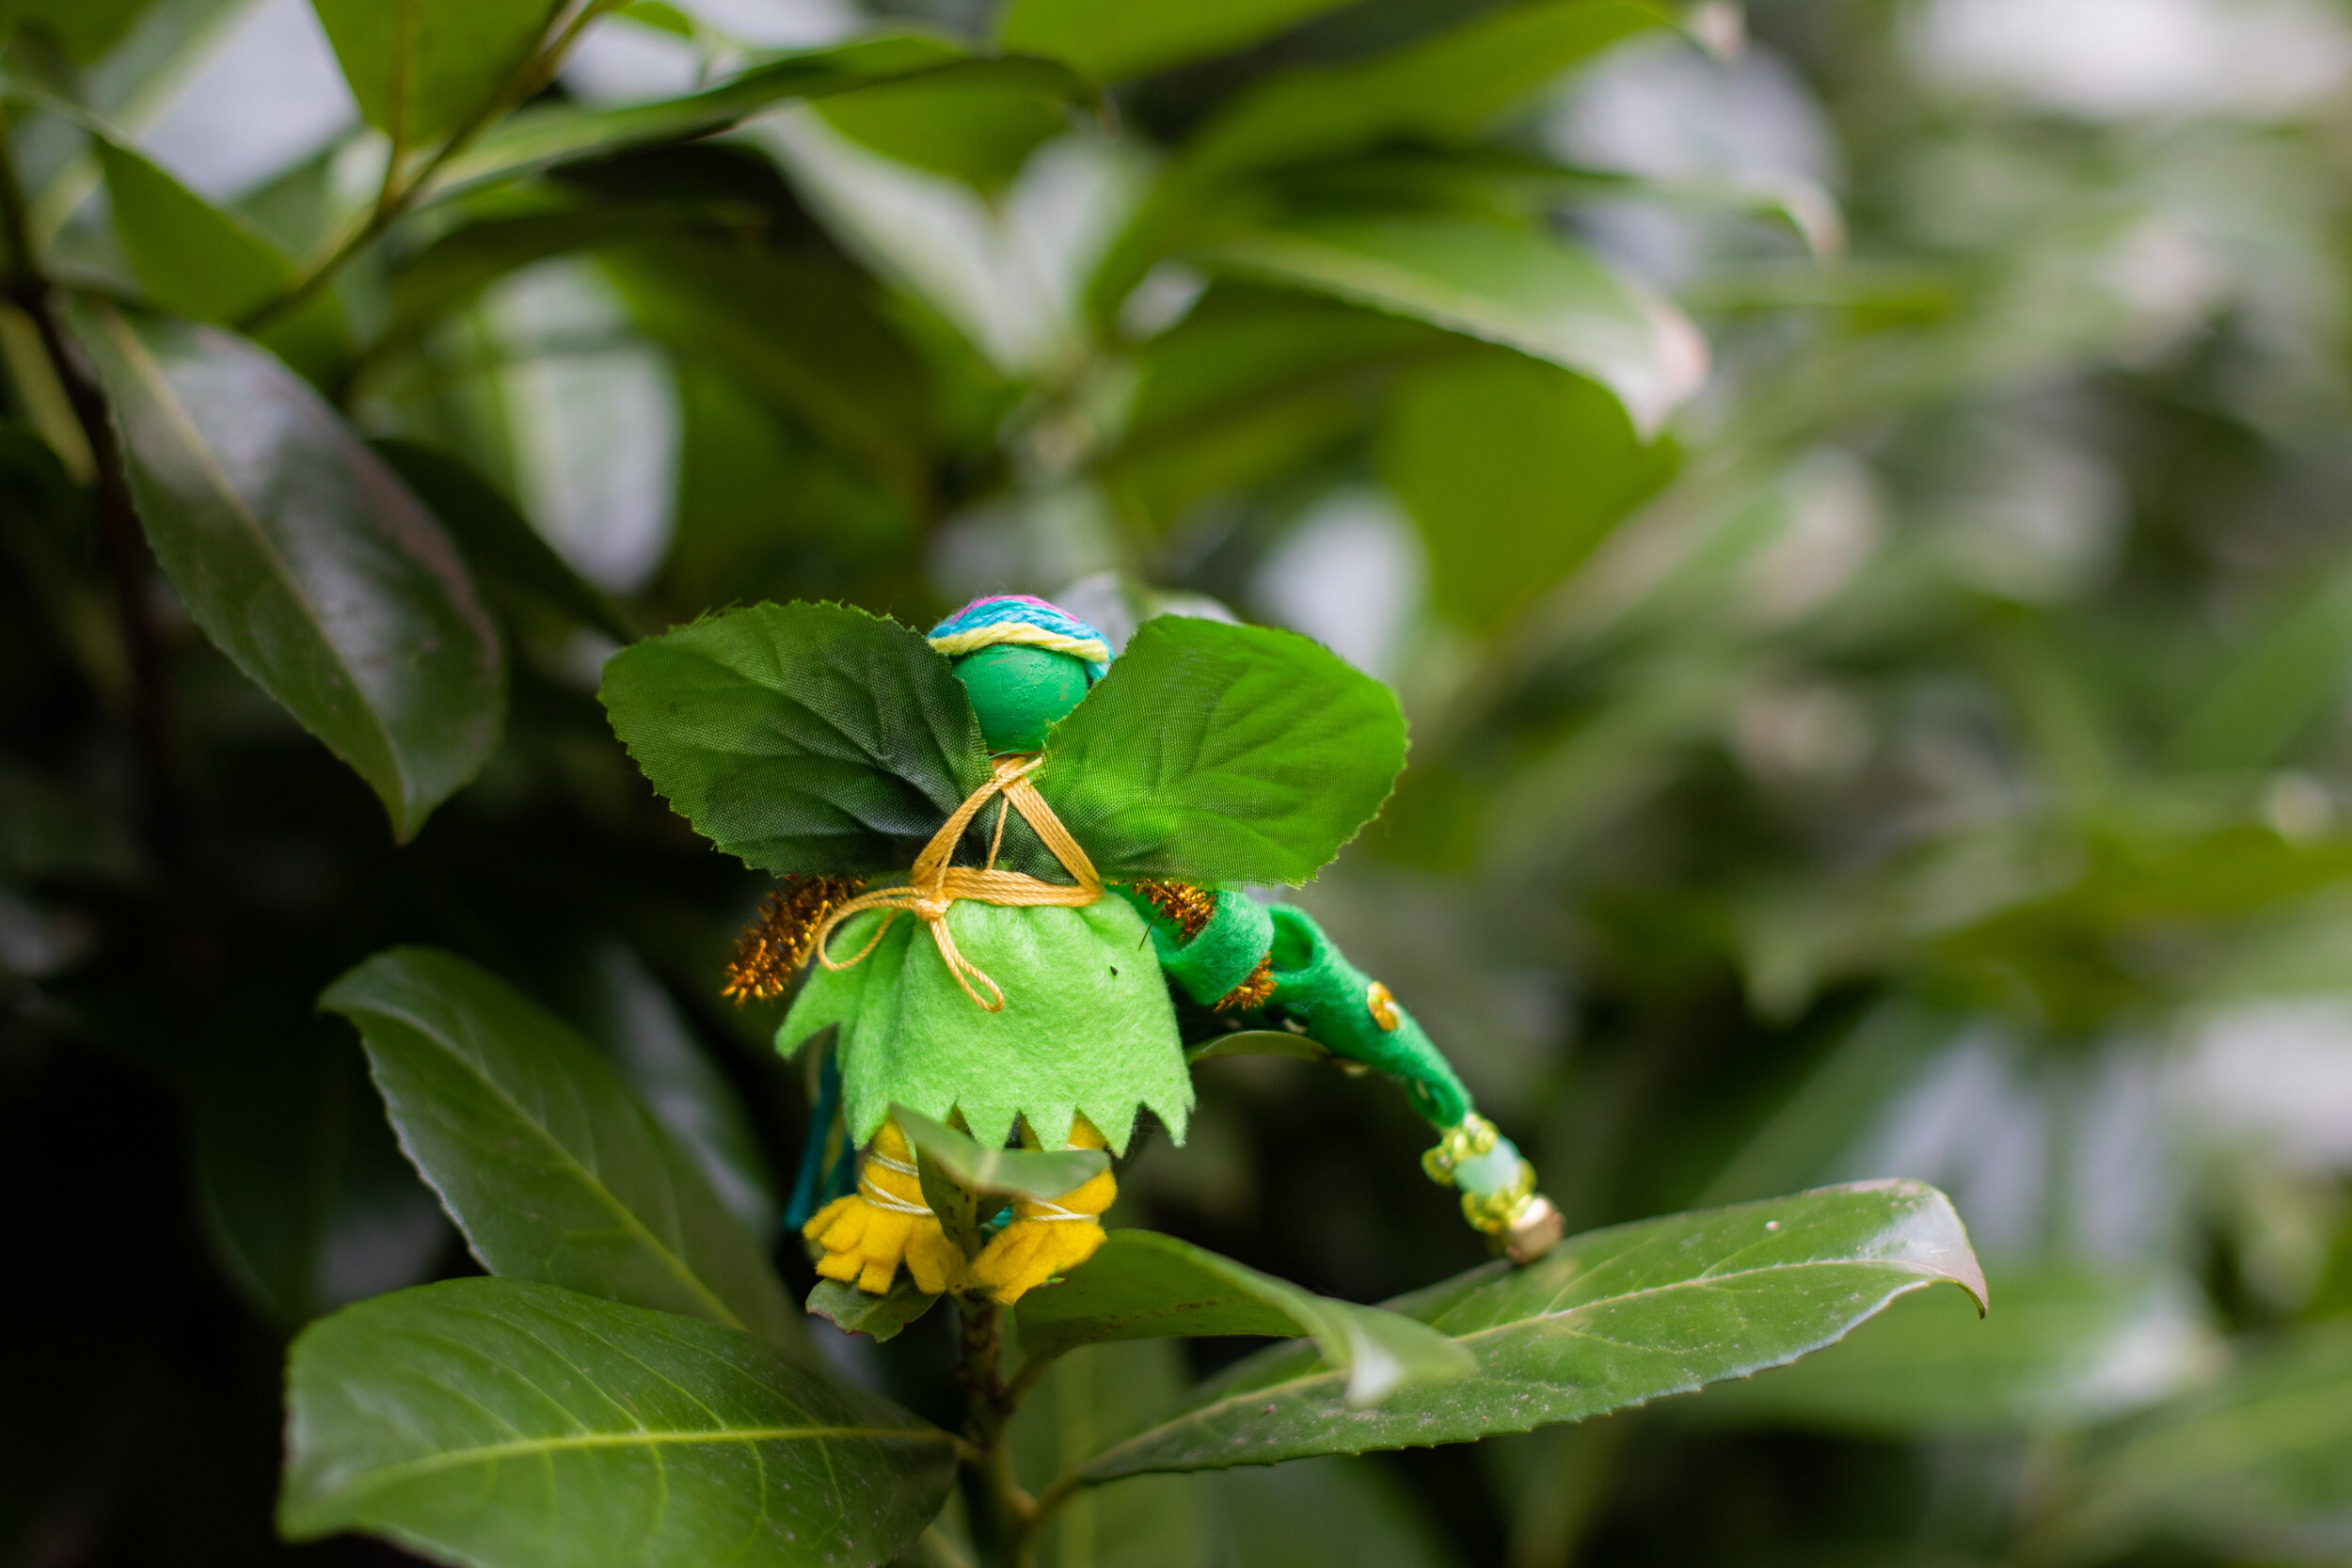
This little leprechaun was so fun to imagine with her rainbow hair and sparkly gold arms. I simply used the ninja pattern with different colors. This inspired me to wonder about a pirate leprechaun. Or a leprechaun mermaid? The possibilities are endless.
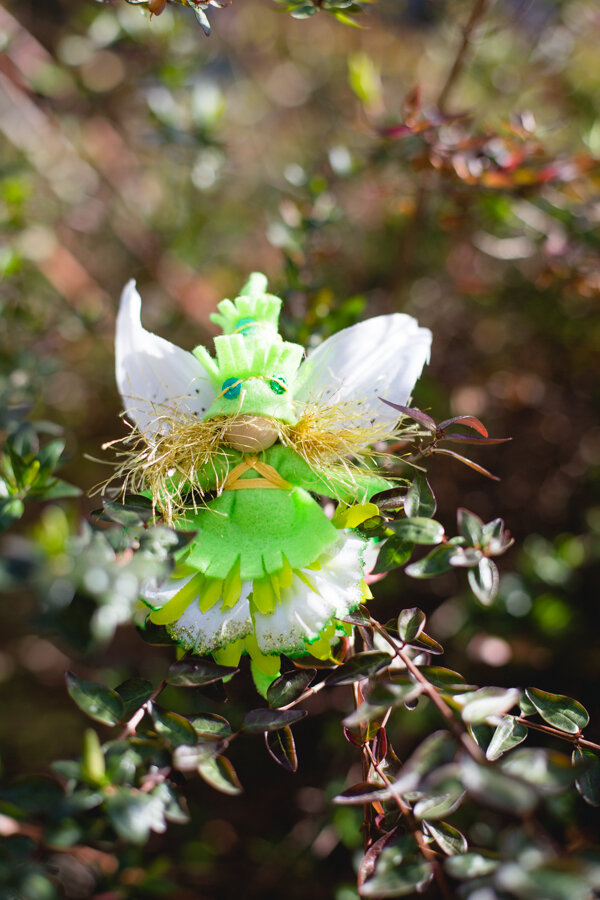
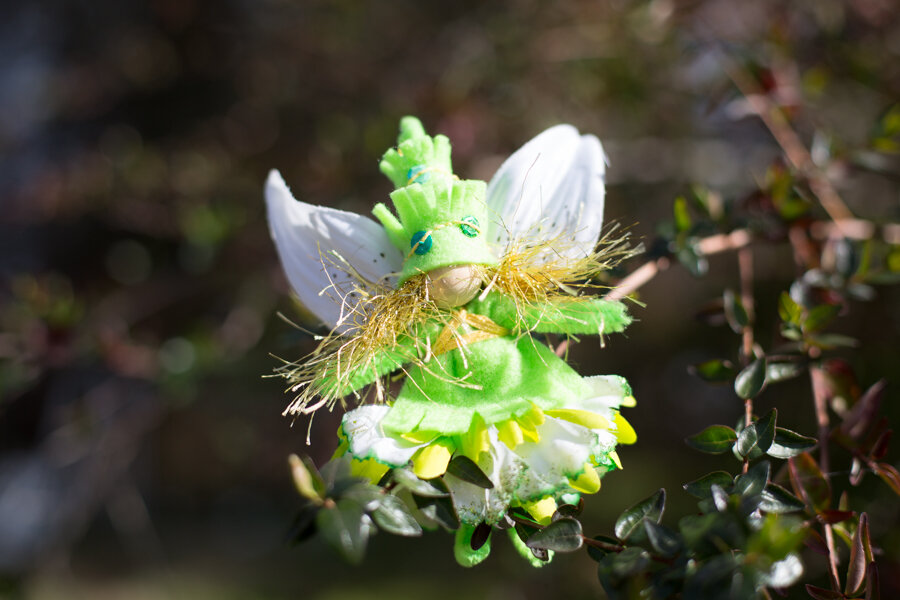
Of course, a fairy pattern can easily be made into a leprechaun. And it’s fun to celebrate gold and green, especially if you can find yarn threaded with gold or, like this fairy’s hair, a gold eyelash yarn.
So fun how they sparkle!
Of course, the book has an official leprechaun as well.
A fun way to add extra magic to the leprechauns world is to paint little pebbles gold (or simply pretend they’re gold). After all, couldn’t leprechauns use a magic spell to disguise their gold while on an adventure?
I could imagine games with leprechauns that you create together. You could use larger pieces (or sew two pieces of felt together to show “gold”. Then hide them around the house similar to an Easter Egg hunt. Make your leprechaun a leprechaun home. I have it on good authority that leprechauns love new homes far more than leprechaun traps. Build a leprechaun town!
With the Magical Forest Fairy Craft Through the Seasons book, you can create any of the patterns with gold/green themes. You could make beanbags with sparkly sequins that could then be gently tossed onto chosen targets, such as into a bucket or onto a felt square.
Then write a story about your leprechaun(s). And draw a picture or two of them. You could write about their adventures when they met children for the first time, or what their home is like in Leprechaun-Town or what life is like for leprechauns. Honestly, after you make a leprechaun or two or three, the children tend to inspire their own games and ideas. What can you create together?
We also made Leprechaun babies. The baby pattern is in the first Forest Fairy Crafts book. And this post shows how to make the cute little hat.
So many magical ways to bring Leprechaun magic into your home. We hope that all the good luck of the Leprechauns finds you and your family!
For more Leprechaun inspiration and activities, visit these posts:
Happy Saint Patrick’s Day!
Holiday Crafts in Forest Fairy Crafts Books
Welcome to the season of making and giving. Our holiday decorations are filled with fairies and hand-sewn treasures that have become wonderful memories. Children love to make and give handcrafted treasures. And they can give to Mom or Dad or Grandma if you want to keep one (or two or three) in your own family.
With two books, we want to connect you with projects that speak to your heart. I’m sharing which projects are in which books so you can choose your favorites. Of course, you can have it all with both books :)
Angels in the Forest Fairy Crafts Book
Angel (with a dress or pants, image above)
Christmas Fairy (with a dress or pants)
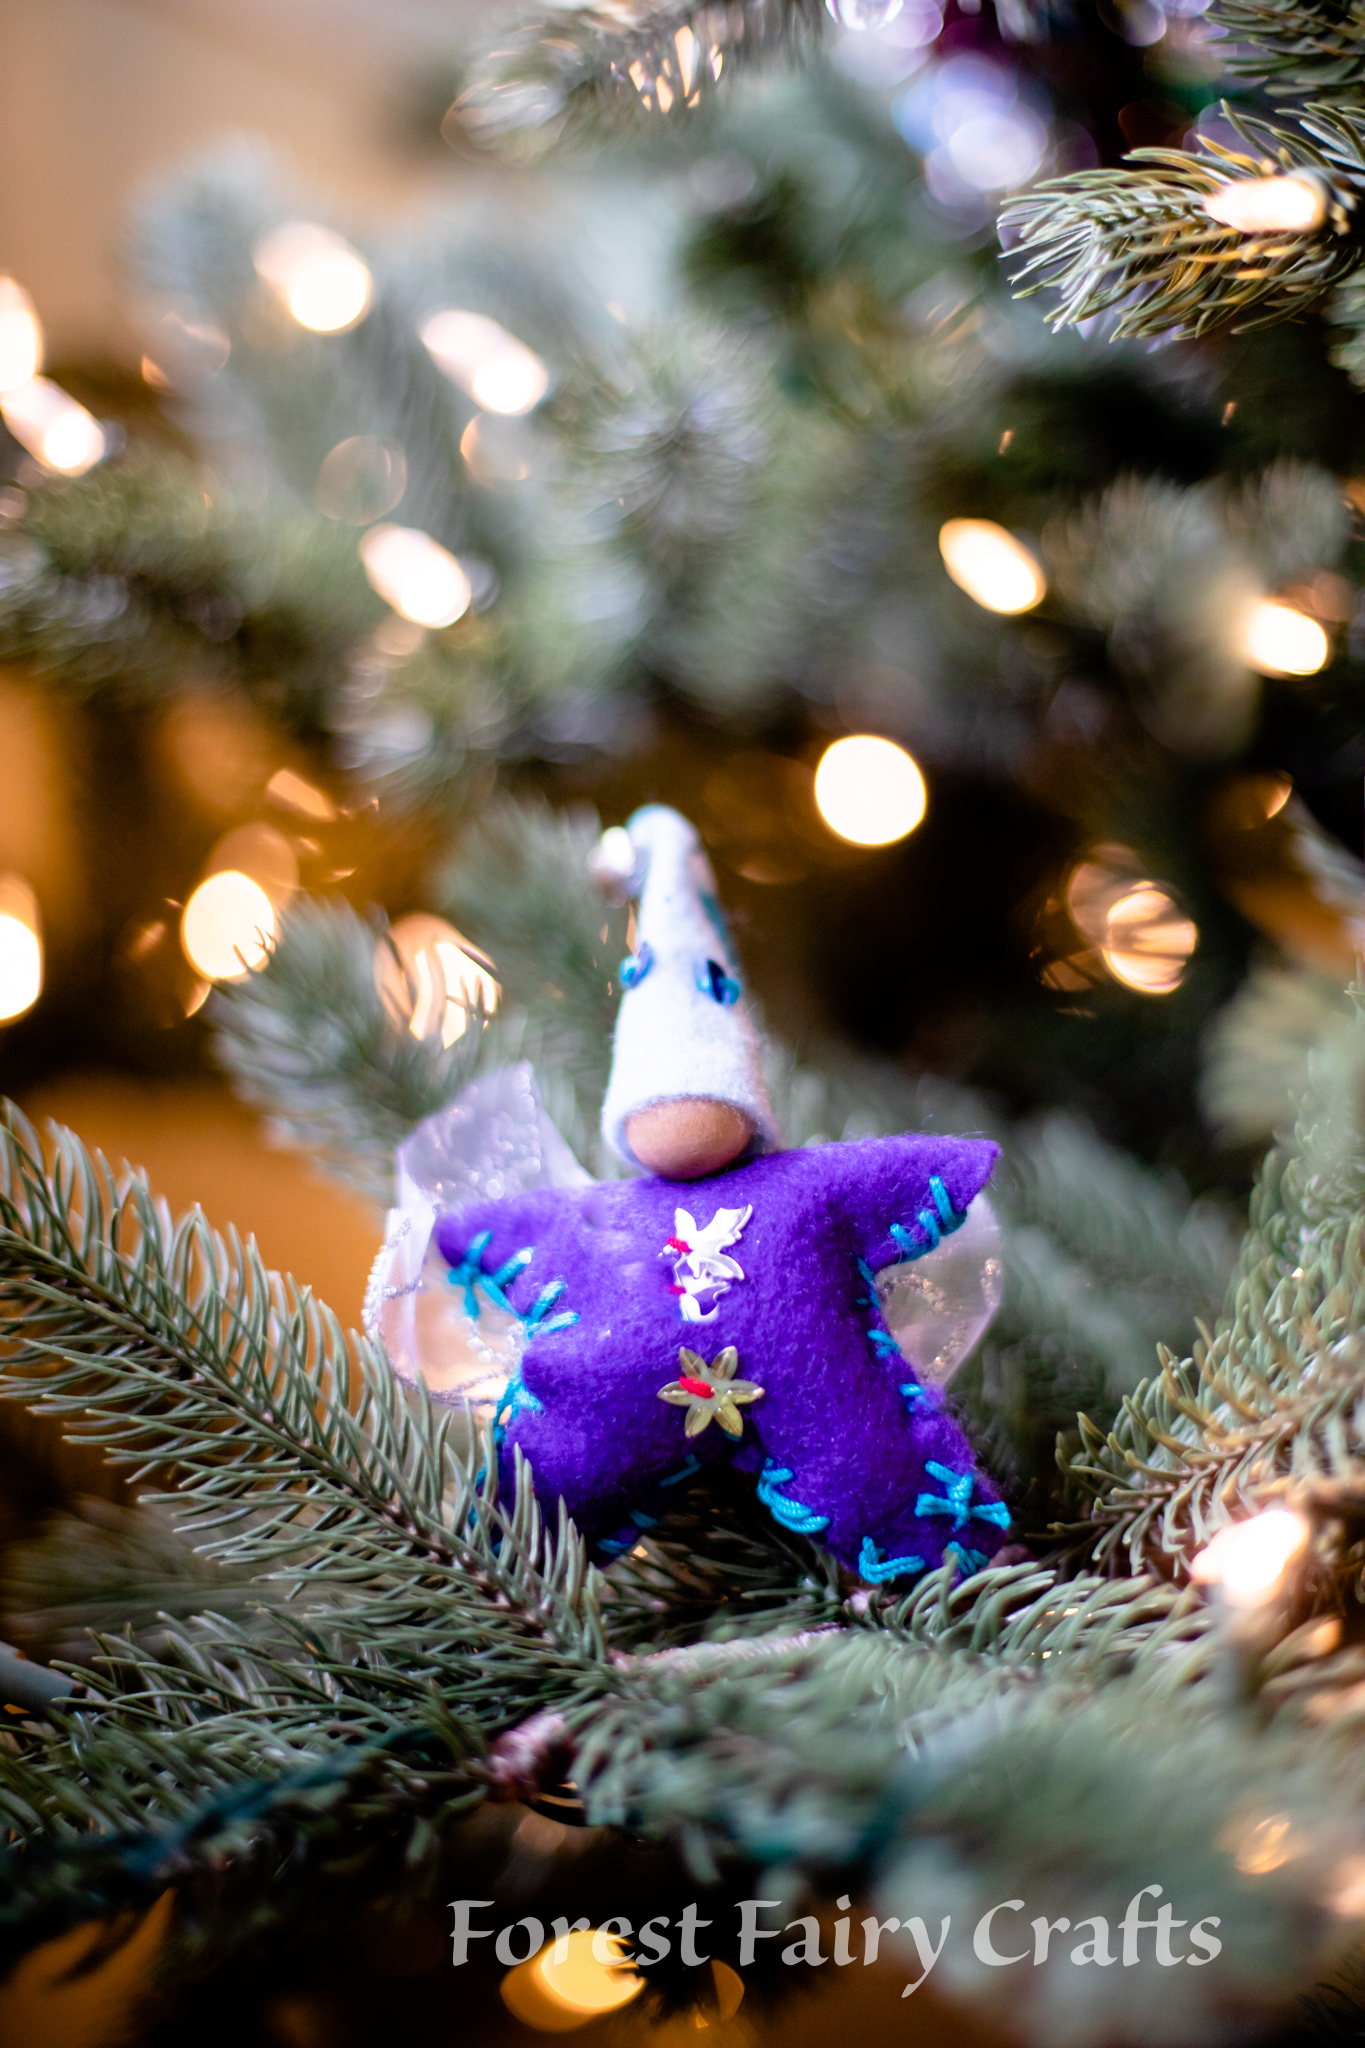
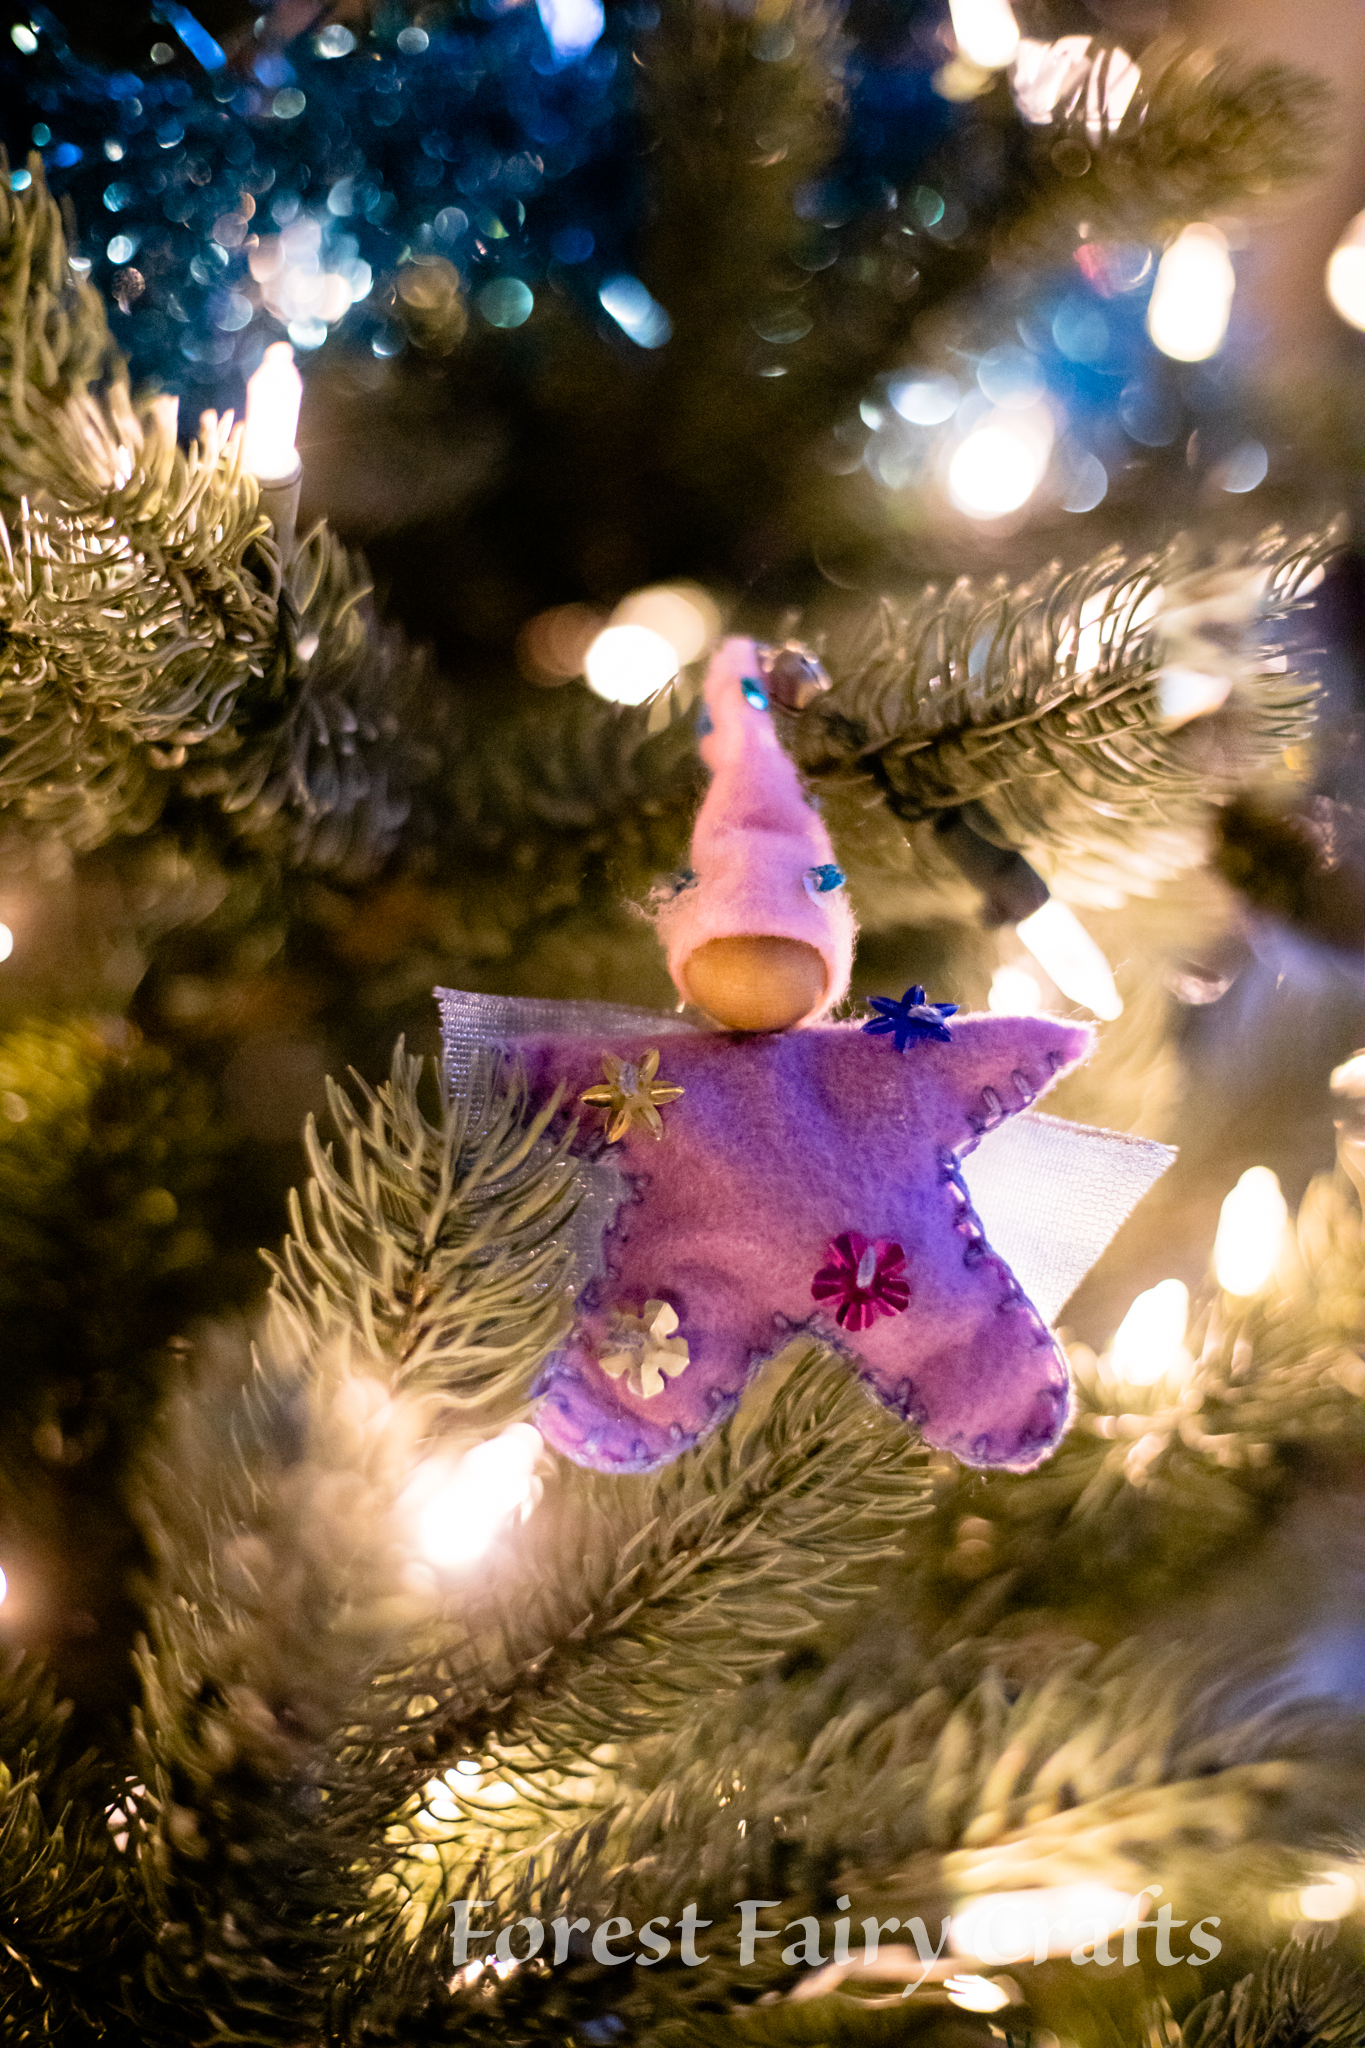
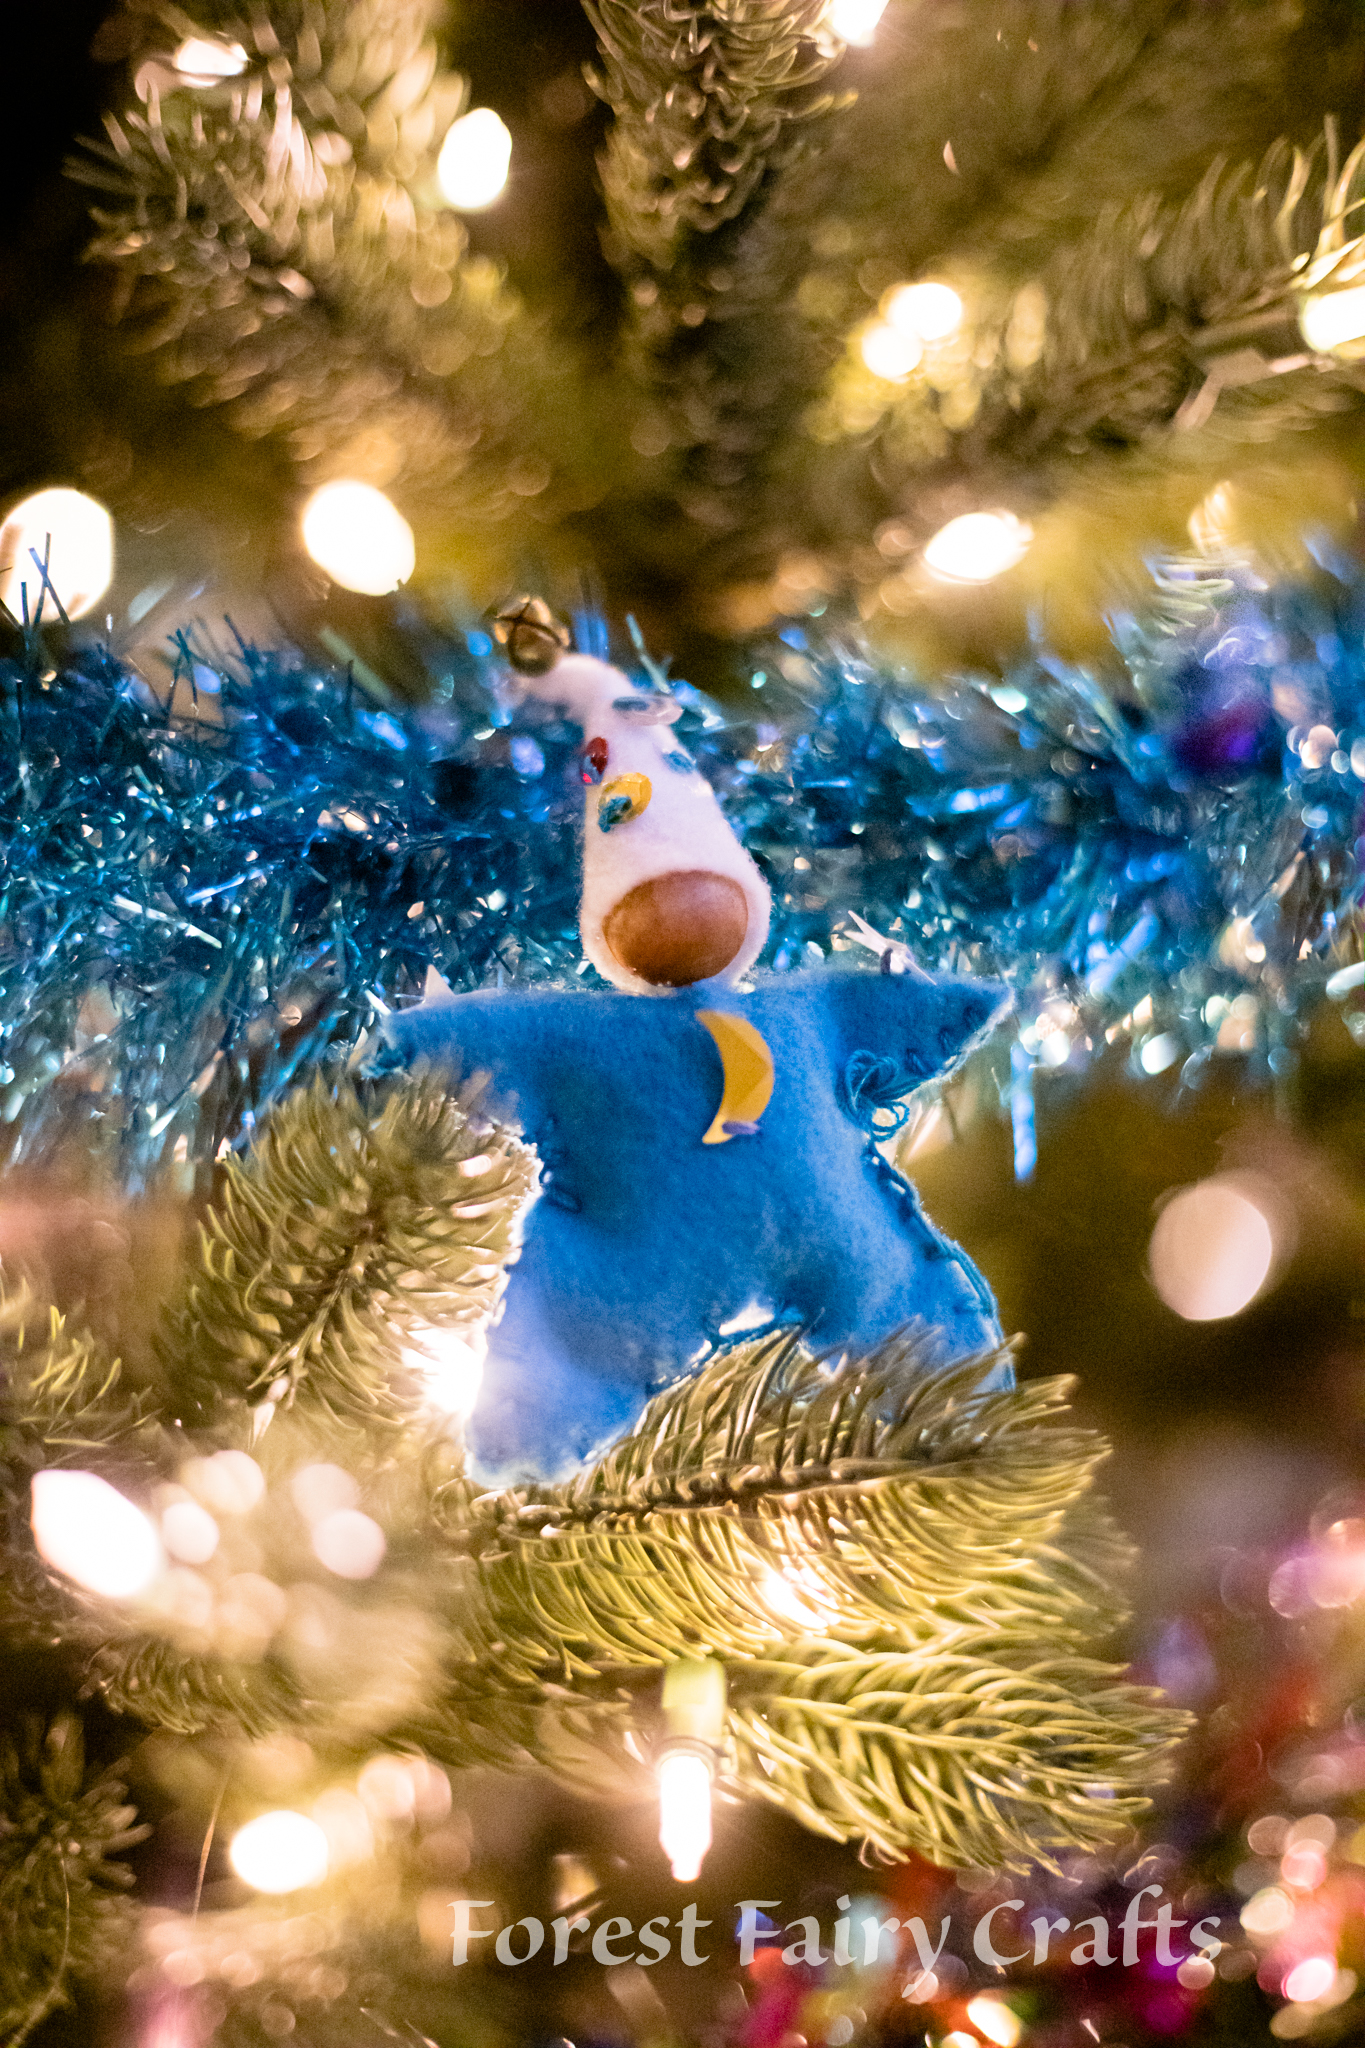
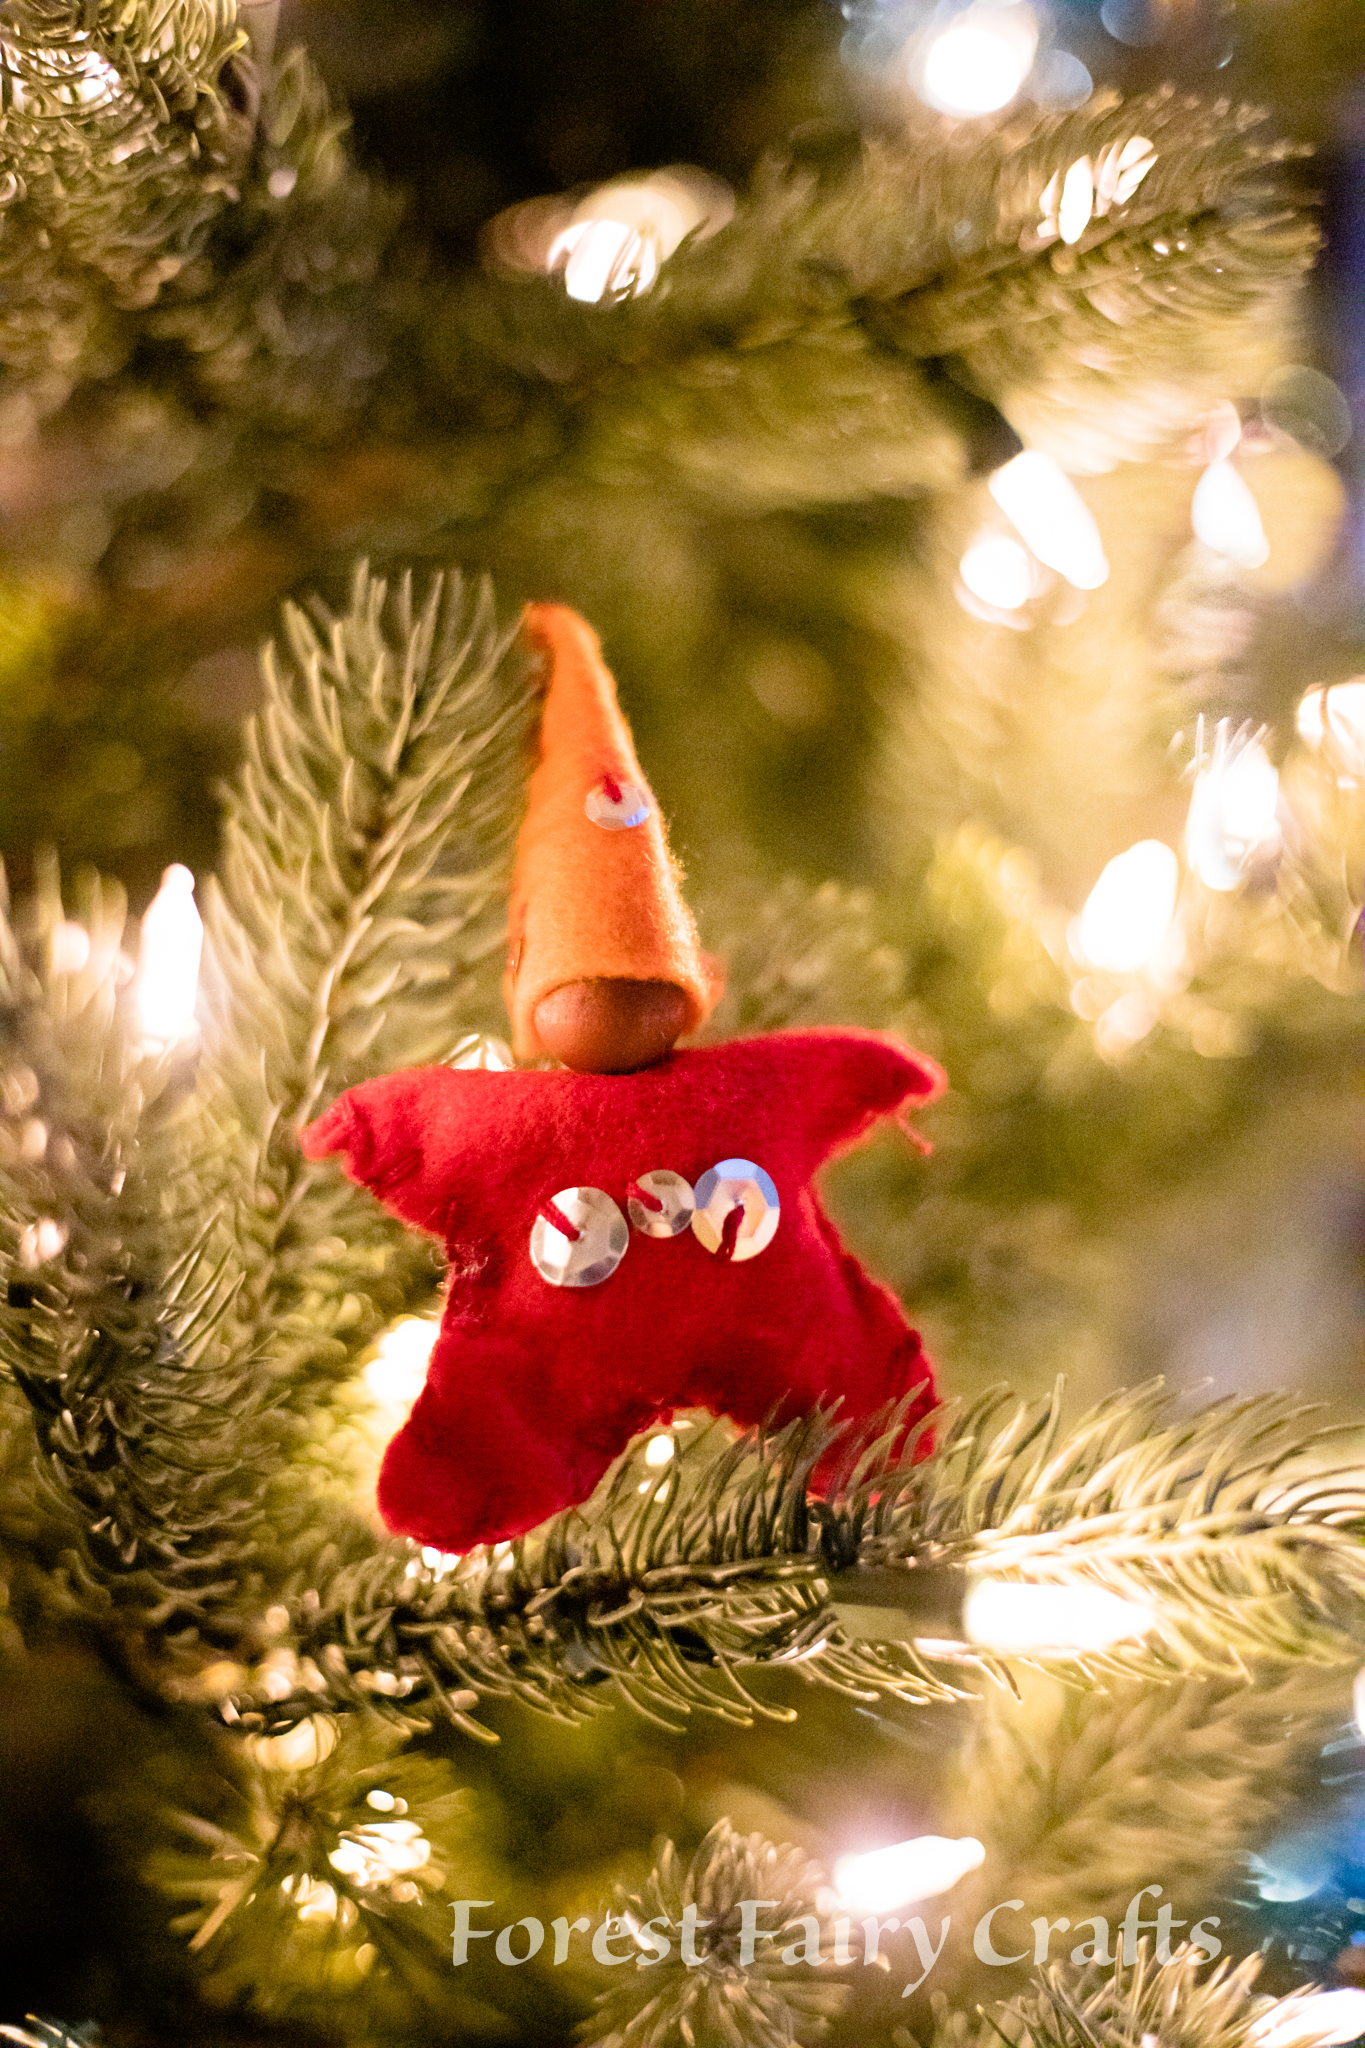
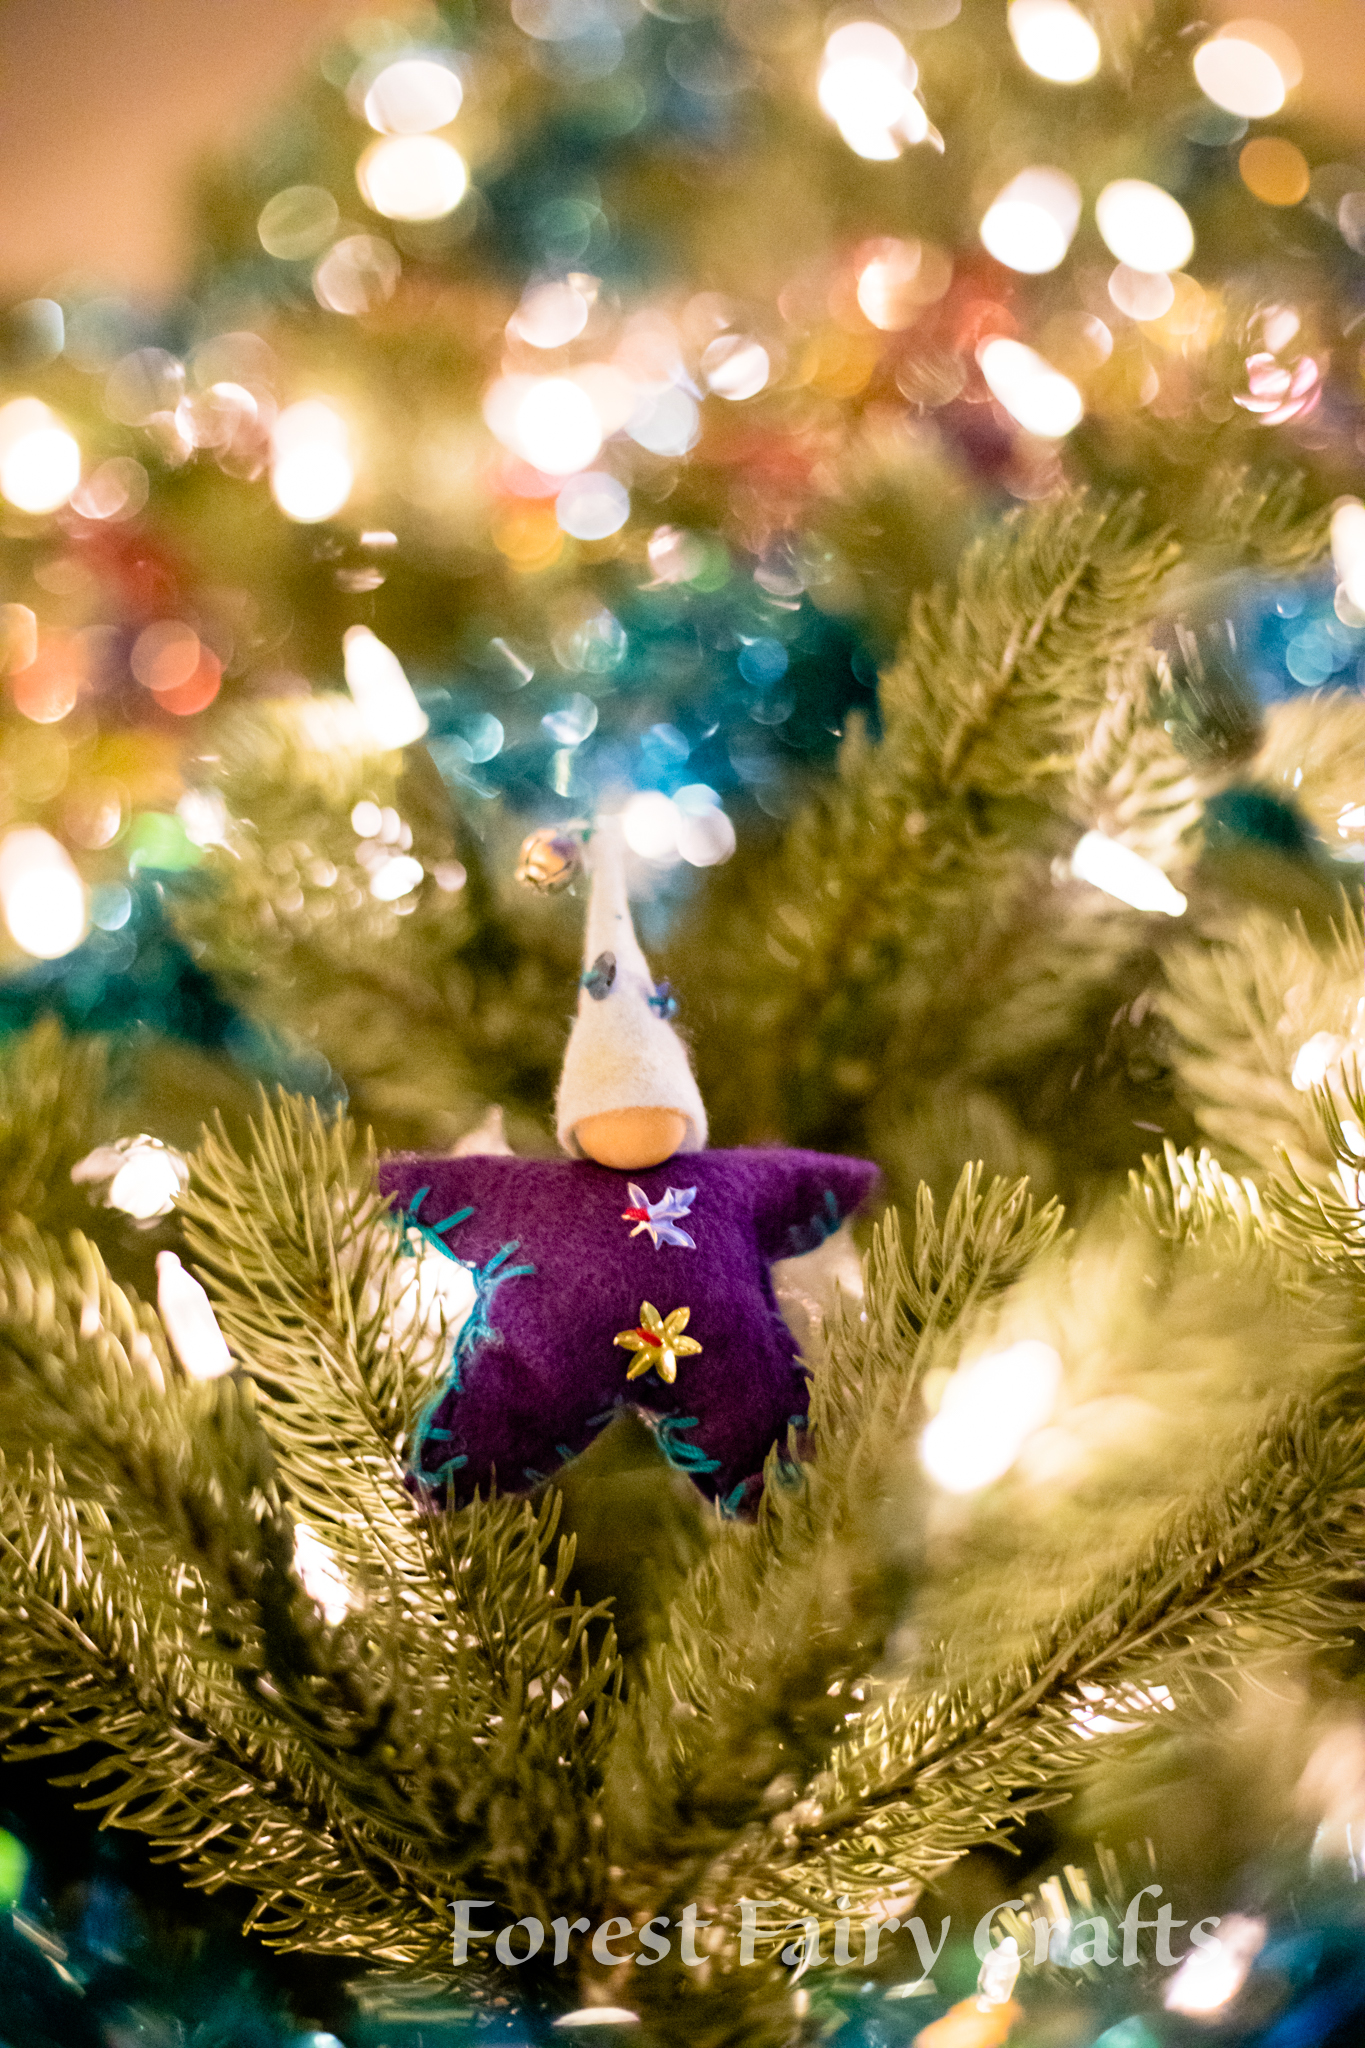
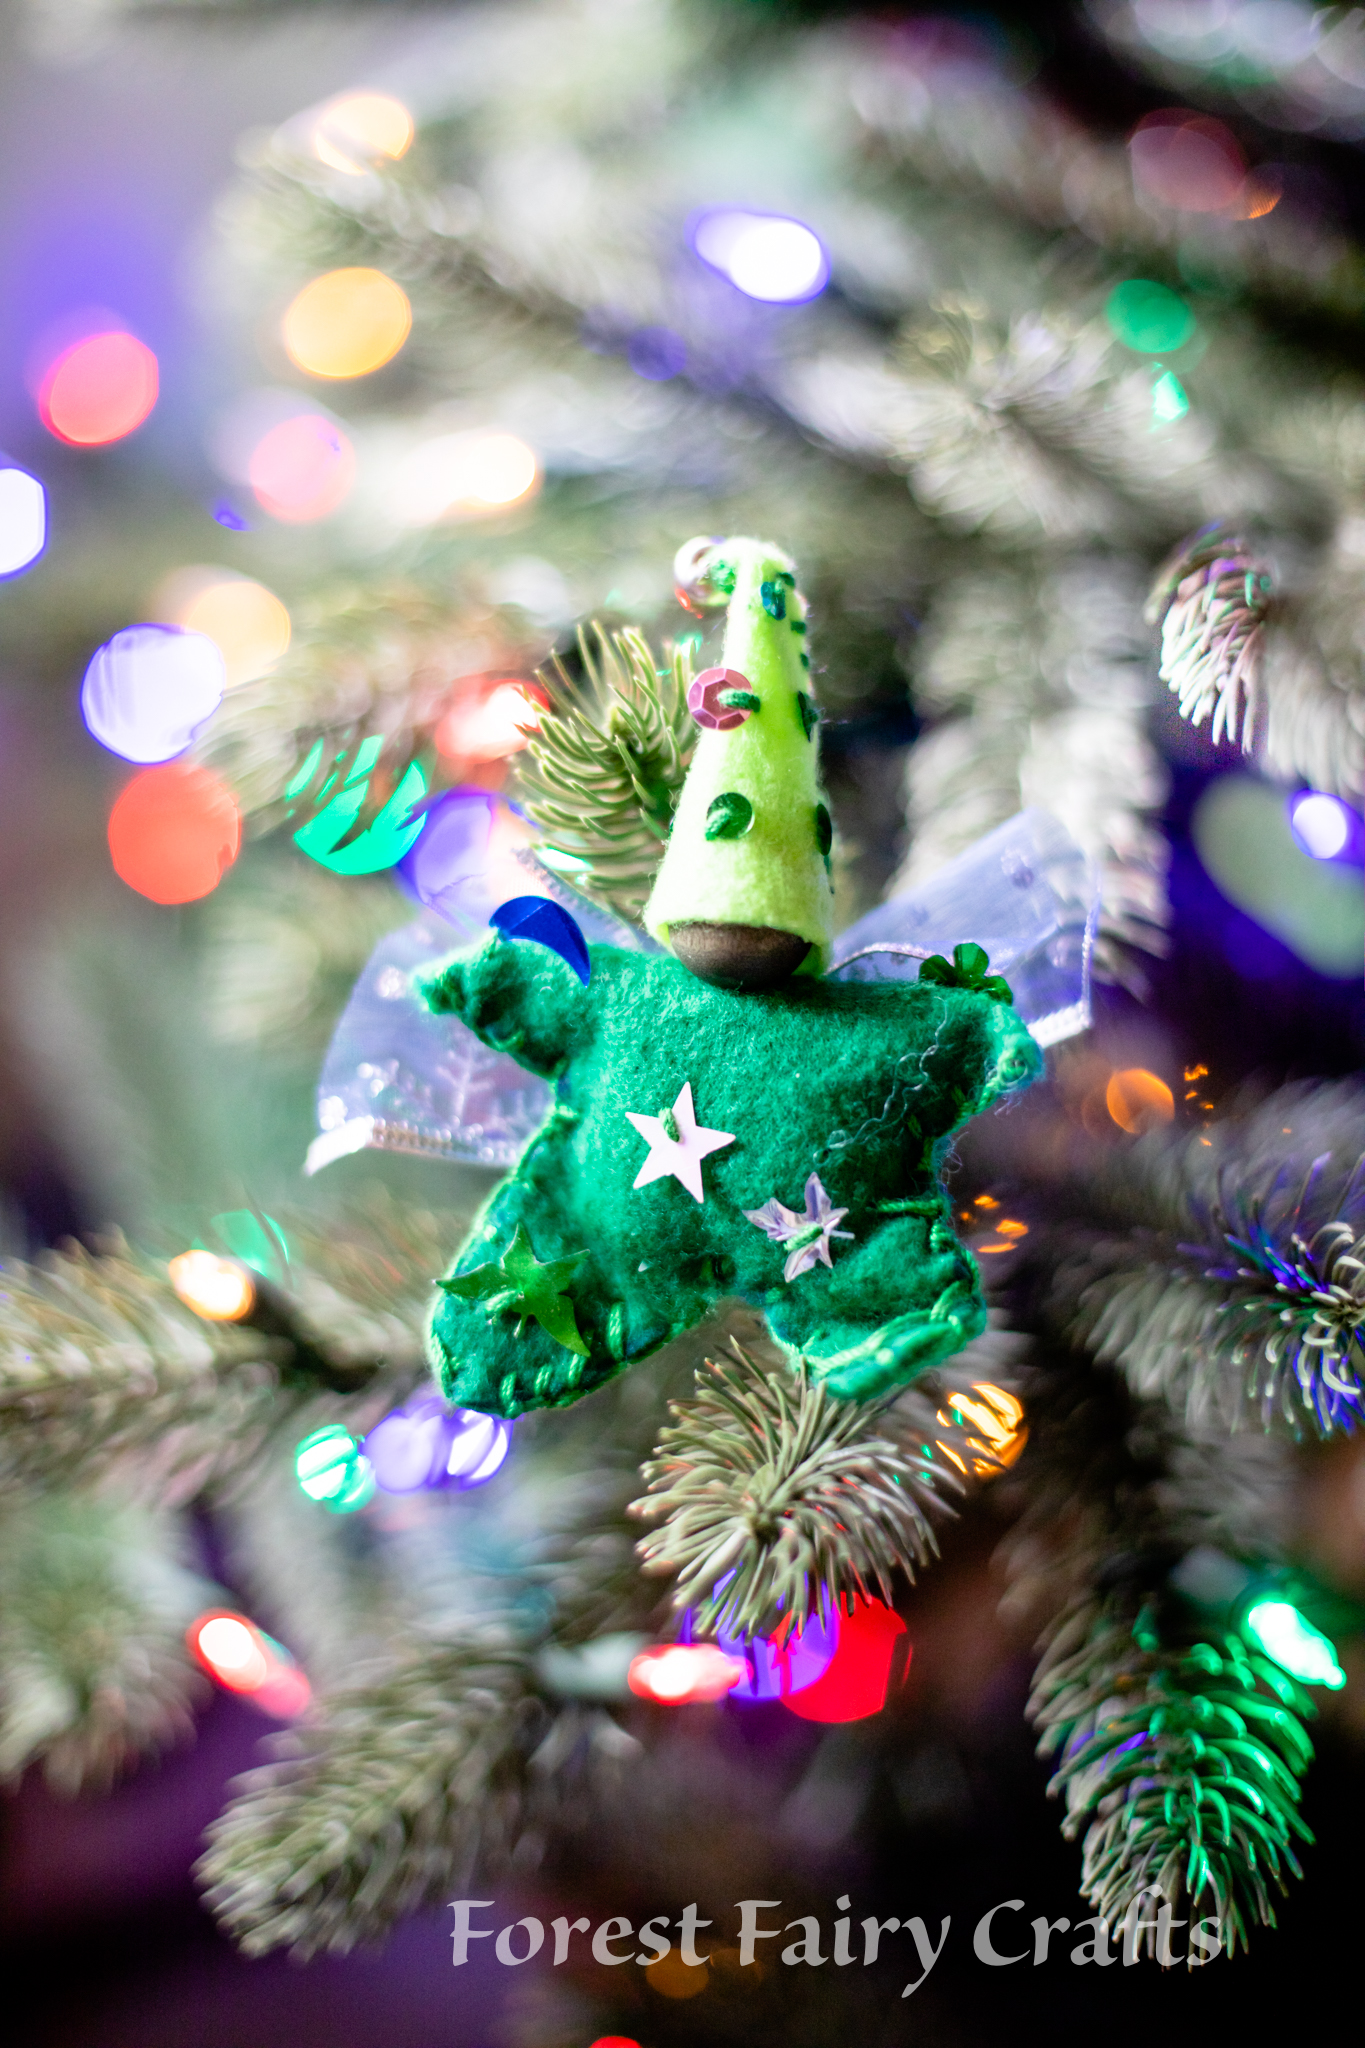
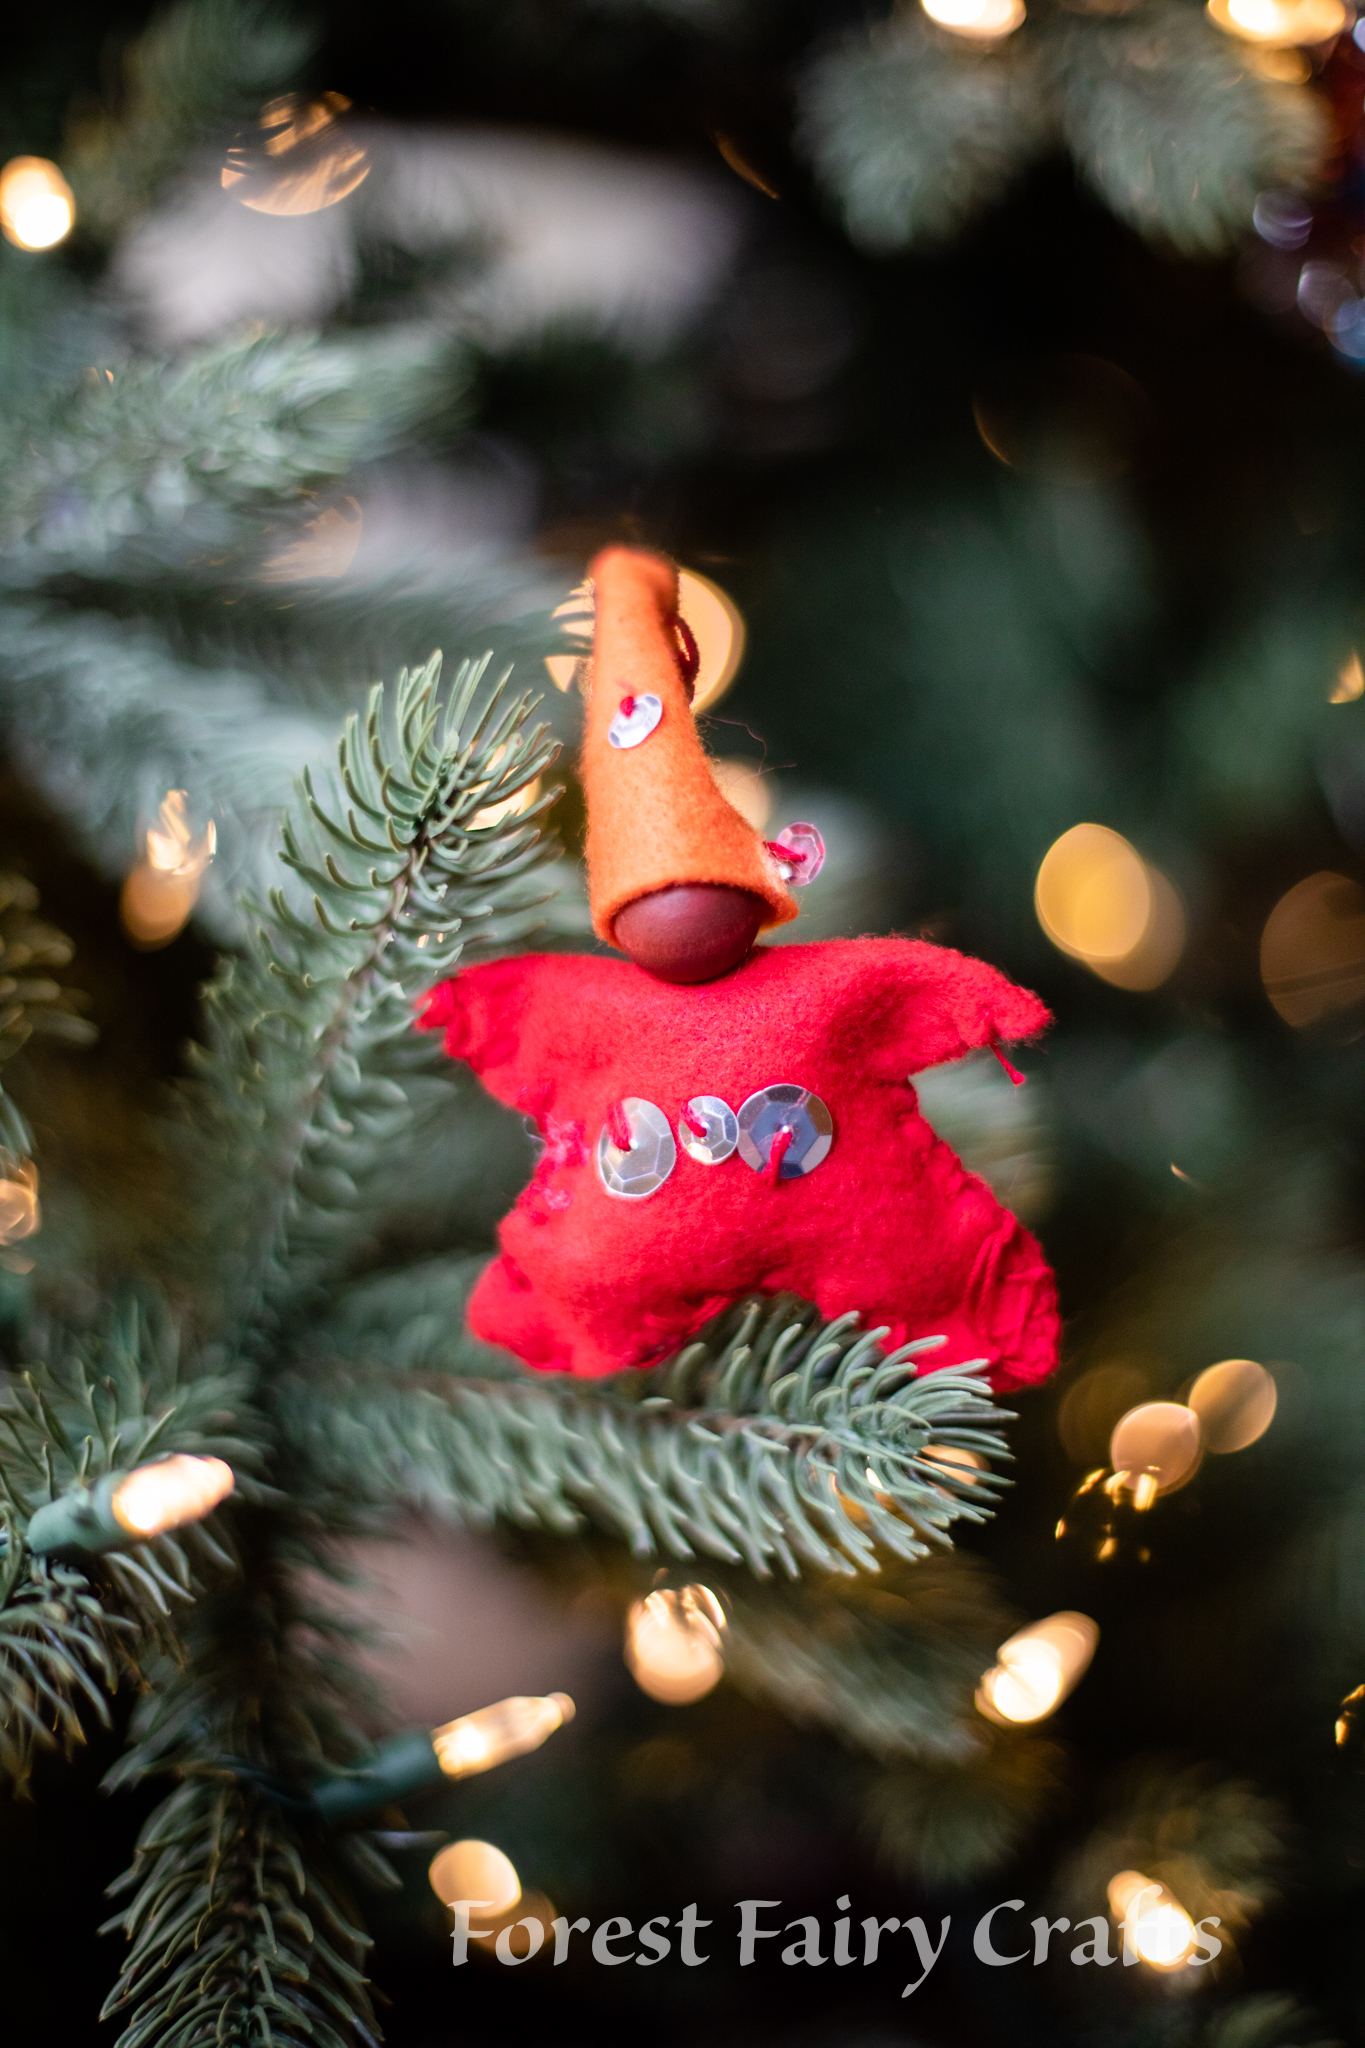
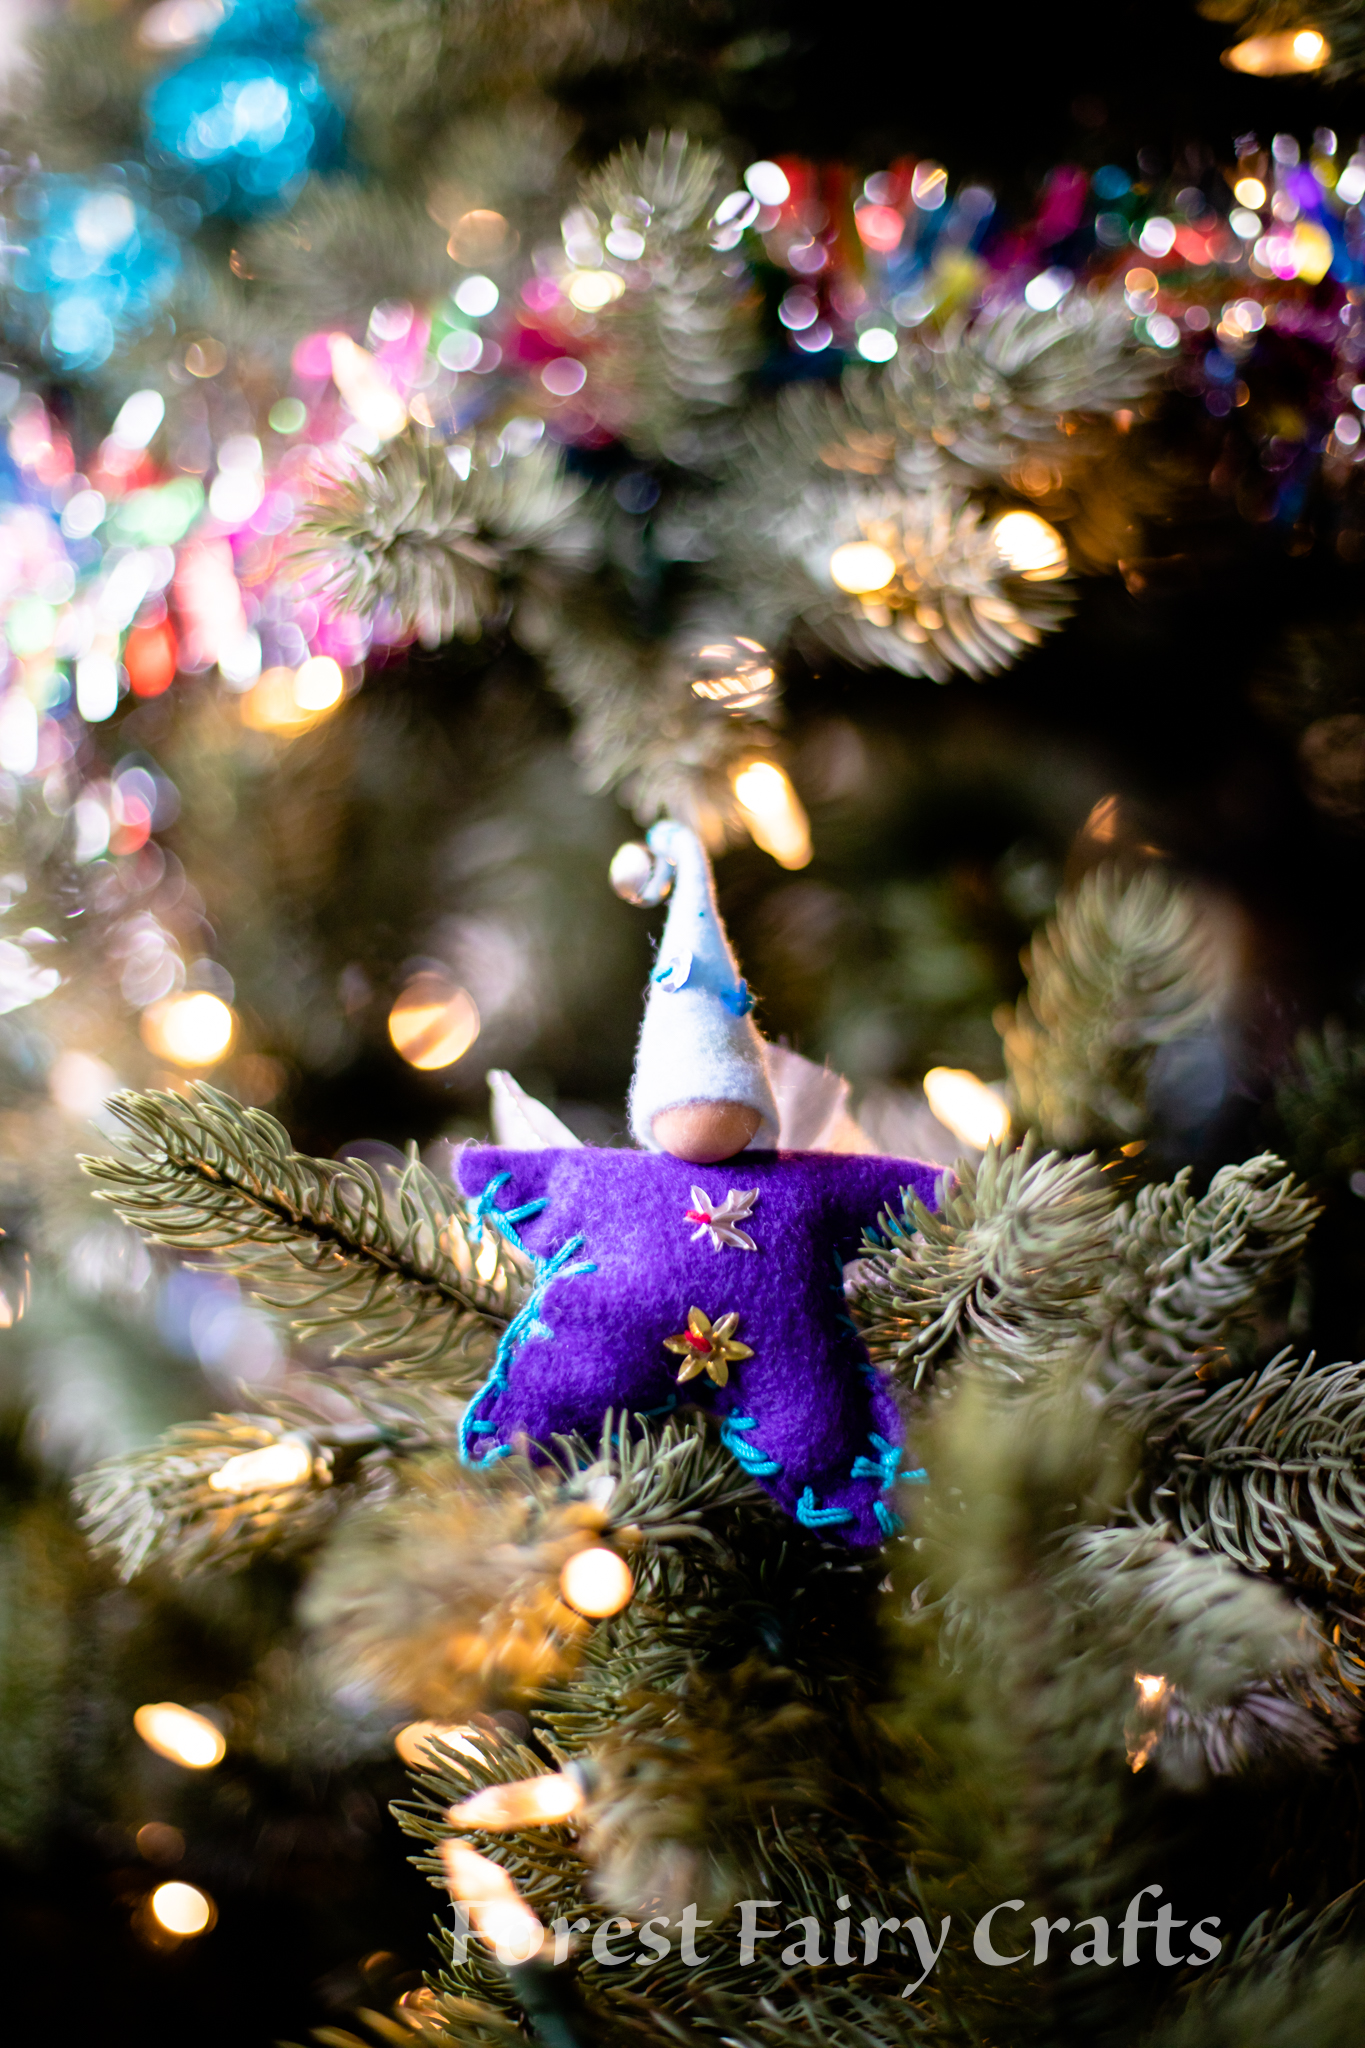
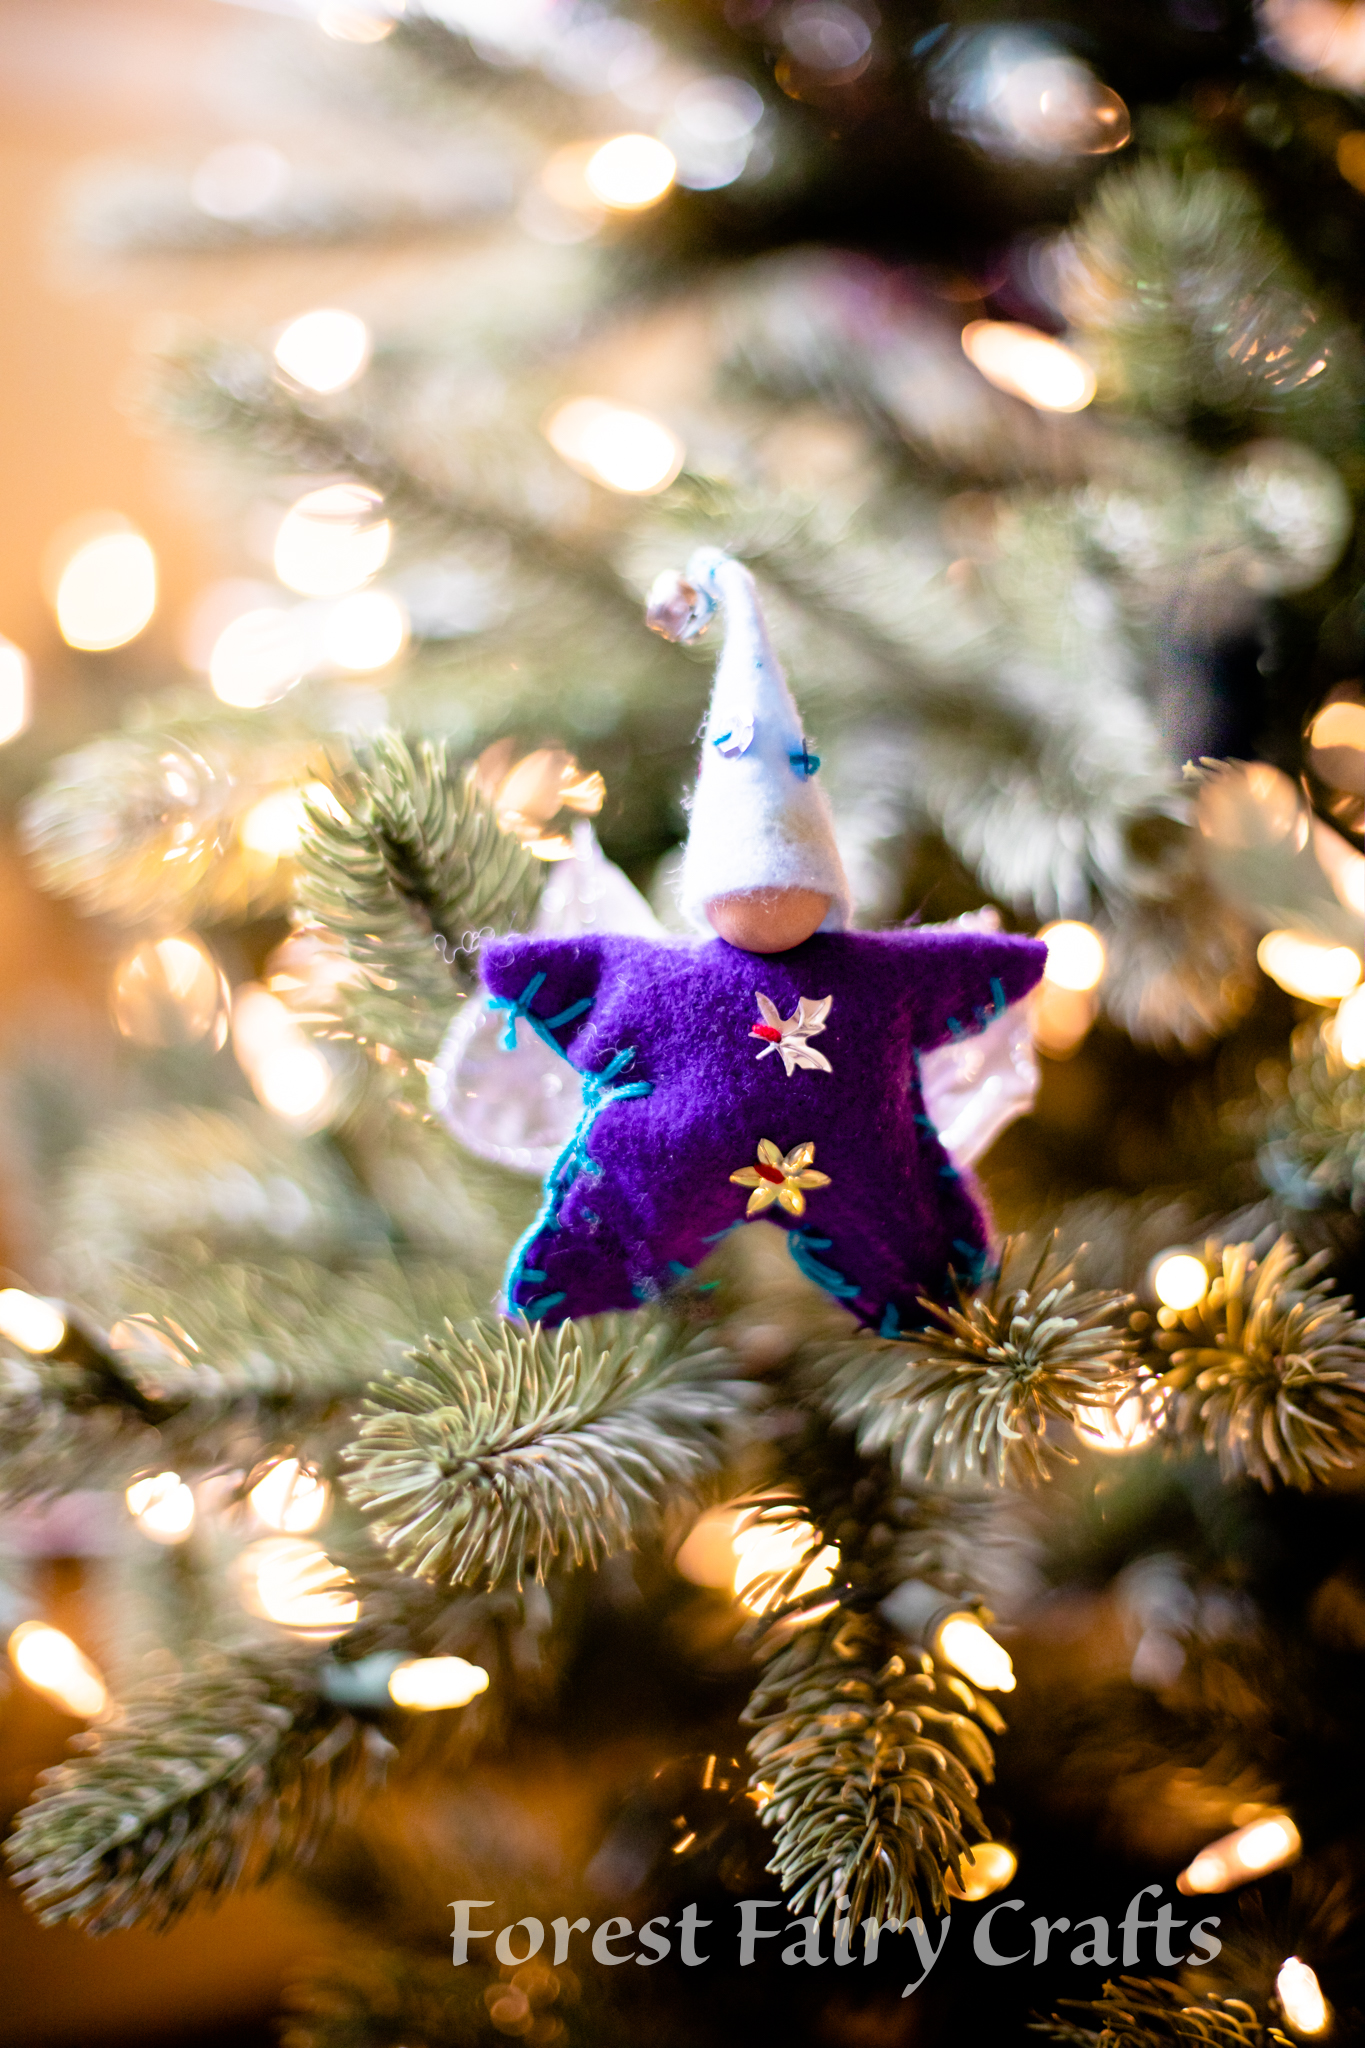
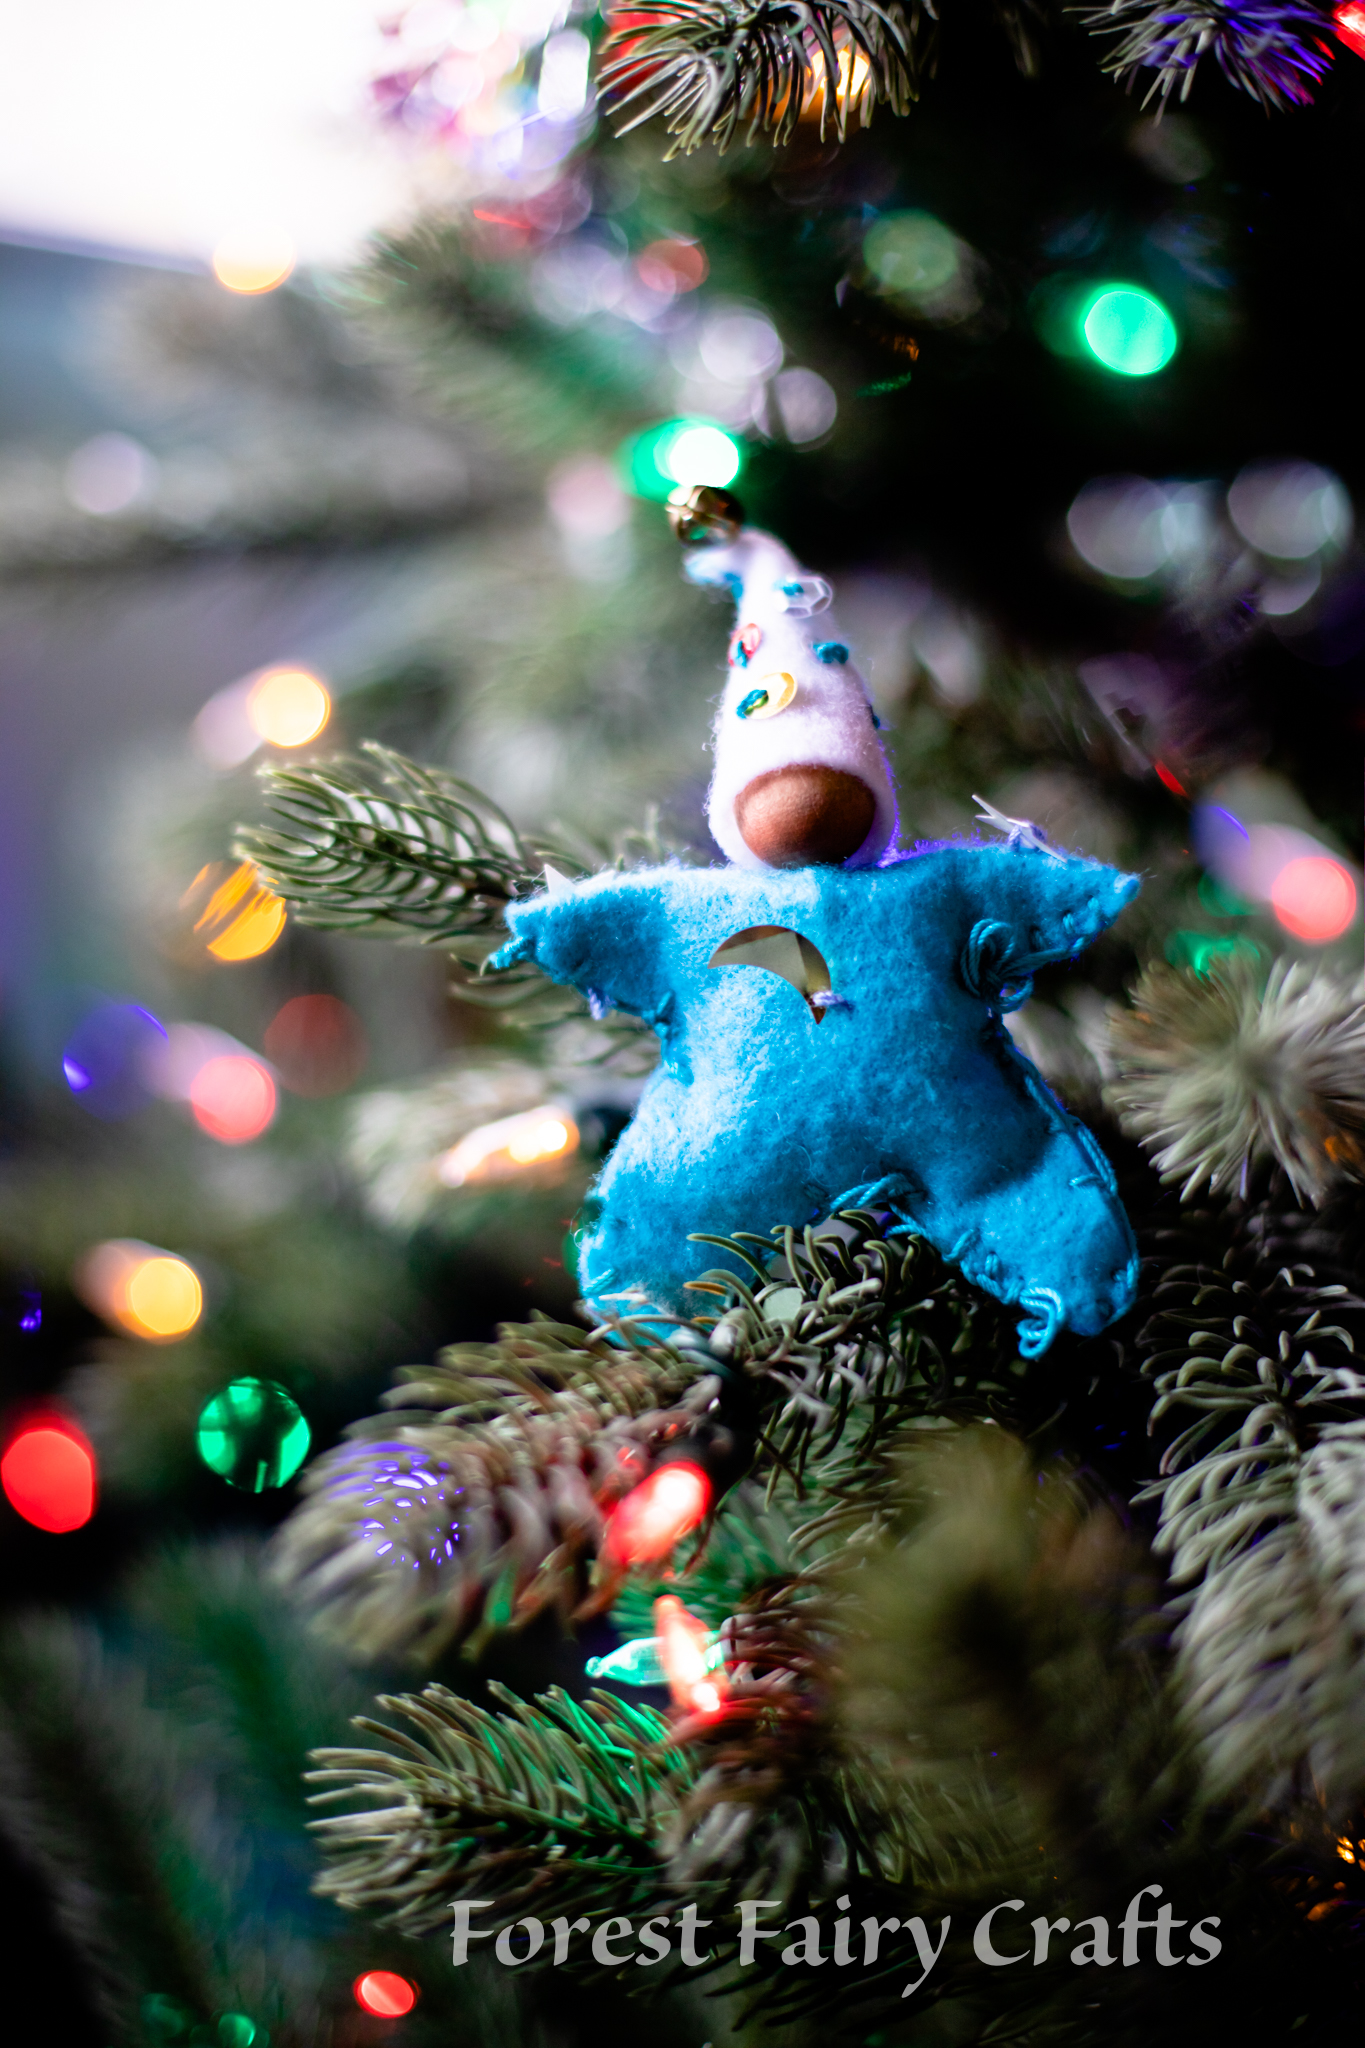
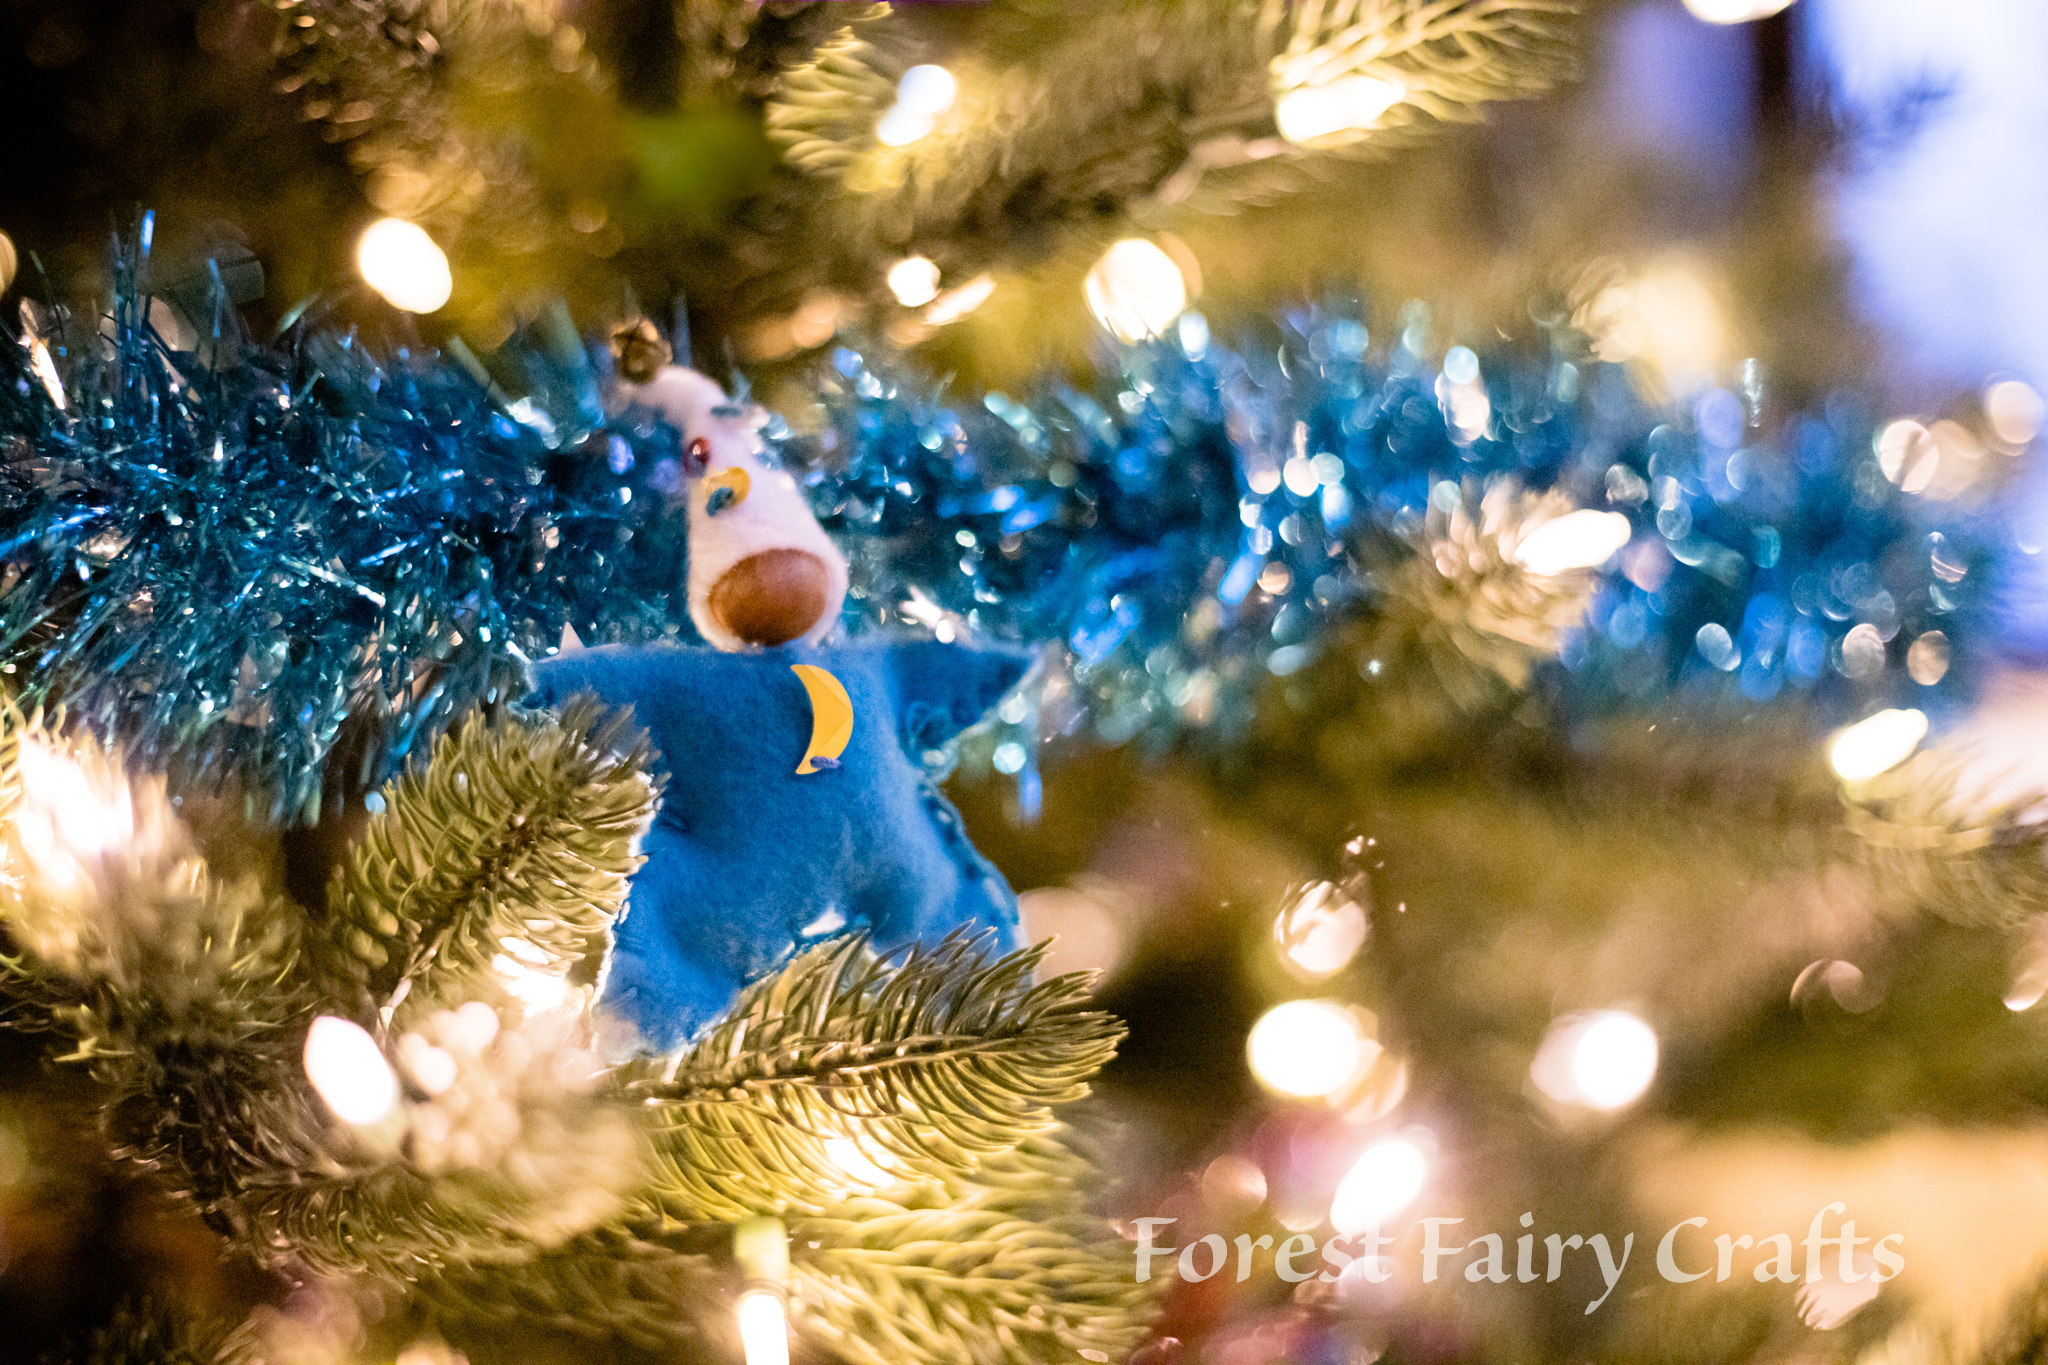
Fairy Star (fairy doll with a star shape, also called star babies, image below)
Pocket Treasure Keepers (can be ornaments)
Magical Forest Fairy Crafts Through the Seasons
Winter Fairies (dress and pants)
Winter Gnome
Snowflake Ornament
Star or Tree Ornament
Star, flower, and snowflake ornaments in Magical Forest Fairy Crafts through the Seasons
Of course, any of the fairies, and most of the crafts sewn with felt, can become charming ornaments. Mix and match for an endless array of creative ideas. From our first book, Forest Fairy Crafts, you could make a Christmas Ninja or Mermaid. Simply choose colors that evoke the holiday season.
We also use projects included in other “seasons” in Magical Forest Fairy Crafts Through the Seasons for holiday-theme crafting. We’ve made the Lavender Mouse using red, white, and pink felt, then hanging them as an ornament (especially if they have a field trip to see the Nutcracker). We’ve used the heart and star shapes from the summer beanbag to make ornaments.
Christmas Fairies sewn by children from the Forest Fairy Crafts book
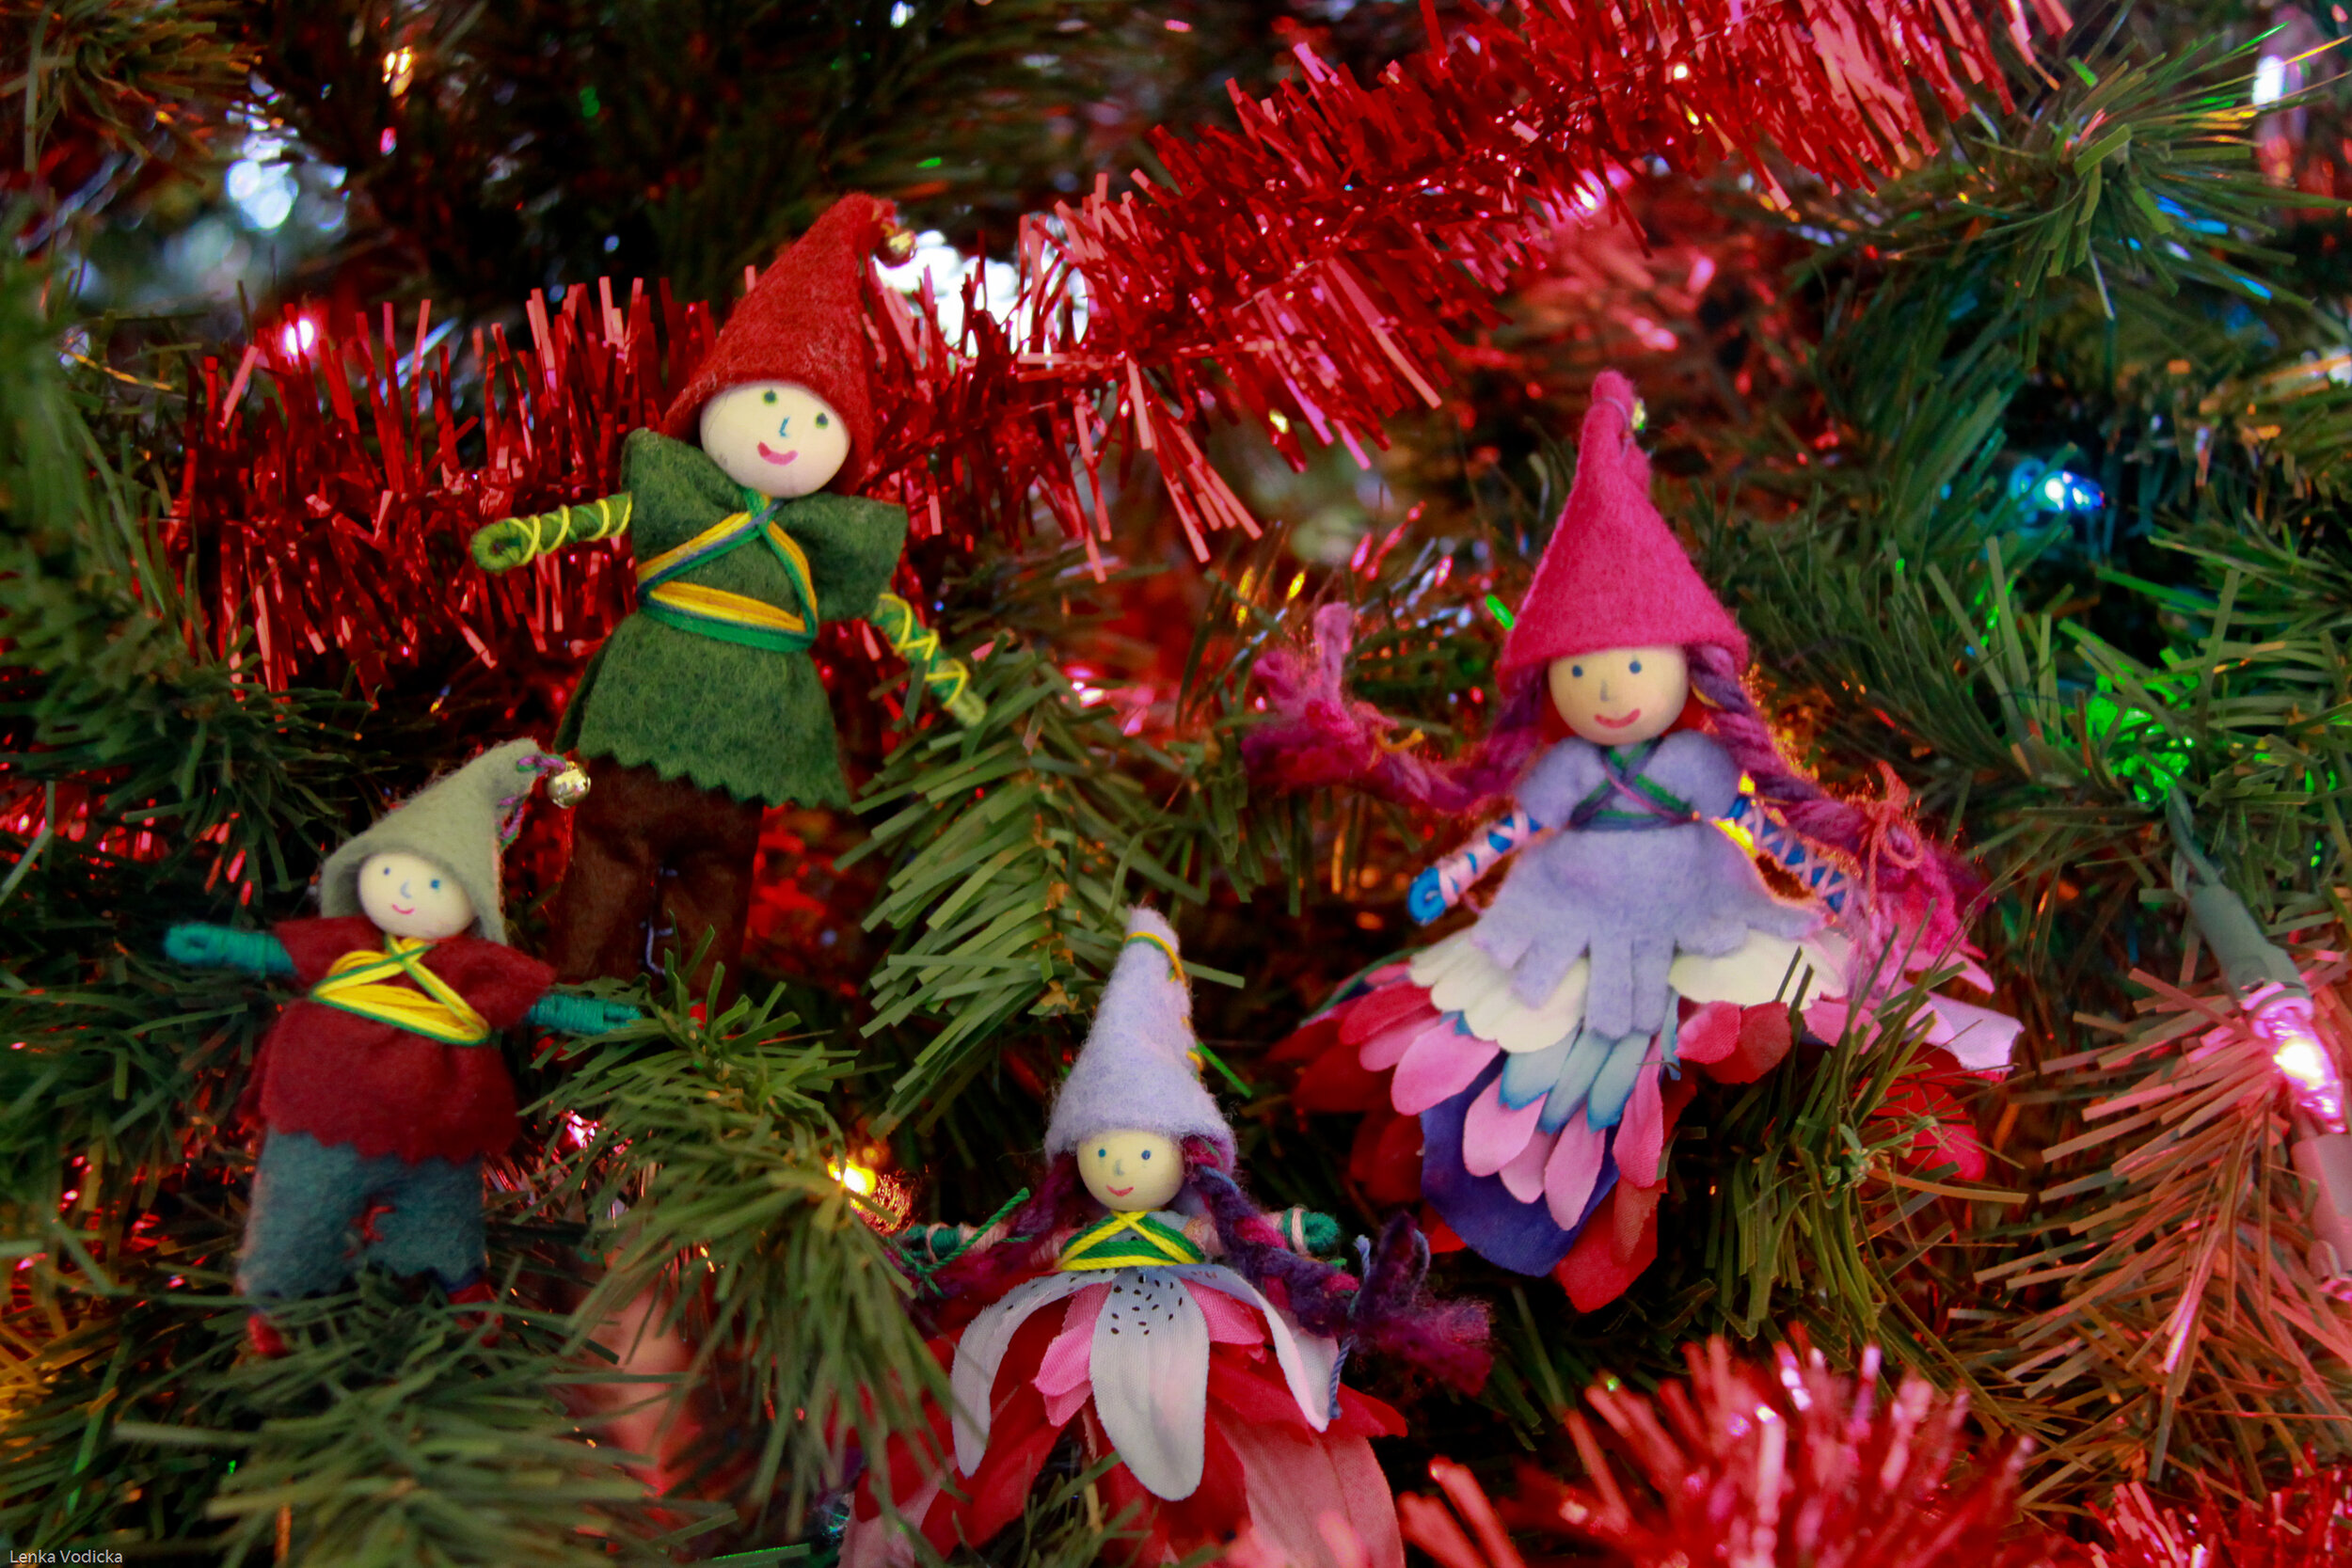
We often create gnomes as ornaments. One year I called them elves (inspired by the Polar Express) and we made an entire village of their homes with all the things they needed in the community. Which included a dance studio complete with disco ball :) I’m sure many became ornaments once they went home. See more of their creativity here: https://www.forestfairycrafts.com/journal/elf-houses.html
Gnome directions are in both Forest Fairy Crafts books
And you can lean into any of the holidays of the season. Choose Hanukkah colors or Kwanza colors to make decorations that connect with your family’s celebrations. One of the magical things about the Forest is that we encourage children (and you) to make crafts reflect you.
I encourage everyone to let a child create crafts with messy stitching, long stitches, or random stitches. Soon enough, those exuberant sewing styles become tidy. As long as the project isn’t scrunched into a little ball (and maybe even then you can hang the scrunched up version on a tree), they become tokens of the time. Kids love to see what they made :)
We hope that you enjoy choosing crafts that celebrate the season. We love to see what you create :)
Oh, and I’ve made many fairies to gift to children (or made baby mobiles) for the children in my world. I made this little family for my neice for her dollhouse. I’ve made St. Nicolas gnomes, 20 of them, for my son’s class to tuck into their “shoe” (not really a shoe, but a lesson about St. Nicholas celebrations). You can be the one having fun making little magical gifts. We met one lovely lady who made them for the tree at the local children’s wing of the hospital, and children got to take one home. How magical is that?
Enjoy your holiday crafting!
Fairy inspiration: https://www.forestfairycrafts.com/journal/child-made-fairies-for-christmas.html?rq=elves
* Affiliate link disclosure: I receive compensation for helping you discover where to find our books on Amazon. Your pricing is the same. Thank you!
If you are able to support your local independent bookseller, please do so by choosing our books off of their shelves. We support local :)
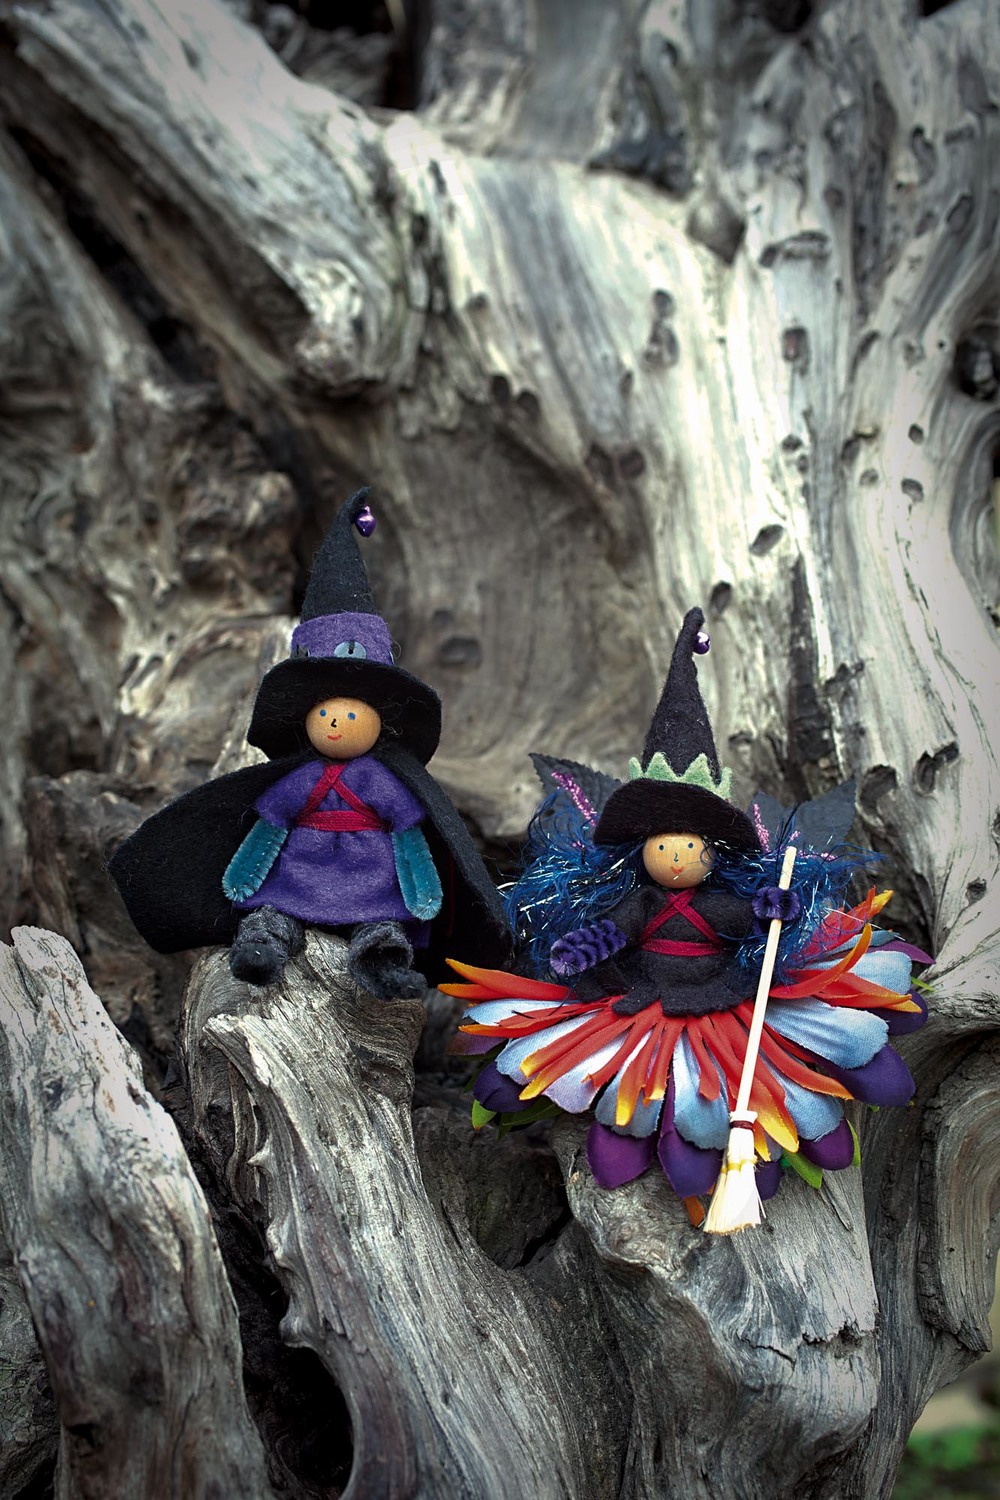
Whimsical Witches
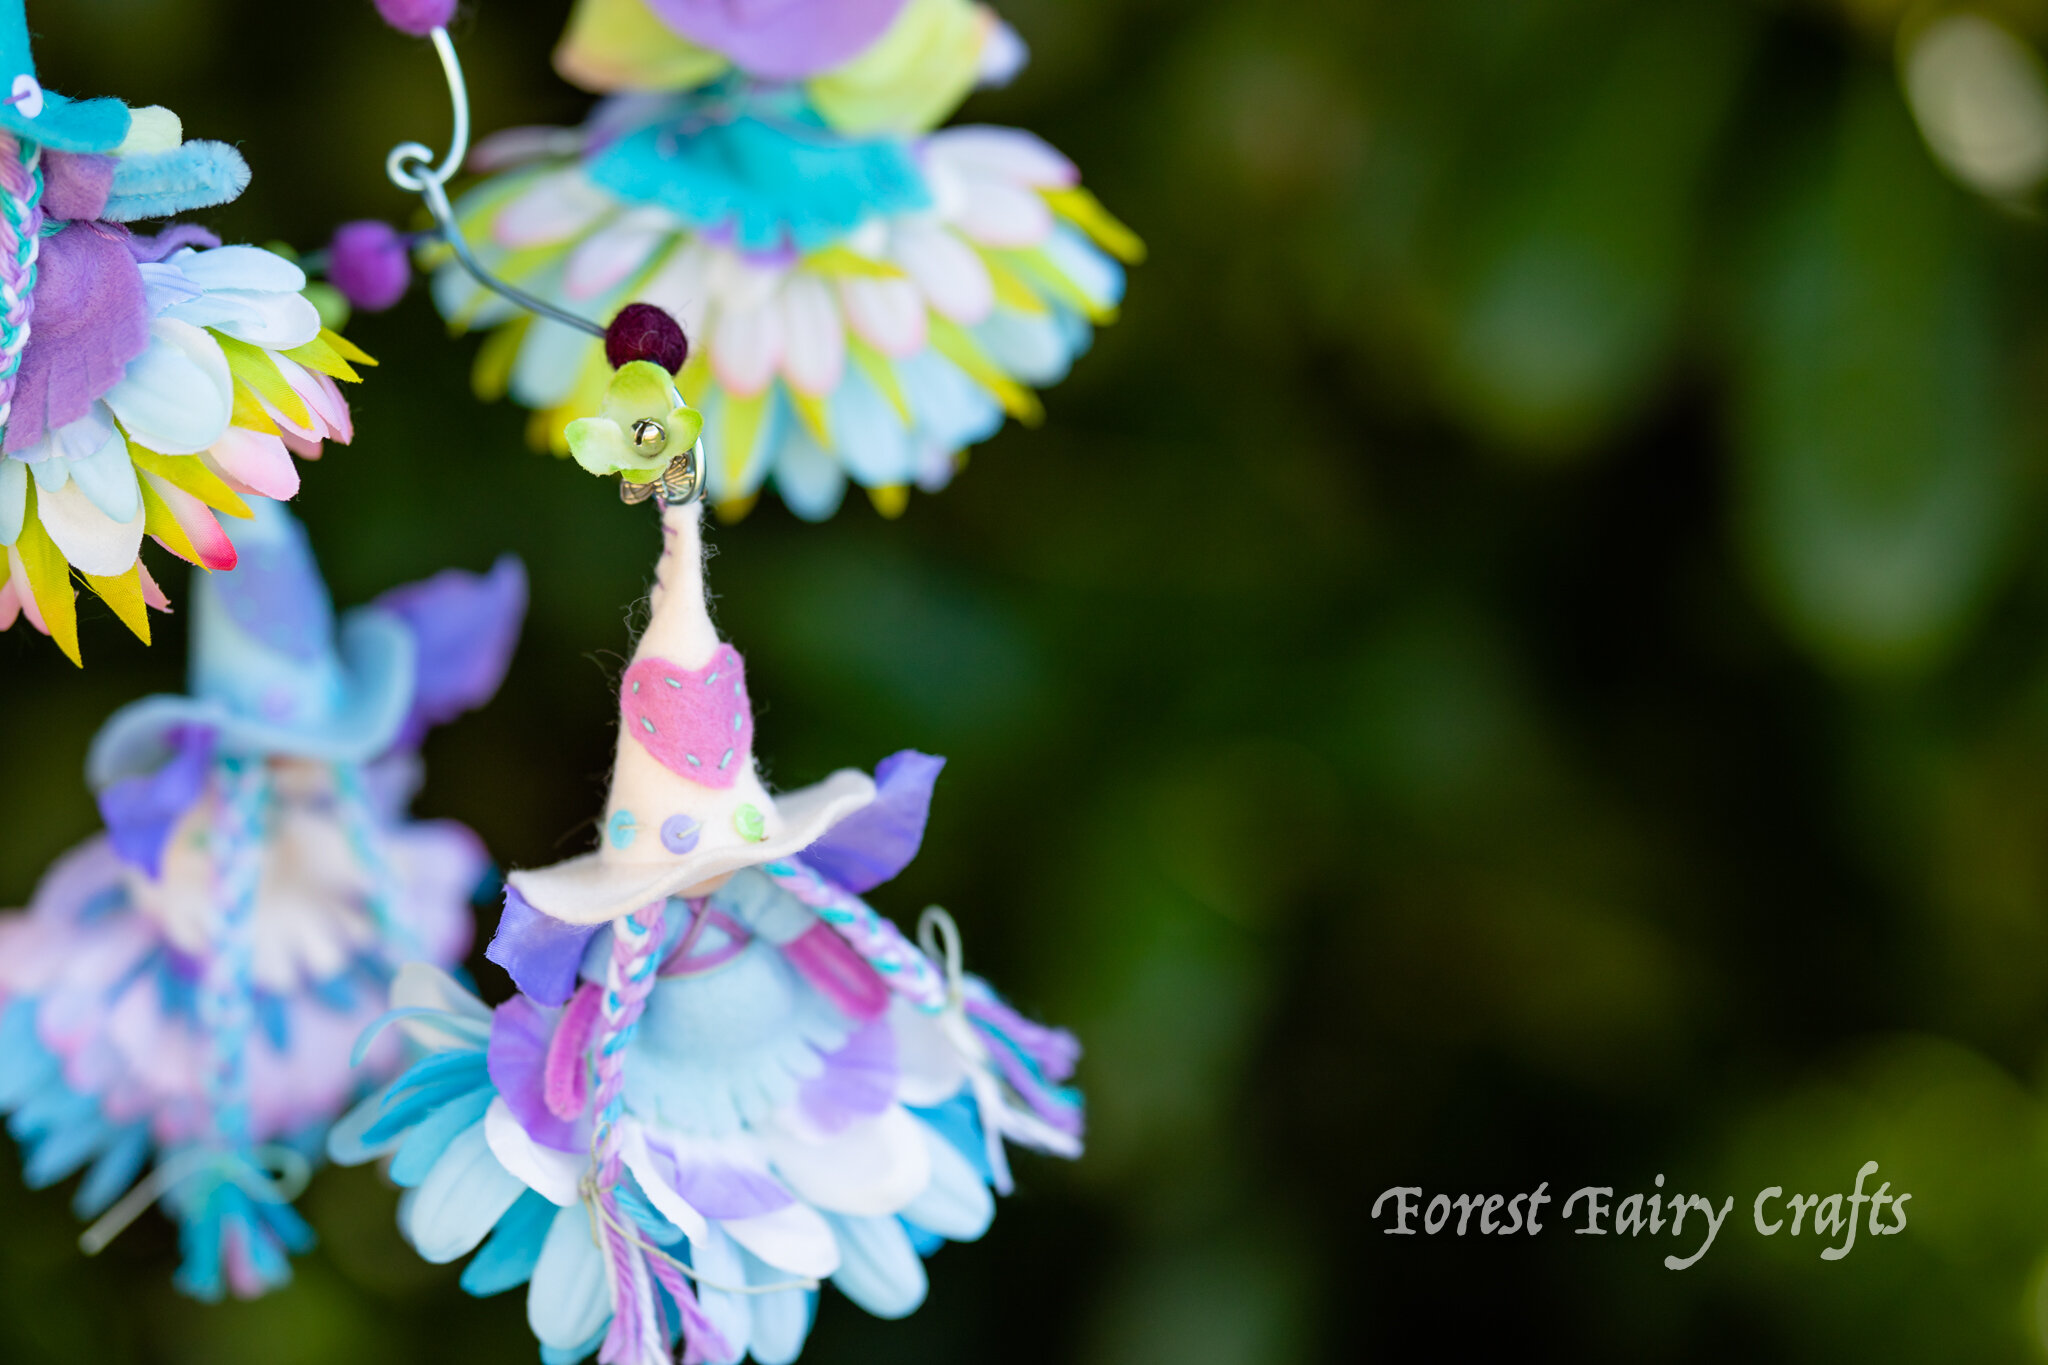
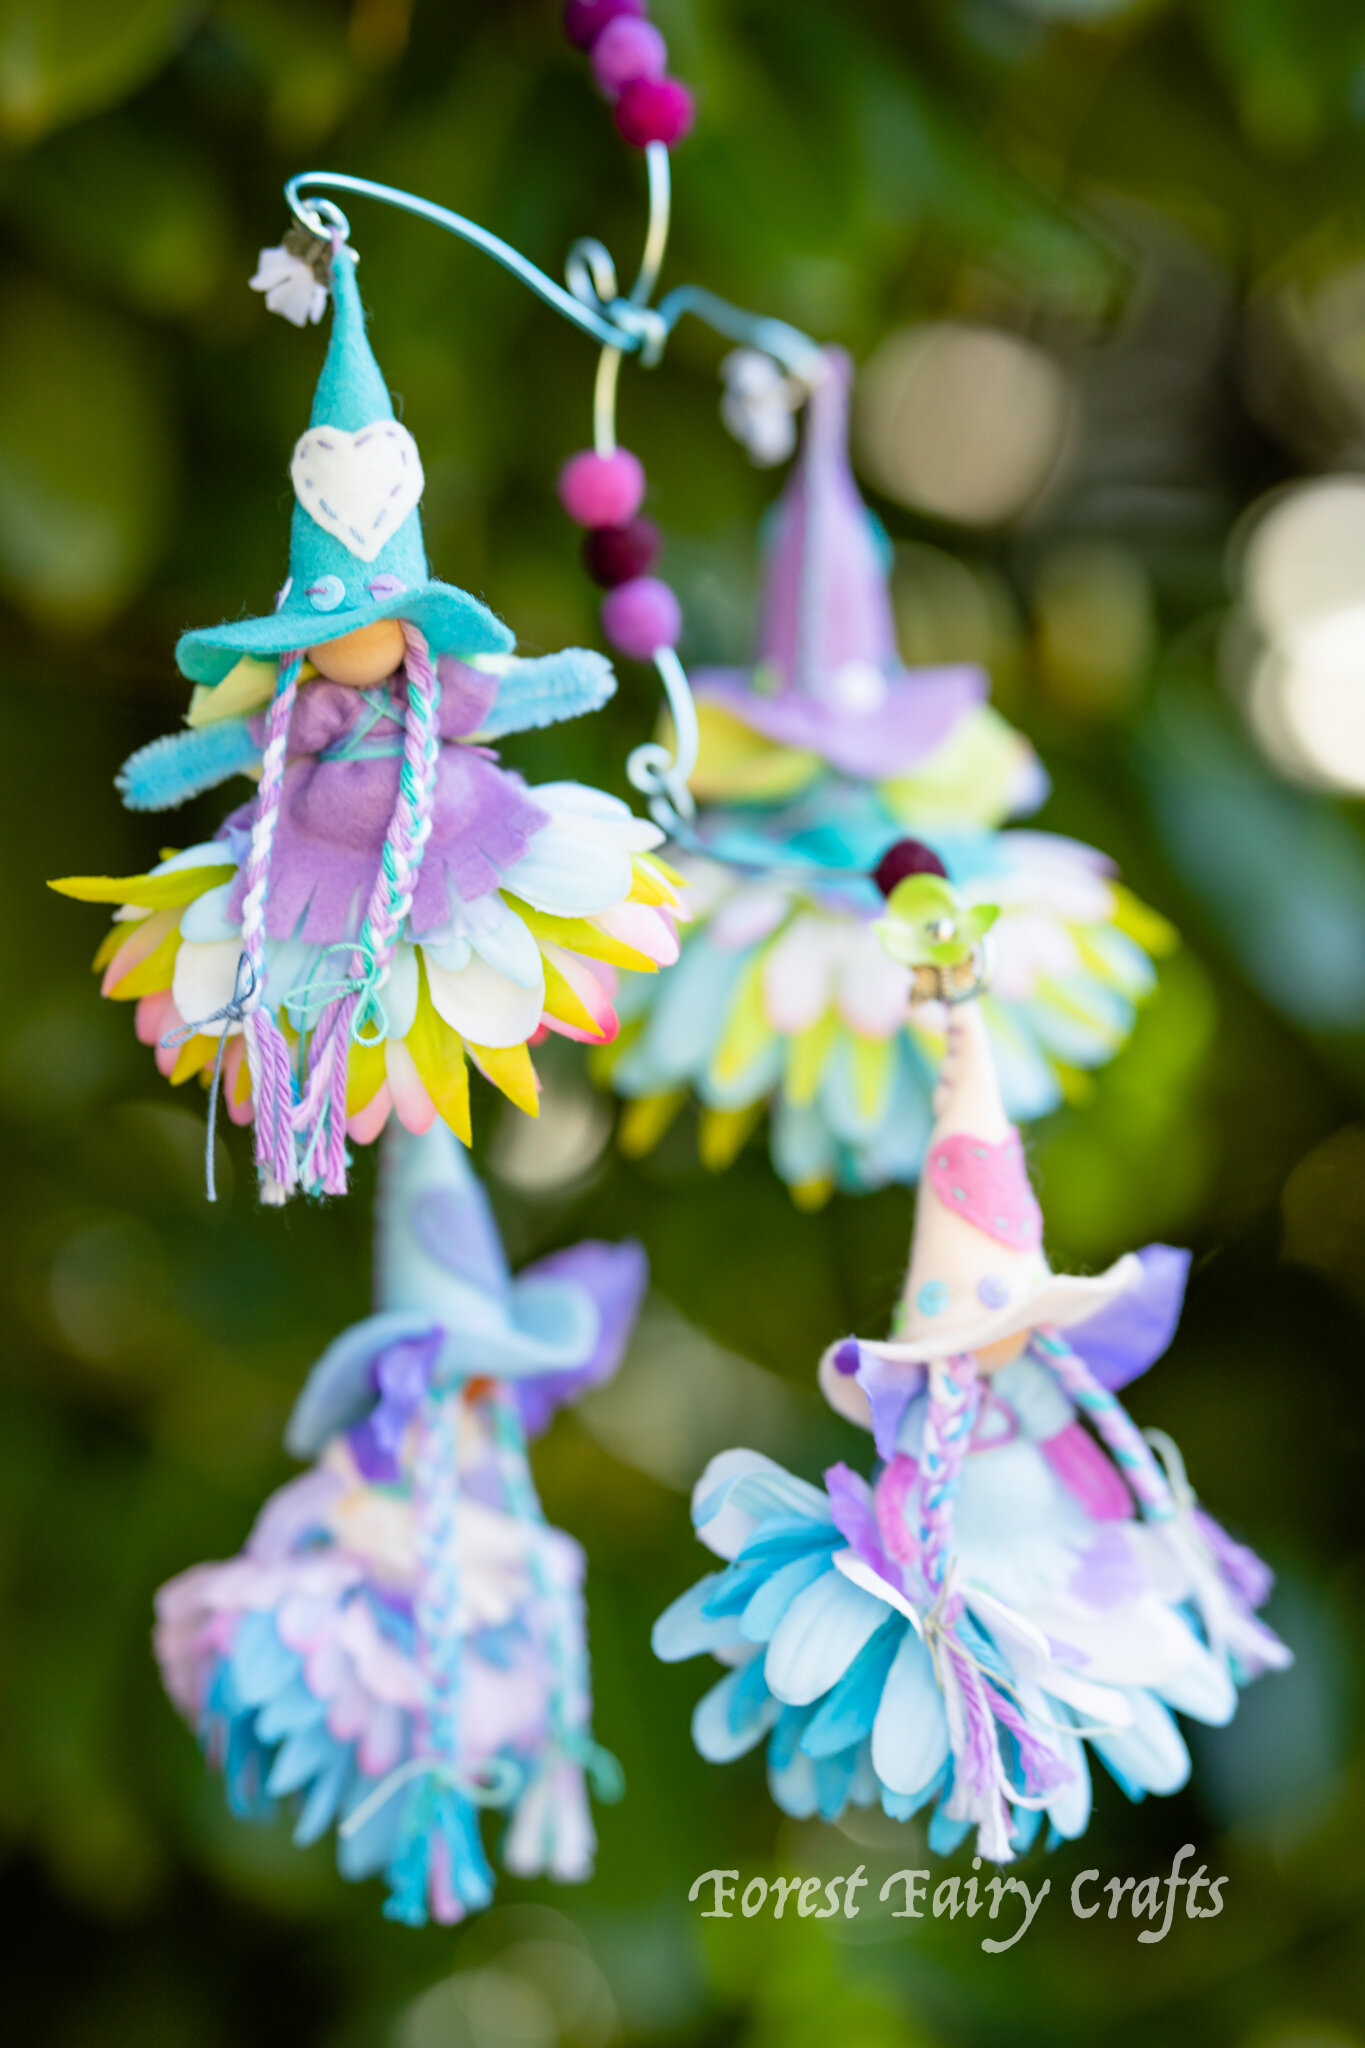
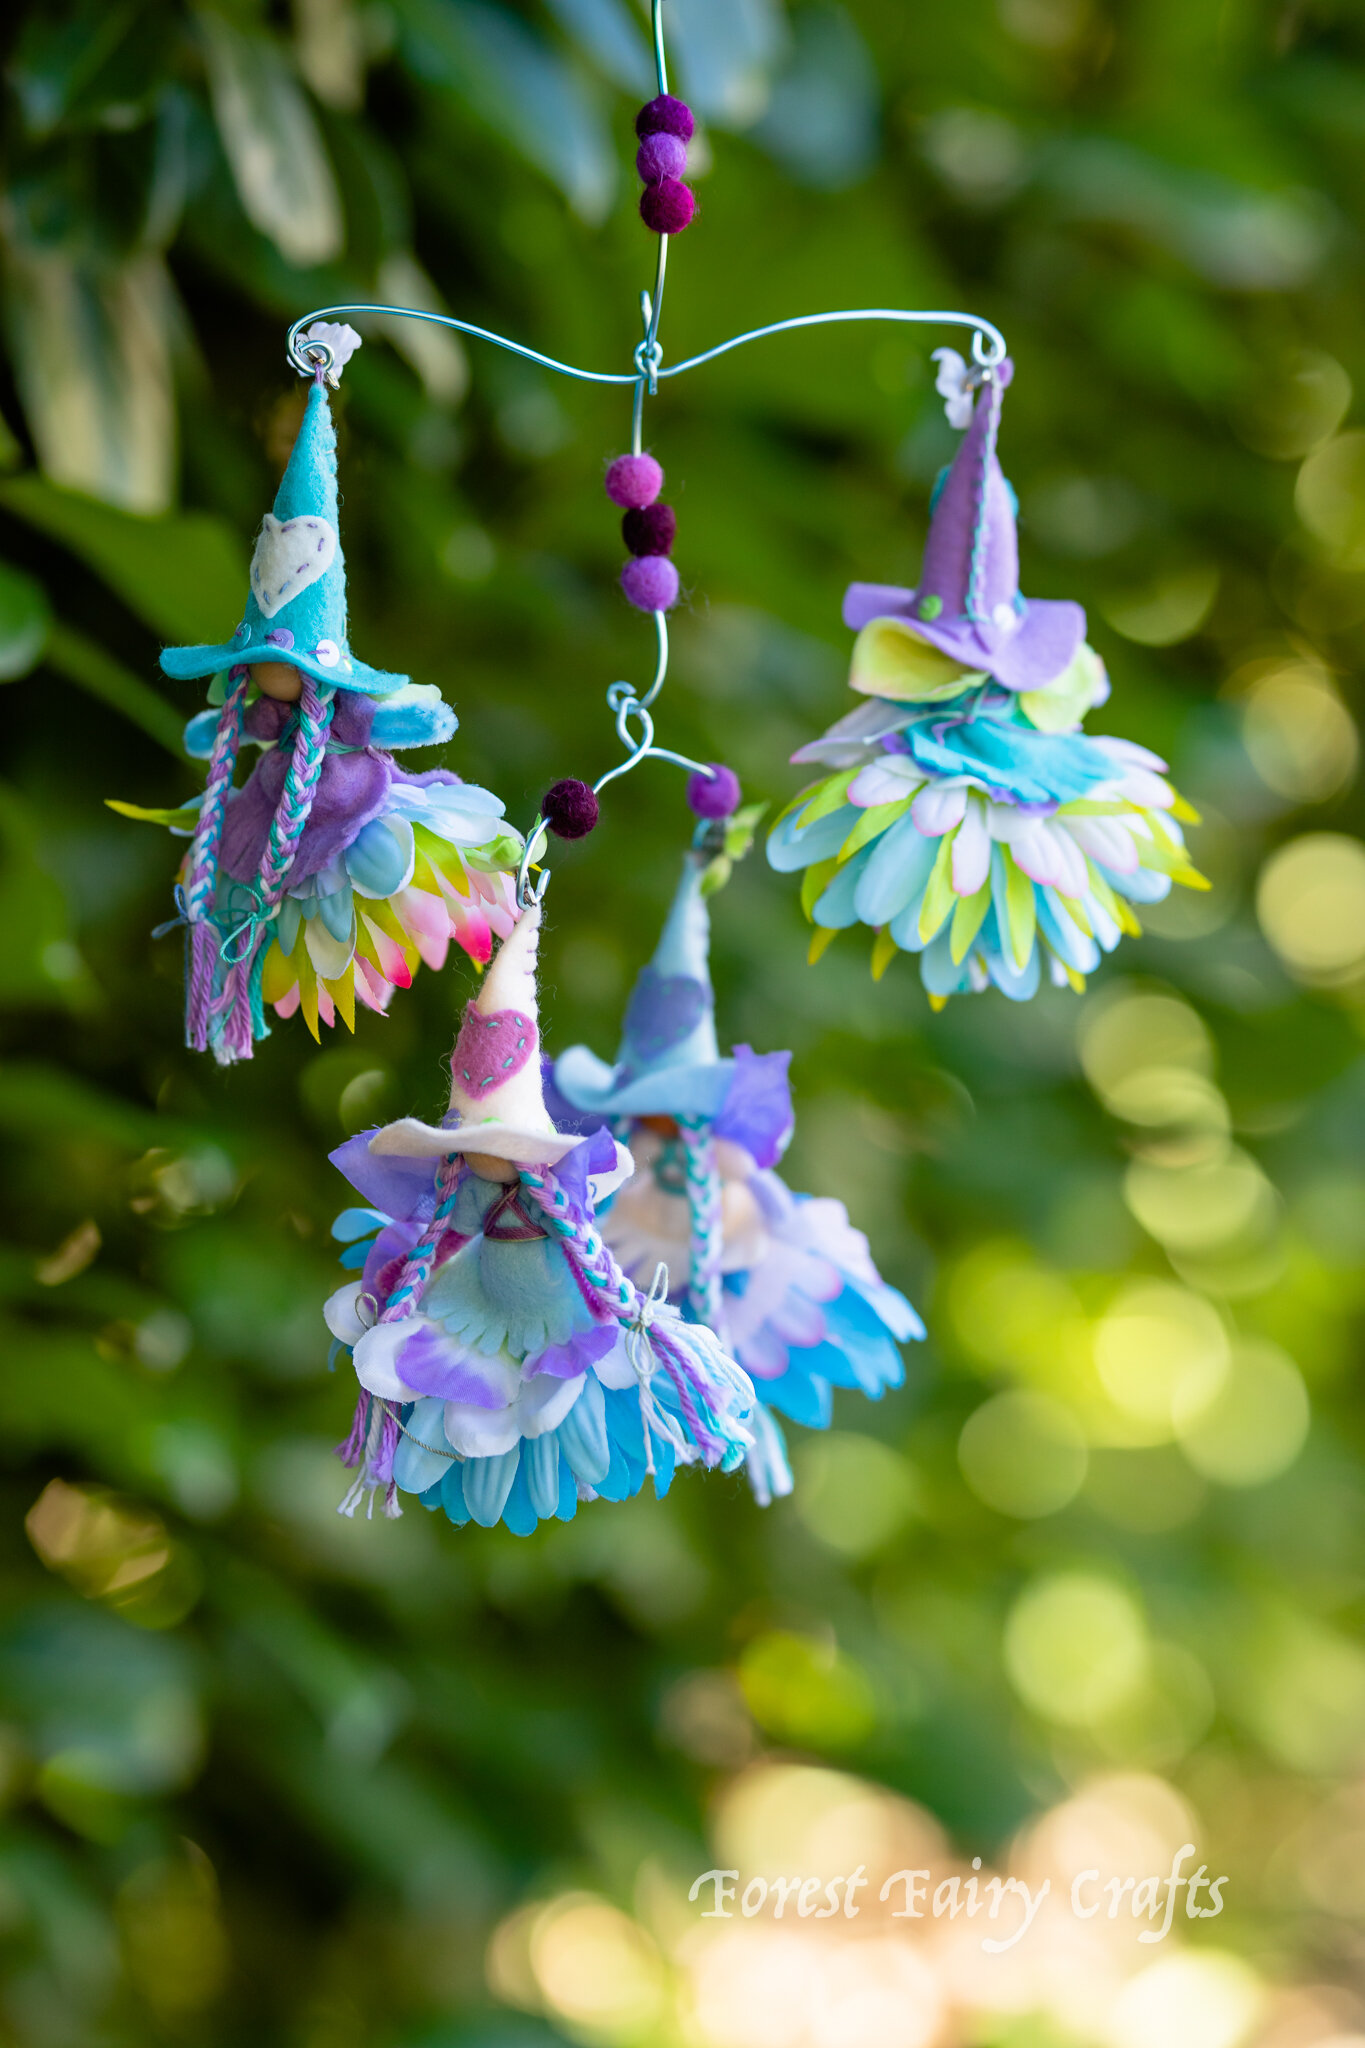
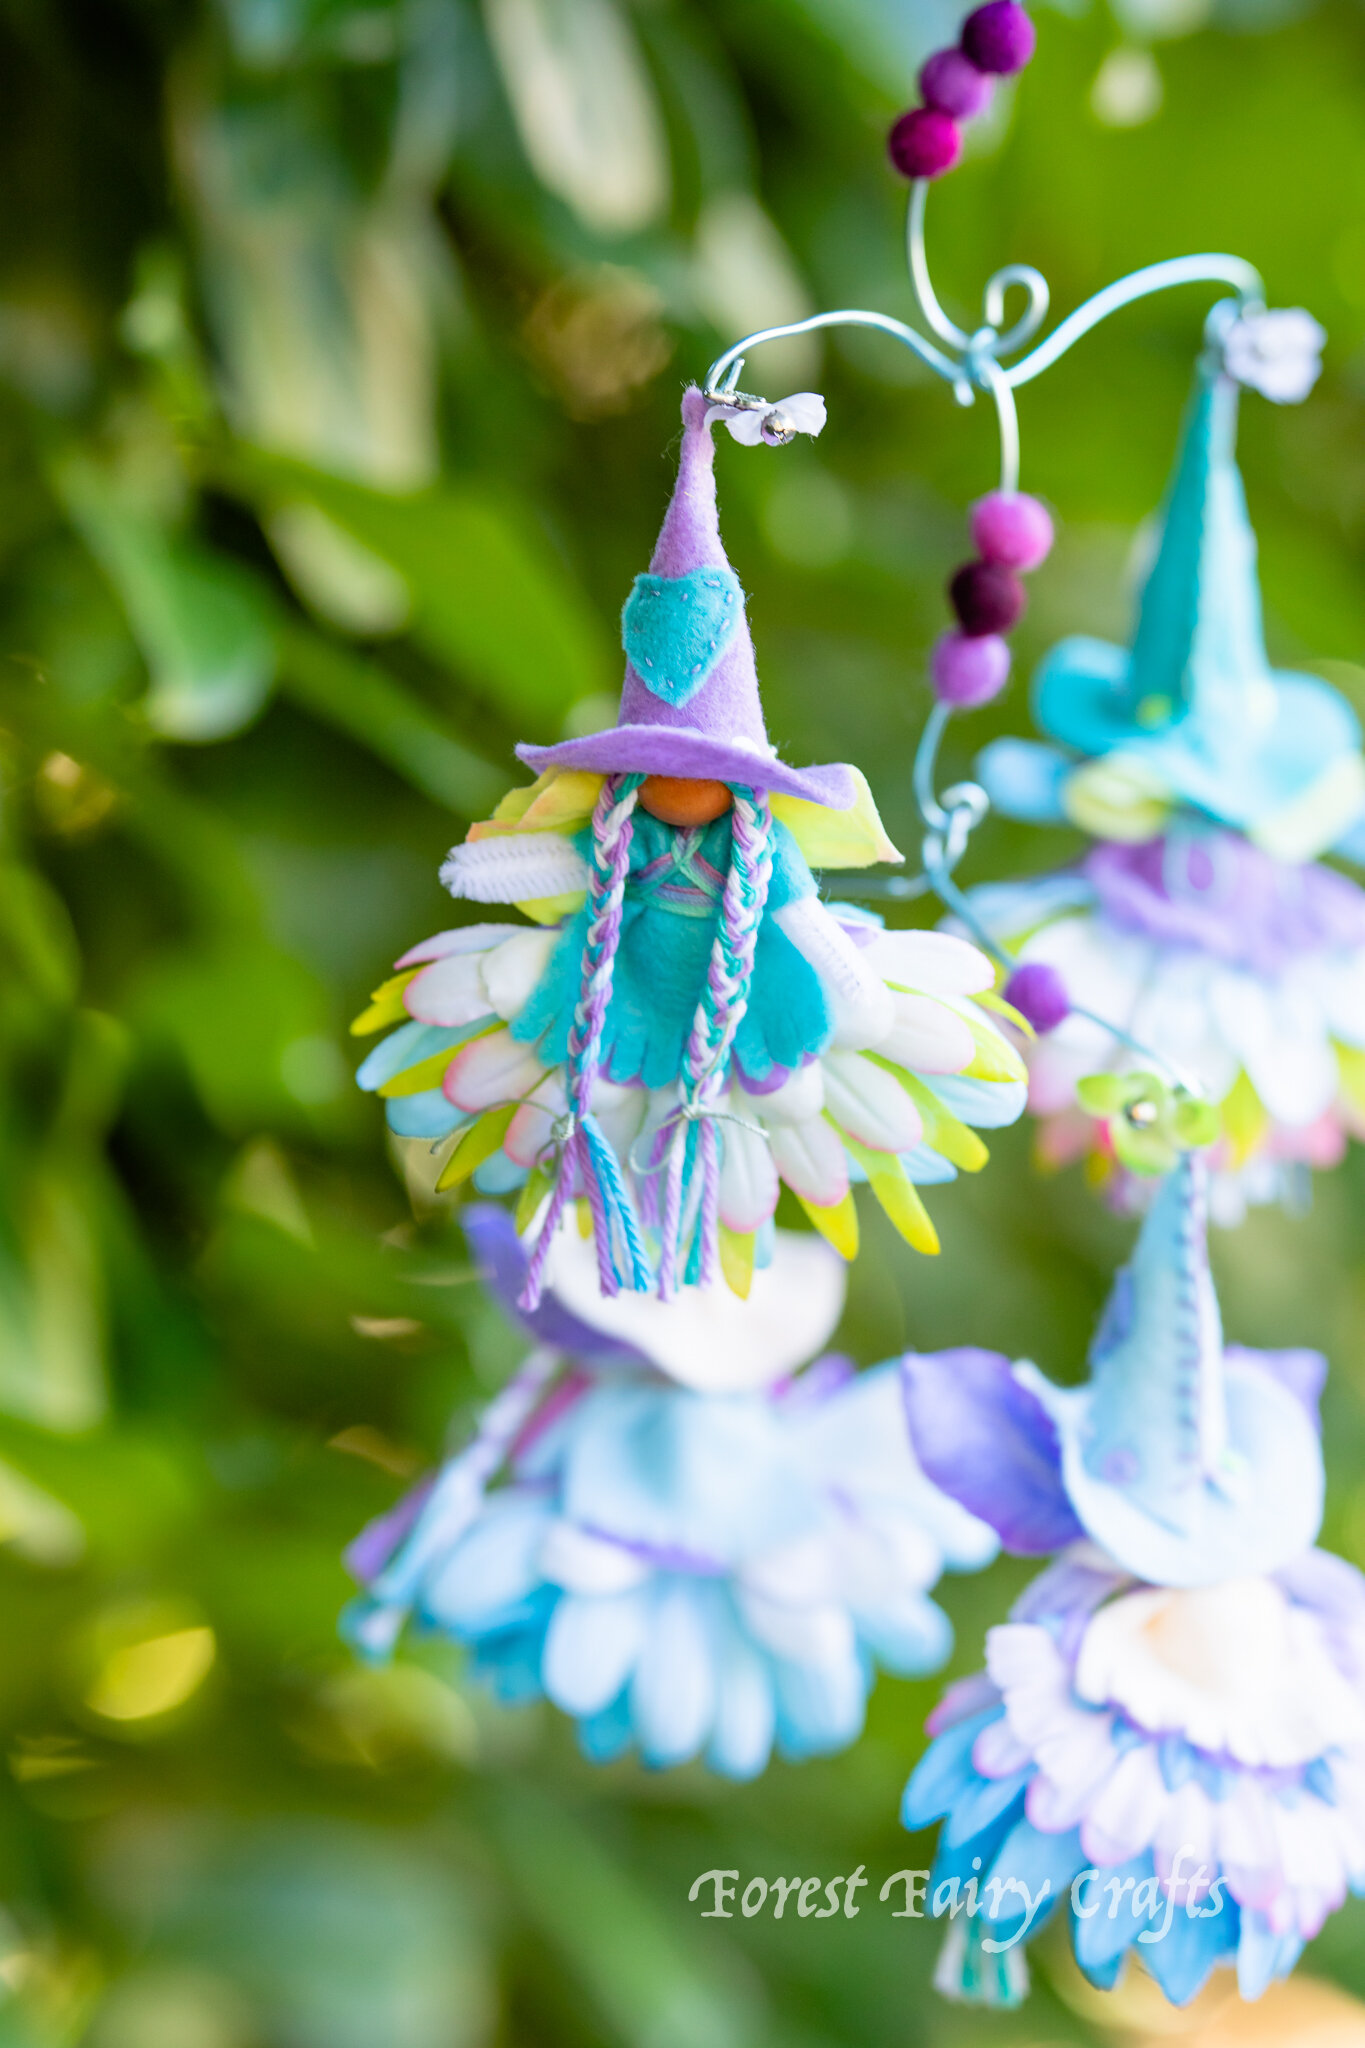
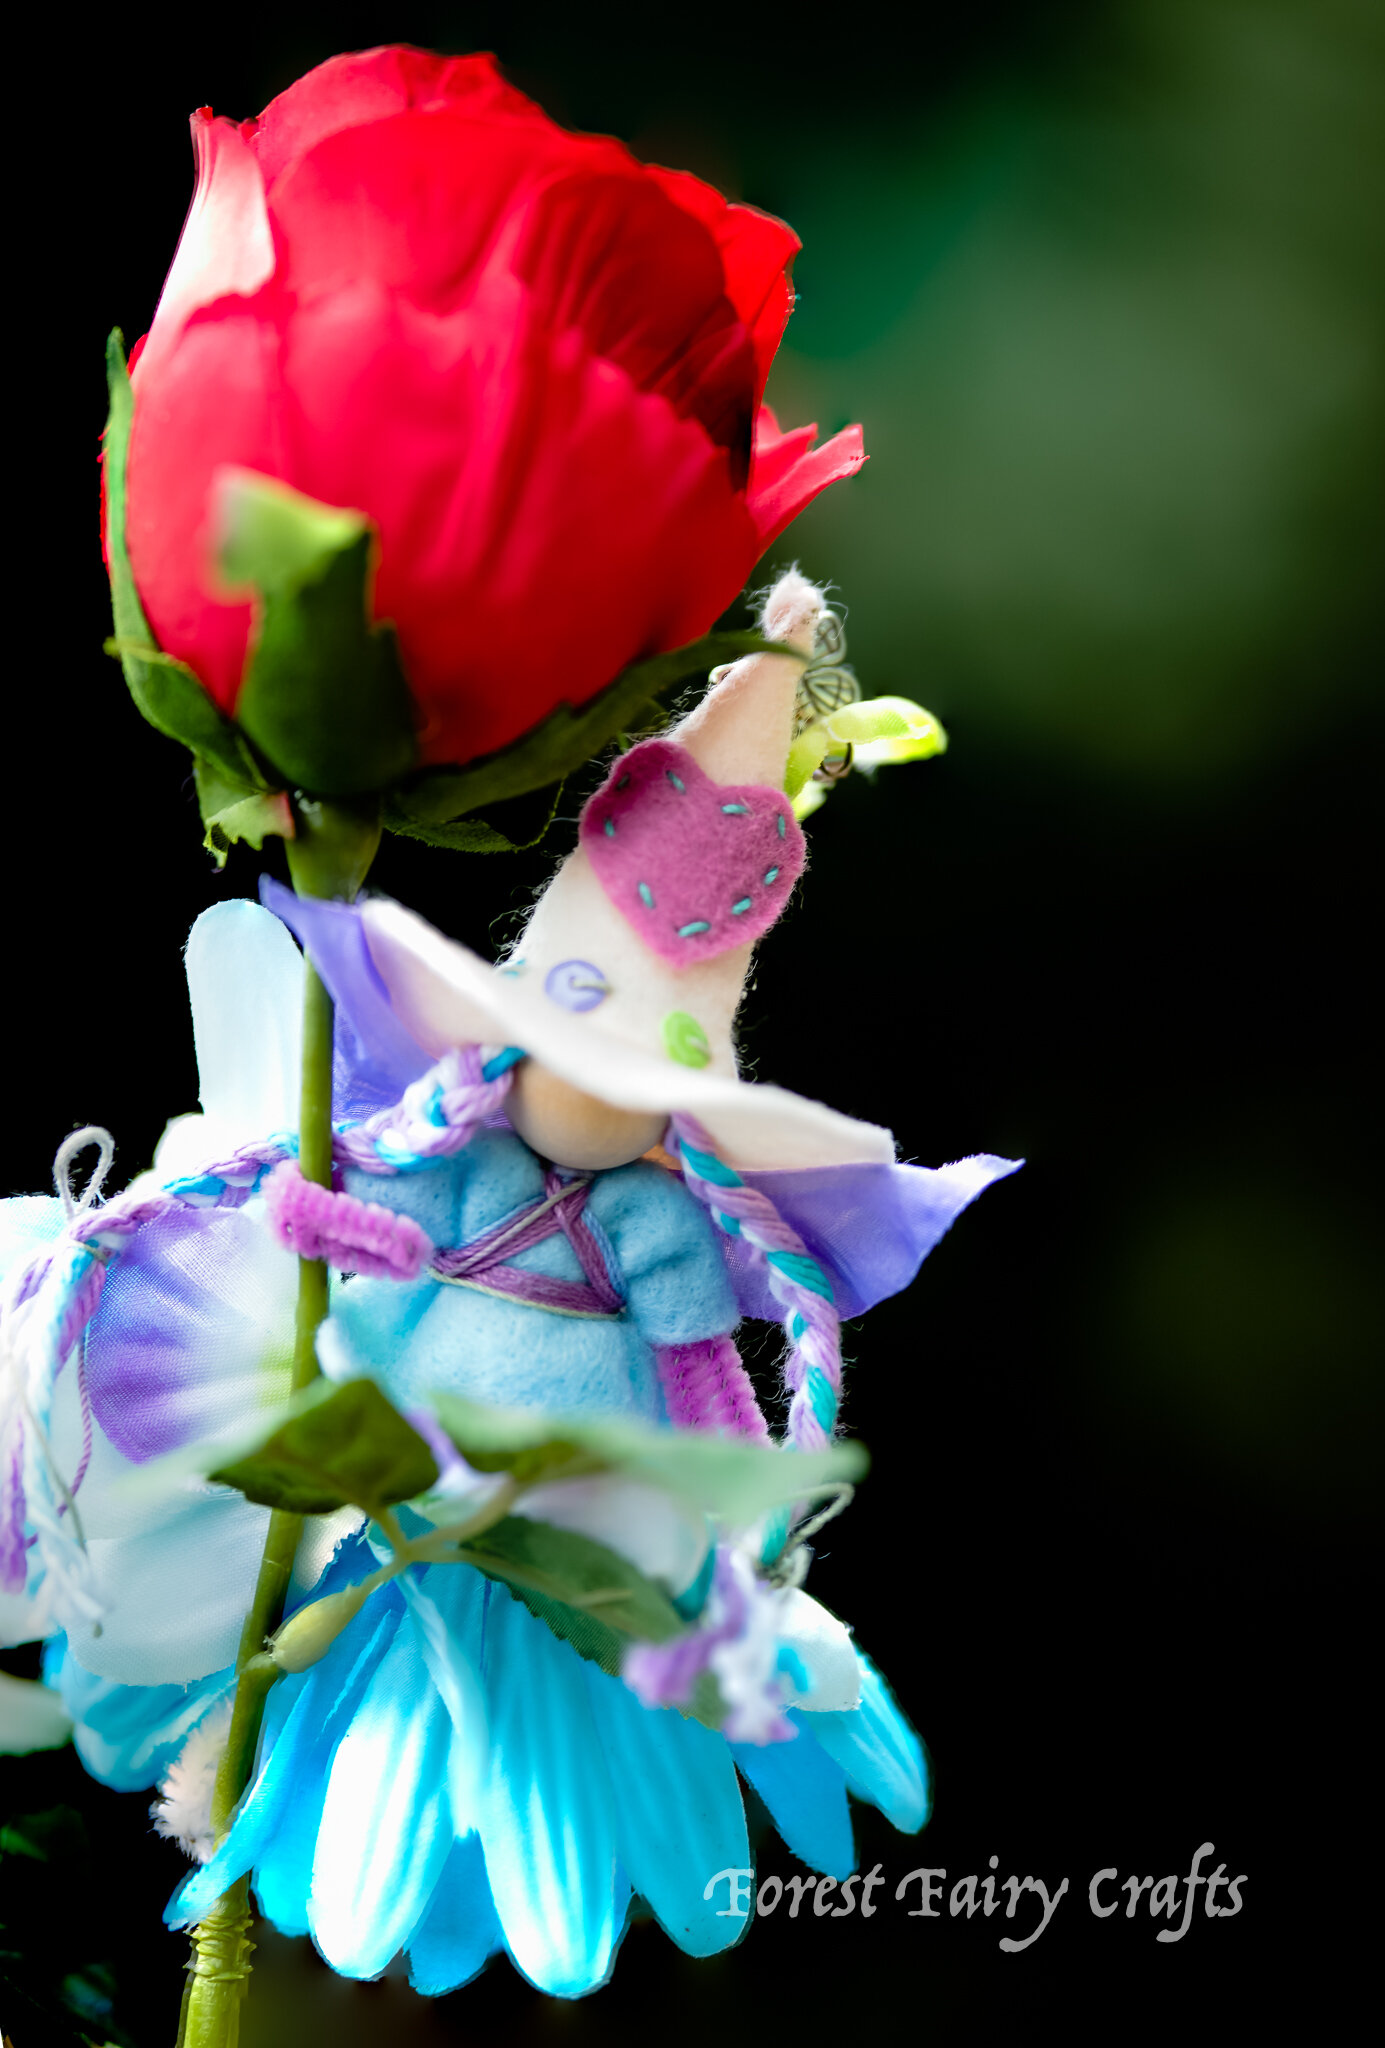
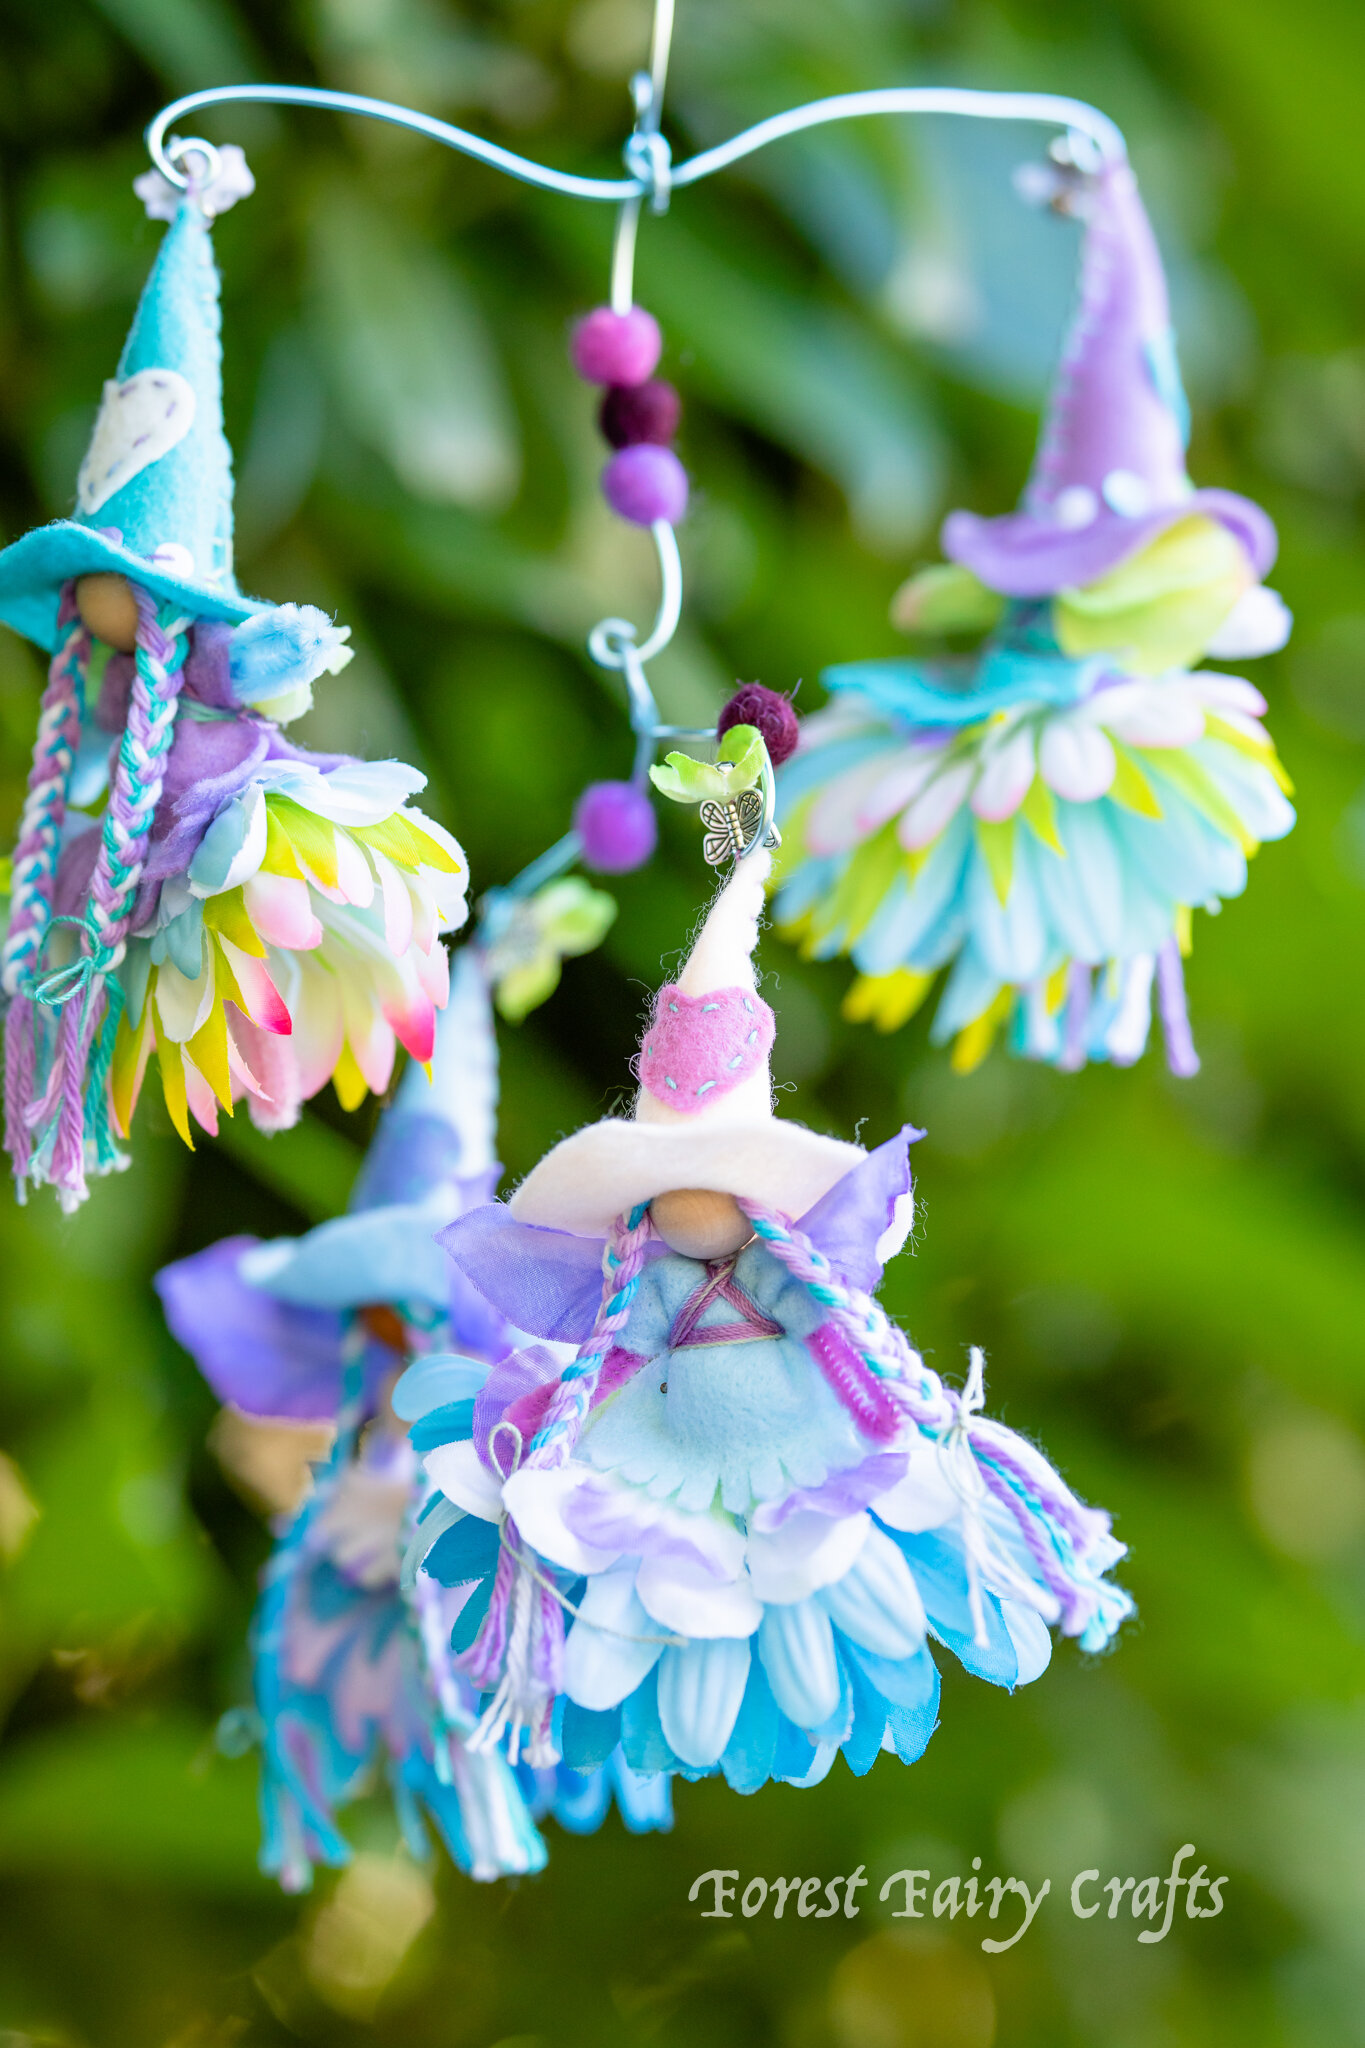
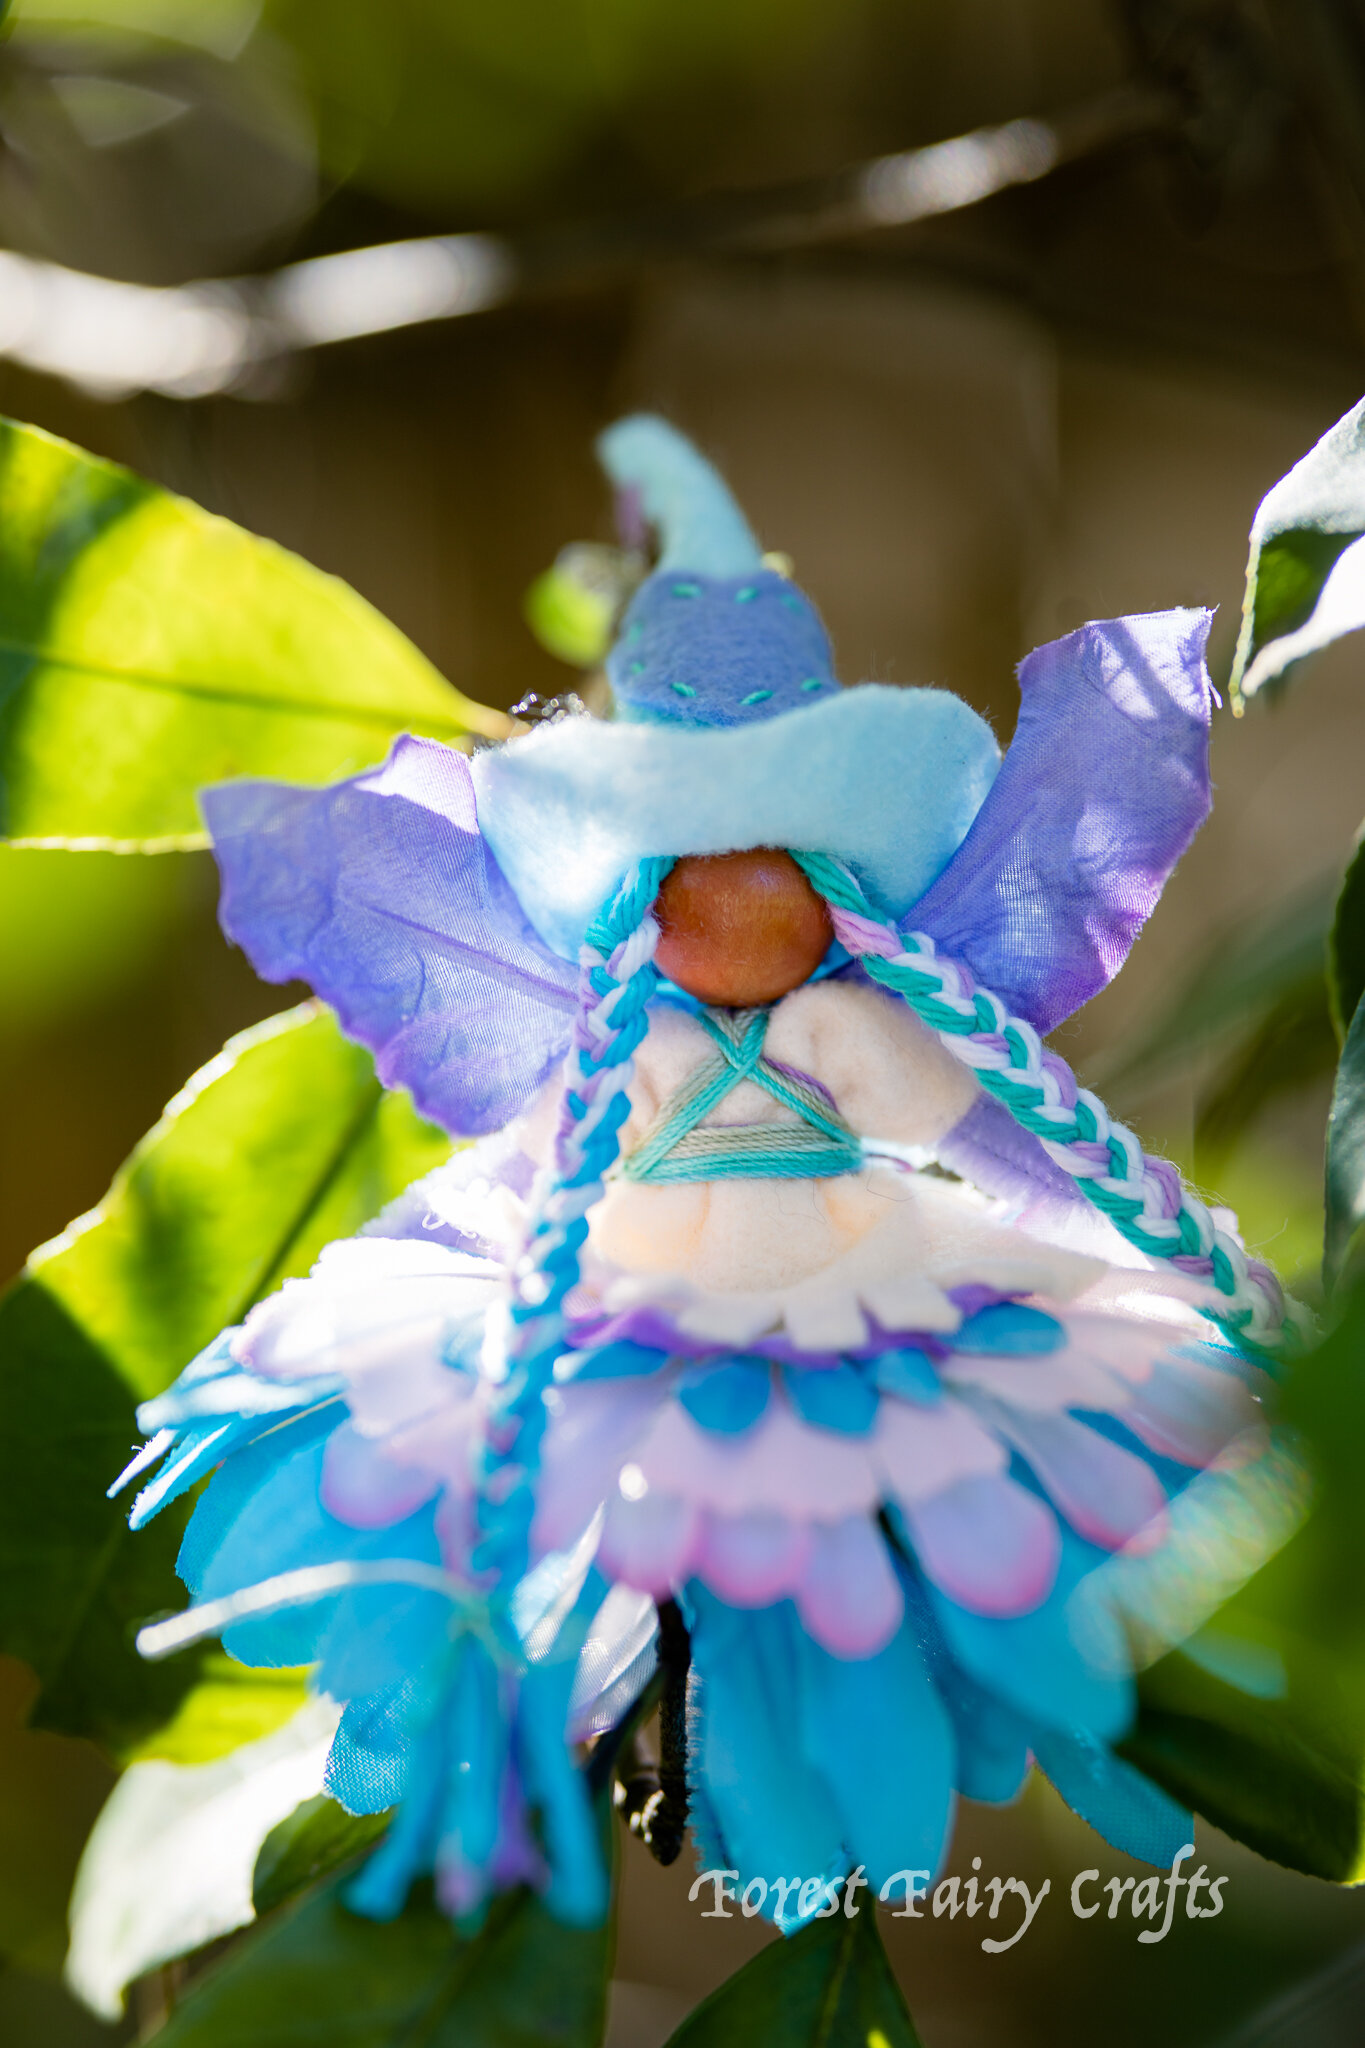
What’s a fun gift for a baby nursery? Especially when her family loves magic? A gathering of witches especially for baby.
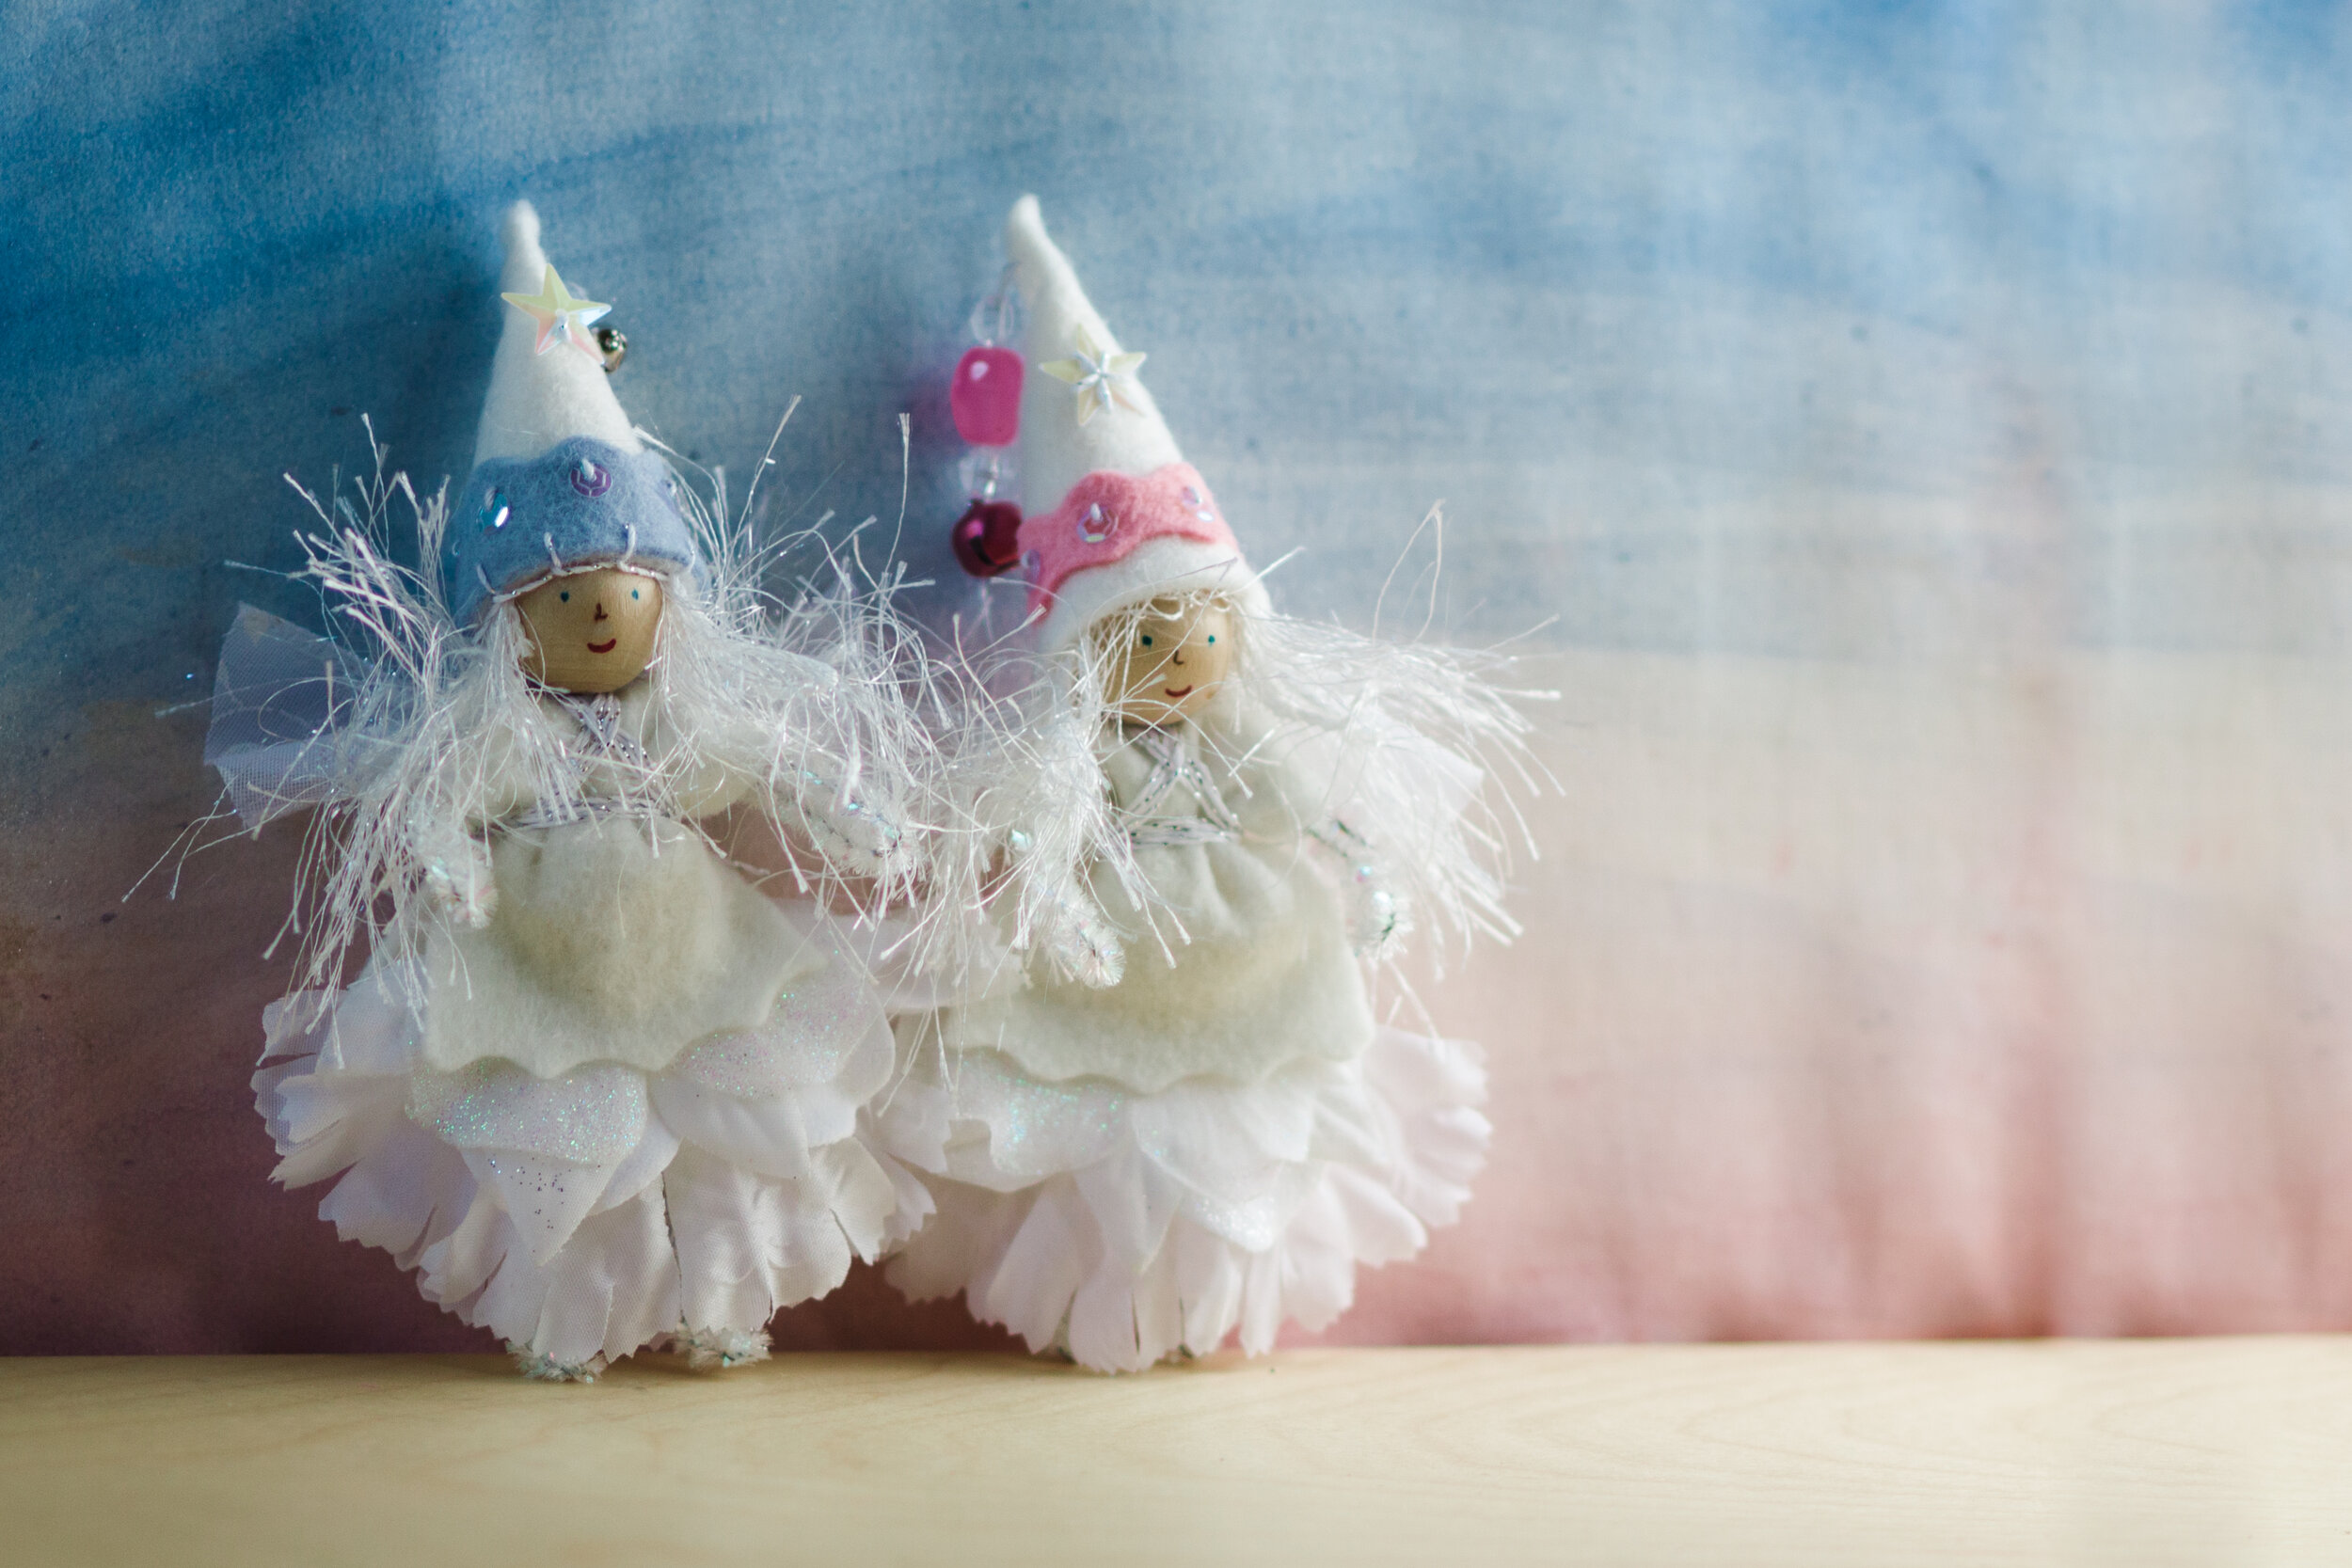
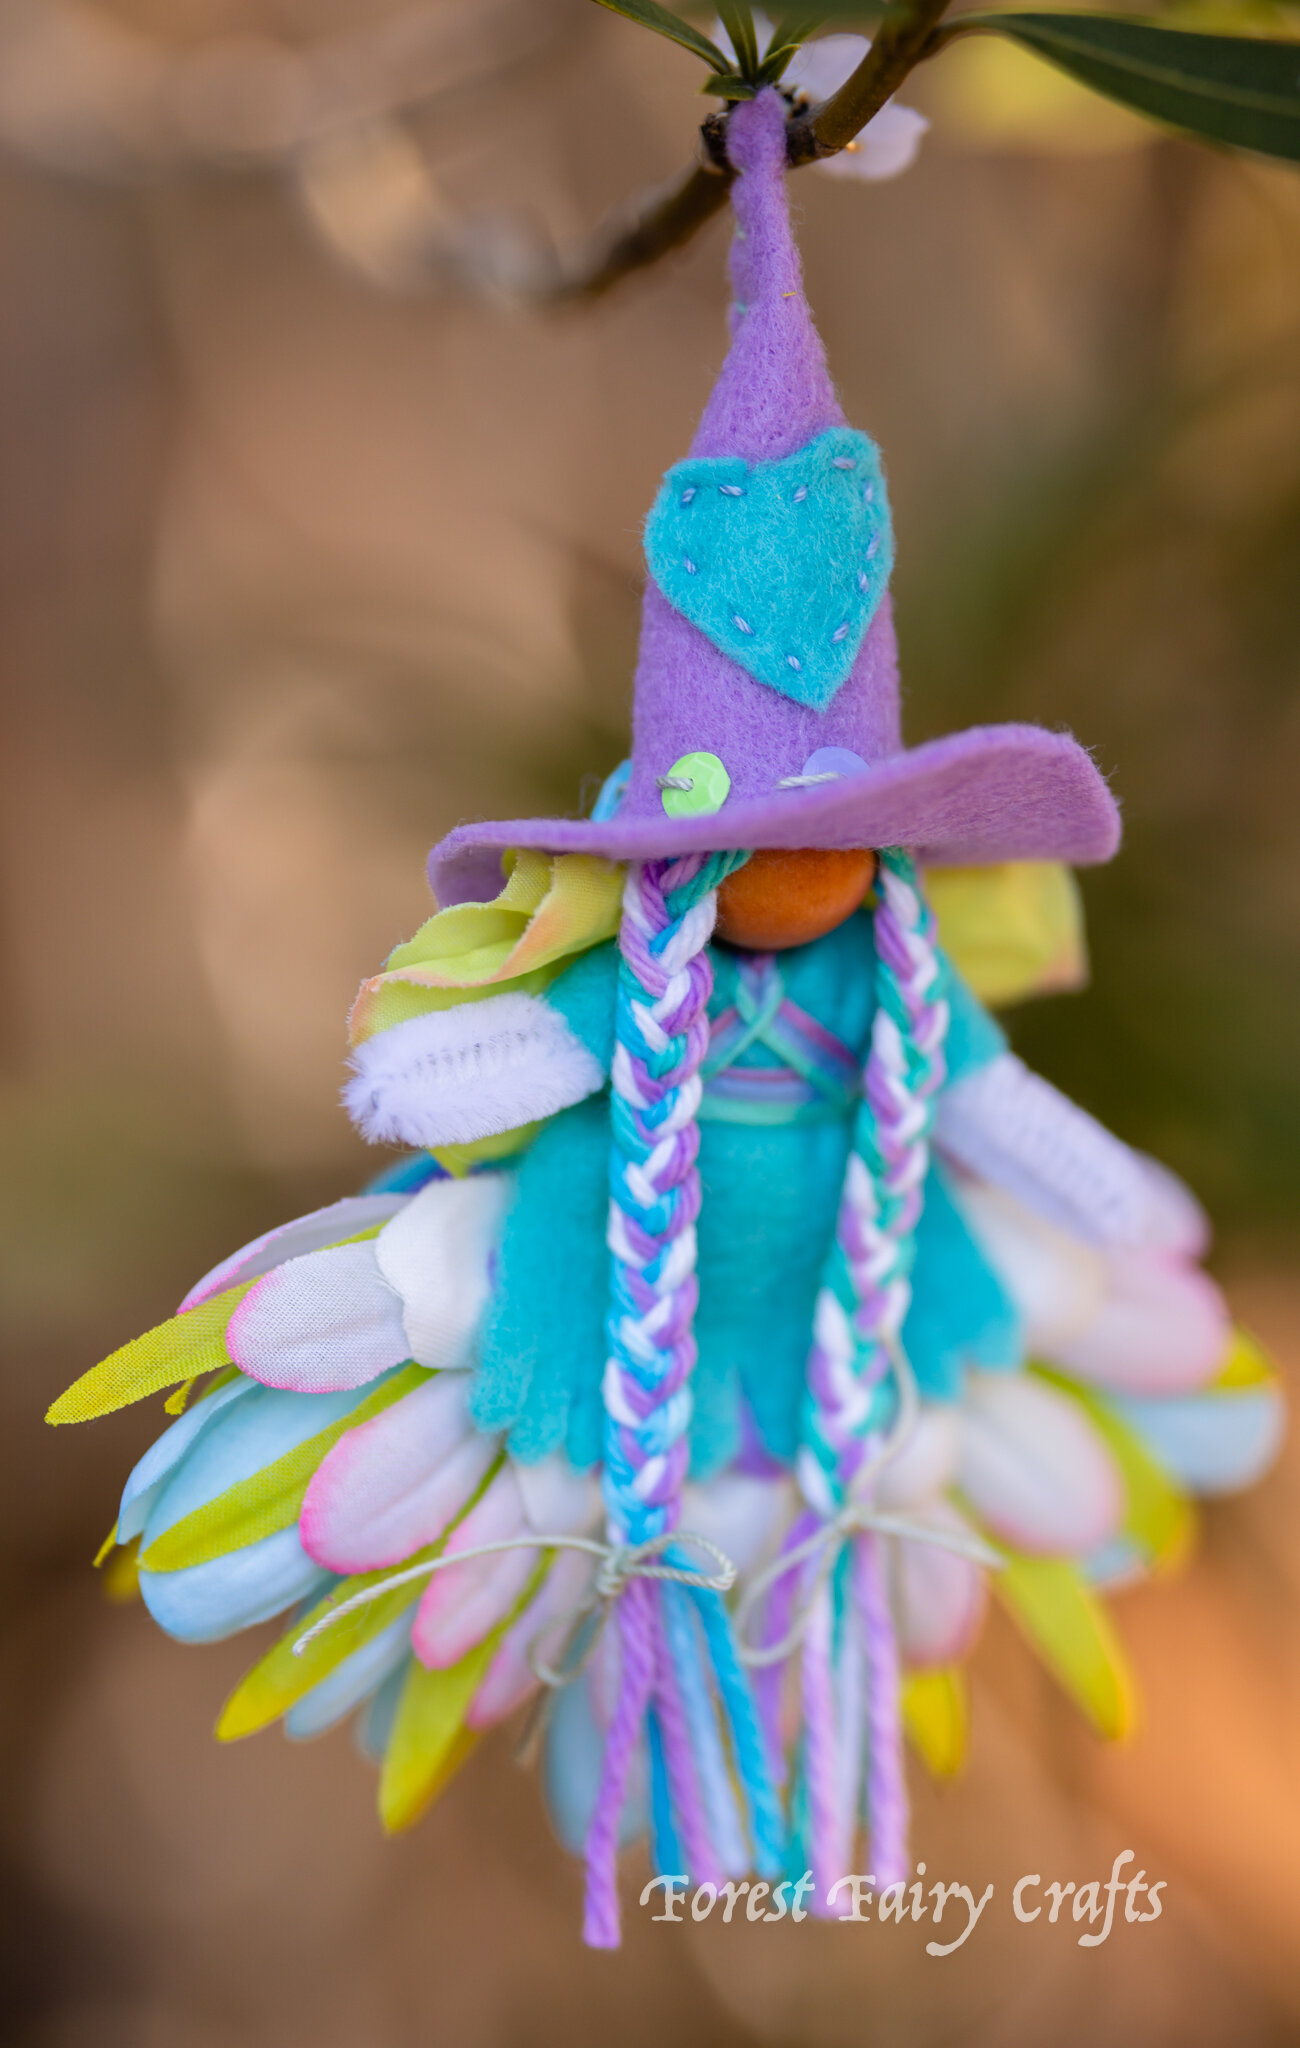
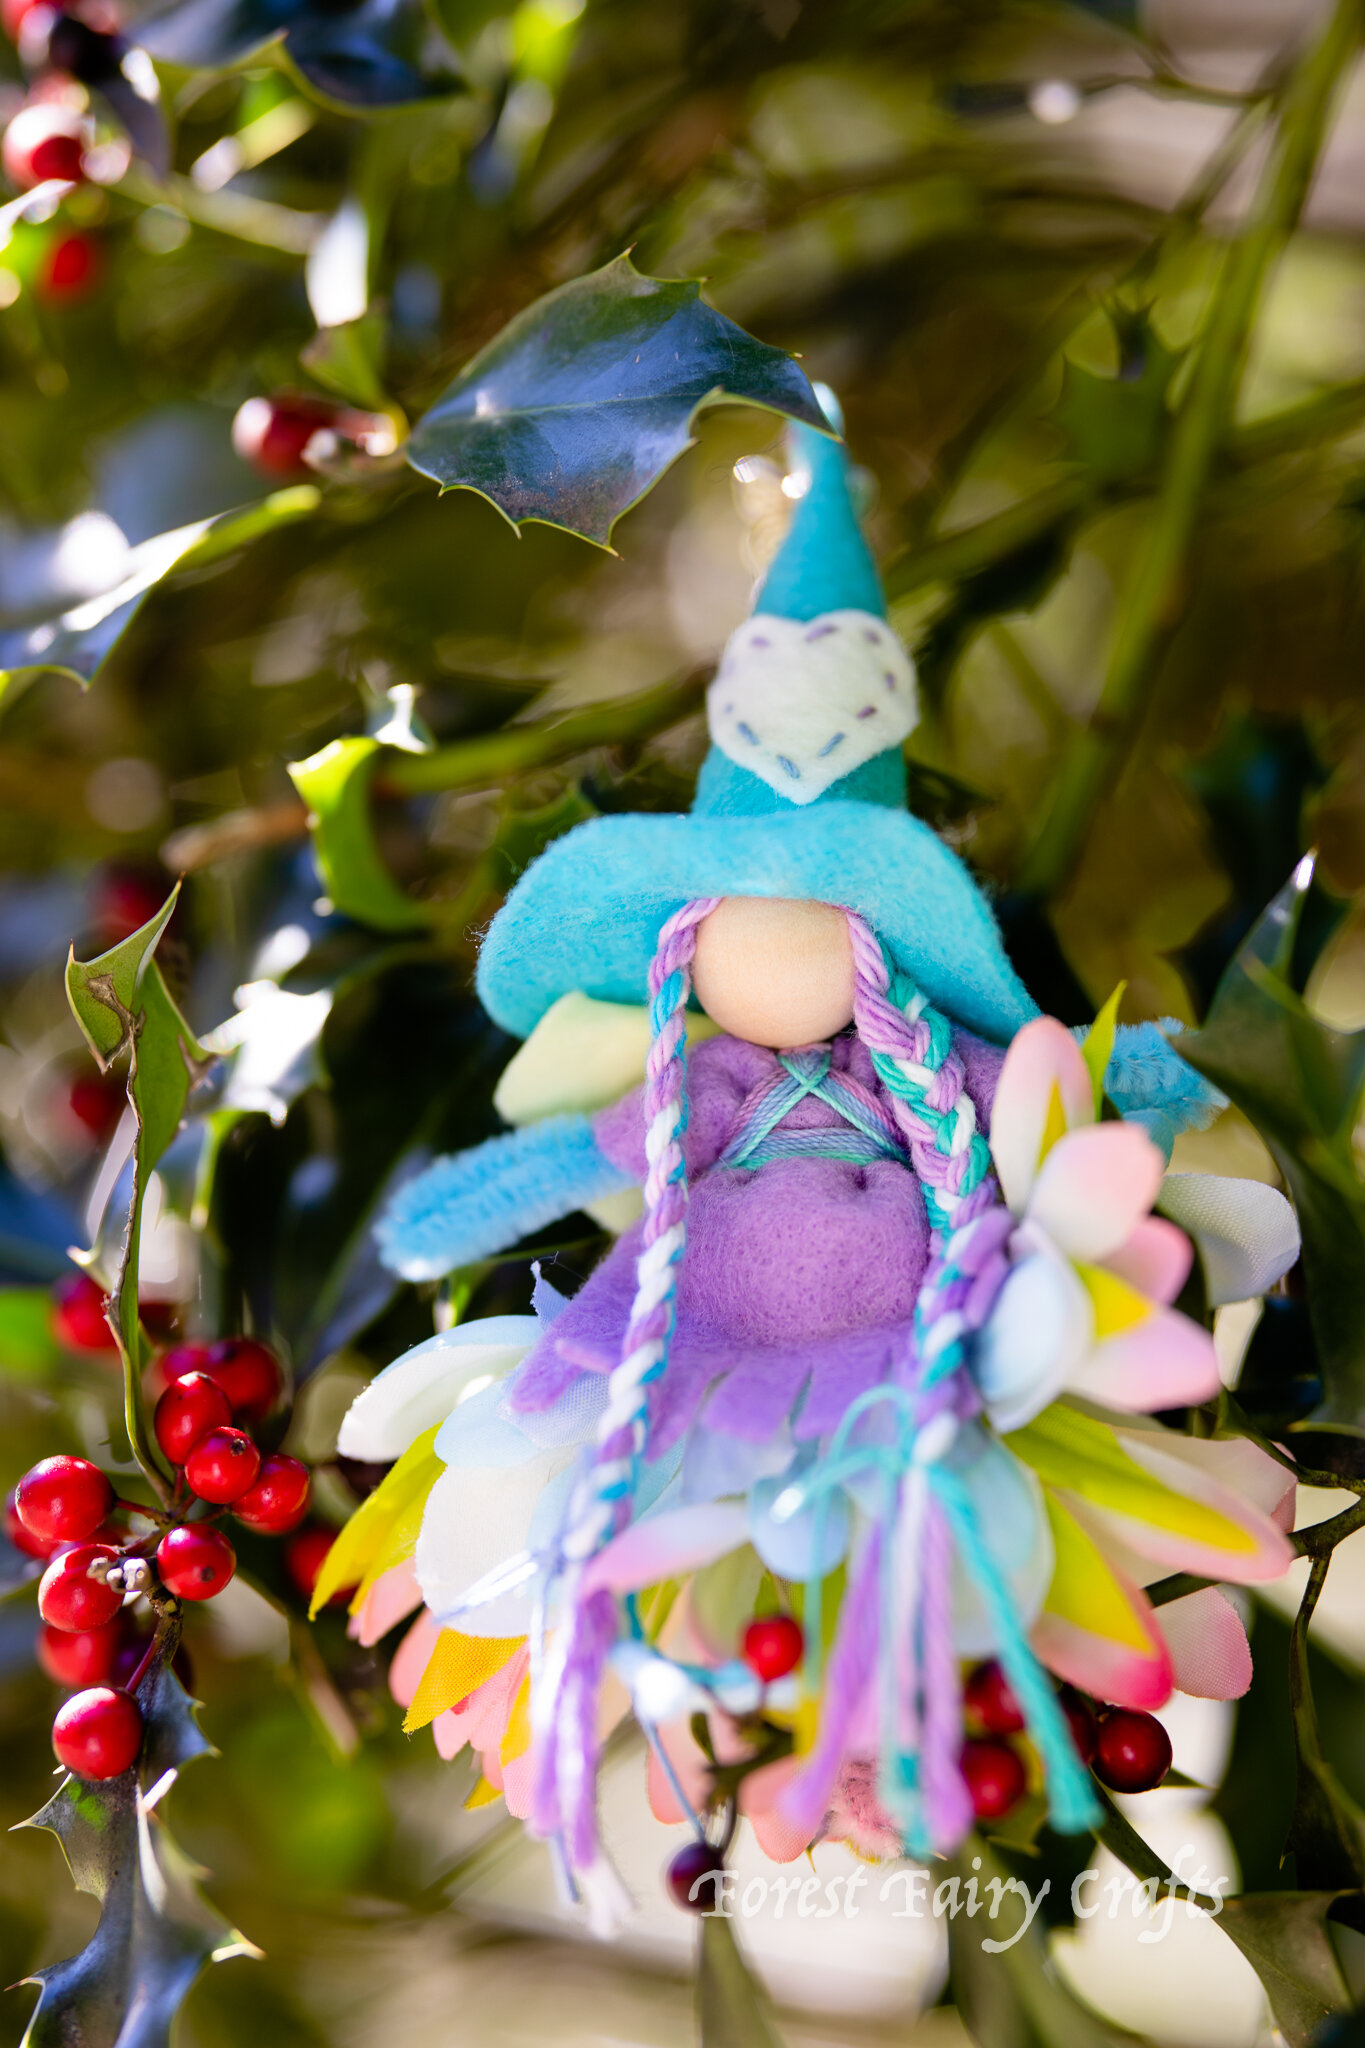
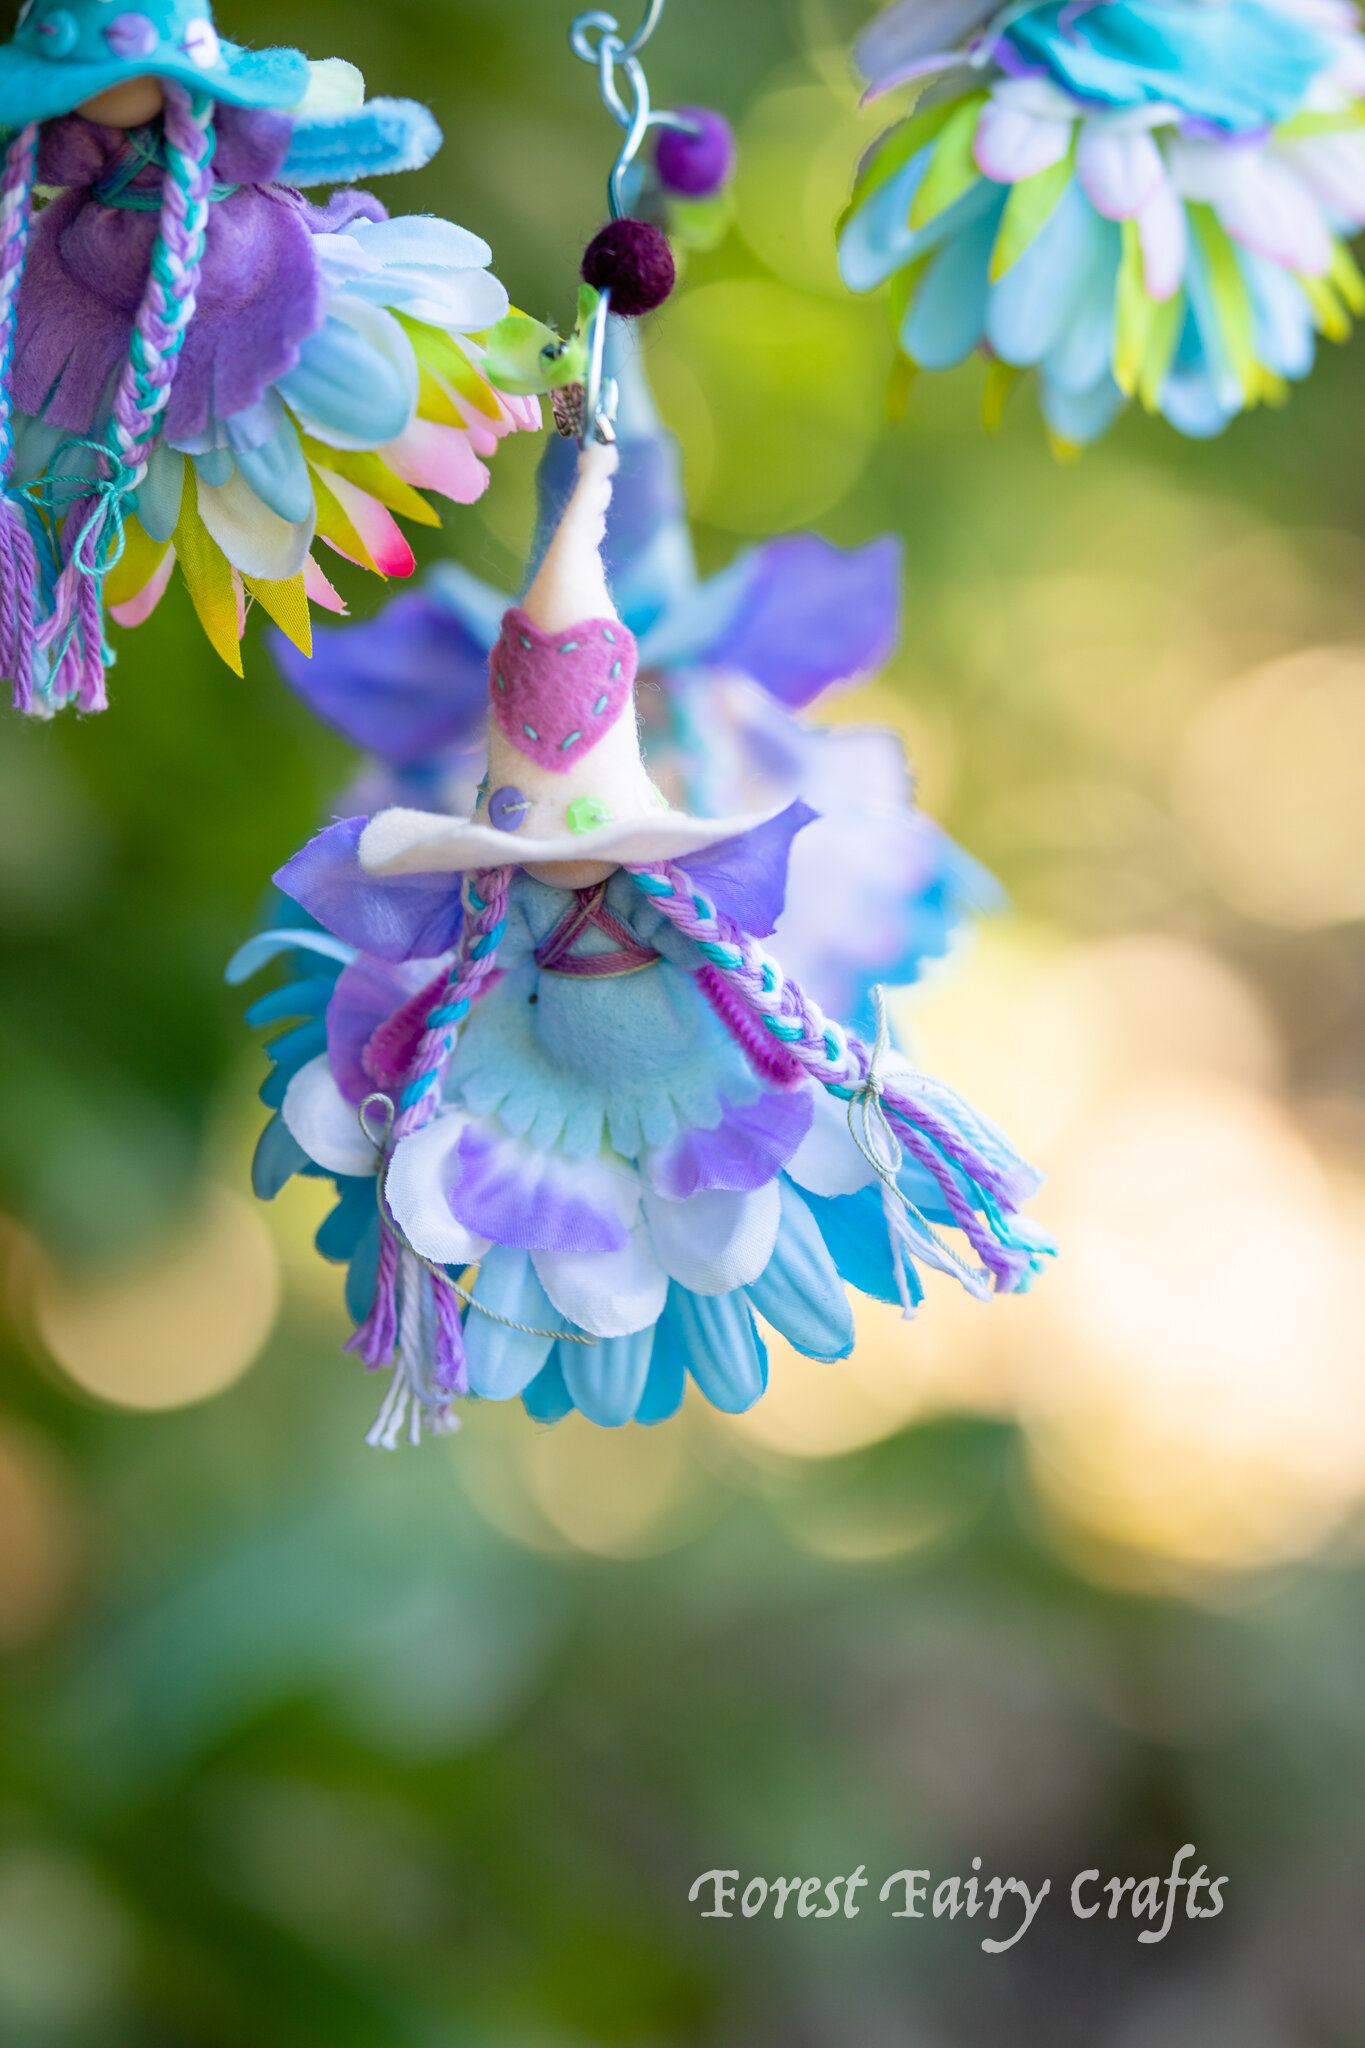
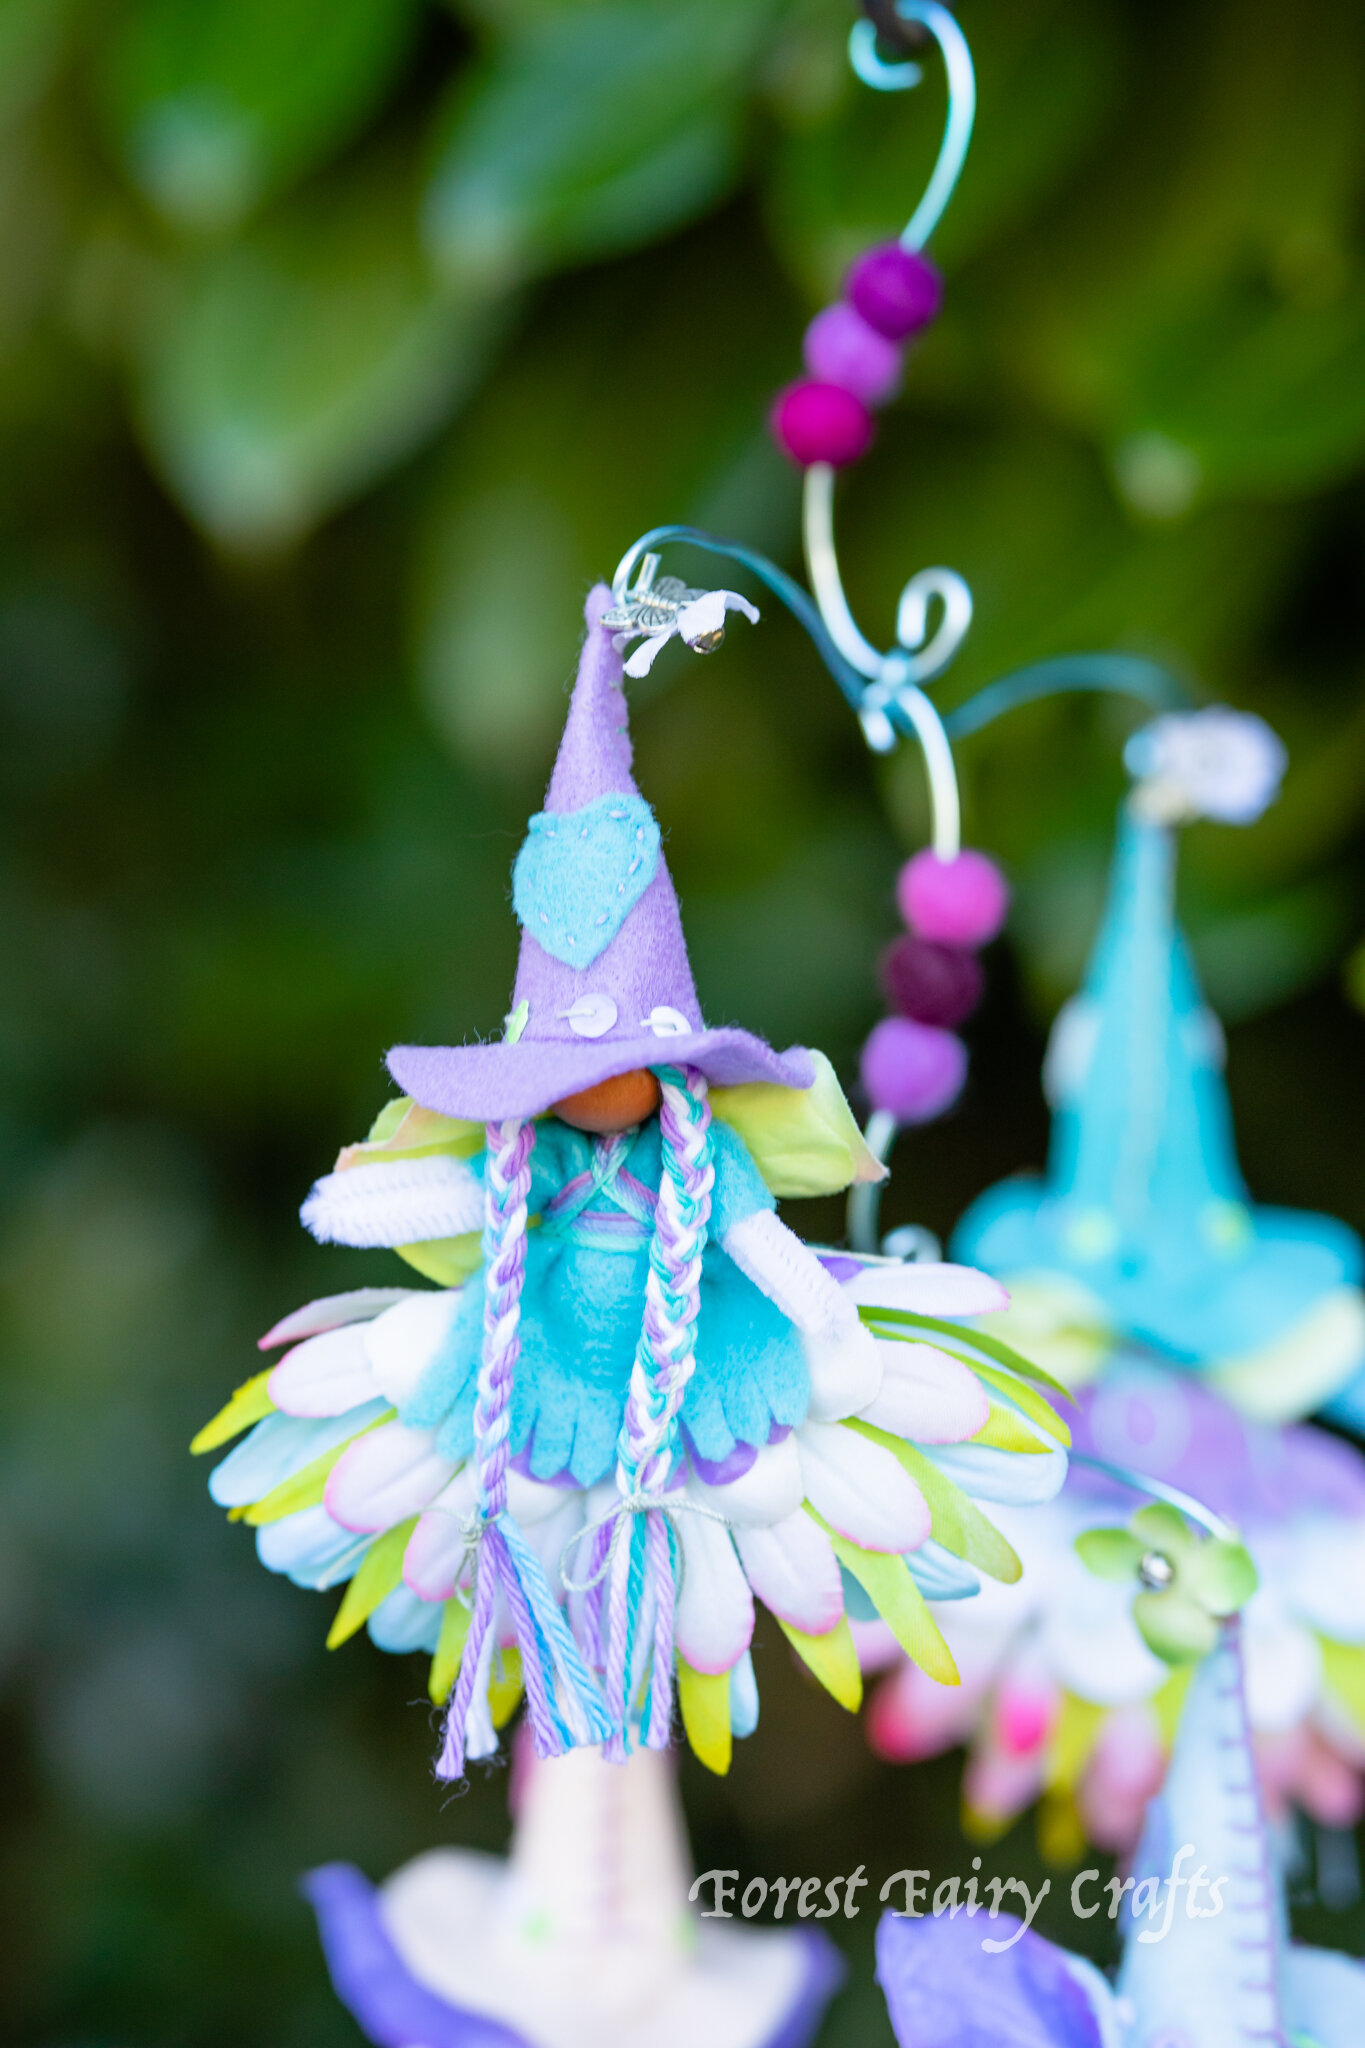
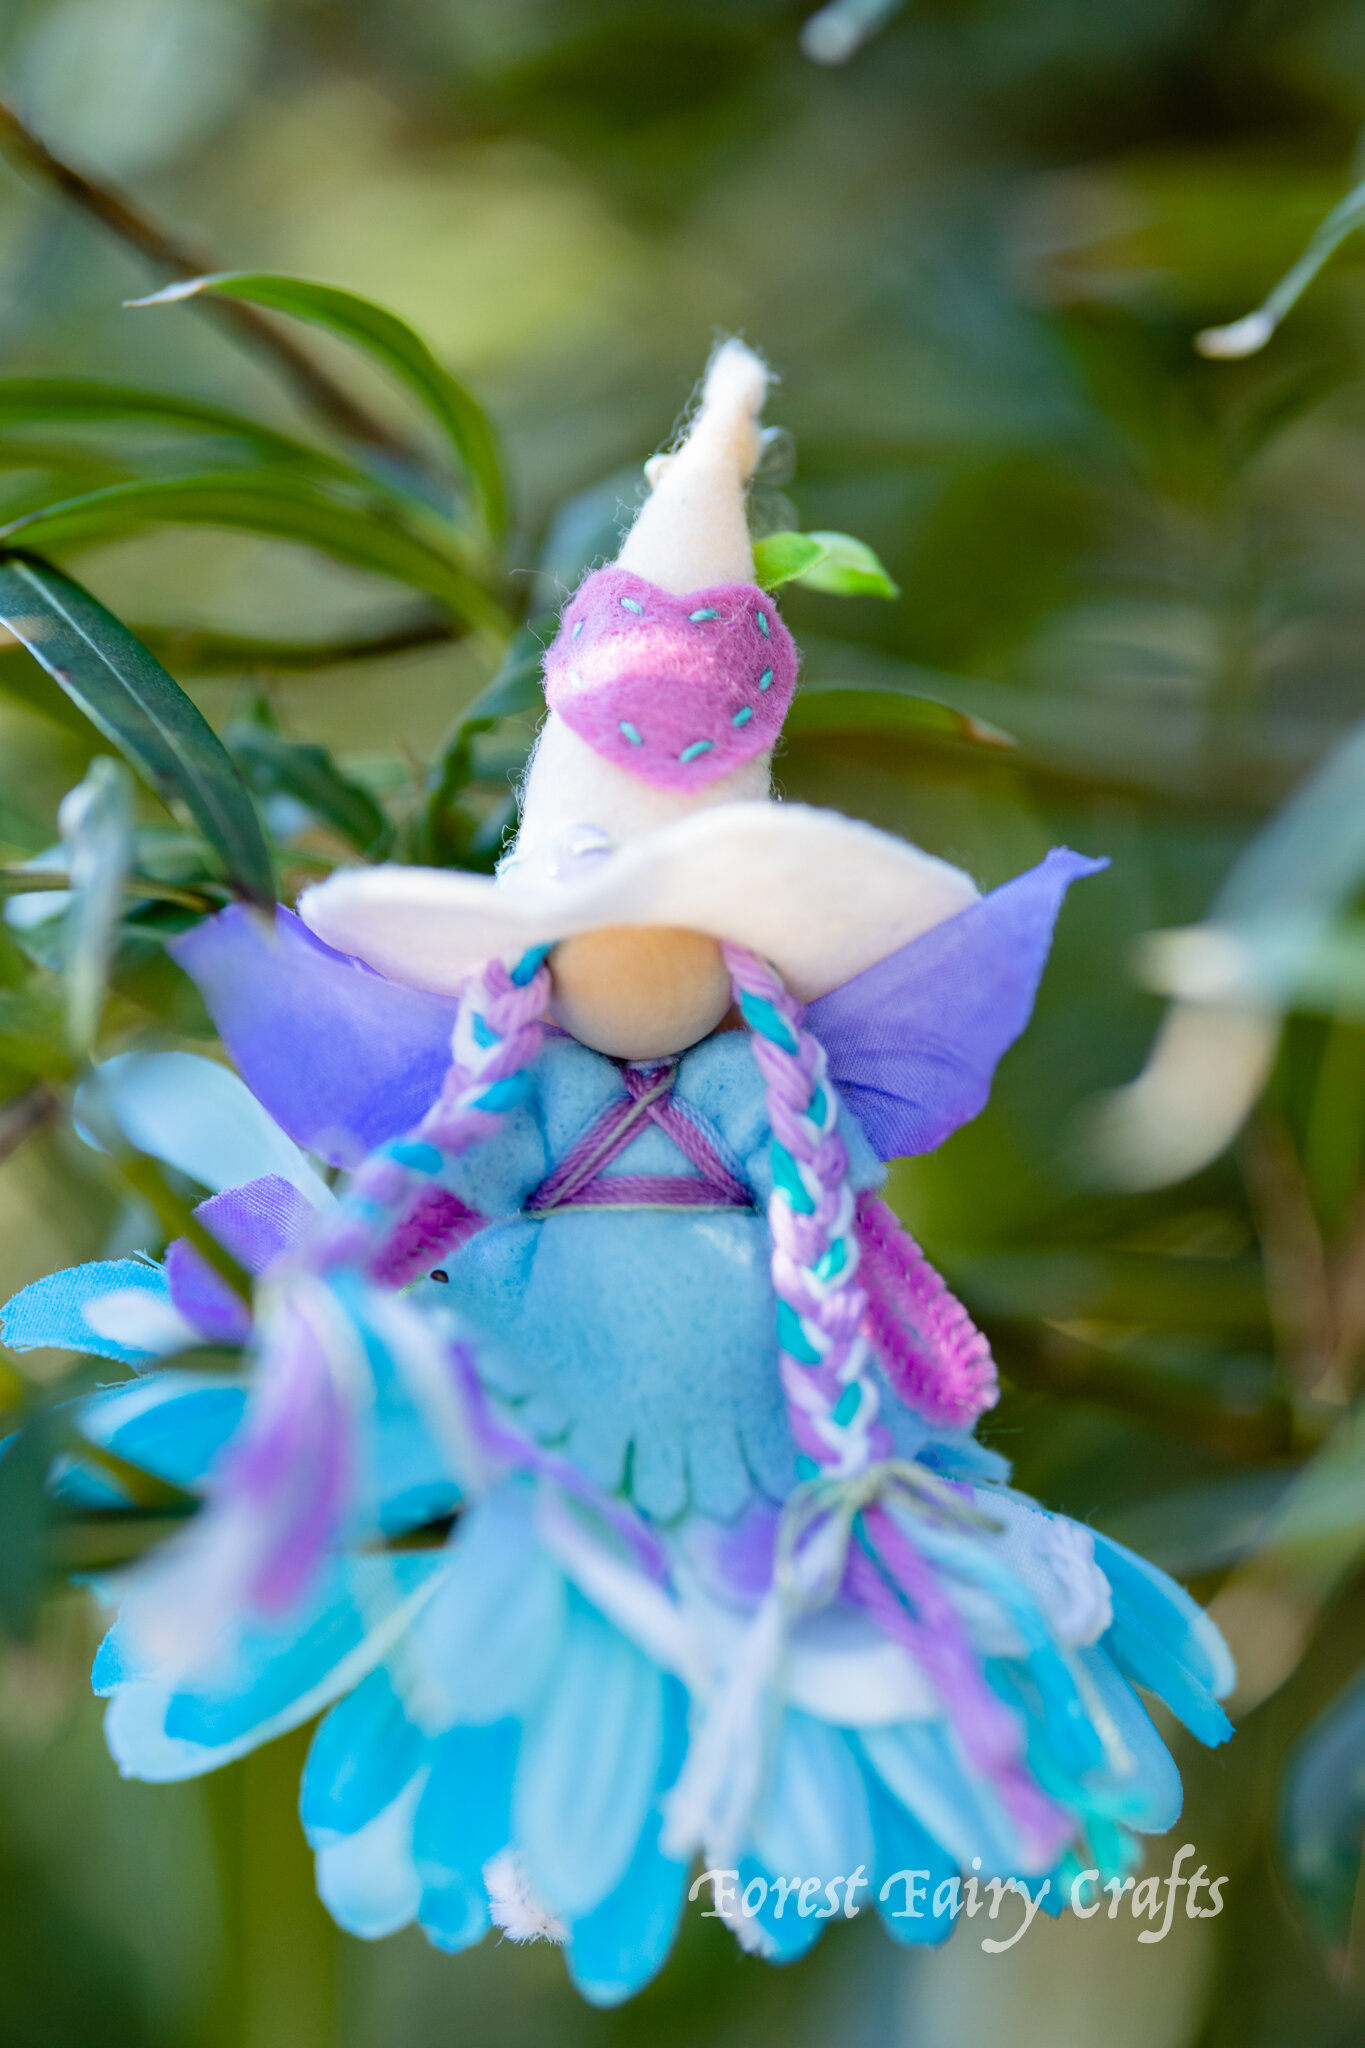
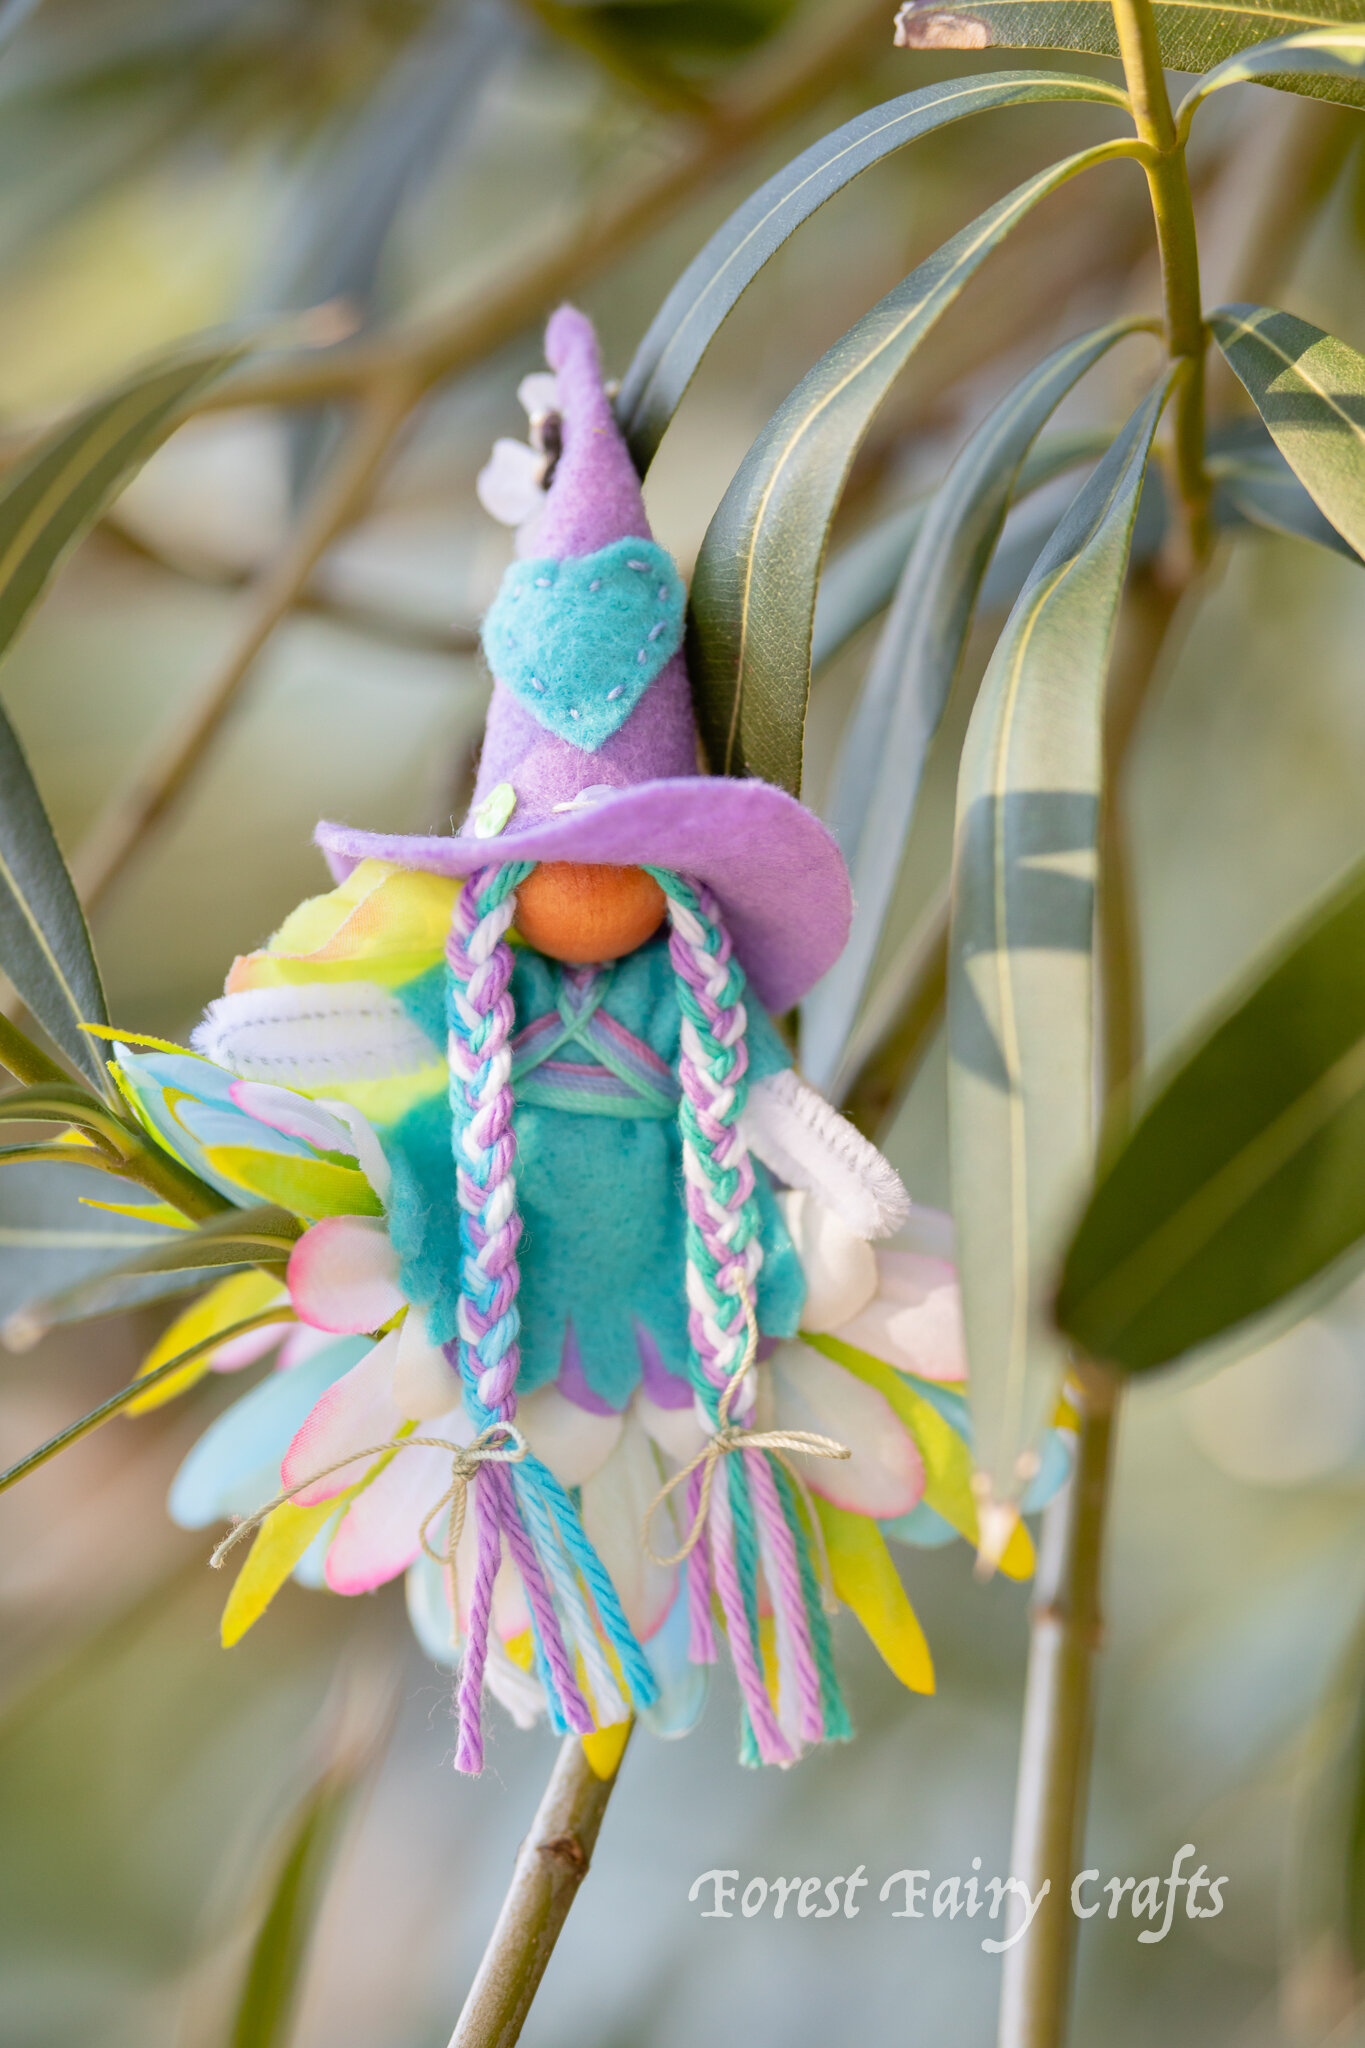
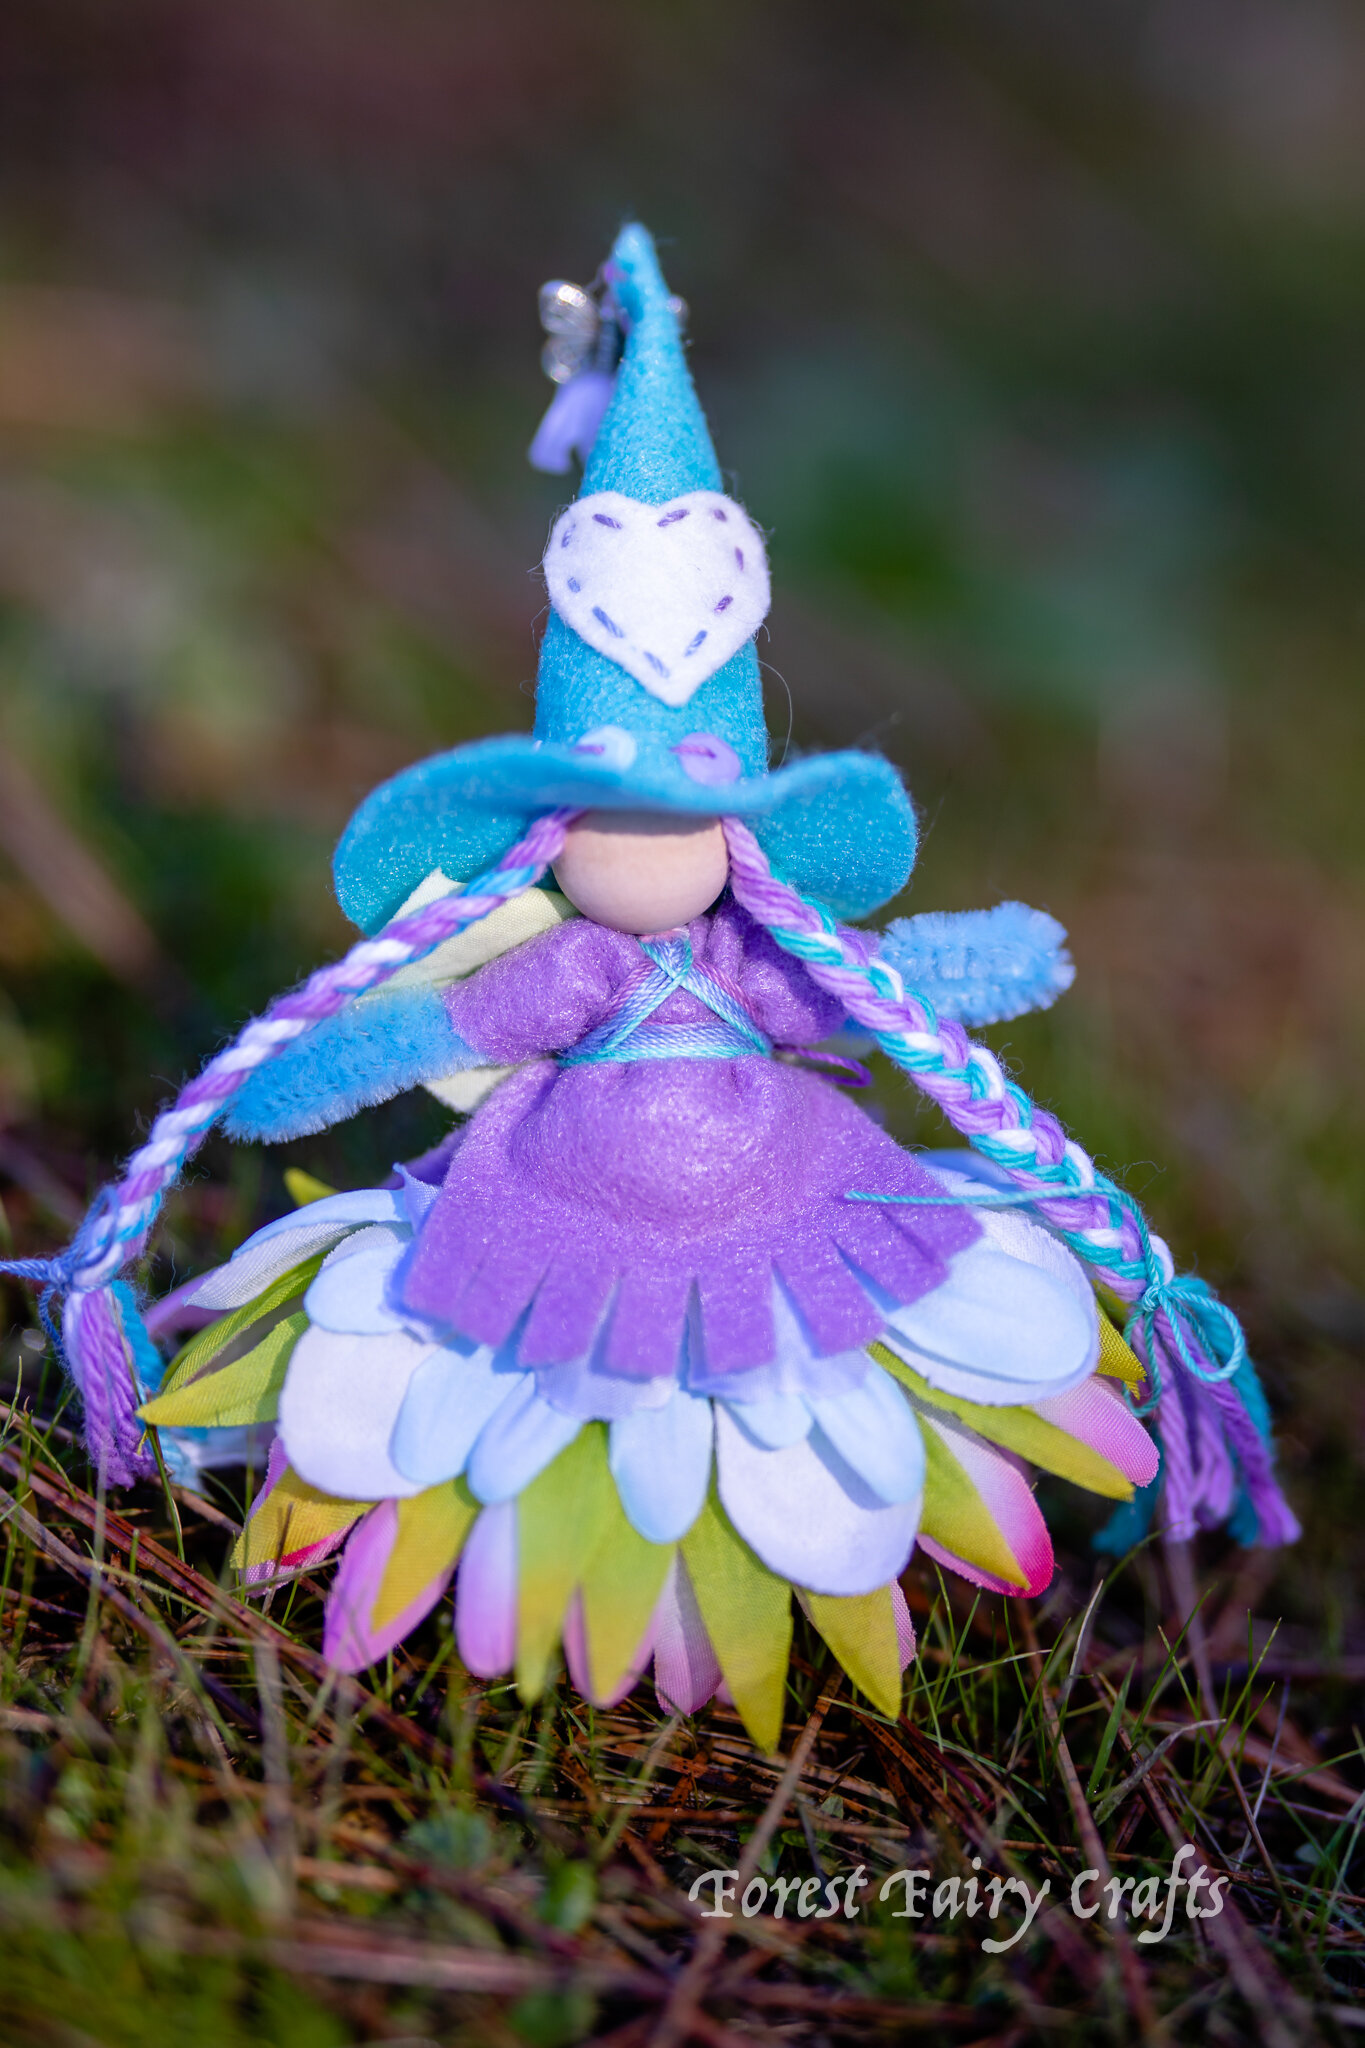
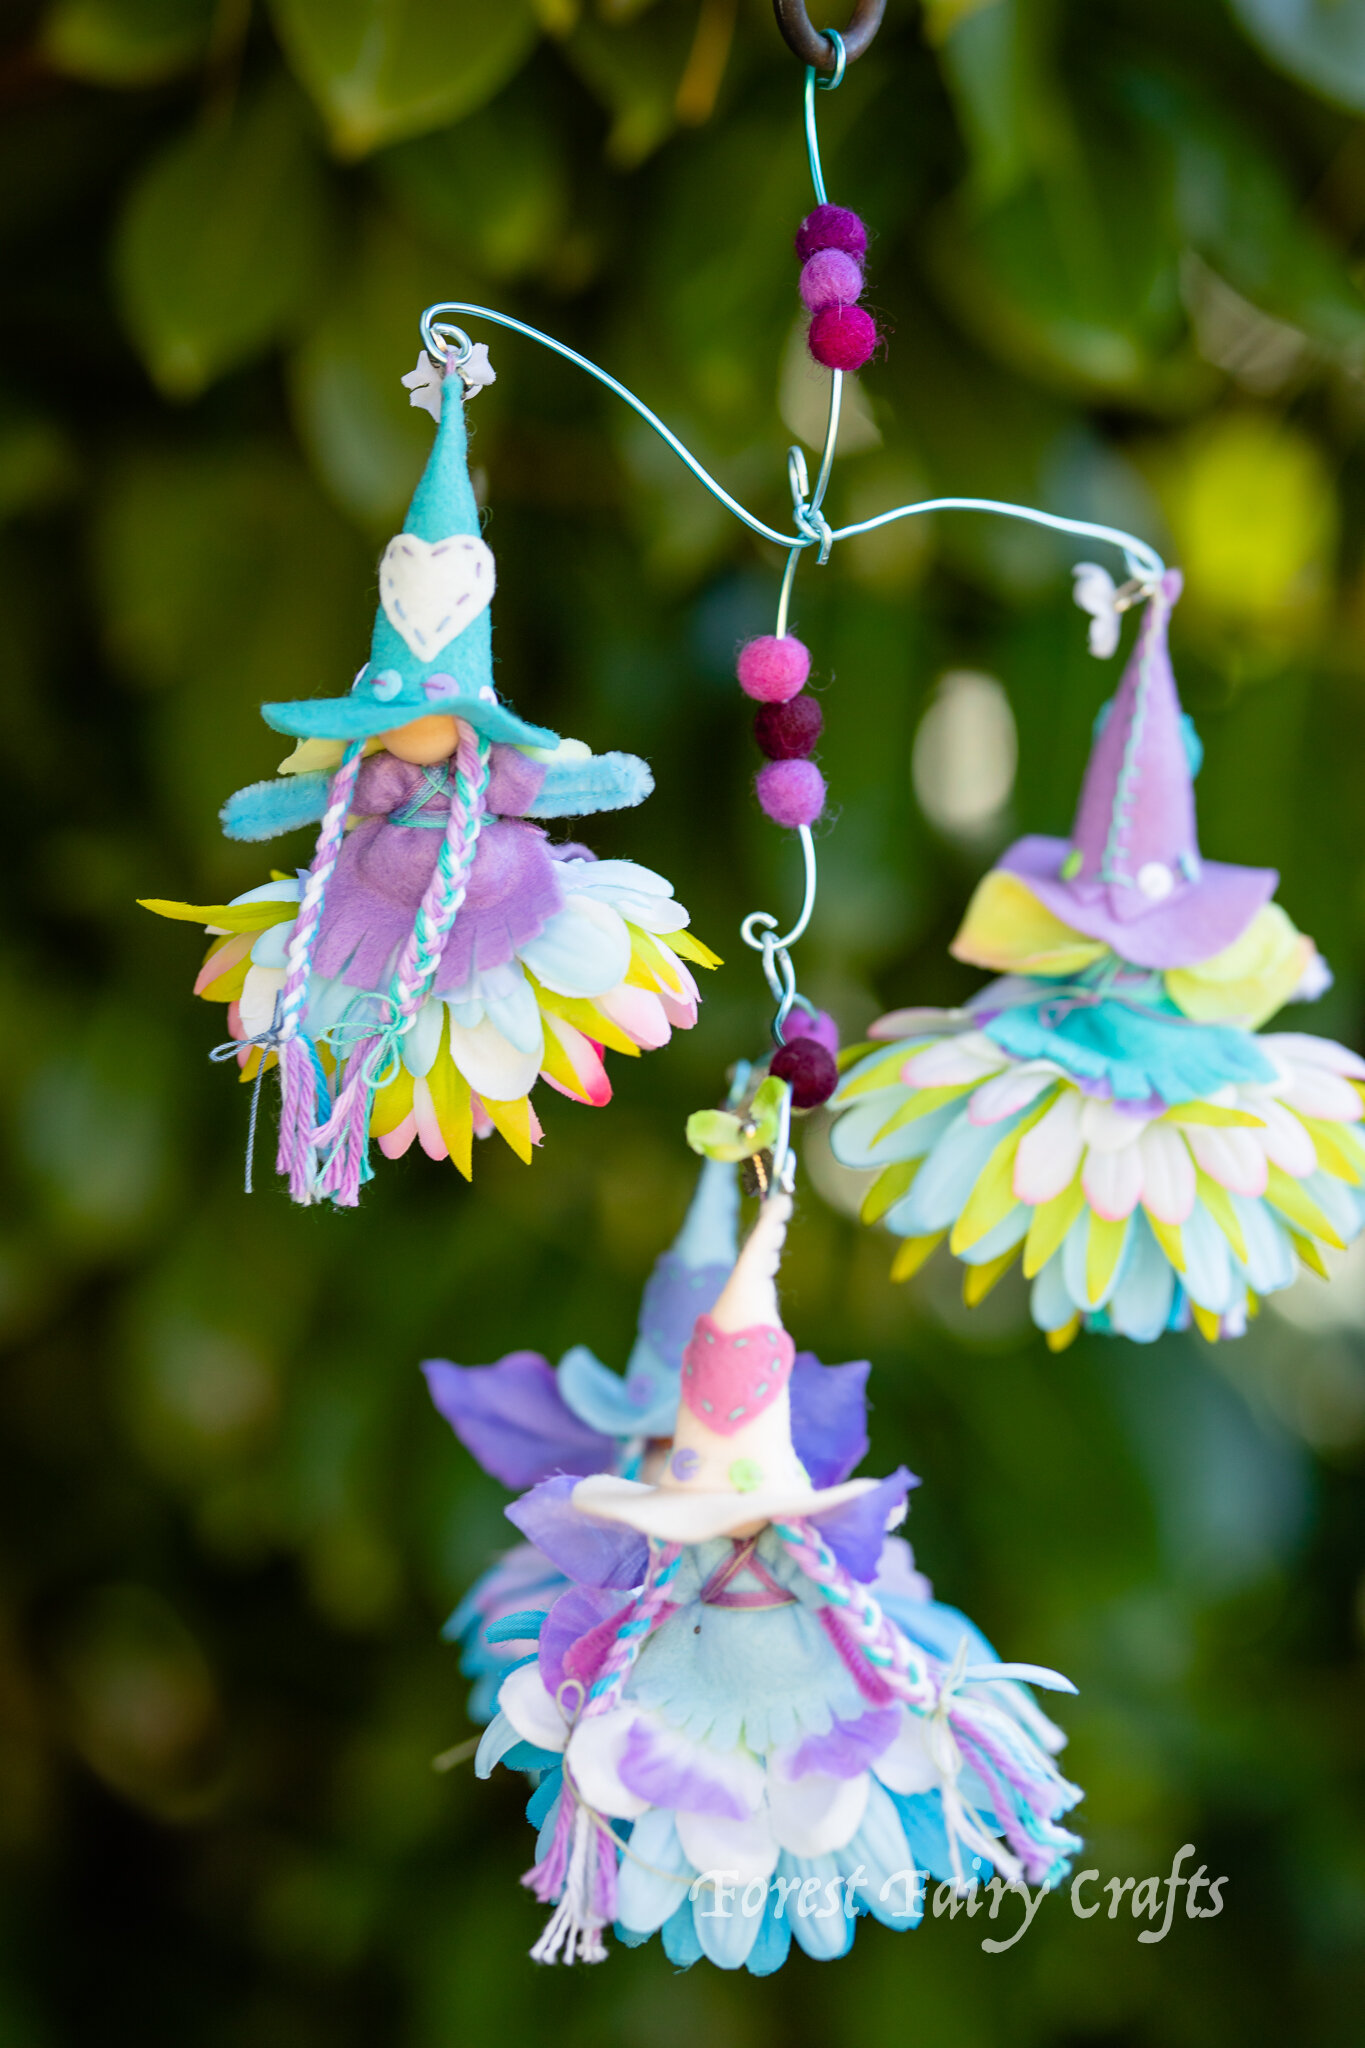
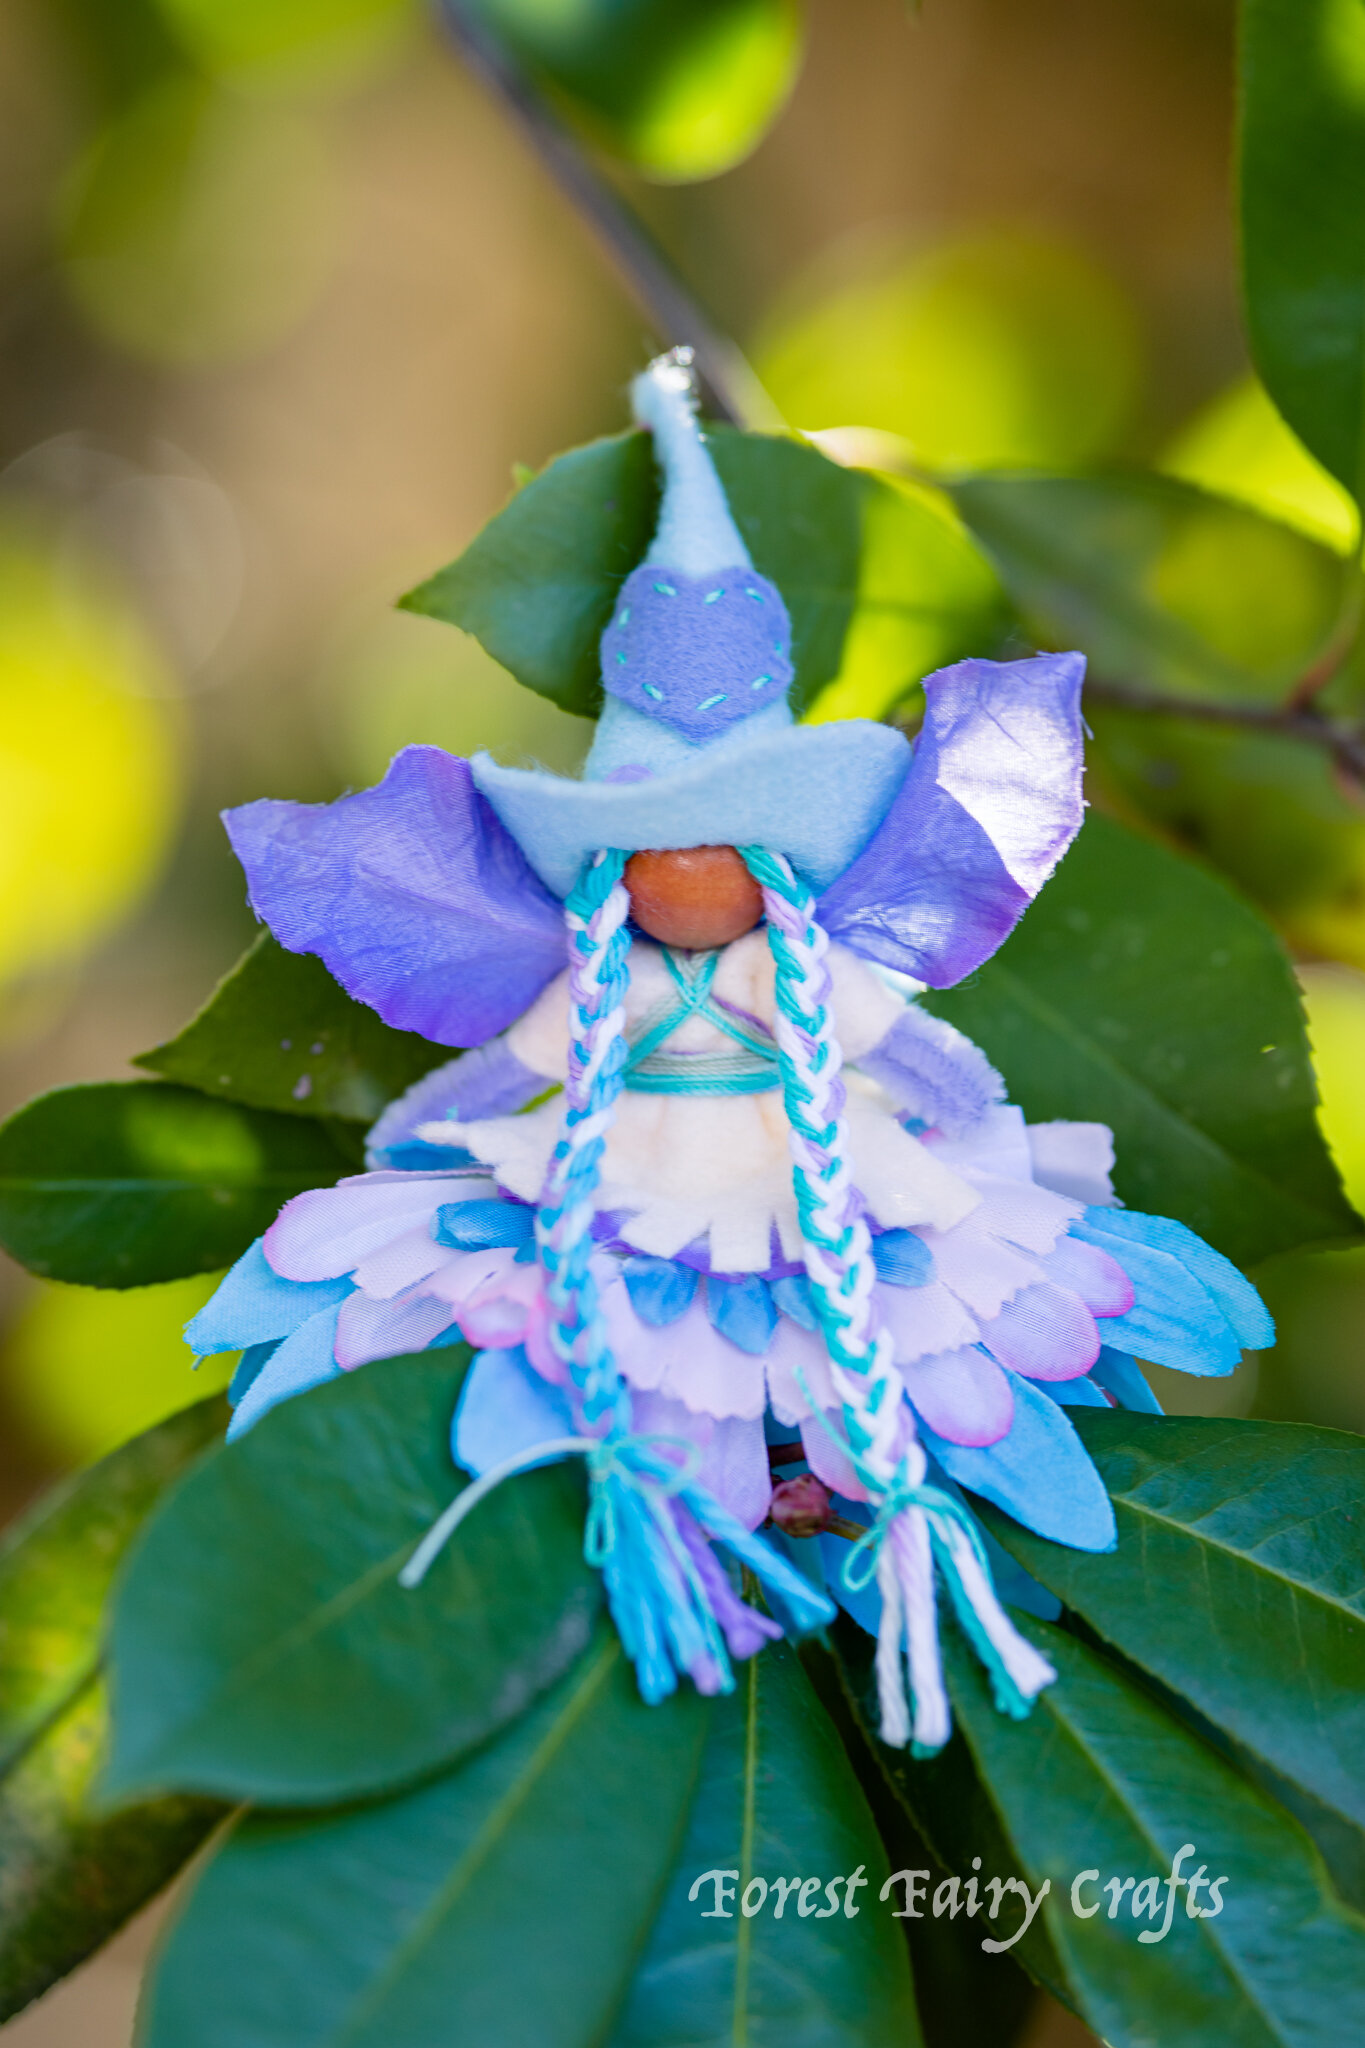
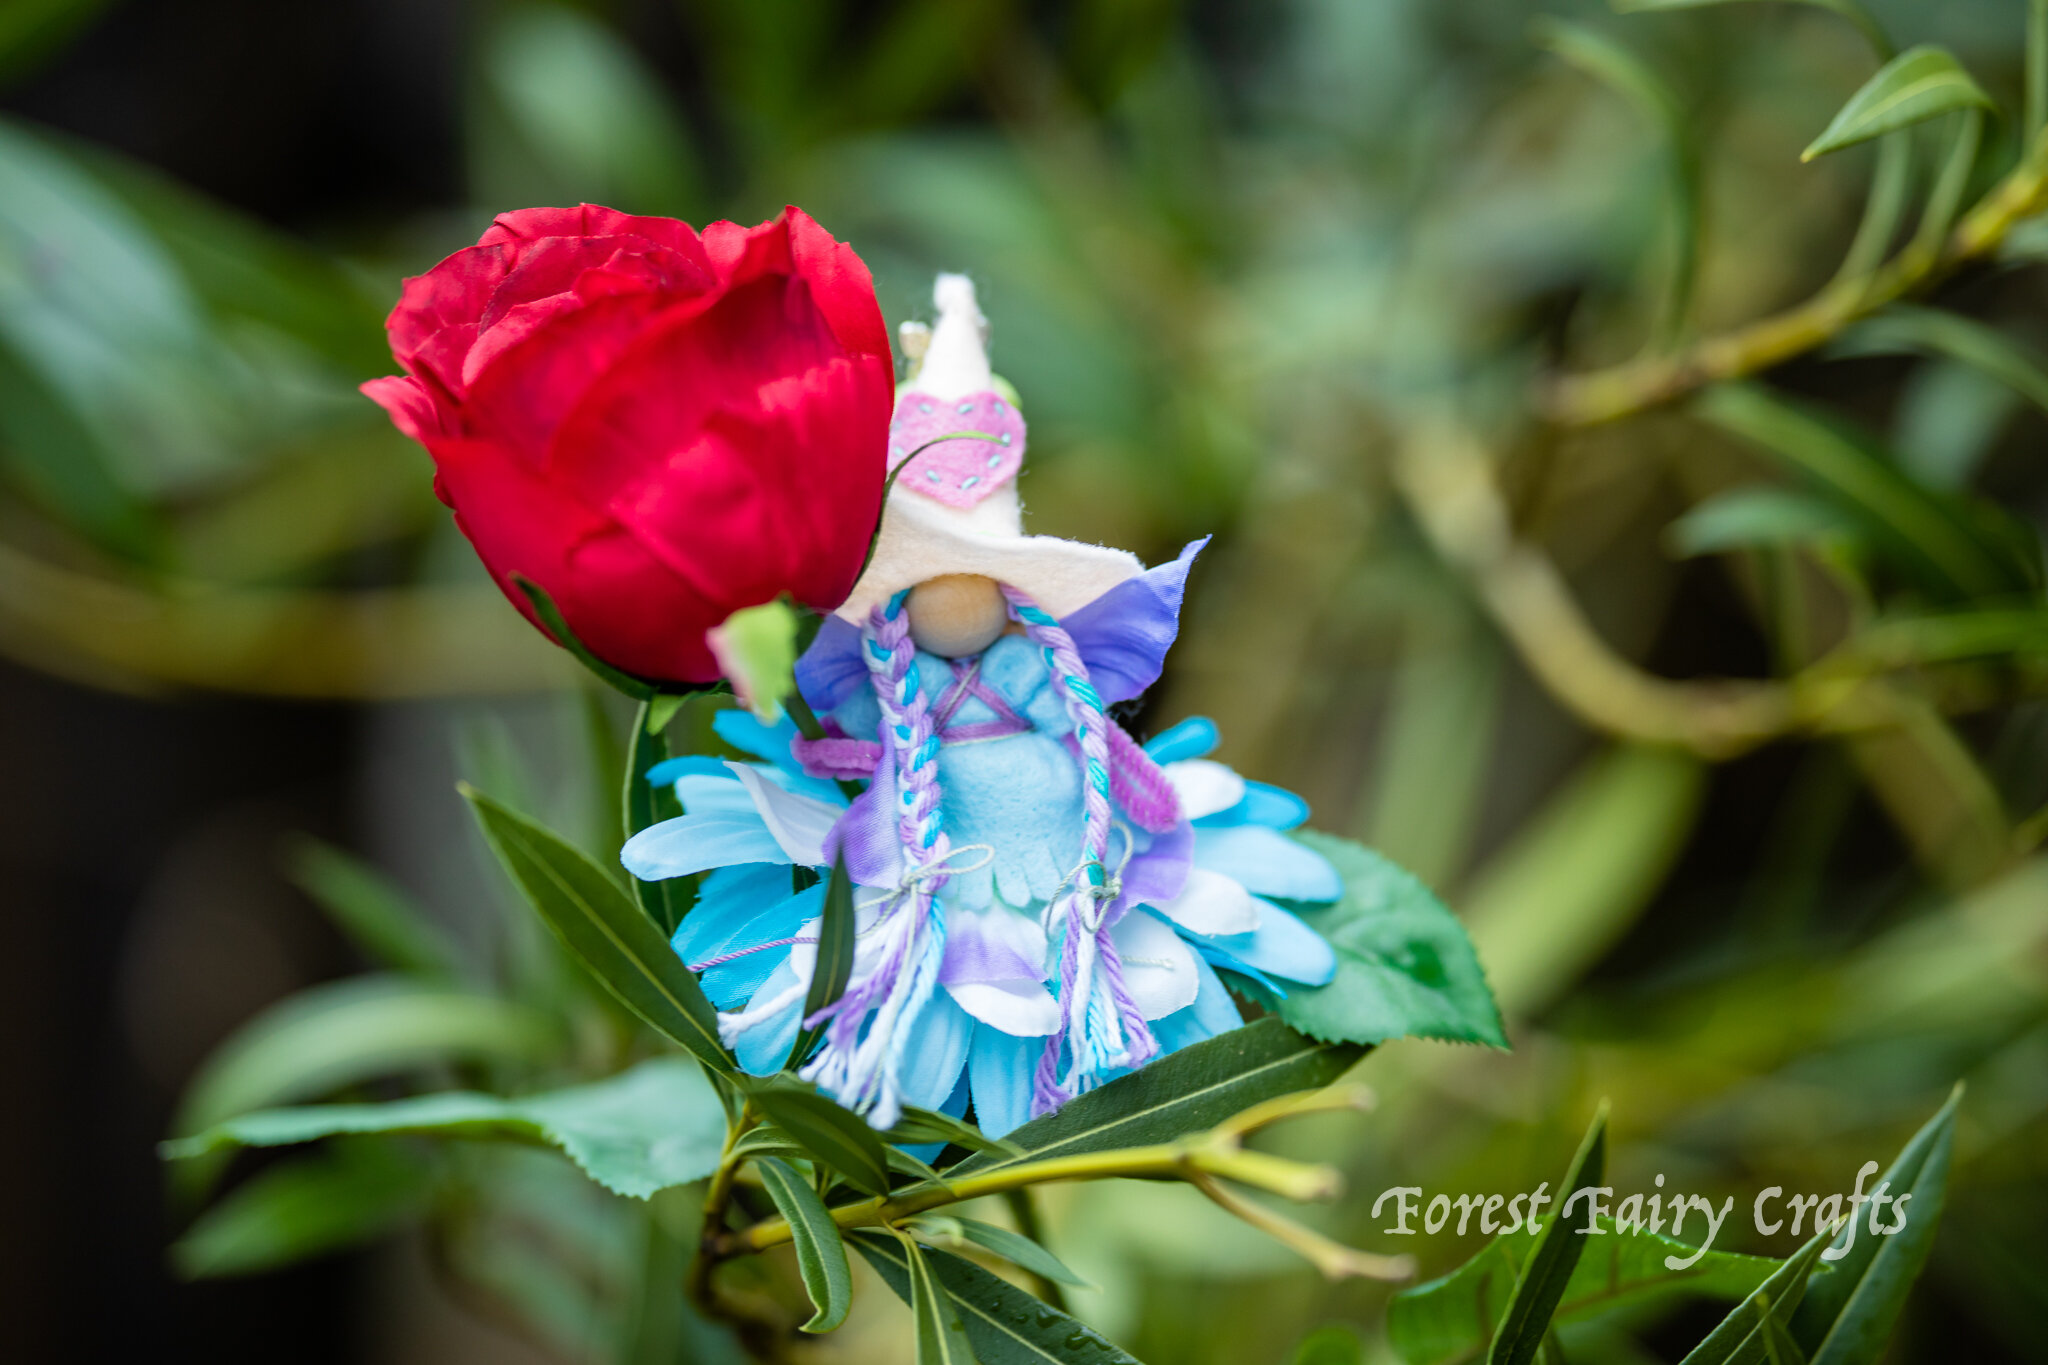
To make them, I used the witch pattern from Forest Fairy Crafts. I chose different colors (white/lavender/light blue/turquoise). I cut a hat from each color, a small heart, and a dress from each color. Then I mixed them around into different combinations. This gave the mobile a sense of connection between the fairies. And, once I start sewing, it’s easy to lose track of colors and end up with two identical hats or outfits.
I cut one small heart to measure on a hat before sewing anything together. Then I adjusted that to the right size. I used that to cut three more hearts (totaling 4, one of each color). I sew the hearts onto the triangle before sewing the hat together.
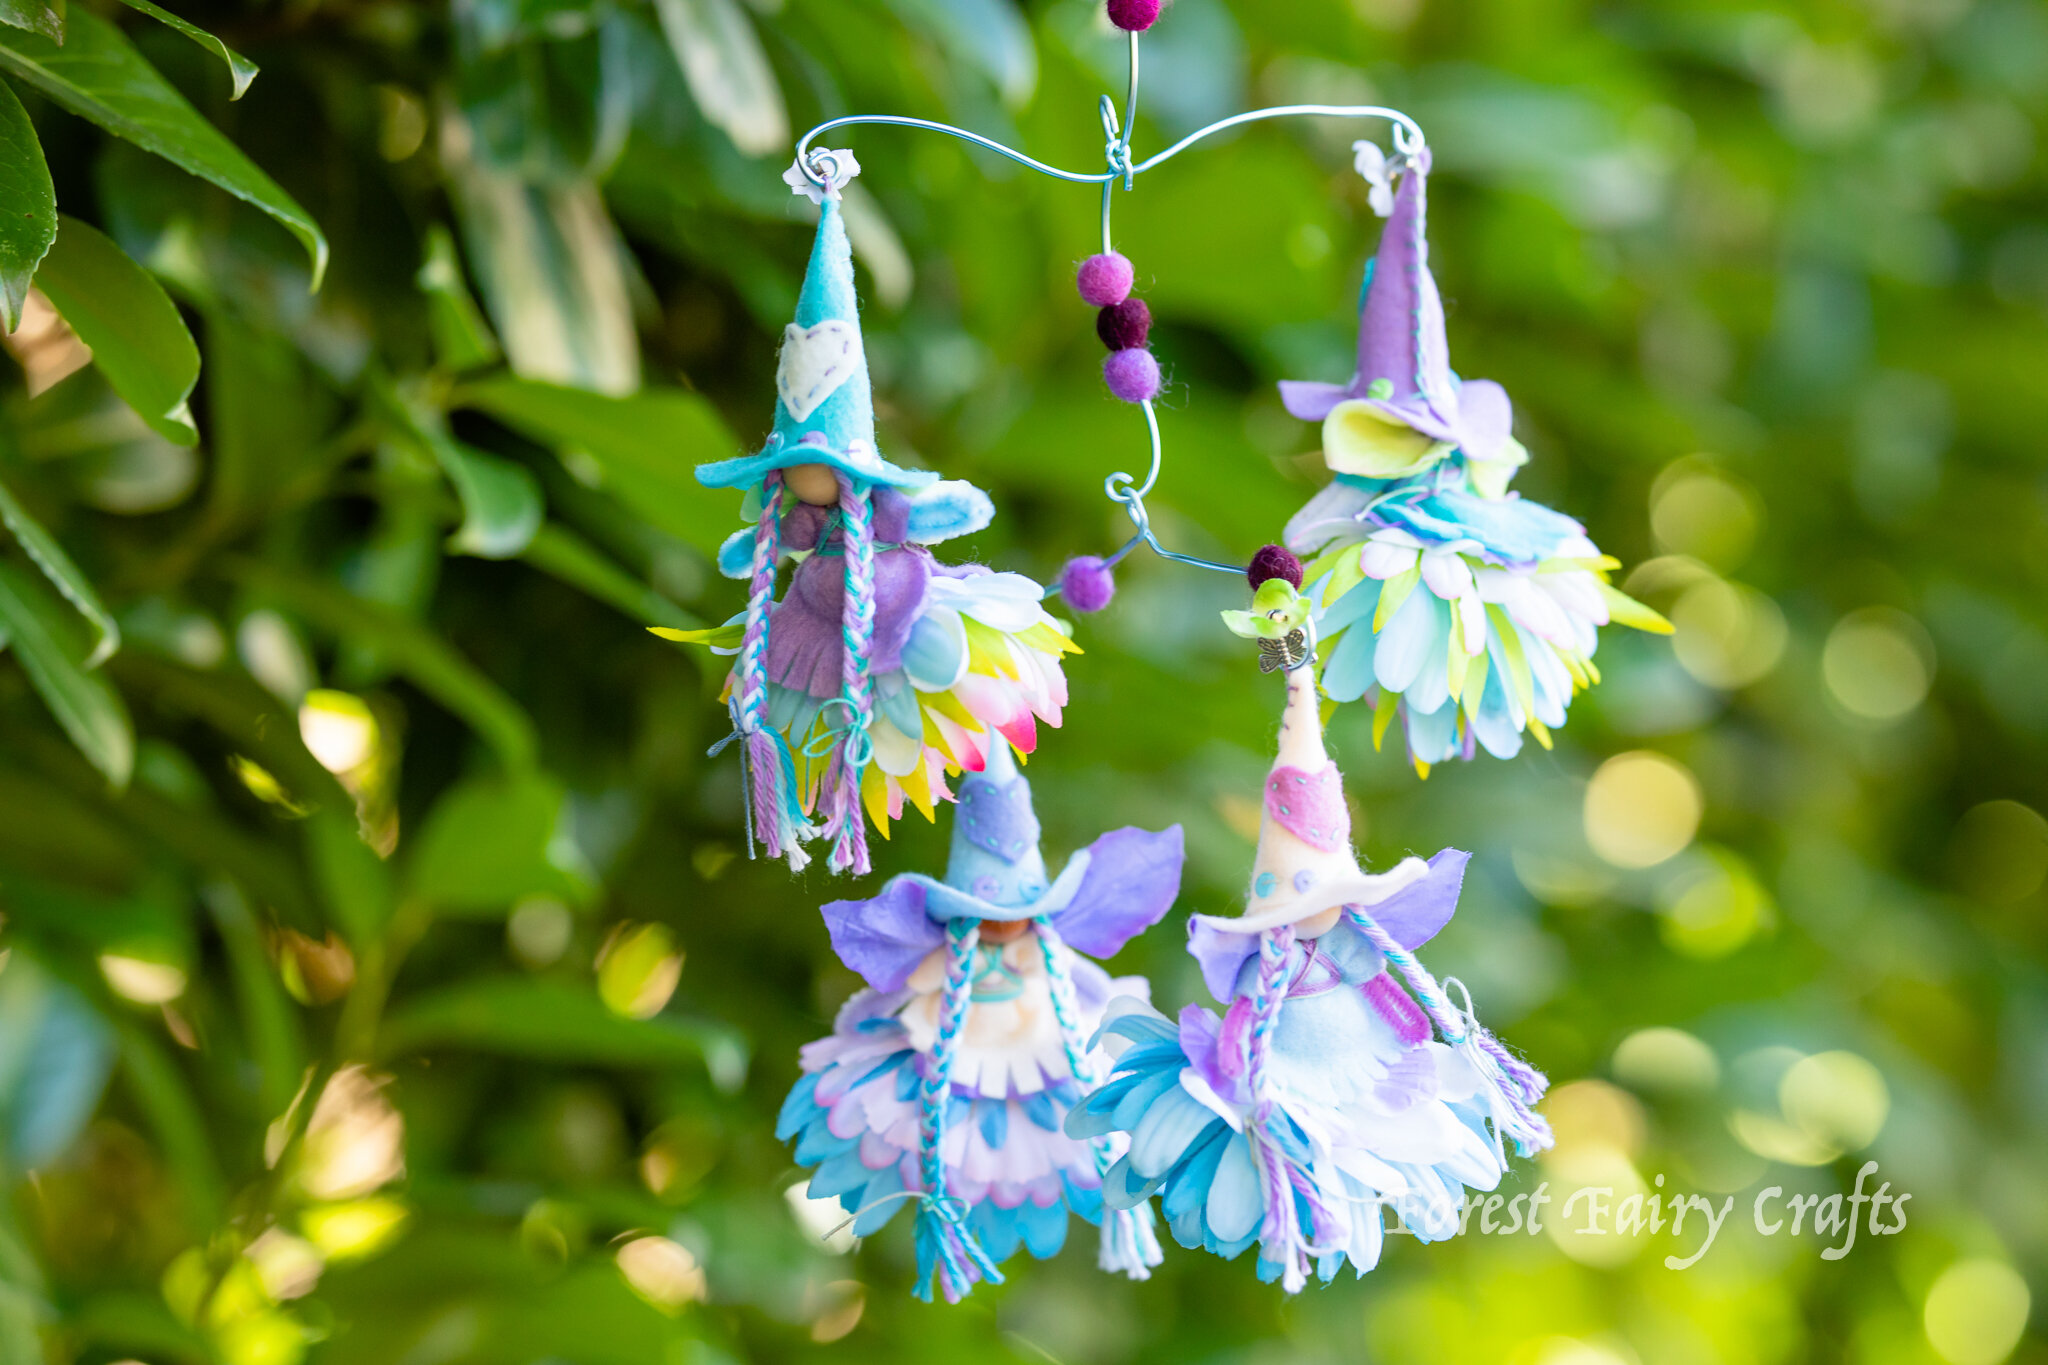
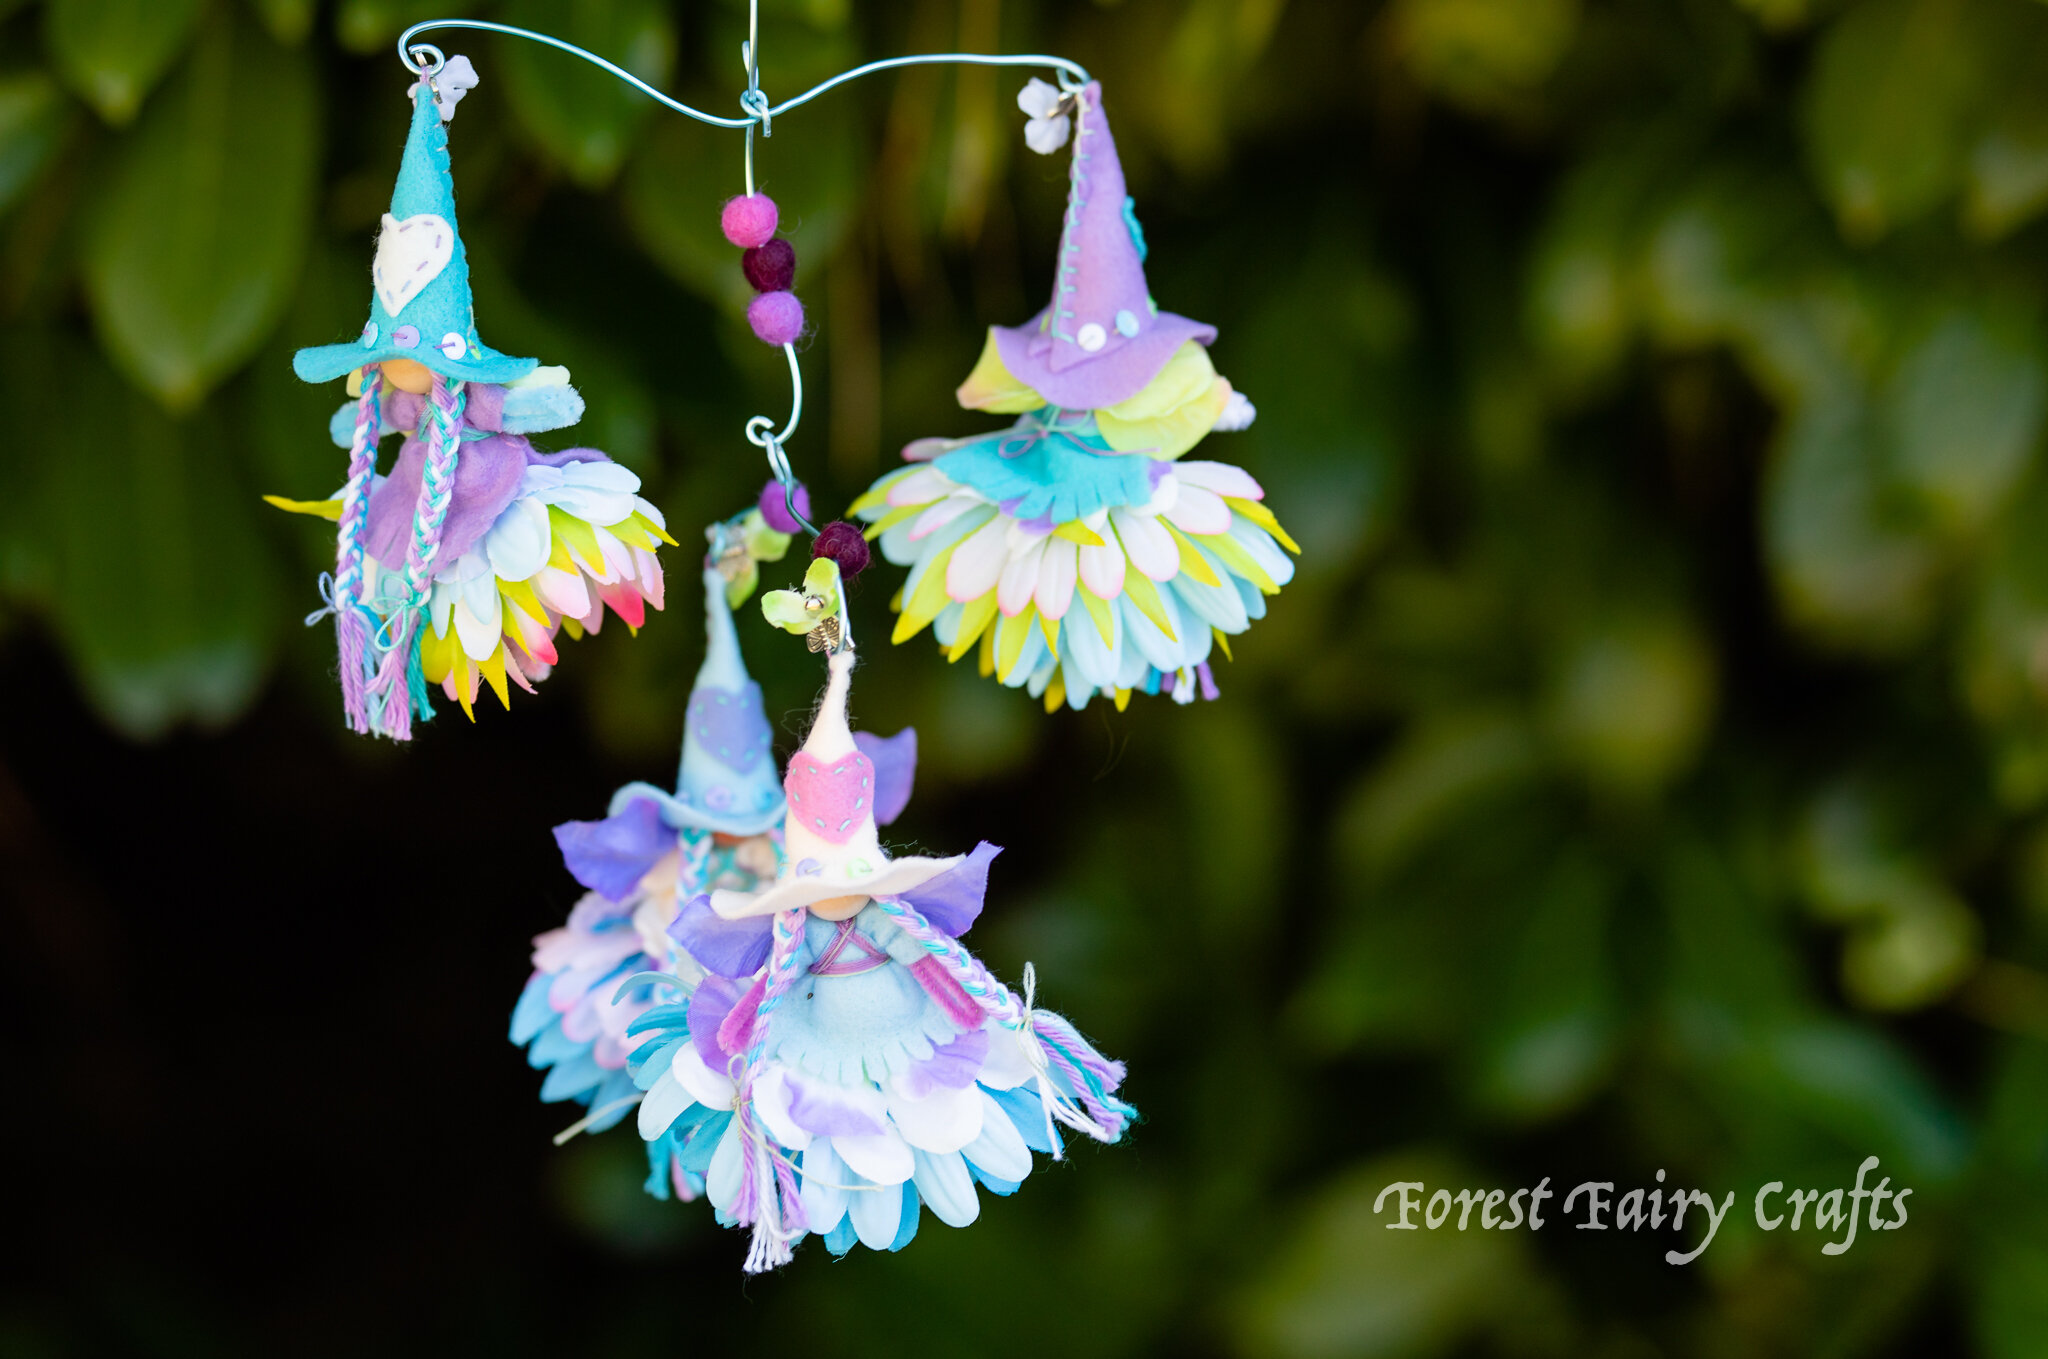
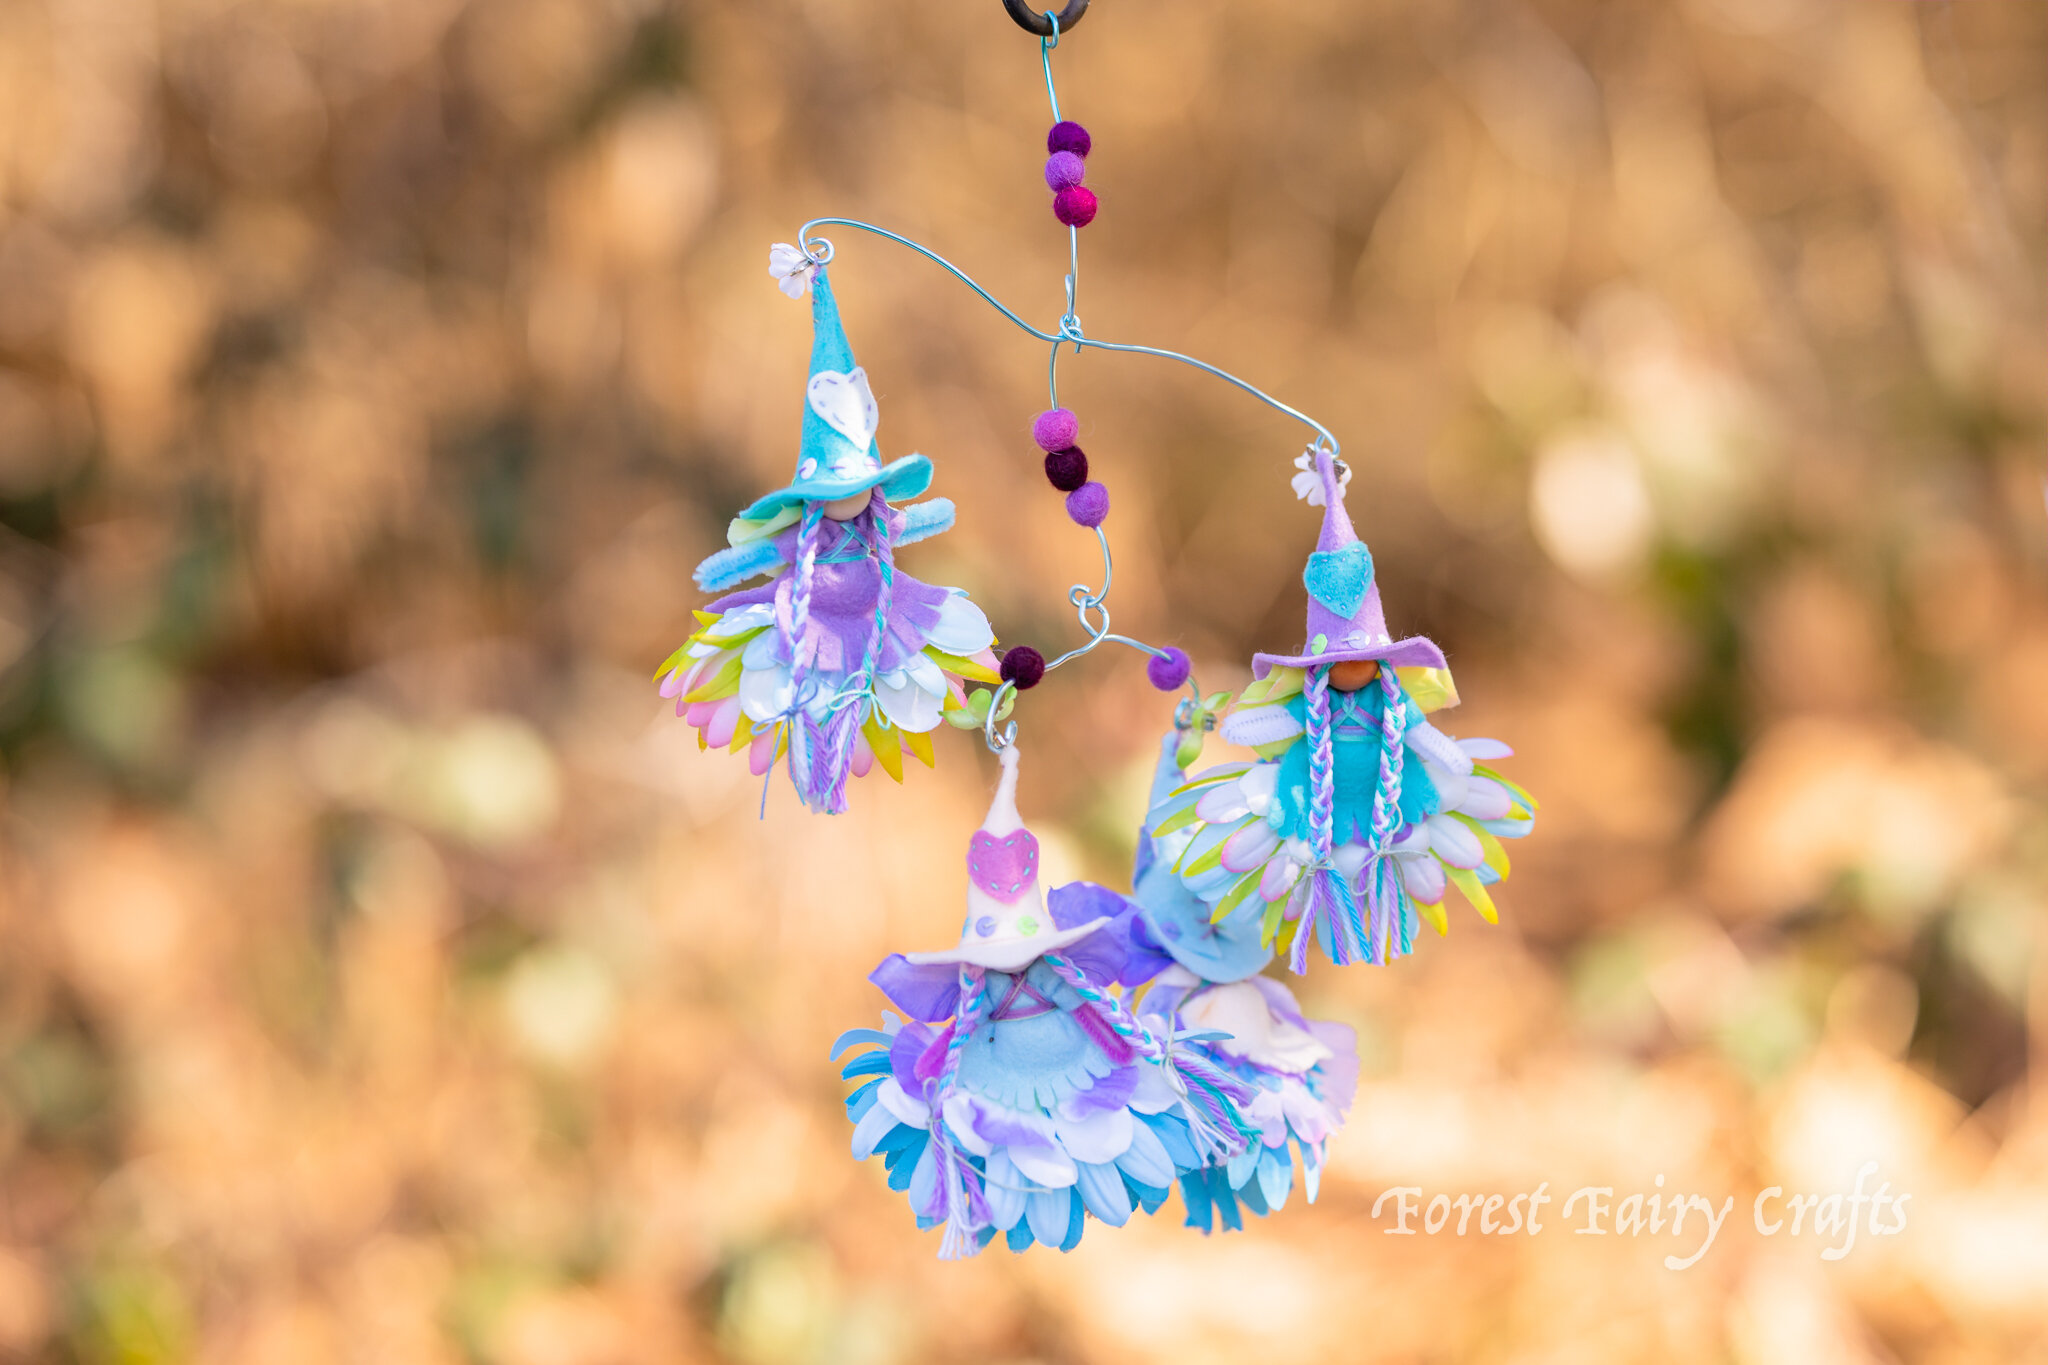
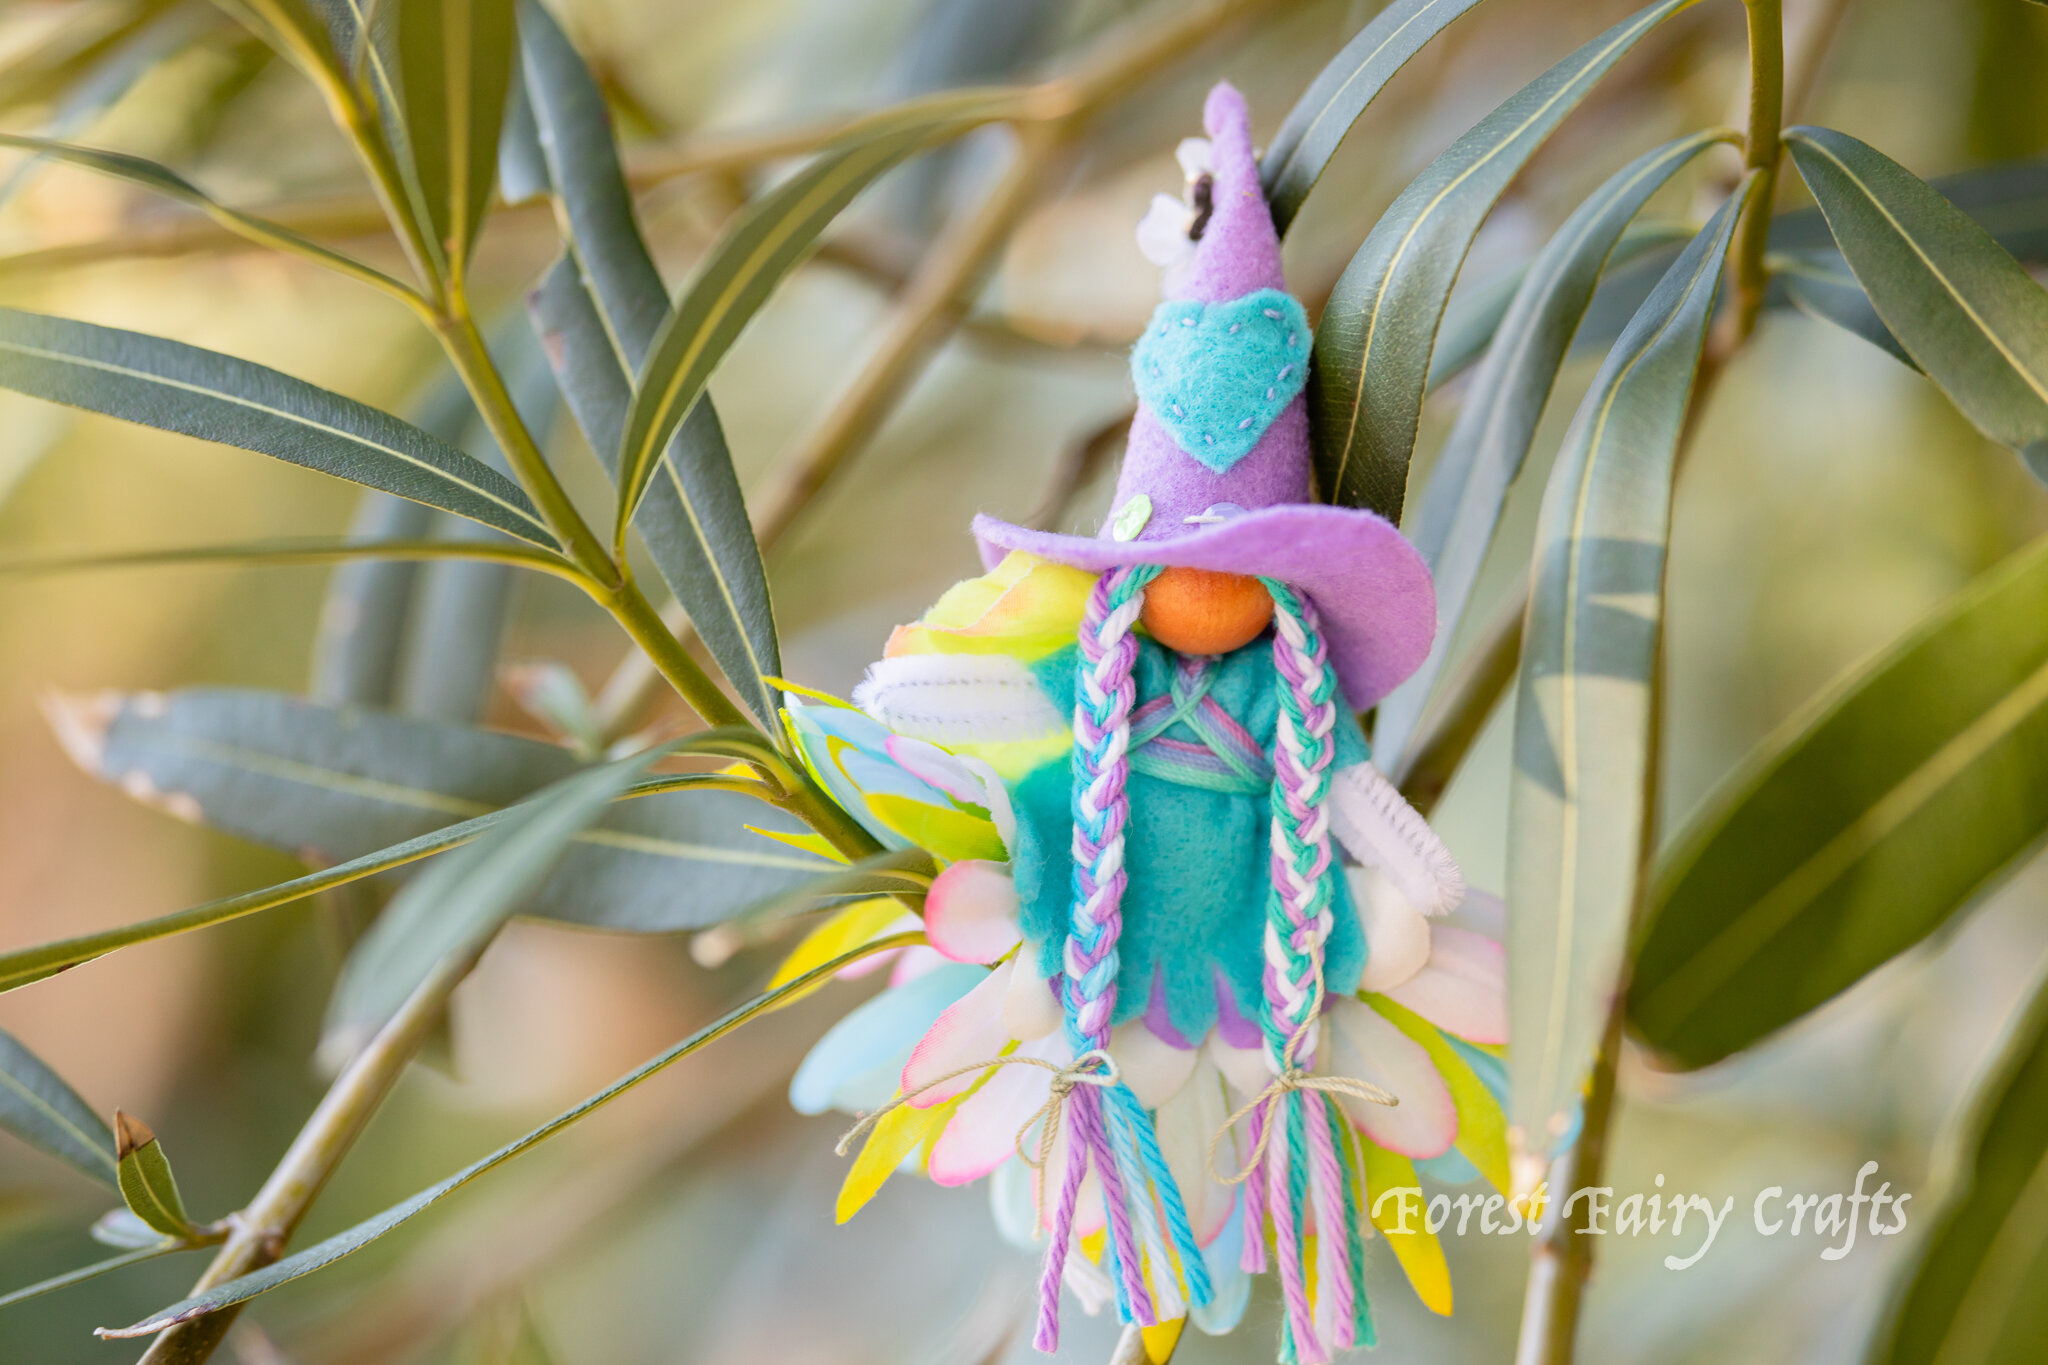
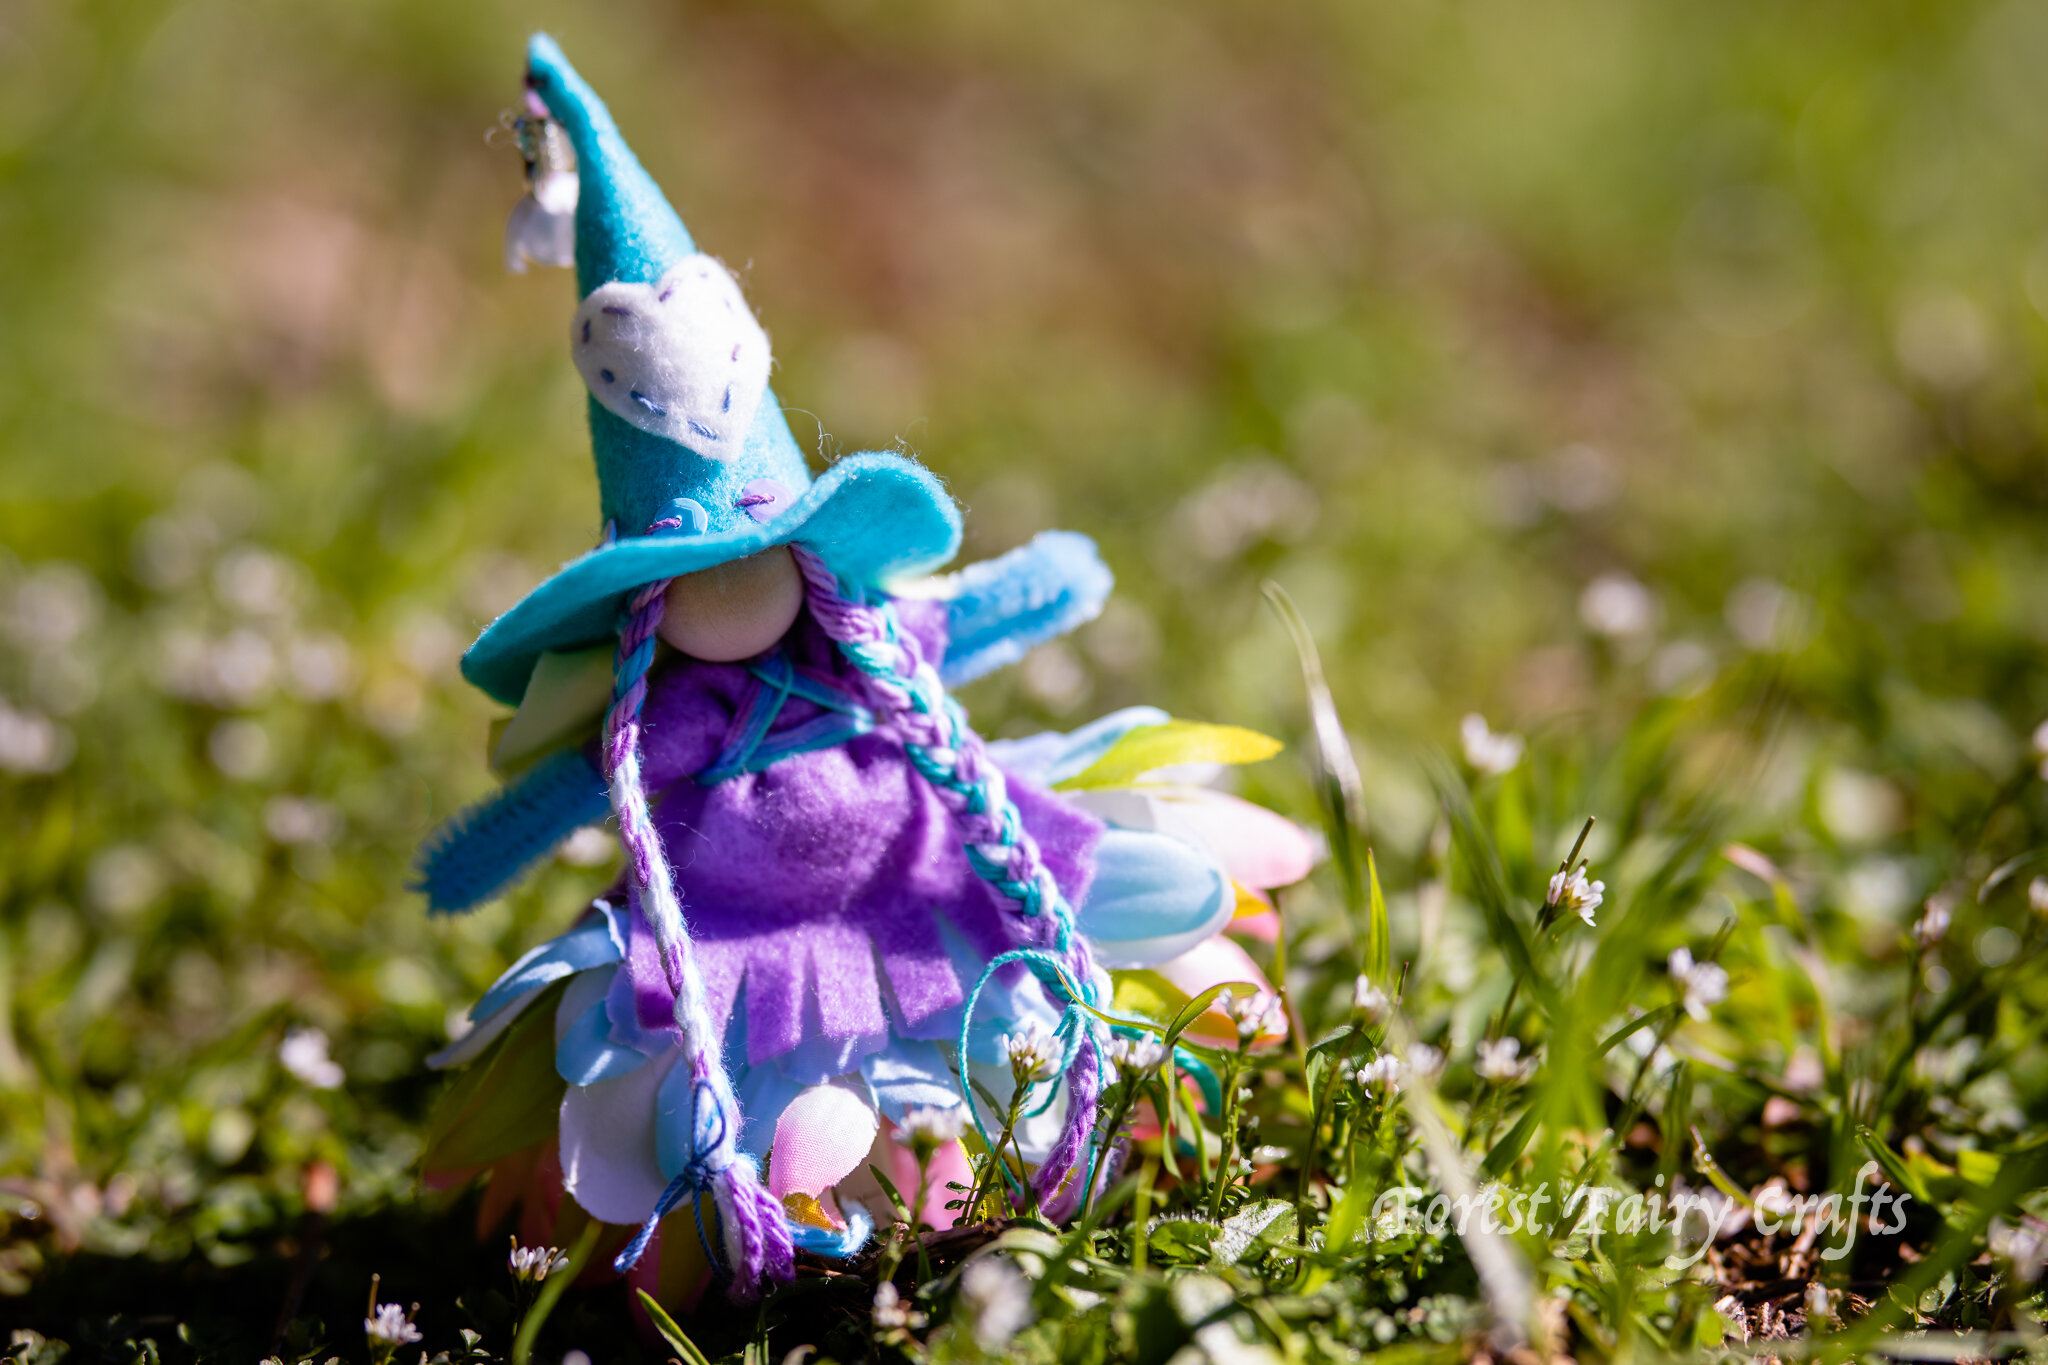
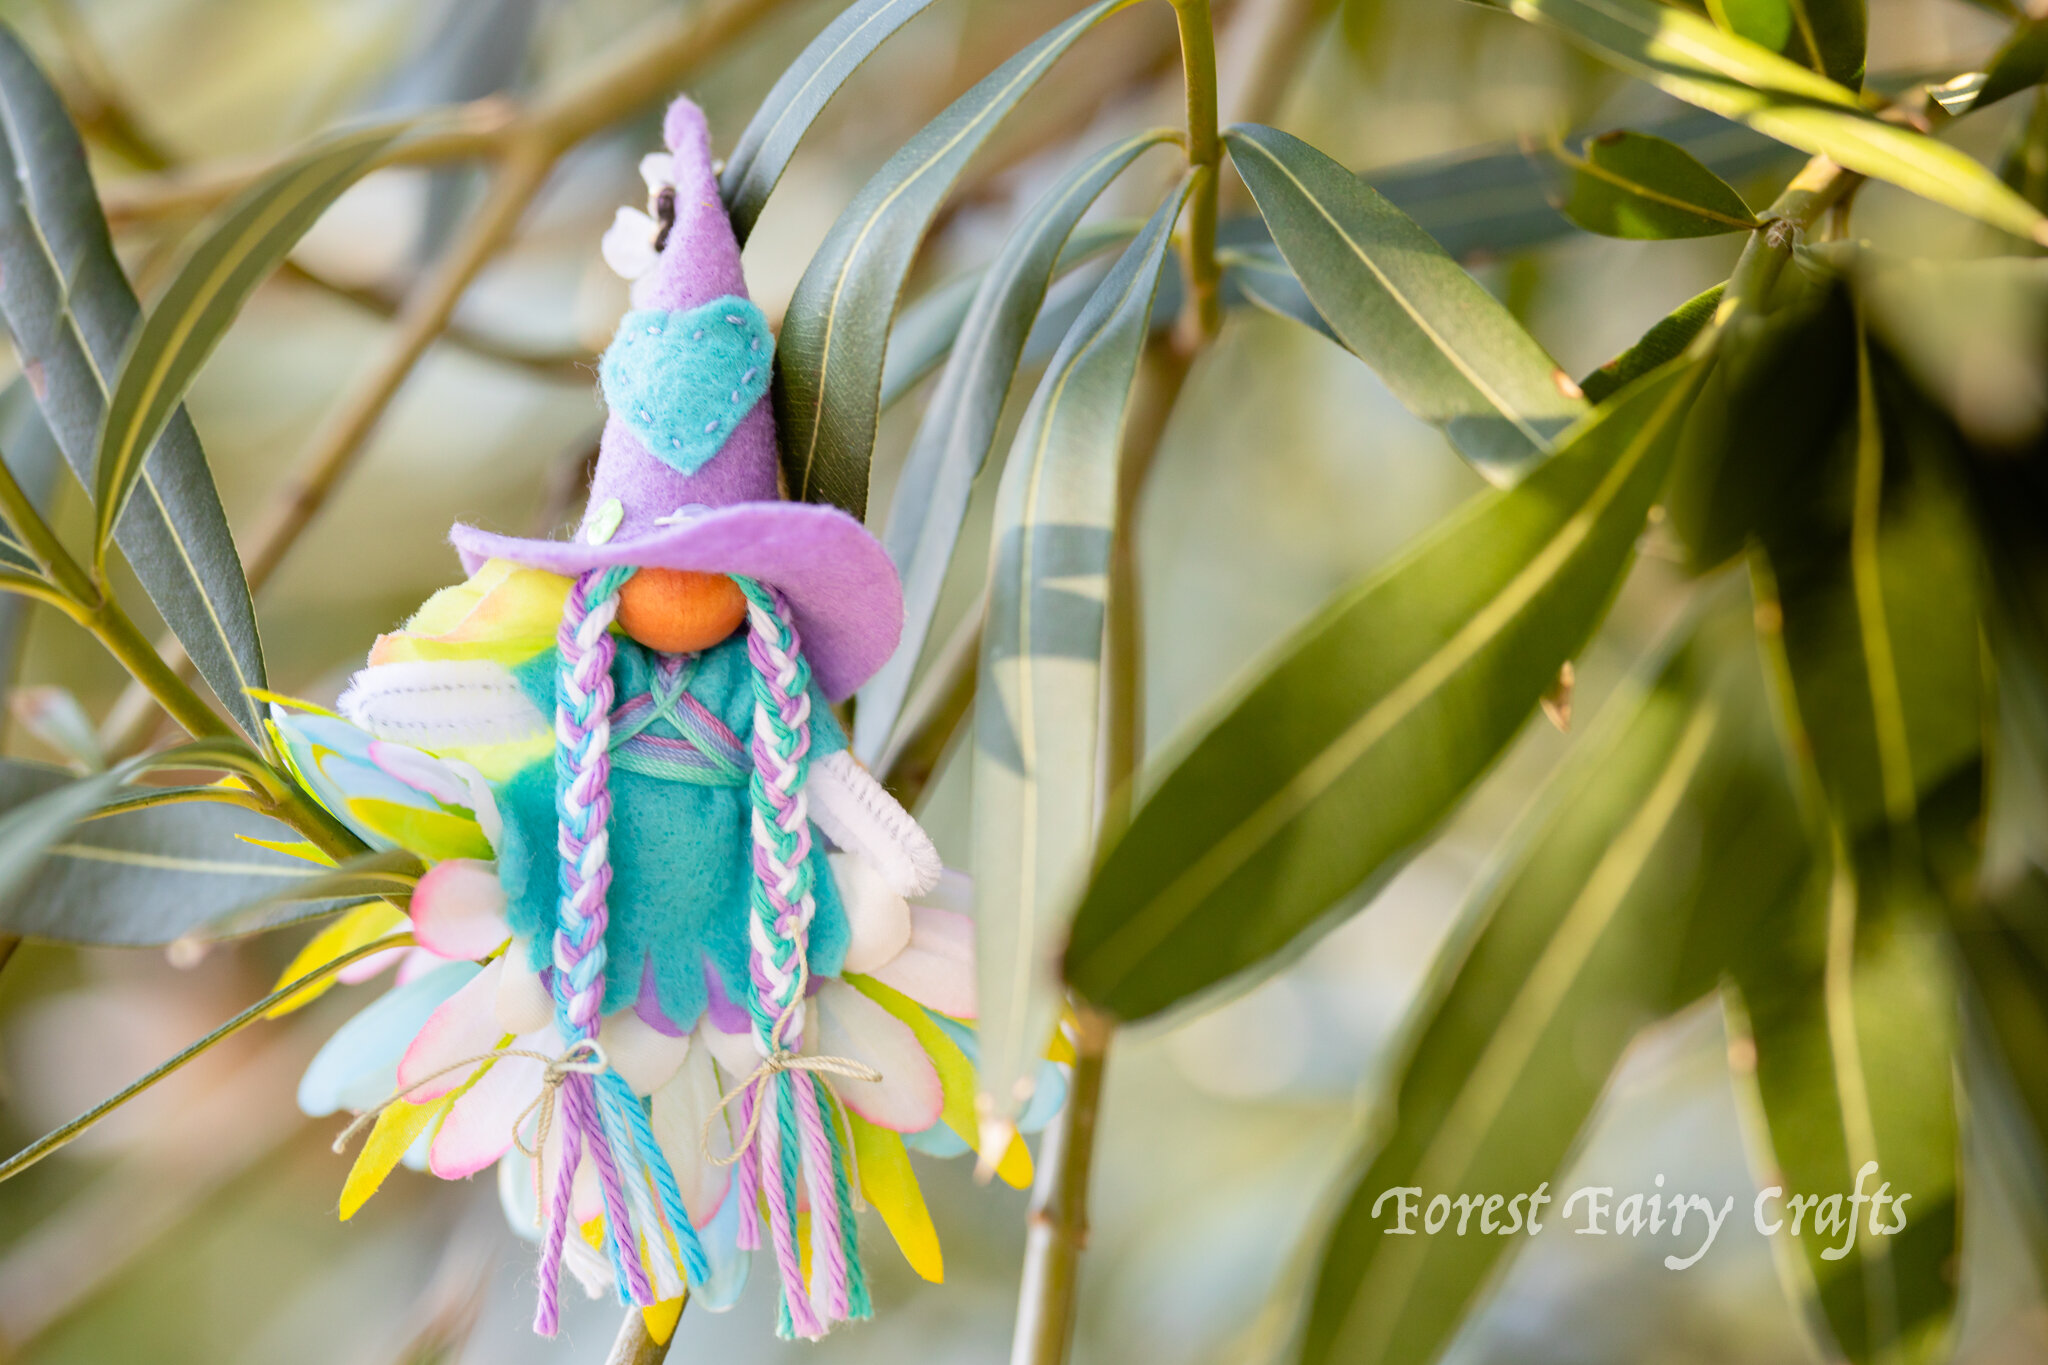
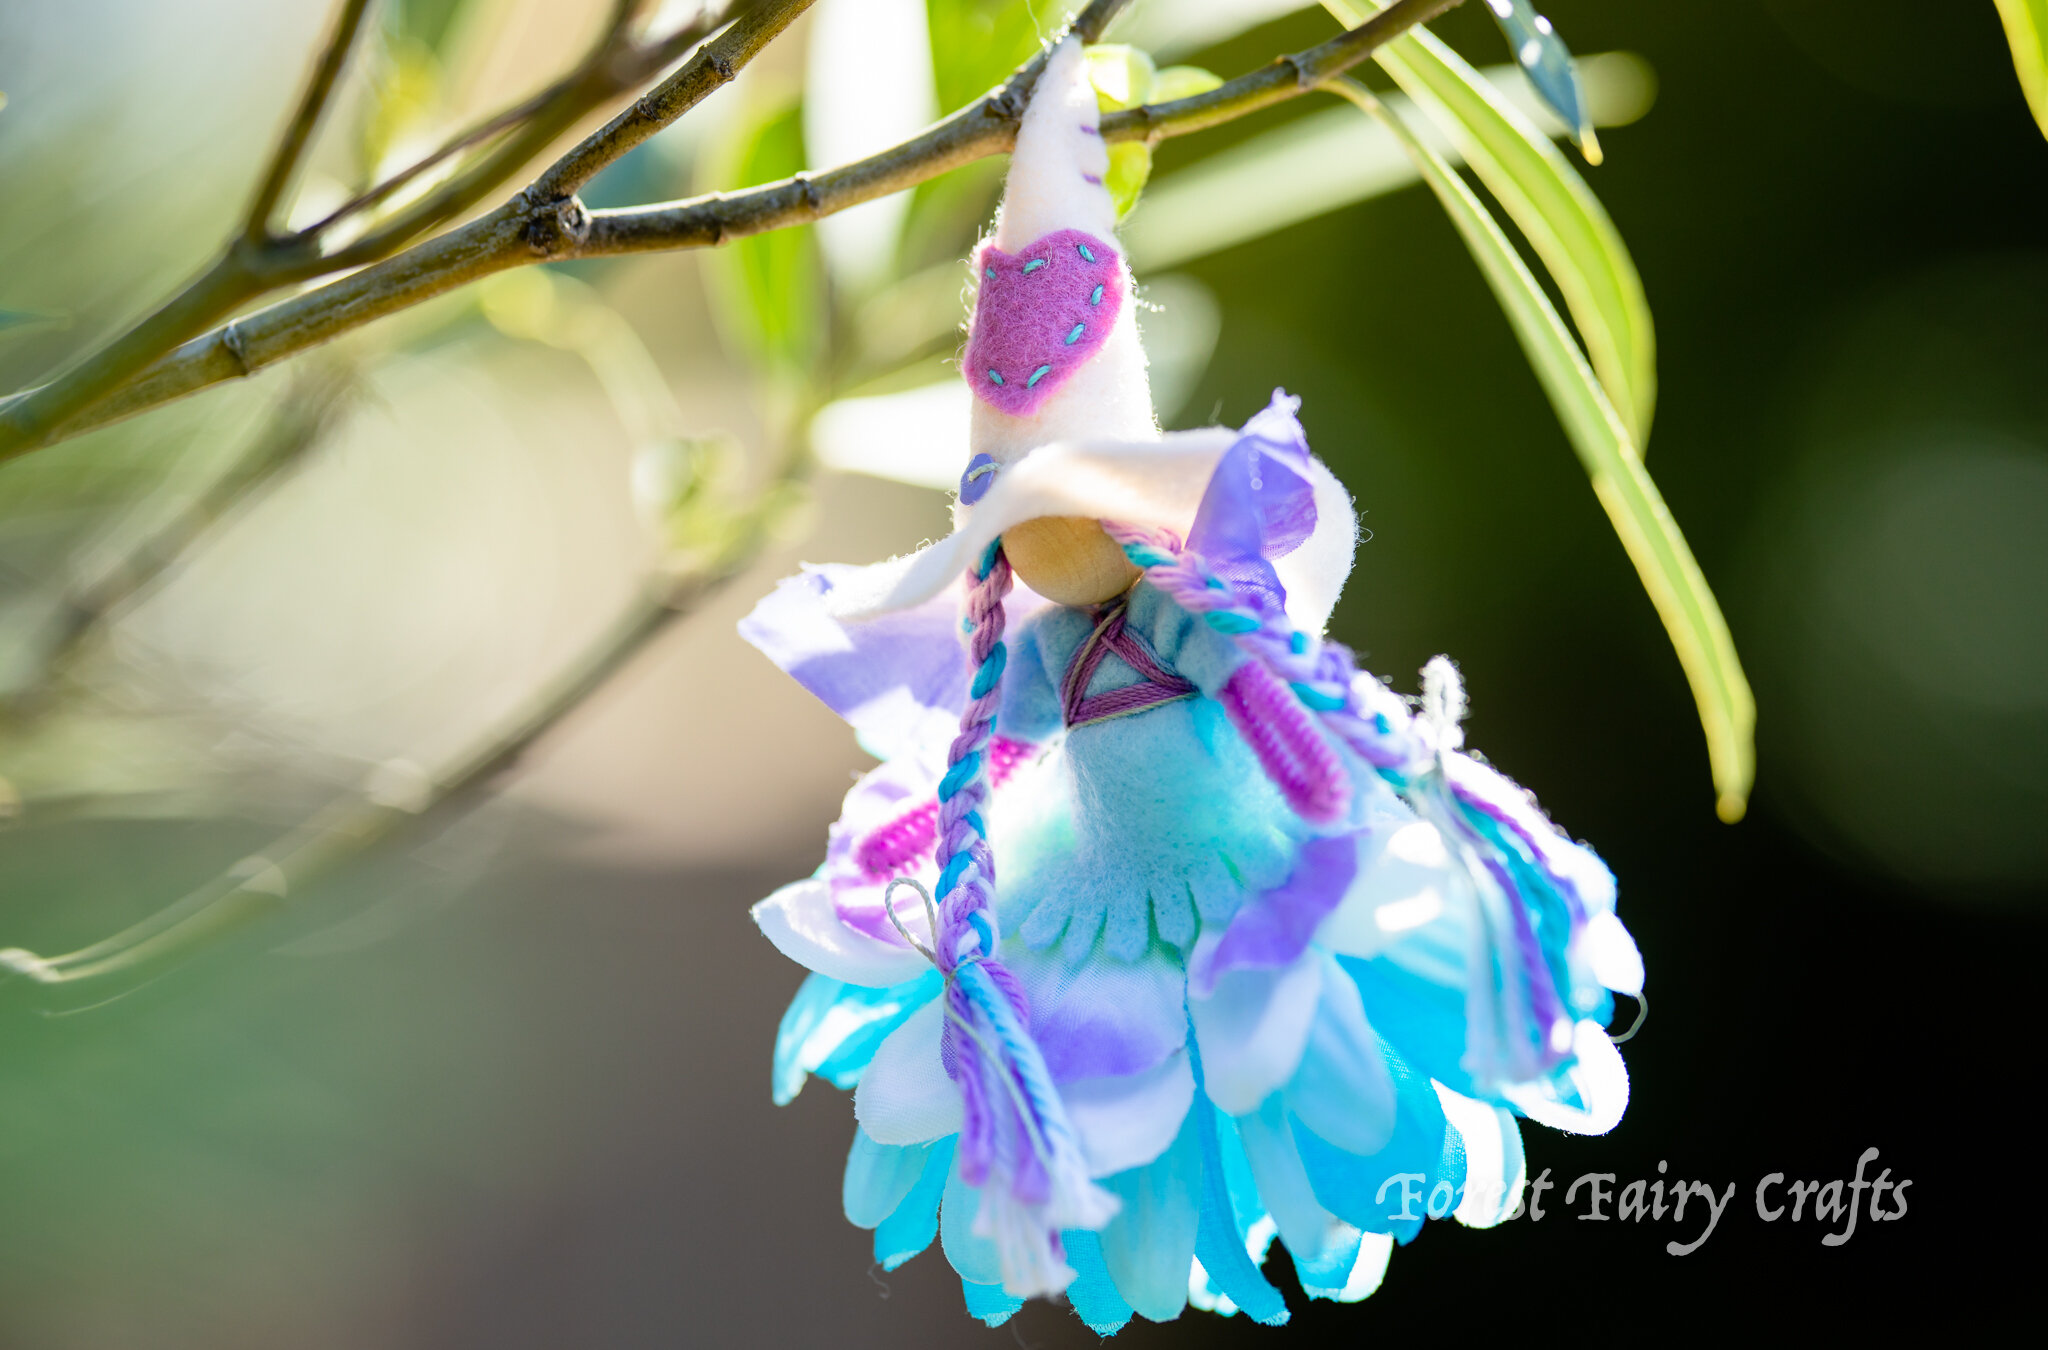
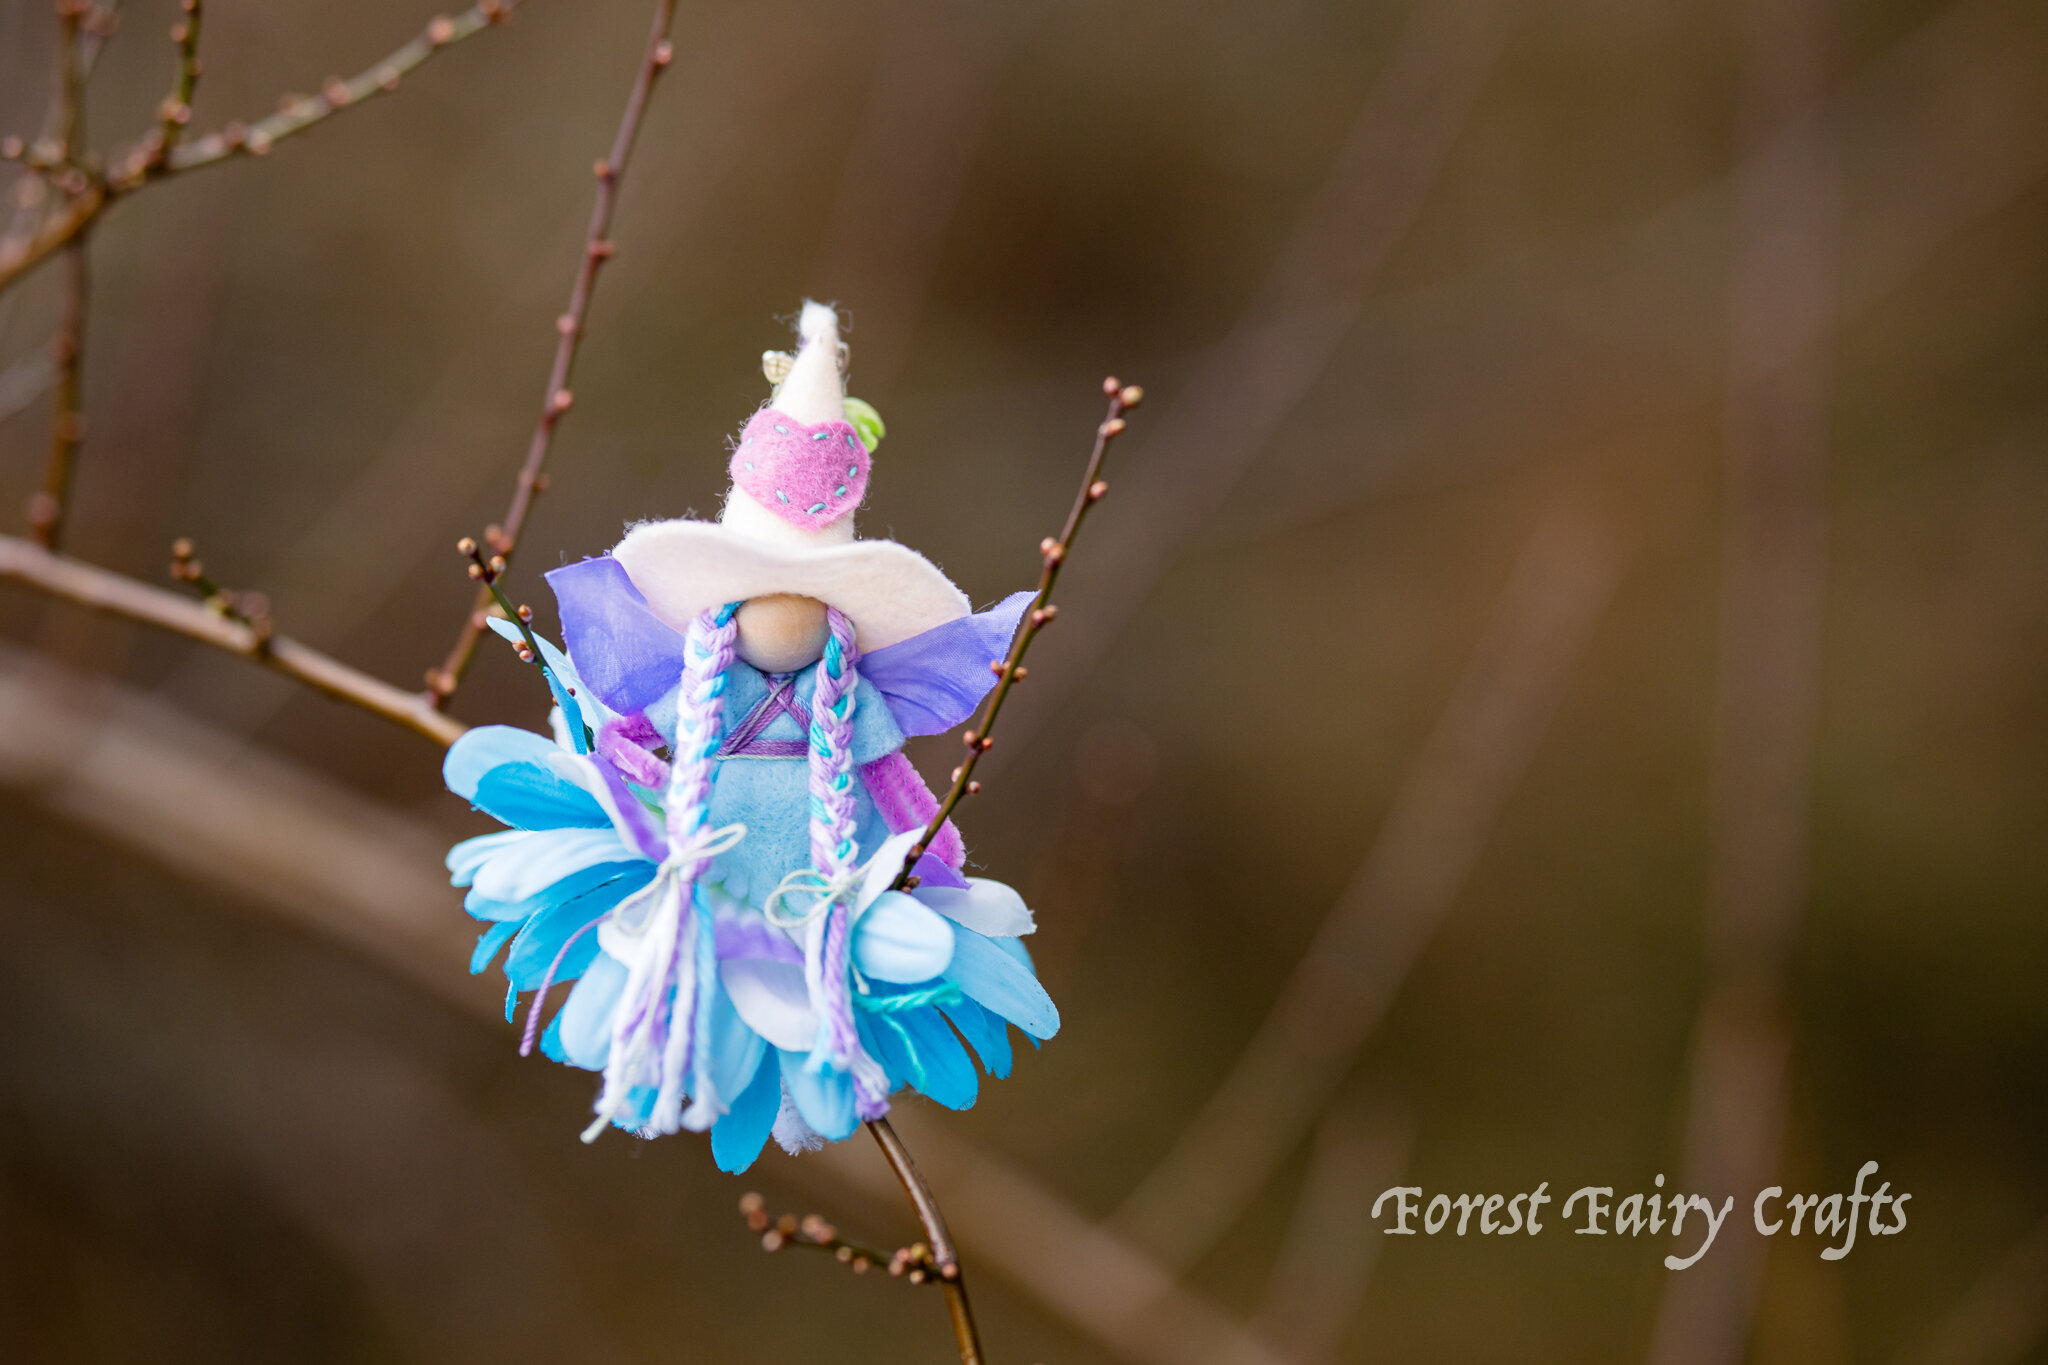
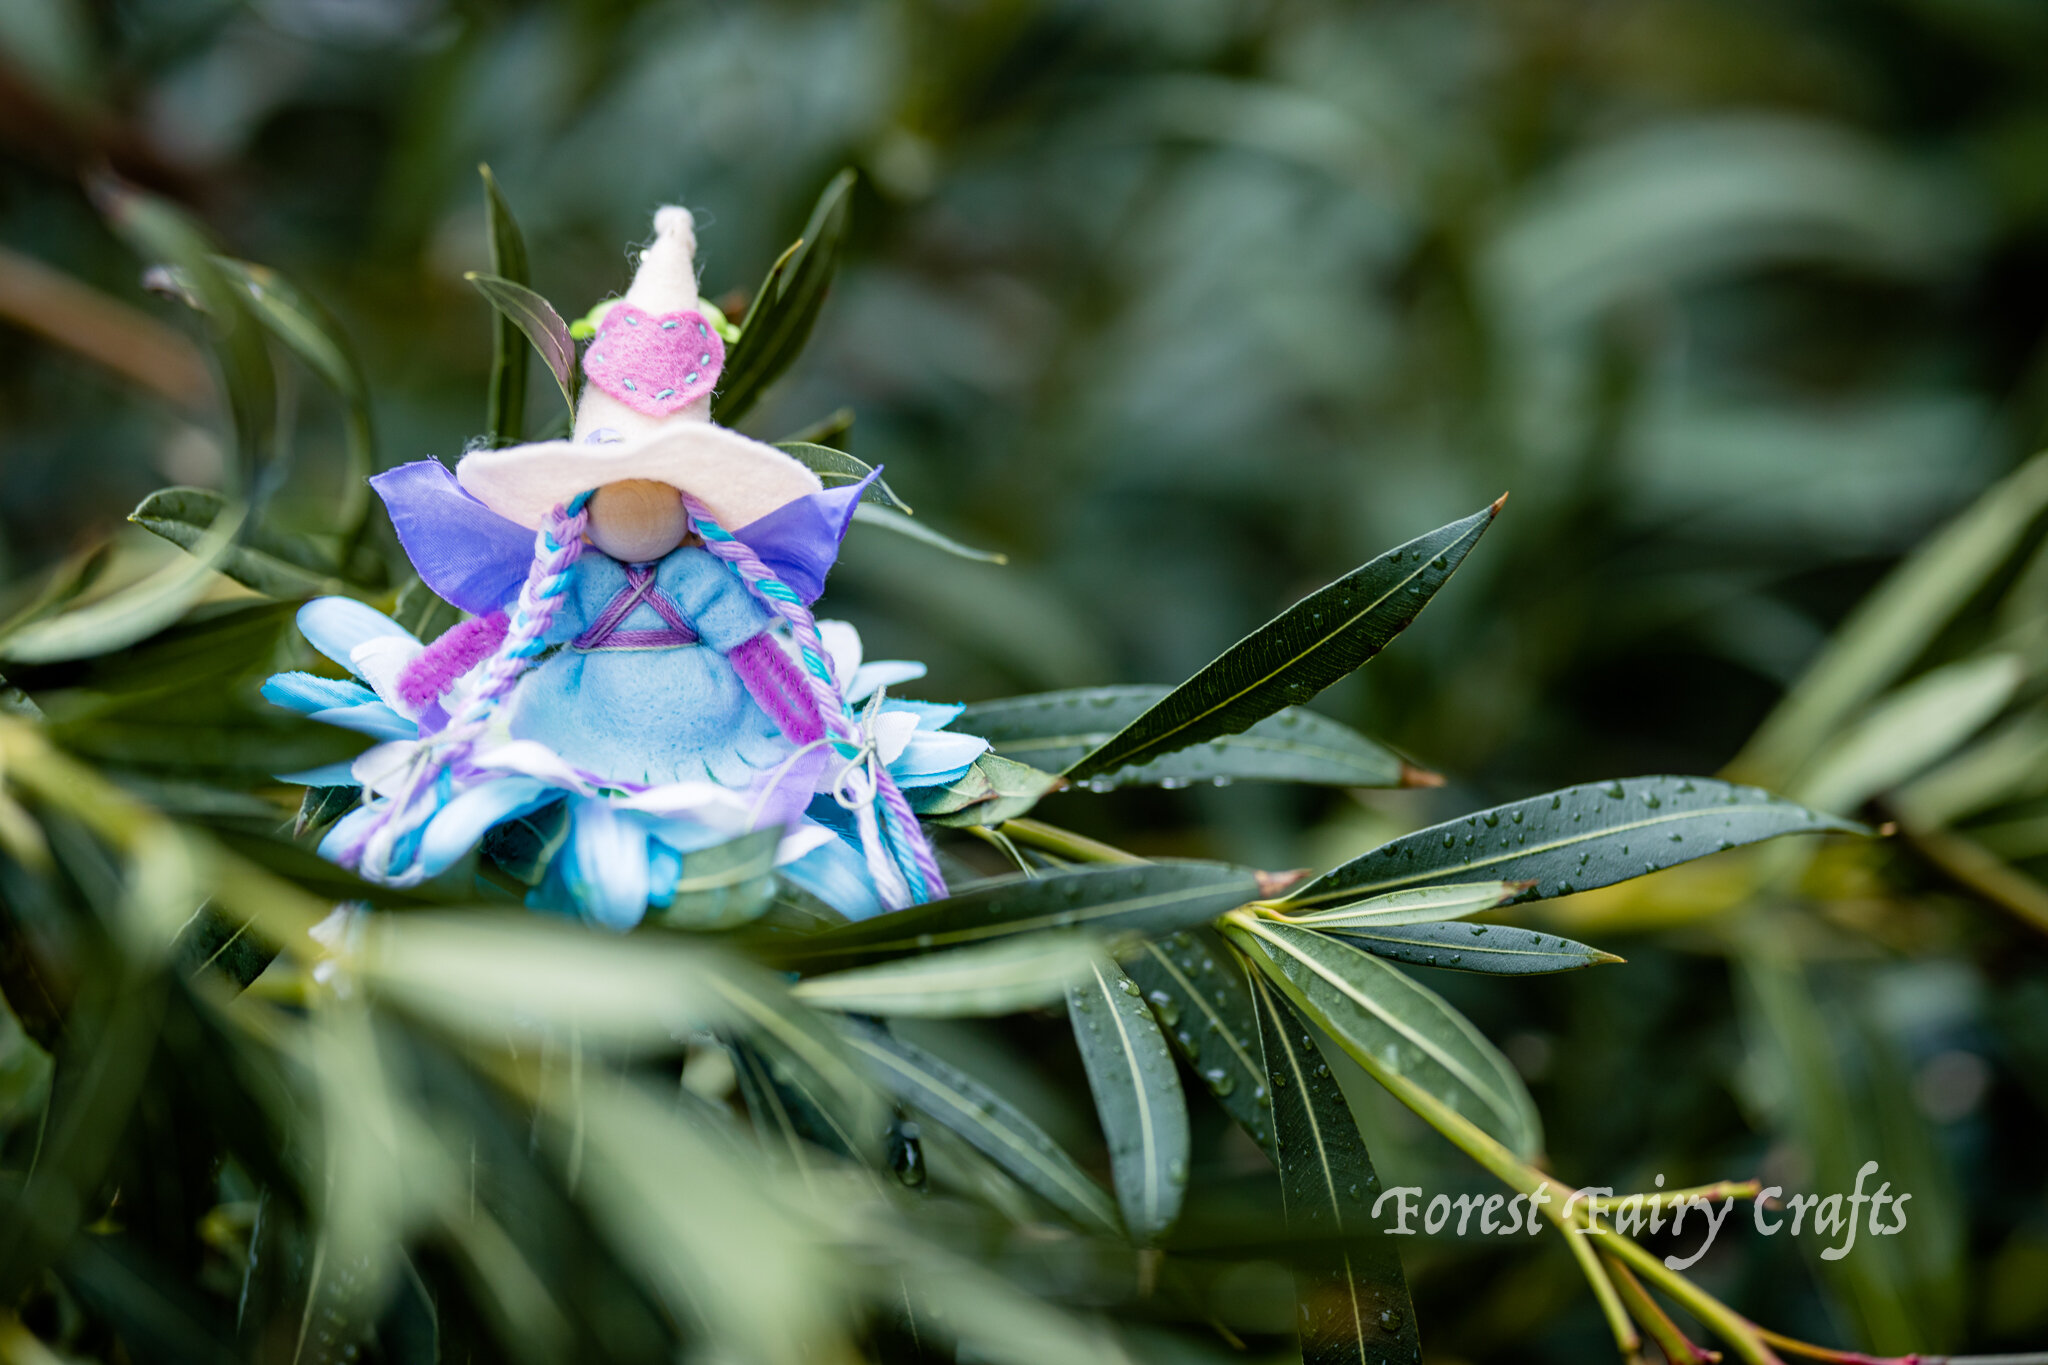
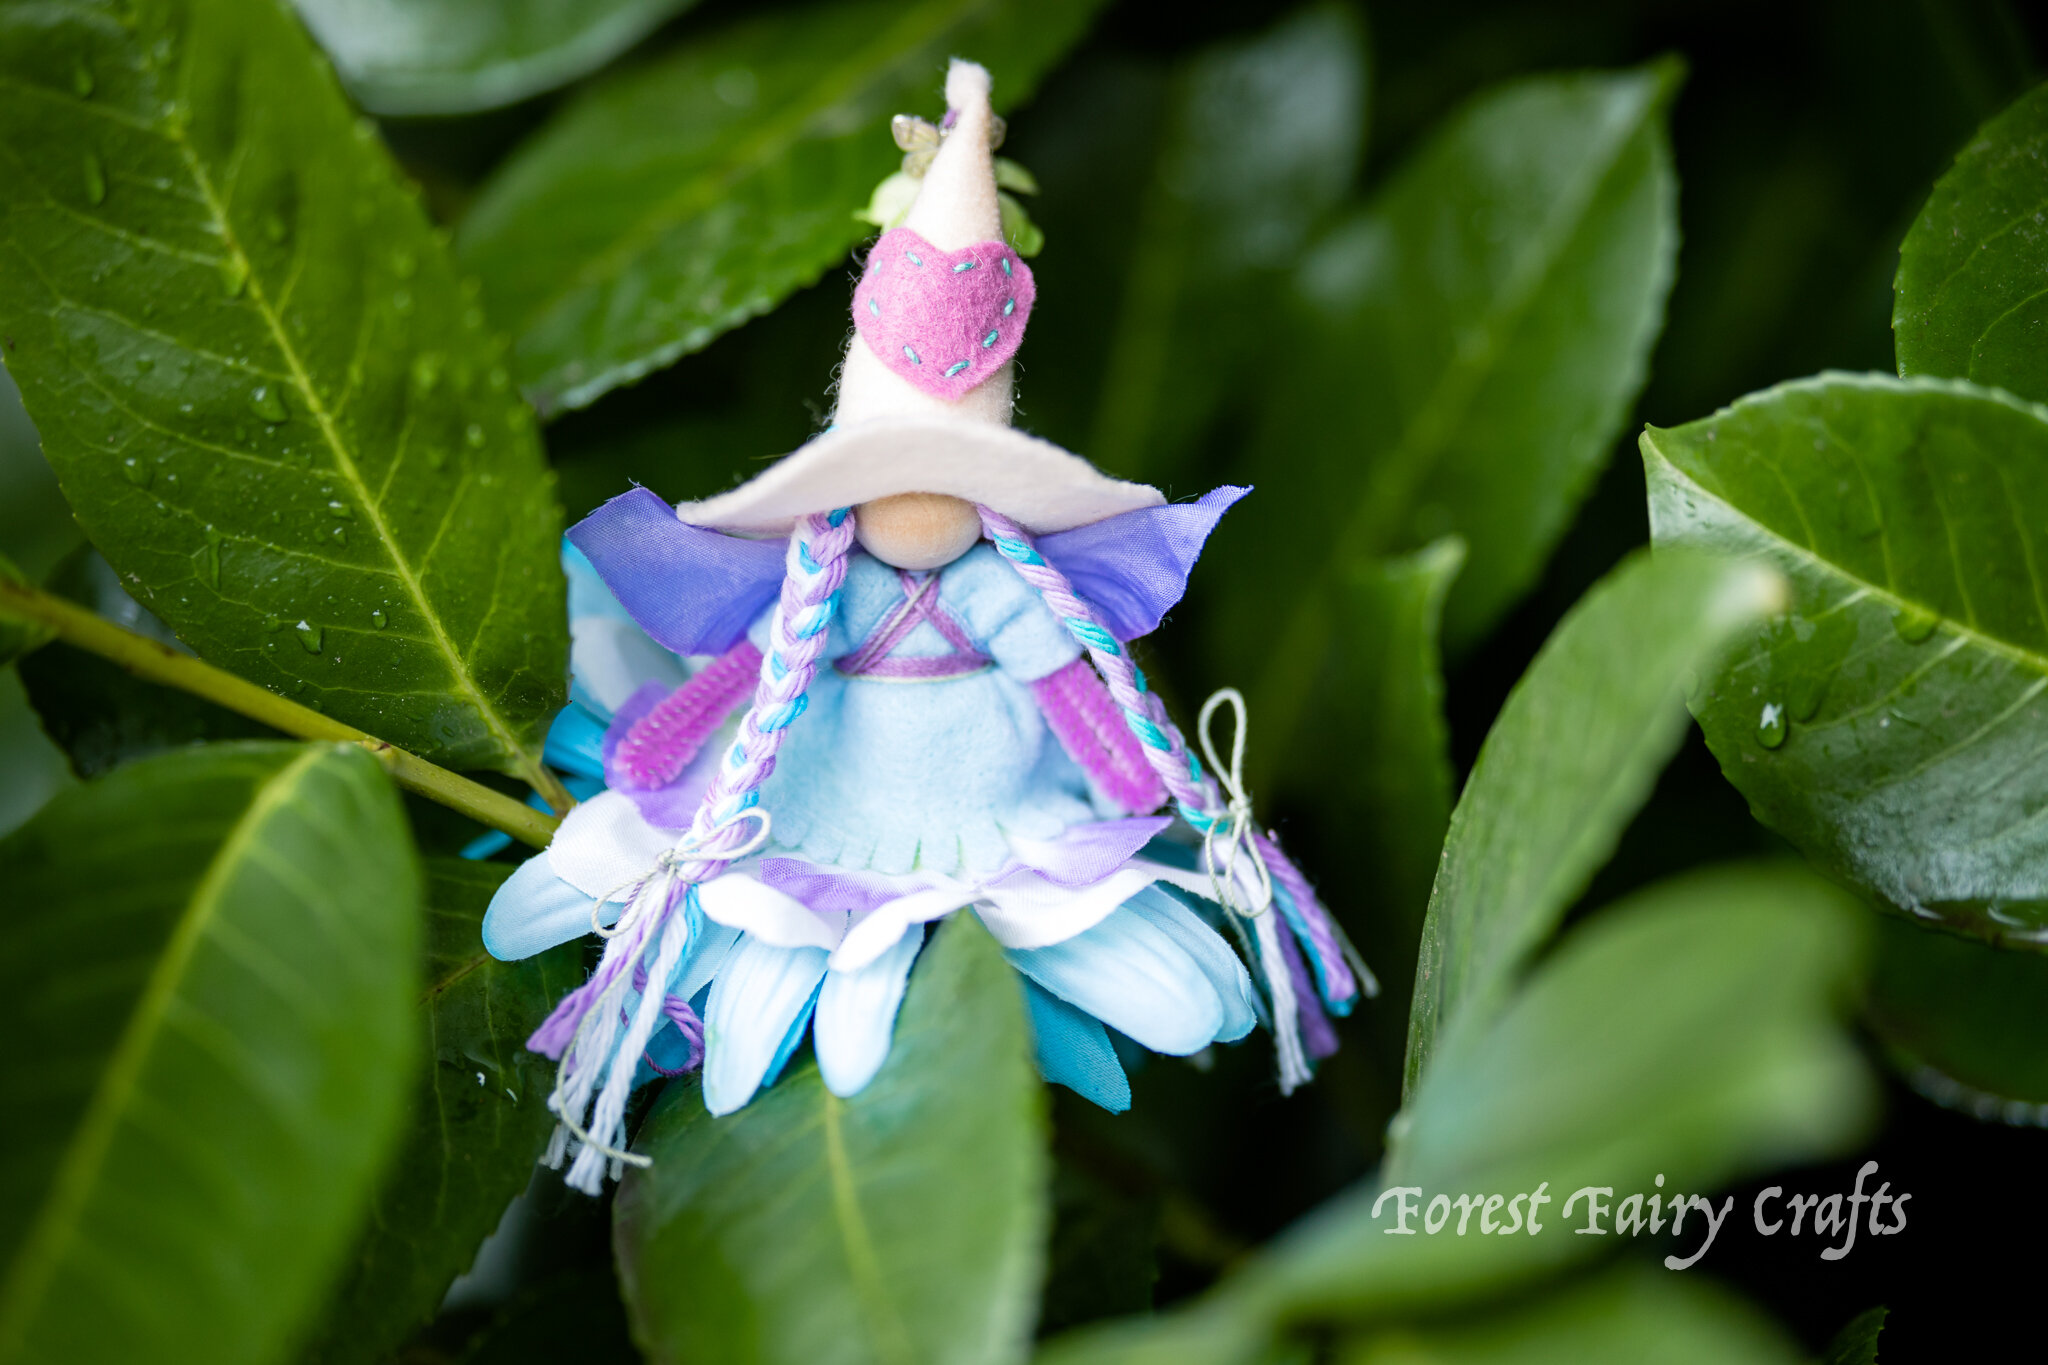
I use floral wire to create the mobile, and felt balls for added color and whimsy. I added loops to each hat so, when baby’s older, she could take the fairies off the mobile for magical playtime. Once she’s done with a toy-tasting phase of toddlerhood, of course.
We painted the beads for different skin tones using watercolors paints. Our other book, Magical Forest Fairy Crafts through the Seasons, shares more information about painting beads.
One of my favorite things is taking a idea, like the witch, and giving the idea a fresh perspective. Creating this mobile was a treat. Every baby brings magic into the world. We celebrate each and every one :)
This post contains an affiliate link. Should you choose to purchase, a small amount returns to us while your pricing remains the same. We appreciate the support!
And I love the idea that witches can be bright and colorful :) May their magic find you today :)
Autumn in the Forest
Hurrah for autumn! The fairies, gnomes, and critters are so excited for the changing season. They decorate with colorful garlands of russet and burgundy. Dance in the falling leaves. Snack on crisp apples and pumpkin pie. We love so many things about autumn!
We are often asked what is in each book celebrating the season. Of course, we invite crafters to bring their own creative vision to each project. Its easy to make any fairy (or mermaid or gnome) into a fall theme using colors of autumn, from burnt umber to bright orange.
Of course, you could also purchase both books which will give you all the crafts :)
Autumn in Forest Fairy Crafts
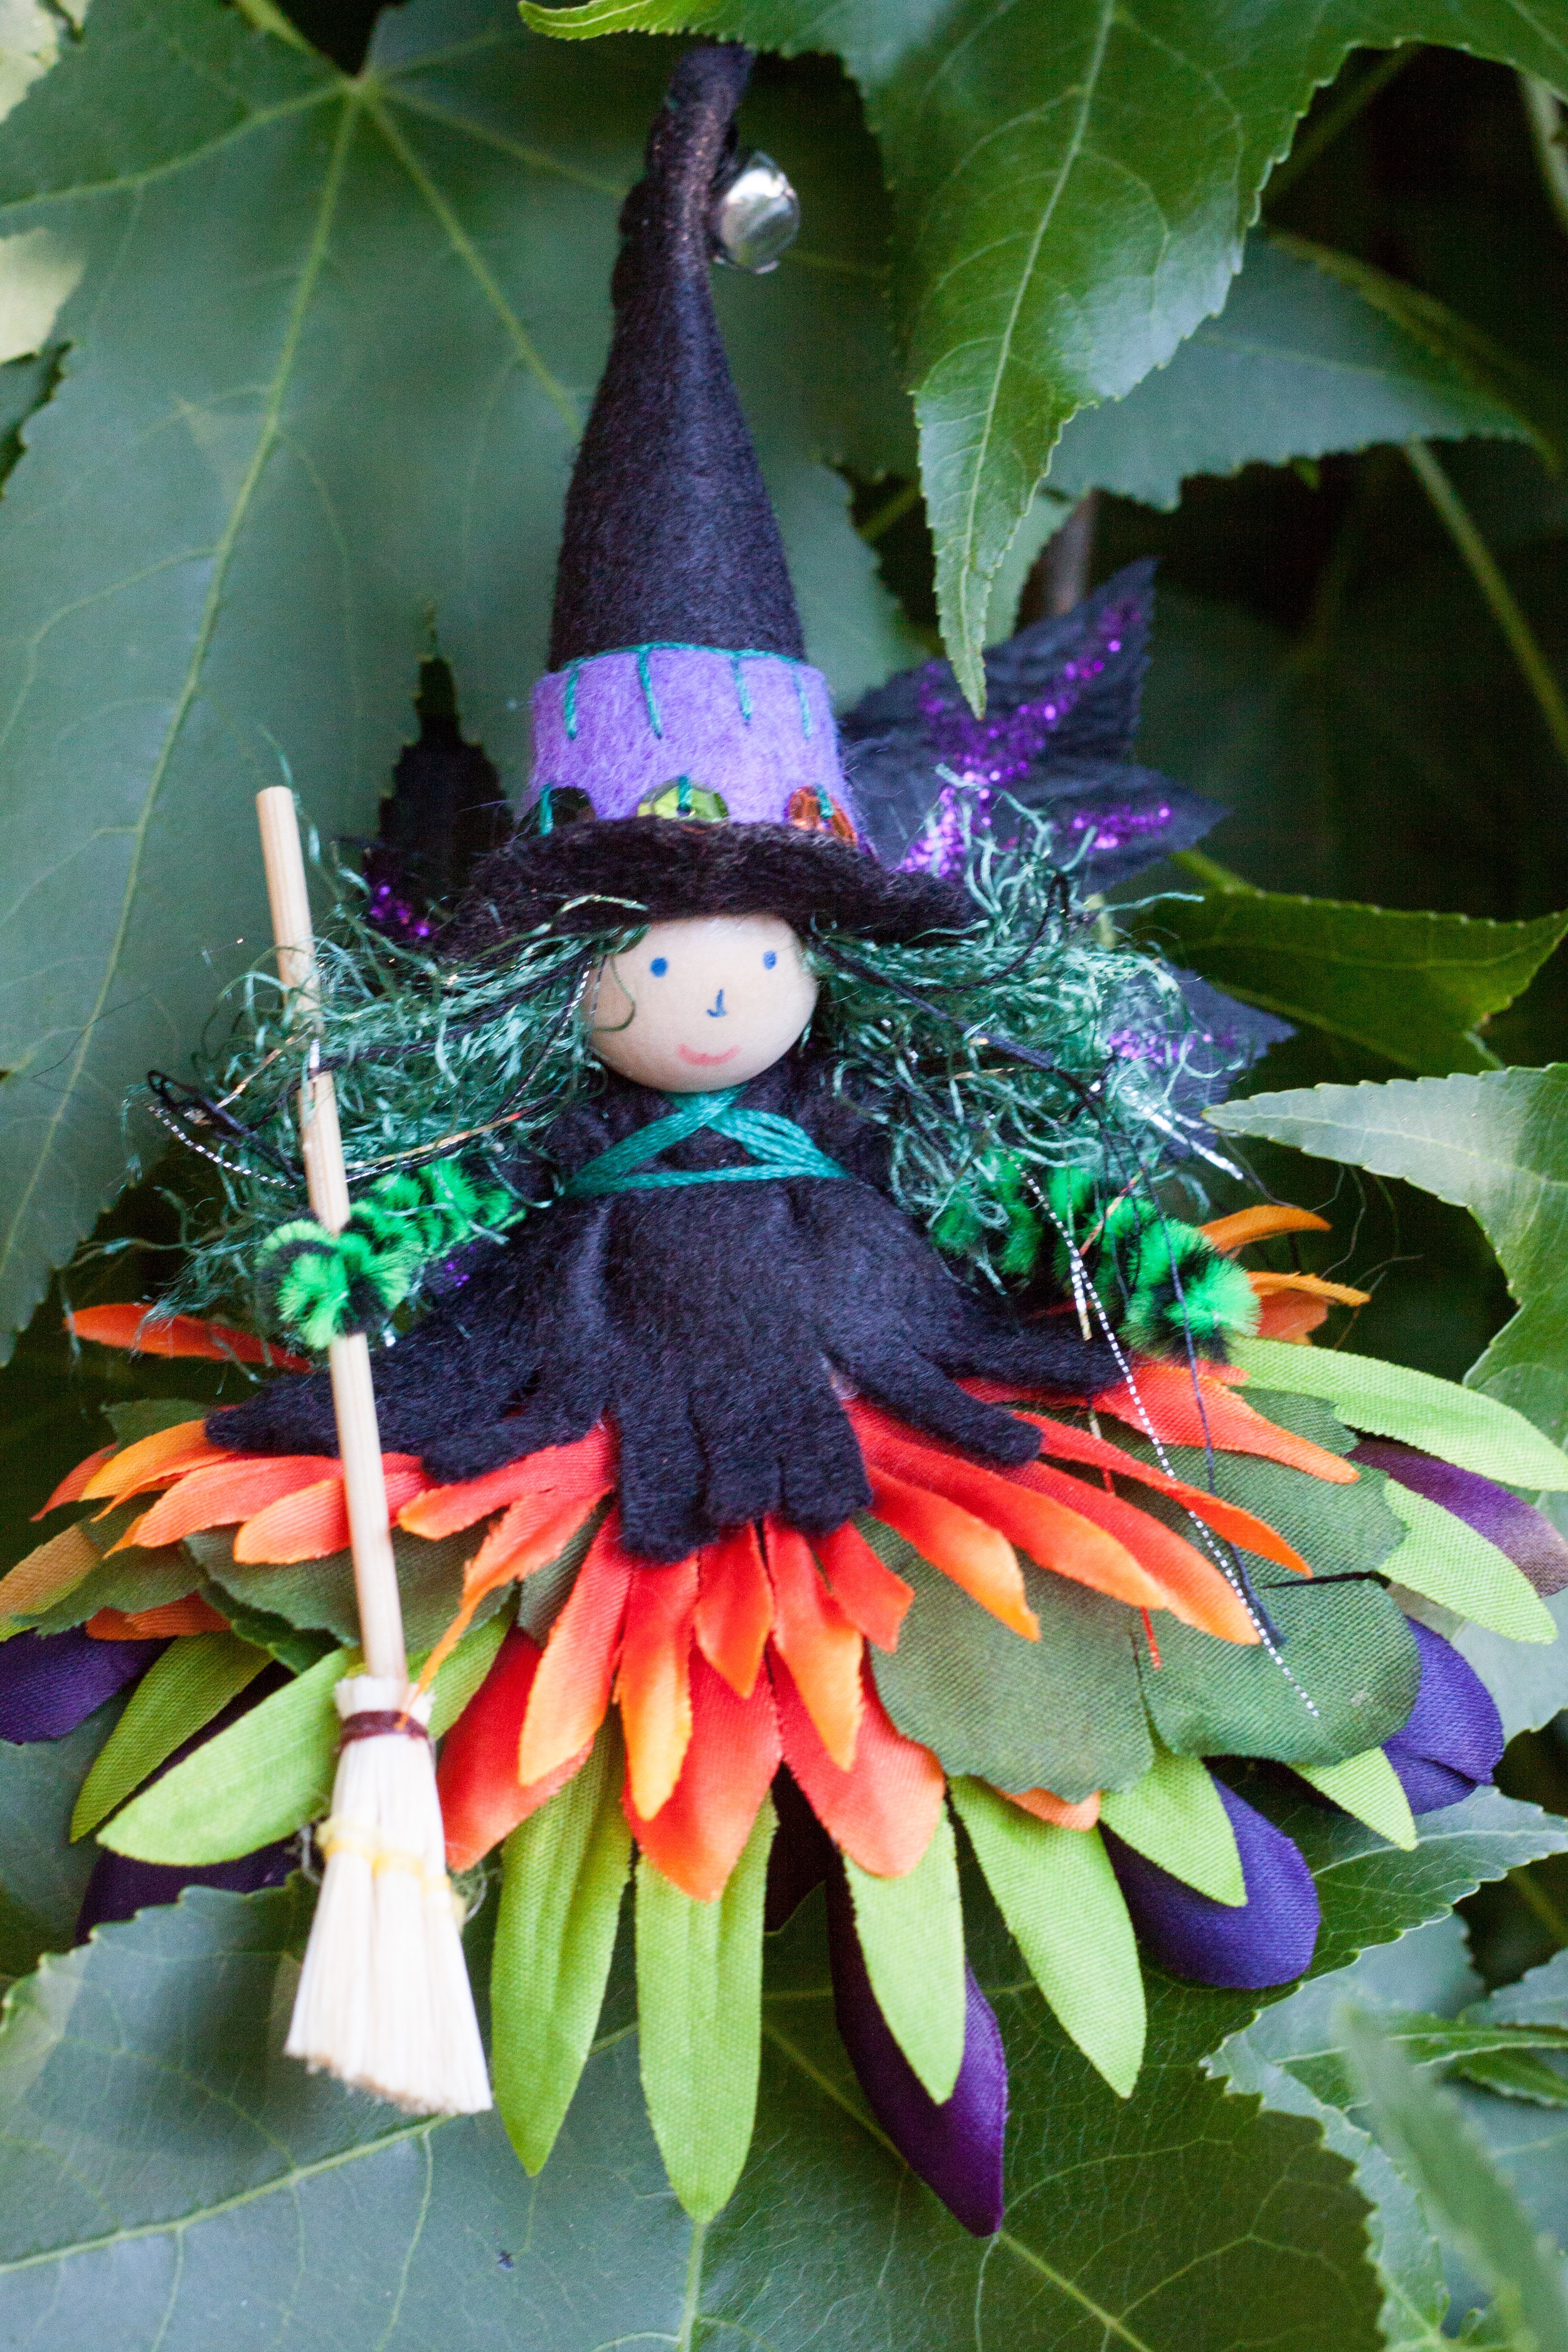
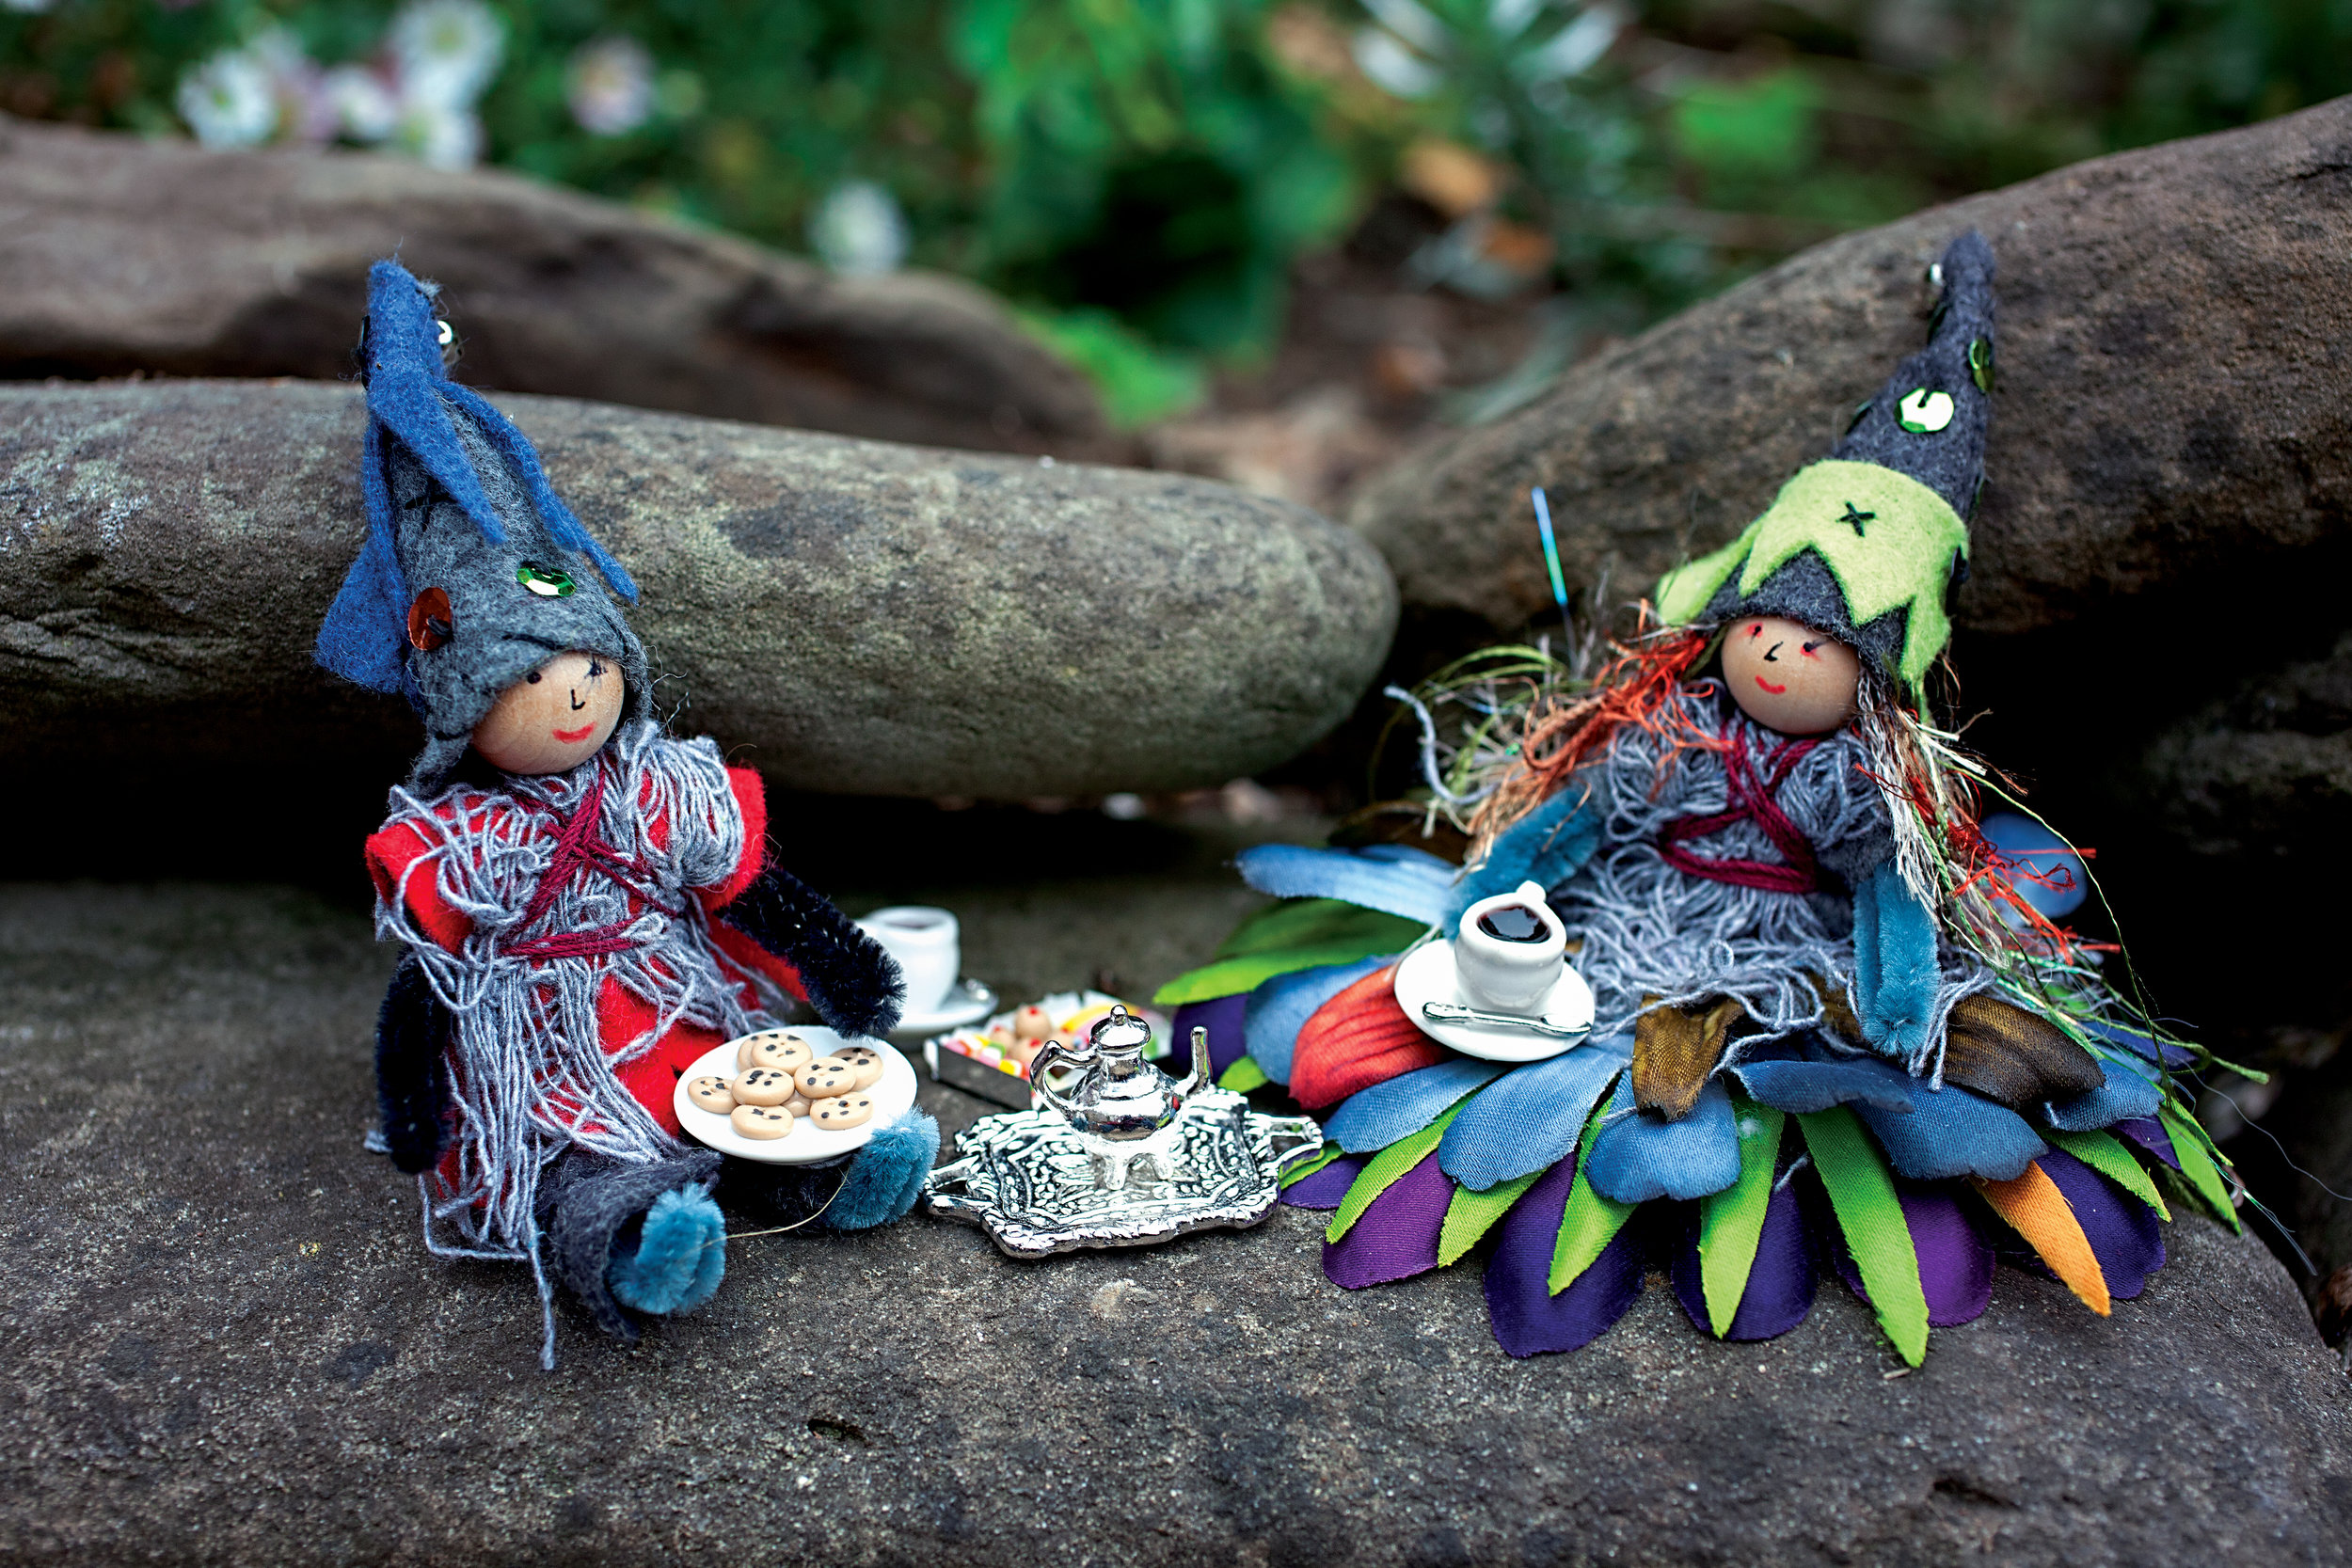
Witch, Wizard, and Warlock
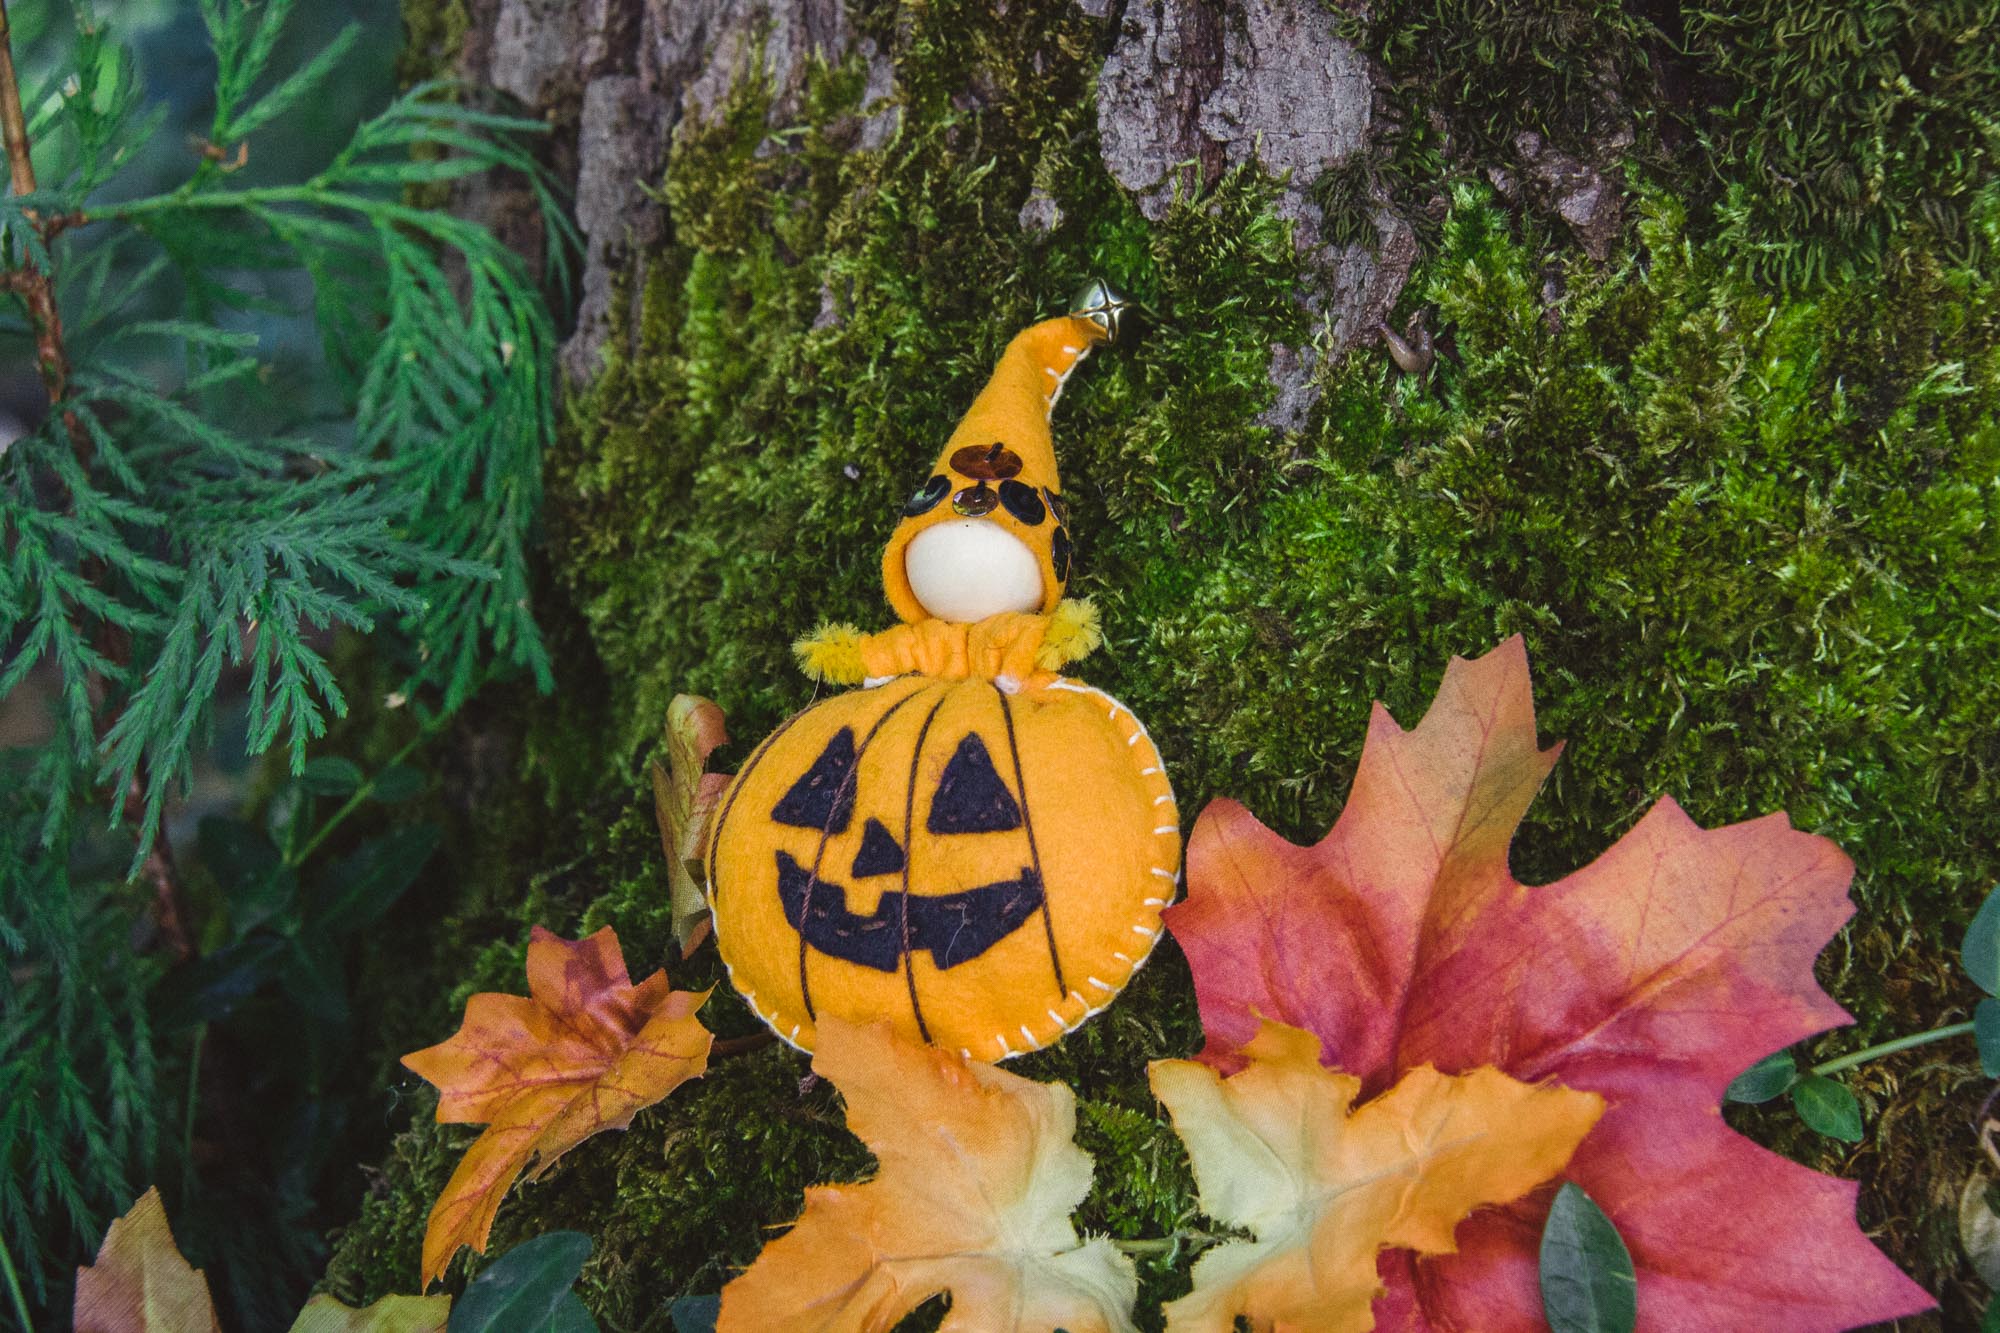
Pumpkin Fairy
Zombies
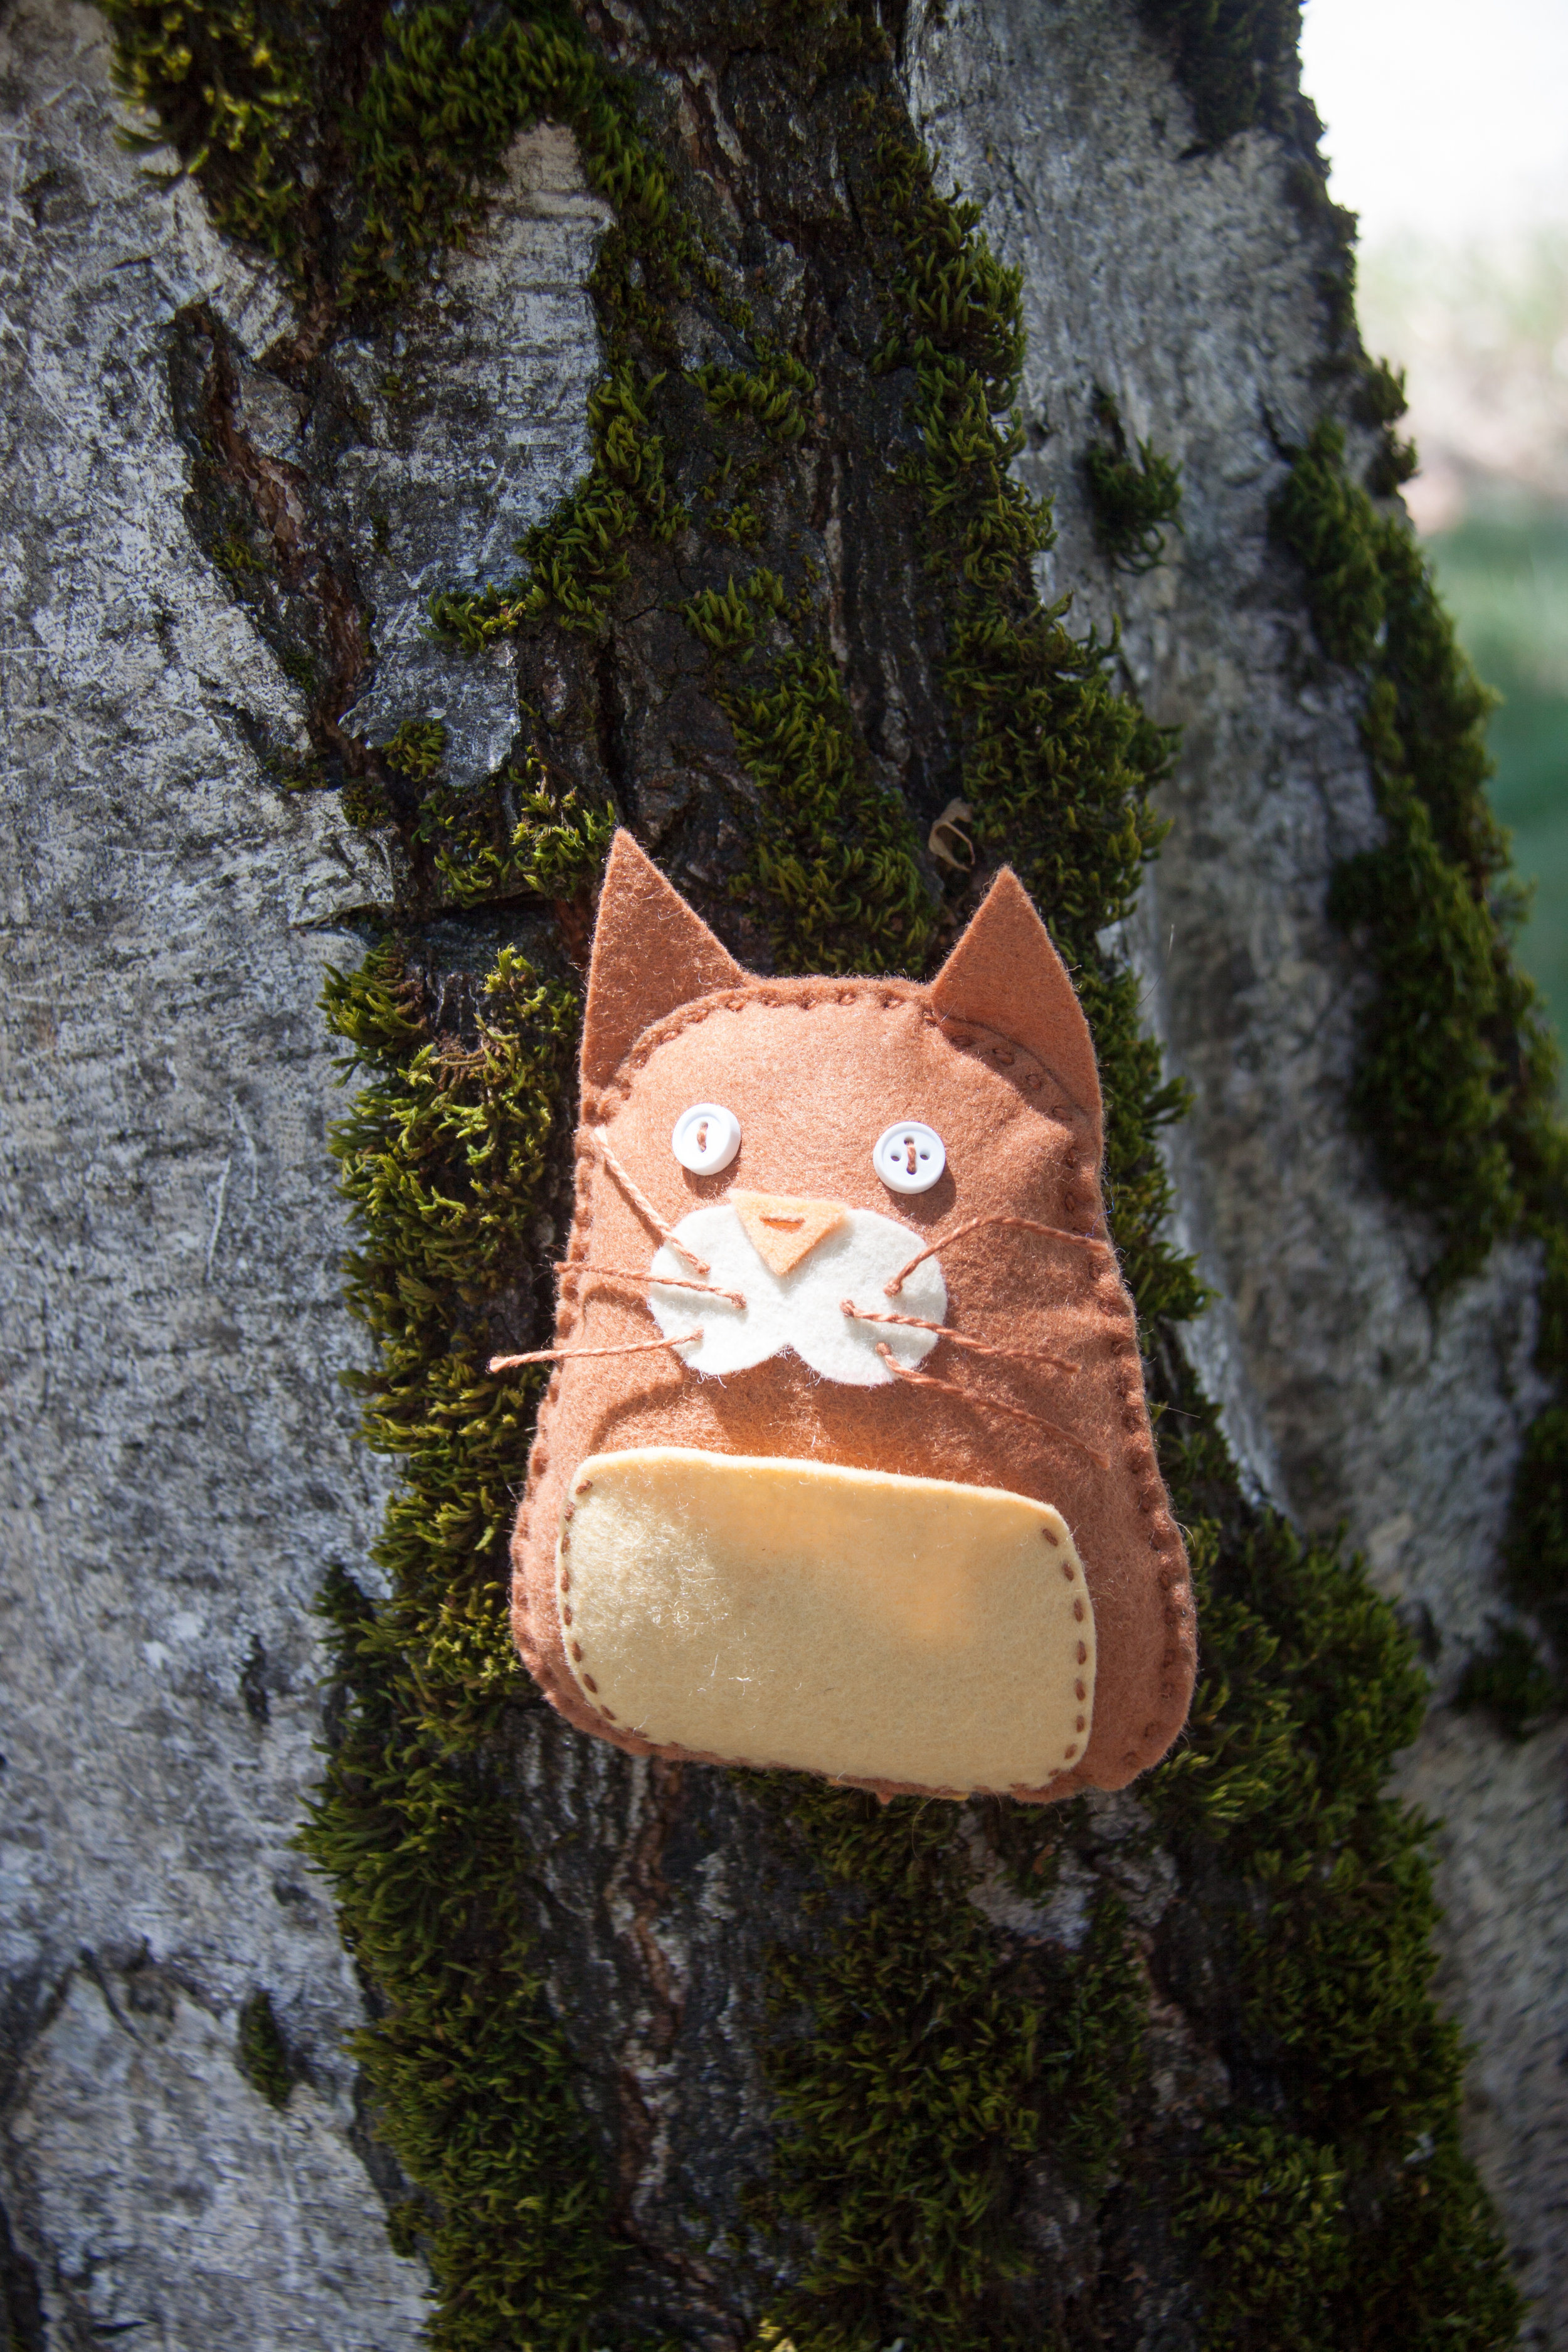
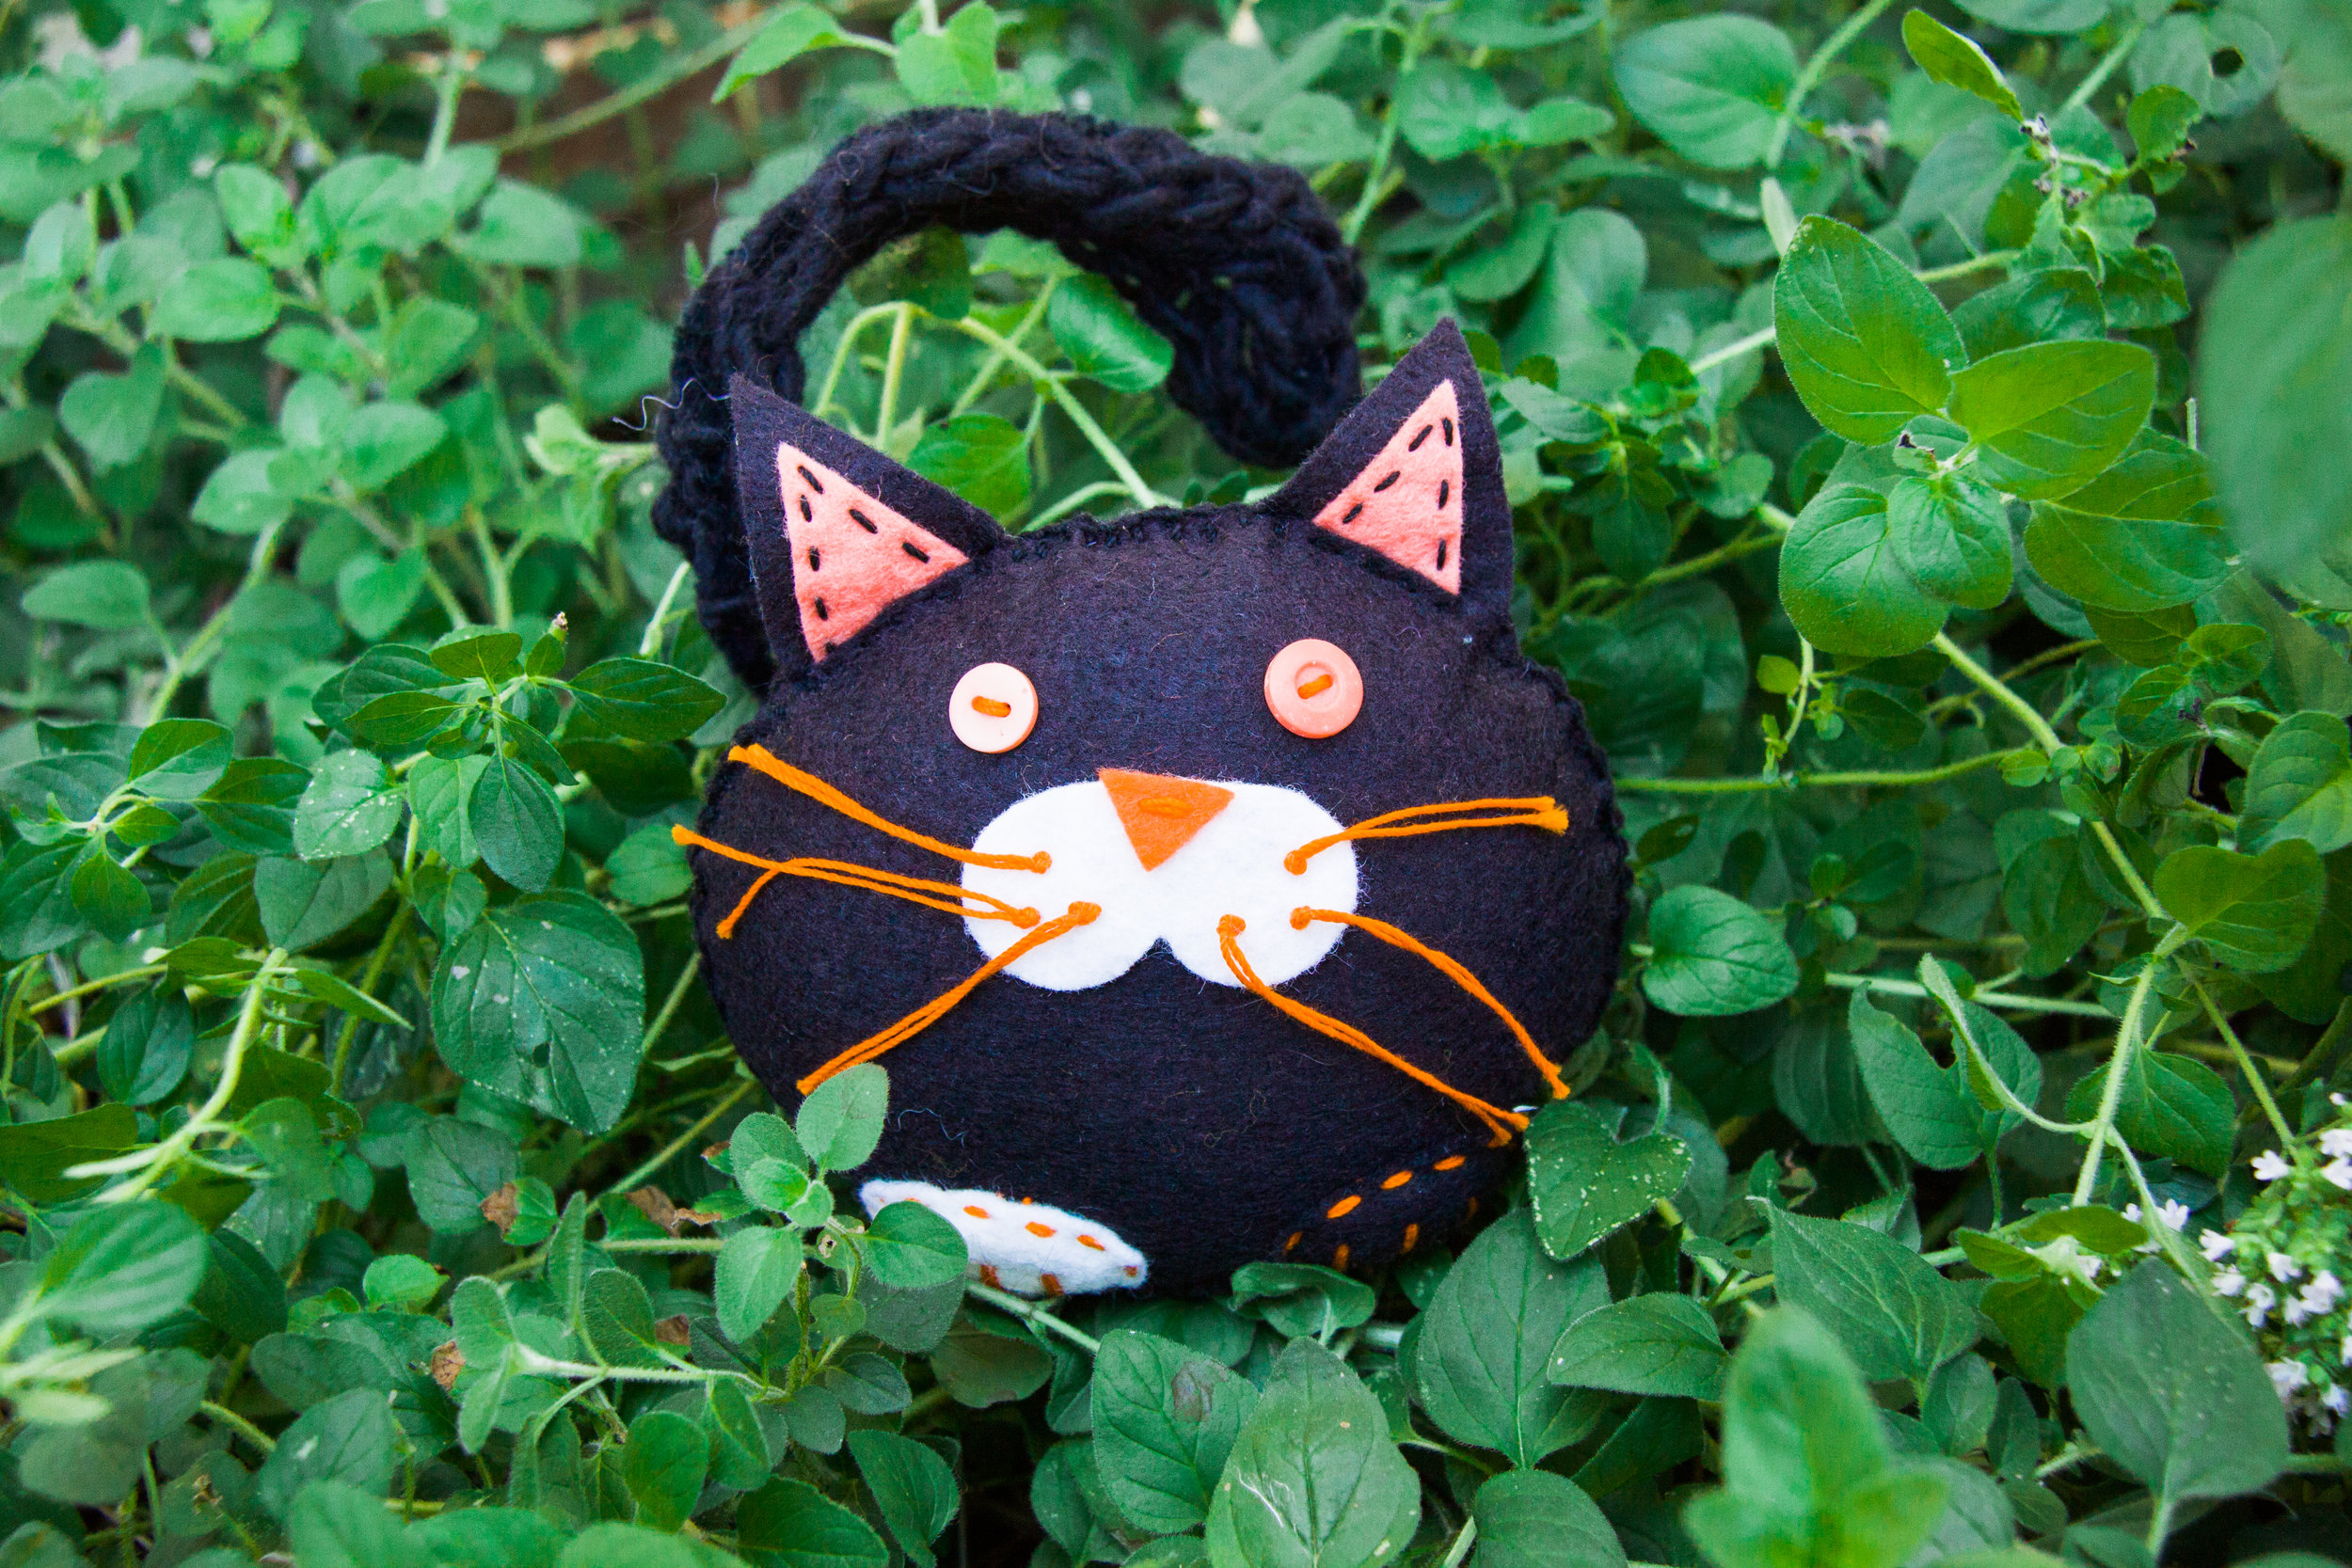
Cat Treasure Keeper (customize with colors)
Owl Pocket Treasure Keeper

Autumn in Magical Forest Fairy Crafts Through the Seasons
Autumn Gnome
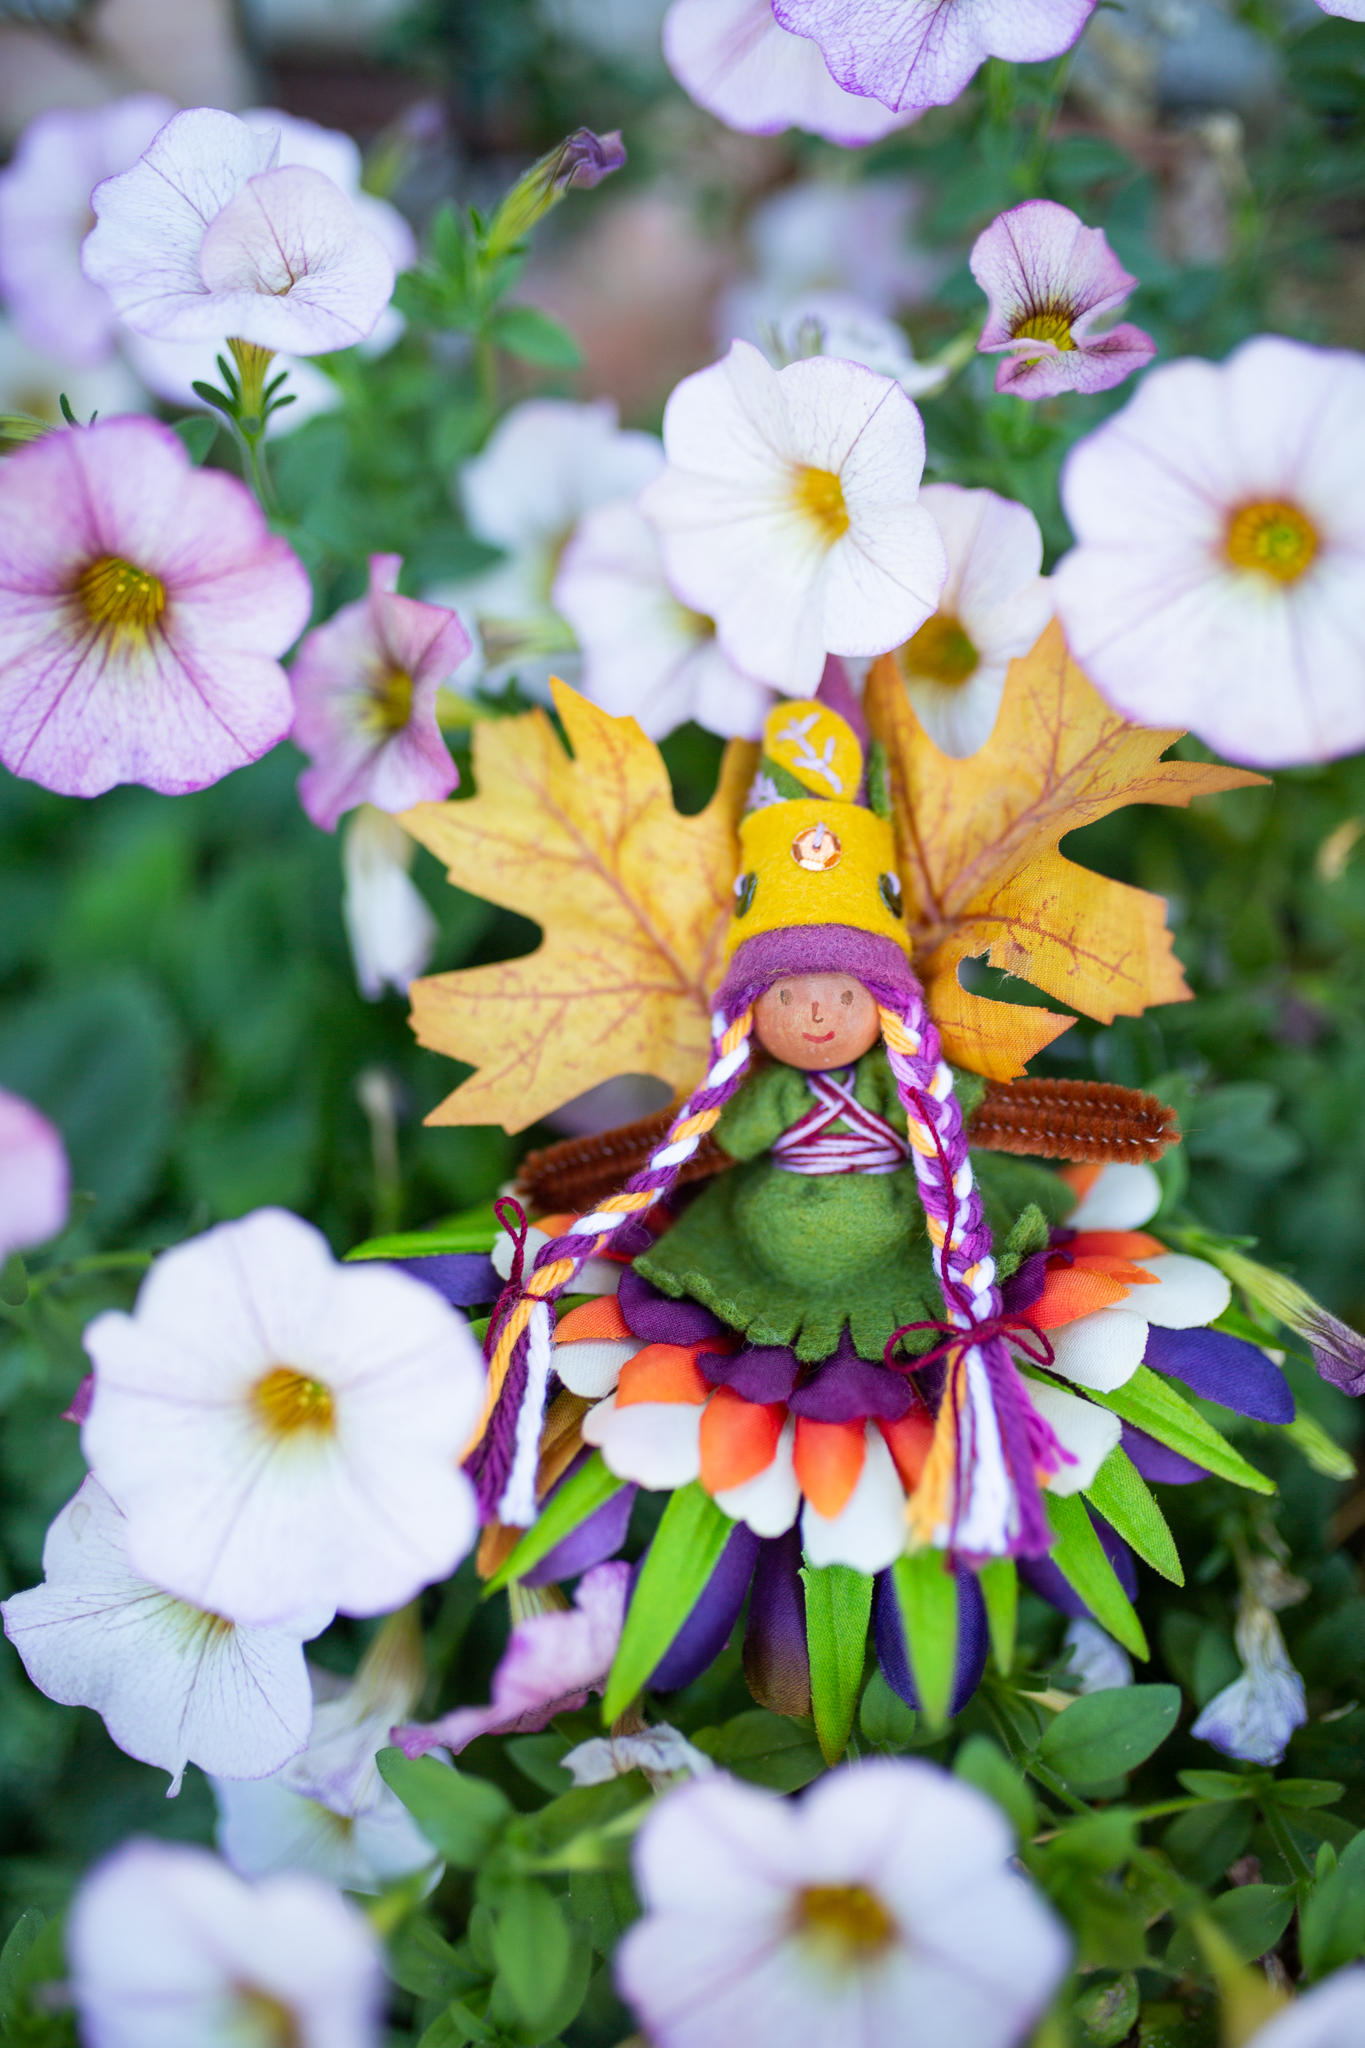
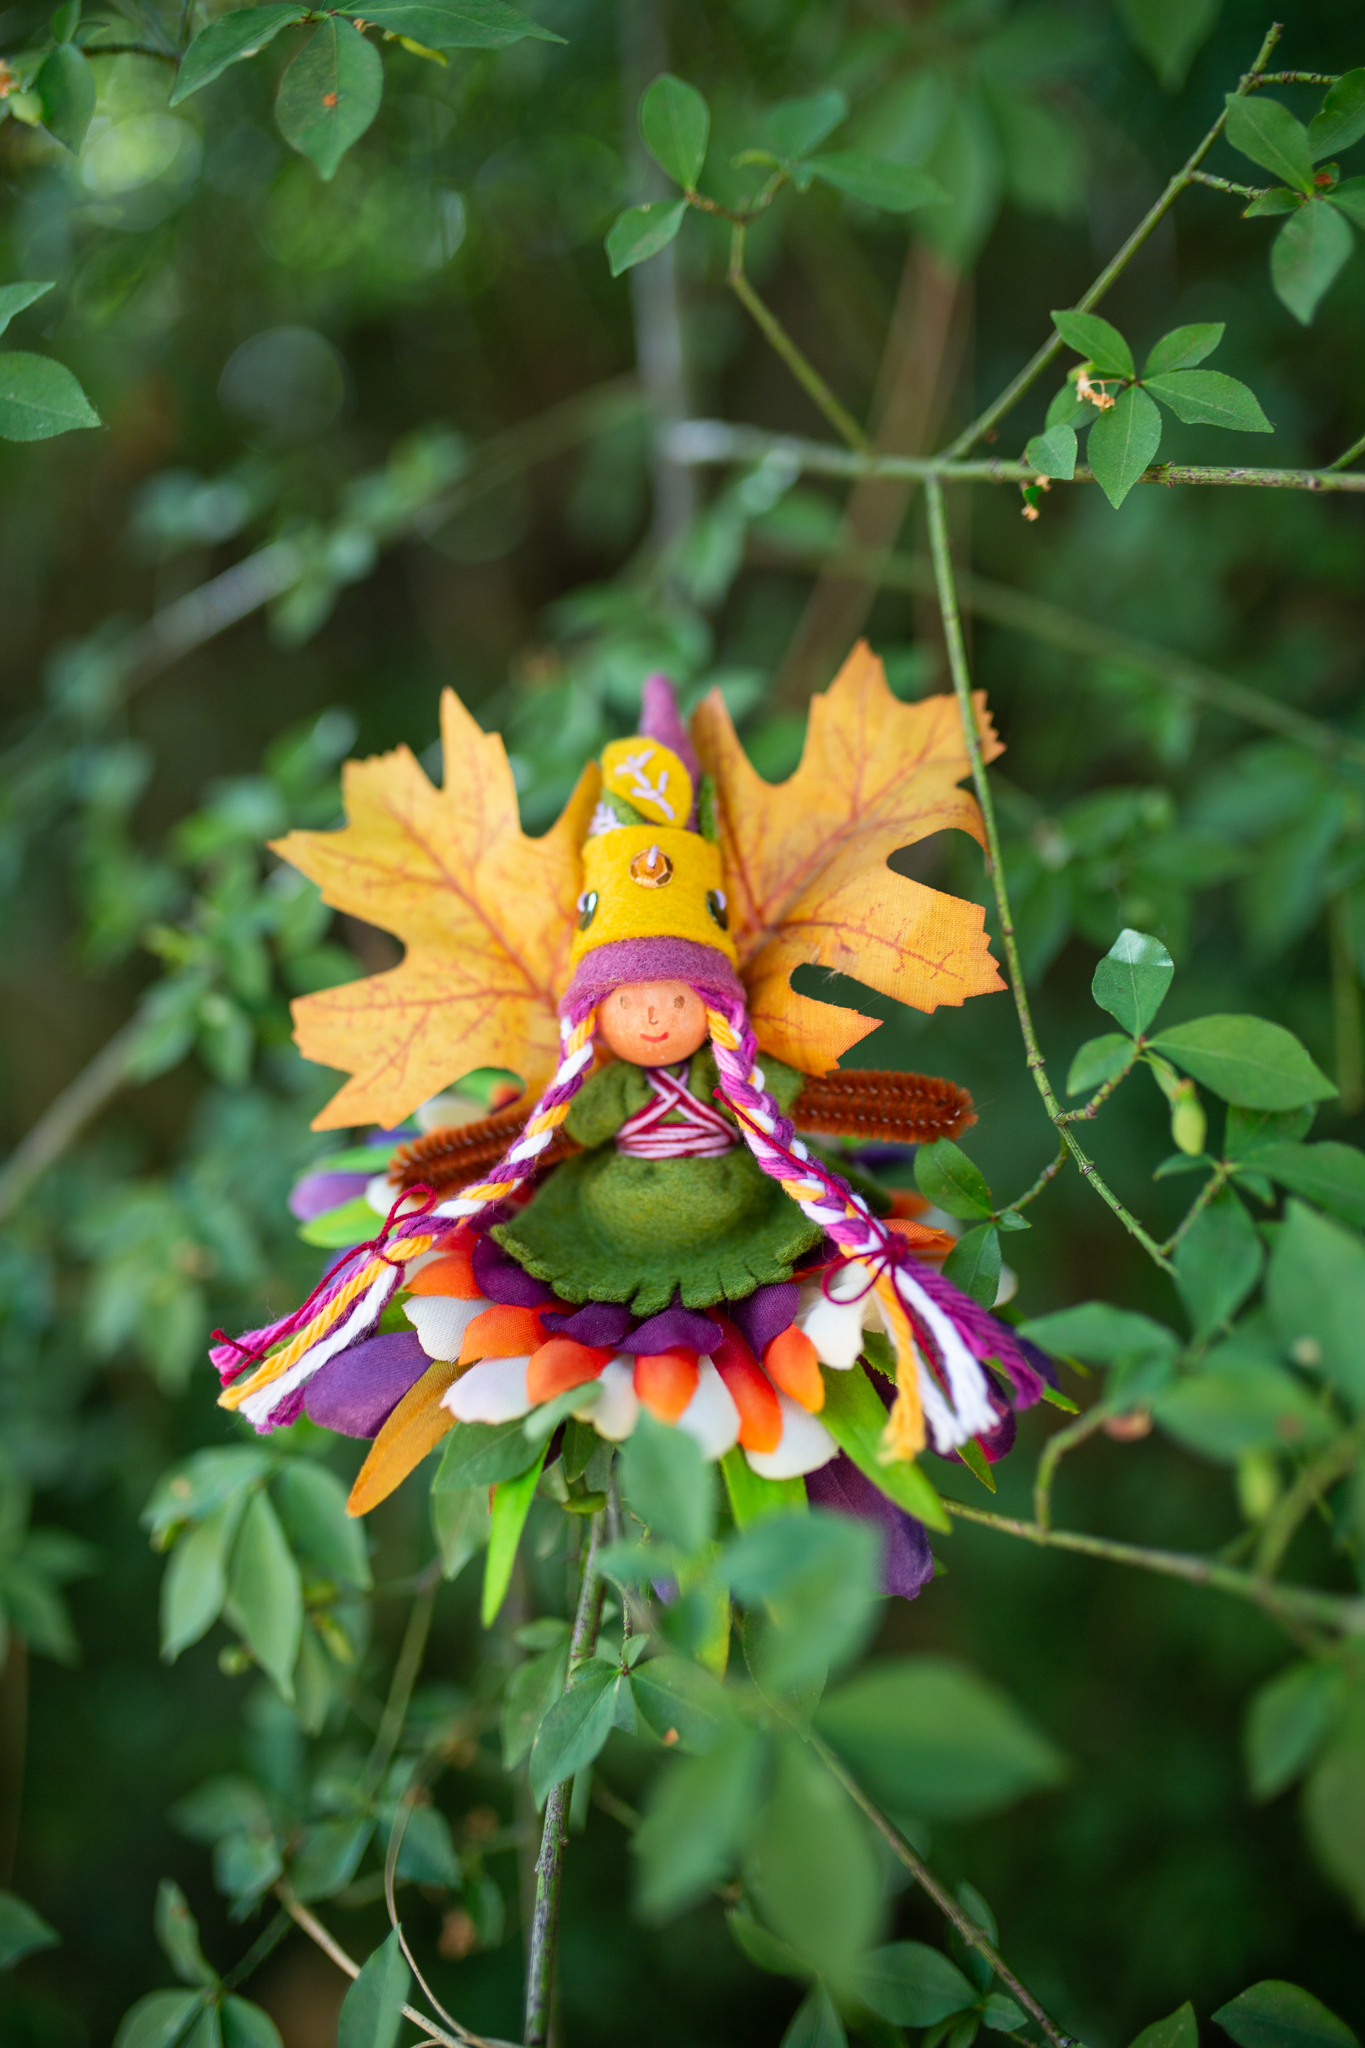
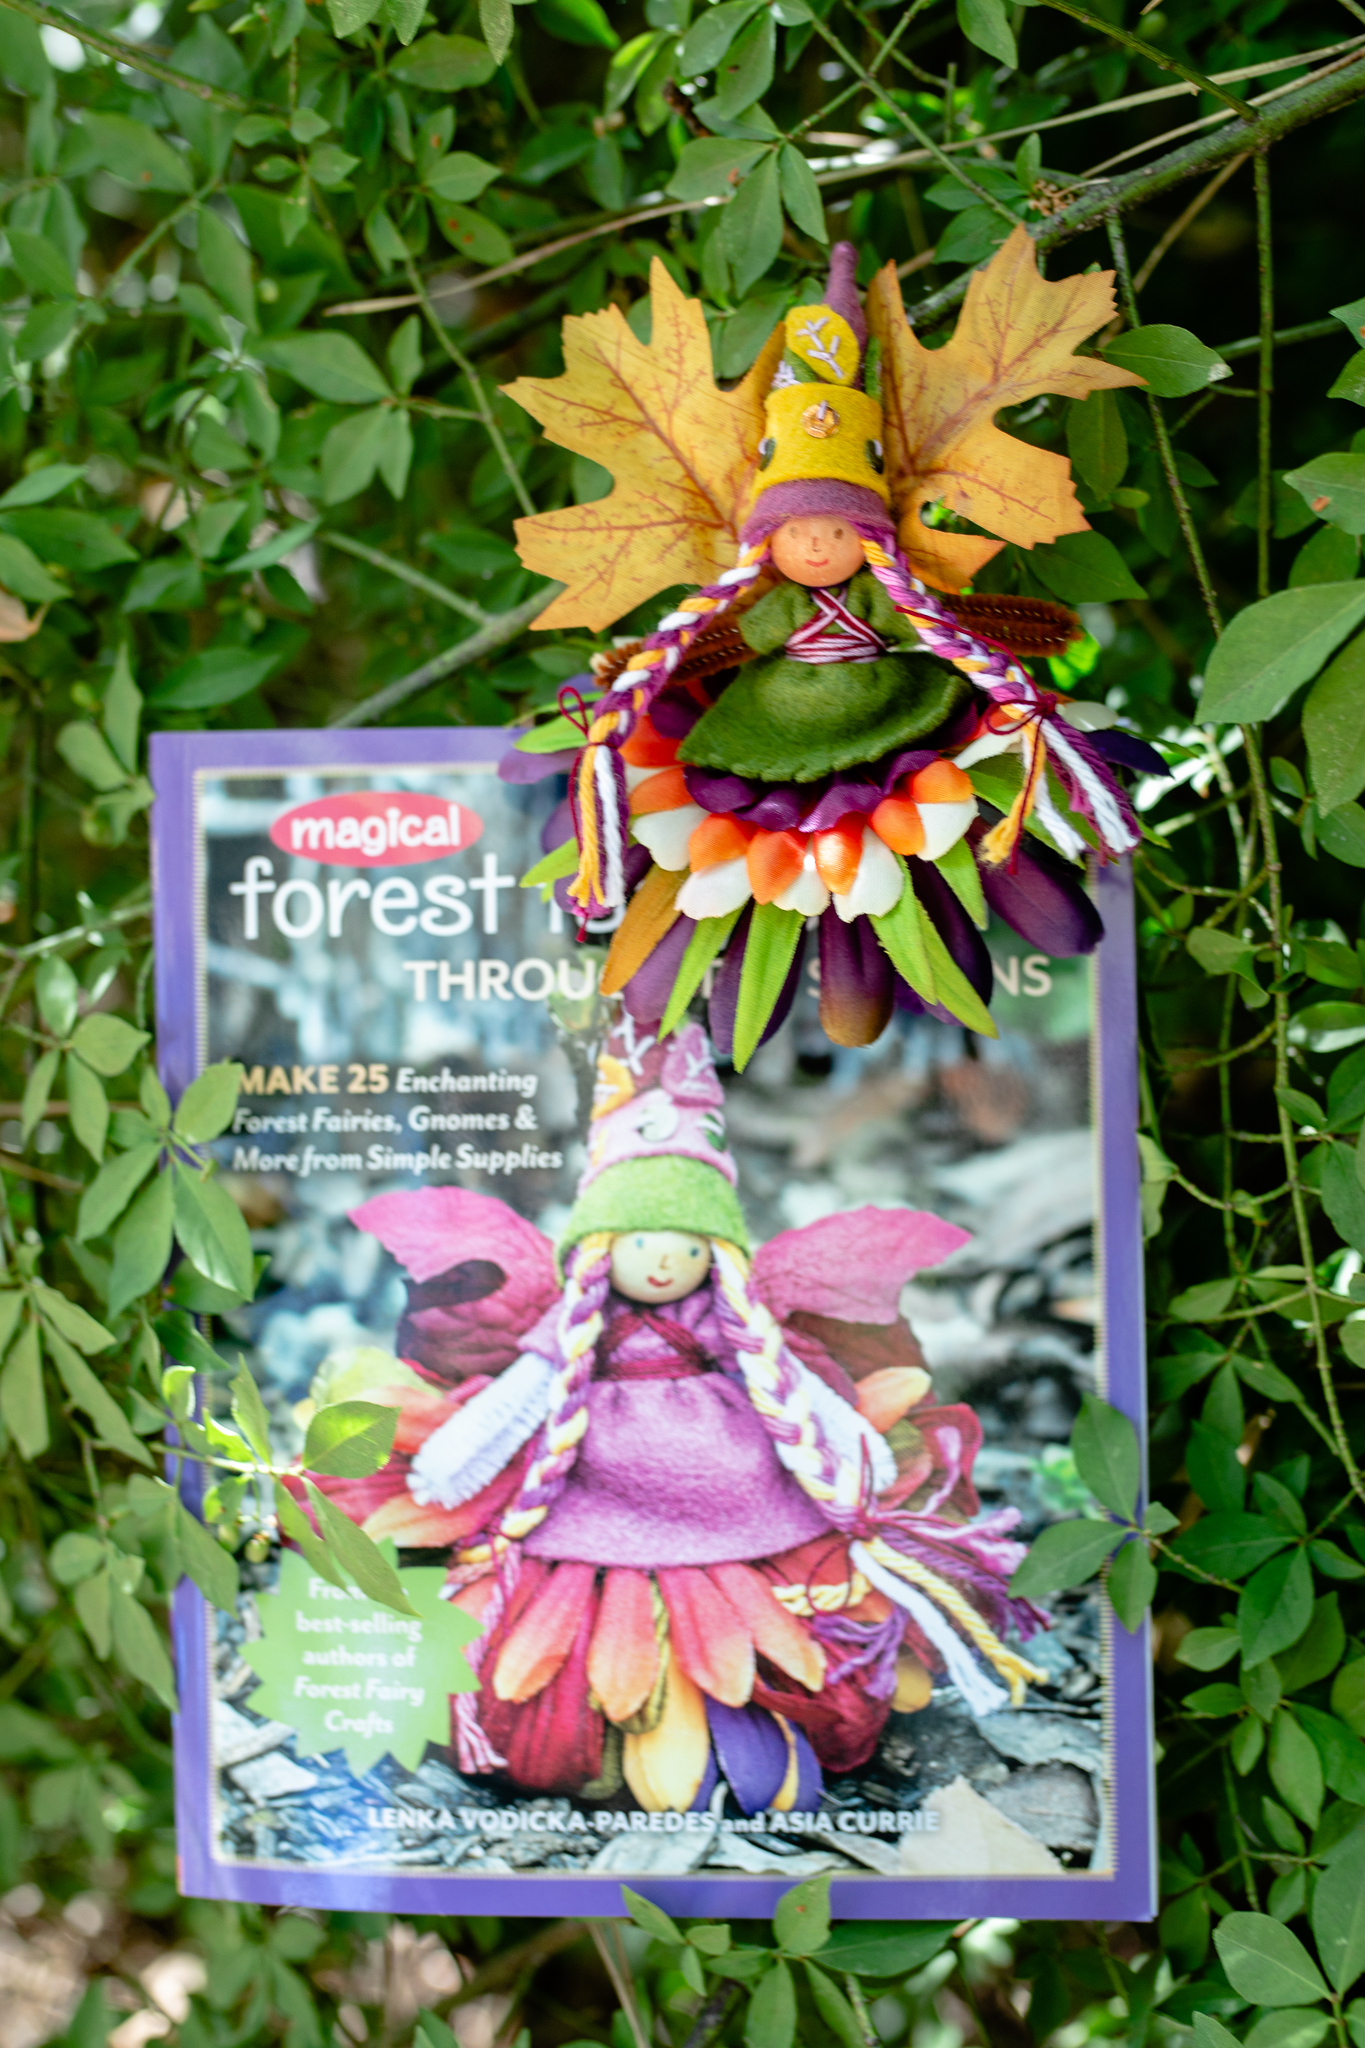
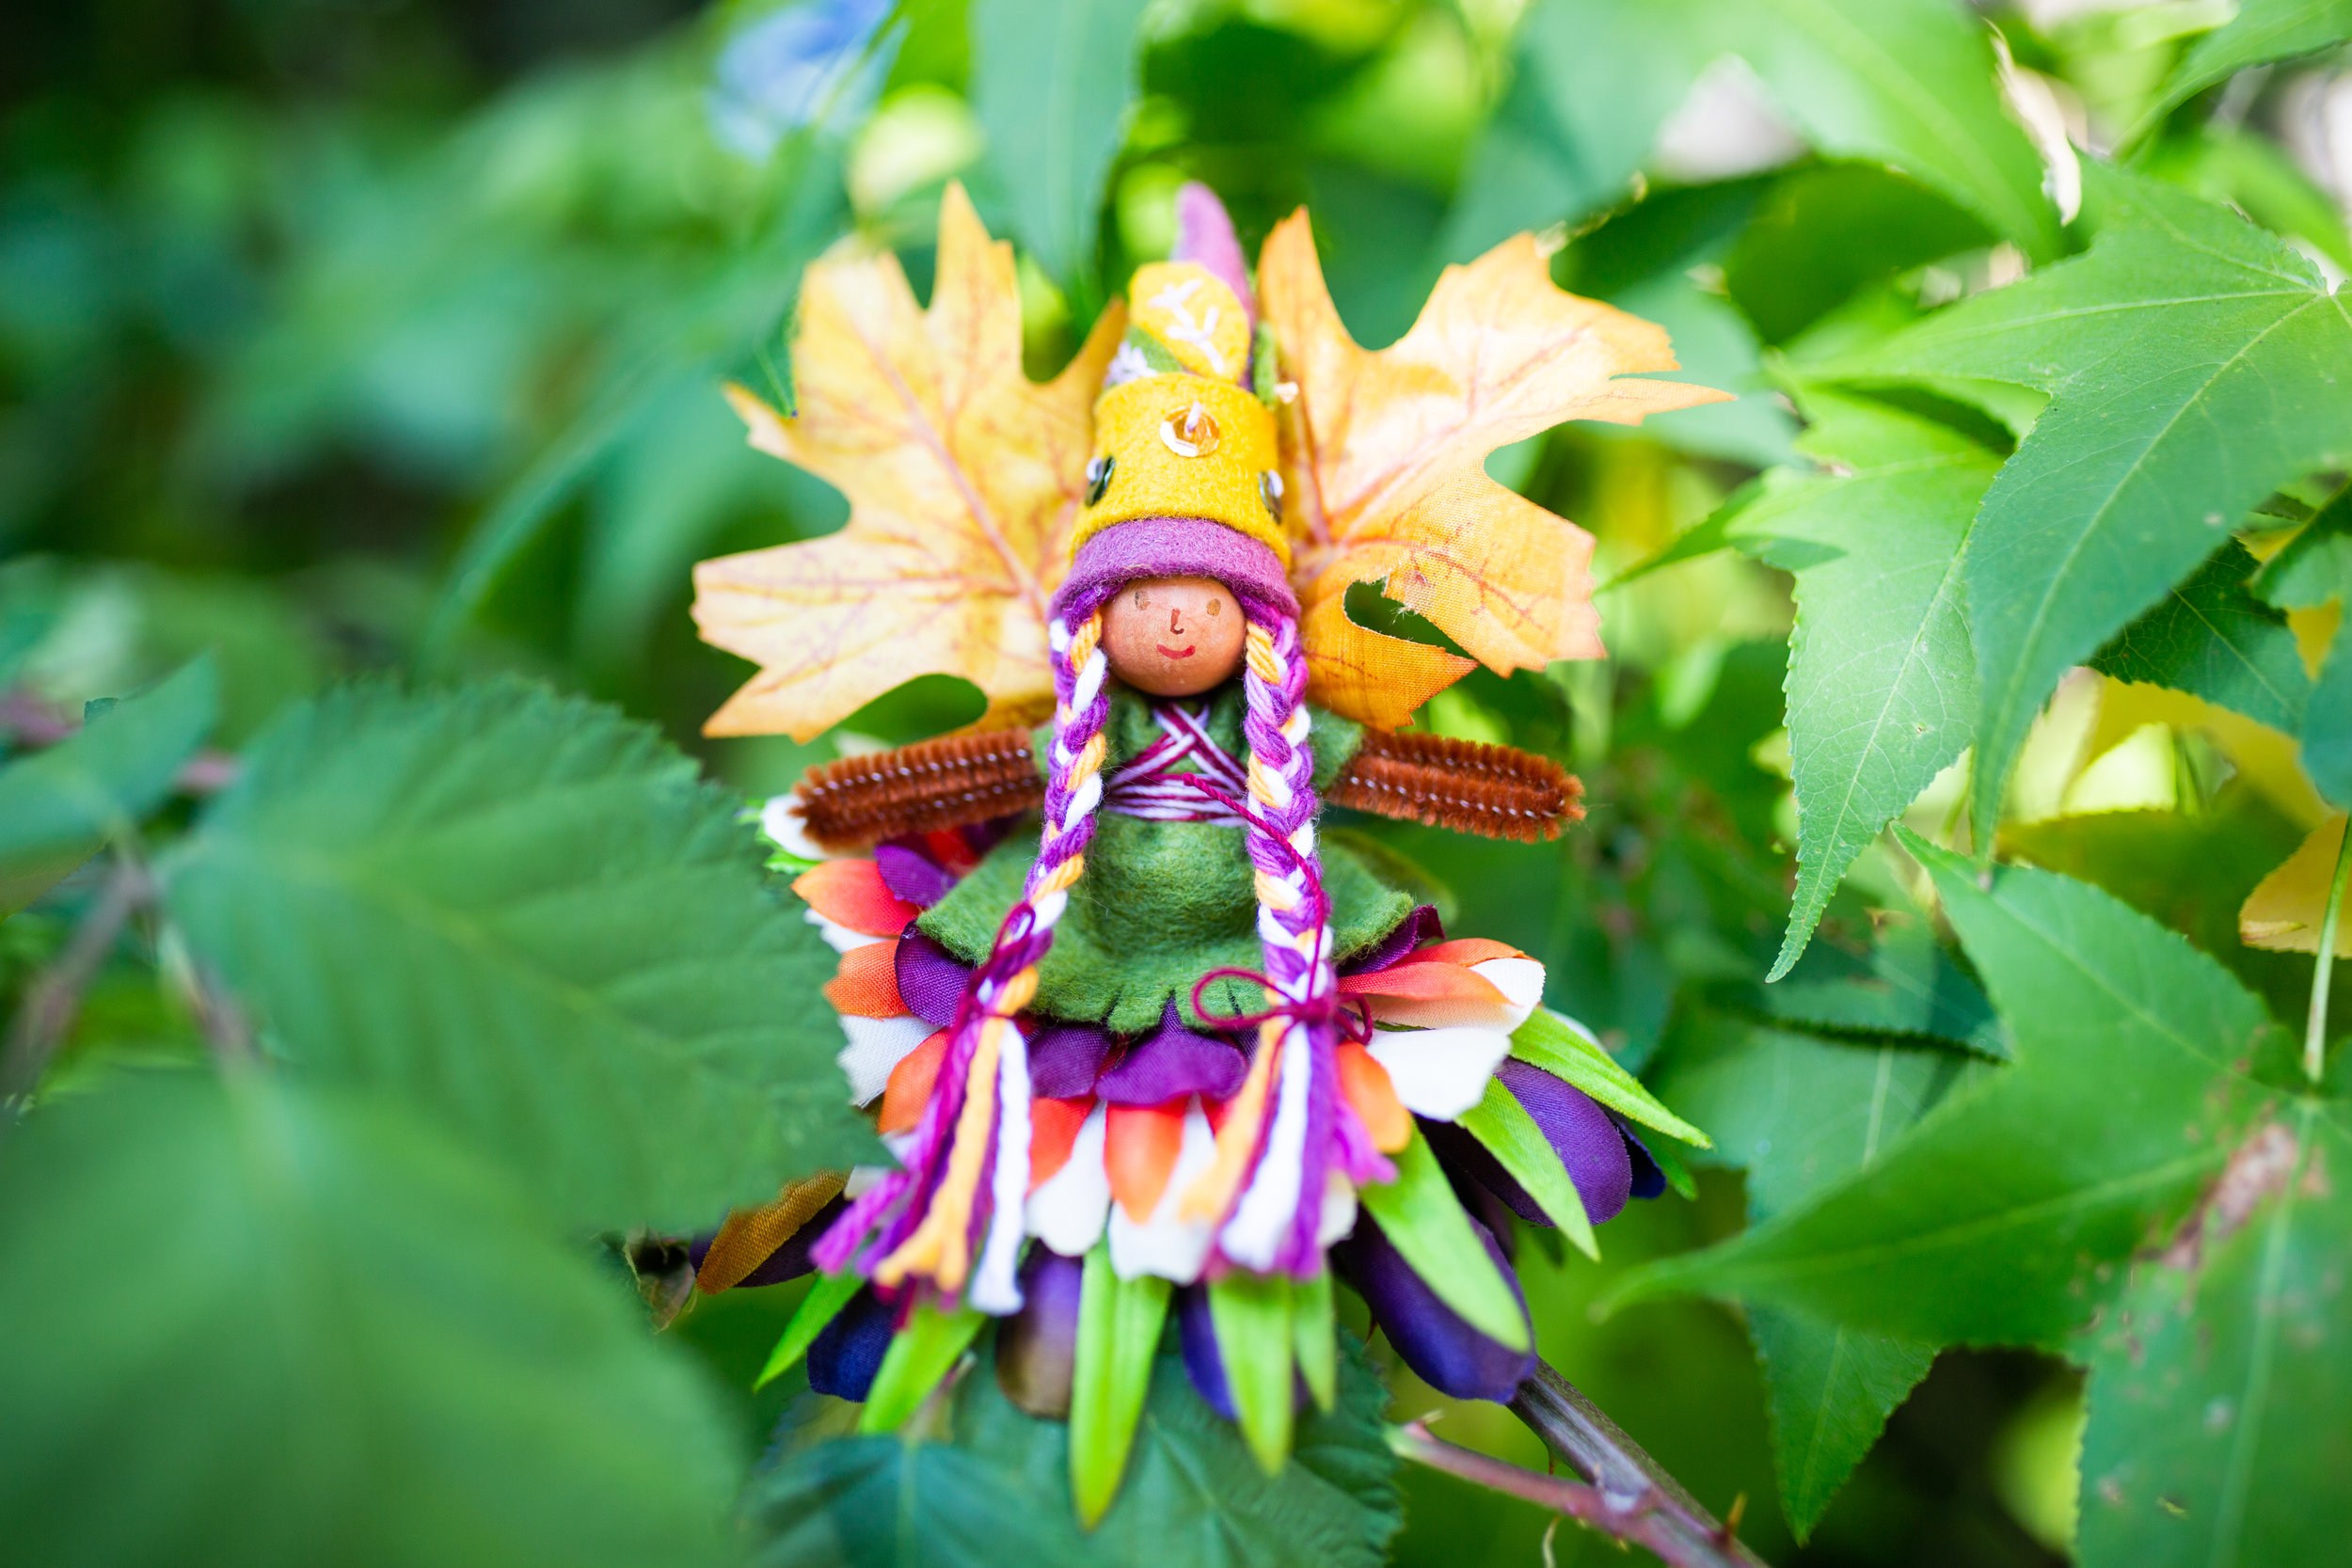
Autumn Fairies with Leaf Wings
Chubby Cat Stuffy
Chubby Fox Stuffy
Autumn Leaf Garland
Click here for a FREE tutorial for Moody Pumpkins
Moody Pumpkins are a fun fall activity that also invites conversations about moods, and how we look when happy or sad or mad. These conversations can feel obvious to adults, yet creating a way to show different expressions can be super helpful for young children. We’re happy to share the activity with all of you. And they’re fun decorations!
We wish everyone a fun and creative autumn! And, if you’re on the opposite end of the world, happy spring! We have you covered with plenty of spring crafts too :)
We look forward to crunching through leaves while watching colors blaze on our favorite trees. We look forward to harvest treats and adventures. And we look forward to collecting our gratitudes as the season gets underway.
Thank you for sharing the journey with us!
* post does contain affiliate links. Should you choose to purchase our books, a small amount returns to the forest while your price remains the same. Thank you!
Thank You for a Lovely Tour
Thank you for inspiring us! Thank you for creating lovely projects using Magical Forest Fairy Crafts through the Seasons. Summer is welcome in the fairy forest.
We appreciated everyone who joins our journey. Seeing fairies and crafts from around the world is a dream come true. The fairies hope to make your seasons fun and magical :)
If you would like to travel the world with fairy crafts, visit these links:
We Bloom Here: http://webloomhere.blogspot.com/2019/06/forest-fairy-crafts-blog-tour.html
Clever Chameleon: https://www.cleverchameleon.com.au/forest-fairy-crafts/
Annette Bay Pimental: http://www.annettebaypimentel.com/how-to-nonfiction/
The best adventures are shared. Thank you for joining us :)
And we are currently contacting a winner for our giveaway. Once we have permission to share, we’ll let you know who won ebooks of both Forest Fairy Crafts books. Thank you to everyone who entered. We appreciate you!
And congratulations to ebook winners of Magical Forest Fairy Crafts through the Seasons. We wish you magical crafting :)
*Post contains an affiliate link. Should you choose to purchase, a small amount returns to the Forest while your pricing remains the same. Thank you!
Summer Party Blog Tour
We are celebrating summer with a Blog Tour!
Travel the world to visit with Fairy Crafters and see what they create using Magical Forest Fairy Crafts through the Seasons. We’re inspired to see what they enjoy about fairy crafts.
With students home for summer, days may feel extra long. Fairy crafts are entertaining for quiet time on a hot afternoon. Then, when the weather cools, take your crafts outside to play and build them houses.
We know that children need to keep reading through summer break. Books like the Fairy Crafts books give valuable chances for meaningful reading with lots of photographs which support understanding. Kids love having fun while reading :)
Follow all the updates for inspiration!
June 9 Welcome https://www.forestfairycrafts.com/journal
June 11 C&T https://www.ctpub.com/blog/
June 12 Annette Bay Pimentel http://www.annettebaypimentel.com
June 13 We Bloom Here http://webloomhere.blogspot.com
June 14 Clever Chameleon https://www.cleverchameleon.com.au/blog
June 21 Thank You and Wrap Up https://www.forestfairycrafts.com/journal
Now, for awesome news! We get to give away ebooks of both Forest Fairy Crafts and Magical Forest Fairy Crafts through the Seasons! We will select a winner after the blog tour ends. Each host gets to giveaway a cope of Magical Forest Fairy Crafts through the Seasons- visit them for more chances to win!
Winner wins ebook versions of Magical Forest Fairy Crafts through the Seasons and Forest Fairy Crafts sent via email. Perfect for summer crafting :)
To enter, comment here. For additional chances, enter where the Giveaway Announcement appears on
Facebook with a comment, like, share
Instagram with tagging a friend
Twitter with a Retweet or Quote Tweet.
We hope your summer is filled with magic :)
Winner will be chosen by random number on June 21. Ebooks are sent via email. Good luck!
My boy’s favorite craft from the book is the Shooting Star beanbag. He loves it because it’s “easy to catch.” We love crafts that are fun to play with later in the day :) What’s your favorite seasonal activity?
Favorite Spring Fairies
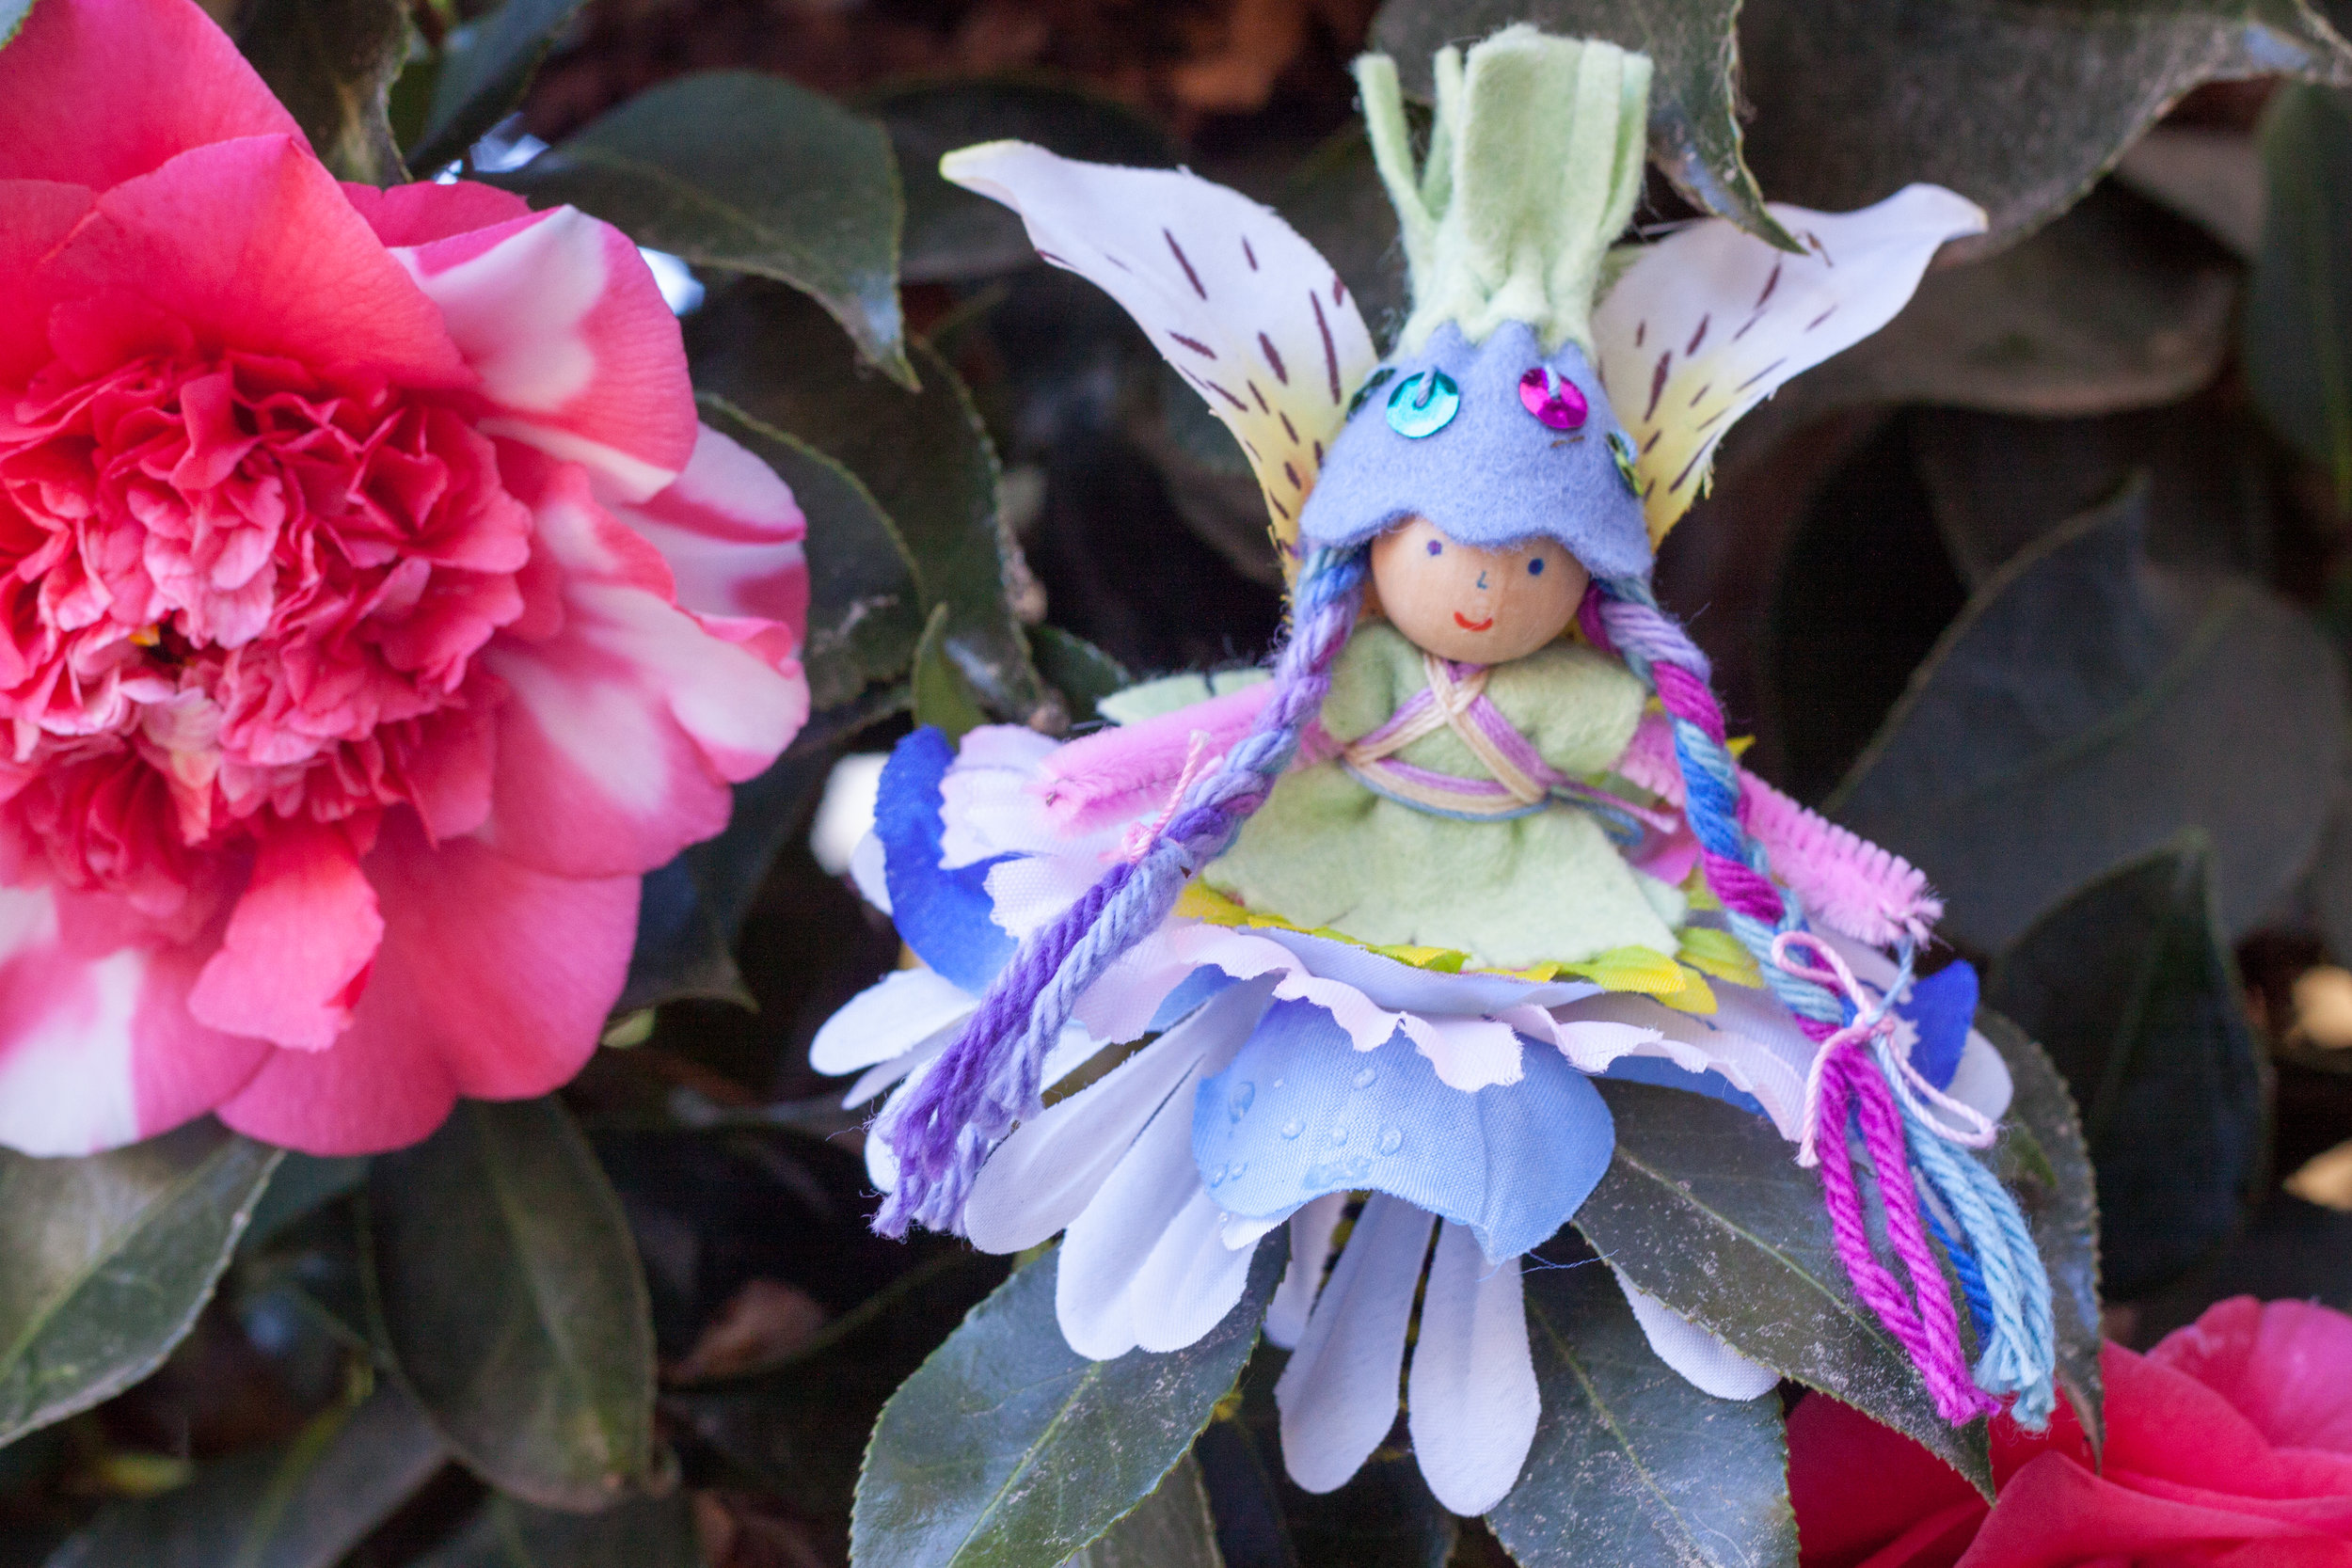
Spring fairies enjoy all the blossoms and sunshine of spring. They find spring enchanting as they flit among the branches in the garden. We love the soft colors of spring.
So do the fairies!
Some of our favorite spring blooms are Dogwood trees and camilla blooms. What inspires you in the springtime?
I’m taking a moment to enjoy the magic of spring before I dive into prepping for a super-fun Summer Party! The party begins on June 9th. The fairies are getting ready :)
Memorial Day
The fairies say thank you to all the families that are directly affected by Memorial Day. The freedoms that are part of the fabric of everyday life were defended by people over time. These families have appreciation from the fairy forest. Personally, we craft with many children of military families. We see how lasting effects impacts soldiers and their families, from health concerns to mental wellness, long after active duty has ended. The fairies appreciate those who stand for freedom and safety worldwidel. At the same time, fairies, and all their gnomes and critter friends, hope for days (and years) of peace around the world.
We remember heroes and support families and hope for peace.
Happy Earth Day!
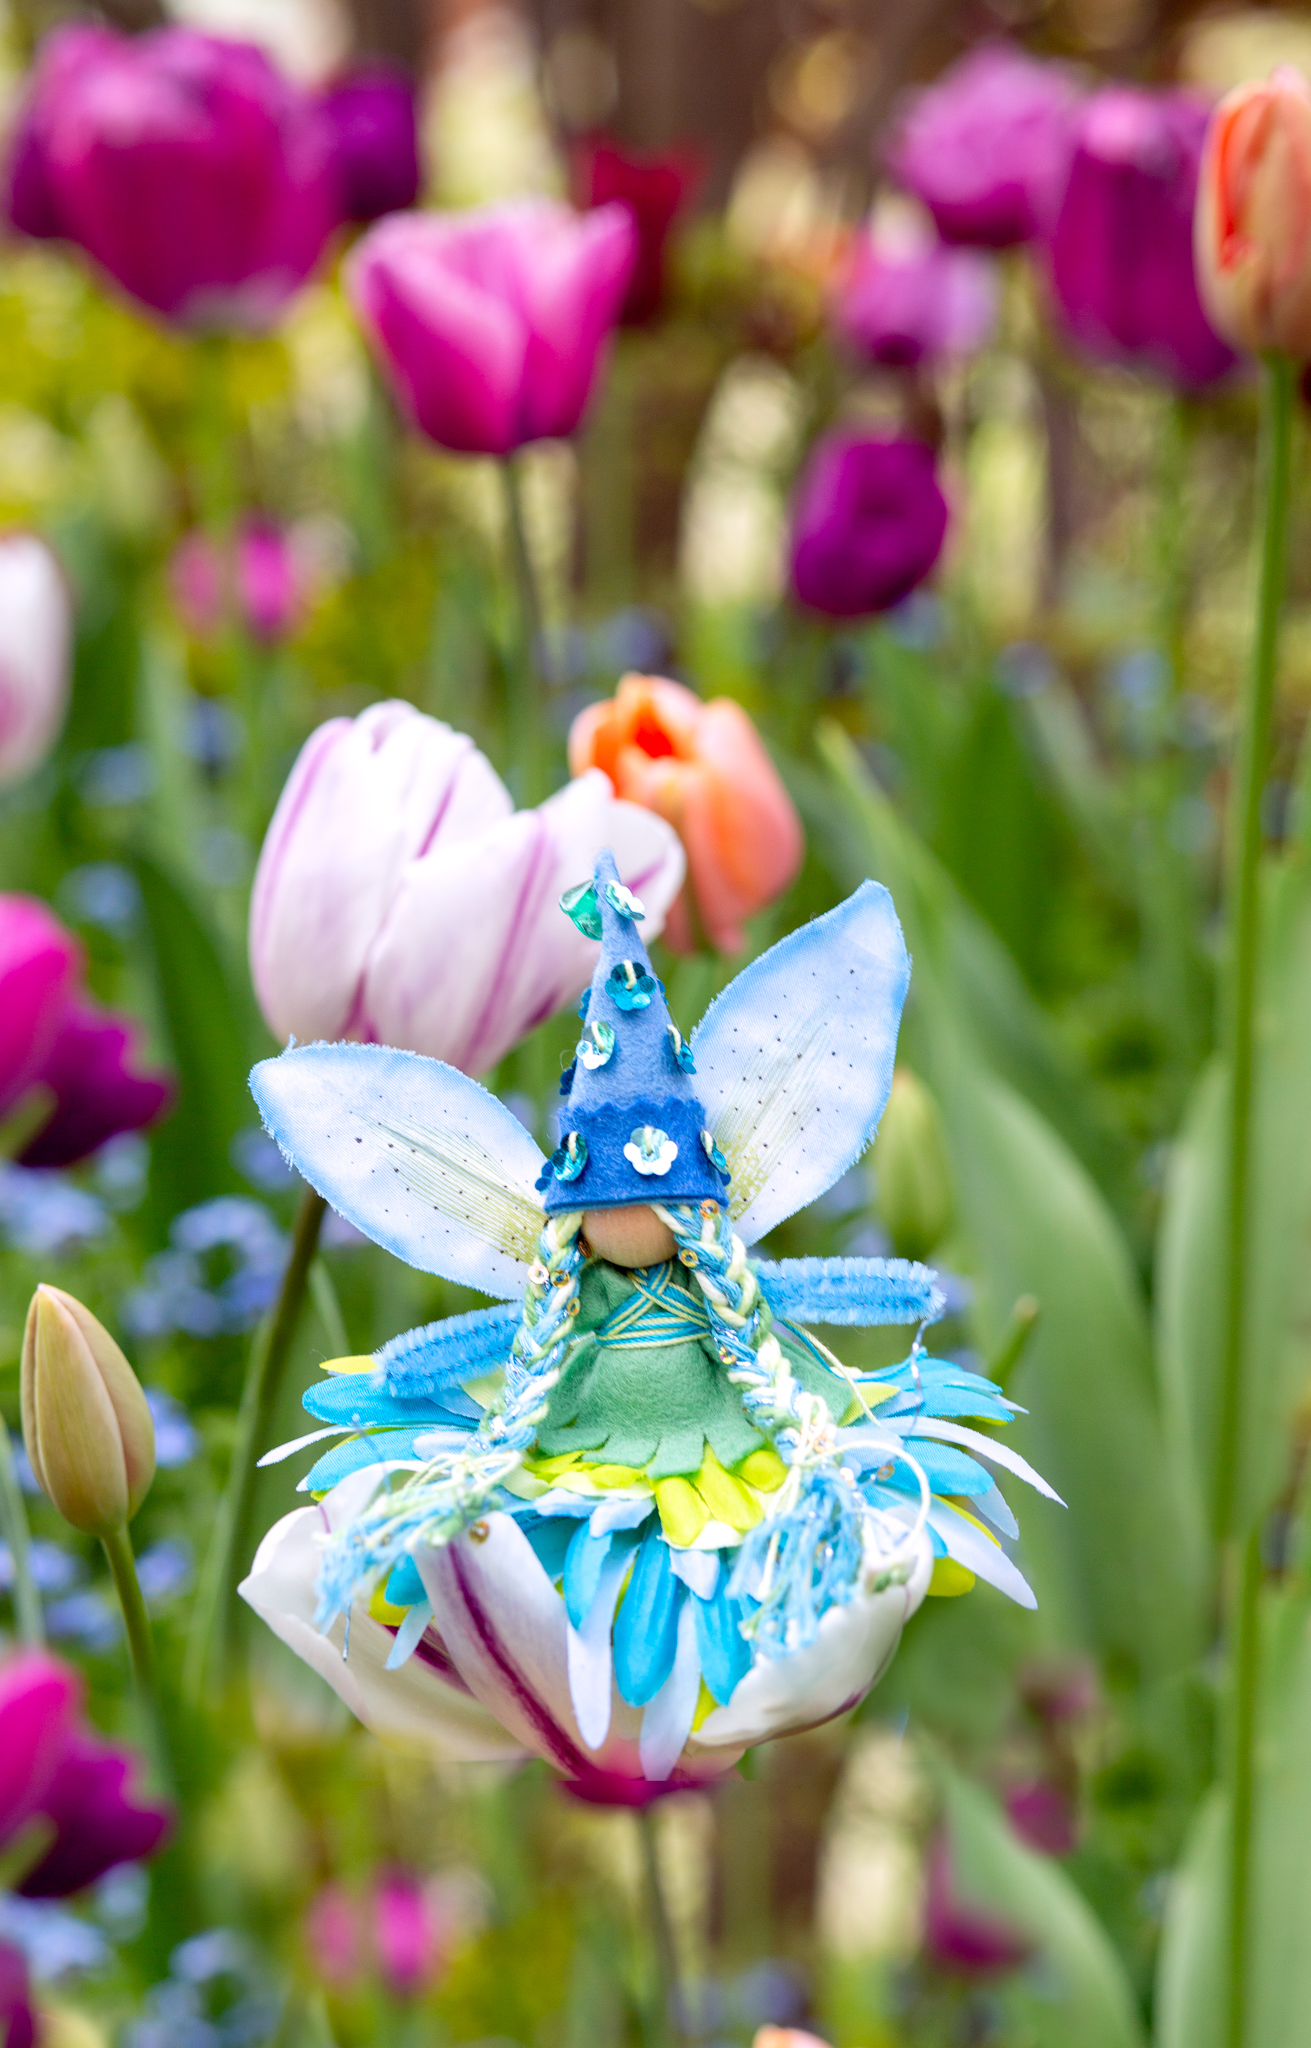
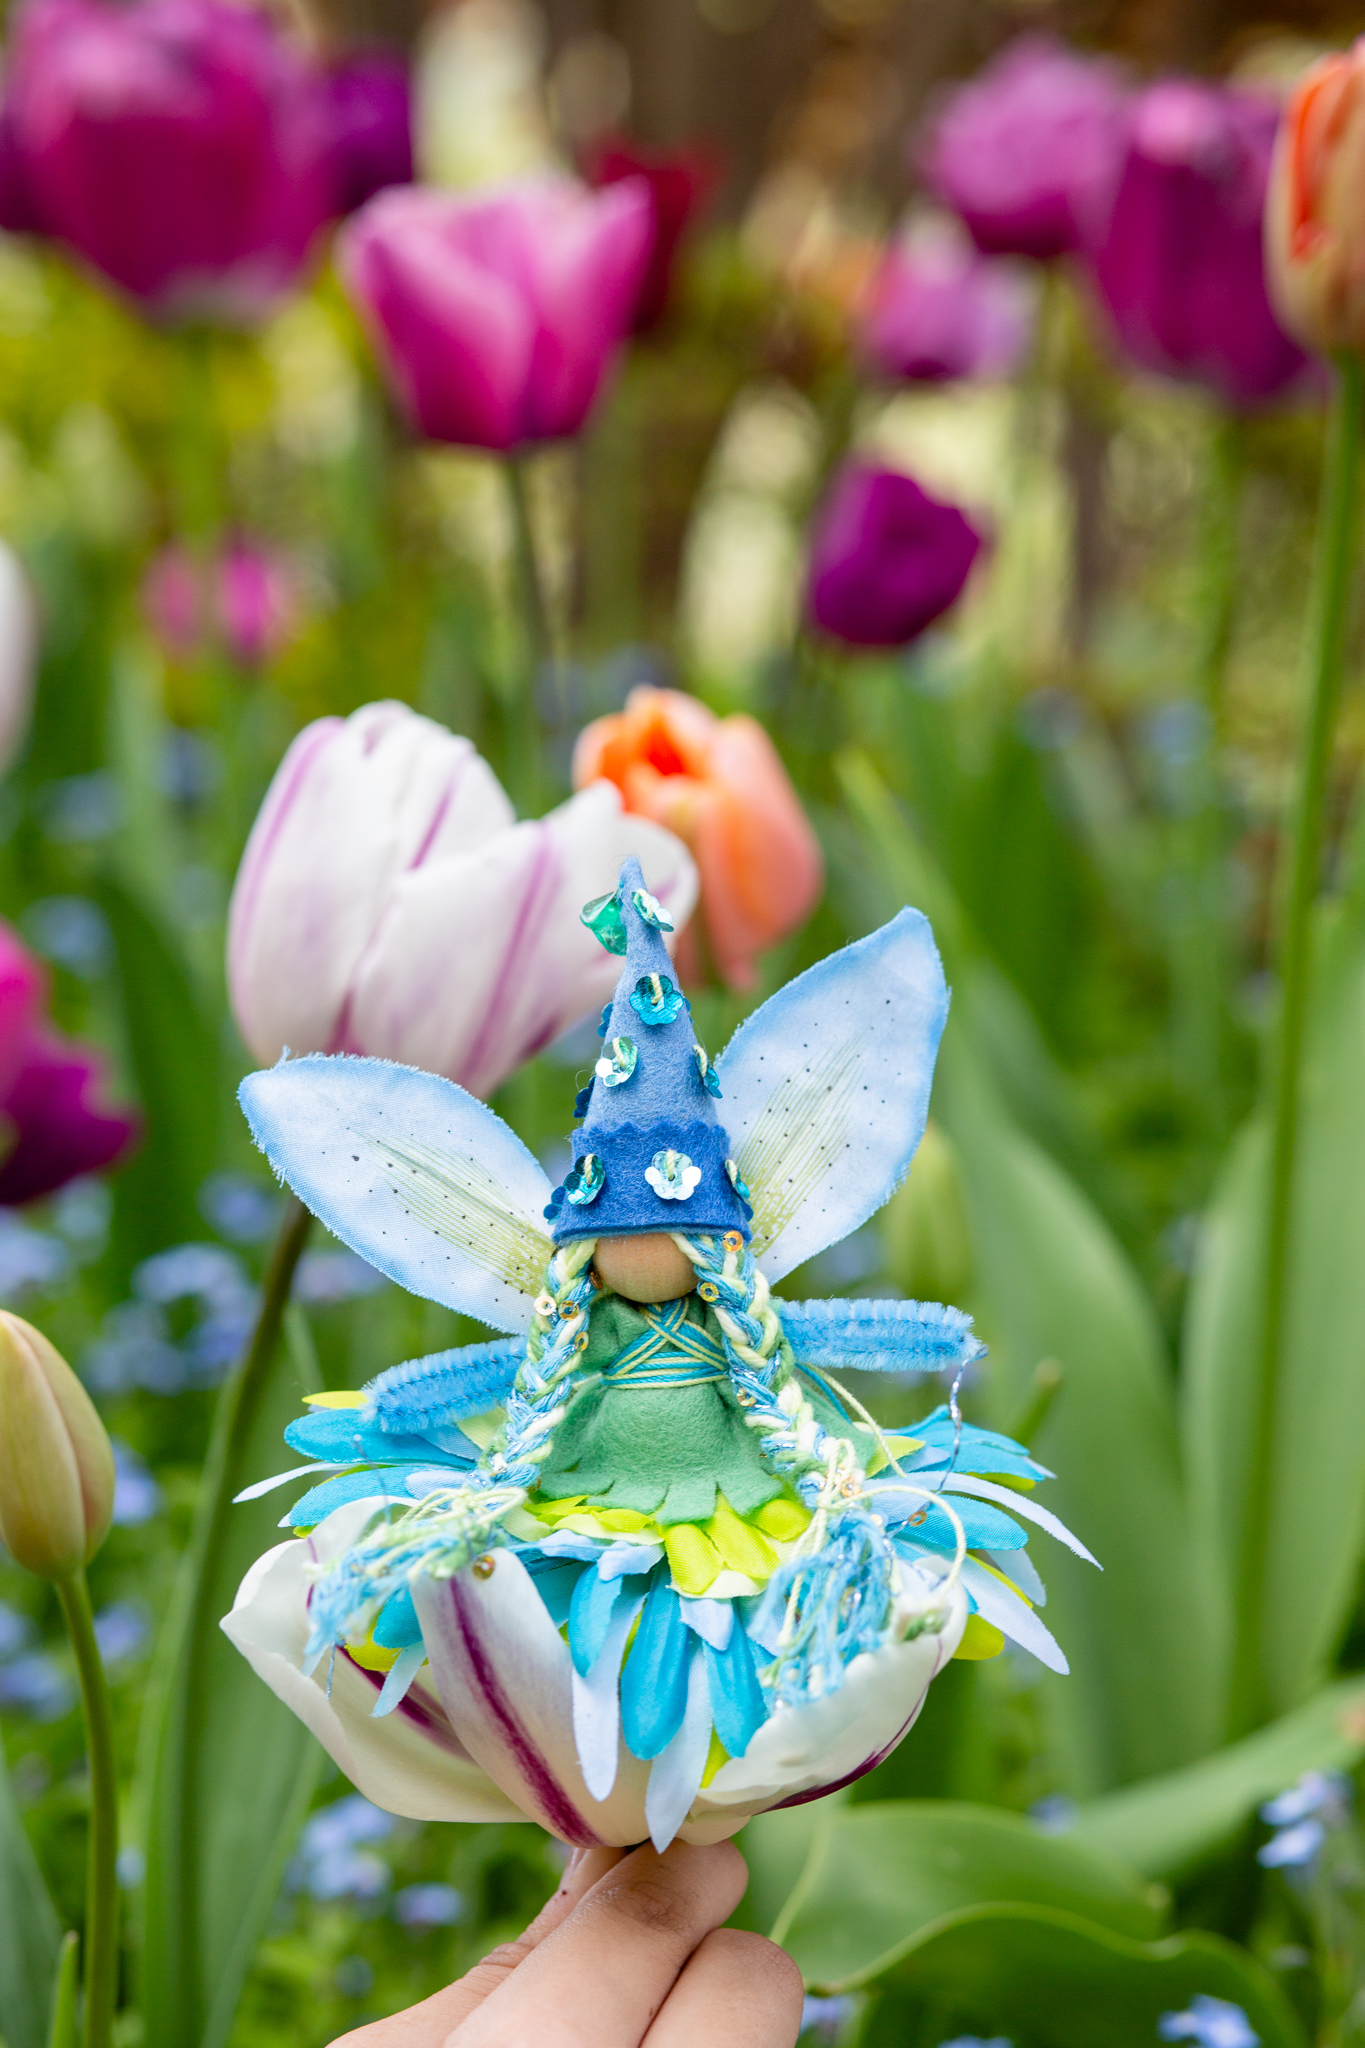
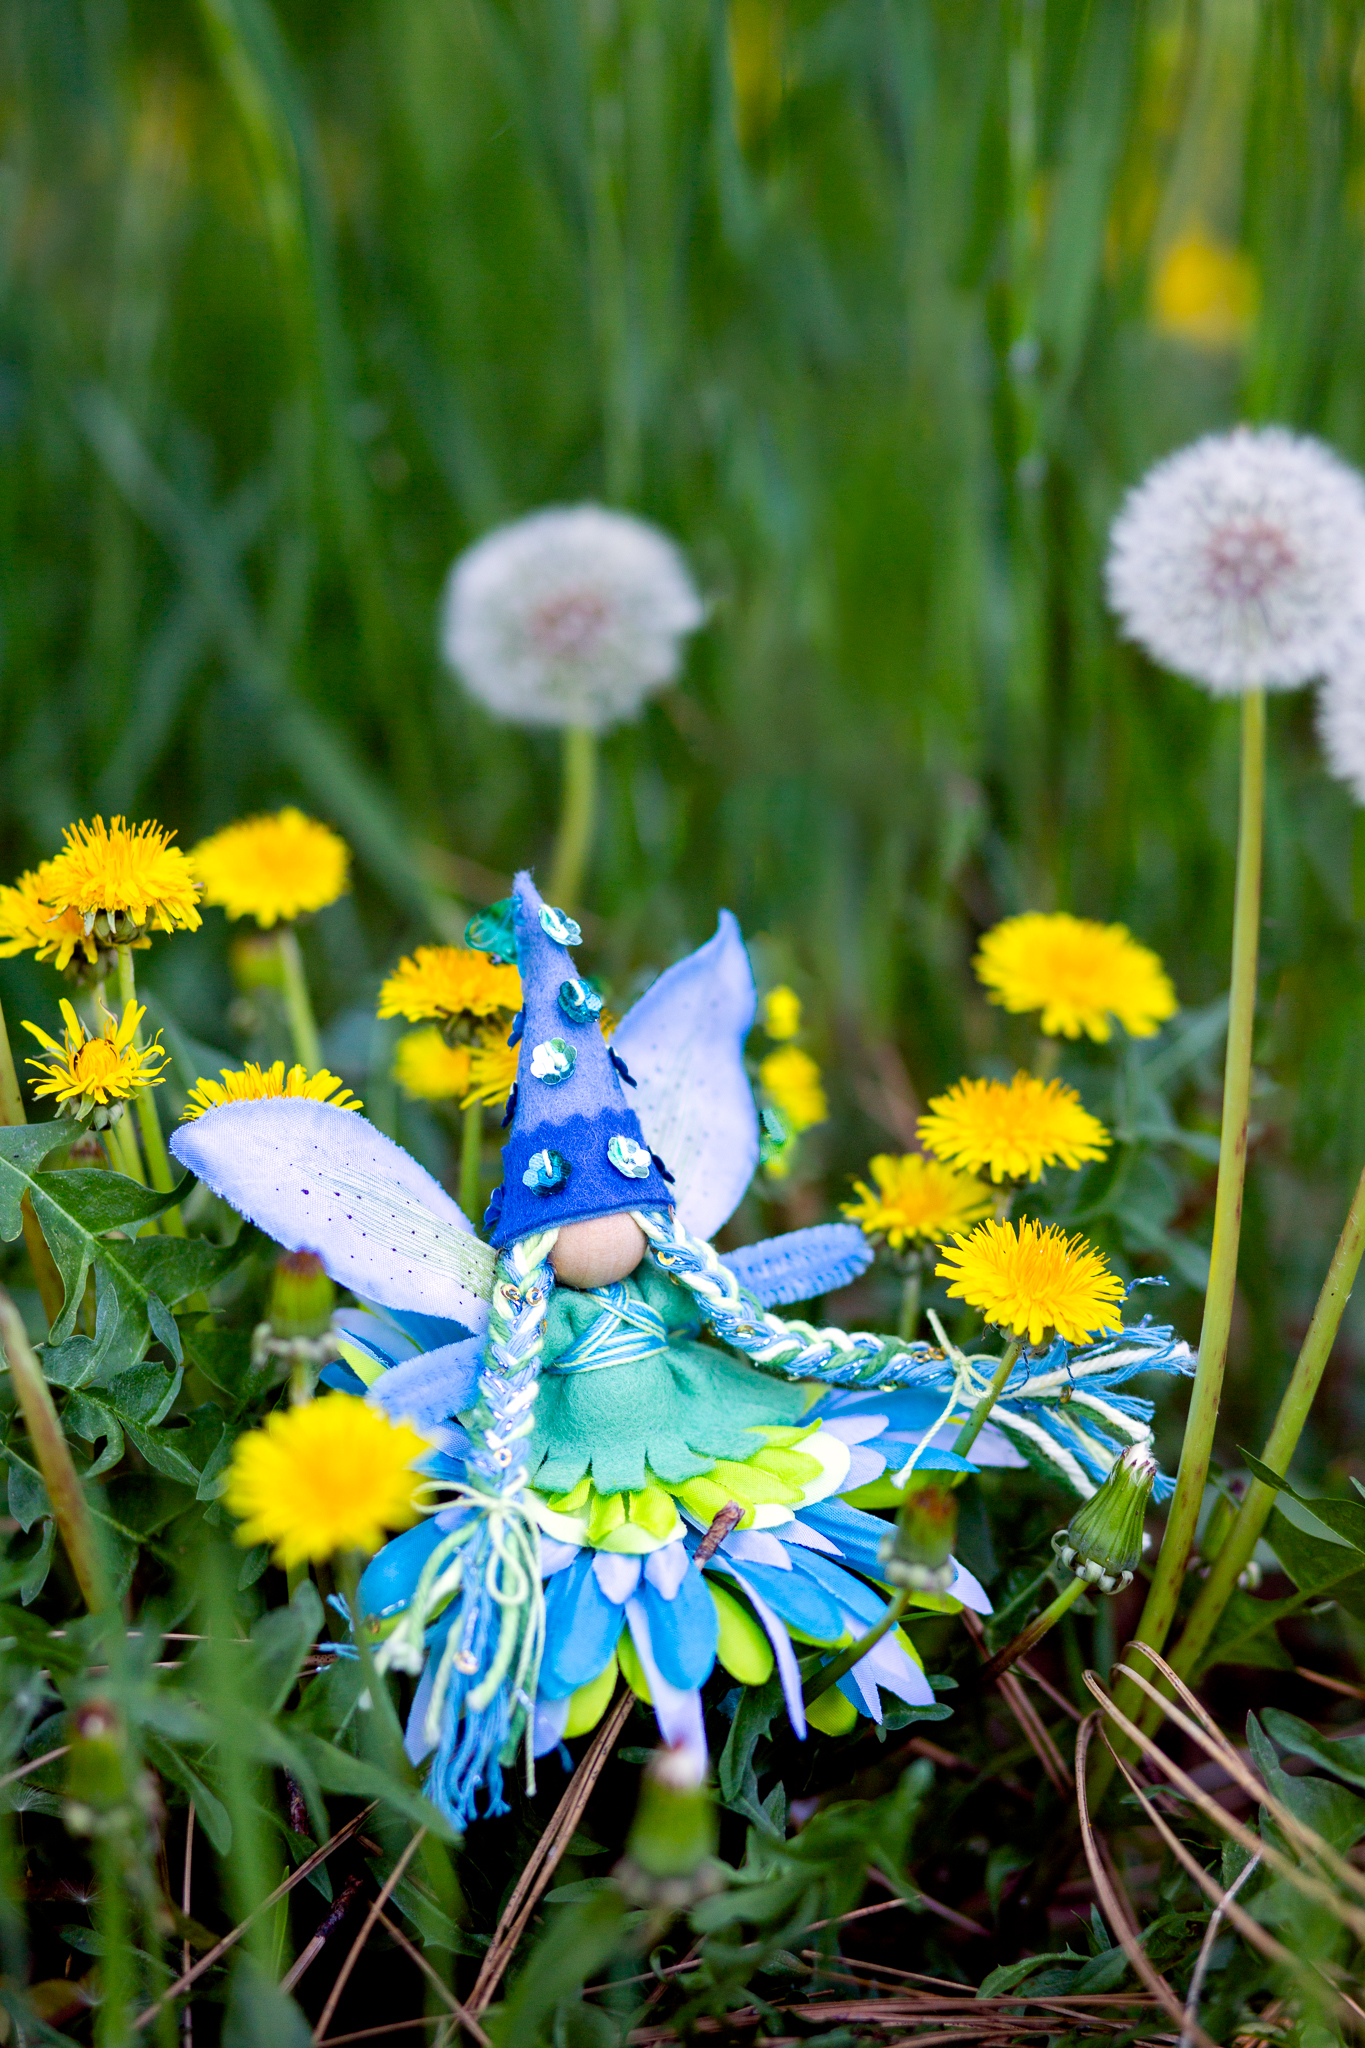
Happy Earth Day to our one and only home planet! The fairies love all the wild places of earth. We live among the Forest Fairies, but river fairies and ocean fairies and mountain fairies may be closer to your home. We created this Happy Earth Day fairy to celebrate all the blues and greens of sky, leaves, and water.
I found flower-shaped sequins which made simple sparkly decorations on her hat. We used “pinking shears” which have zig-zag edges for the crown shape on her hat band. For her hair, we used color changing green-white yarn and blue yarn with sparkles (and occasional sequins). Since each fairy takes a small amount of yarn, I look for interesting yarn that add to my collection. I also doubled the crochet thread around her dress for the blue/pale green layering effect.
Thinking about Earth Day fairies means being inspired by nature. What are the colors around your home? What sort of nature can be found, even in cities? What does a nature fairy mean for your part of the world?
The other thing that I feel is super-valuable for children is talking about respecting nature at all ages. Children may not realize that hitting trees with sticks can harm the tree, or plucking flowers may not help bees, or trampling young plants underfoot may not help those plants grow. Children are open to the idea of helping nature grow. They just need to learn what that means in their daily lives.
For us, we are mindful of nature by reusing supplies (that yarn stash that lasts me for years) and buying from thoughtful suppliers (as opposed to “cheap” supplies).
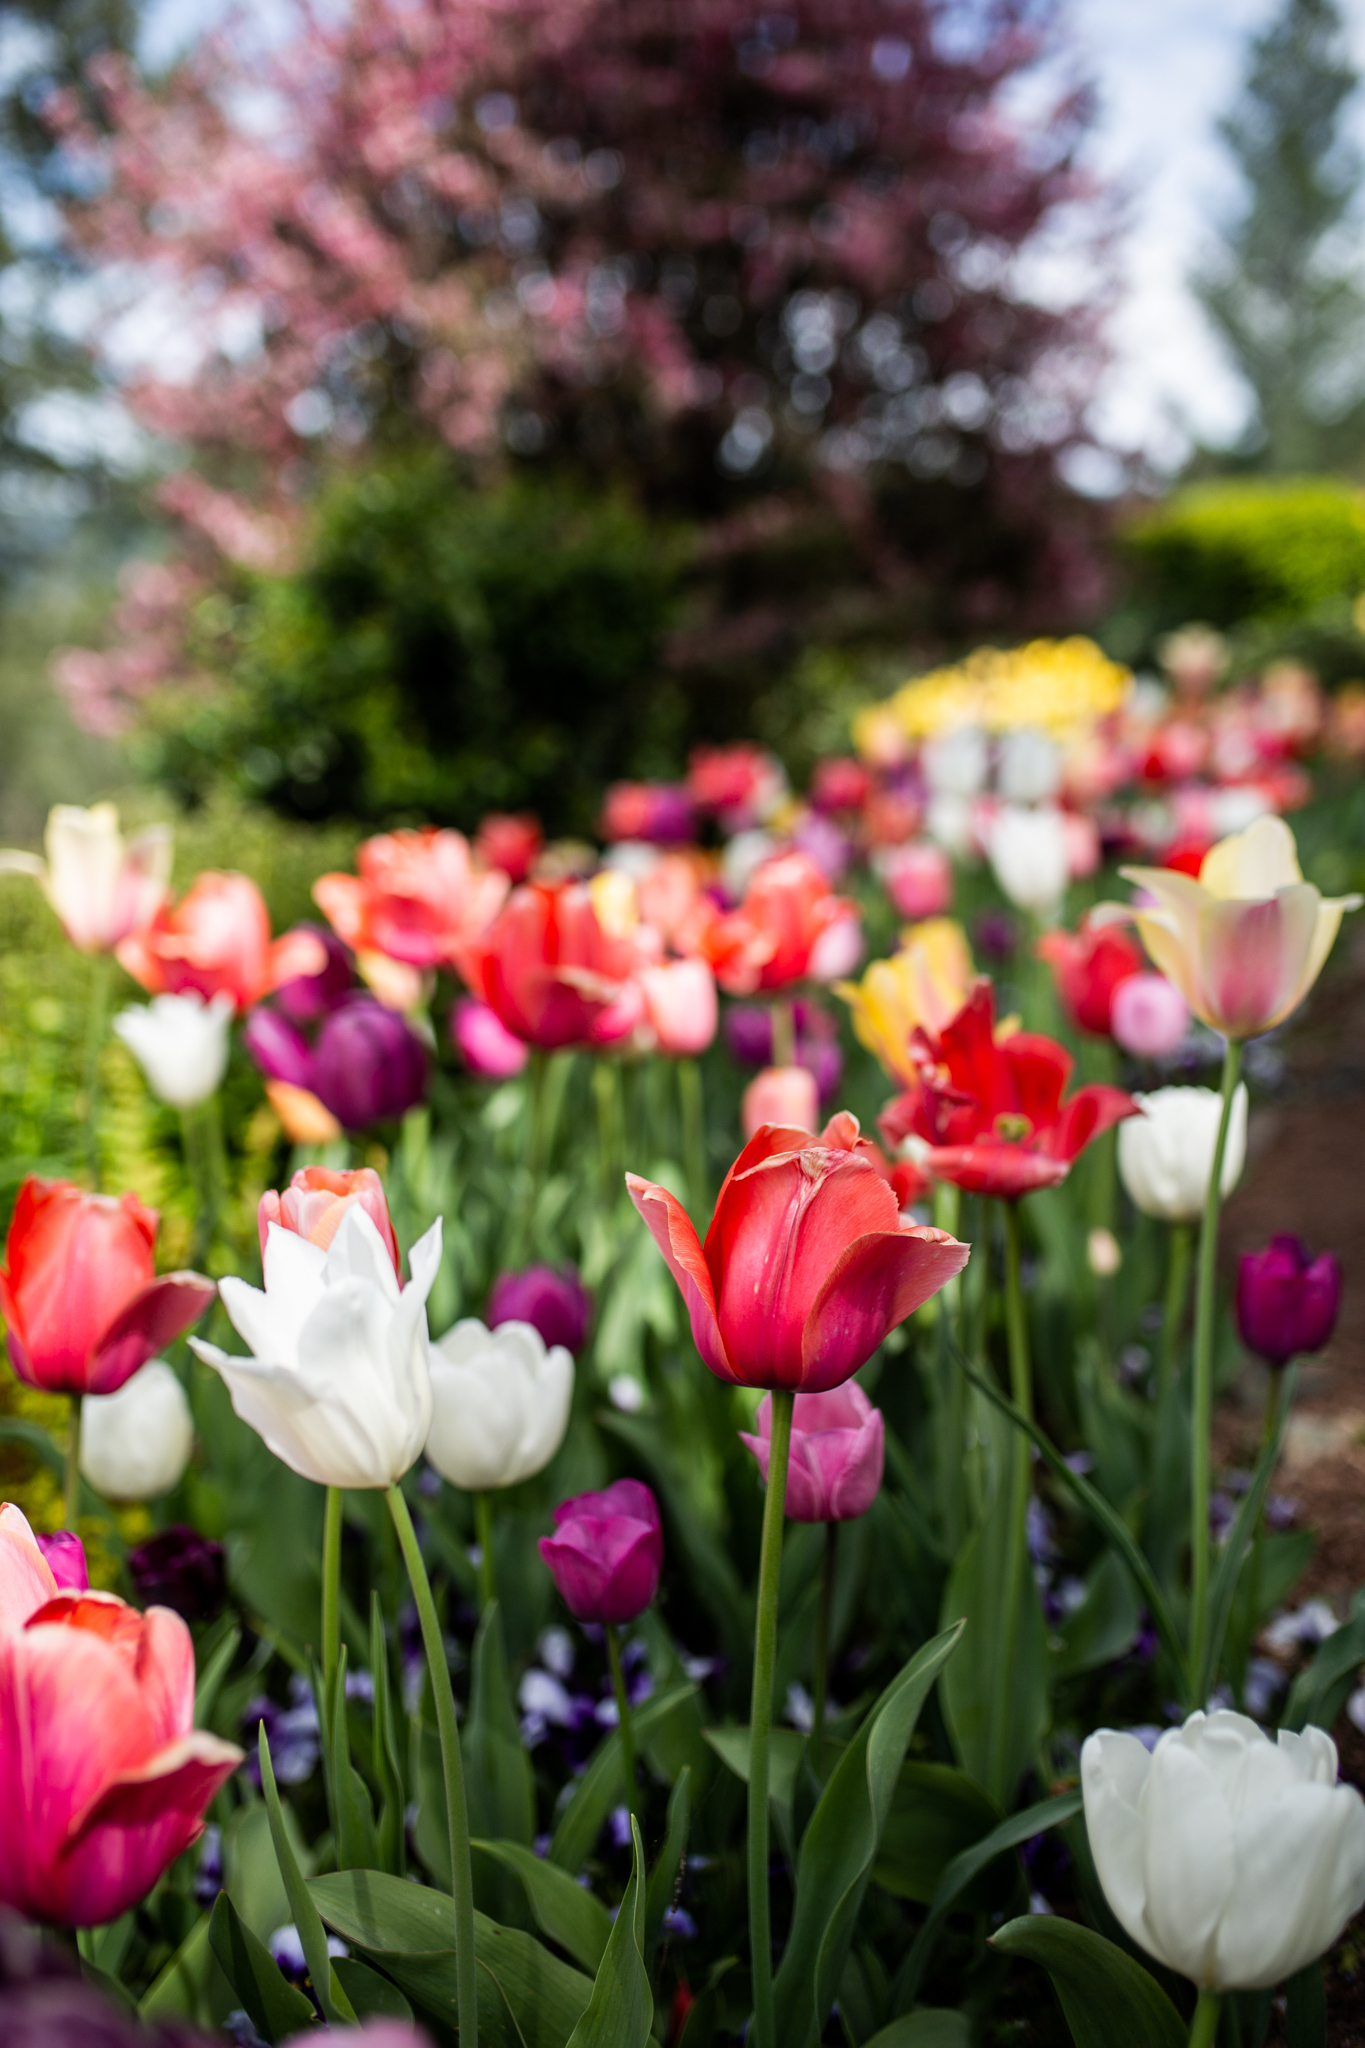
When I take photos, I am careful of the environment. We made the illusion of a fairy sitting in a flower with Photoshop magic. We visited a local favorite garden at Crystal Hermitage where they grow over 5000 tulip bulbs. We balanced the fairy by holding the flower carefully. Then we took the fairy away, and I took another of the flower by itself. Then I could “paint” the hand away by layering the two photos together.
This meant that no flowers were harmed in the making of our photos. Respecting our earth is a daily habit. And celebrating should last all year. We hope that you get to enjoy nature today!
May your Earth Day be filled with magic :)
*this post does contain an affiliate link. Should you choose to purchase, a small amount returns to the forest while your pricing remains the same. Thank you!
Happy Spring
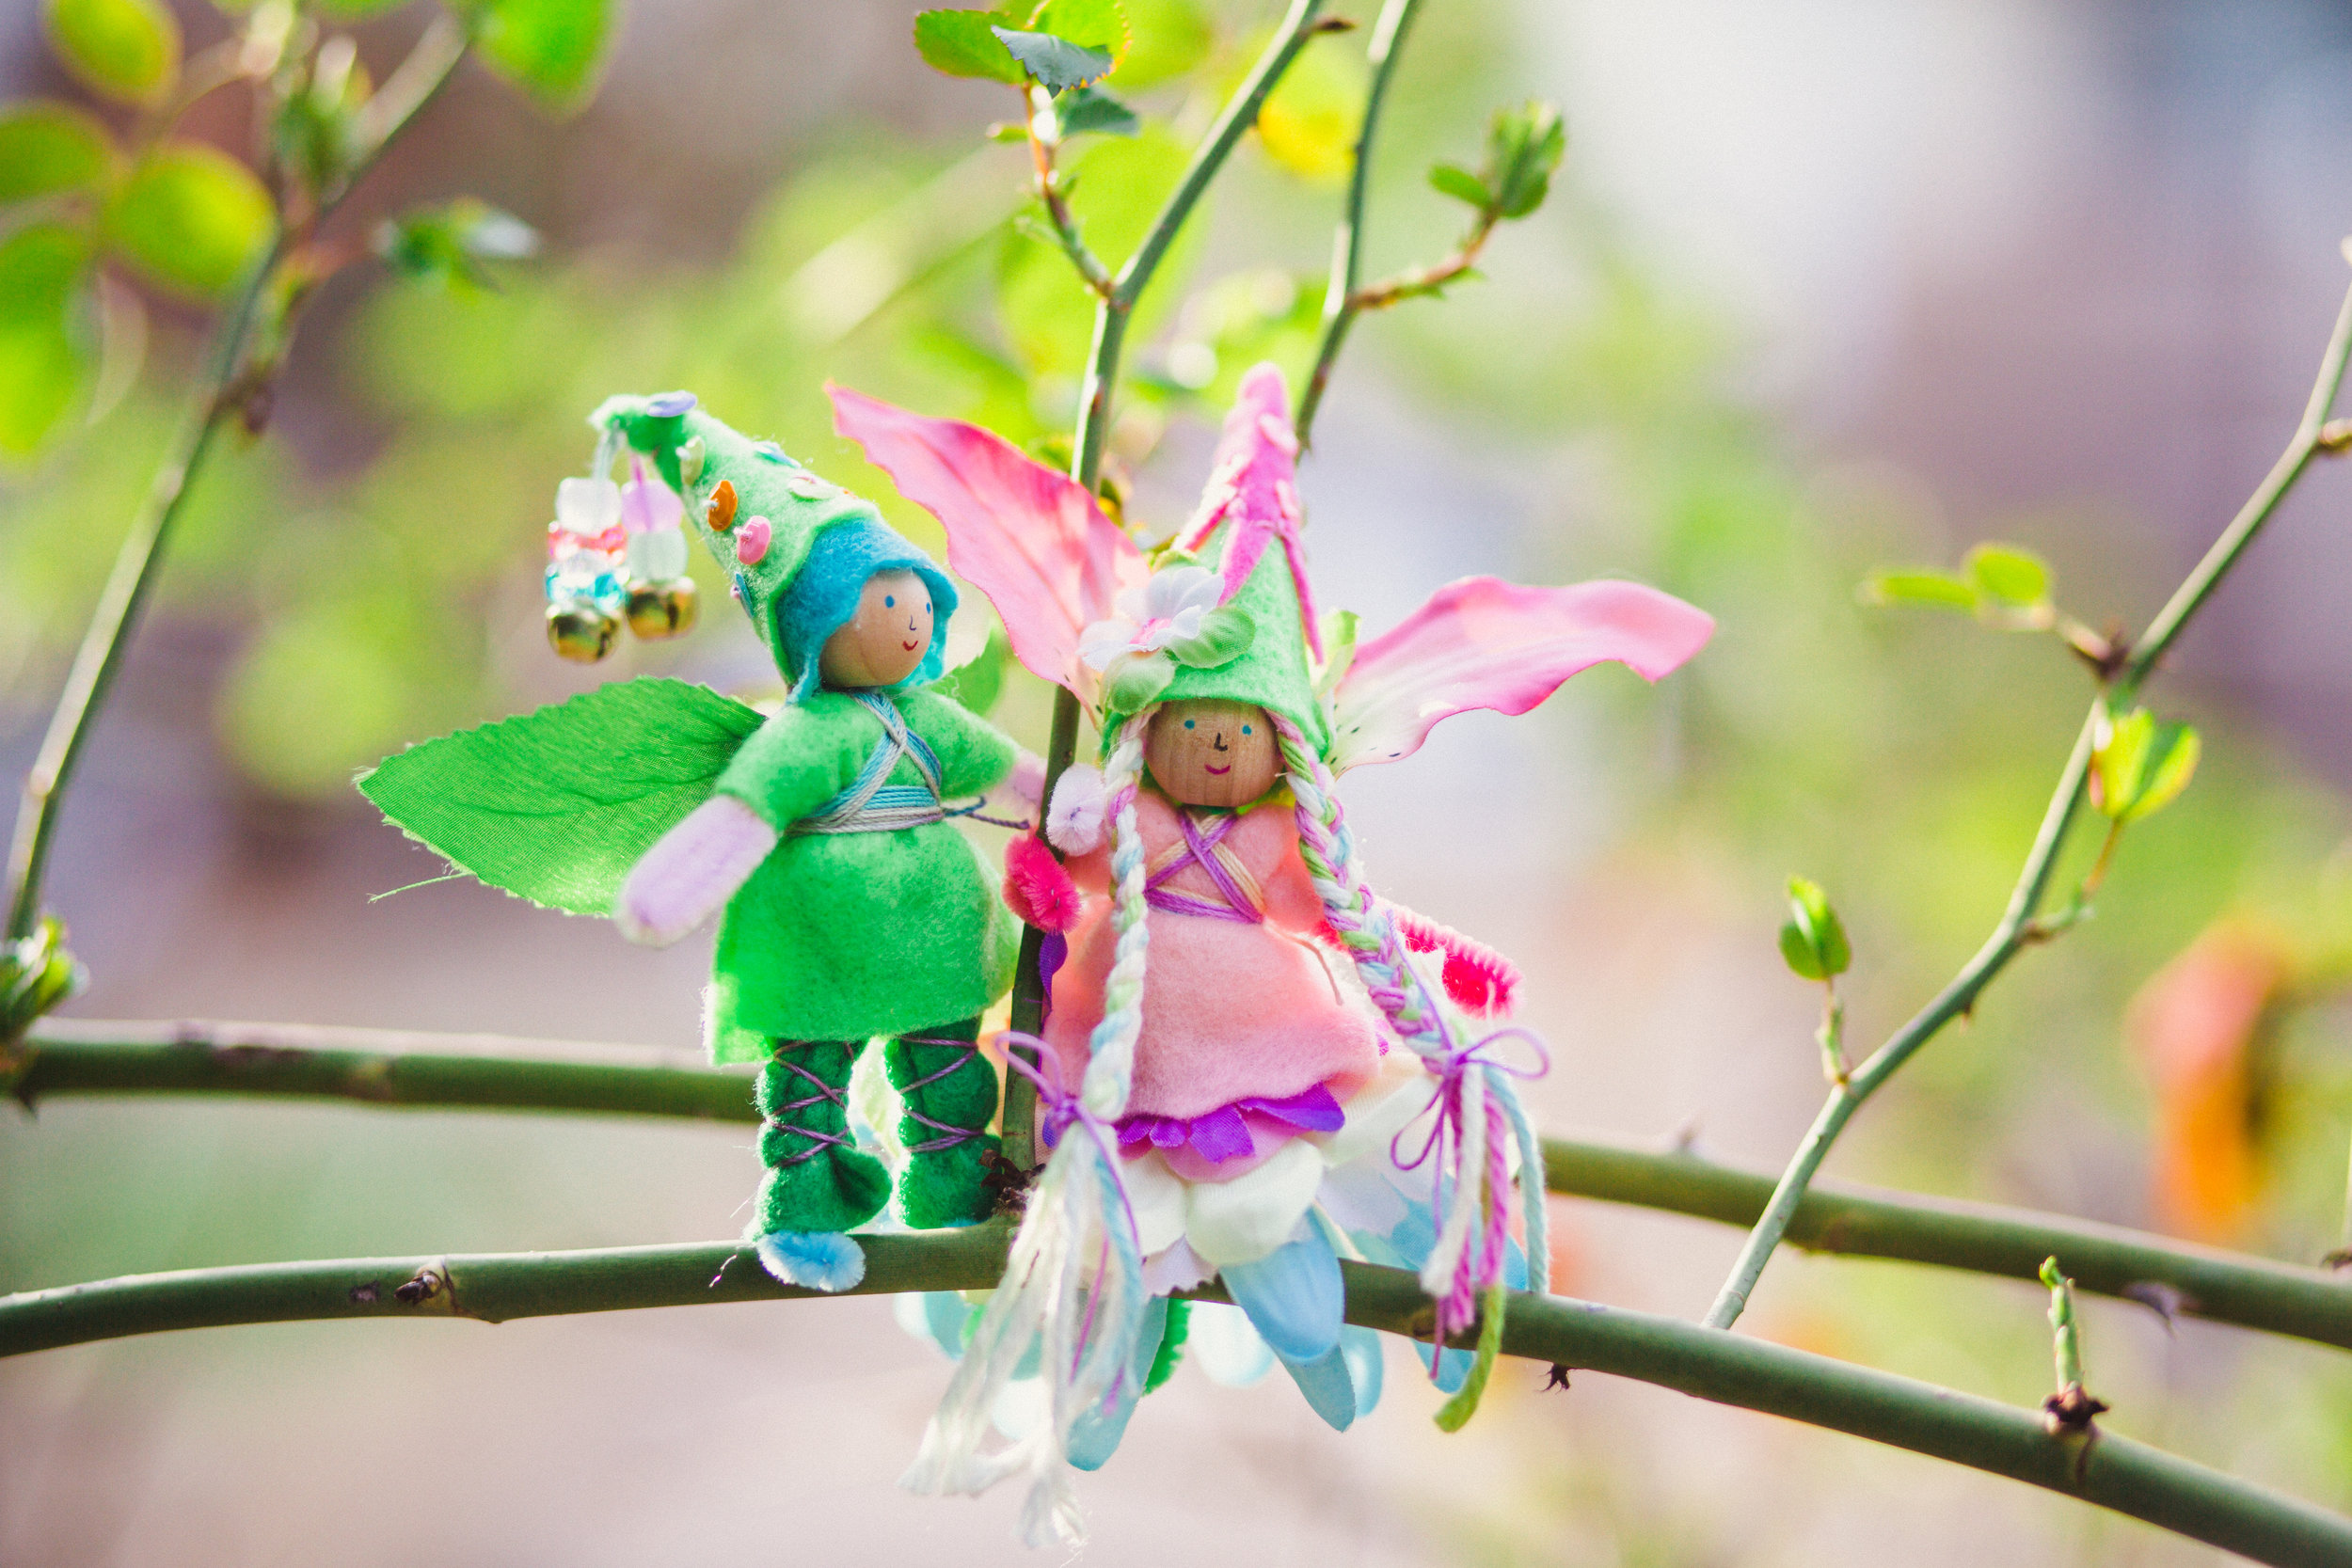
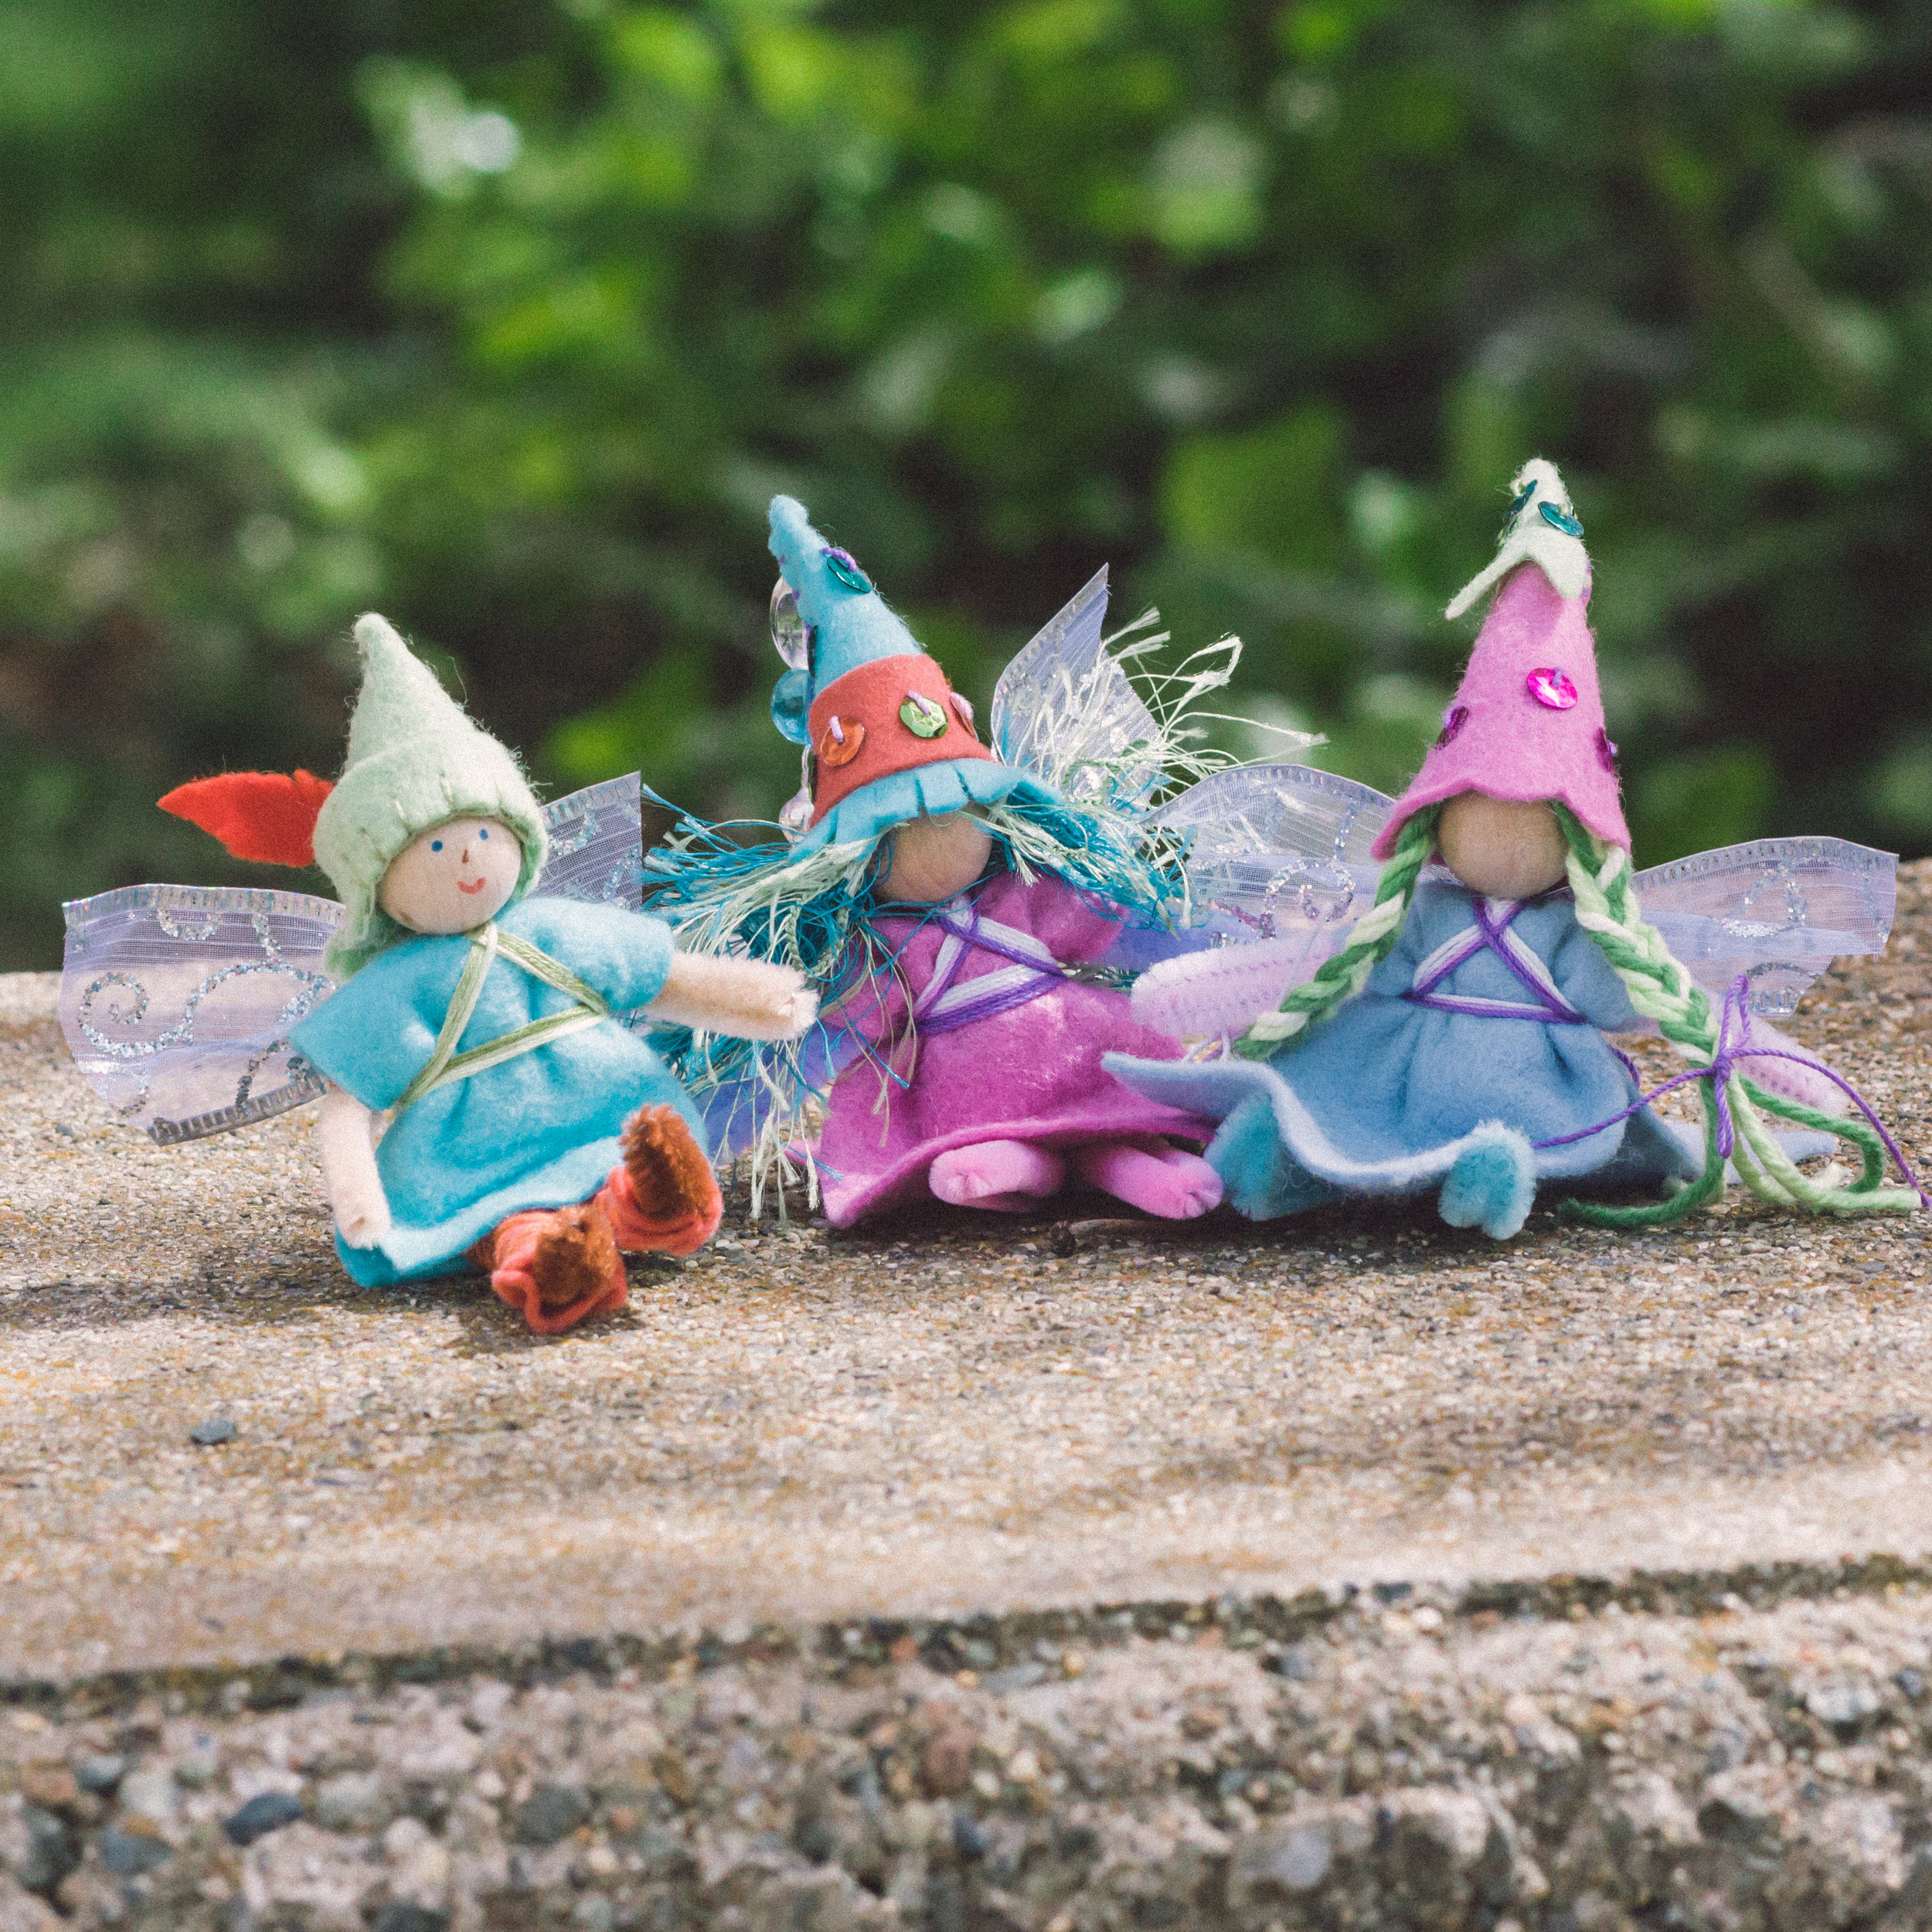
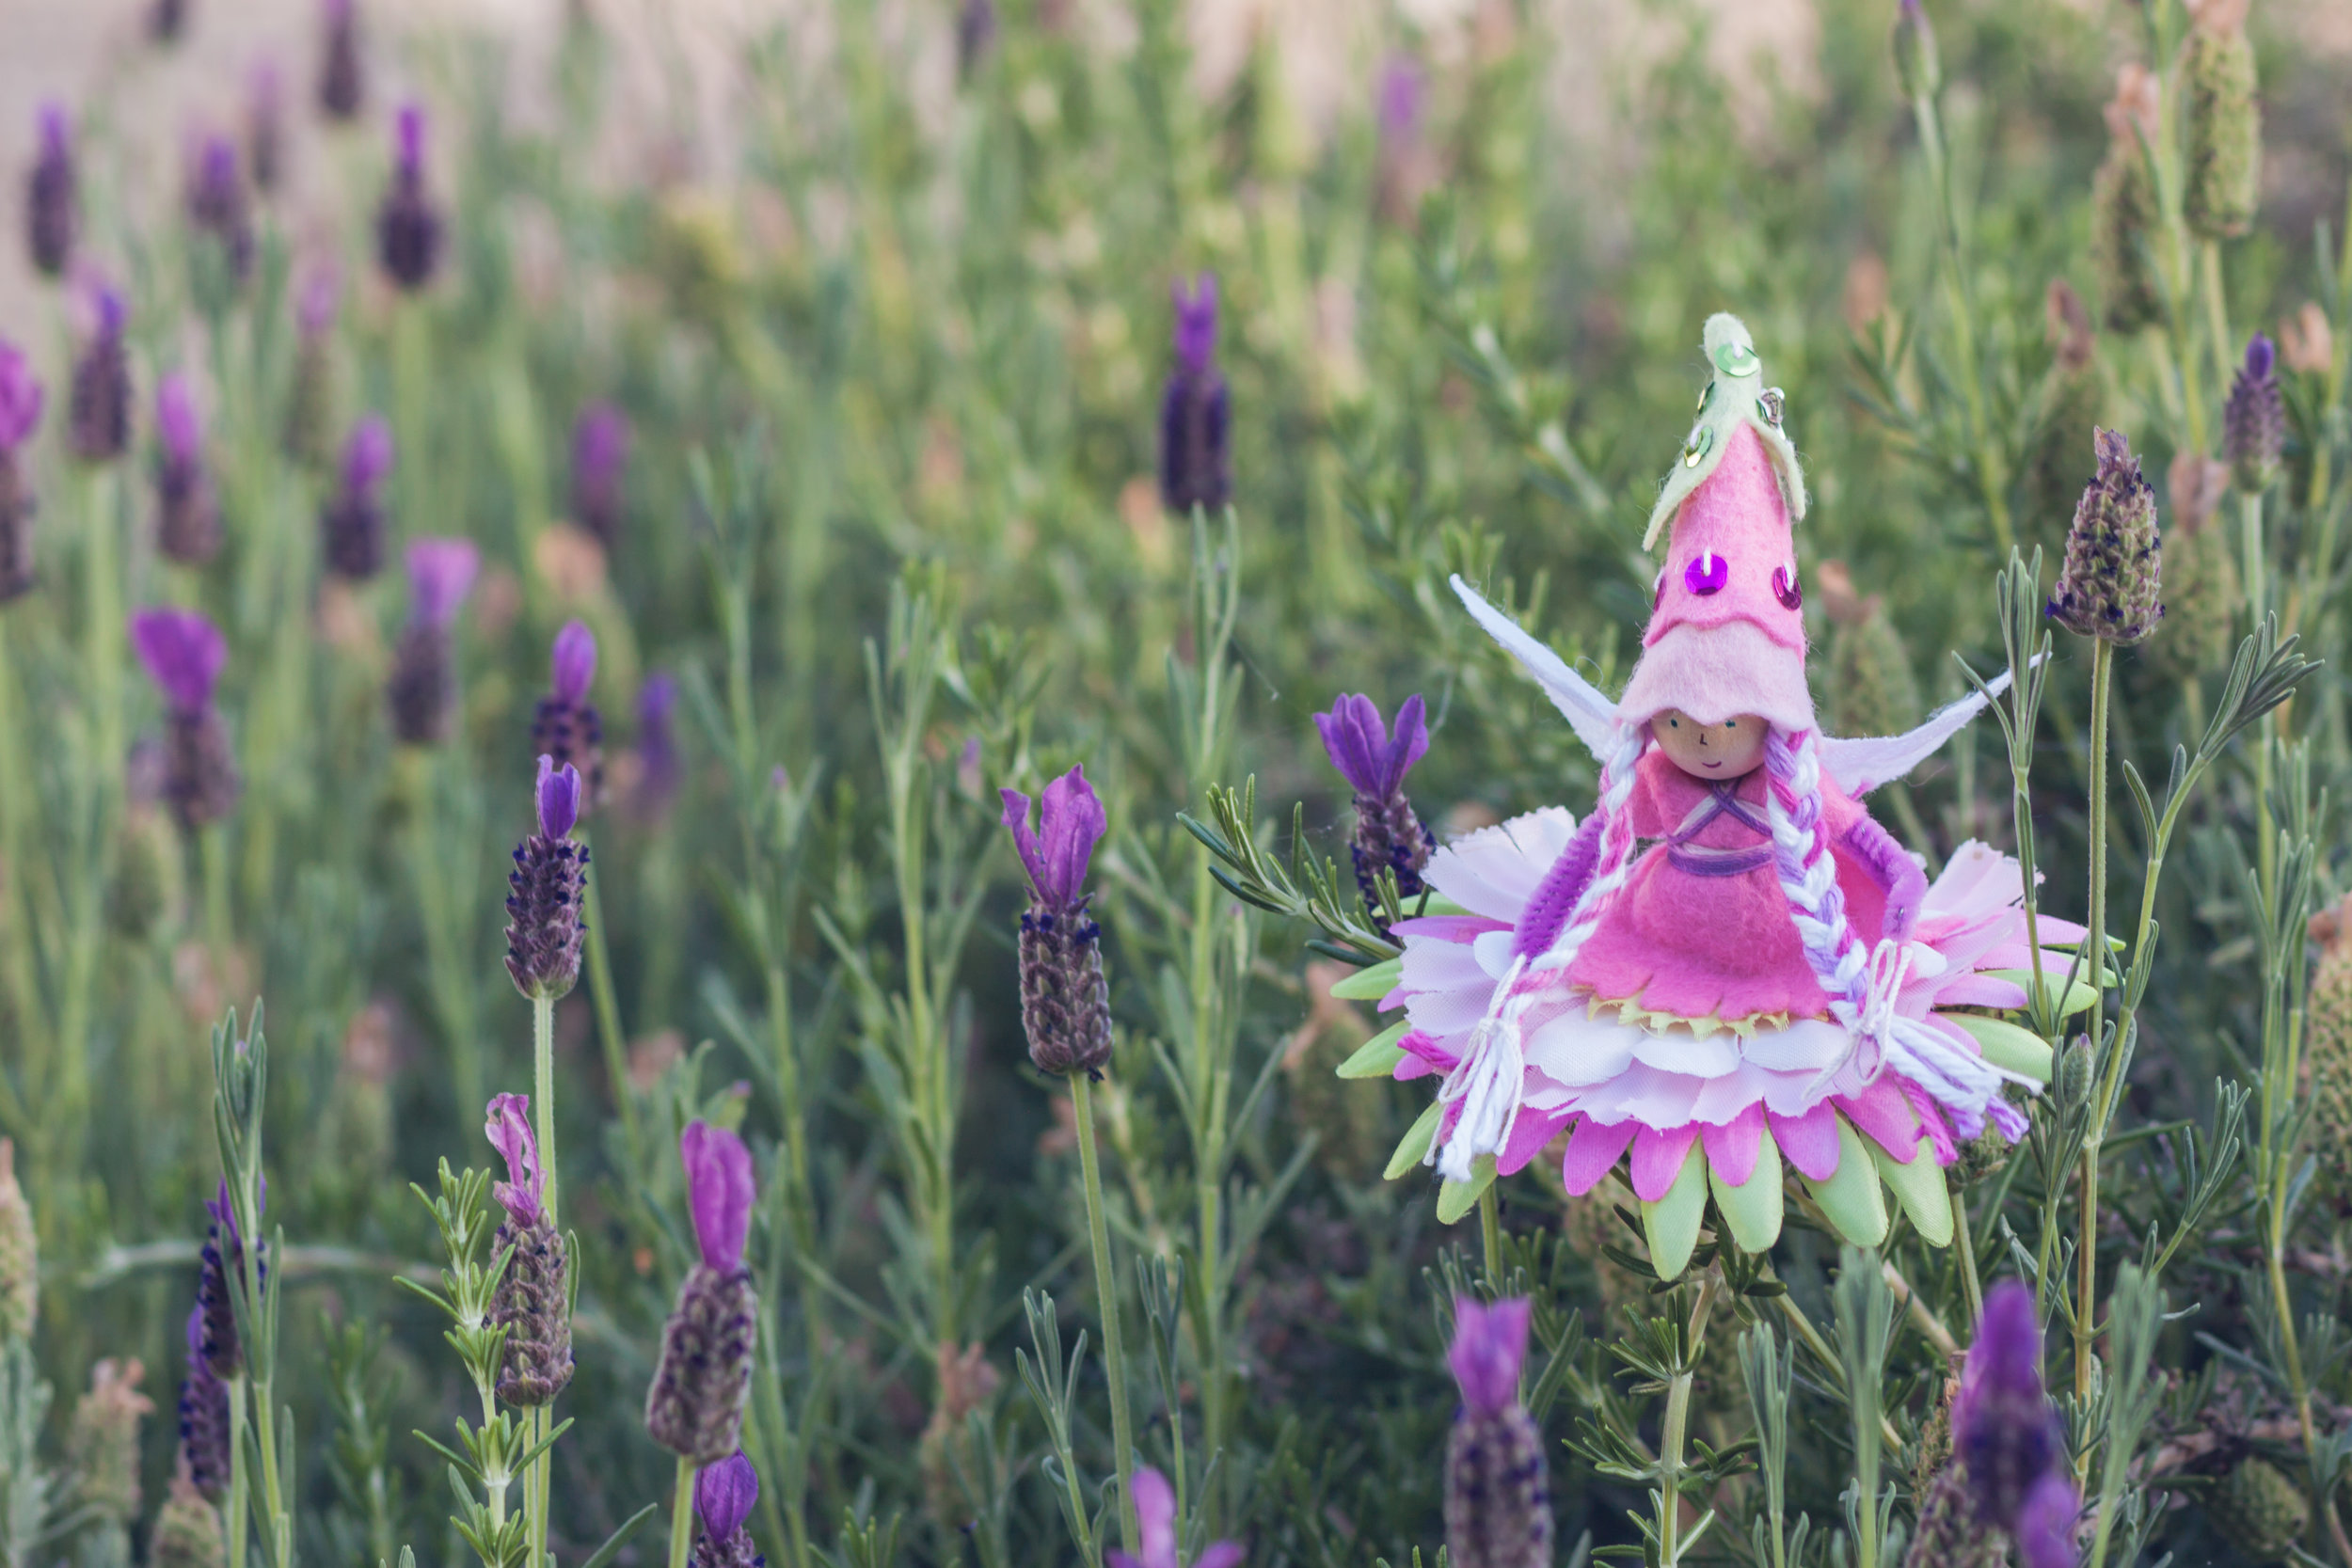
Hurrah! Spring is here! And with spring comes all the petals and colors and inspiration of spring. Now is the perfect time to make little fairies for Easter Baskets. Or gift the book Magical Forest Fairy Crafts through the Seasons for delightful crafting with little people in your life. Celebrate the many ways we grow together! We’re excited to bring out all the colors of spring. Happy changing of the seasons!

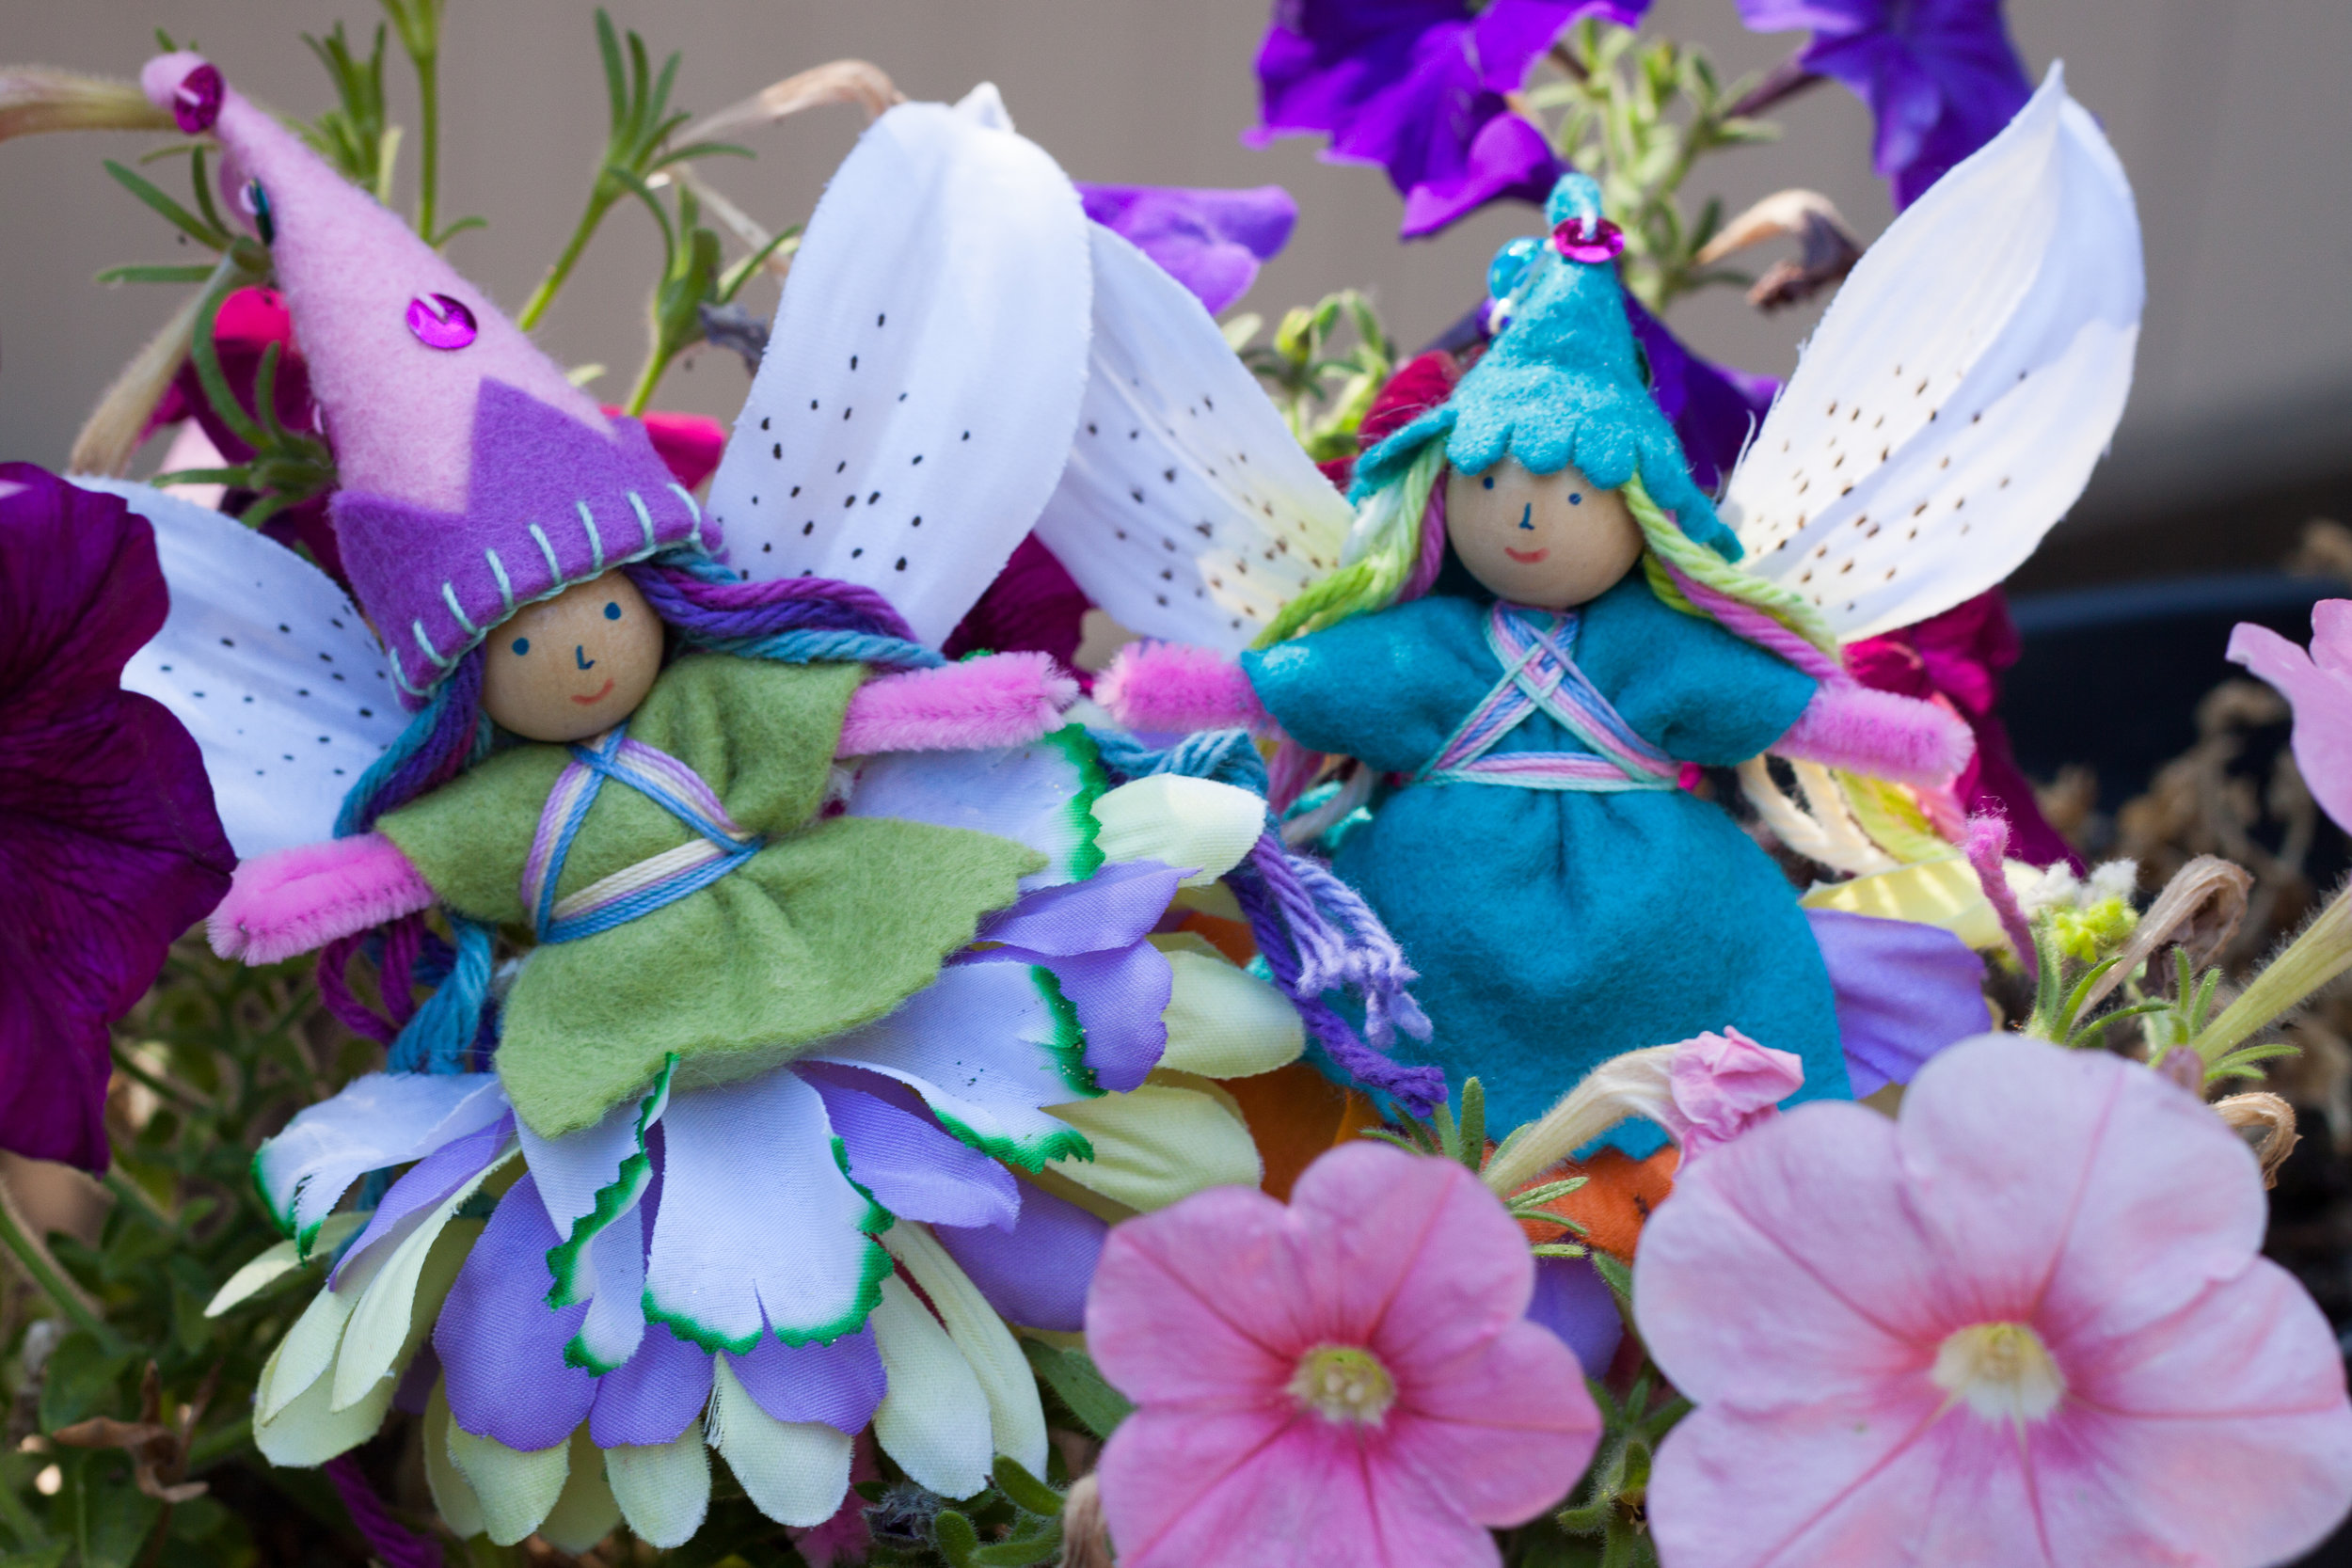
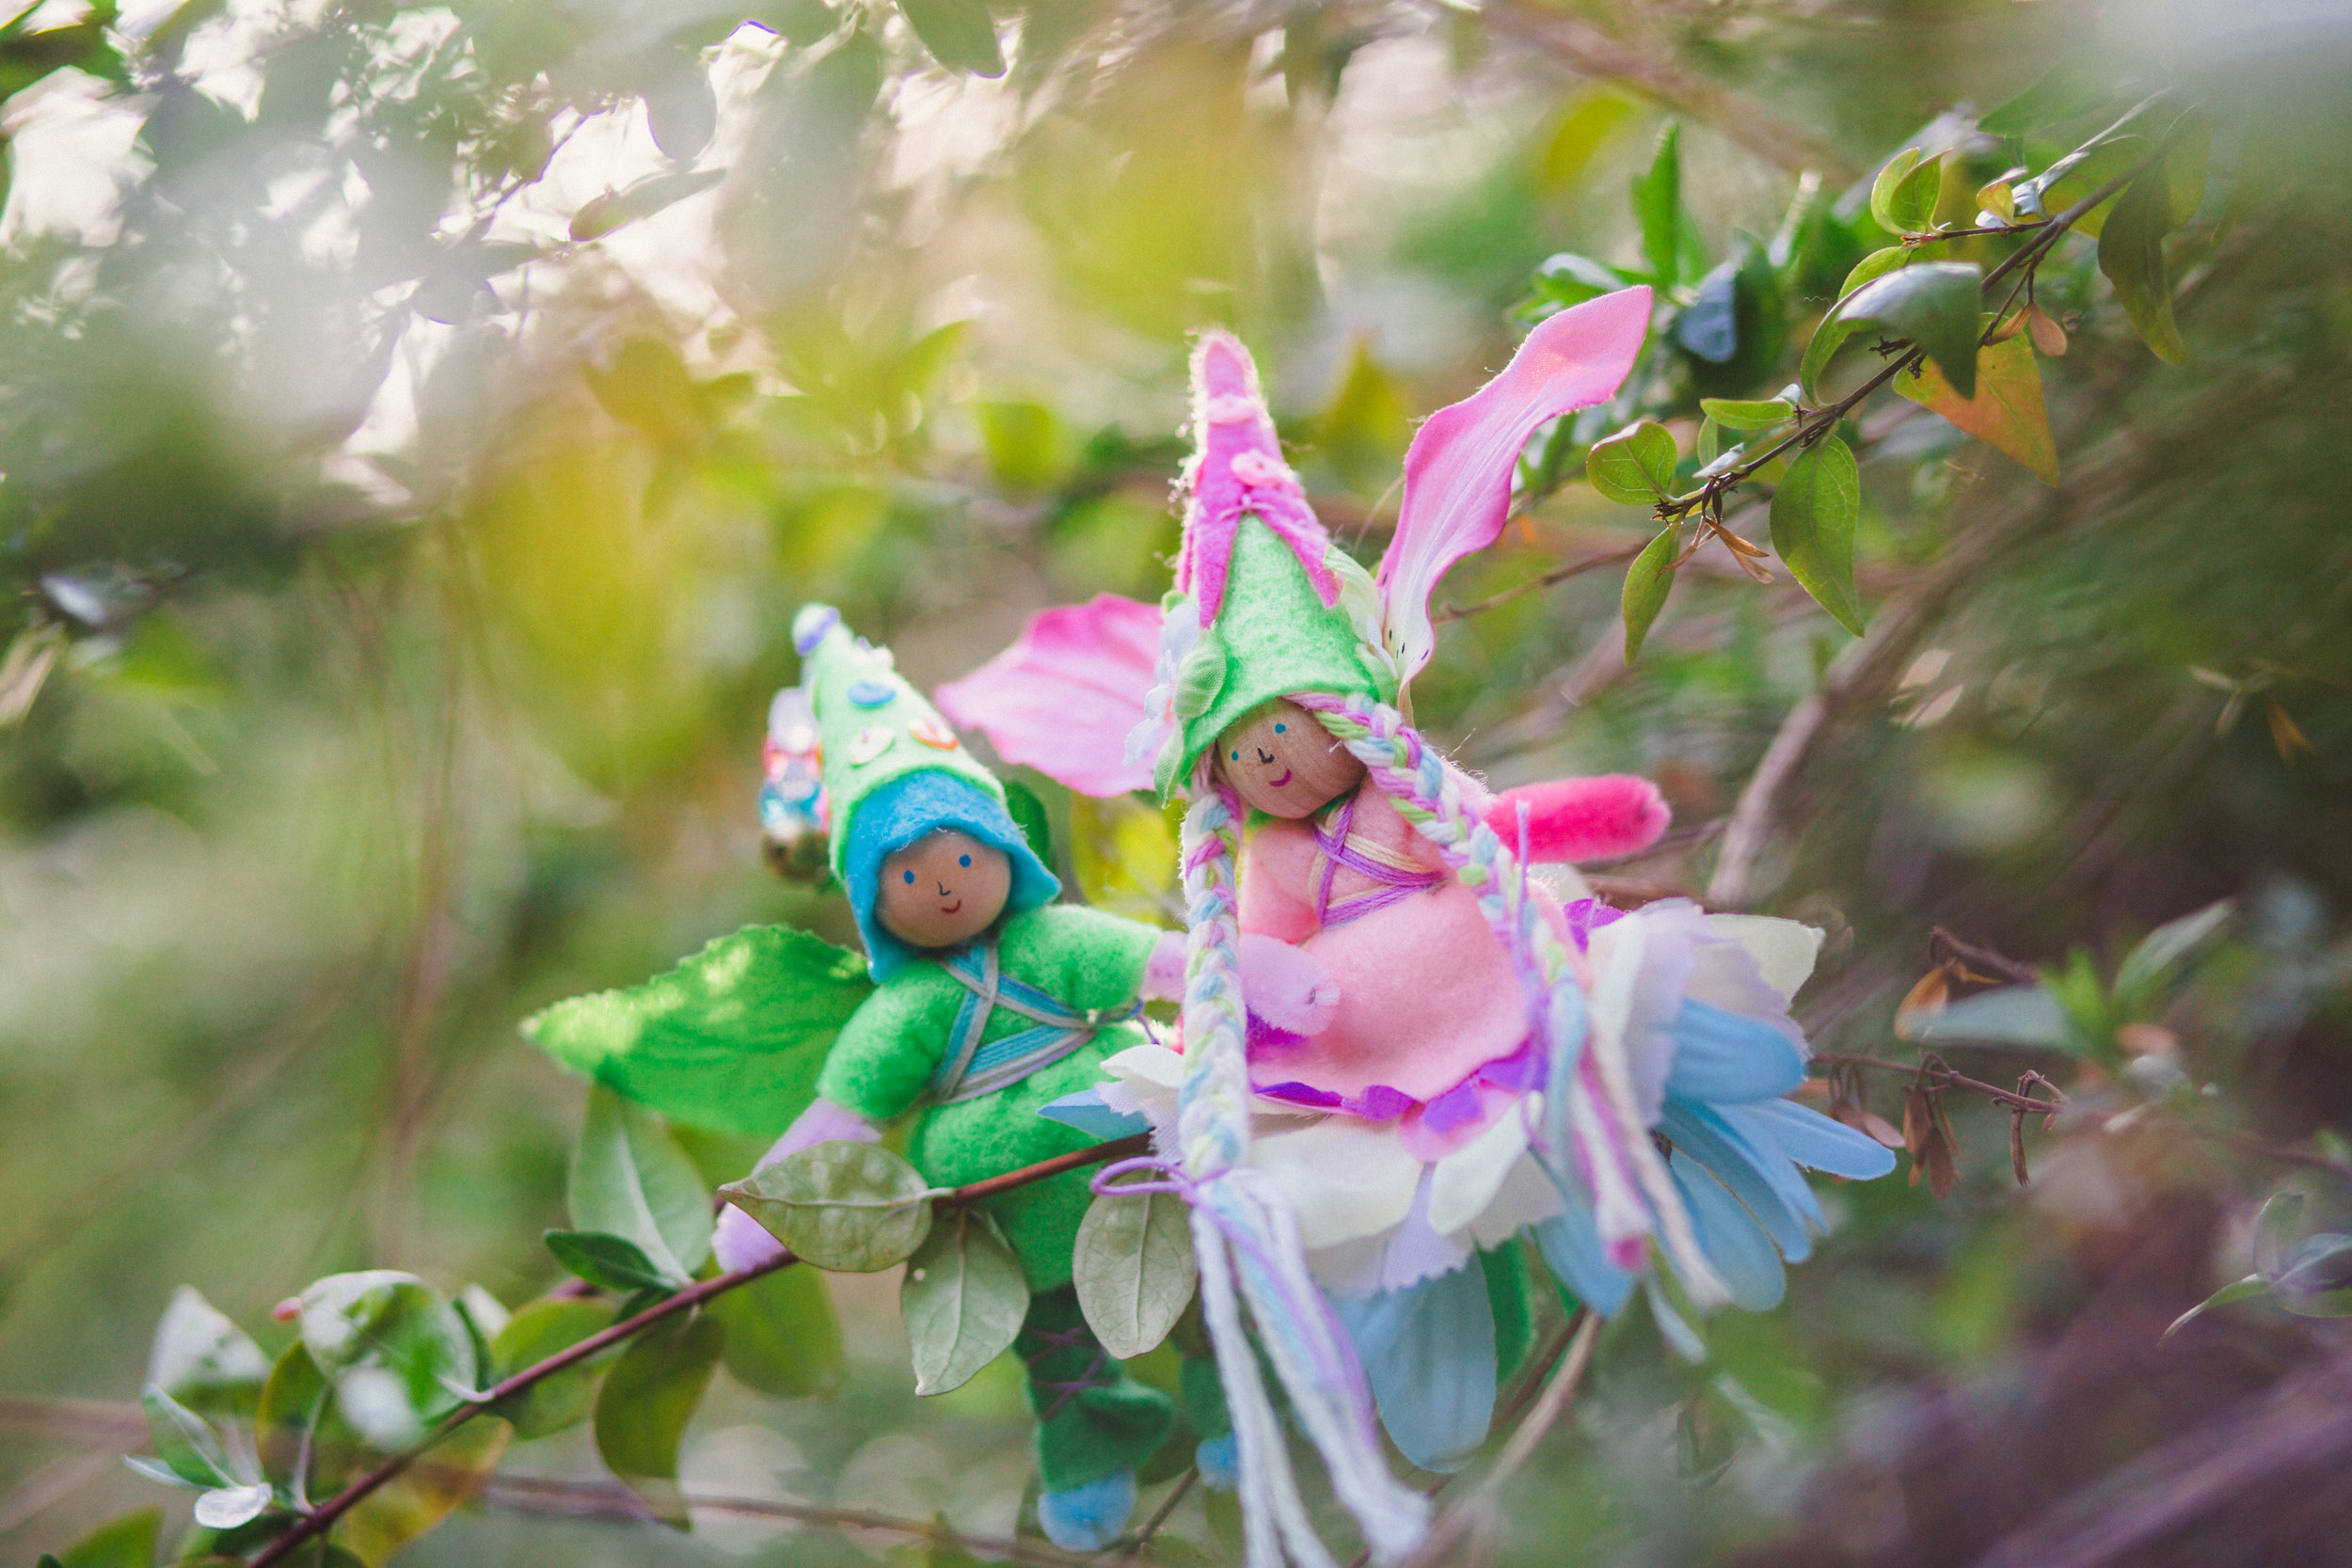
And to our friends on the opposite hemisphere, happy Autumn!
And, if you want even more fairy magic, discover our first book, Forest Fairy Crafts 🌸
This post does contain affiliate links. Should you choose to purchase a copy of our book, your price remains the same while we receive a small compensation for referring you. Thank you for supporting the forest!
Happy Saint Patrick’s Day!
The Leprechauns wish you a delightful Saint Patrick’s Day!
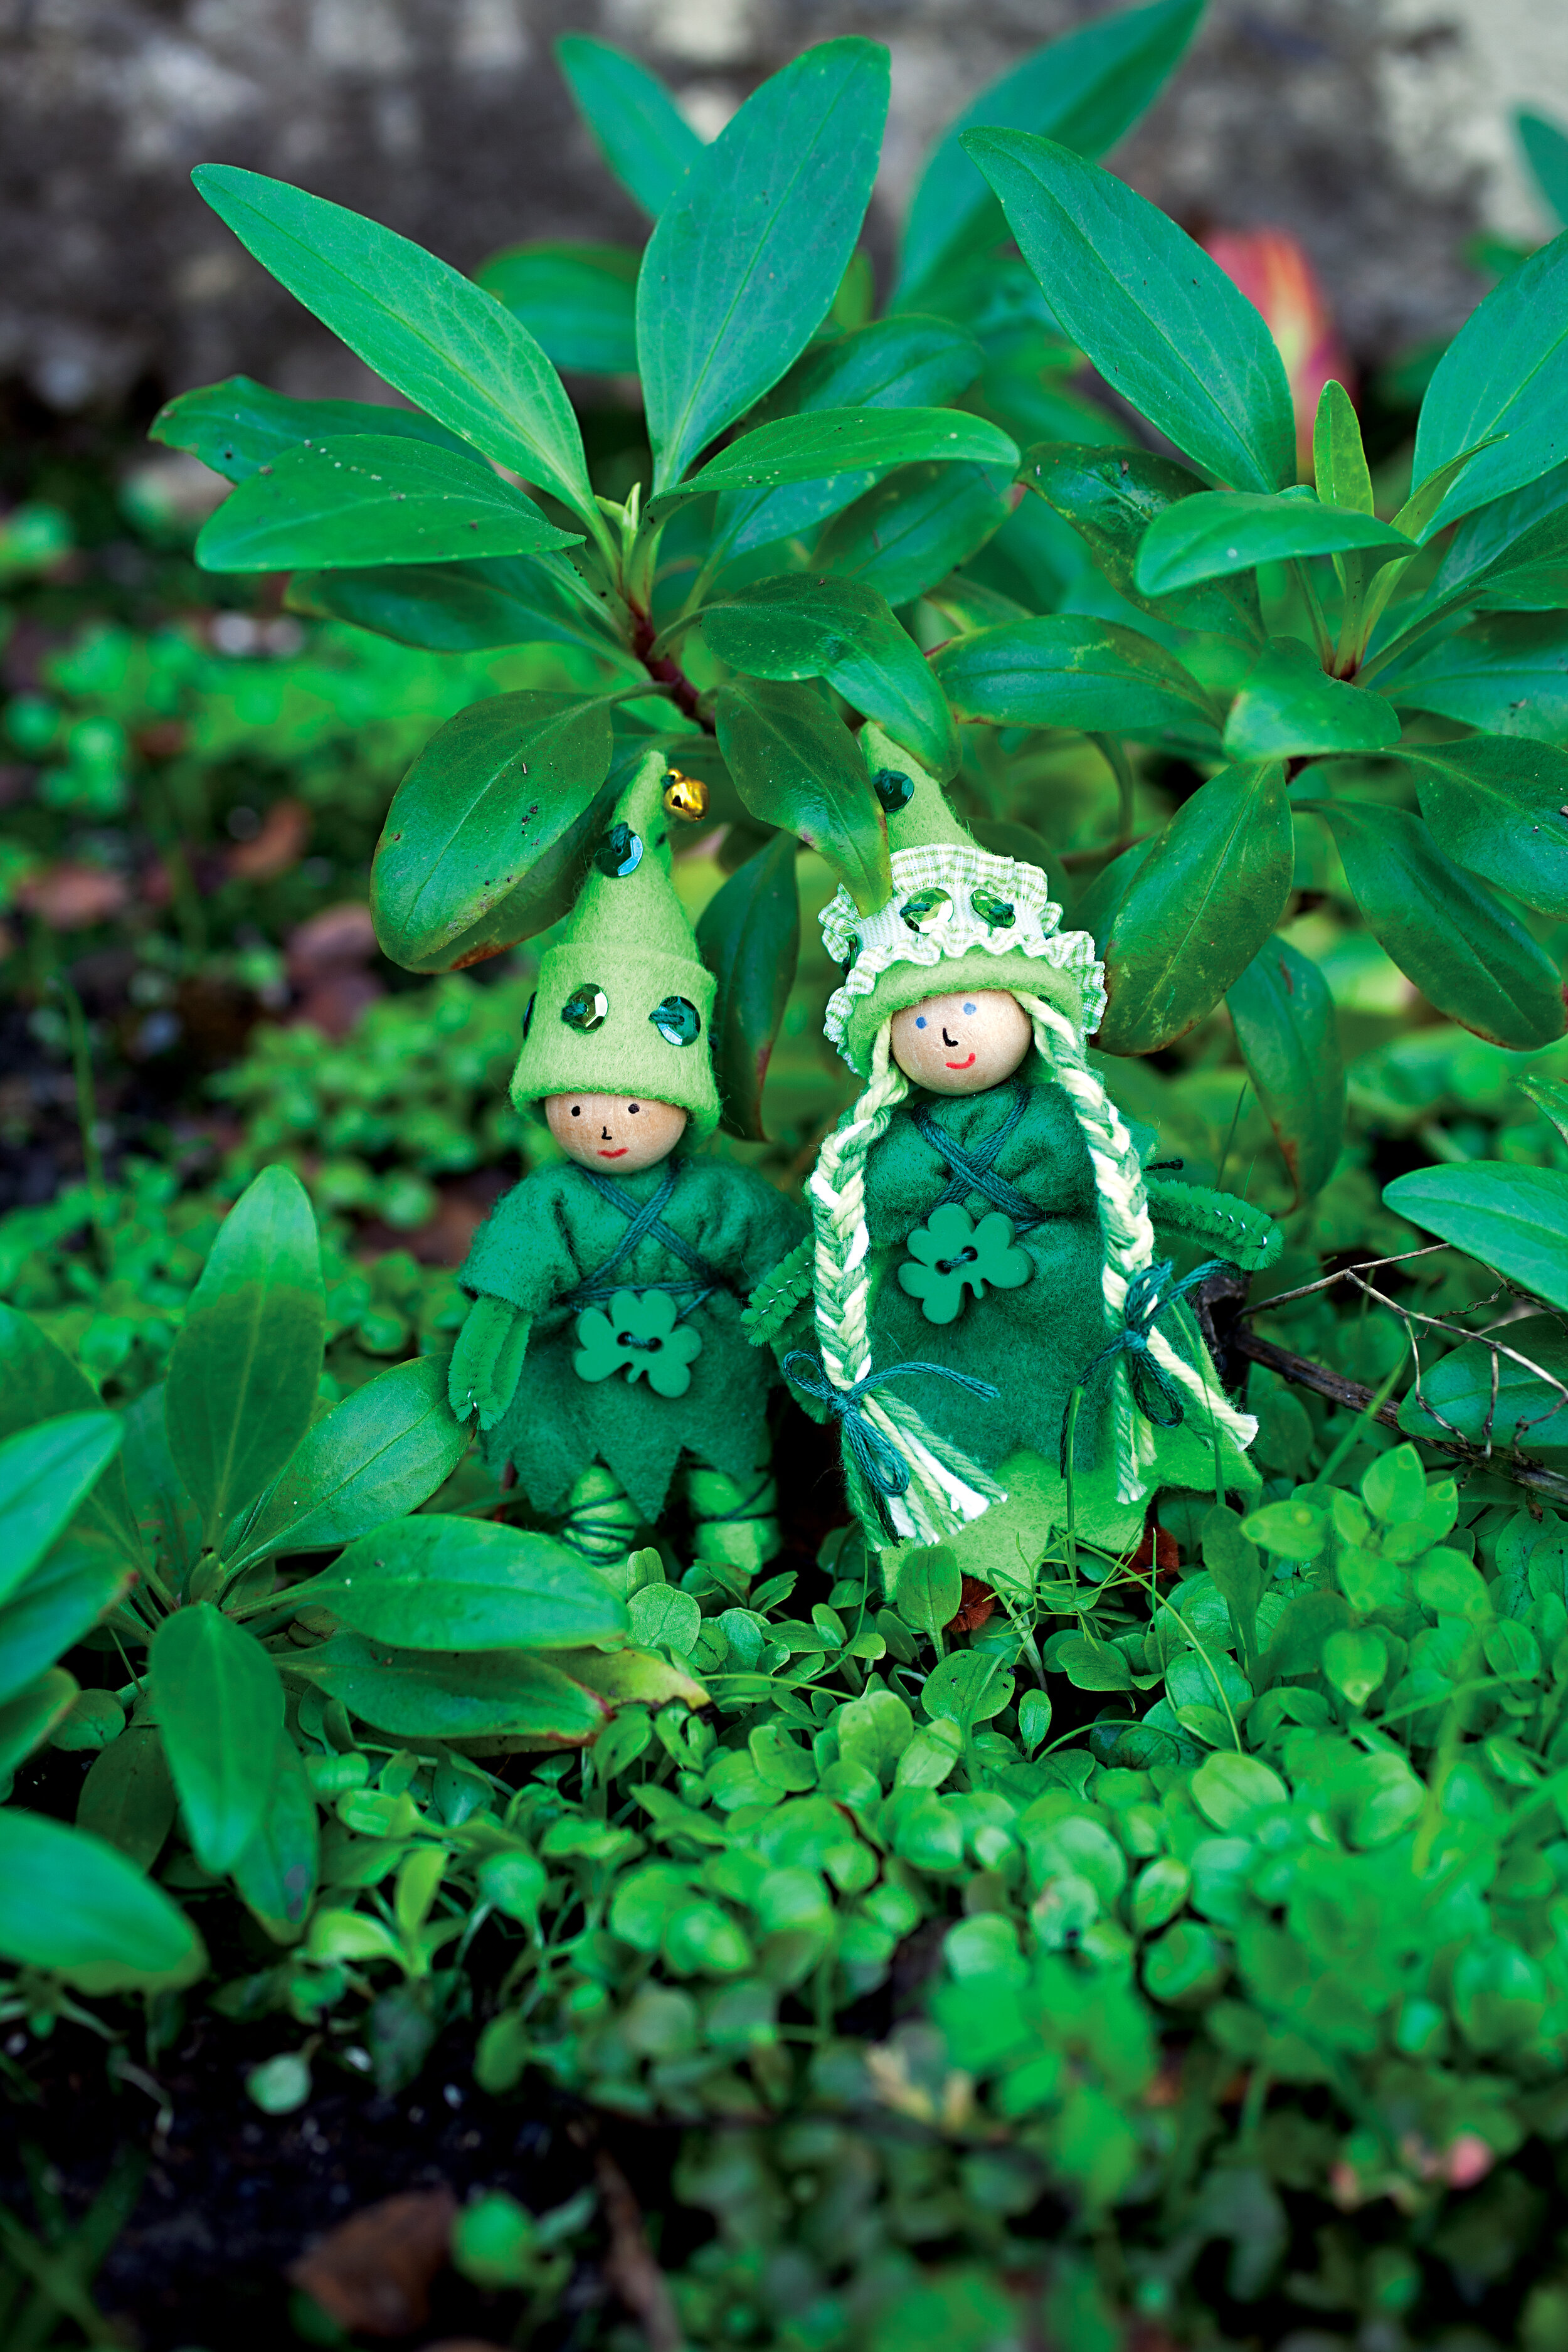
The leprechauns found gold! Here’s to all the little folk surprising little people with magical antics today!
The leprechaun gold is actually pebbles painted with gold paint (not for little people that taste their toys).
The directions for these leprechauns are in the first Forest Fairy Craft book, which can be downloaded so you can make them today or any day :)
The fairies of the forest send lots of good luck to you and your family today 🍀💛💚
Leprechaun Ninja
Edit to add: Thank you everyone for entering! The Leprechaun Ninja is traveling to her new home with Jenn. We appreciate all of your kind words! We’re busy creating for the next giveaway. Visit again soon and/or subscribe to our newsletter for all the updates :)
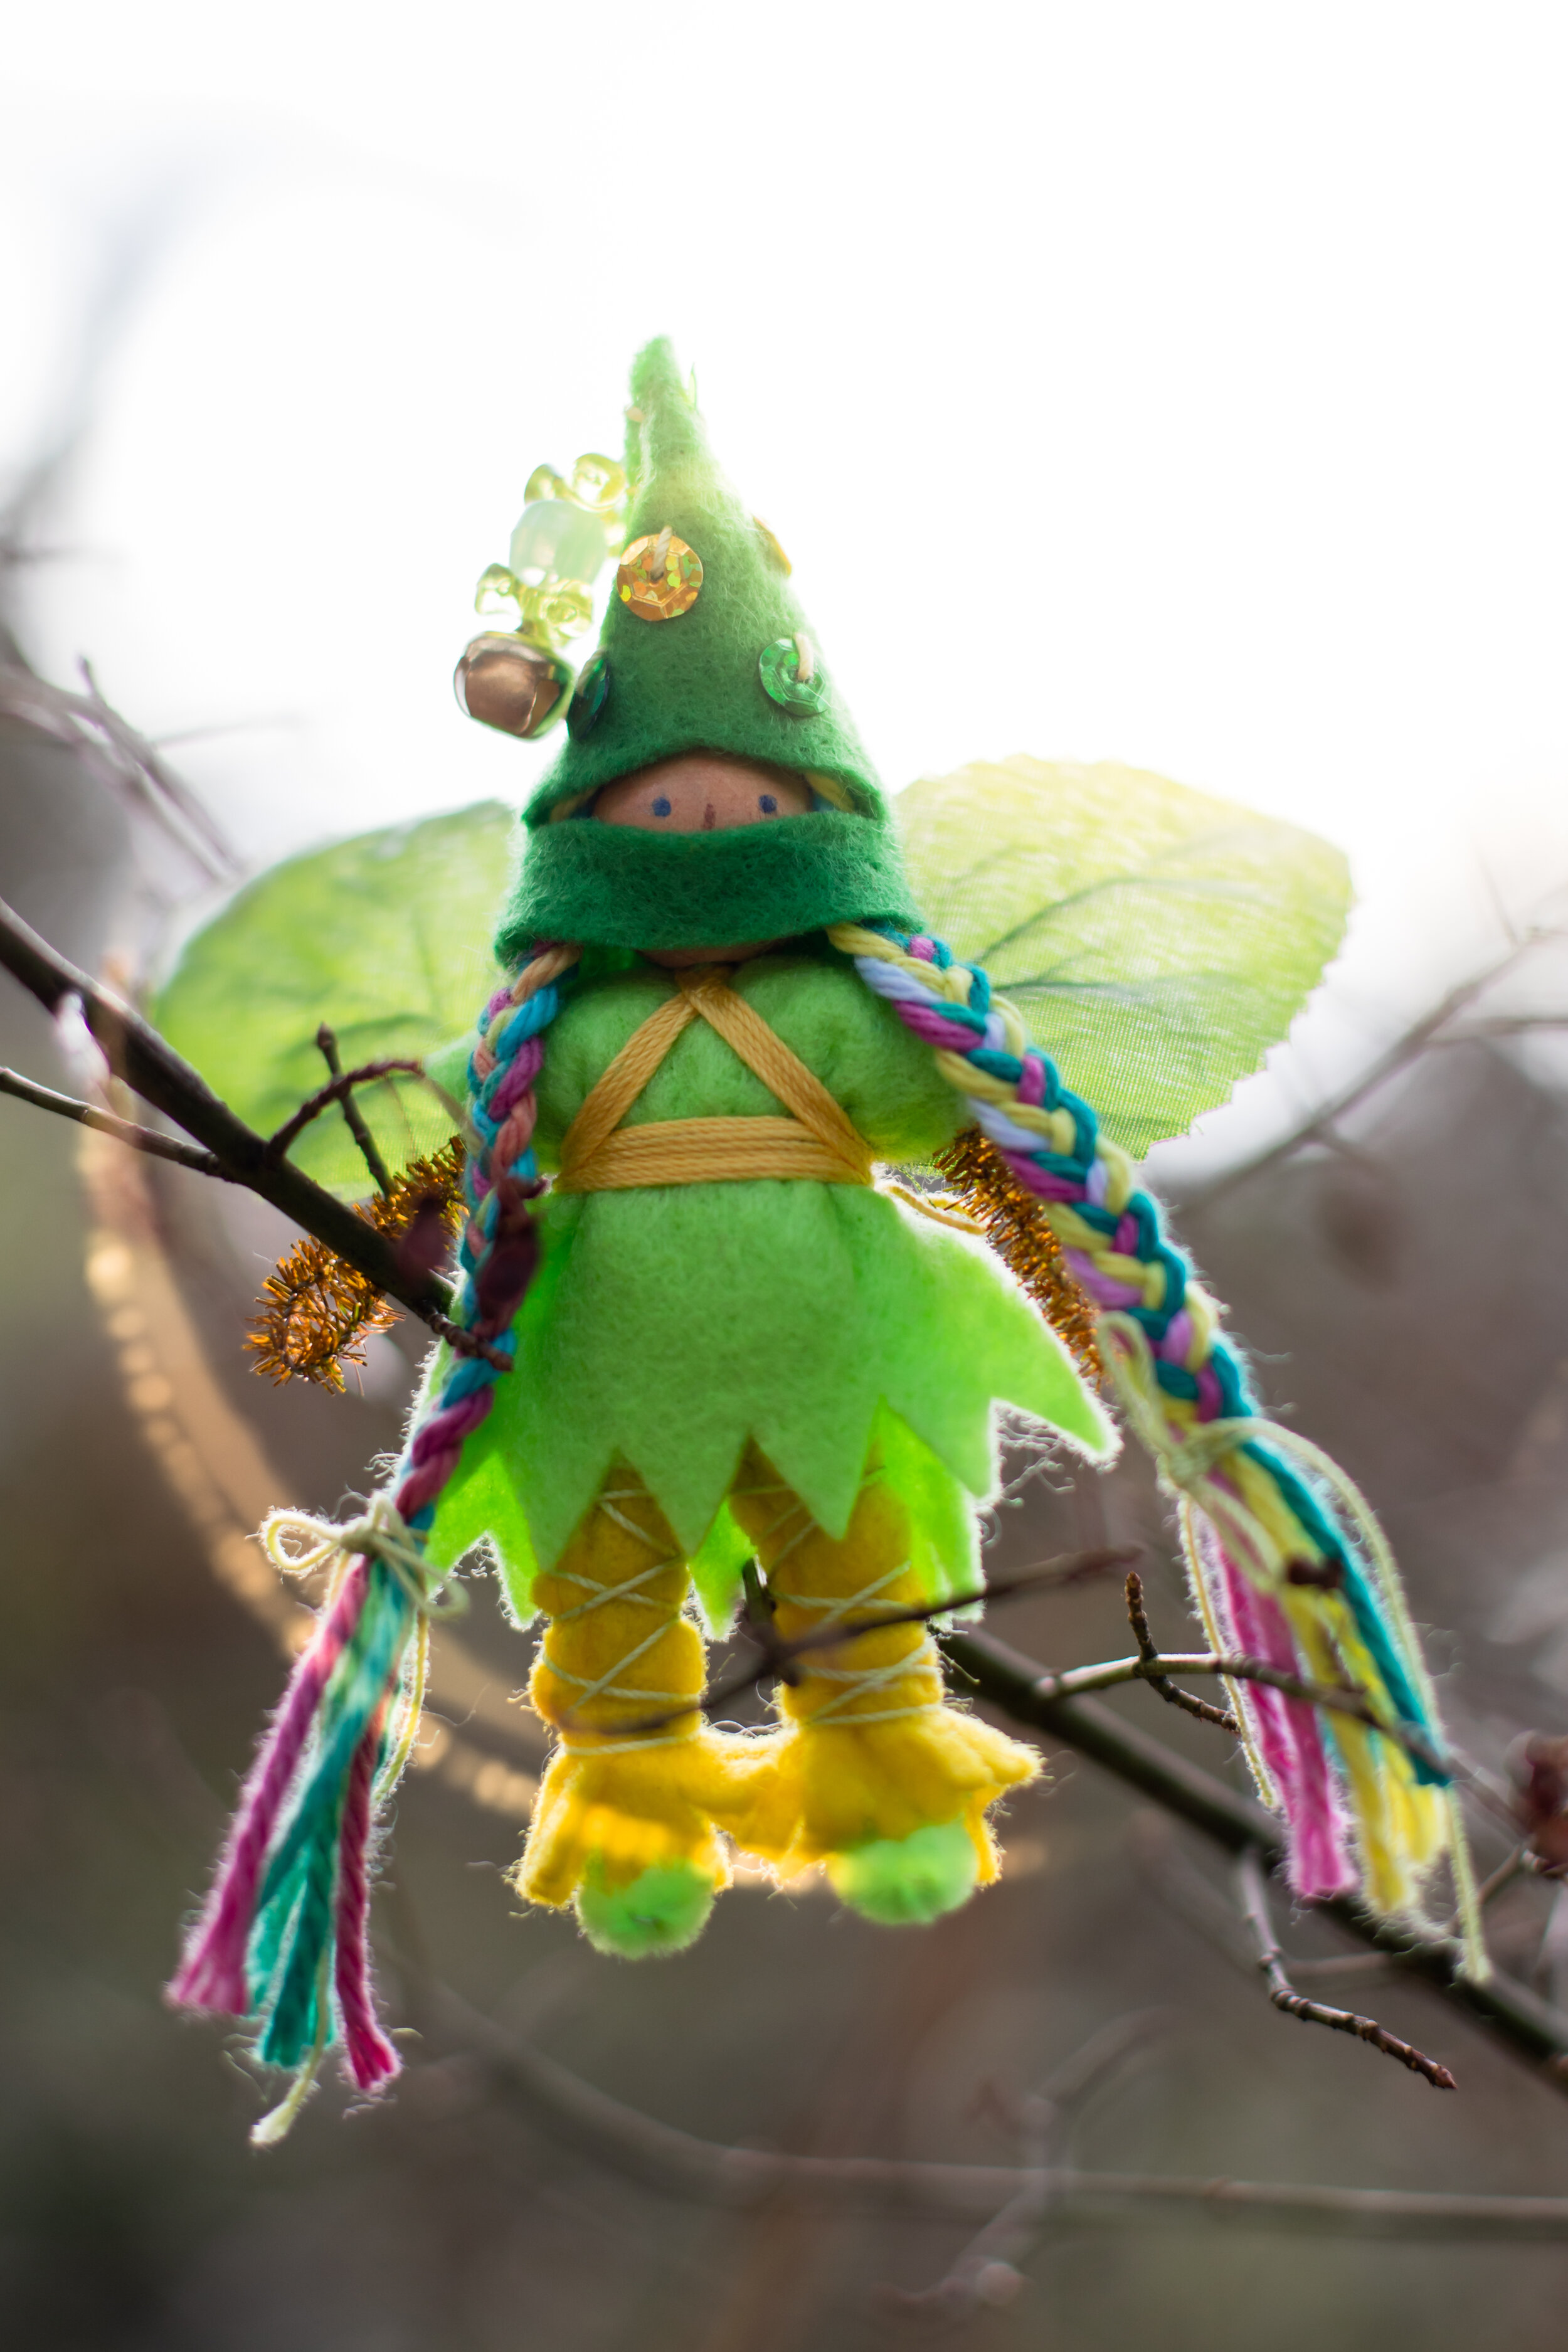
The past few years have seen Leprechauns learning new skills. And a very secret type of Leprechaun is the Leprechaun Ninja. What, what? Think about who protects the gold, who can change rainbows, and who is willing to put everything on the line for adventure? Especially with the rise of Leprechaun Traps in the world, these ninjas enjoy going on quests to help their communities.
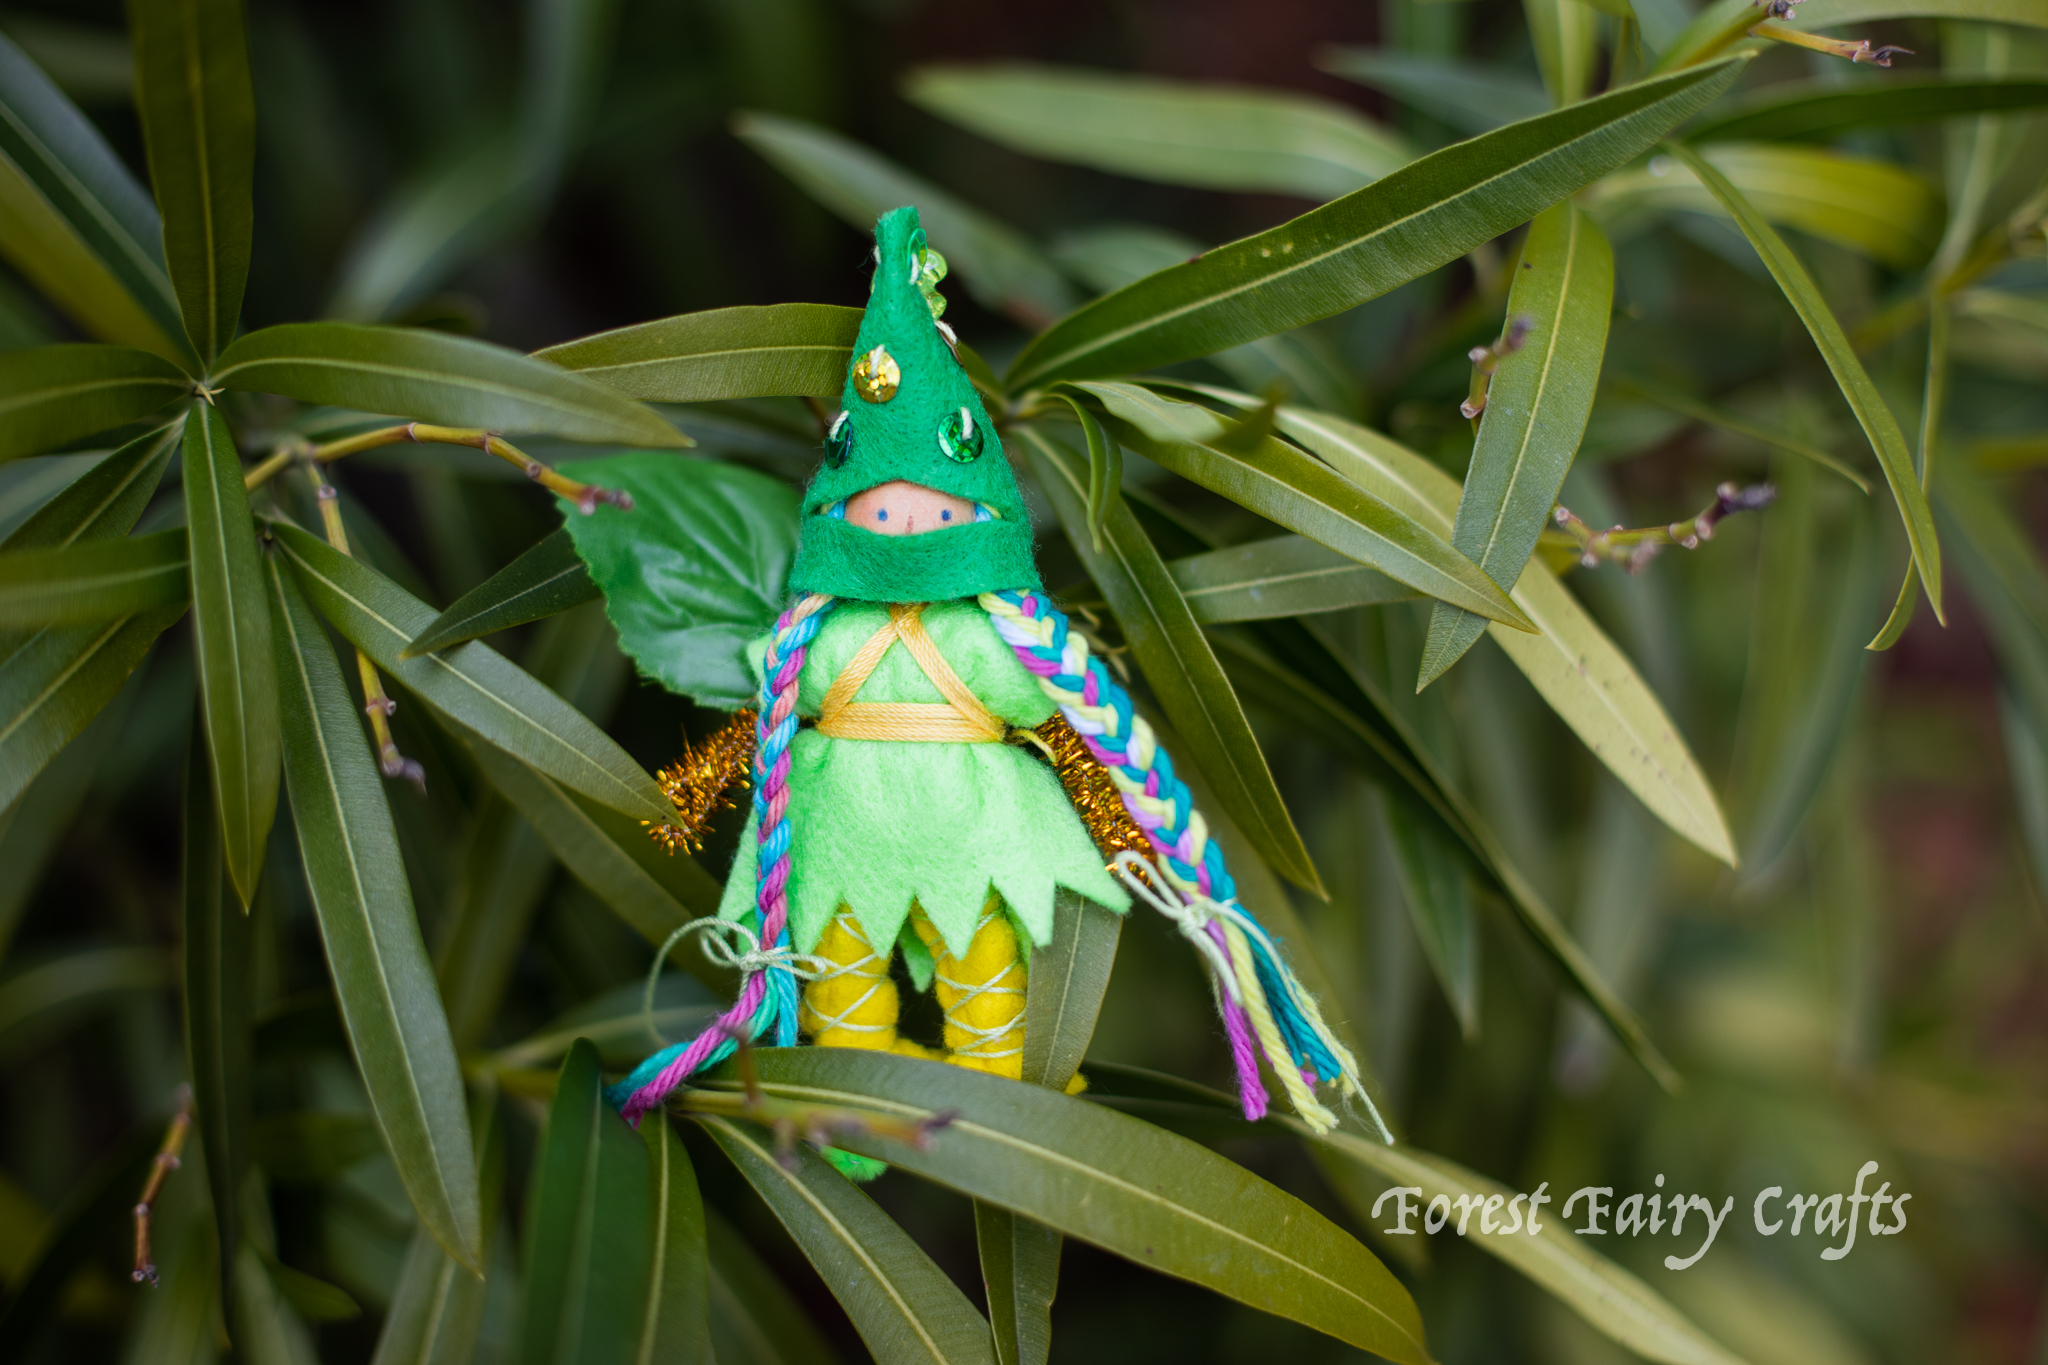
We had a great time making her one rainy afternoon. My daughter thought of the idea for rainbow braids, because Leprechauns are fond of rainbows (another meaning to gold at the end of the rainbow being a golden personality :)).
That led to a little challenge, which is usually solved by gluing the hat on the head. Adding the yarn for the hair leaves a little patch bare on the back of her head. I wanted the hat to be able to go on and off since her smile is cute. We solved this by painting the back of her head with a tiny bit of green paint, which looks like her hair color. The wings mostly cover the back of her head anyway.
And she looks so cute from the front with her braids and no hat :)
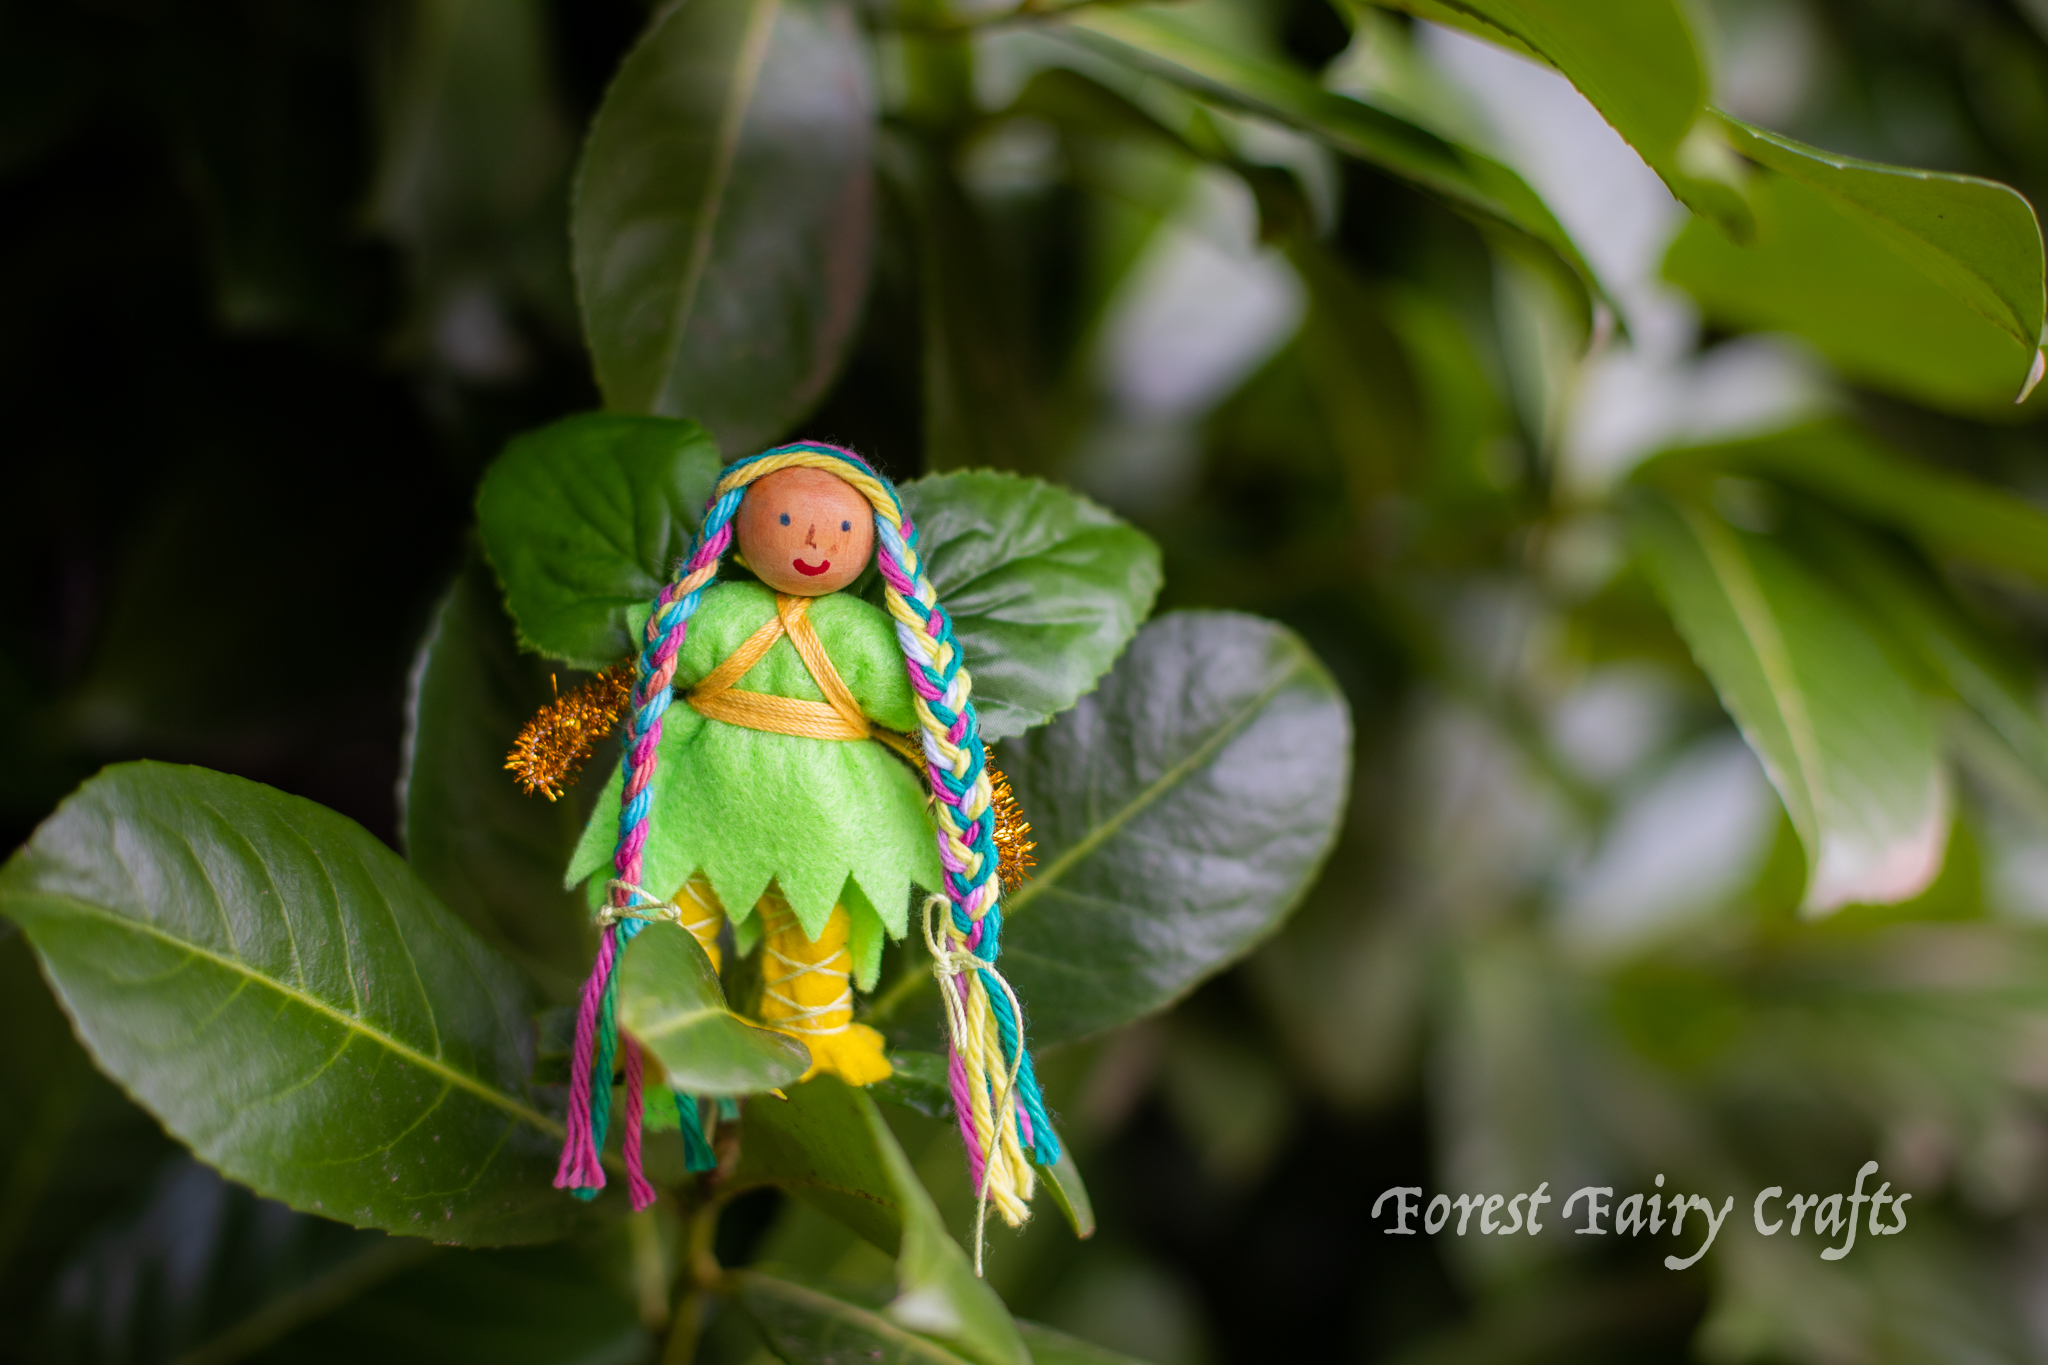
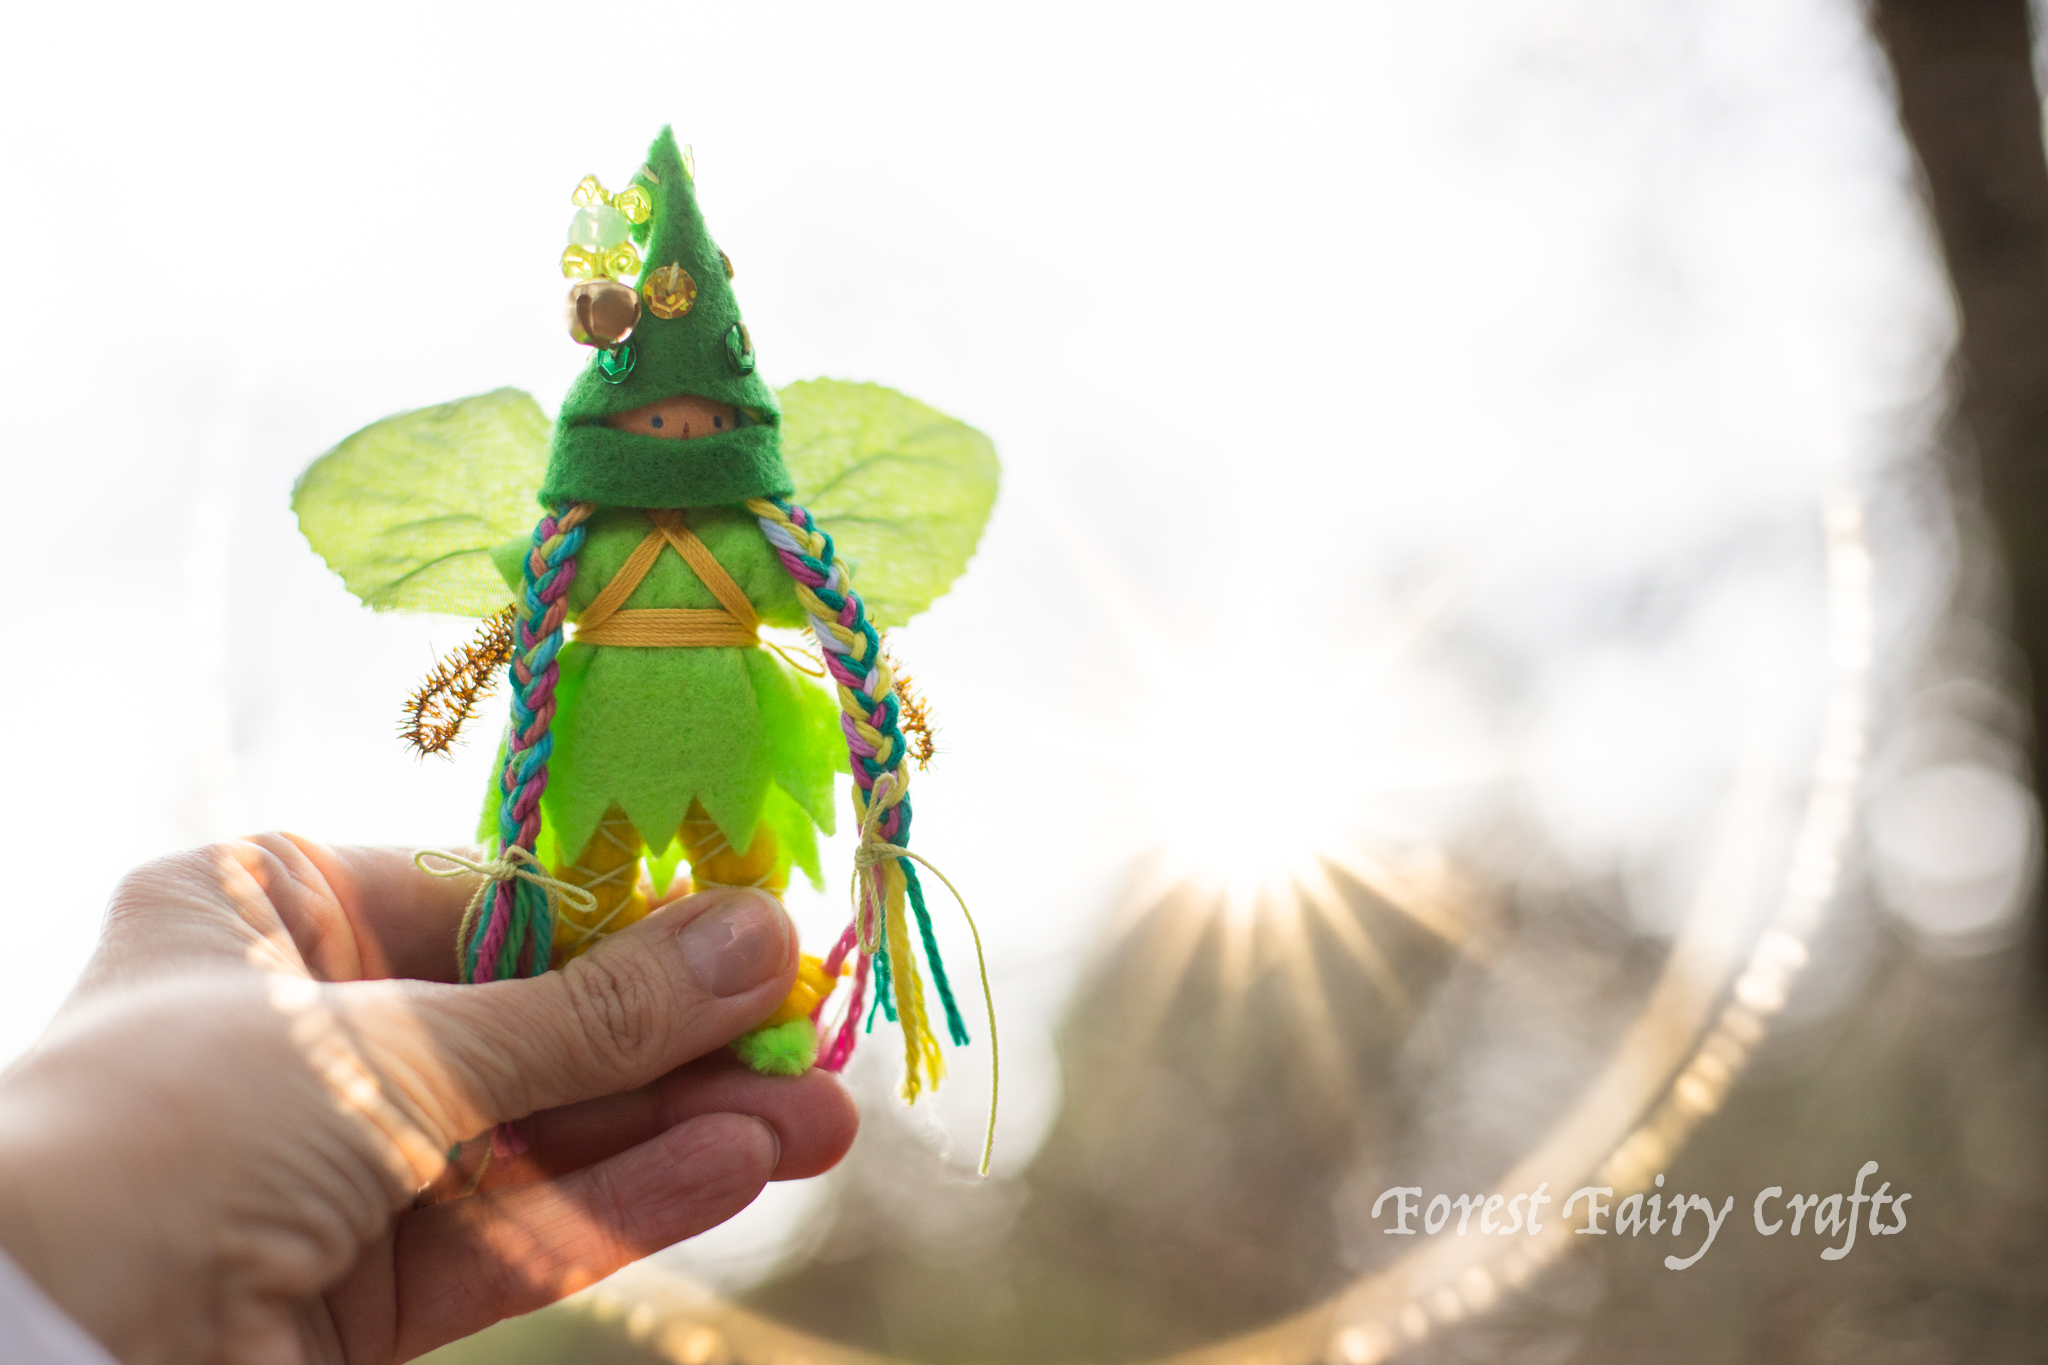
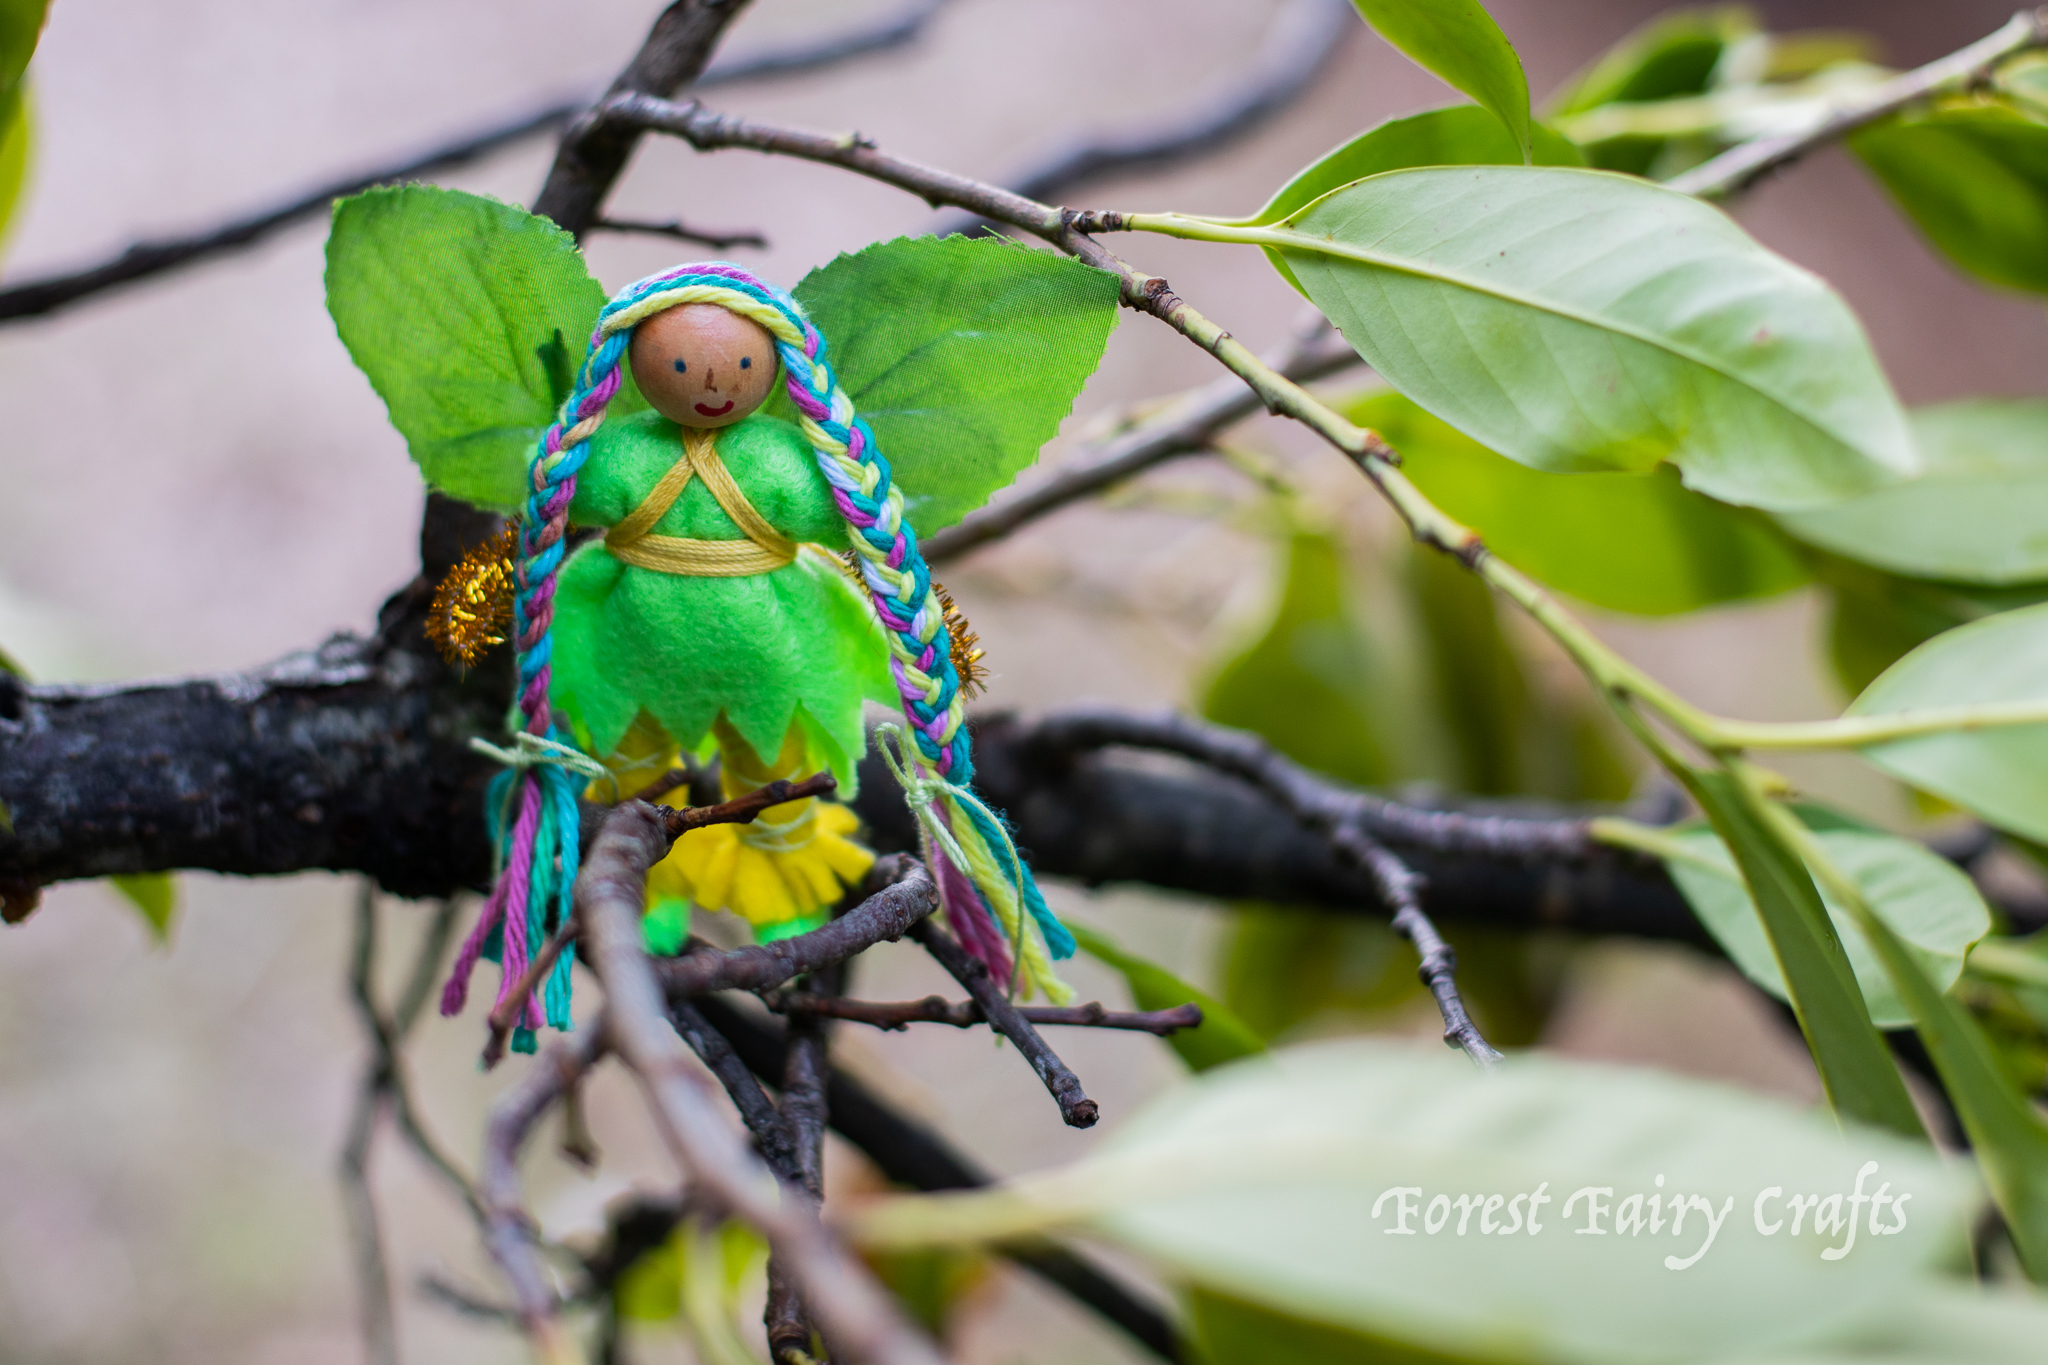
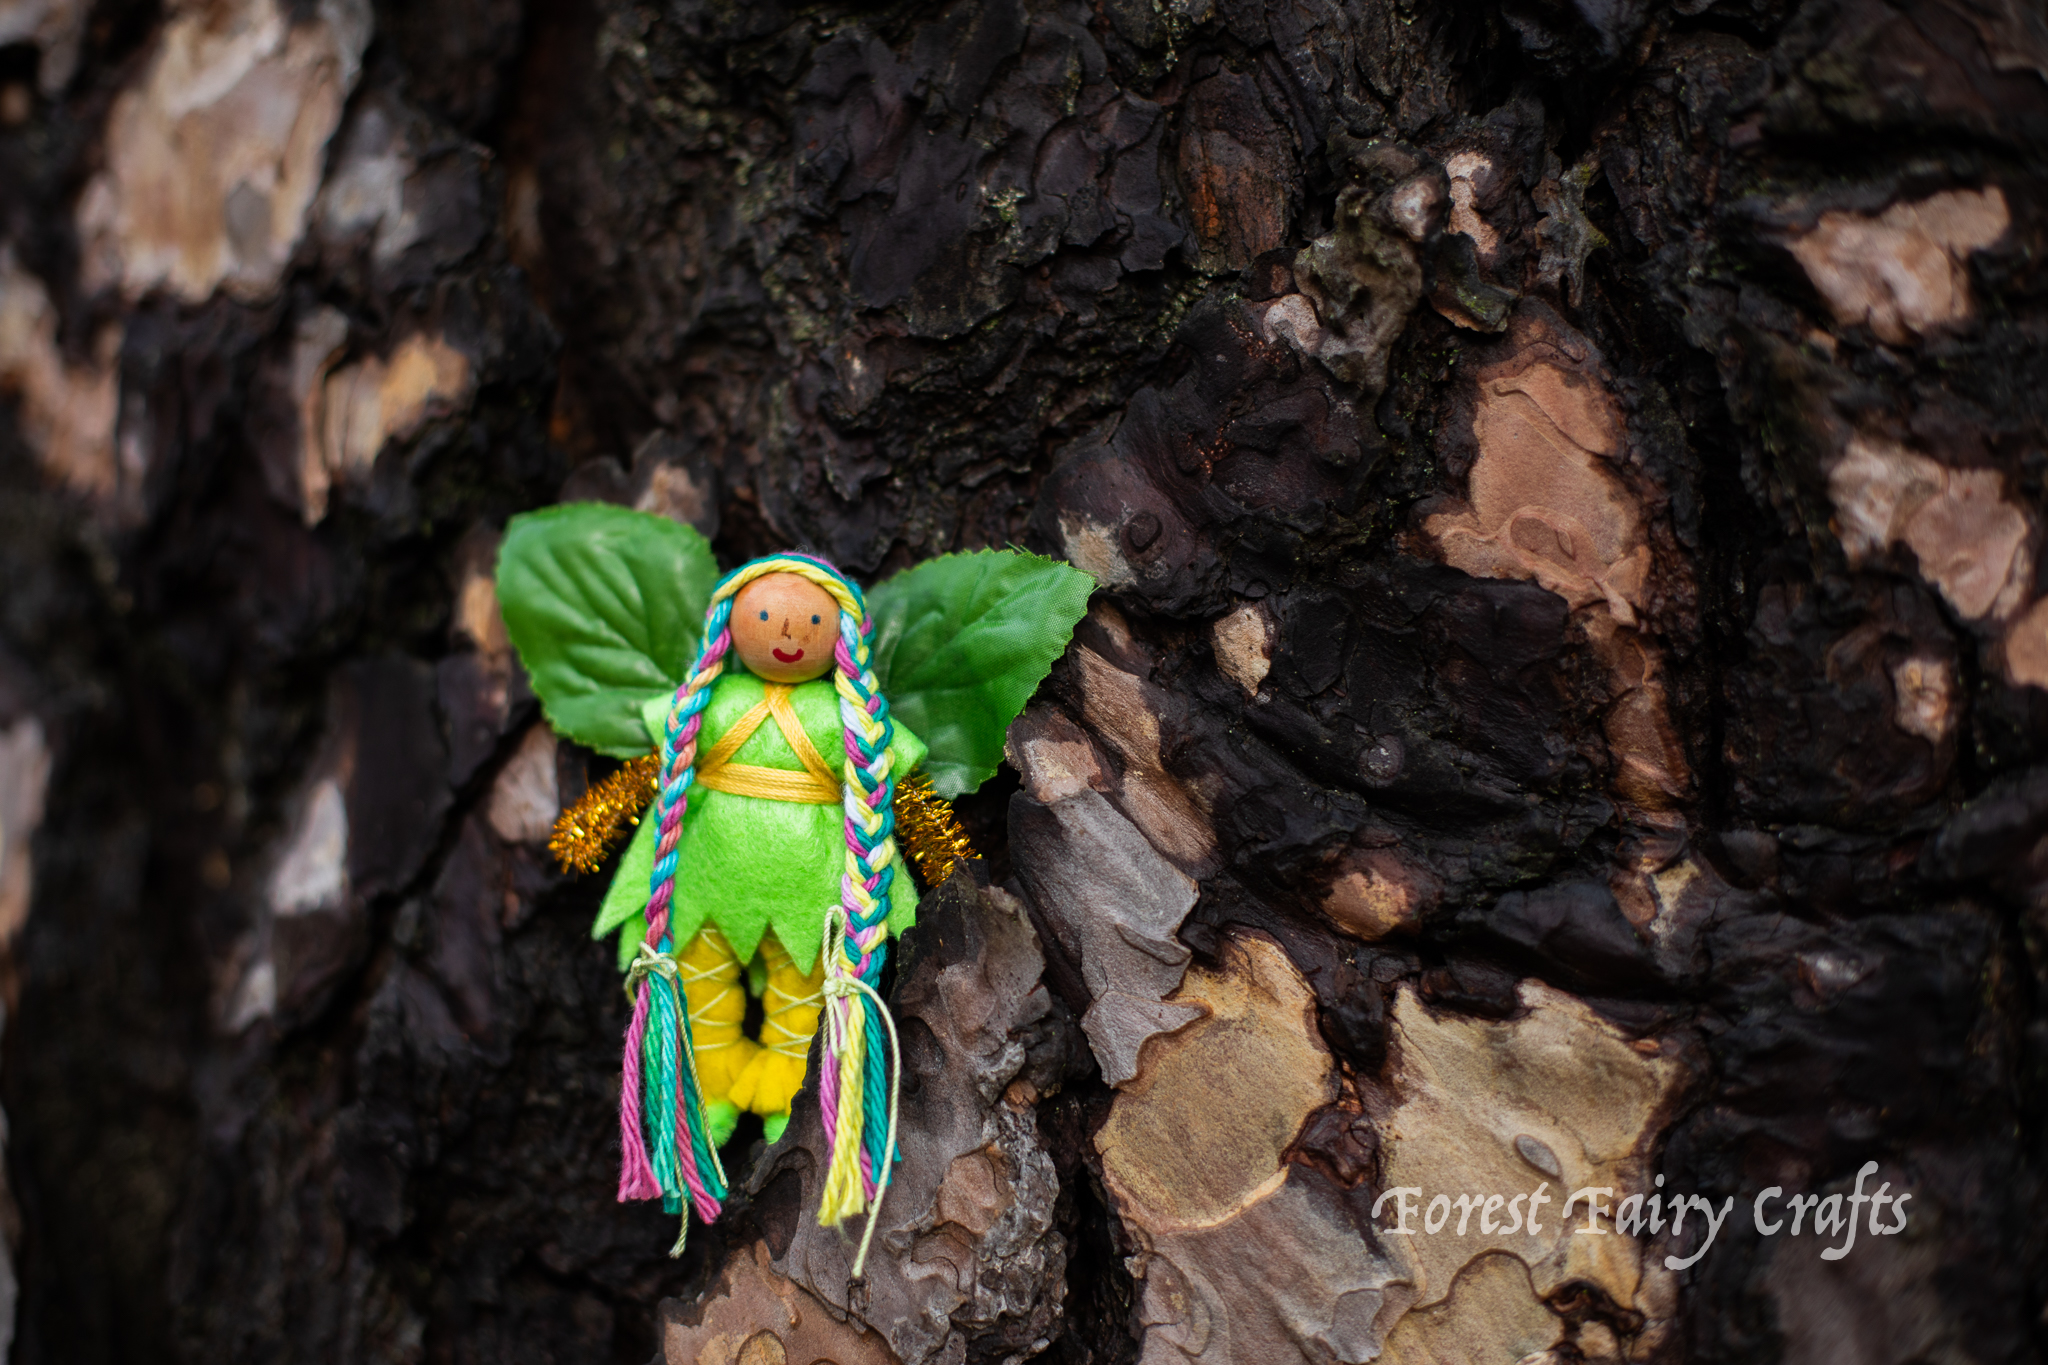
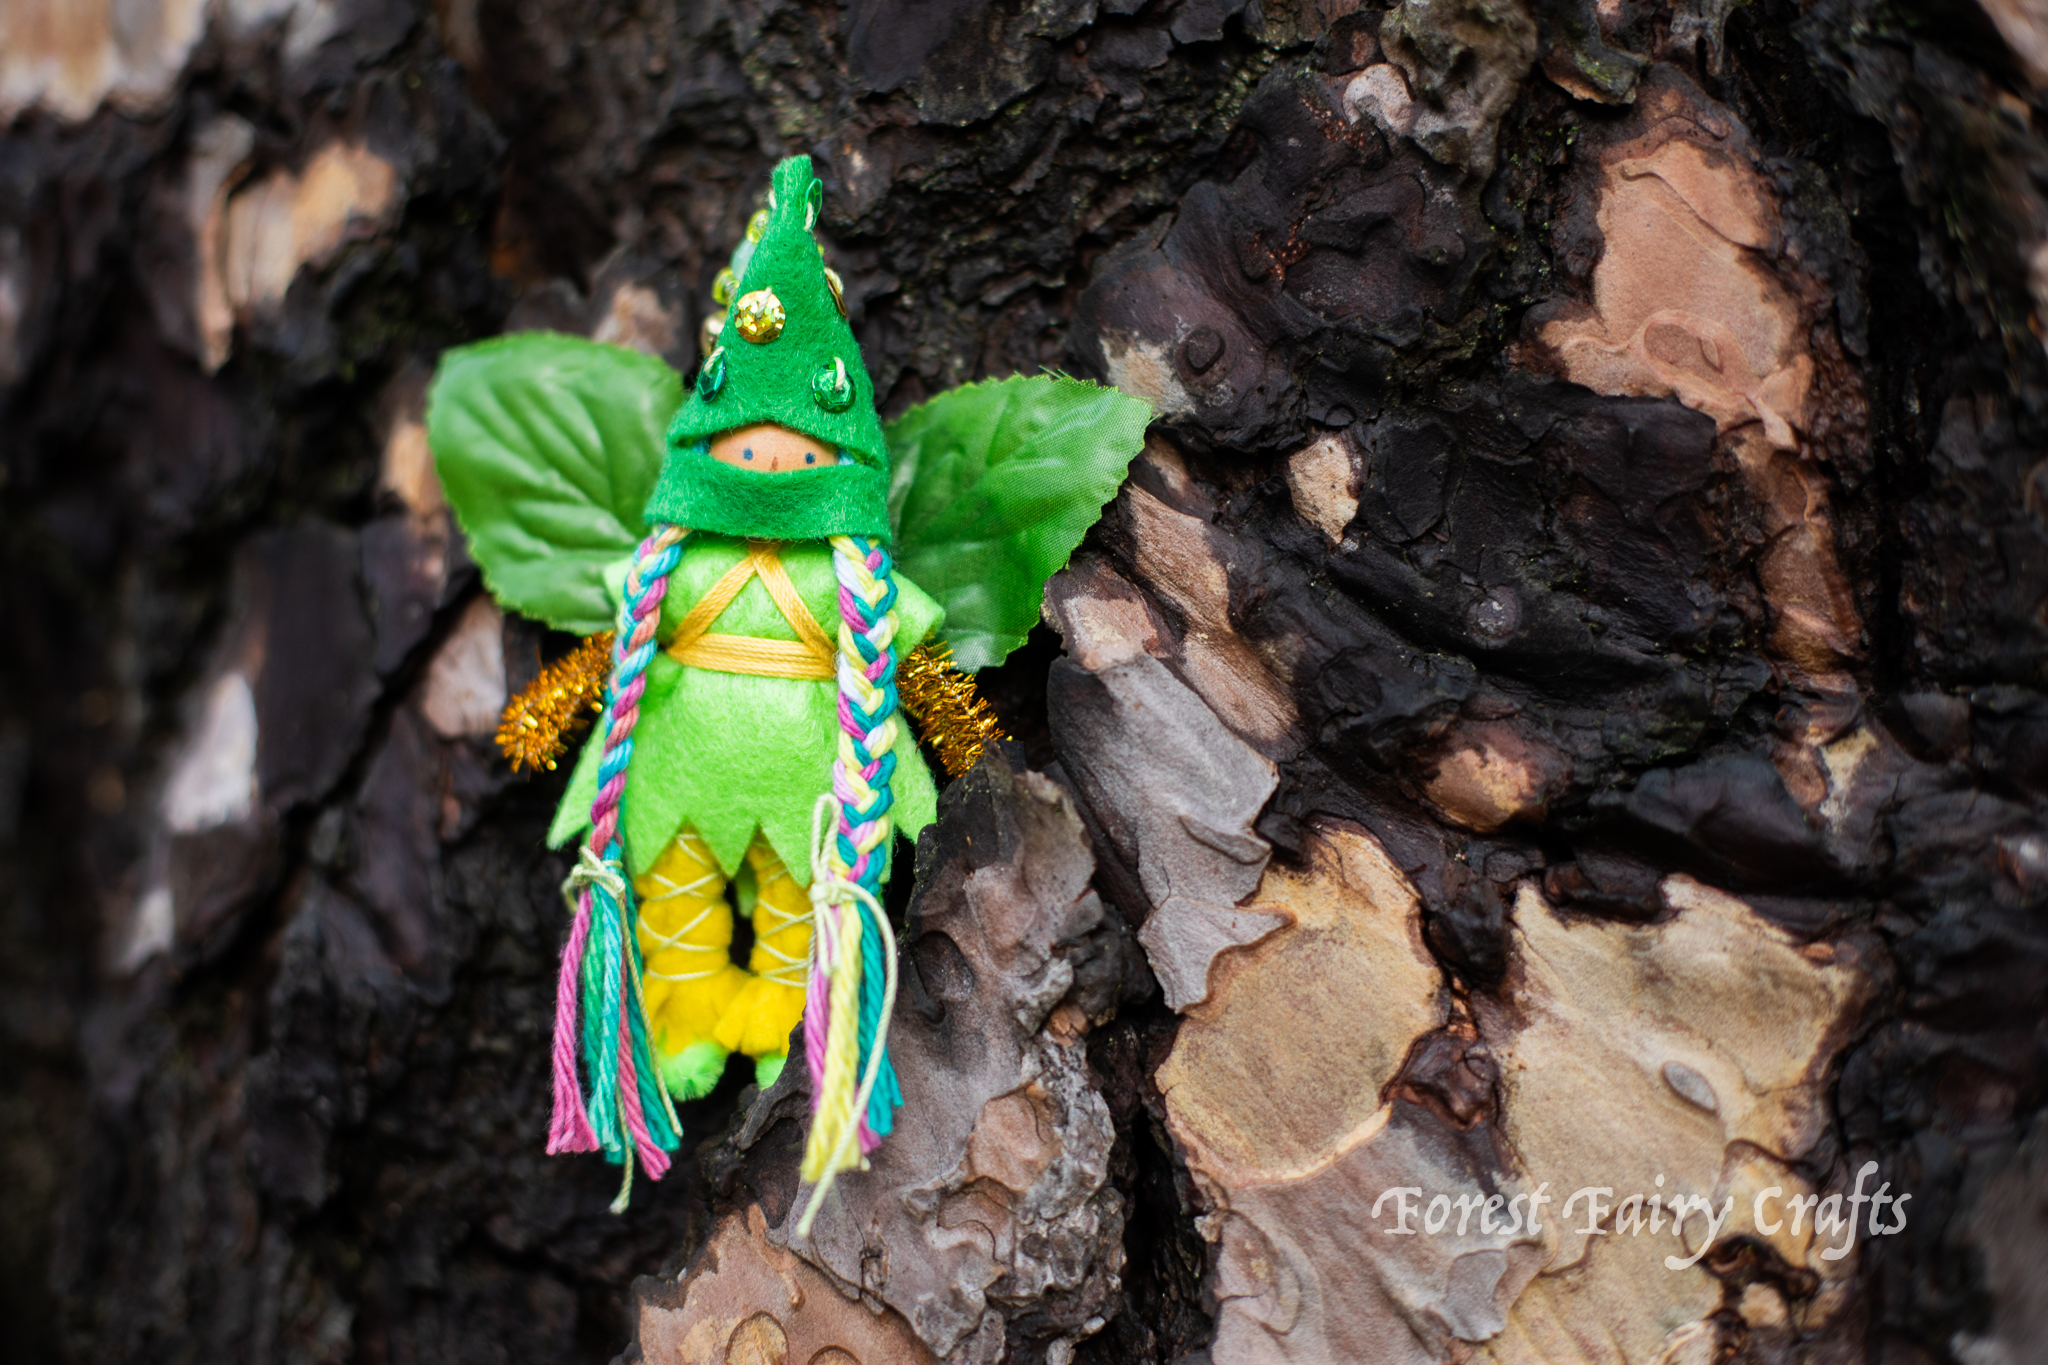
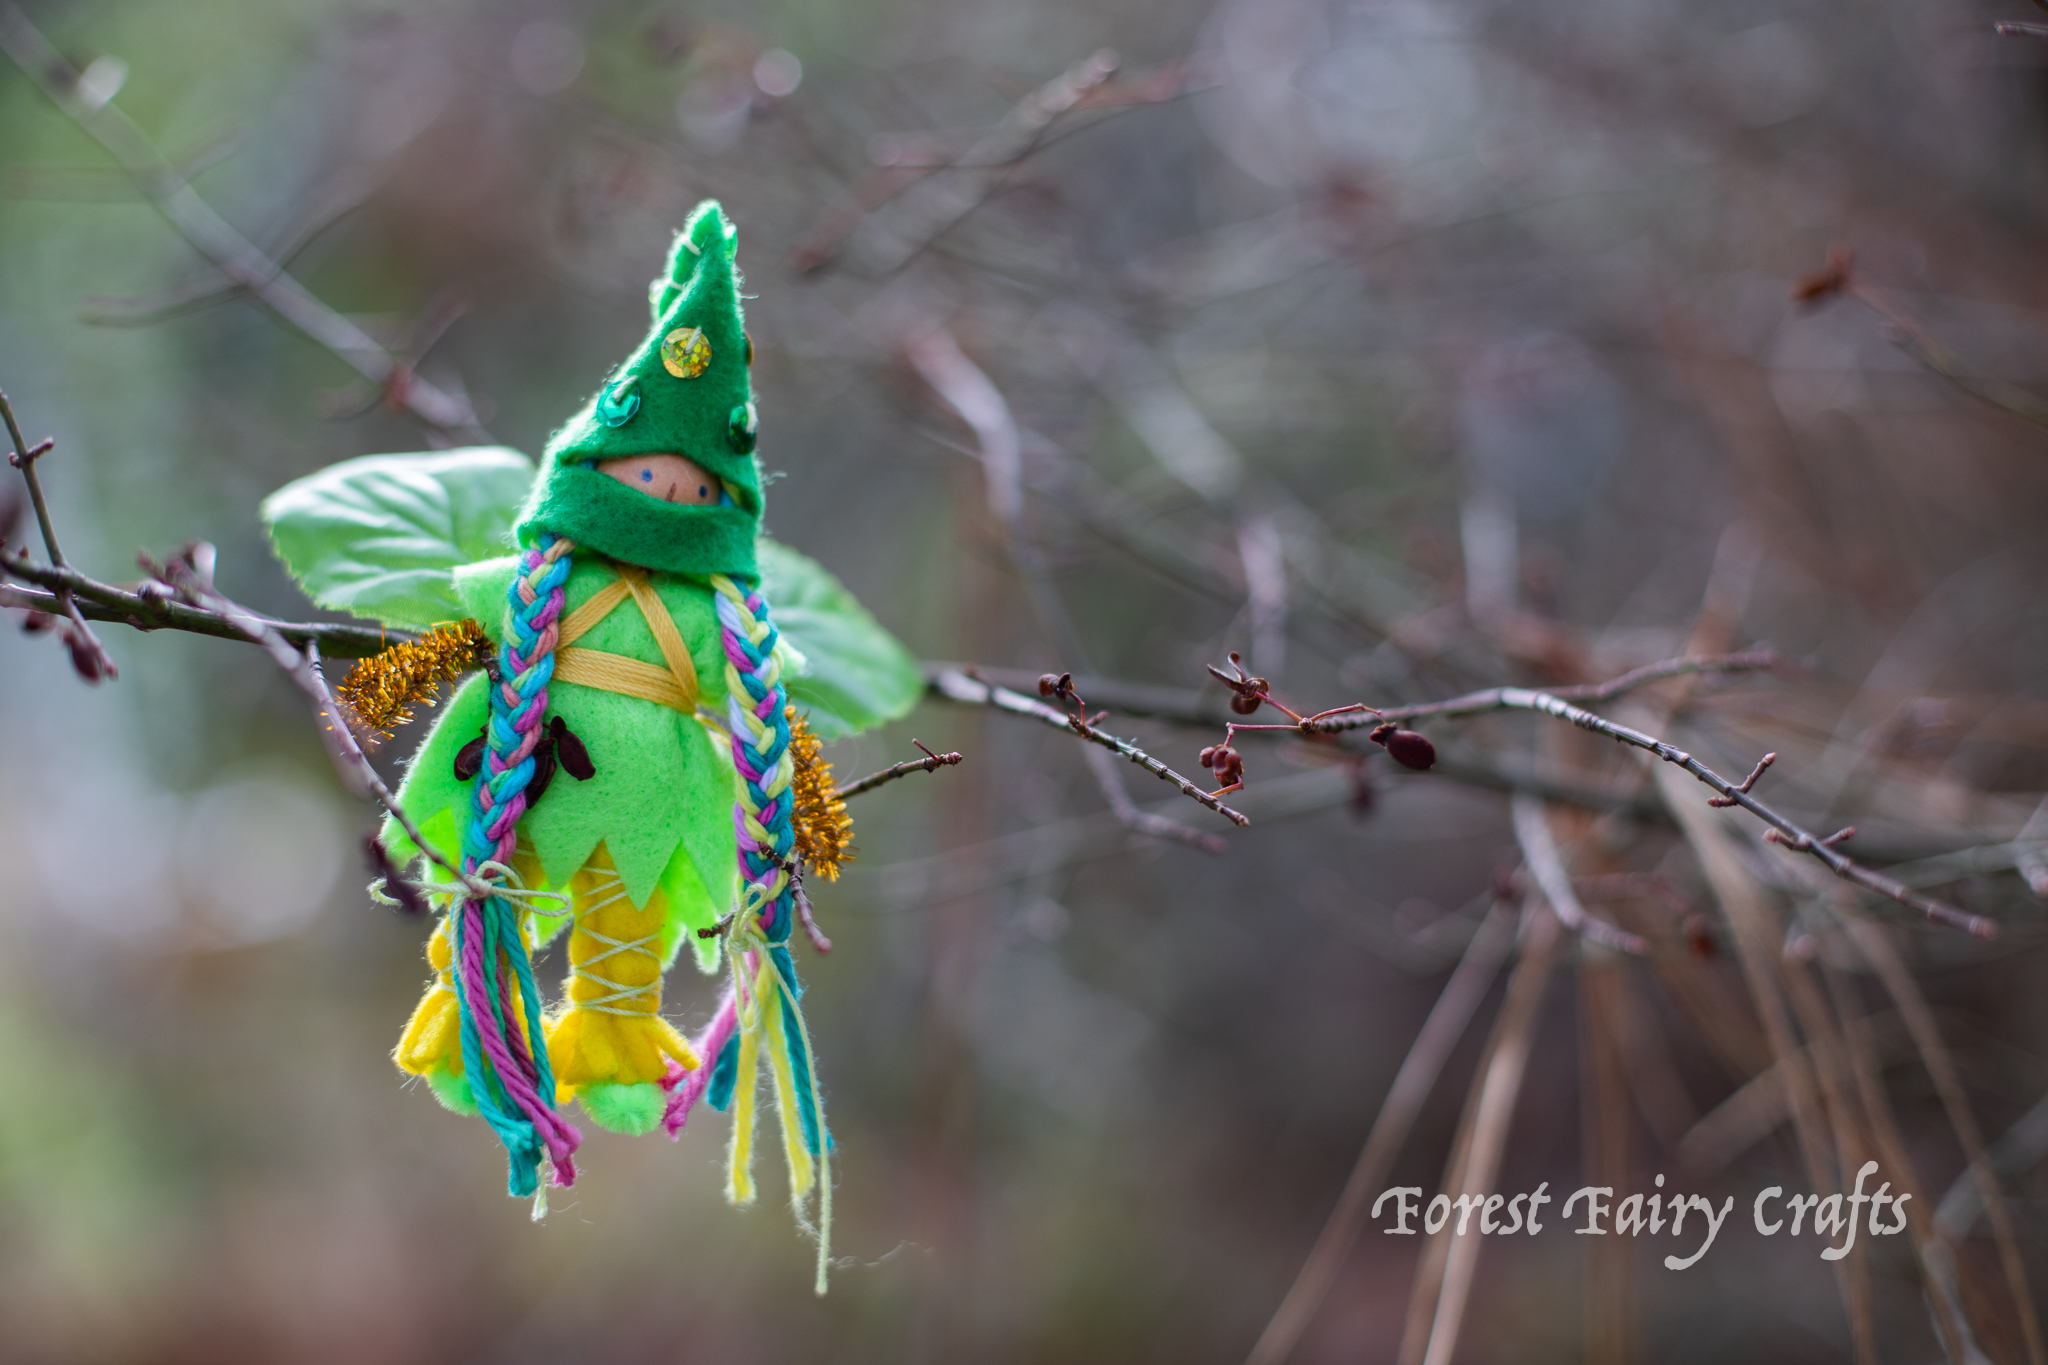
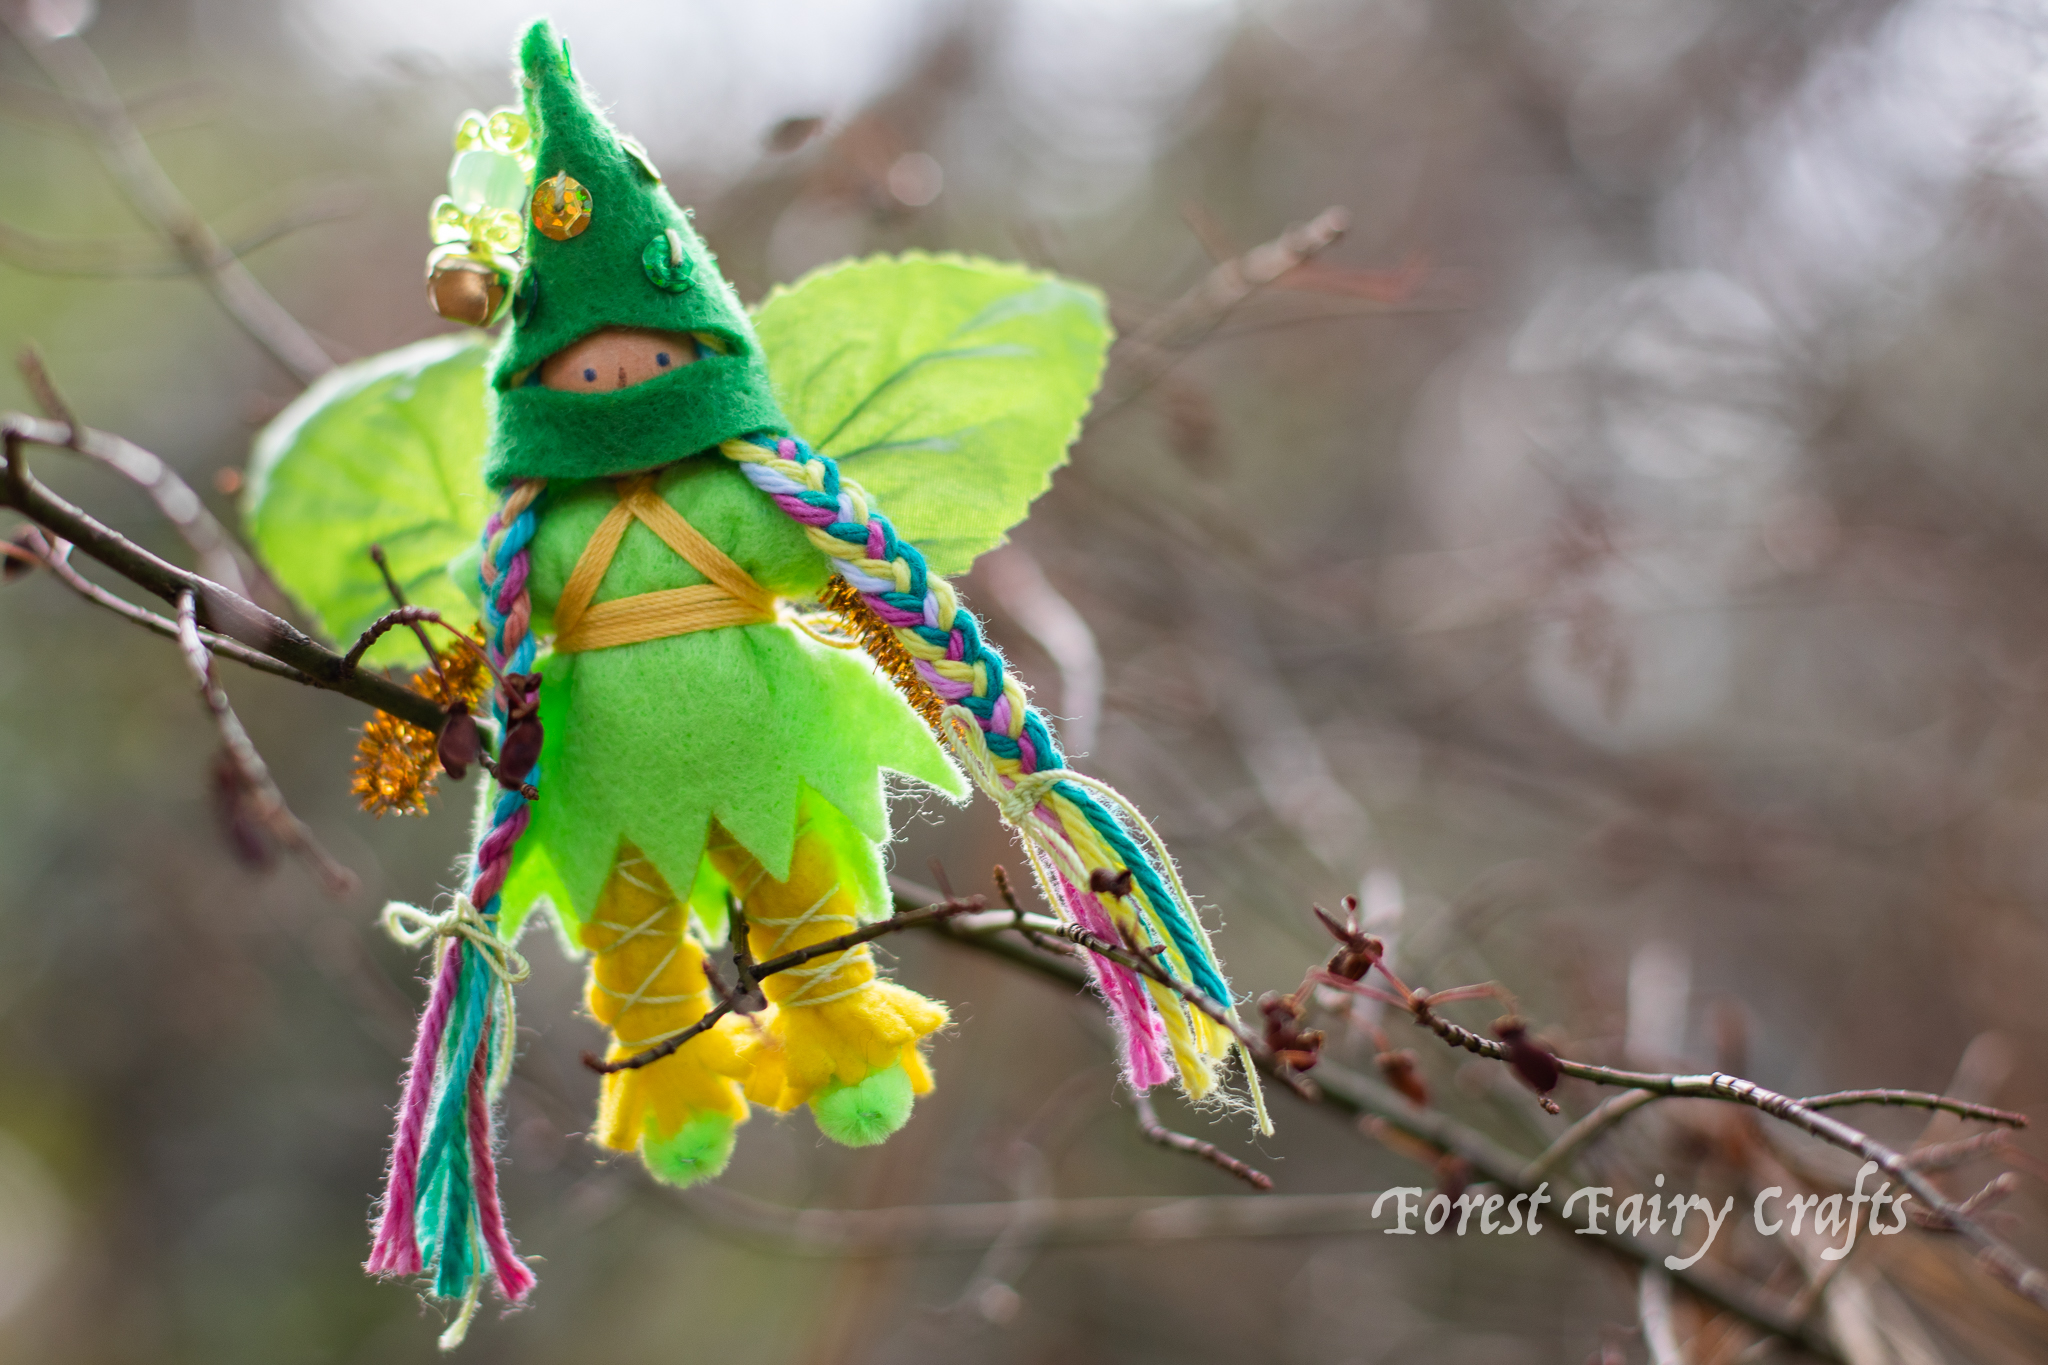

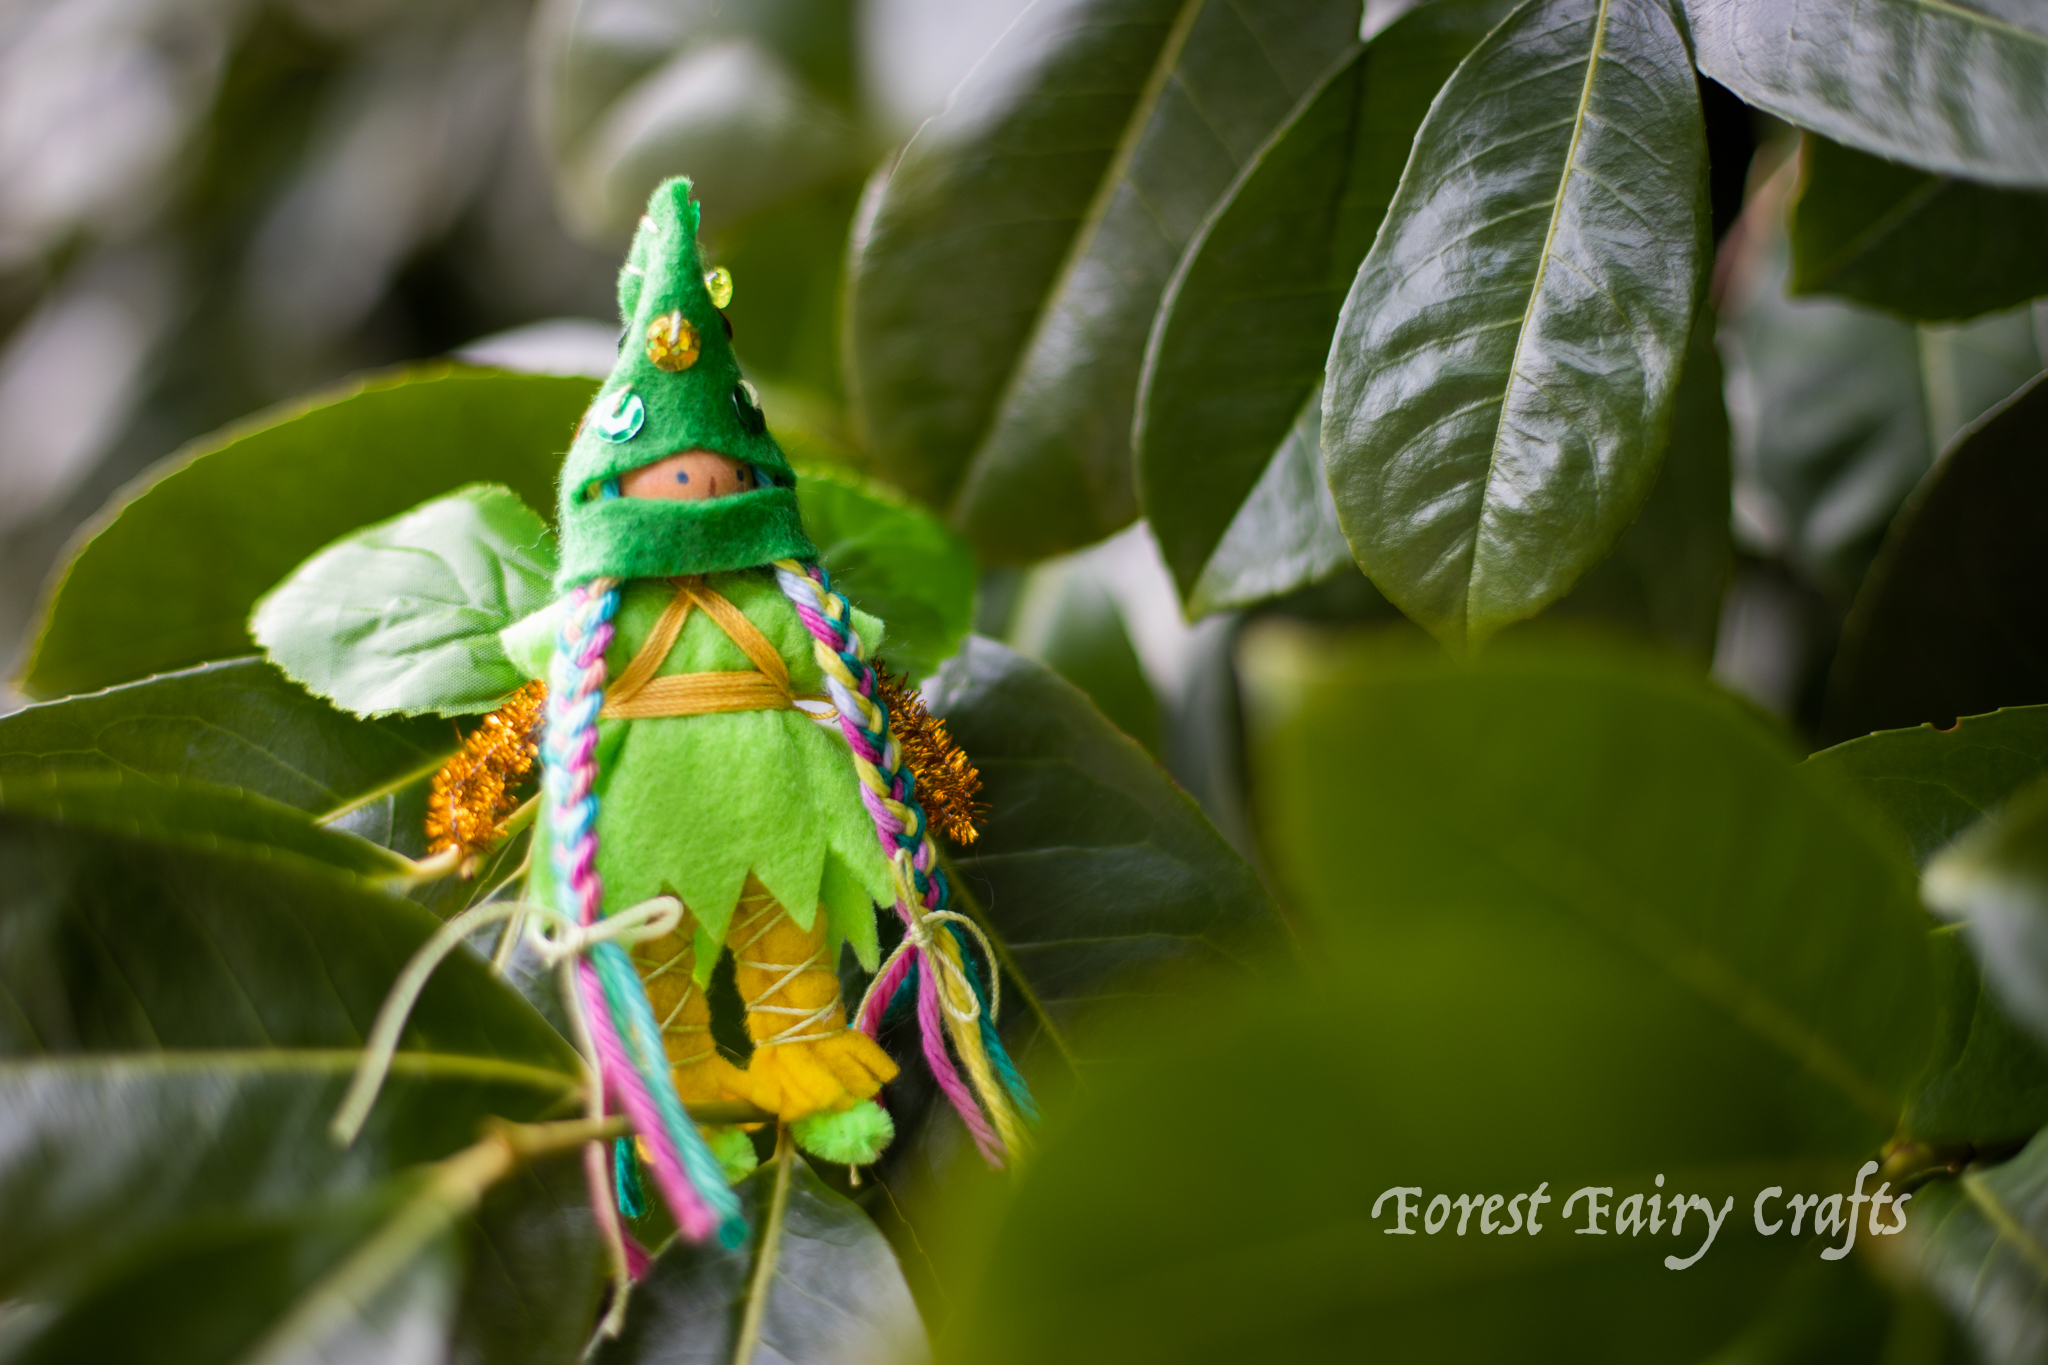
She is now a favorite new character in fairyland. We’ve been having fun mixing and matching different characters lately. Directions for both the Ninja and the Leprechaun are in our first Forest Fairy Crafts book*.
She even has a glow-in-the-dark bead on her hat to light her way at night :)
Now, for the best news of the day. She wants to explore. So we’re hosting a giveaway!
Winner wins the leprechaun ninja made by Lenka sent anywhere in the United States (apologies to International friends). Forest Fairies are not appropriate for young children who enjoy tasting their toys (choking hazard).
To enter, comment here. For additional chances, enter on
Facebook with a comment, like, share
Instagram with tagging a friend
Twitter with a Retweet or Quote Tweet. May the luck of the Leprechauns be with you! 🍀
We hope your month is filled with magic :)
*Affiliate link gives a small amount back to the forest while your price remains the same. Thank you
Wishing you the magic of the season 🍀💚
For more leprechaun ideas, visit our post about Leprechaun Babies and Happy Leprechaun Season. Enjoy 💛
Happy Valentine's Day
Roses are red
Fairies are blue
Hoping your day
Is magical too ✨💕
Wishing you so much love every day! ❤️
Valentine's Heart Garland
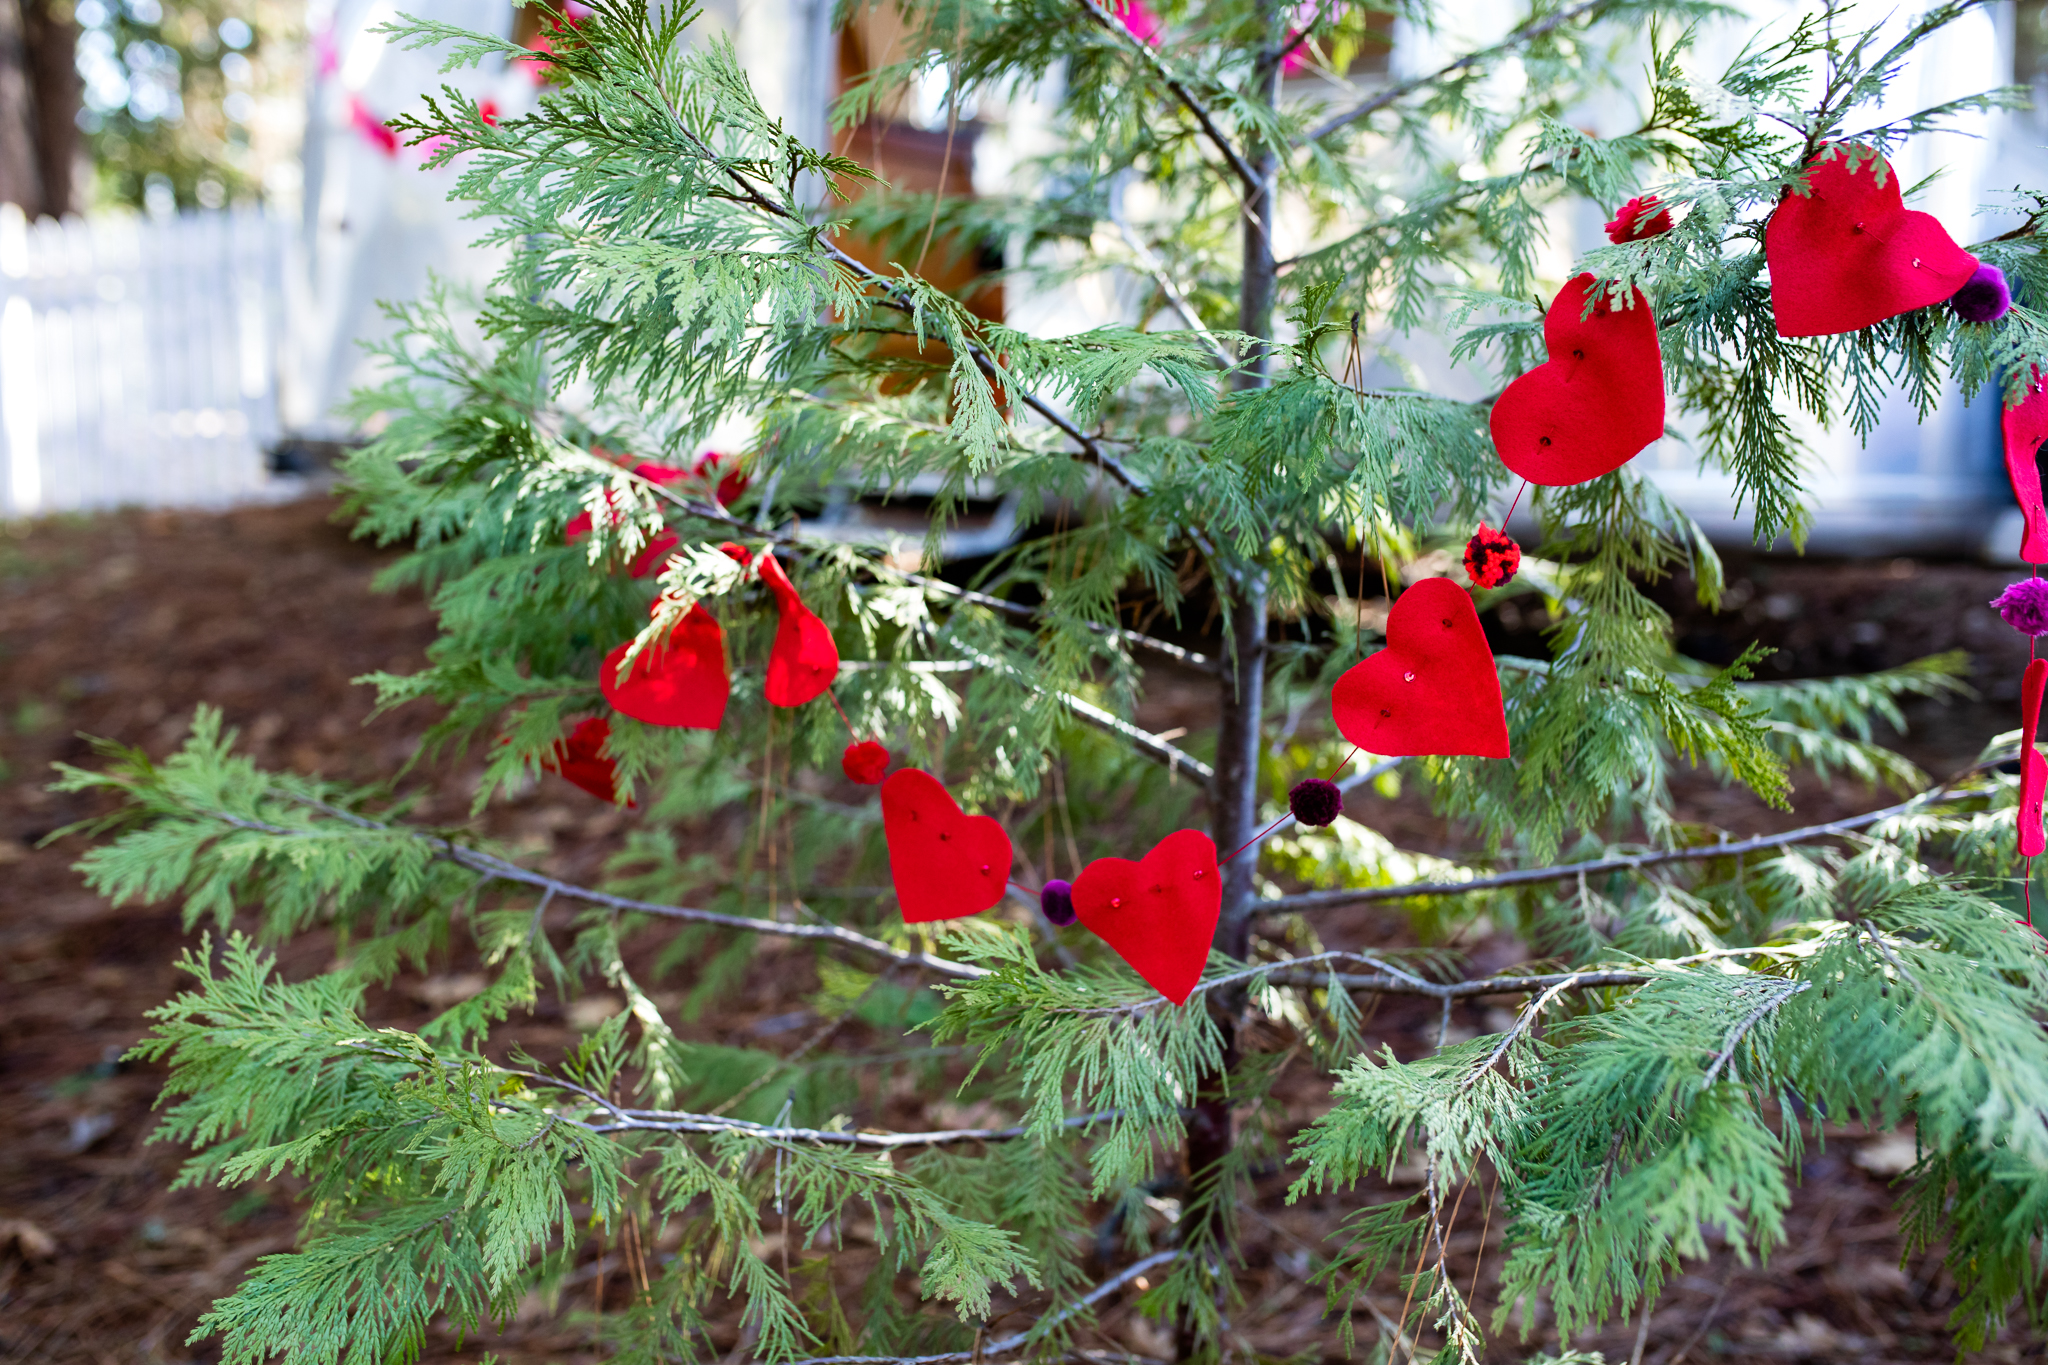
Hurrah for decorating! And hurrah for crafting homemade decorations that help a house feel like a cozy home. The personal touches that go into homemade decorations make for charming displays (and gifts). This year I made a Valentine Garland using our Magical Forest Fairy Crafts Through the Seasons book. And then we used the garland for a delightful Valentine themed campsite at Inn Town Campground.
The garland can be made by anyone- children or adults. I find myself making decorations even when my children are older, because I love being able to share the spirit of homemade in every season.
And it helps that winter is one of my favorite seasons for crafting. As the wind blusters and blows outside and rain (or snow) piles up everywhere, it’s lovely to sit with thread, sequins, and felt.
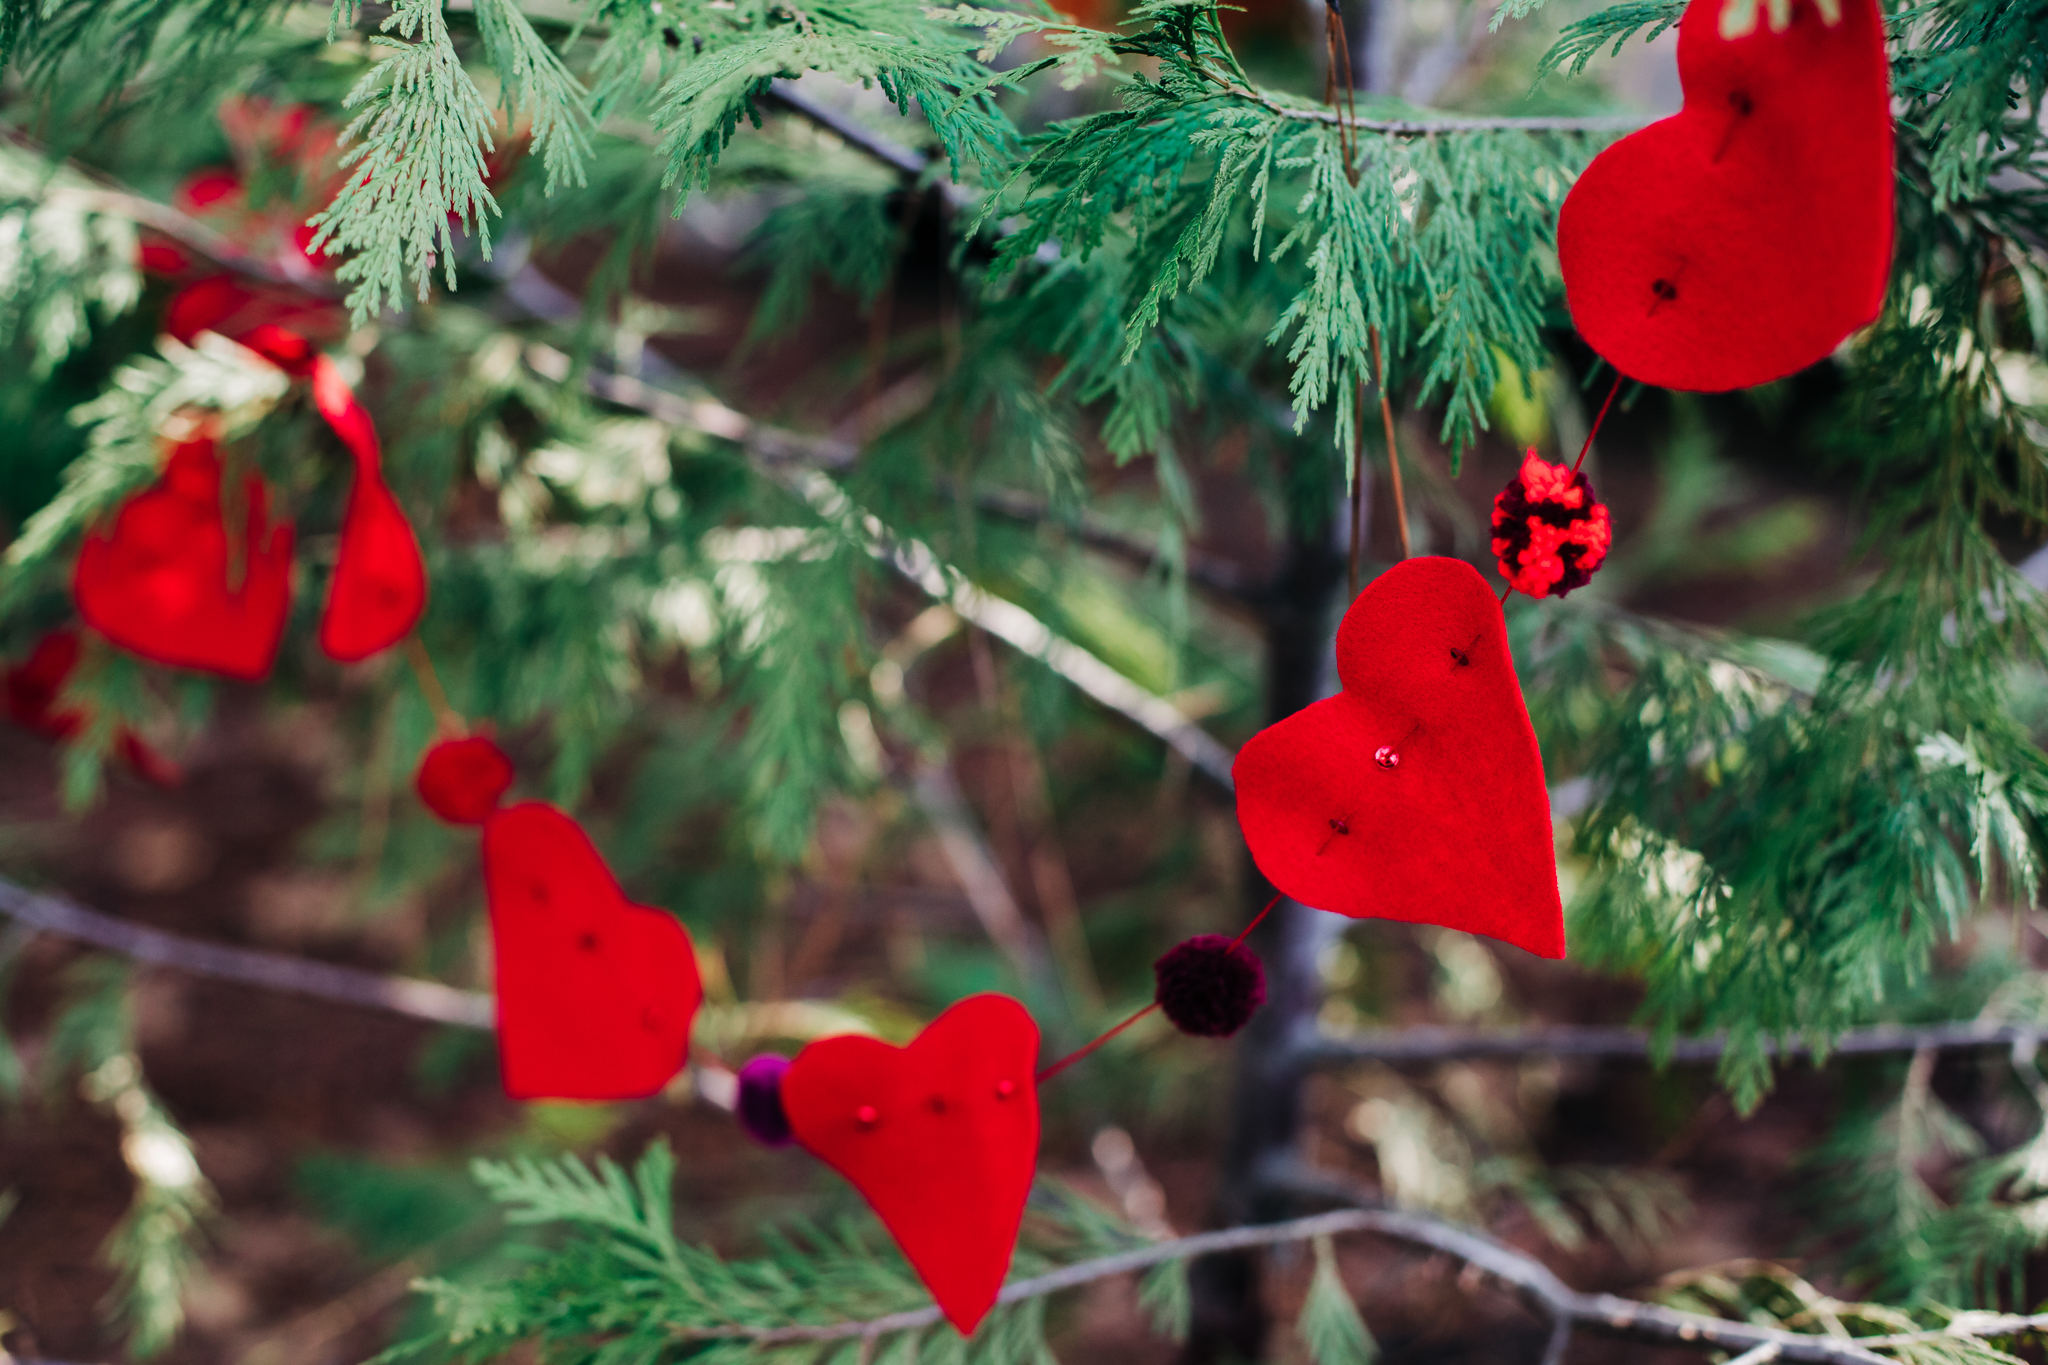
For this garland, I followed the directions on page 108 for the leaf garland. The next page has ideas for making our own patterns and garlands. I used the heart as inspiration.
One thing that we believe strongly is that children (and adults) benefit immensely from Invitations to Create. These are ideas or questions that encourage independent thinking. We have encountered a few times where folks say, “Why don’t you tell them what to do instead of asking what they want? Don’t most craft books give instructions?”
Well, we give instructions and offer ideas for inventions and creative growth. After all, the world needs creative problem solvers and innovation. Why not encourage that with invitations to make craft projects unique?
For my garland, I found the pom poms already made (or you could search online for pom poms or felt balls if you want to make those, too). I cut a stack of red hearts. One hint, it’s easier, for me, to cut when the pattern is another piece of felt- paper is slippery. So I cut one heart using the pattern on Page 136, then used that heart to cut more. You could also trace the heart onto the felt and cut that way. Whatever feels fun for you :)
I sewed across the top third of my hearts, adding red sequins. I used large stitches. Between each heart, I strung a pom pom.
If you don’t know how to sew, or if you’re making with children, our book has all of the steps for tying knots, adding sequins, and even cutting patterns. It’s an engaging, and rewarding, quick craft that can decorate anywhere from a mantle, windowsill, or campsite.
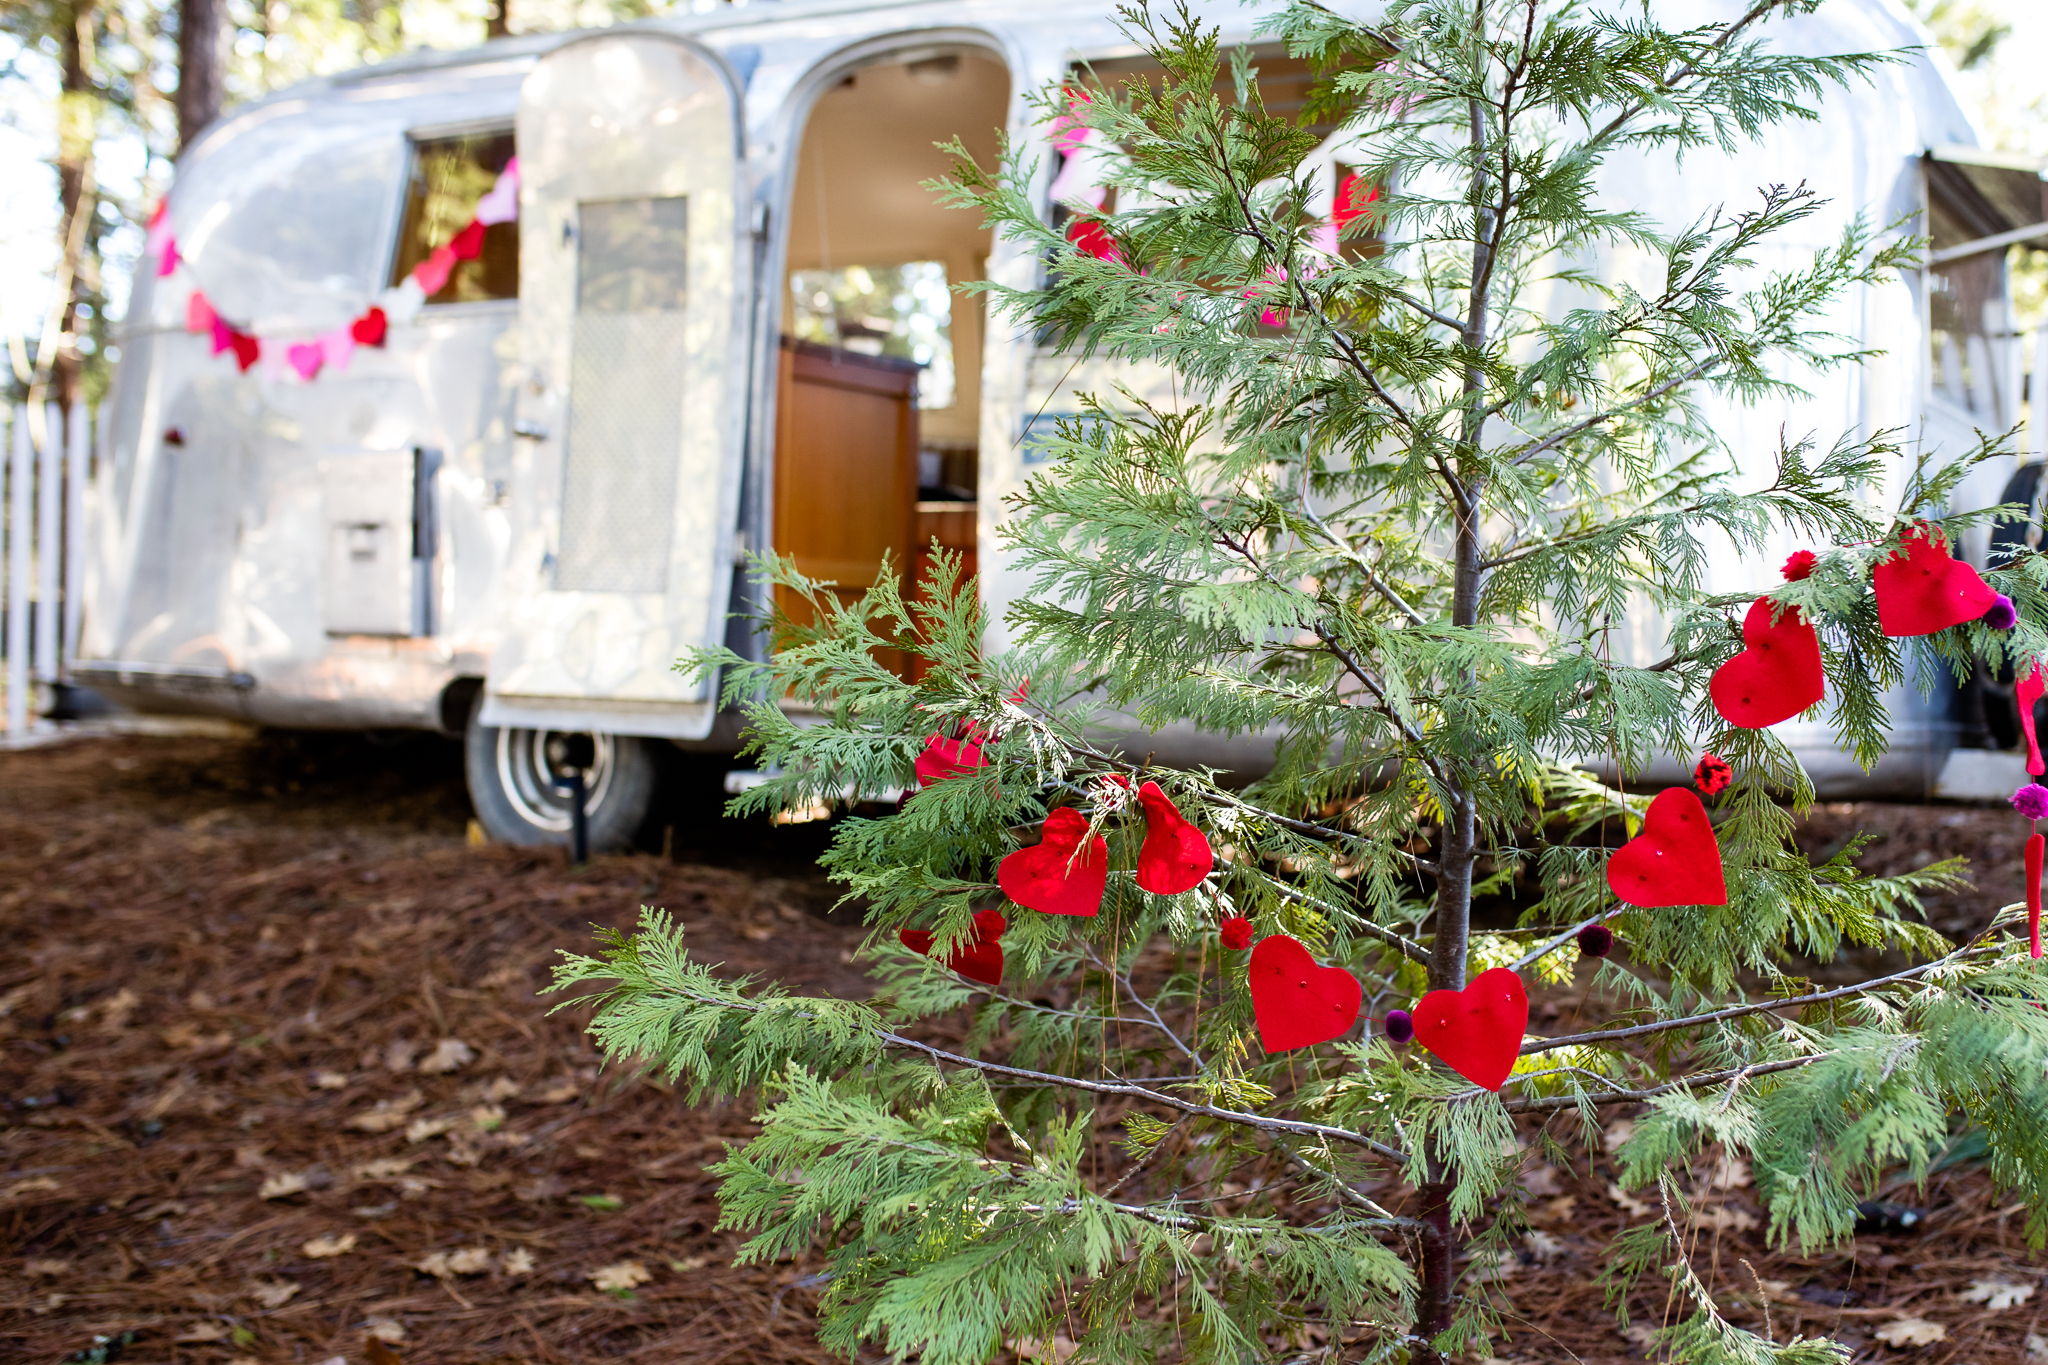
Share the love :)
Discover directions for the heart garland in Magical Forest Fairy Crafts through the Seasons (which has ideas for many seasonal crafts). And visit the Inn Town Campground for your own enchanted getaway in the forest :)
This post does contain affiliate links. Should you choose to purchase, a small amount is given to the Forest for the referral while your pricing remains the same. Thank you!
Star Babies made by Children
Star Babies made by Children using Forest Fairy Crafts Book by Lenka Vodicka-Paredes and Asia Currie | Christmas Ornaments and Decorations with Fairy Dolls and Felt Crafts
This time of year is all about the magic of making and giving. The Star Babies are a delight to make and share. They are perfect ornaments or decorations on a shelf. Over the years, we’ve made hundreds of star babies with children. They enchant children. This year, Asia brought a new technique to class. And the kids loved it!
This year, they painted the beads different colors. Classes discussed different skin tones and mixing colors. They painted beads different colors. Star babies enjoy being represented in many different colors.
All of the directions, with photographs, to make Star Babies are in our first Forest Fairy Crafts* book. We paint the beads with watercolors. Make a few for your tree with children you love :)
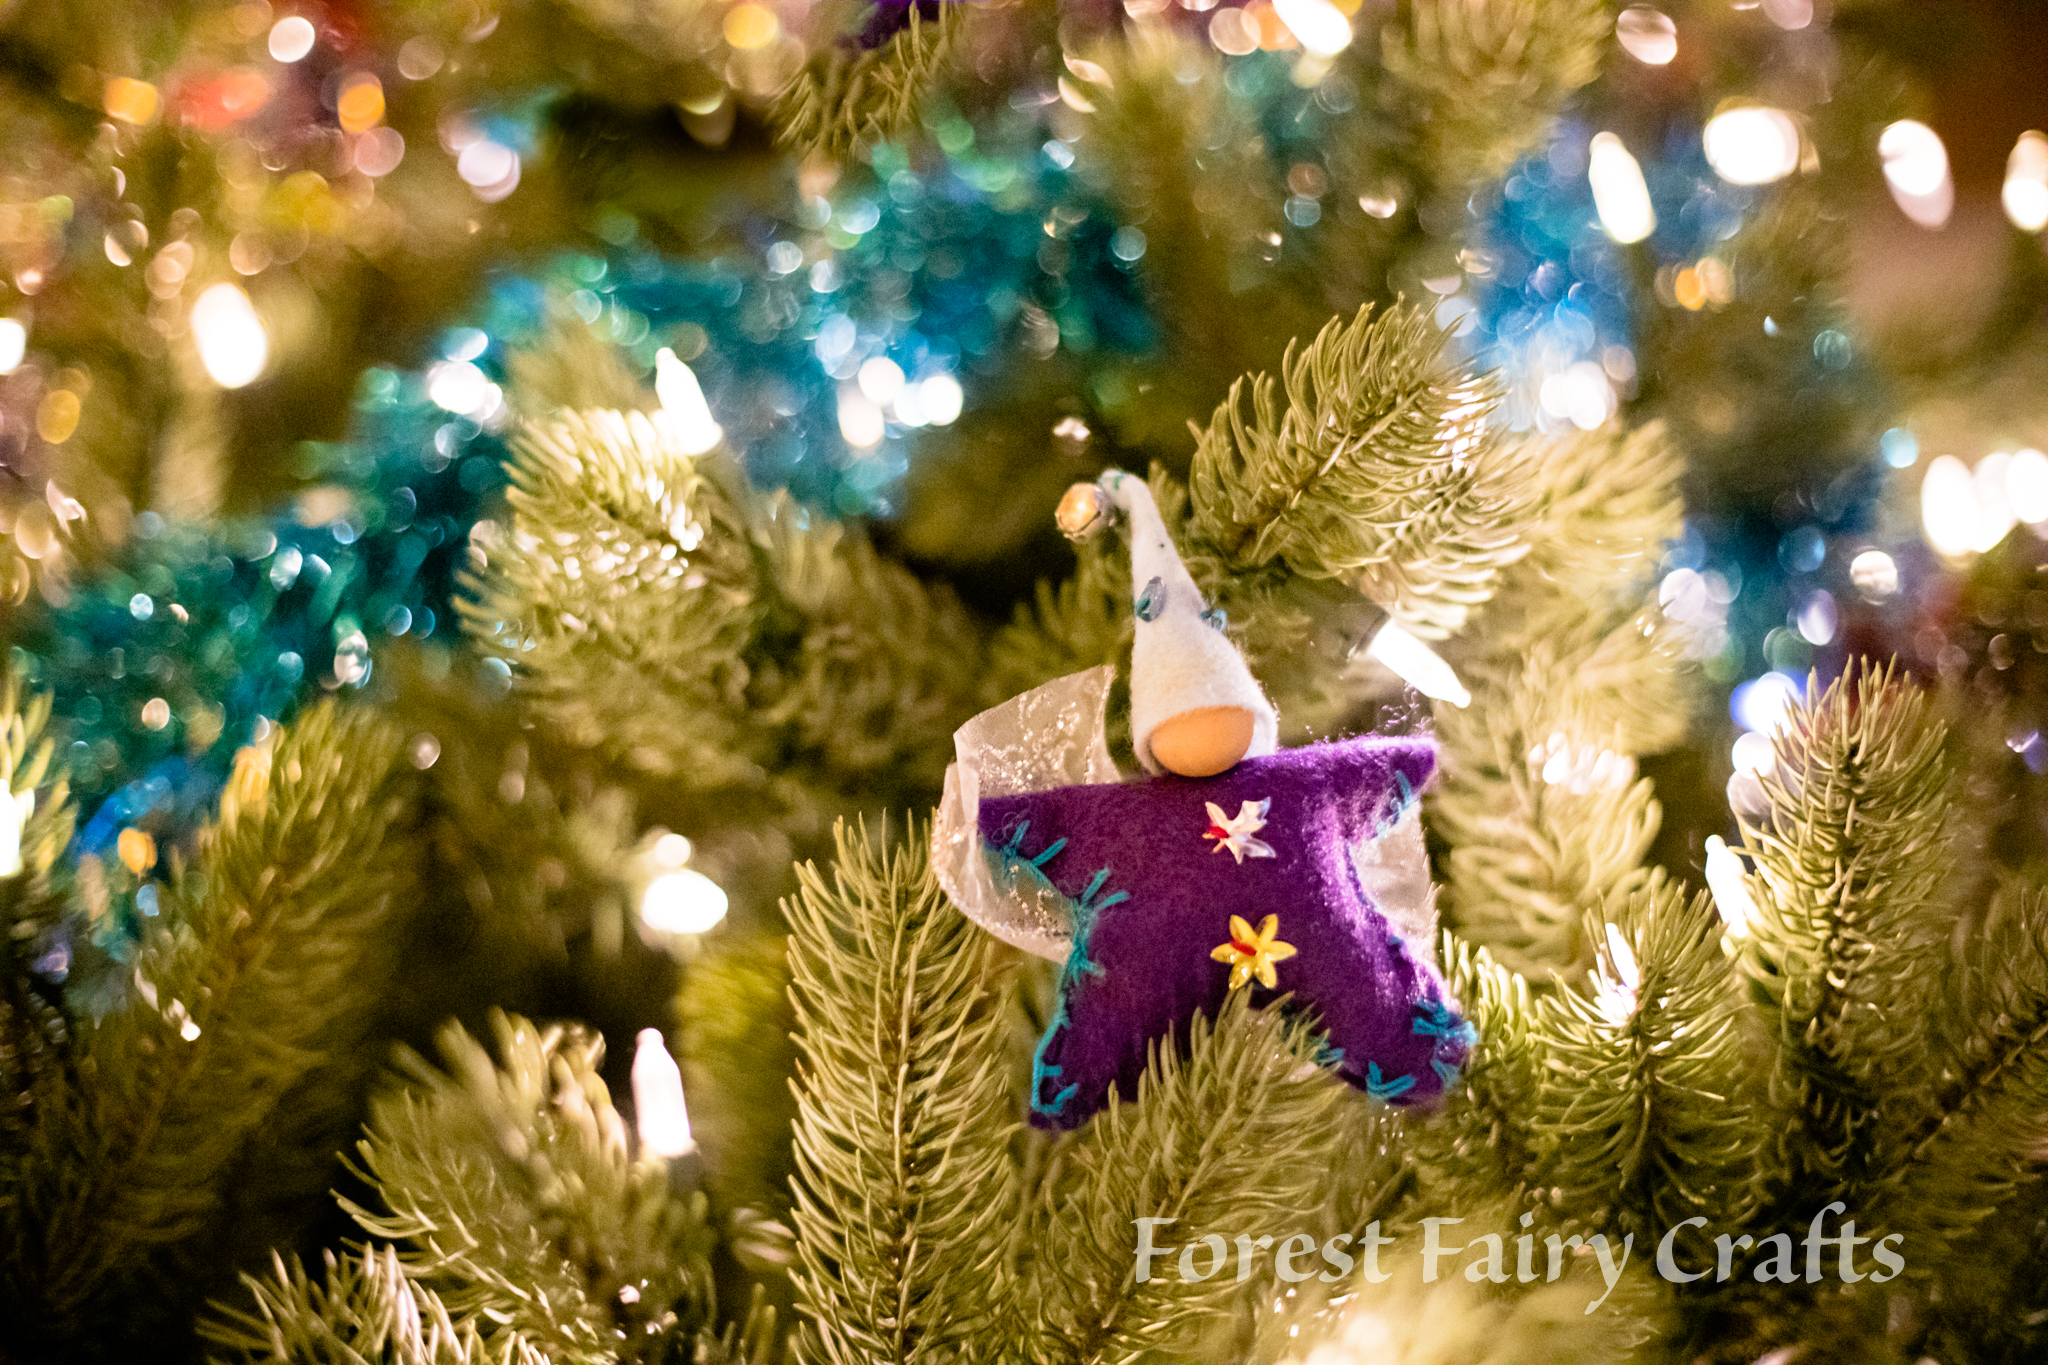
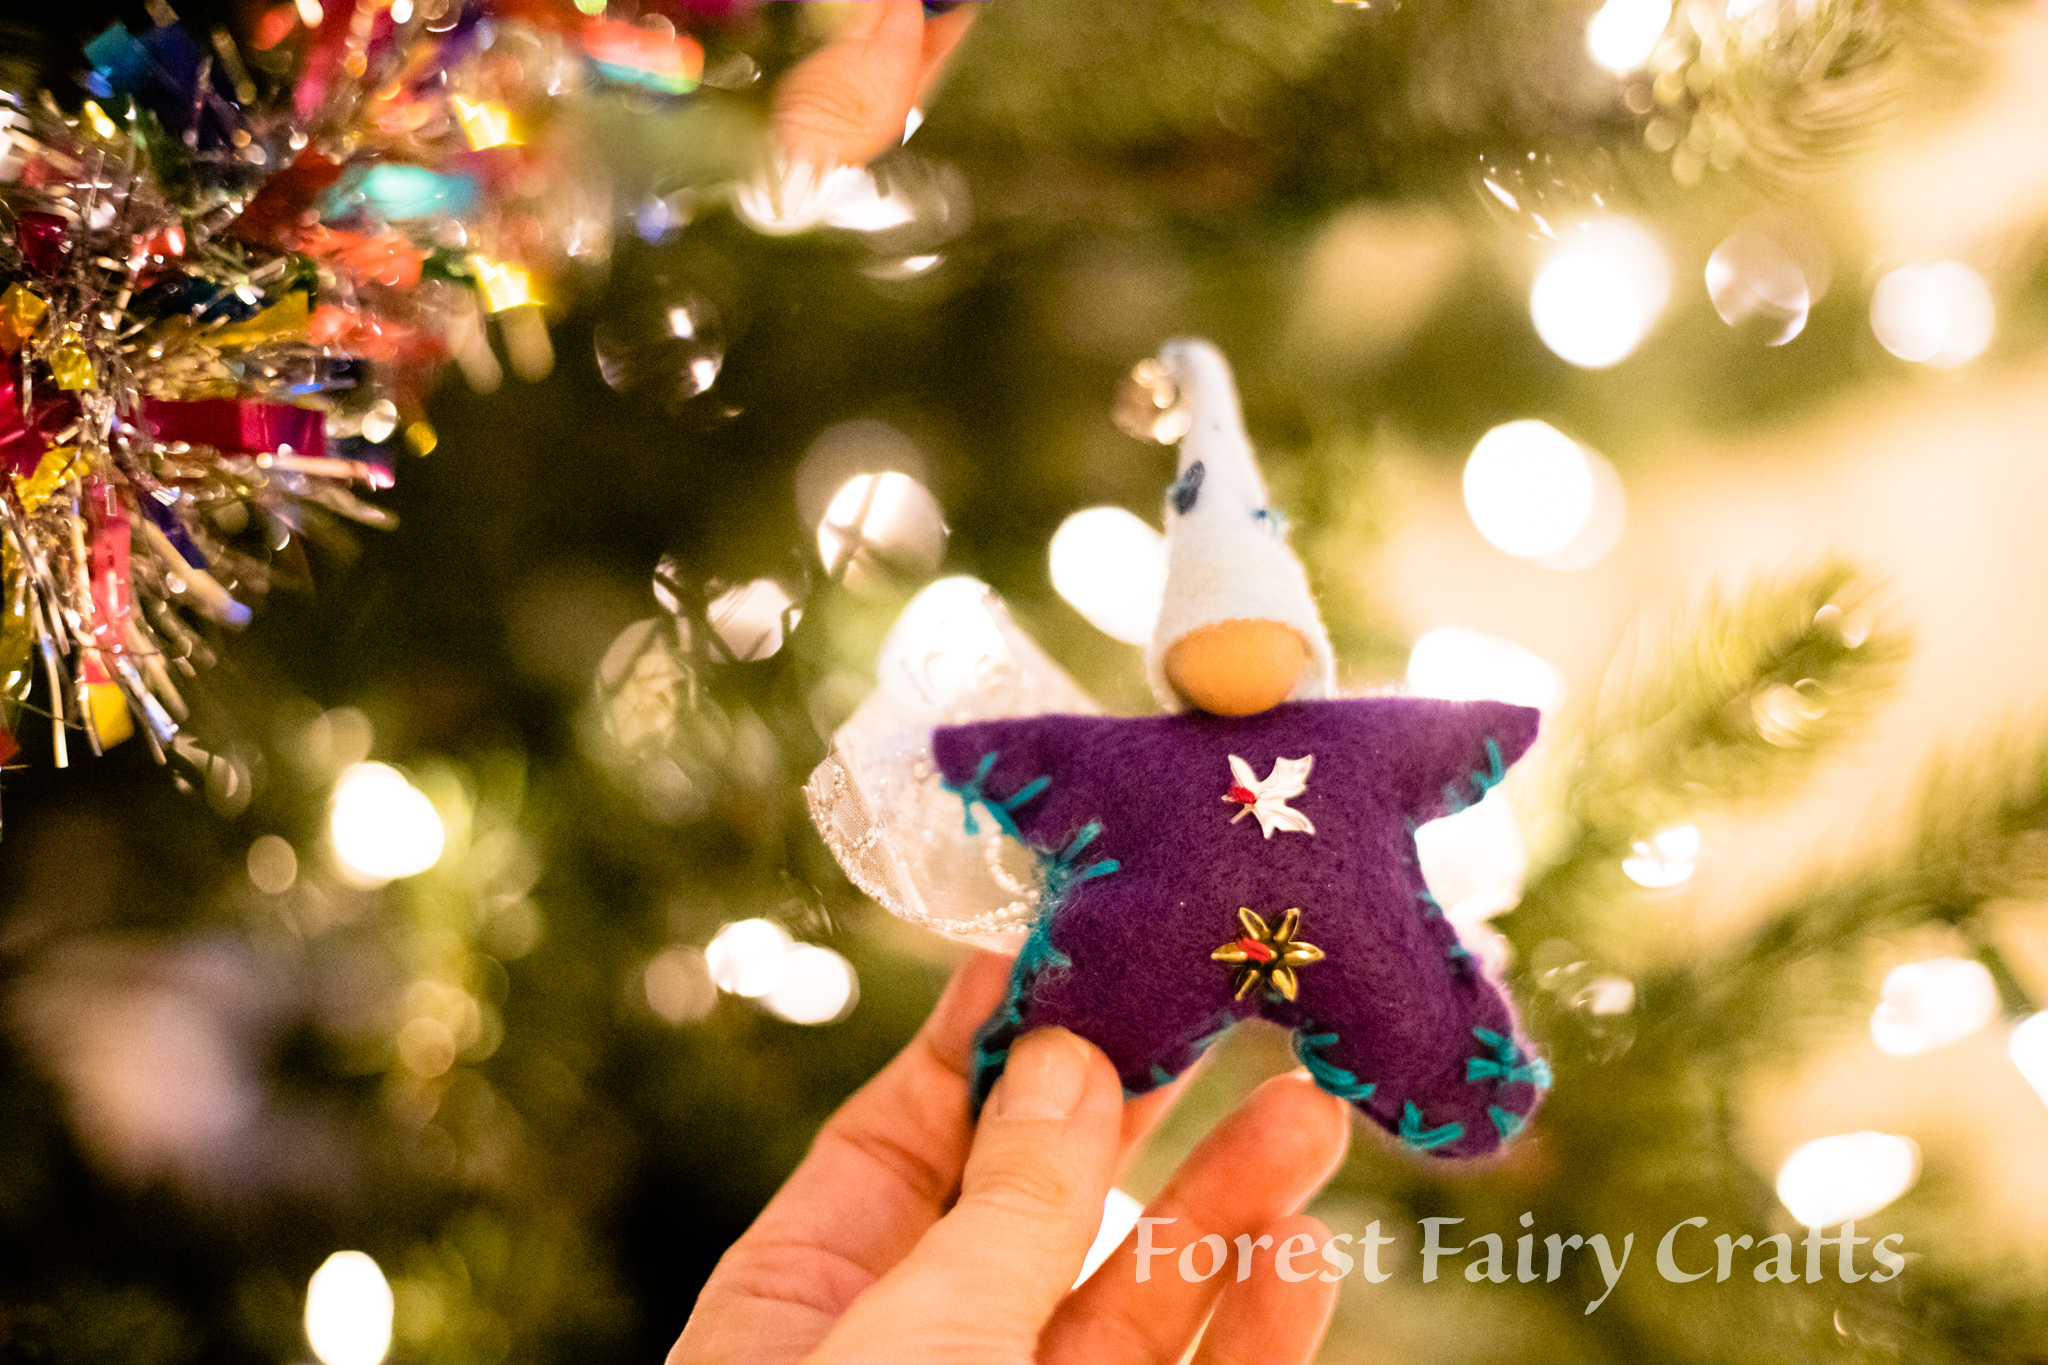
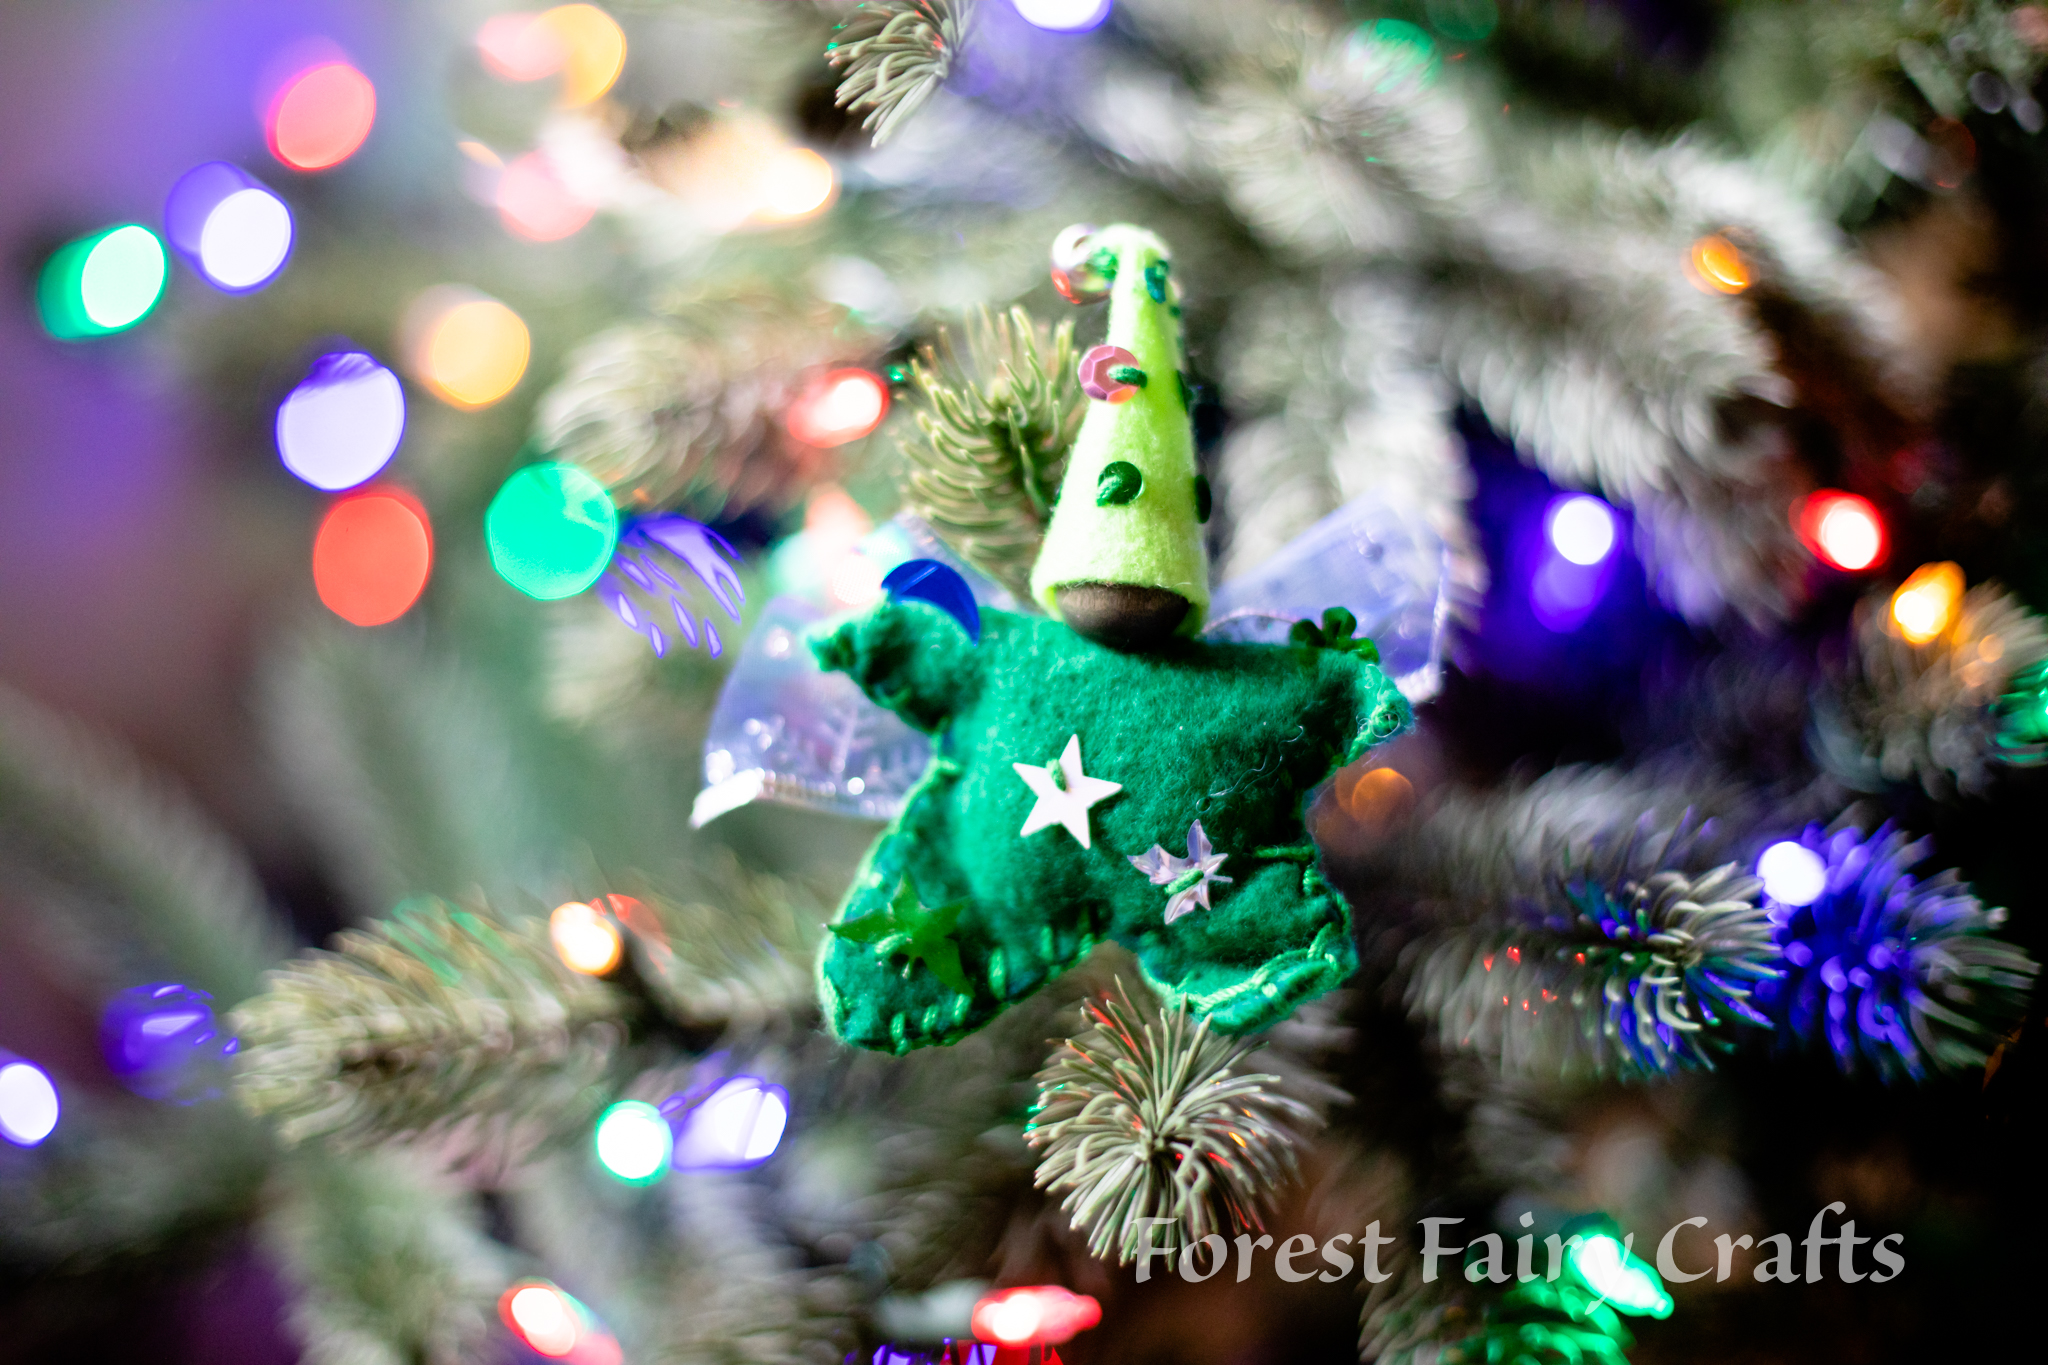
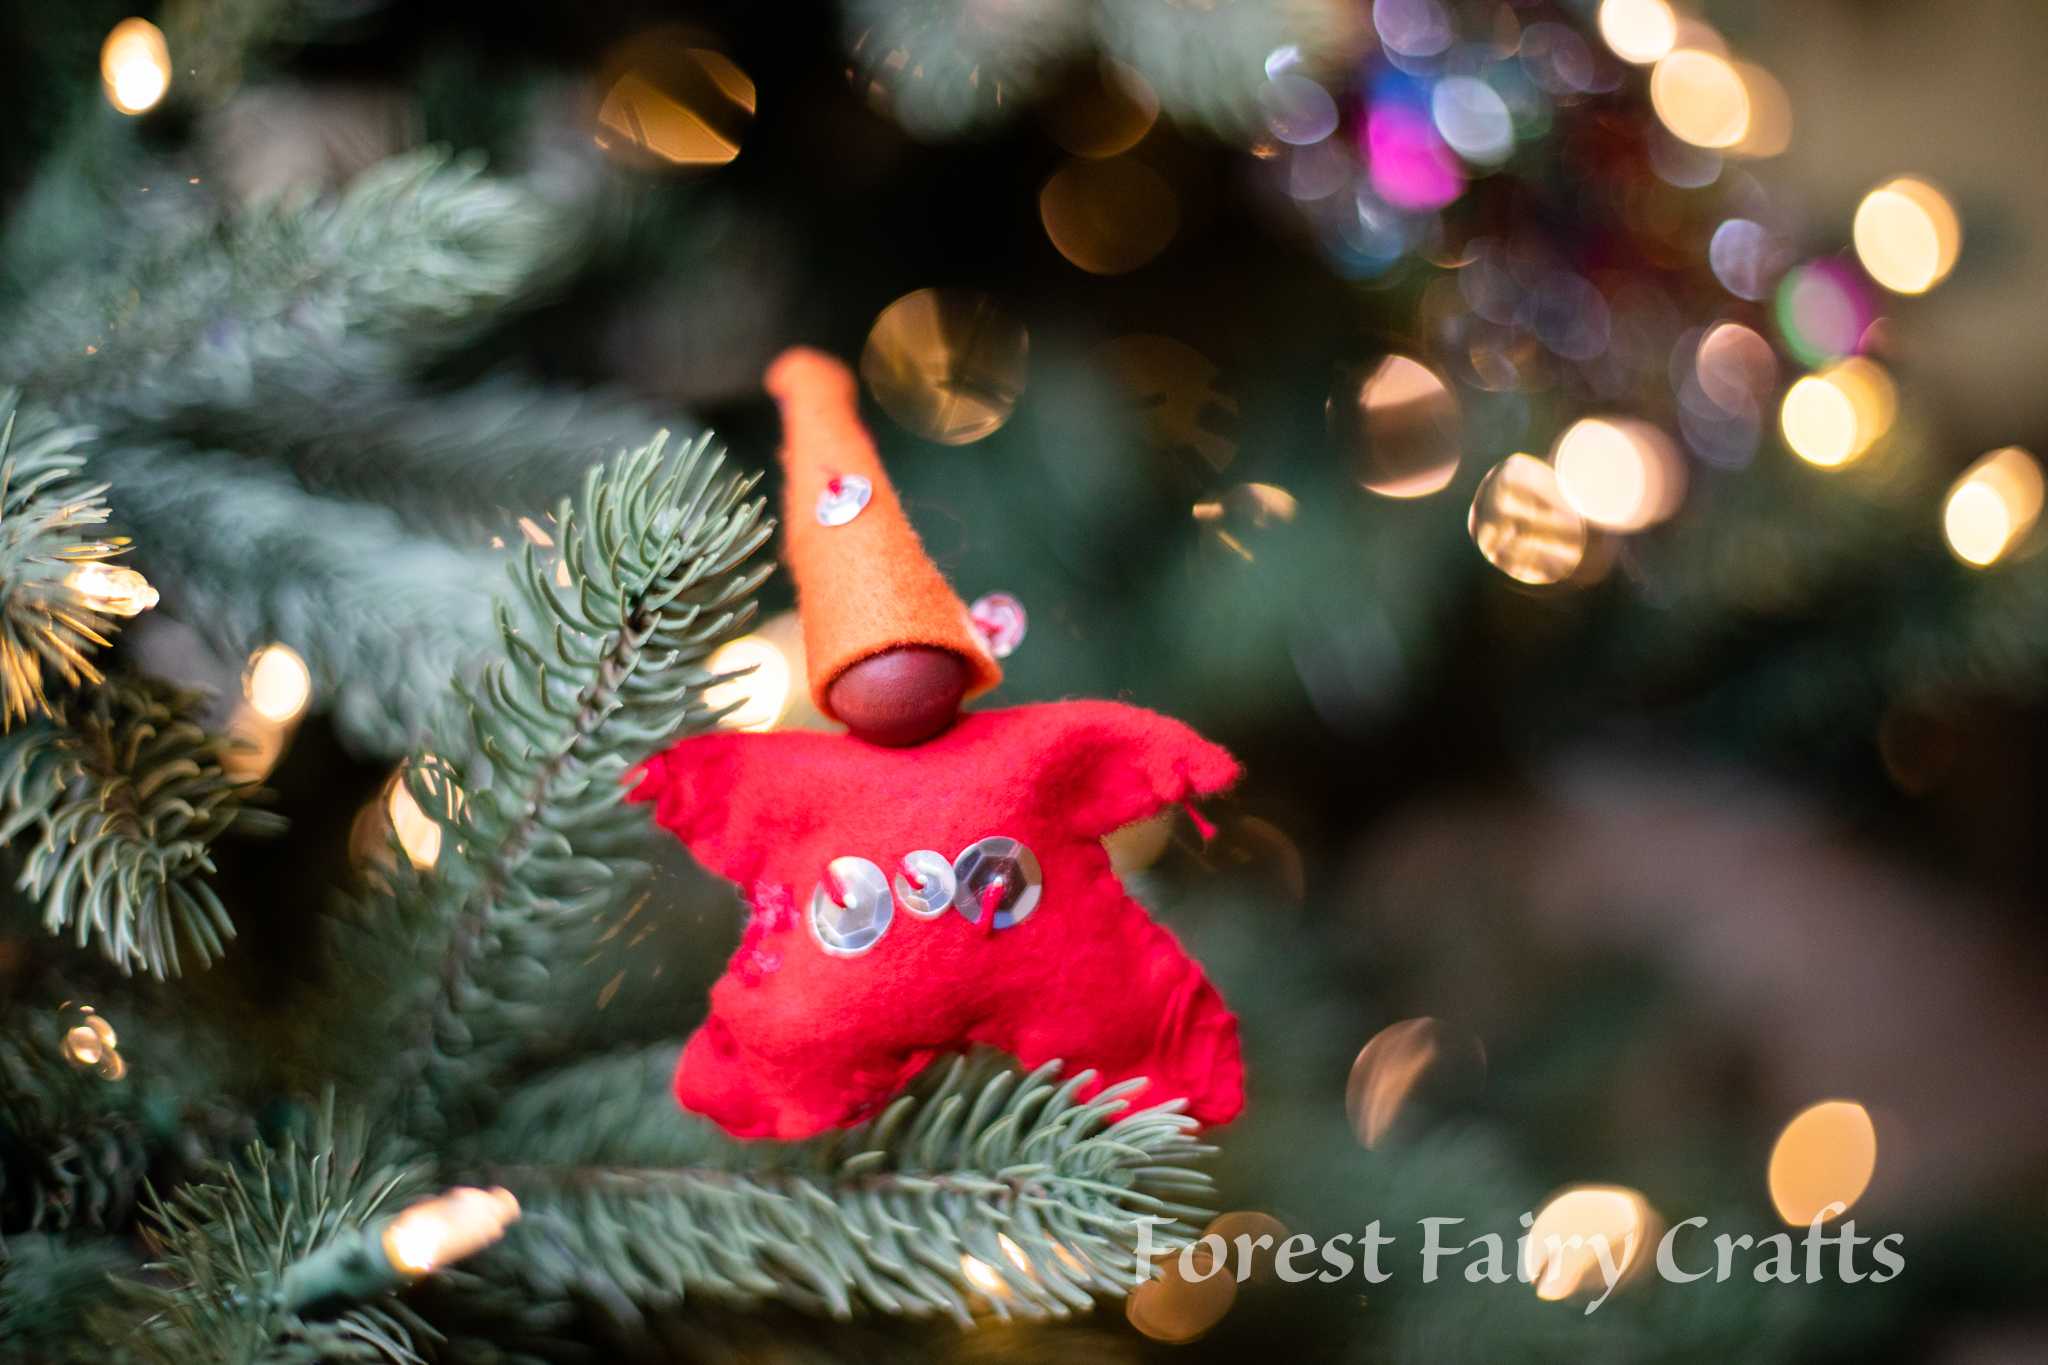
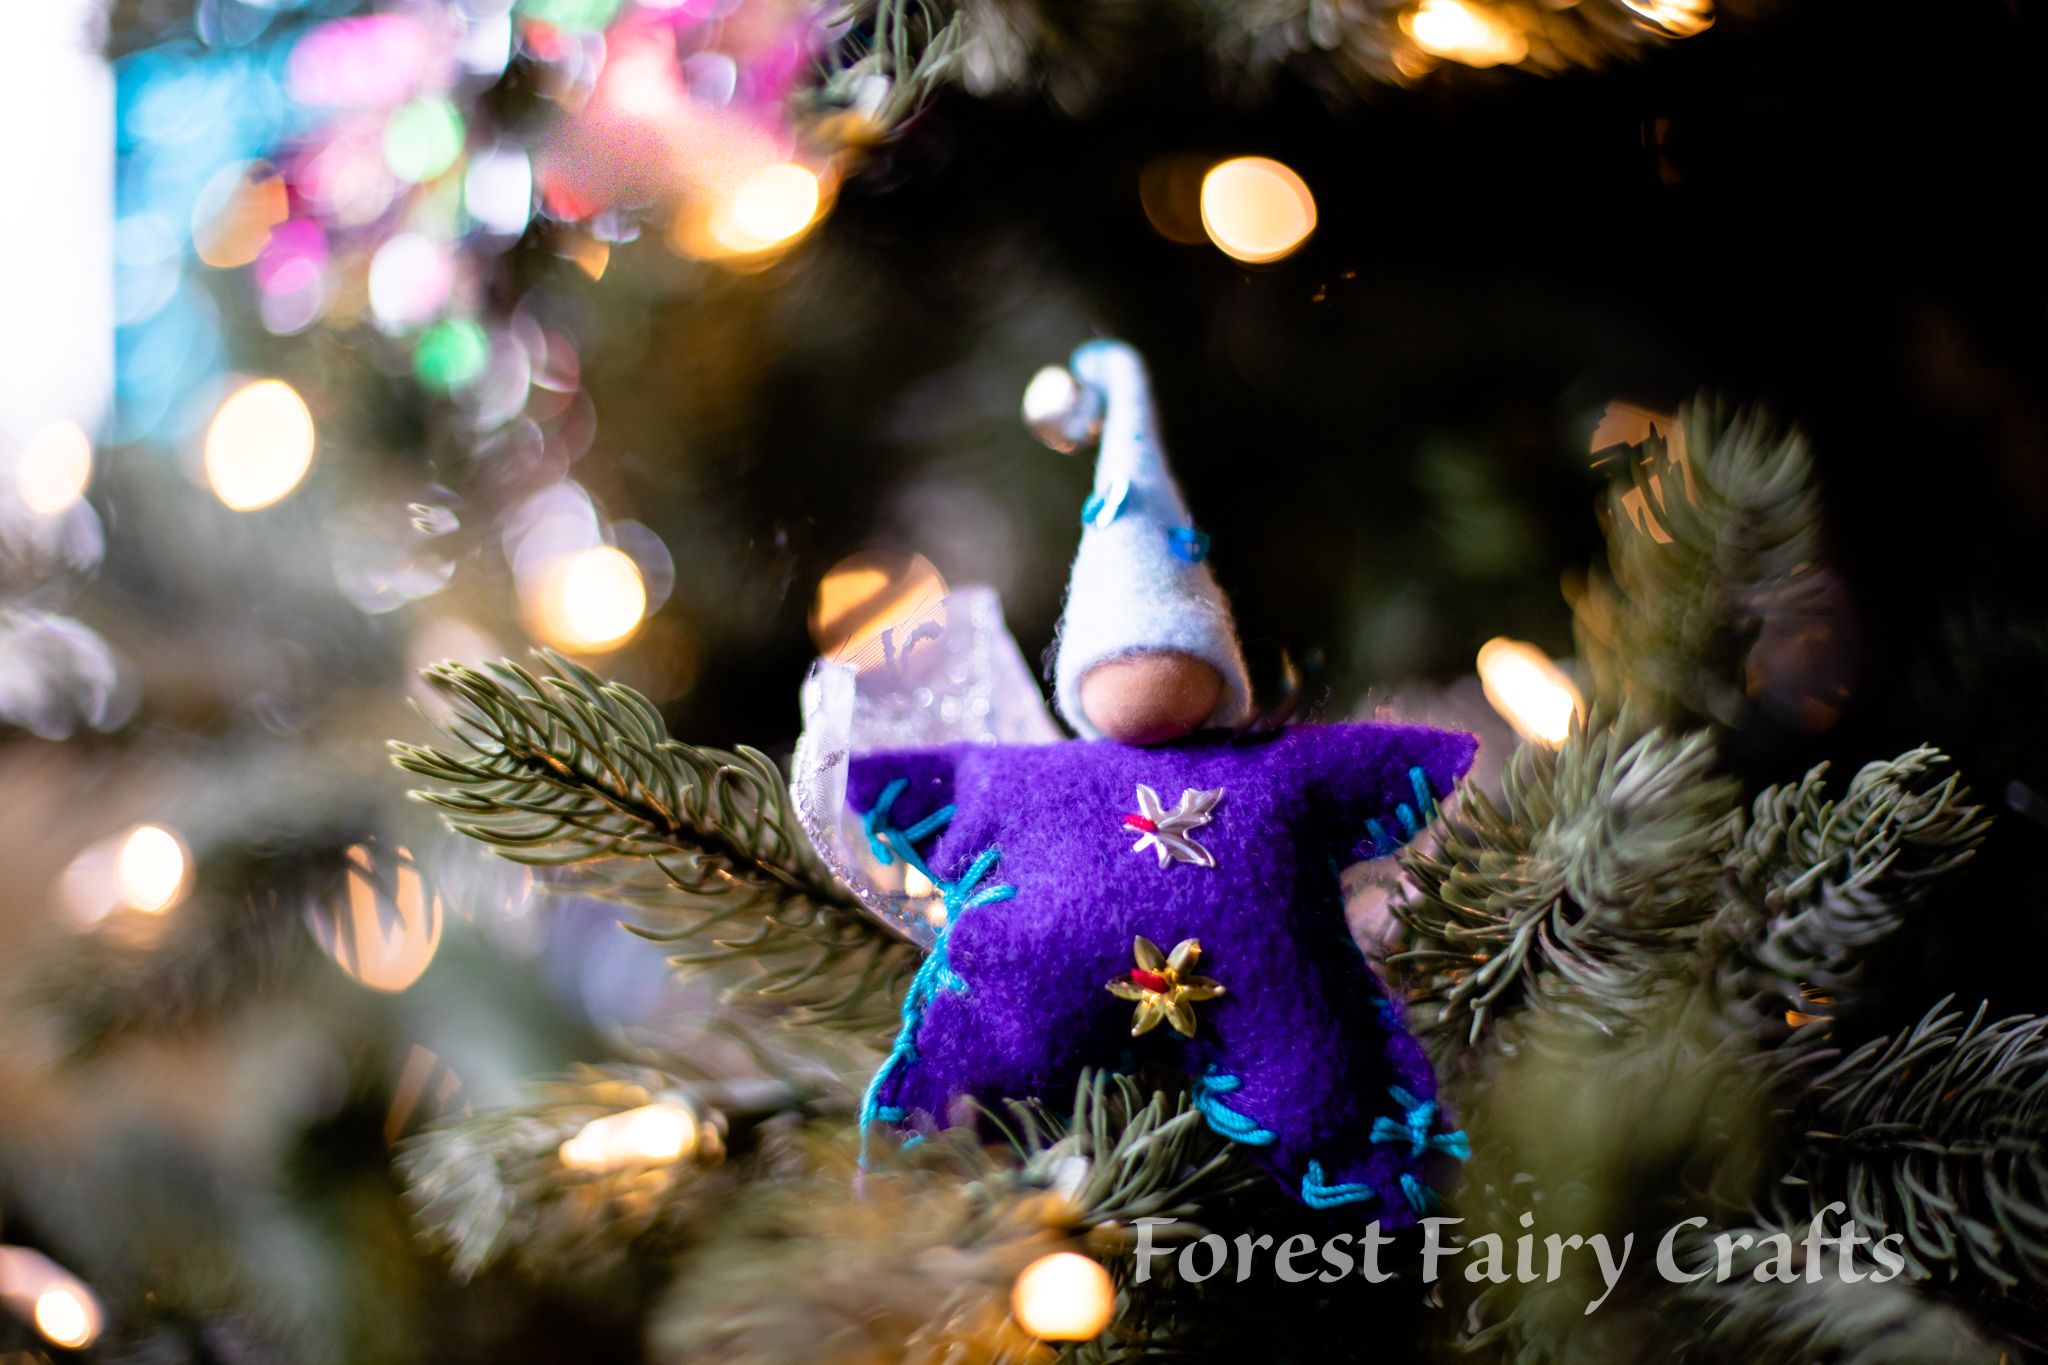
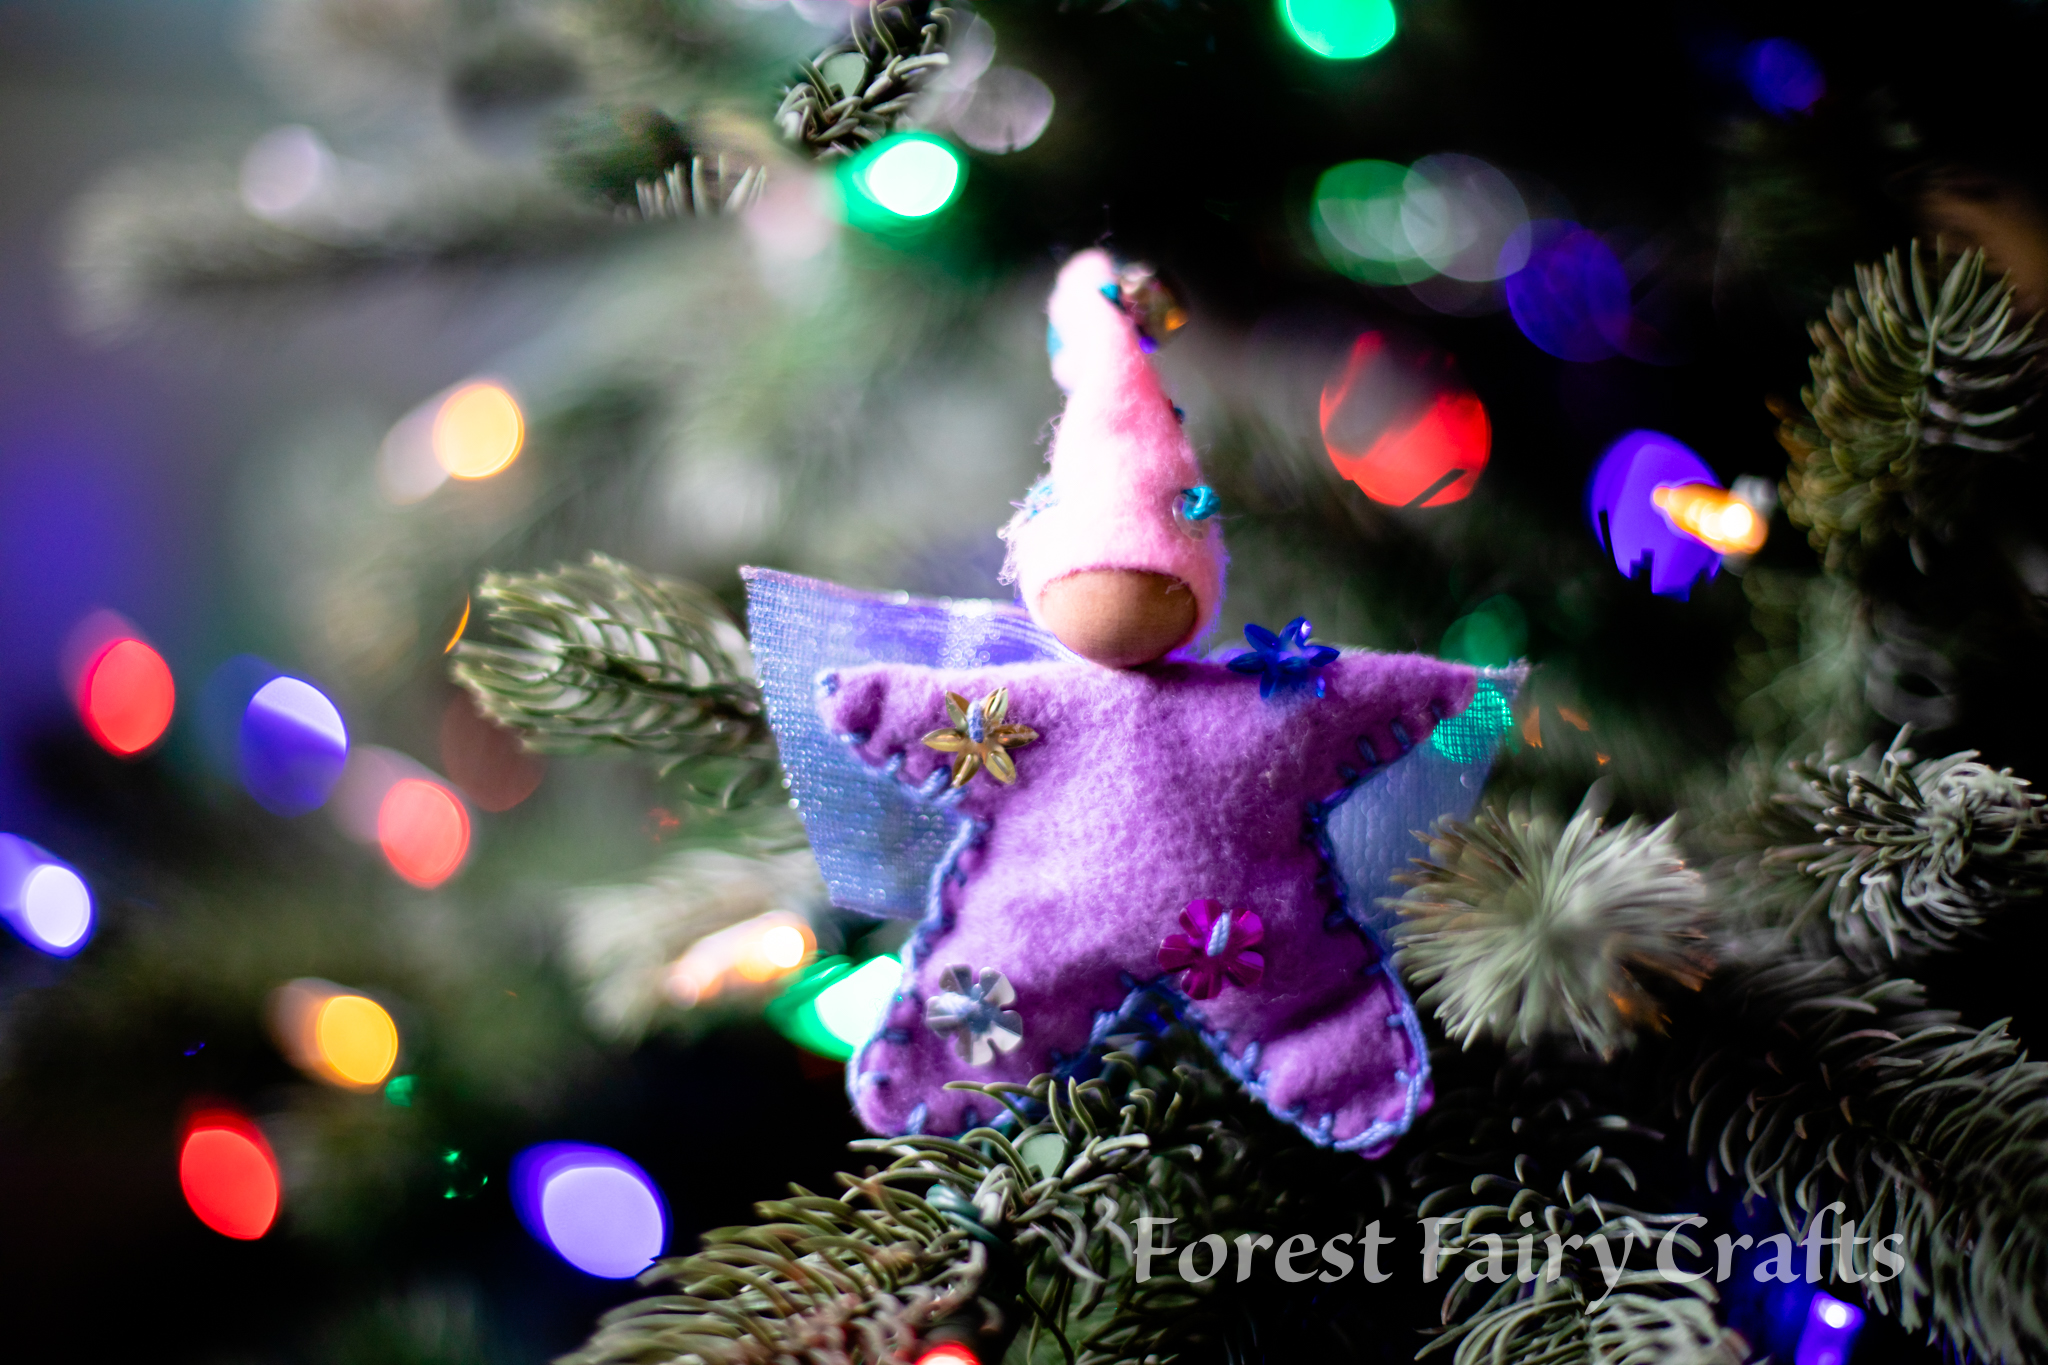
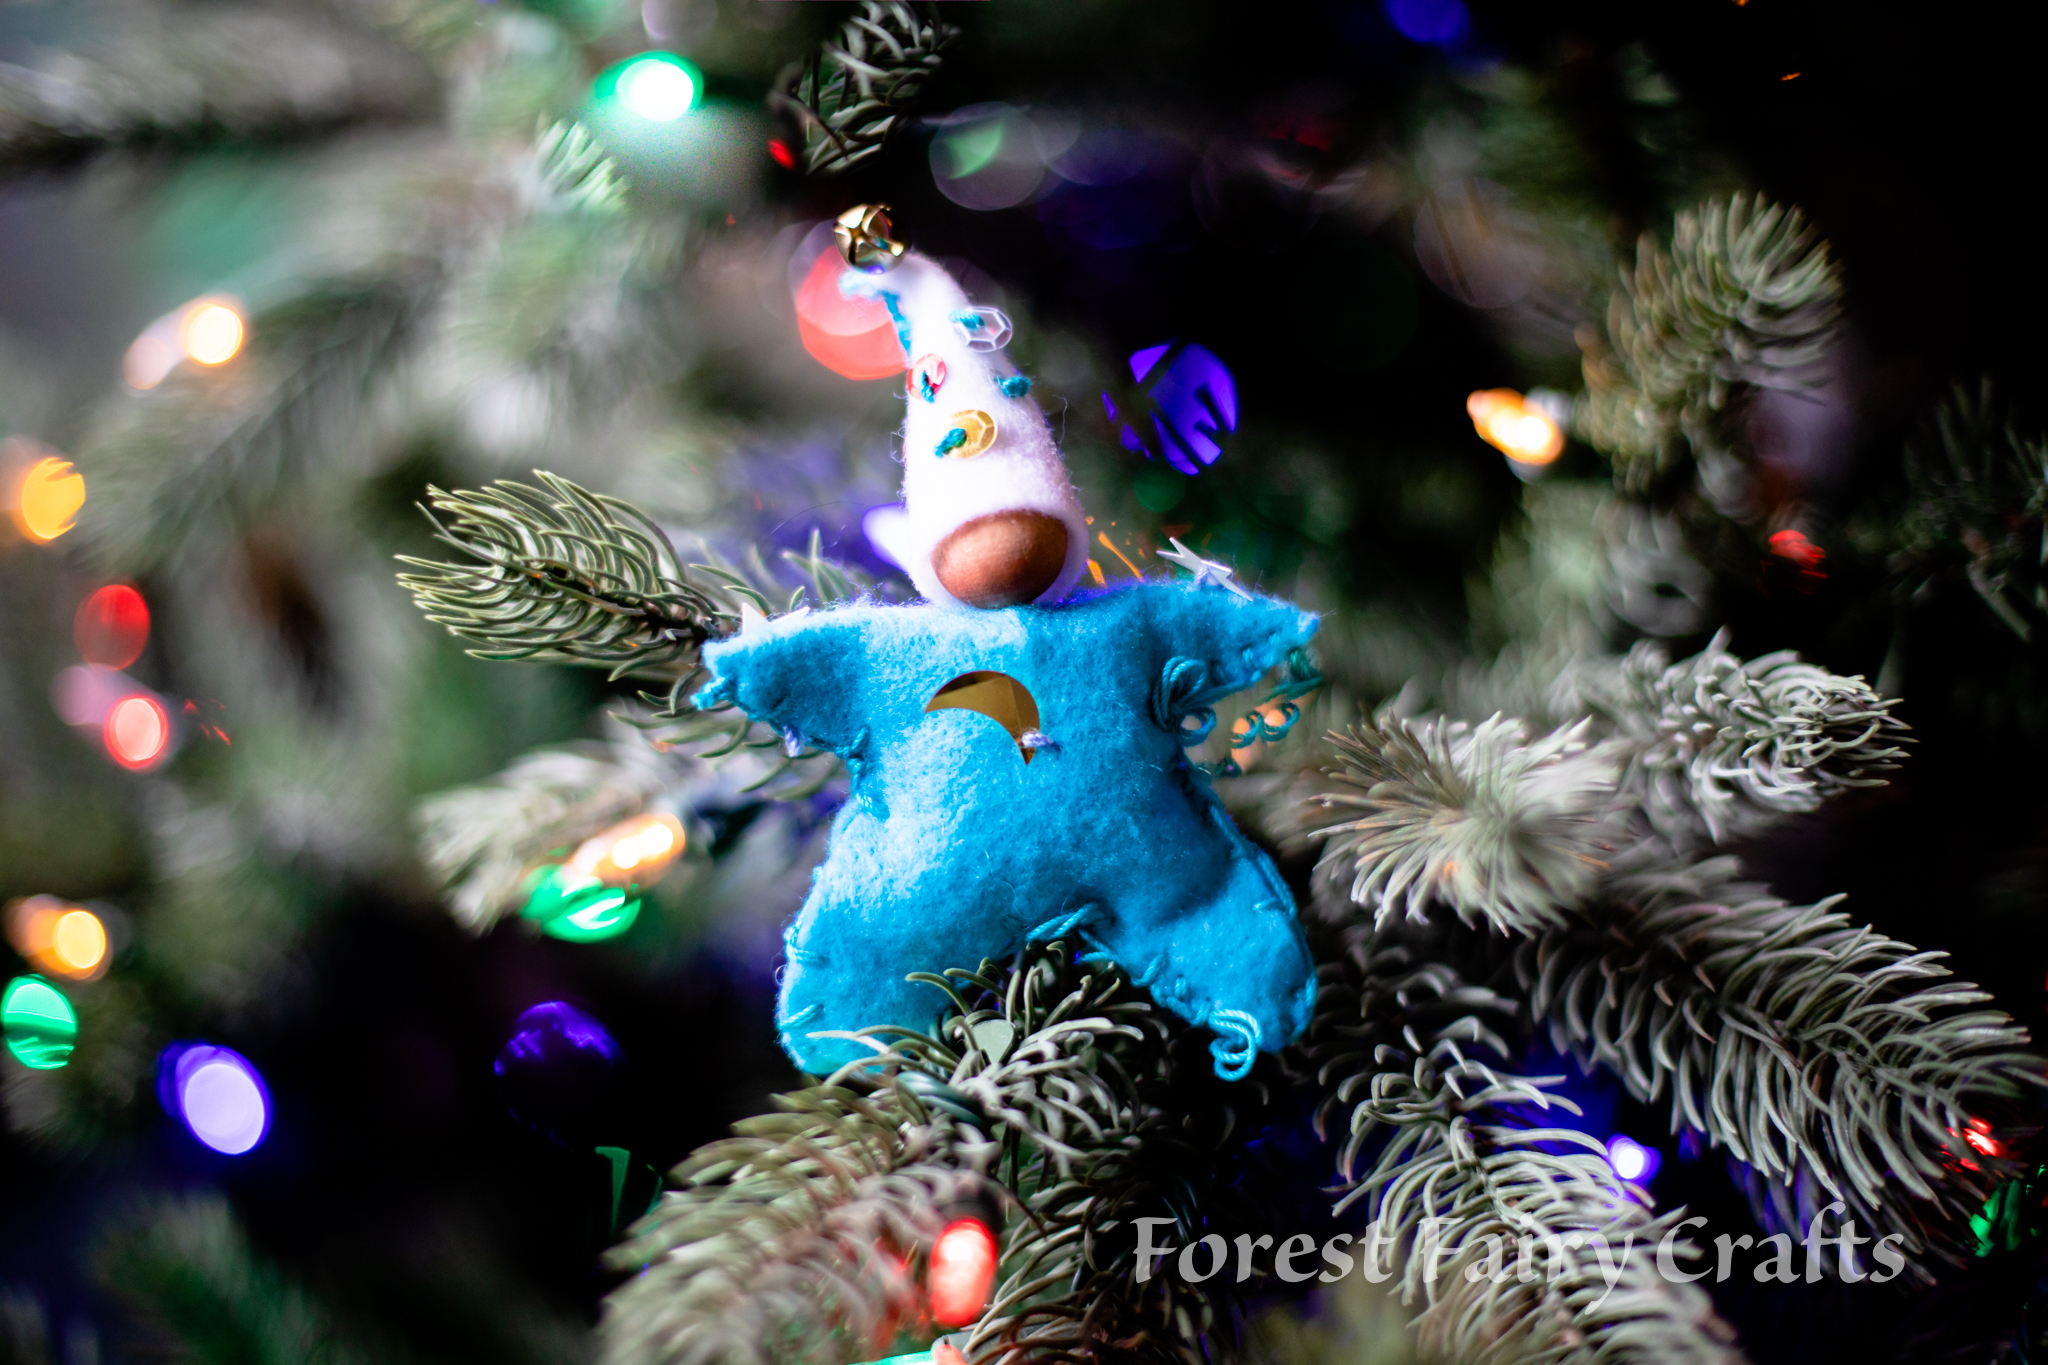
Paint beads first so they can dry while you sew decorations on your felt. And embrace that messy stitching :)
Enjoy the holidays!
*affiliate link- a small portion returns to the Forest while your price remains the same. Thank you for your support!
Thankful Fairy
Welcome to a season of thankfulness (which really is every season, right? ;)). We adore creating this fairy for everything we are thankful for in our lives. We start thankful thoughts with a fairy that notices things to appreciate. From the very small little things like saying “please” and “thank you” to the very big things like air and mountains, the world is filled with amazing things to appreciate.
After making a fairy, we create a space for collecting gratitudes. Writing gratitudes is perfect for craft time at home, writing at school, or homeschool curriculums. Collections can be created many different ways. We’ve made a book by folding paper in half and threading it together along the spine. Click here for more ideas for sewing a book. Actually, as I reflected on how we made these books, I realized that we didn’t sew the Gratitudes together until the end, so busy beavers could have thirty pages while slow and steady learners could have seven pages and not feel intimidated by blank emptiness waiting to be filled.
We’ve also written ideas on leaf-shaped papers to hang on branches for a Thankful Tree. And written on little slips of paper to collect in a box.
The amazing thing about taking note of appreciation over time, is that kids notice more and more things that inspire their gratitude.
We would start pages for a book, then, after collecting them for a week or two, we would bind them into a book. At first, children might struggle to notice a gratitude. Or they would go silly. I wouldn’t judge their choices. Everything is an important things to notice. And children move from idea to idea quickly. So the next day, perhaps they would settle into deeper connections. And, inevitably, they would have a collection of ideas that brought them pride, and maybe a few smiles too.
Easy ways to make projects for many ages and different learners
Start with loose pages. That way they can collect without running out of room or getting overwhelmed by blank pages.
For children who haven’t learned to write, an adult can write the sentences. Students enjoy reading their books no matter who writes the words.
Younger learners, or learners who can use writing support, may benefit from an adult writing I am grateful for ….. on each page.
Those learning to write can trace the letters I am grateful for … to practice. Or they can fill just the ends of sentences if tracing takes too much time.
Add drawings. If you write, I am grateful for family at the top of the page, an illustration of family adds to the magic.
Fairies love to help write the books or slips of paper. They also love to hear them read aloud. And by making gratitude a daily practice, children aren’t surprised by the question, “What are you thankful for?” And cultivating a sense of gratitude is a lifelong trait that brings happiness to children, their adults, and the fairies :)
What are you grateful for?
Speaking of that, it’s fun and wonderful modeling to create a book with the children. The more gratitude, the merrier.
We are grateful for you!
And directions to make the Autumn Fairy (perfect for gratitude) is in the Magical Forest Fairy Crafts through the Seasons* book.
Gratitude is appreciated all year :)
*affiliate link- should you choose to purchase, a small amount returns to the forest while your price remains the same.
A Fairy Witch Giveaway
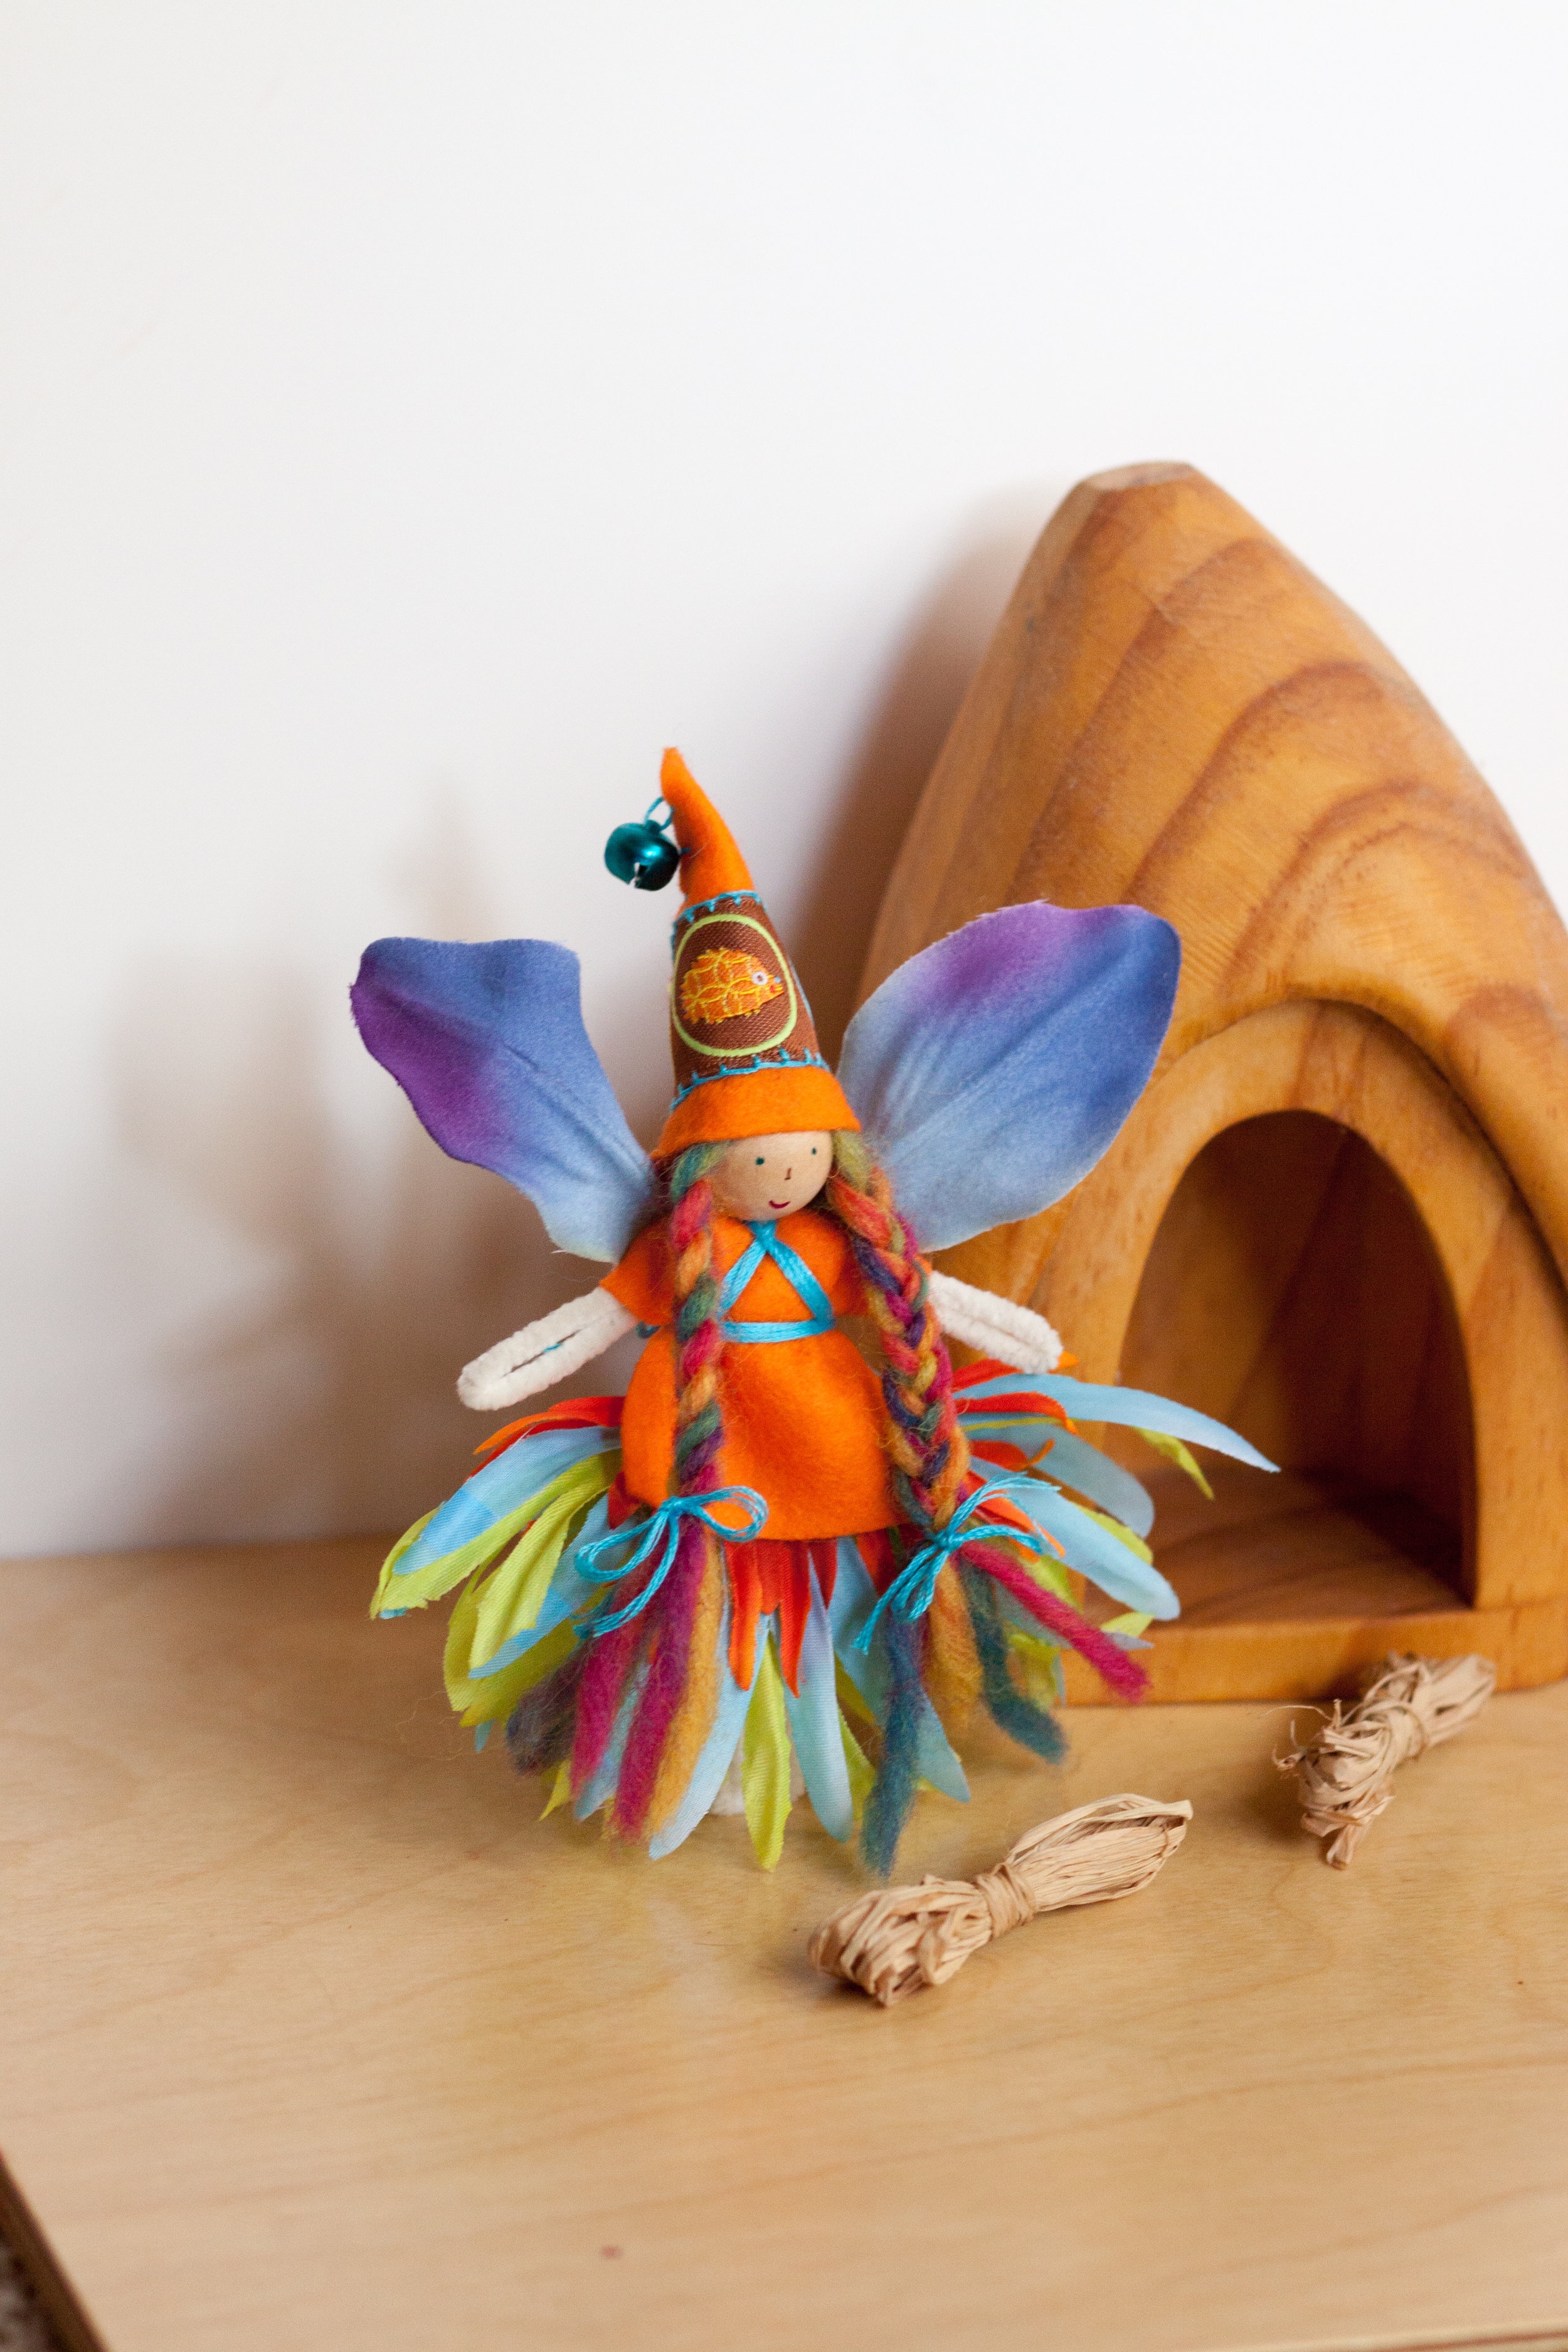
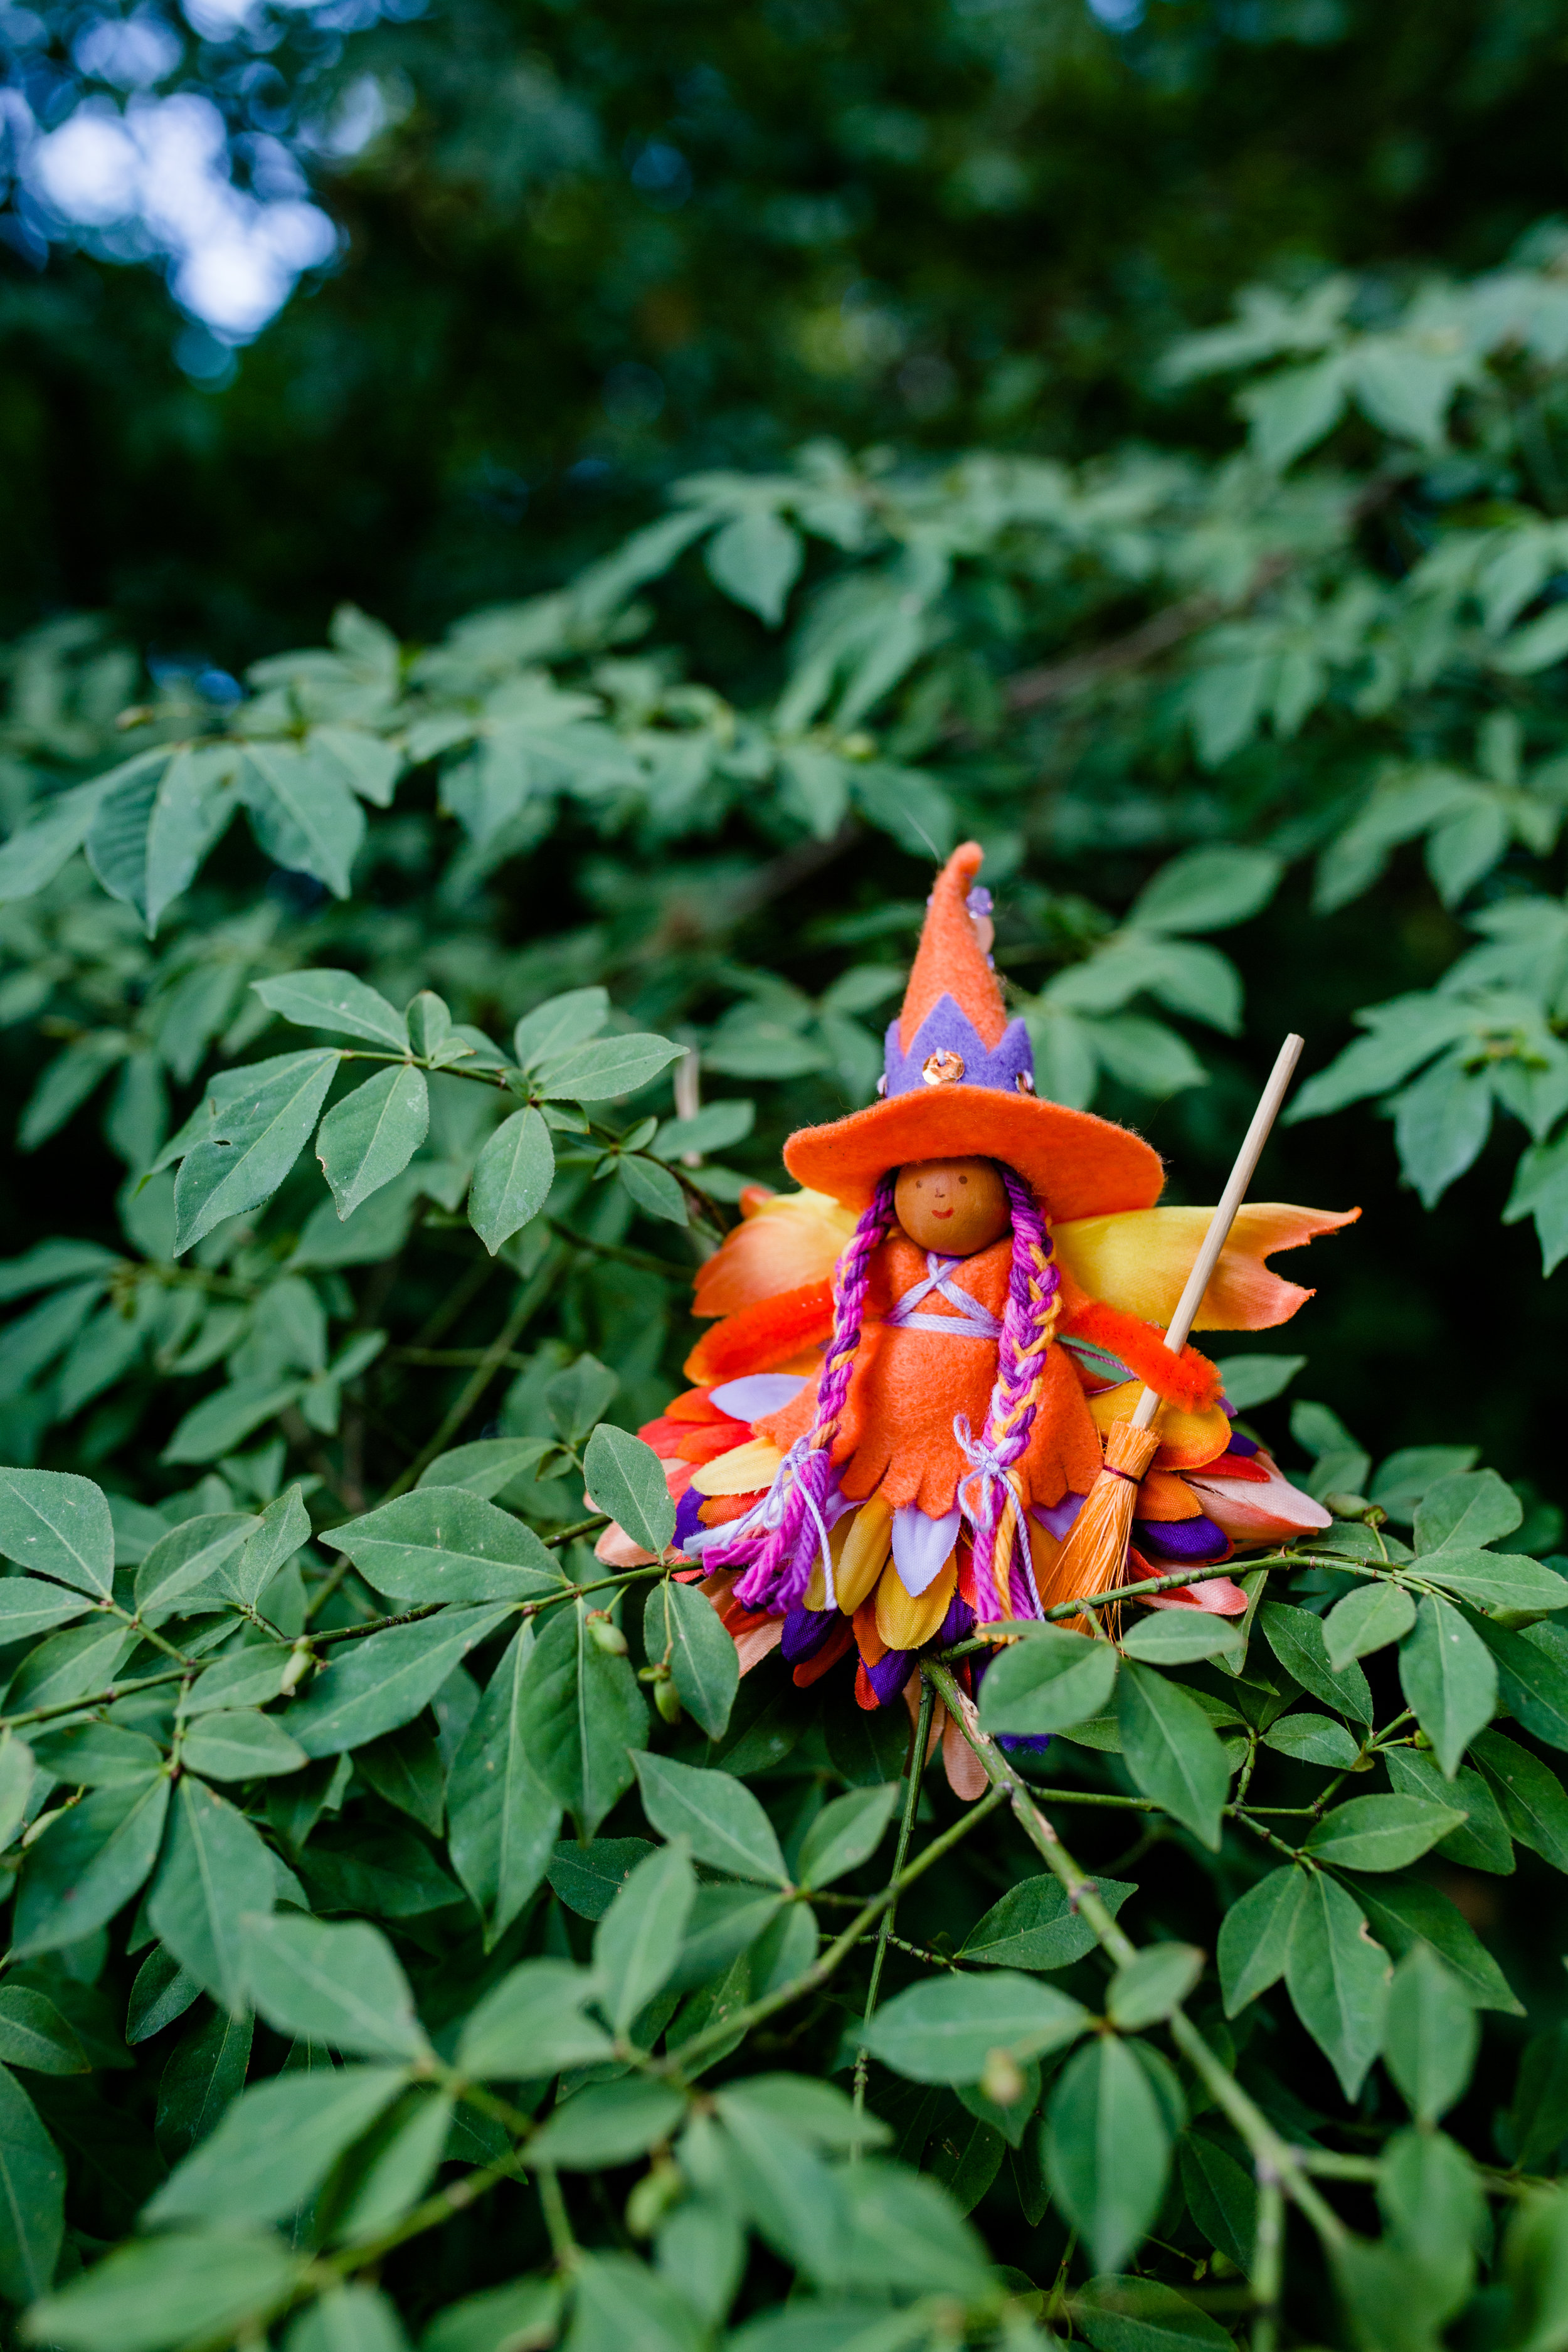
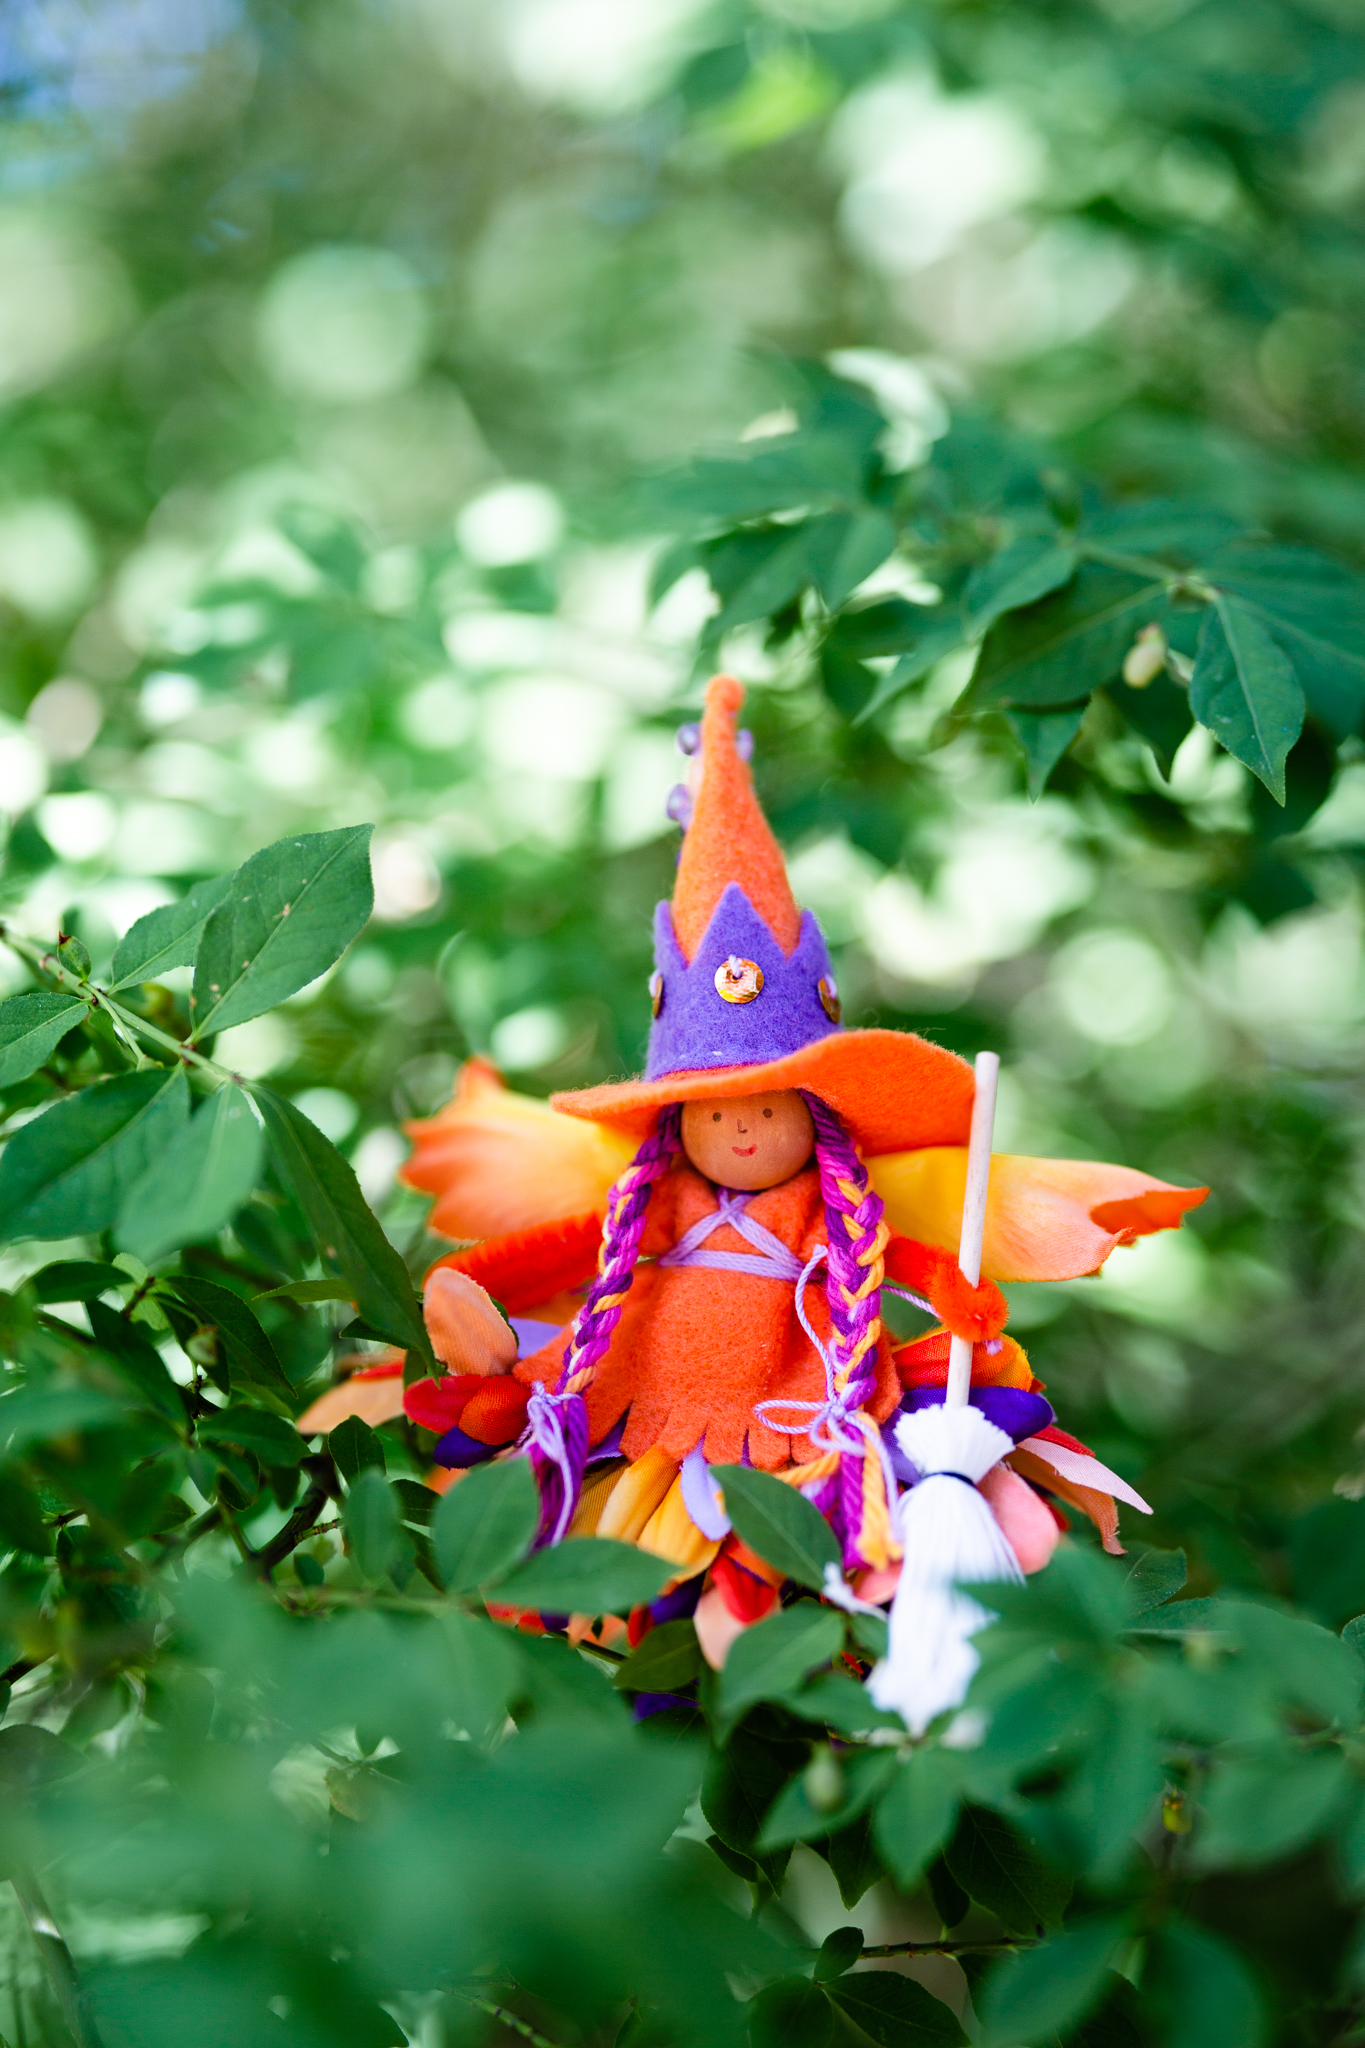
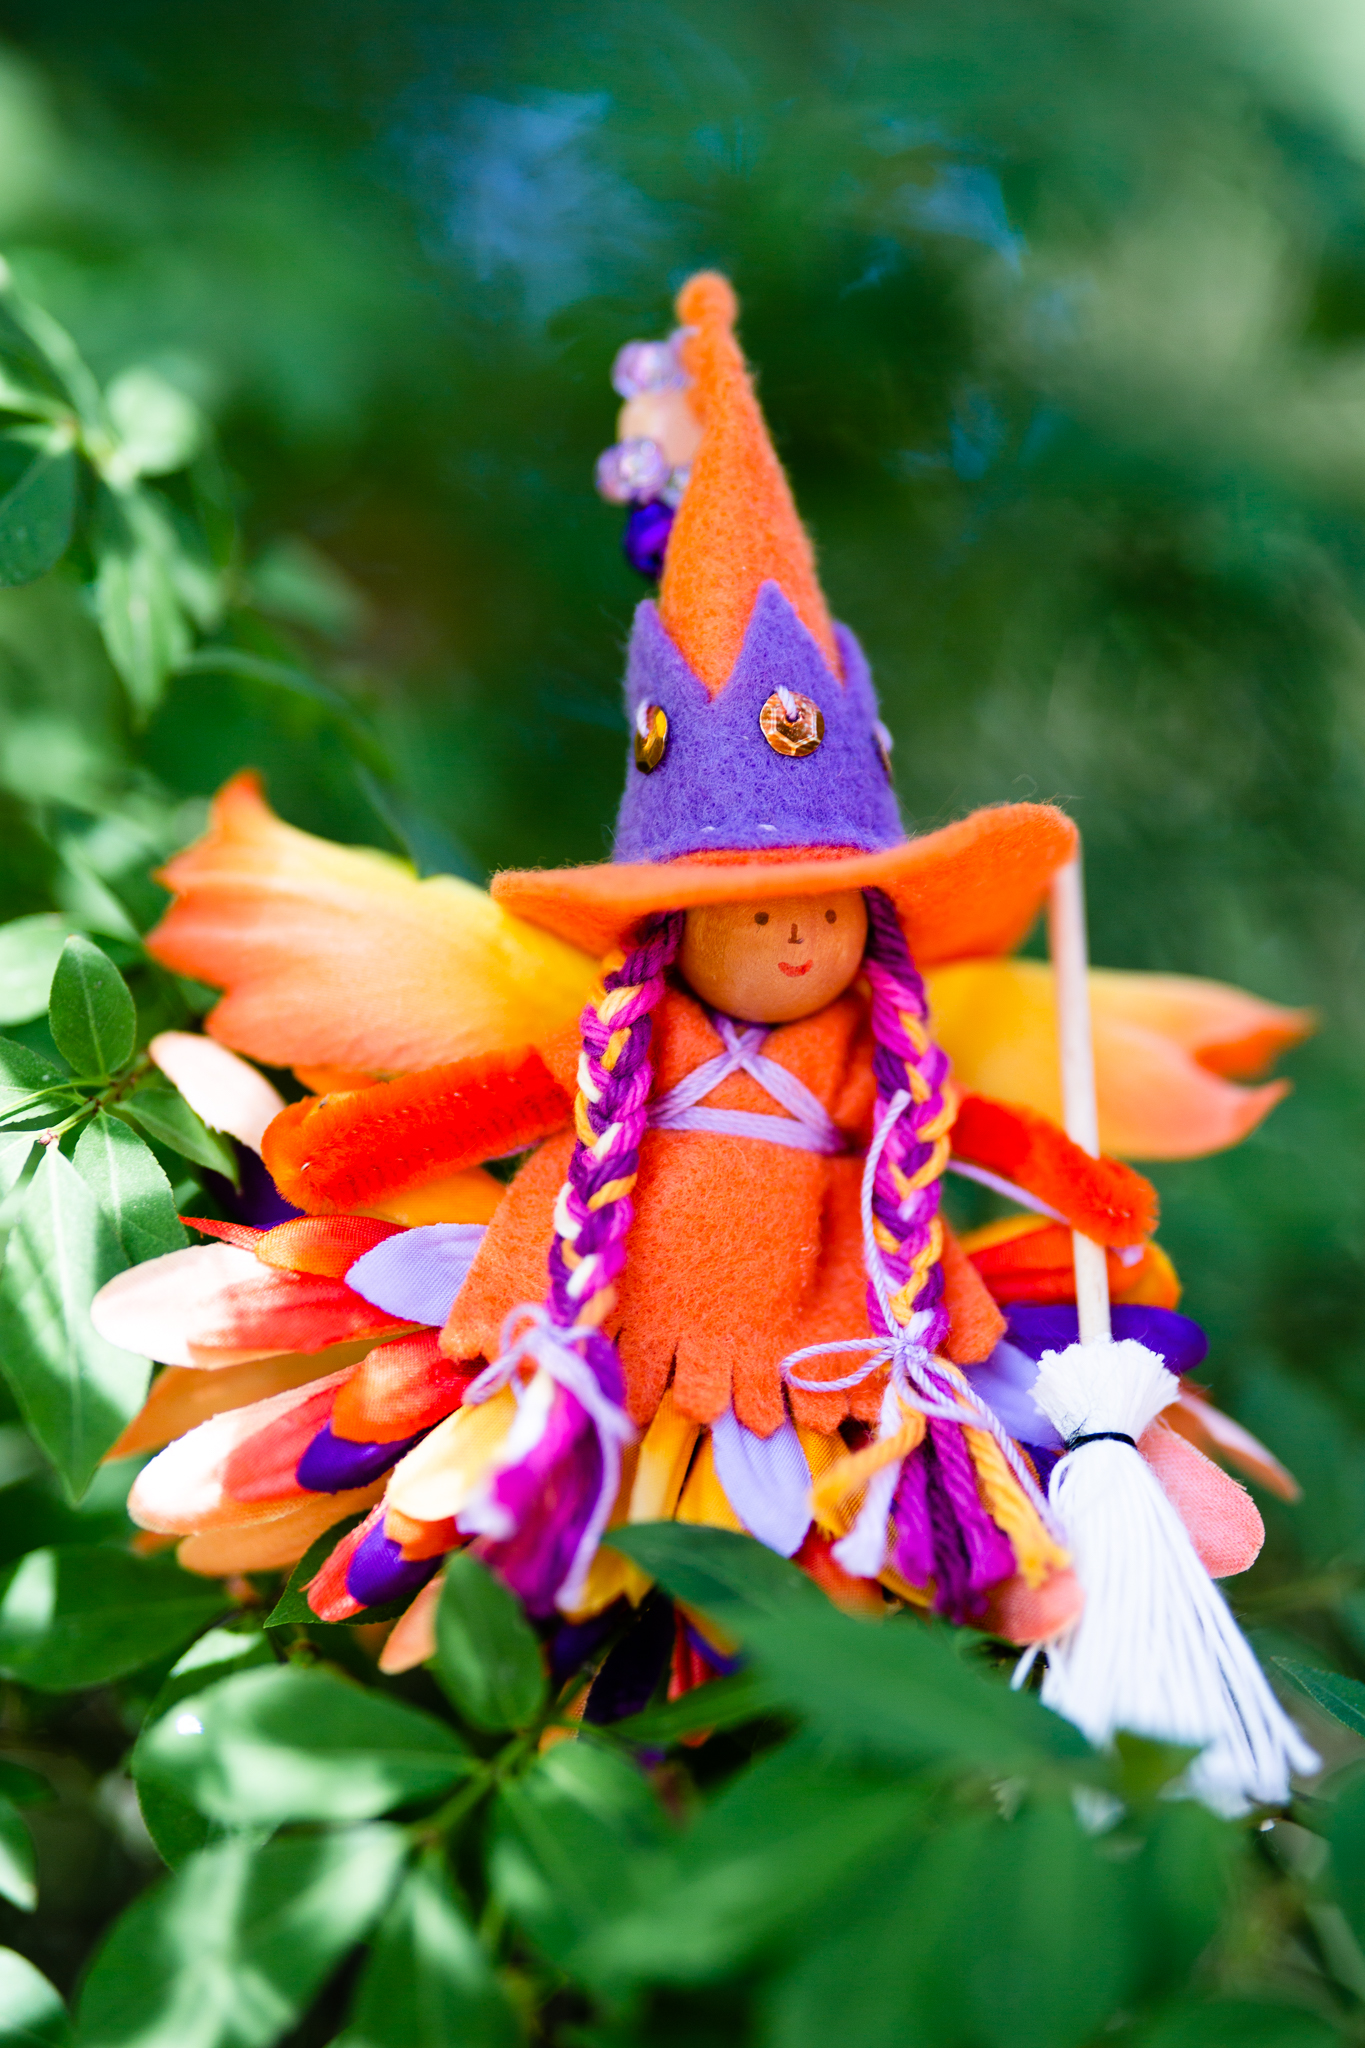
Looks like the season of the witch is here! We adore spooky witches and fun witches. This year, I decided to use different colors than the usual black or purple to make witches. This orange witch warms my heart. She’s so festive! And perfect for fall.
And we want to share her with you. So we’re sending her a lucky winner :) Enter by commenting, then, if you want more chances to win, visit Forest Fairy Crafts with the following links. May the magic of the season be with you :)
Enter on
Facebook with a comment, like, share
Instagram with tagging a friend
Twitter with a Retweet or Quote Tweet
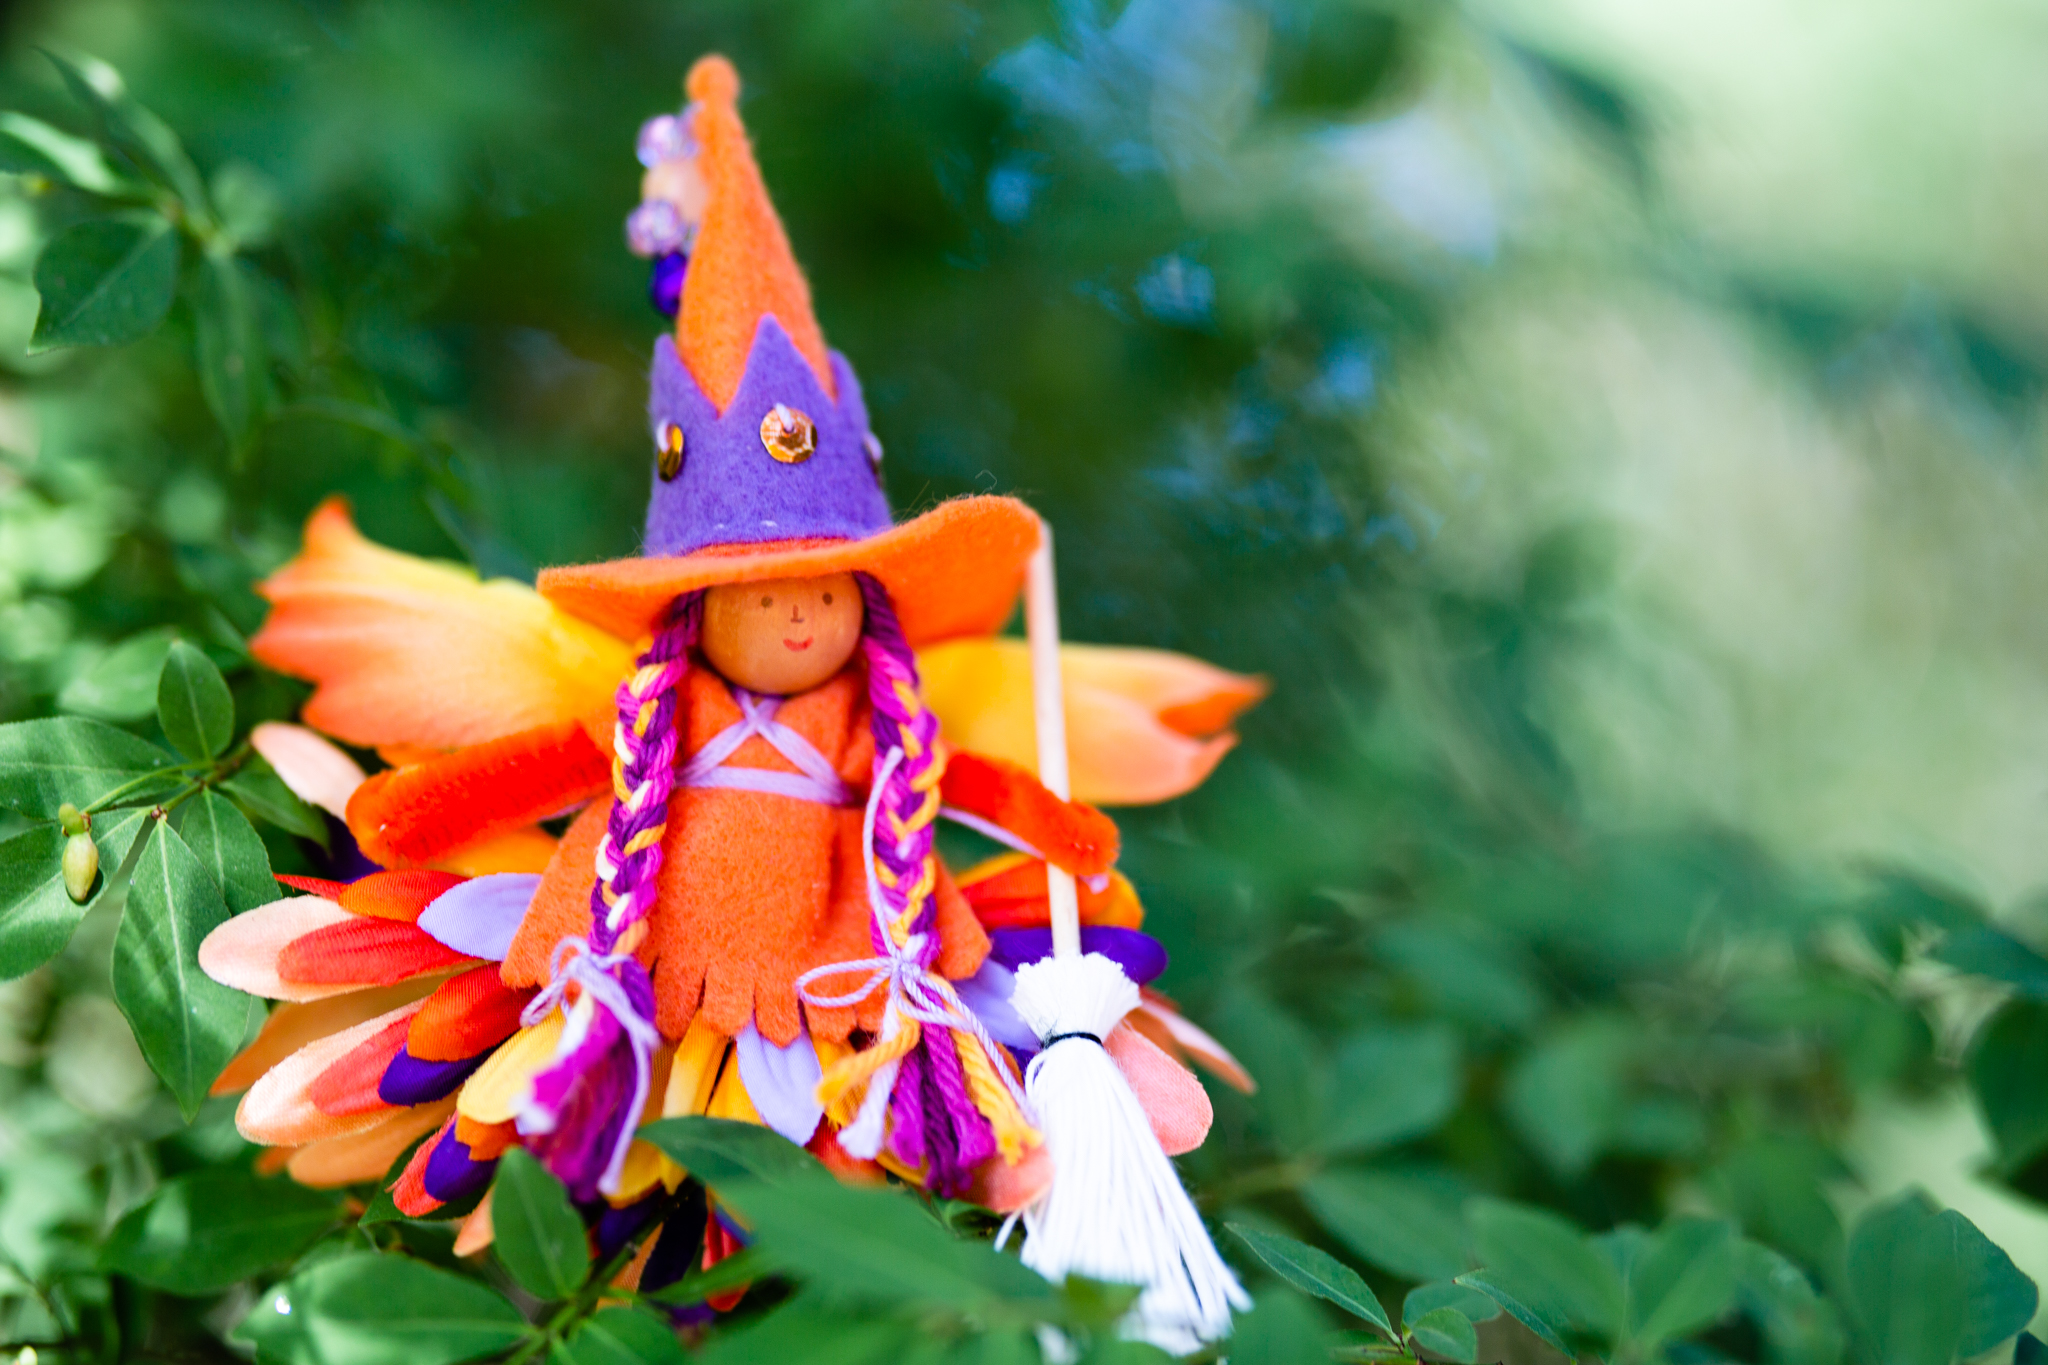
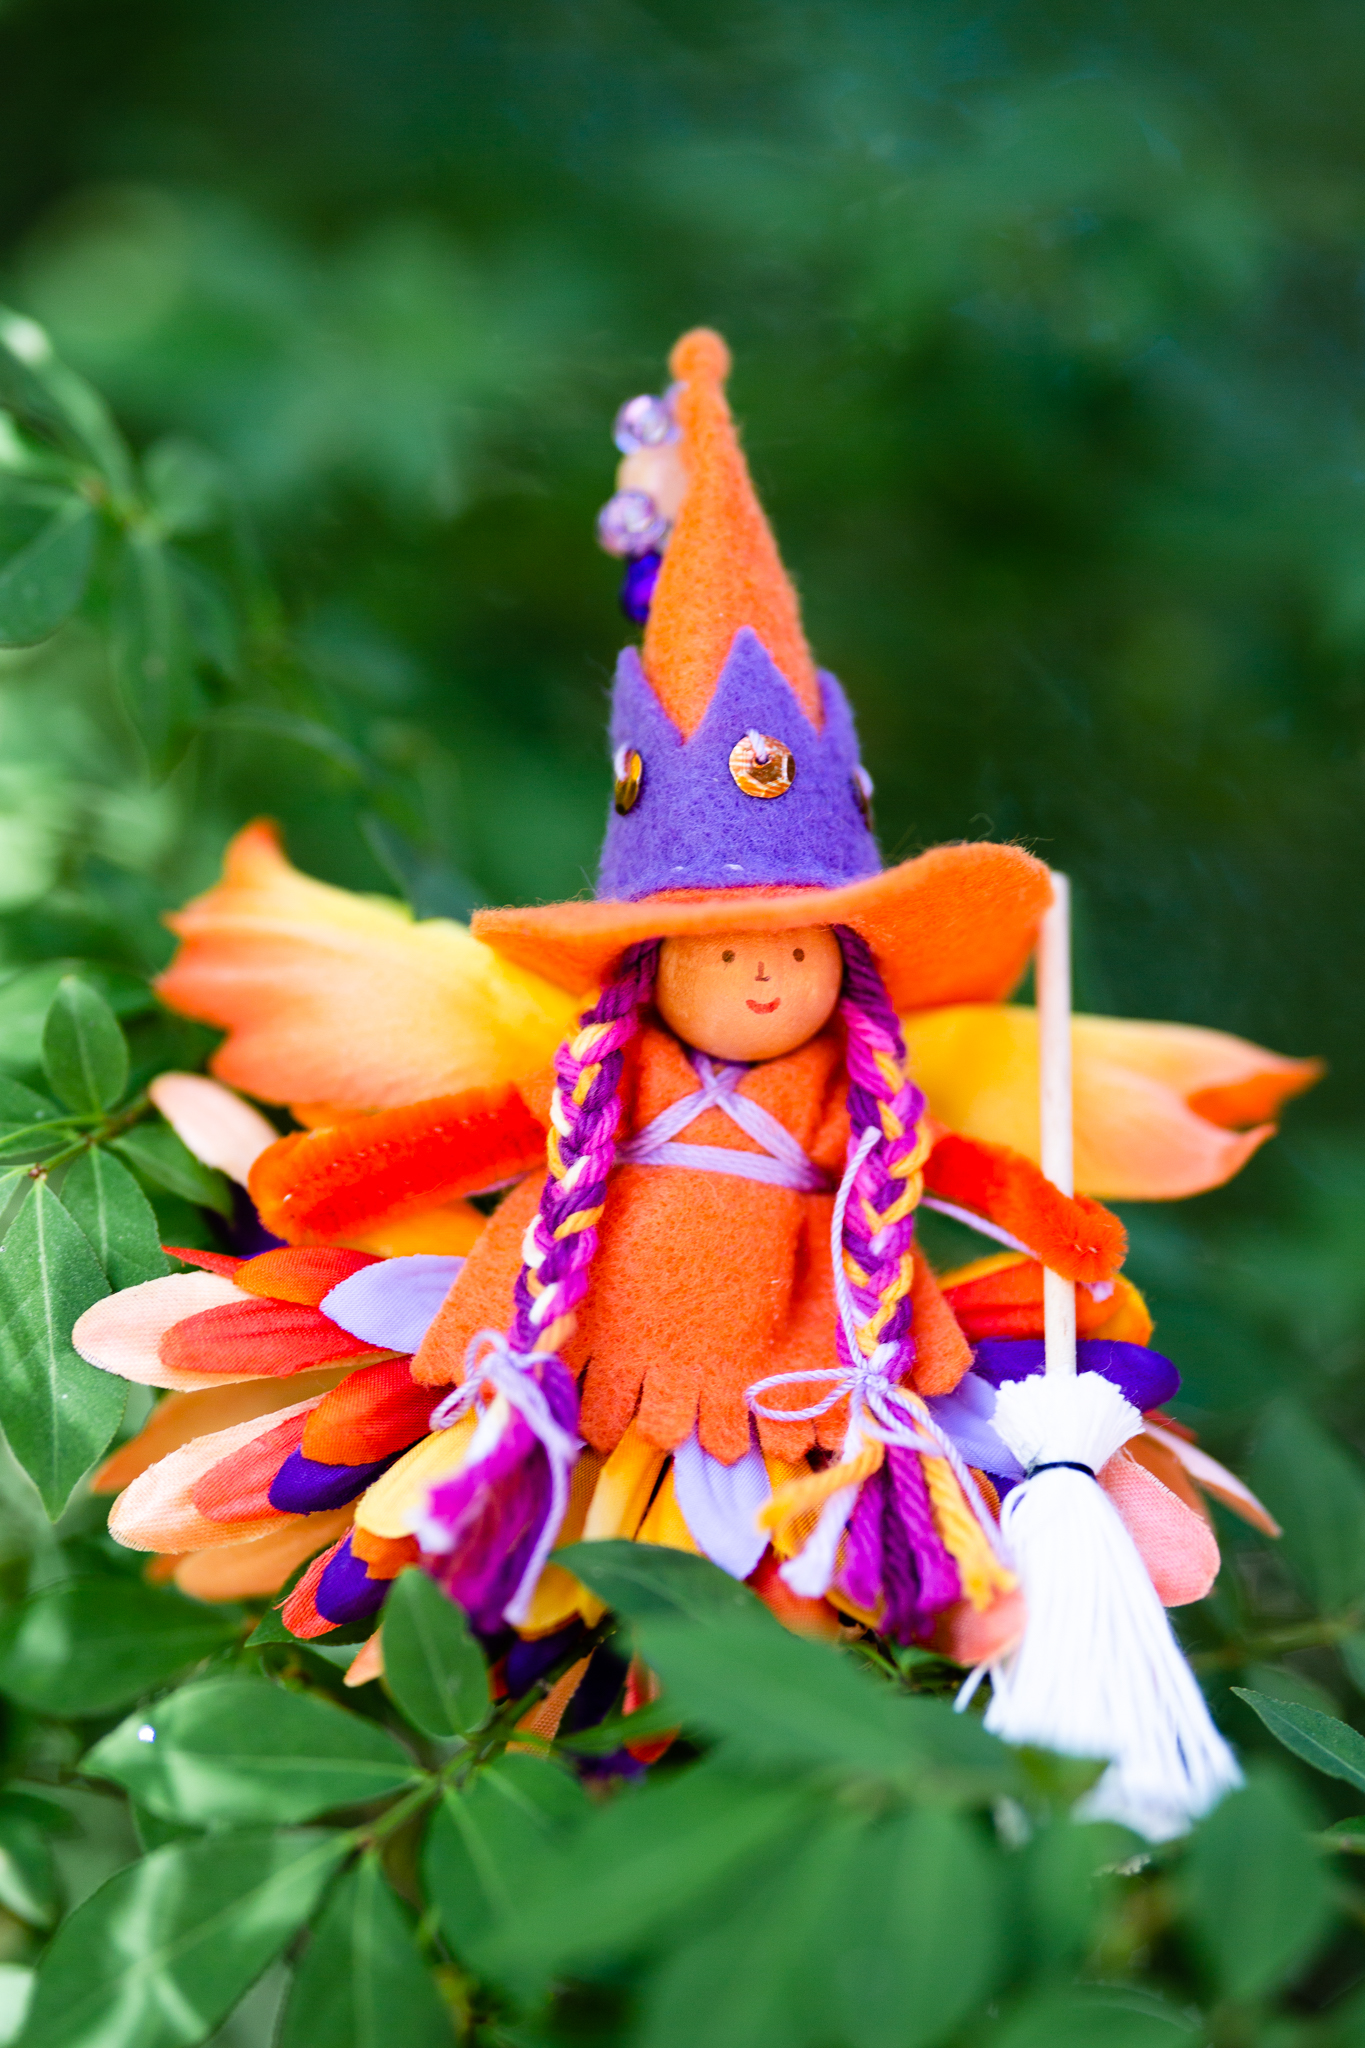
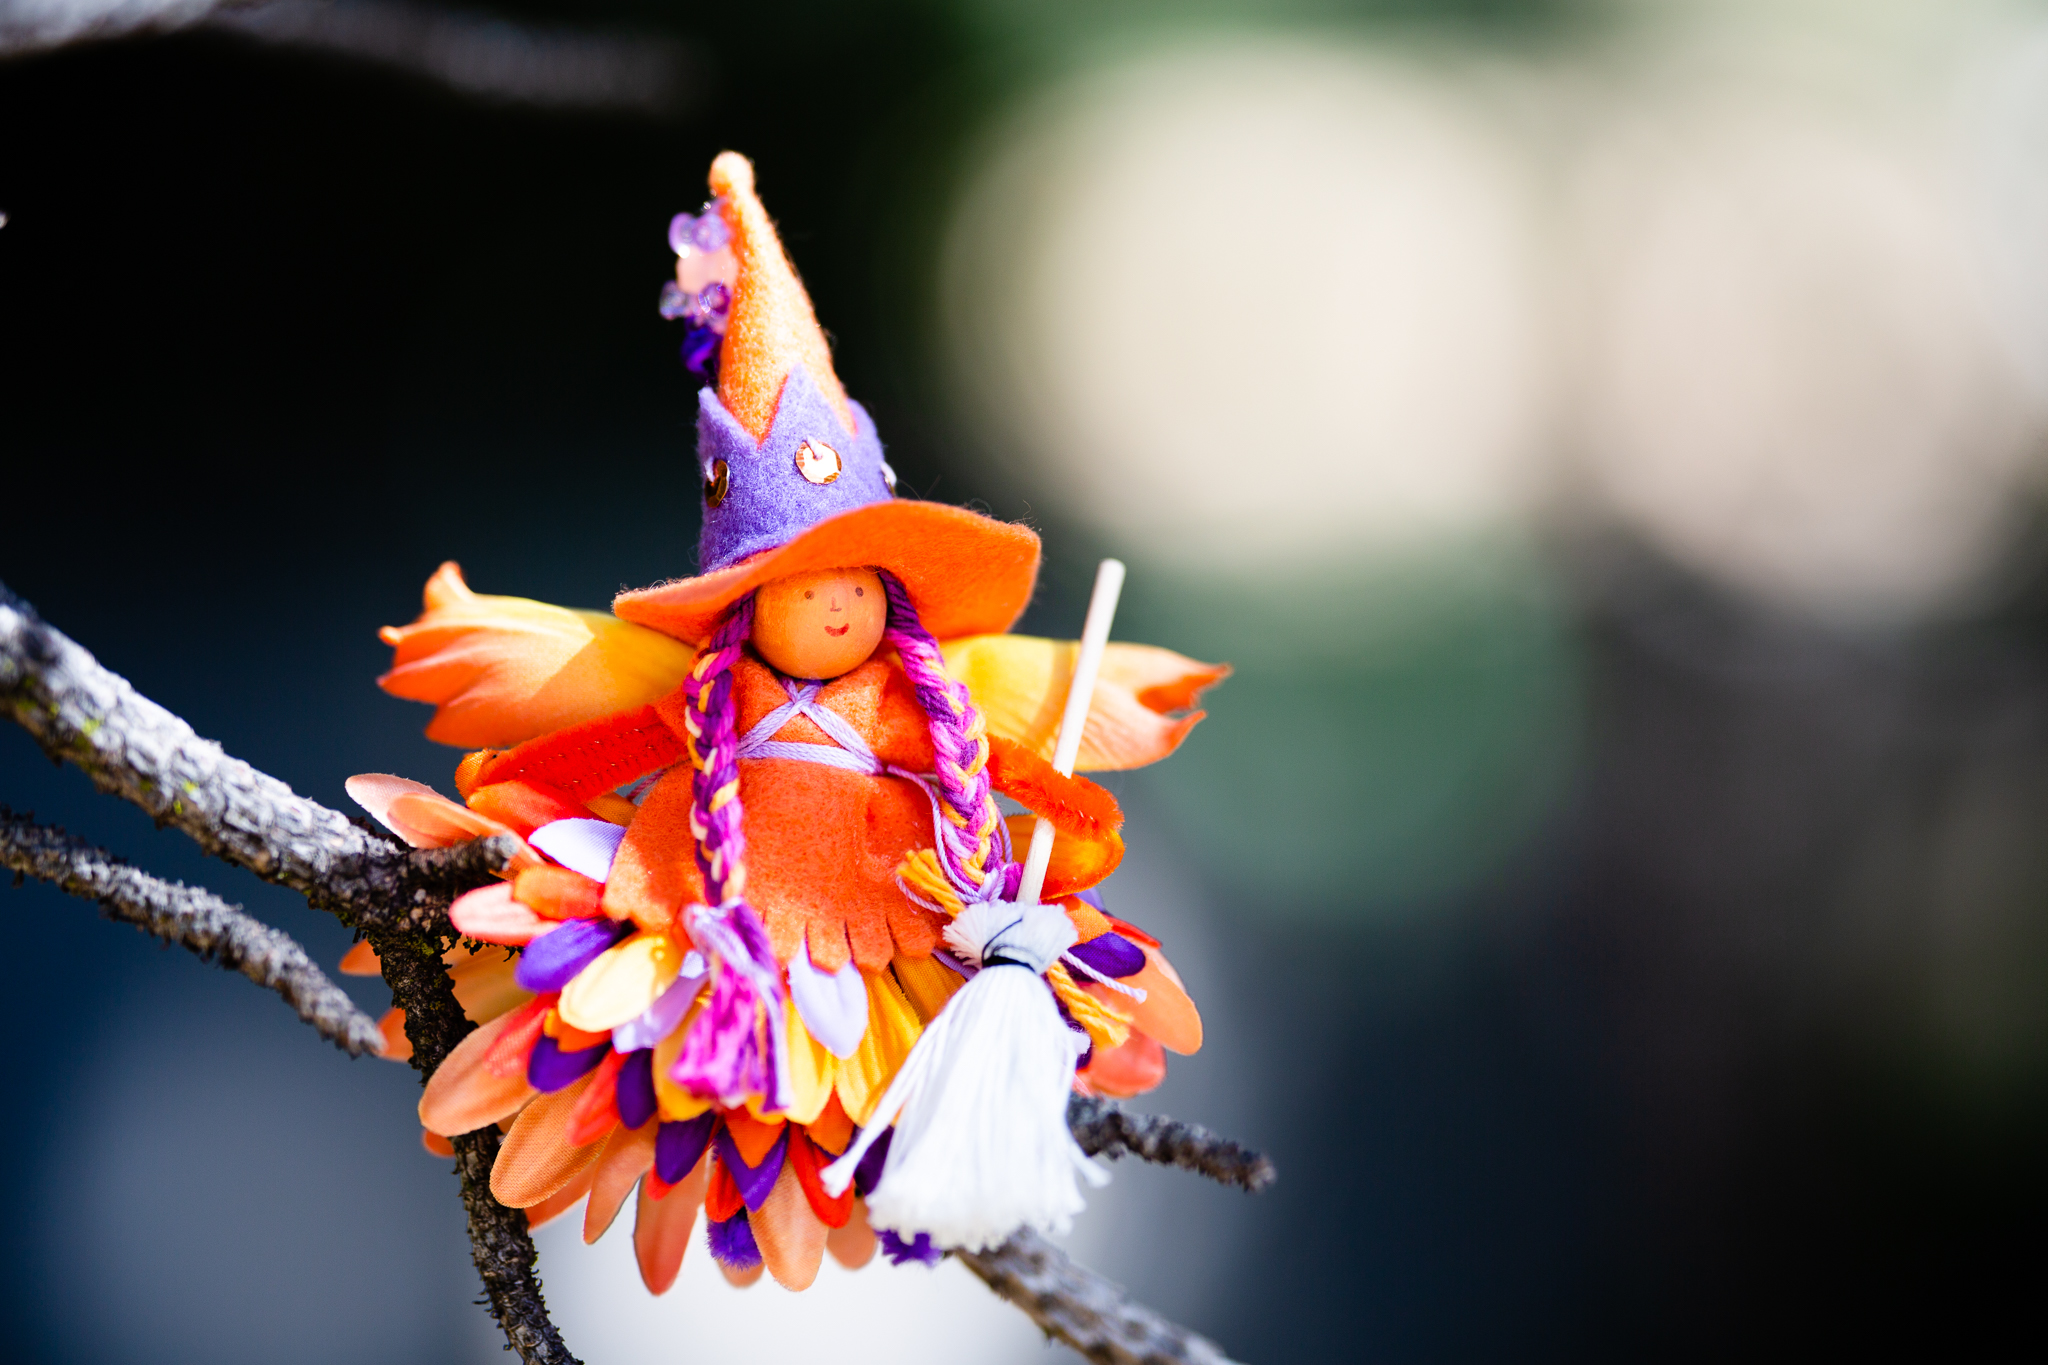
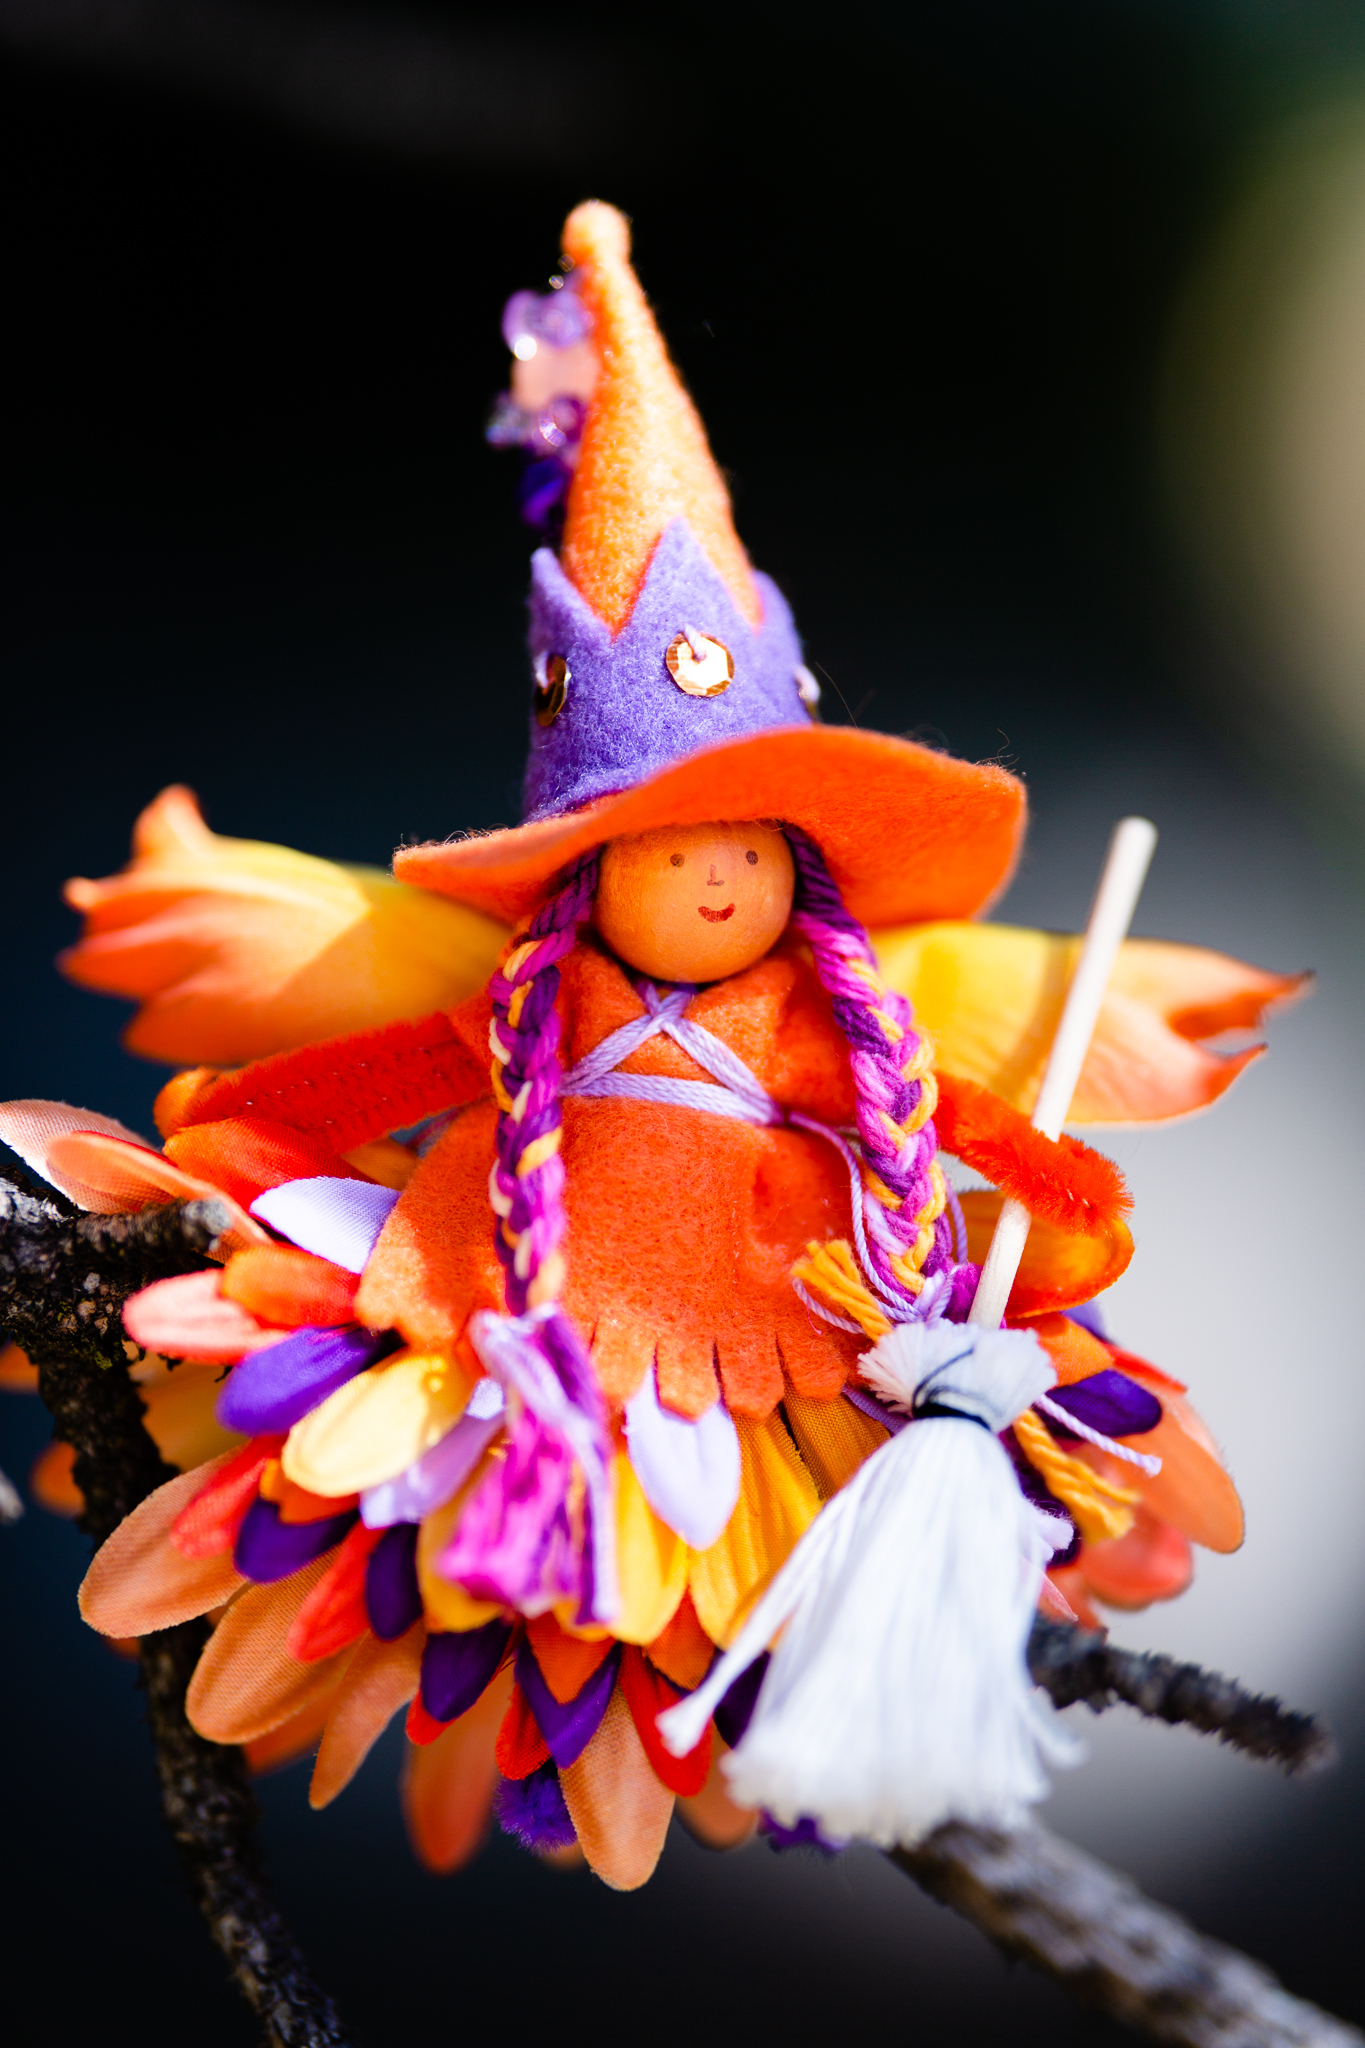
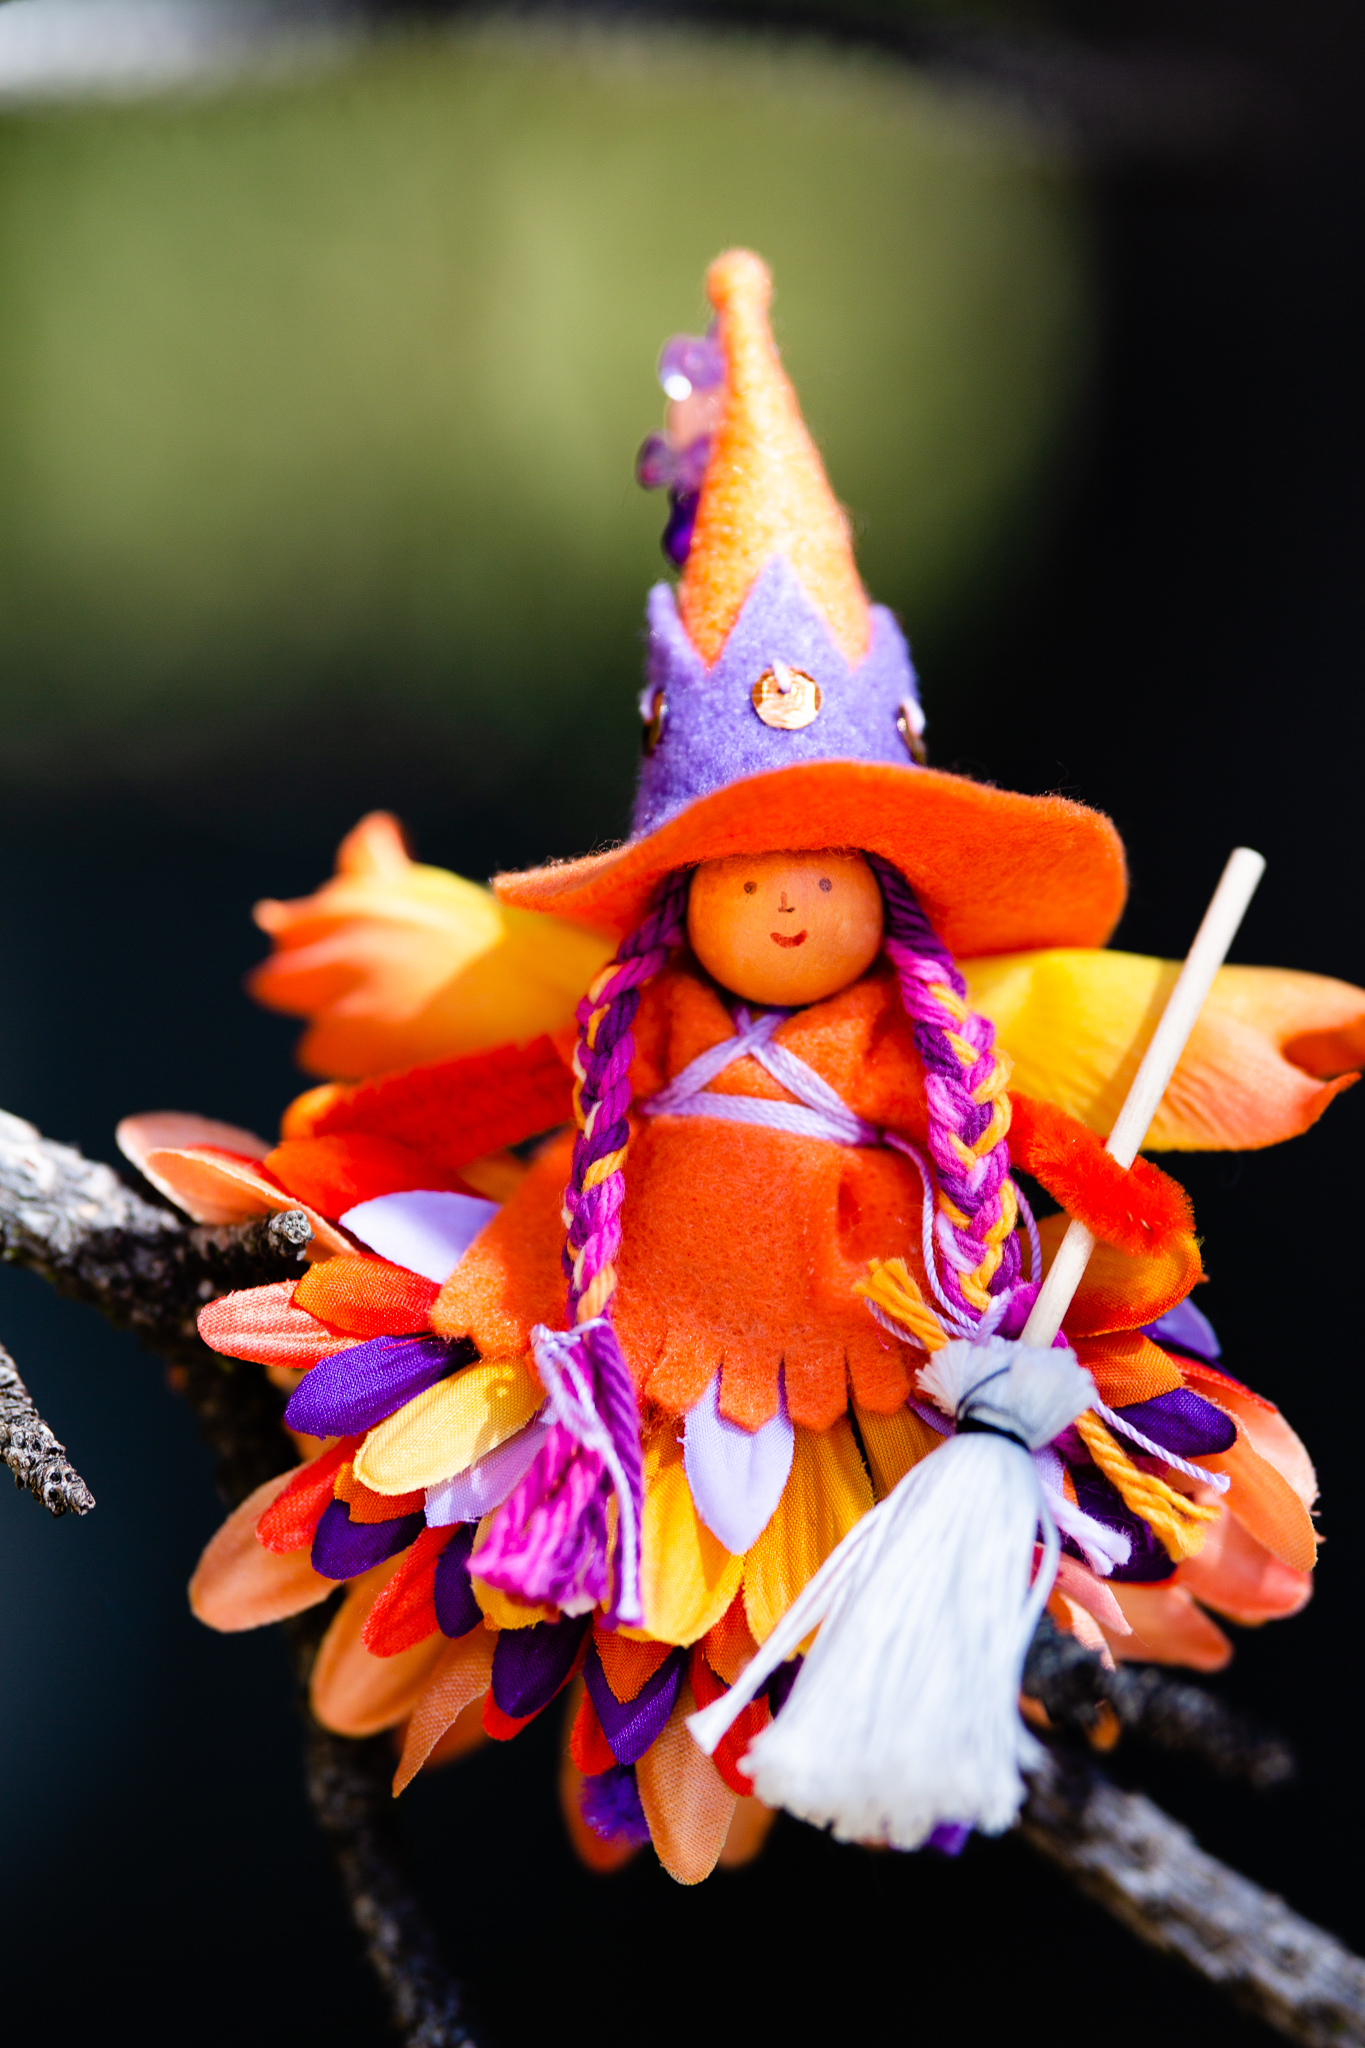
Winner wins an orange fairy witch made by Lenka sent anywhere in the United States (apologies to International friends). Forest Fairies are no appropriate for young children who enjoy tasting their toys (choking hazard).
Good Luck!! 🍀
Of course, if you want to make your own witch (or a few witches), all the directions, with photos, are in our Forest Fairy Crafts* book. With zombies, warlocks, and wizards, too! The fairy forest loves Halloween!
*affiliate link- a small amount is given to the forest should you decide to purchase a copy. Your price remains the same. Thank you!
Forest Fairy Friday
Happy Forest Fairy Friday!
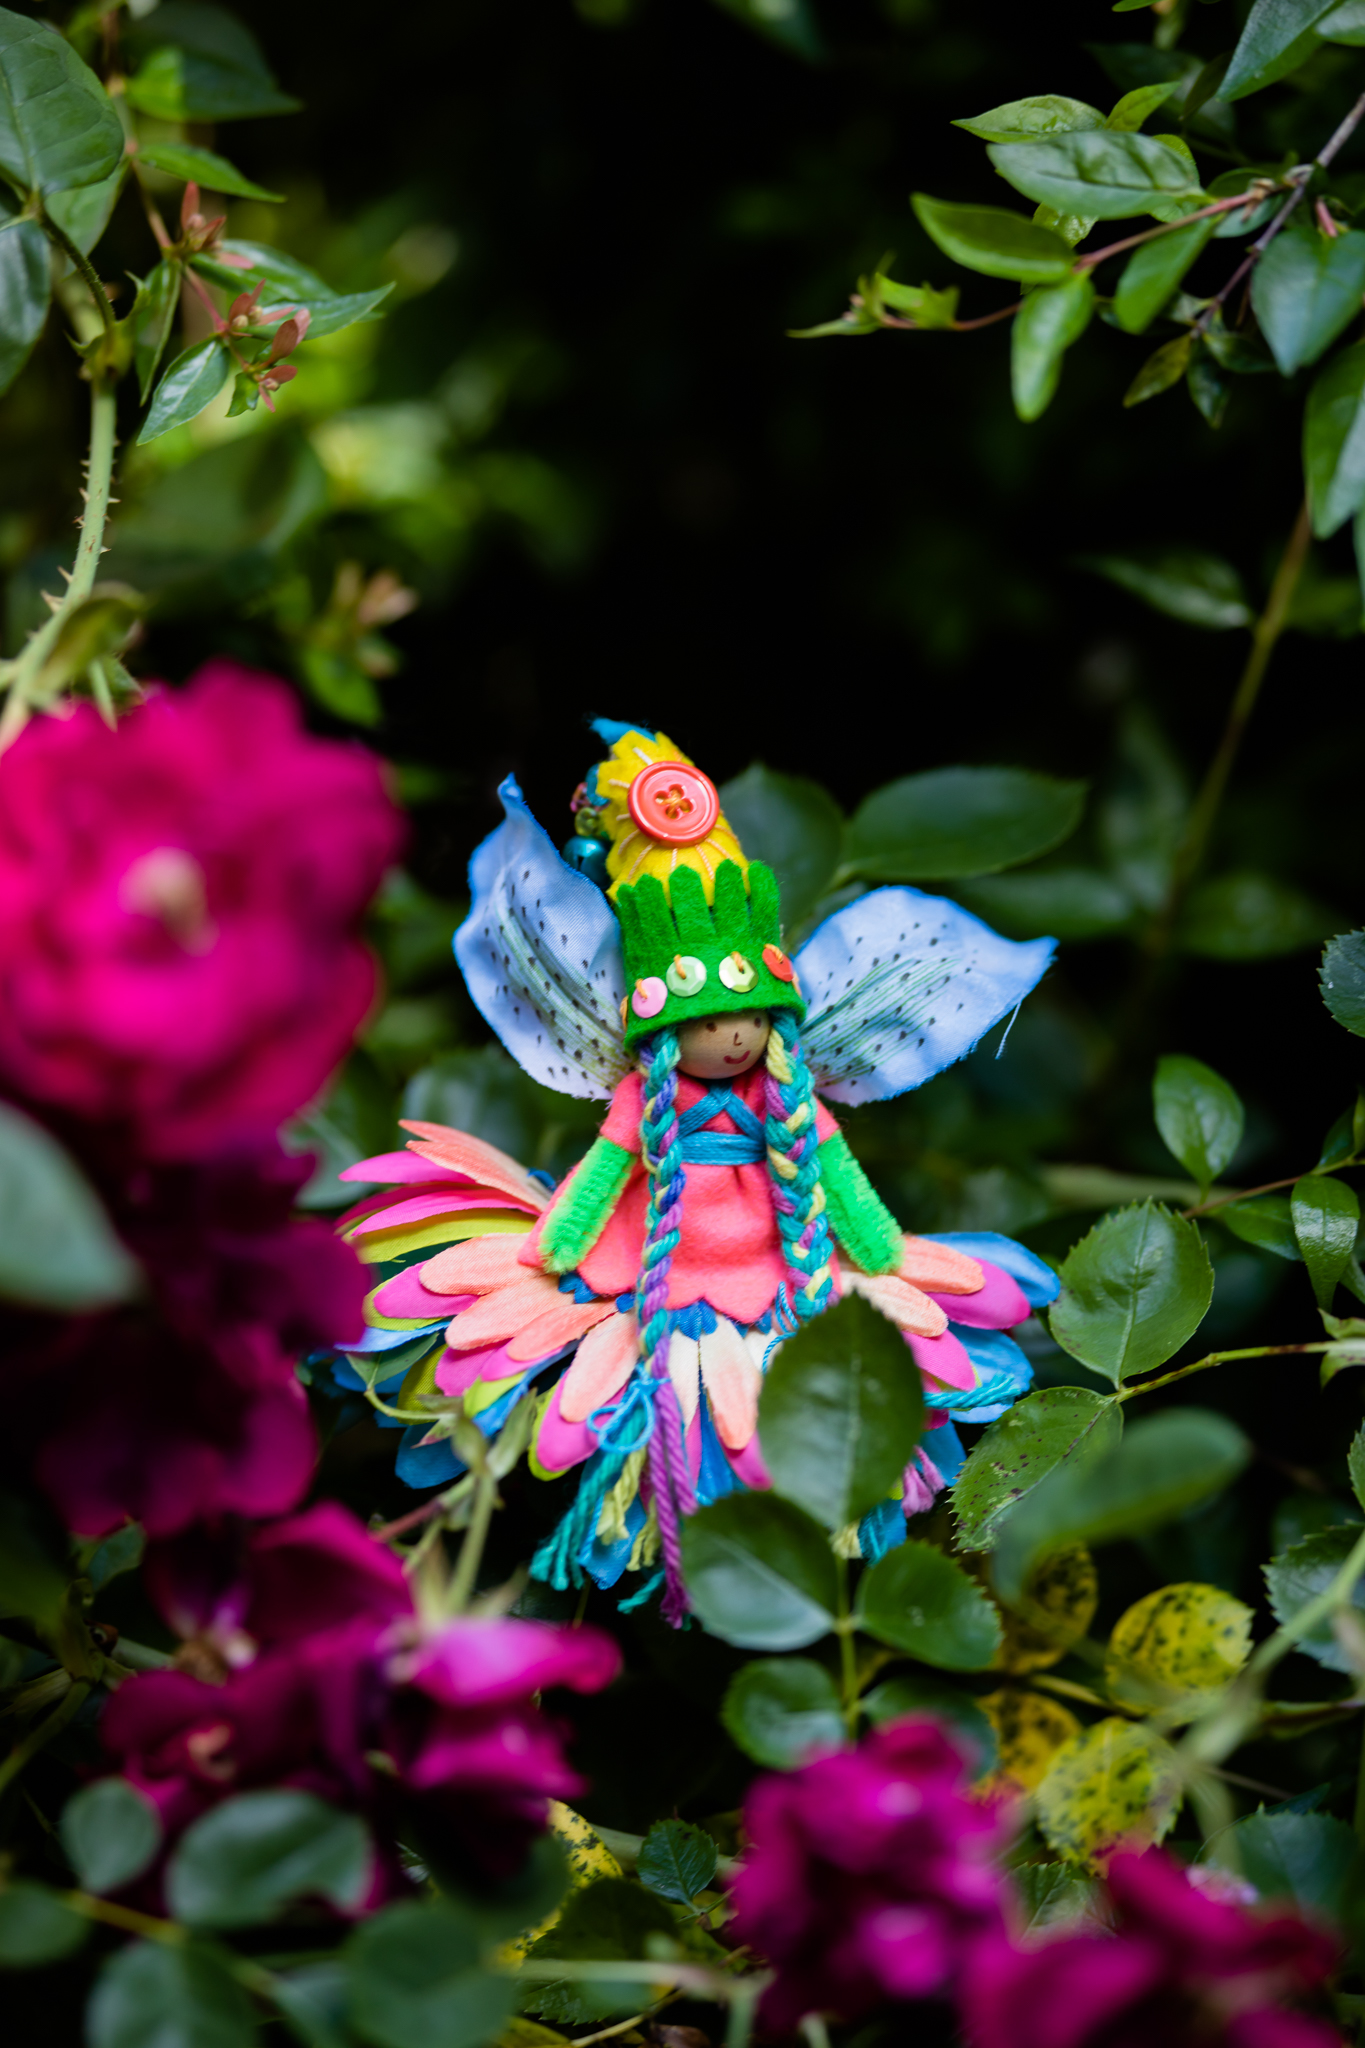
The last official fairy of summer for Forest Fairy Friday. An easy way to change colors for fairy clothing and hair is variegated/color changing thread and yarn. Fairies love how it looks fancy. We love how it makes looking fancy quite easy to accomplish ☺️💕🧚♀️
Forest Fairy Friday
Happy Forest Fairy Friday!
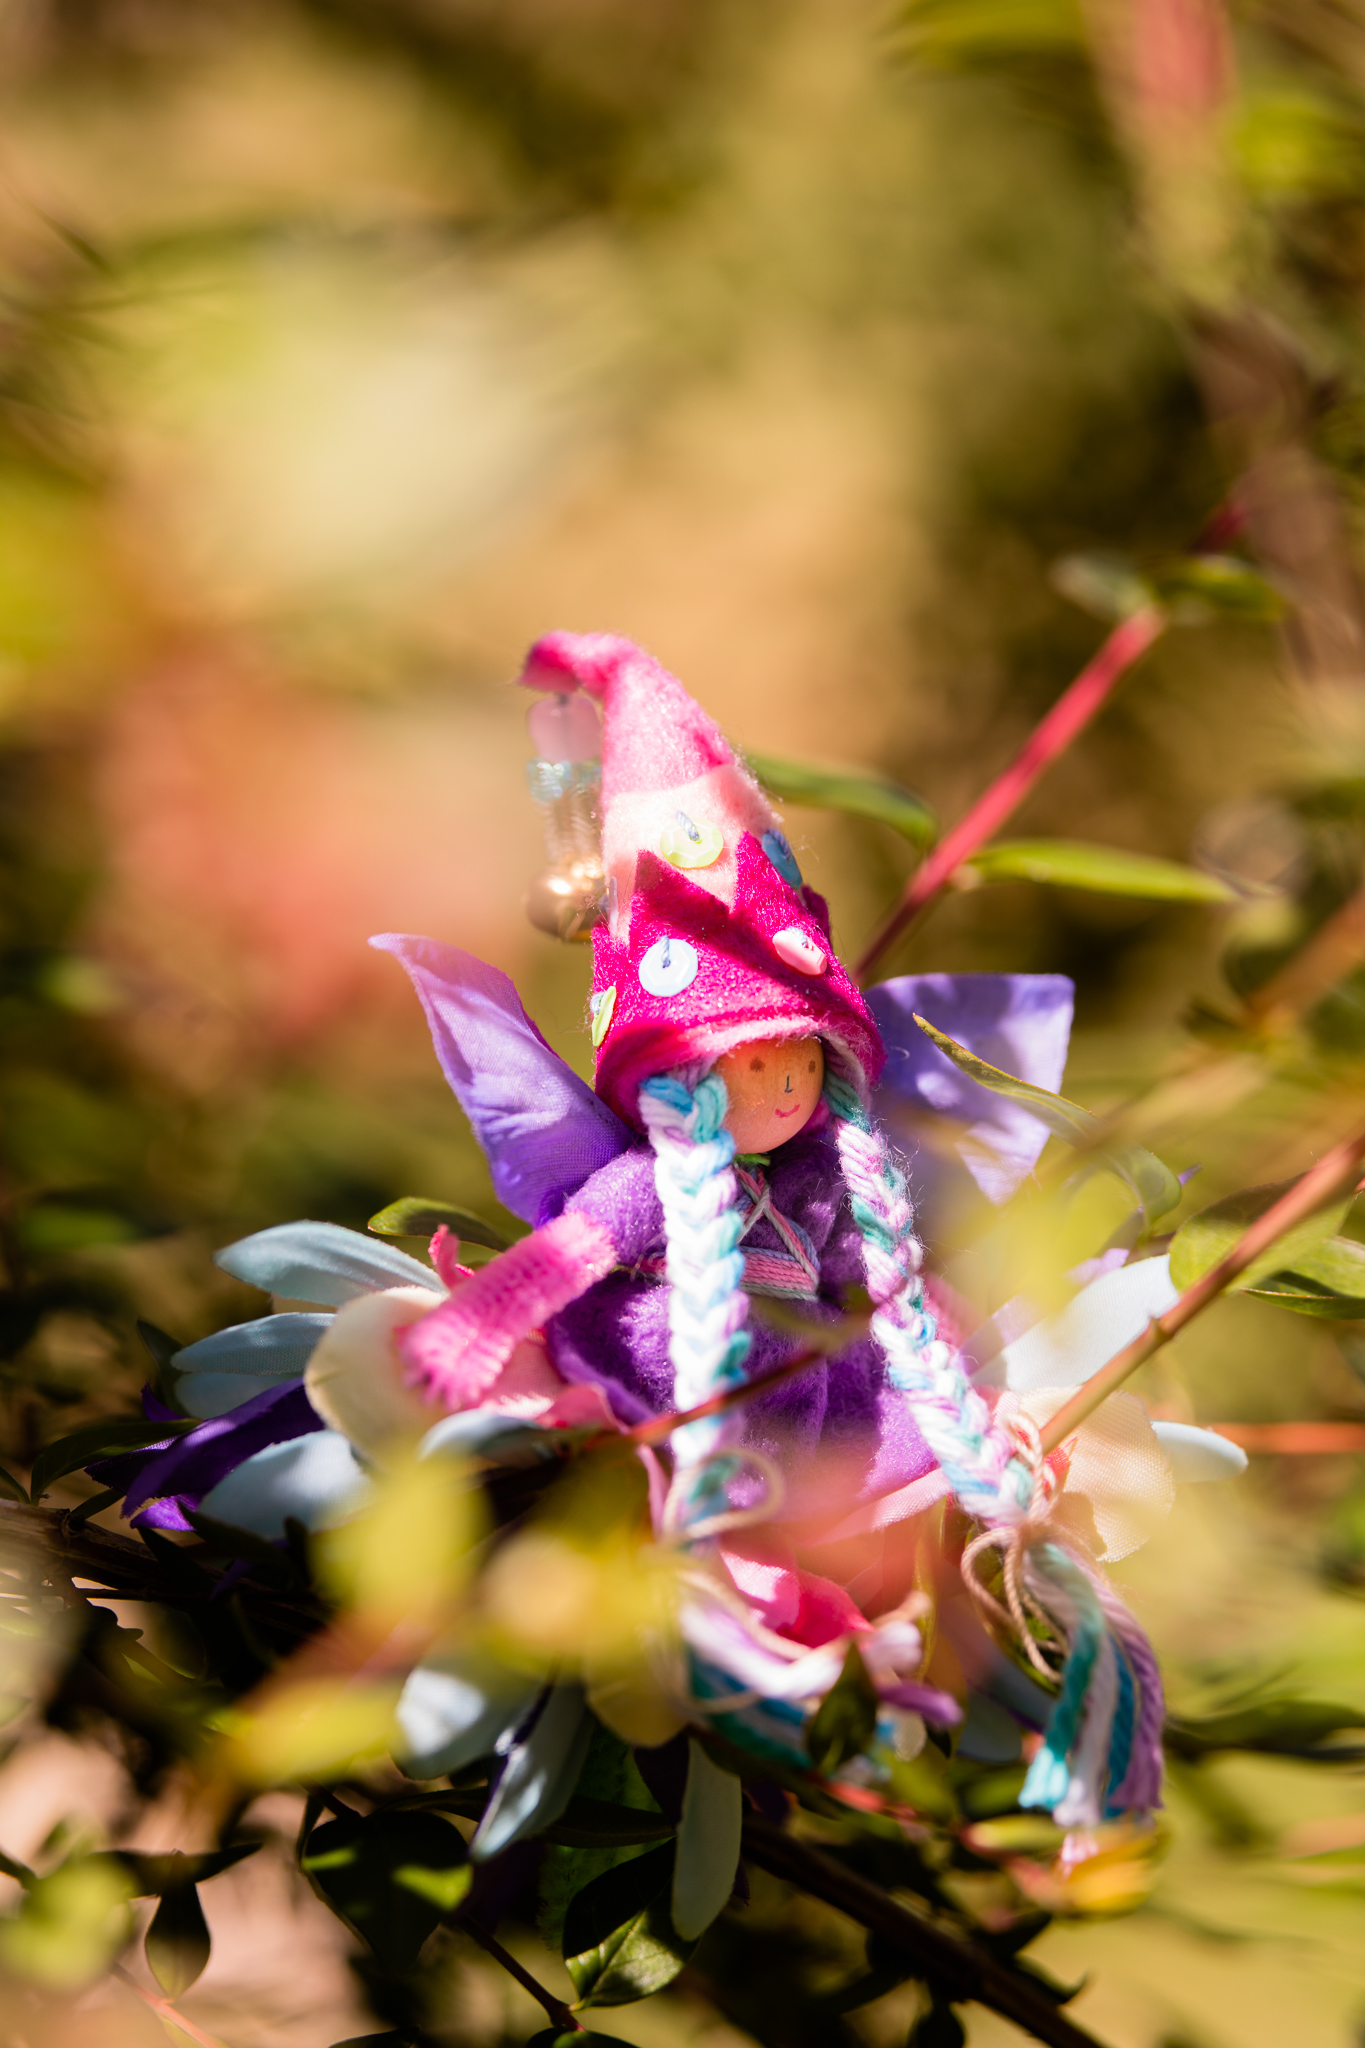
An easy way to style fairy hair is pigtails. Her hair stays long and loose, yet looks a little bit fancy. We tie pigtails with double knots to stay put, but you could use single knots to style hair for different occasions like a trip to the park or a fairy ball.
Have fun crafting fairies! Happy Friday!

